Managing Payroll and Employee Information
Accessing the Payroll feature
Tip: Contact us either by email (support@datadevelopments.co.uk) or phone (01902 714030) to enable this feature on your account
1 Navigate to https://www.myfundaccounting.online/managepayroll#/
2 Click "Manage Payroll"

Update Company Information
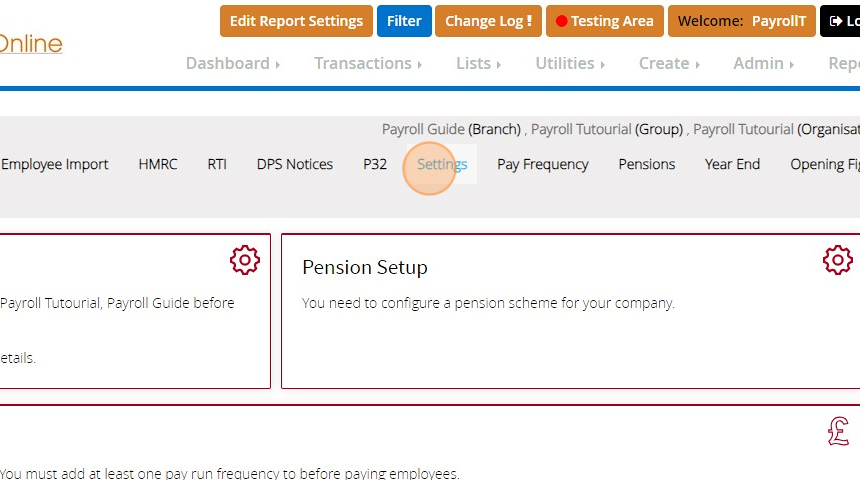
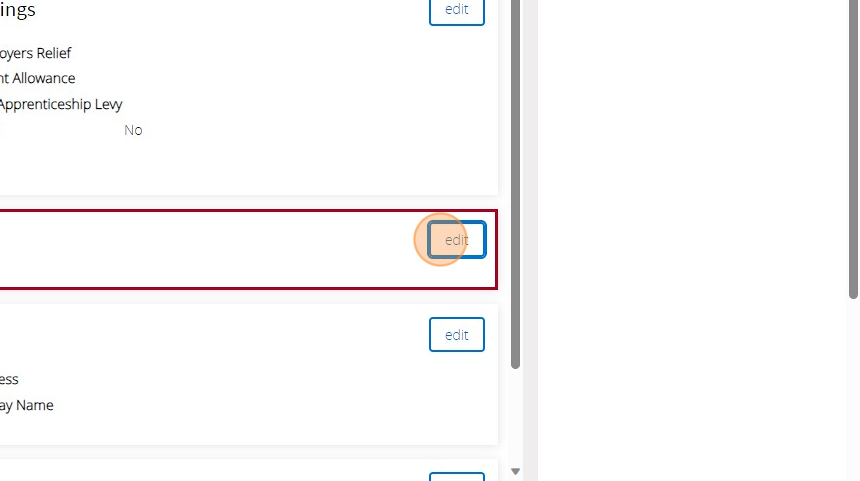
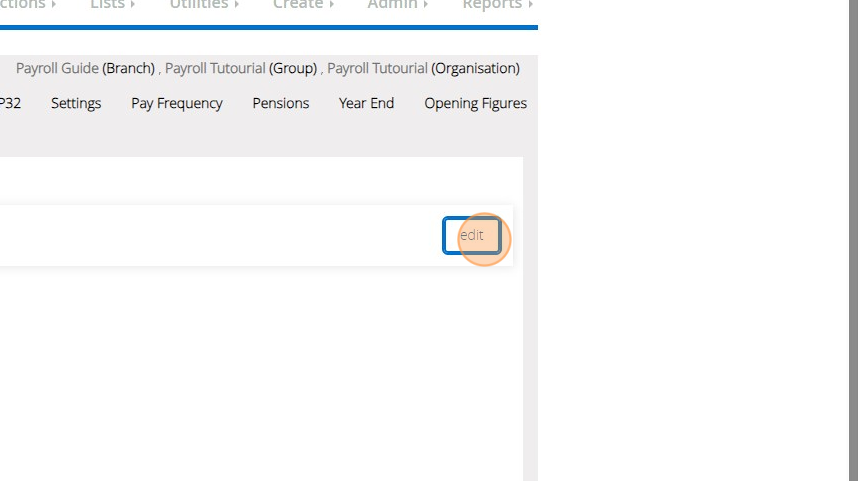
3 Click "Settings"
4 Click "edit" on the "Tax Reference" panel

5 Enter in your HMRC assigned references for the as relevant. The Accounts Office and PAYE reference are required in order to submit information directly to the HMRC from MyFundAccounting
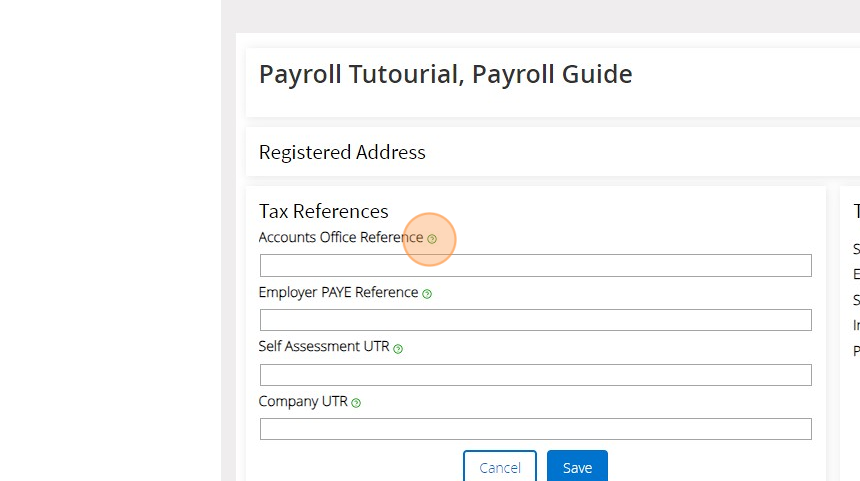
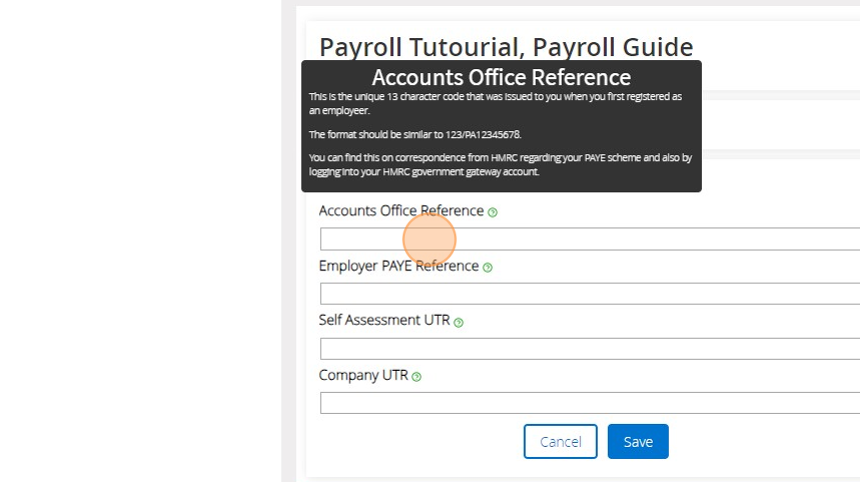
6 You can click the green "?" next to each label to get more information about what is being requested
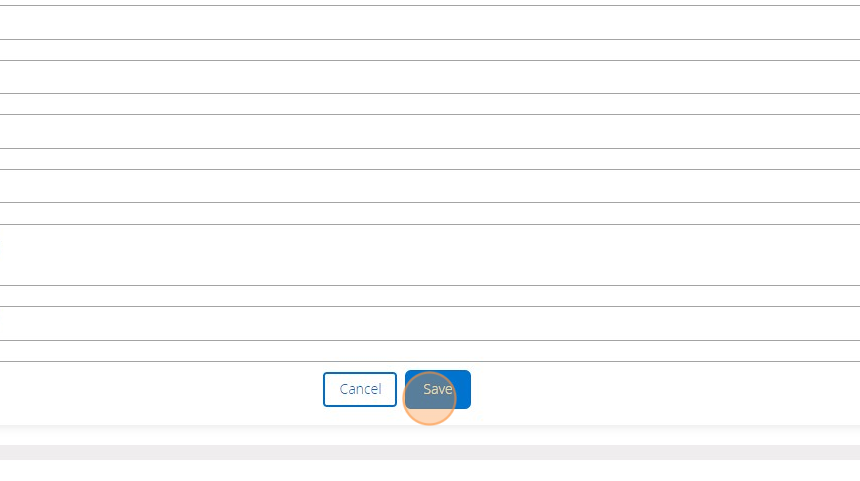
7 Click "Save"
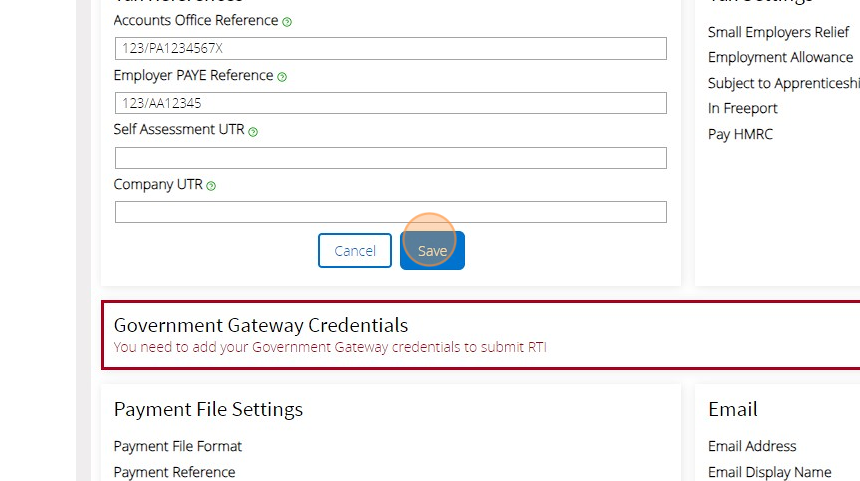
8 Click "edit" on the "Government Gateway Credentials"
9 Click "Save"

0 You can update any other section on this page by clicking the edit button if you wish to
Tell us how often you pay your Employess (Pay Frequency)
1 Click "Pay Frequency"

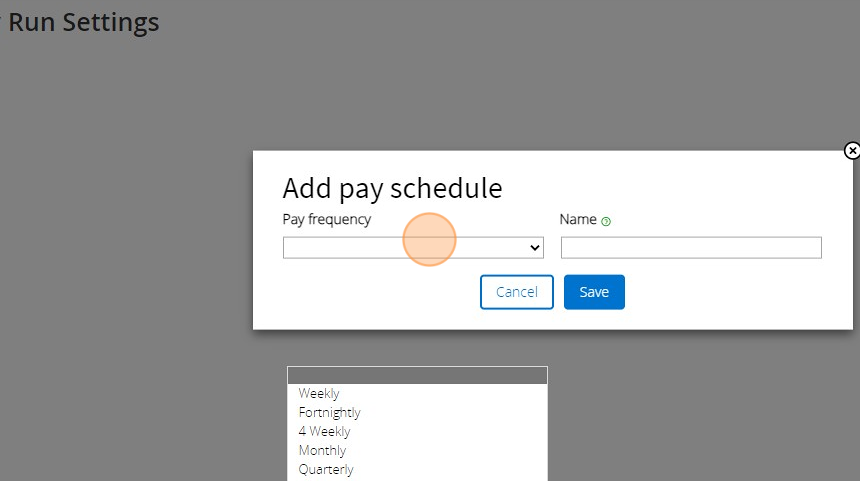
2 Click "Add Pay Frequency"

3 Click the "Pay frequency" dropdown and select the relevant option e.g. Monthly
4 Click the "Name" field and enter a description to distinctly identify these pay frequency e.g. "Monthly Month Beginning" for the frequency set up as being paid at the beginning of the month and "Monthly Month End" for the frequency set up as being paid at the month end. (Step 16)

5 Click on the pay day type to provide us with the date your employees are paid. If you choose the "Day of month" option you can then provide more information on the day
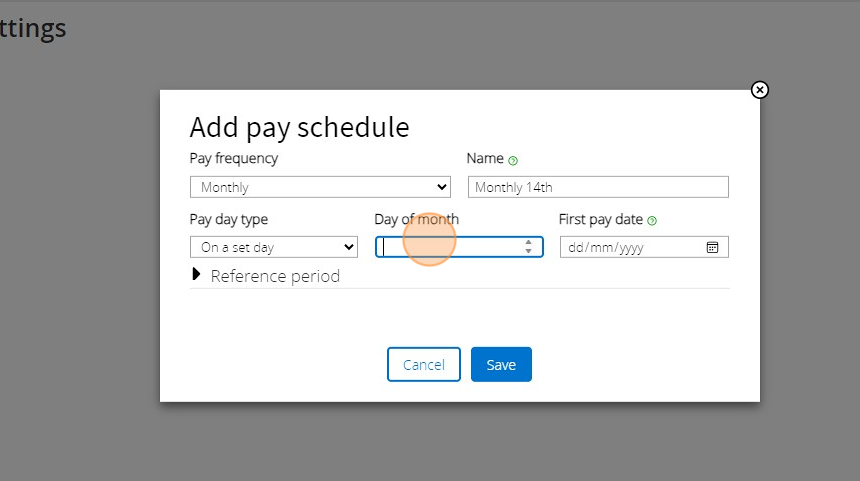
6 If you are using the "Day of Month" pay day type the first pay date must correspond with the entered day of month e.g. 14/01/2024 would be valid in the below example but 15/01/2024 would not
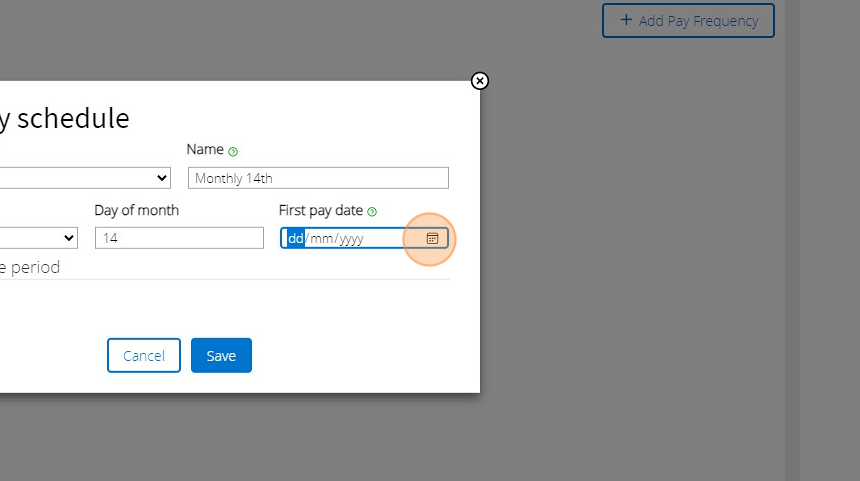
7 The reference period can be provided where applicable e.g. part time employees. Click "Save"

8 Click "Save"

Opening Figures
9 You can provide "Opening Figures" for
Employment Allowance Used
Statutory Payments Claimed
Apprenticeship Levy

0 Click "Add Opening Figures"

1 Click "2023 - 2024" or the provided tax year range appropriate to todays date

Tip: Tip! Abbreviations
Statutory Maternity Pay - SMP Recovered
Statutory Paternity Pay - SPP Recovered
Statutory Adoption Pay - SAP Recovered
Statutory Shared Parental Pay - SHPP Recovered
Statutory Parental Bereavement Pay - SPBP Recovered
2 Enter the figures against each field as appropriate and then click "Save"

3 If you have made any mistakes with the entered amounts you can click "edit" to bring the form back up
4 Click "Save" once you've made the necessary amendments
Tip: Tip! You can add multiple pay frequencies for employees paid more frequently, on different days of the month and/or work part time
Creating Employees
5 Click "Employees"

6 Click "New Employee"

7 If you get a message about the lack of a "Pay Frequency" jump to Step 11 if you haven't created one or refresh the page.

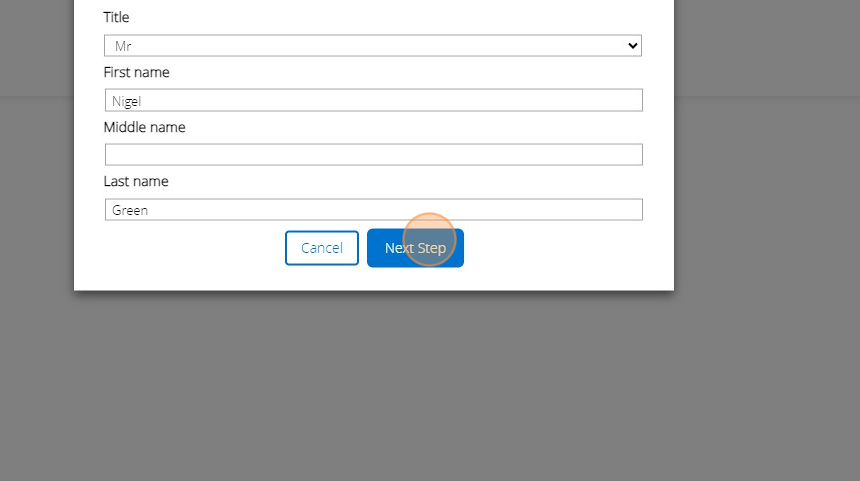
8 Fill out the form with the requested information

9 Click "Next Step"
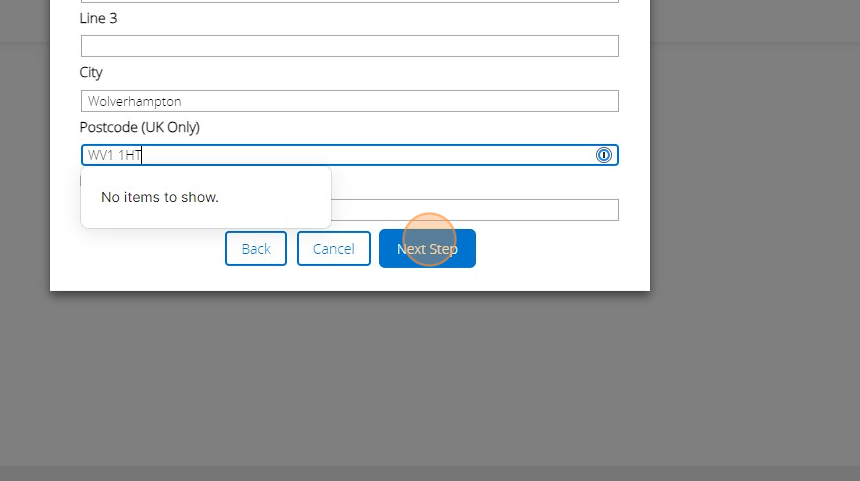
0 Provide the address of the employee and Click "Next Step"
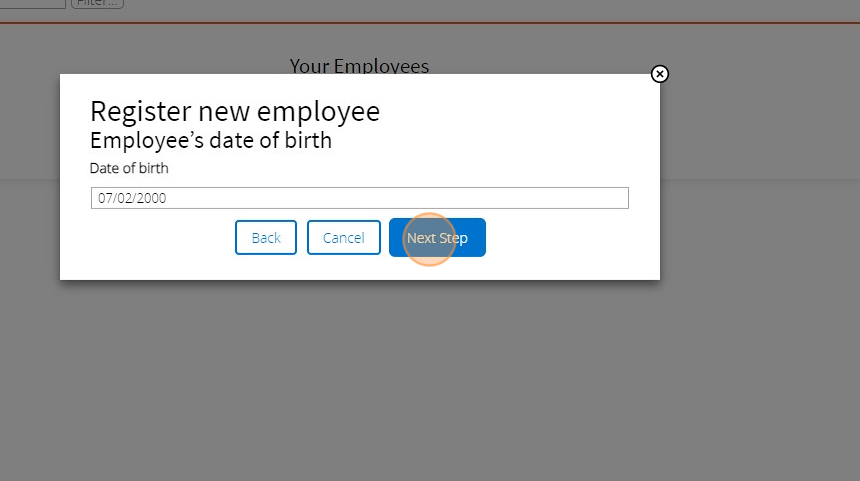
1 Enter the employees date of birth and Click "Next Step"
2 Choose the gender and Click "Next Step"

3 Enter the "National Insurance Number" of the employee and Click "Next Step"

4 Provide details of any Government loan for higher education the employee might have and Click "Next Step"

5 Choose the relevant option to tell the system if the employee being added is a new or existing employee. Depending on your choice the subsequent steps will be different. In this example we are adding a new employee.

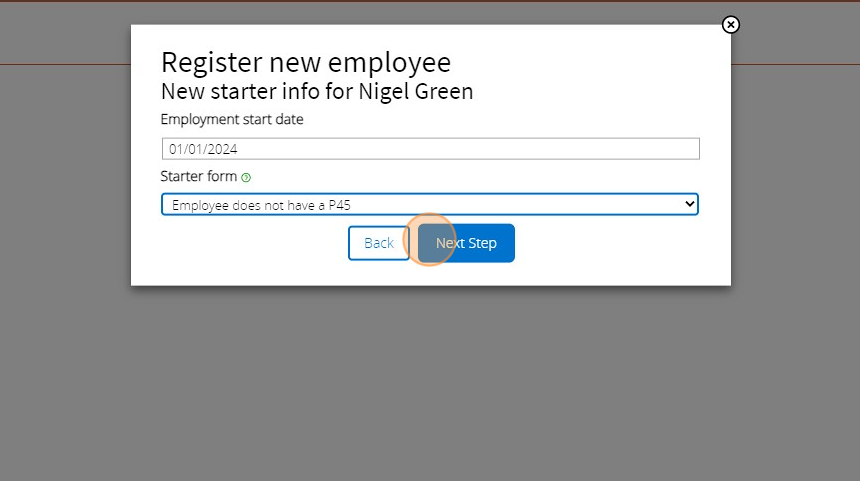
6 Provide the employee start date and indicate whether the employee is coming from a previous job or not by selecting if a P45 is available. In this example we do not have a P45. Click "Next Step"
7 Click the relevant option to describe why a P45 is not available for the employee. In this example we select "(B) This is their only job, but since 6 April 2023 they’ve had another job, or have received taxable Jobseeker’s Allowance, Employment and Support Allowance or Incapacity Benefit. They do not receive a State Pension or workplace pension"

8 Click "Next Step"

9 Click the "RTI Payroll ID" field and enter in a new Unique ID for the employee or copy over the same ID used in the previous payroll system you may have used. You may want to contact your old provider for assistance of where the ID would be retrievable on their software

0 Click "Save"

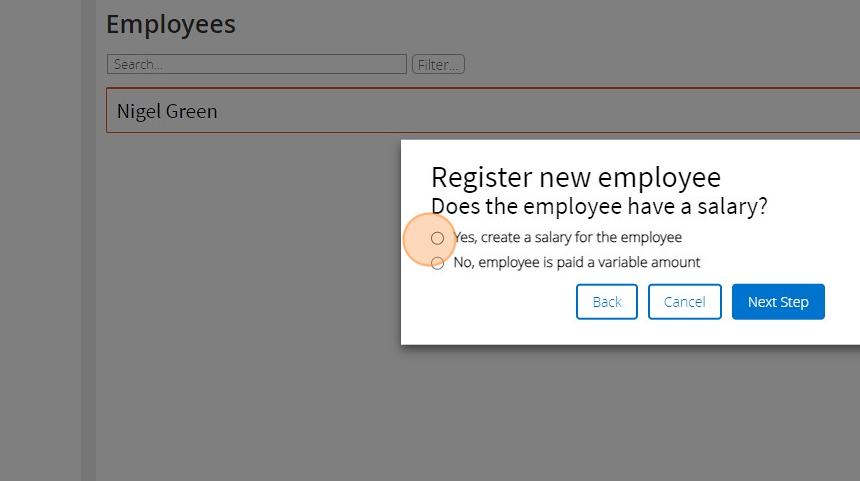
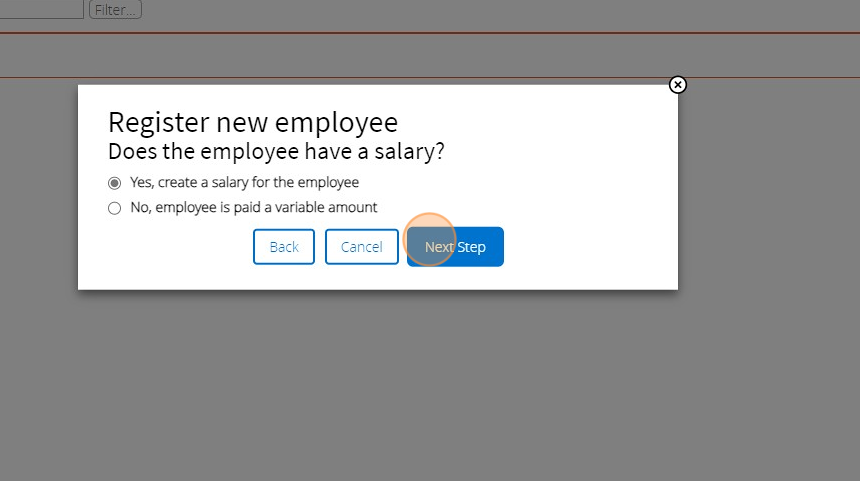
1 You can at this point skip creating a salary even if the employee is paid a fixed amount and add it in later but in this example we choose "Yes, create a salary for the employee".
2 Click "Next Step"
3 Choose the relevant hours and Click "Next Step"

4 Provide the information for the fixed salary and Click "Save"

Importing Employees
Alert: Alert! Only CSV file formats are accepted and all fields in the provided templates must be retained even if they are empty or not applicable
Tip: Tip! If you have existing employees in the system already the RTI Payroll ID will determine if a new employee will be create or the details of the existing employee record is overwritten
5 You can download the templates for employees and starting balances here:
Information on the fields in the employee import can be found here
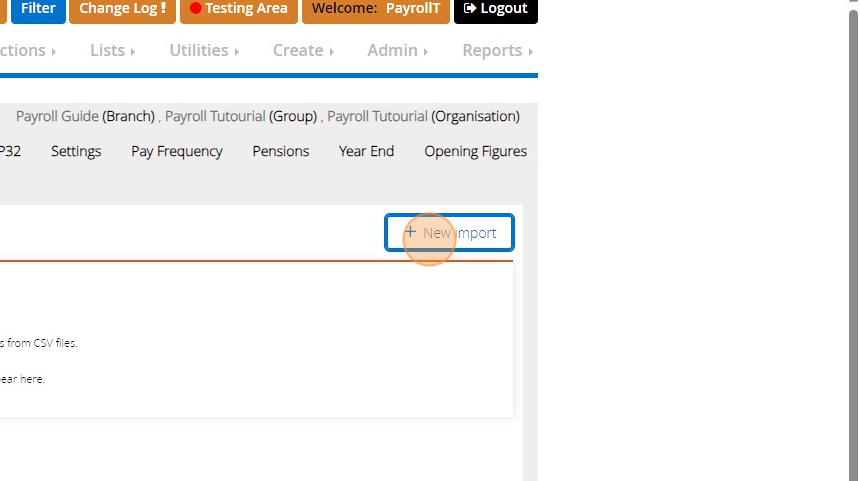
6 Click "Employee Import"

7 Click "New import"
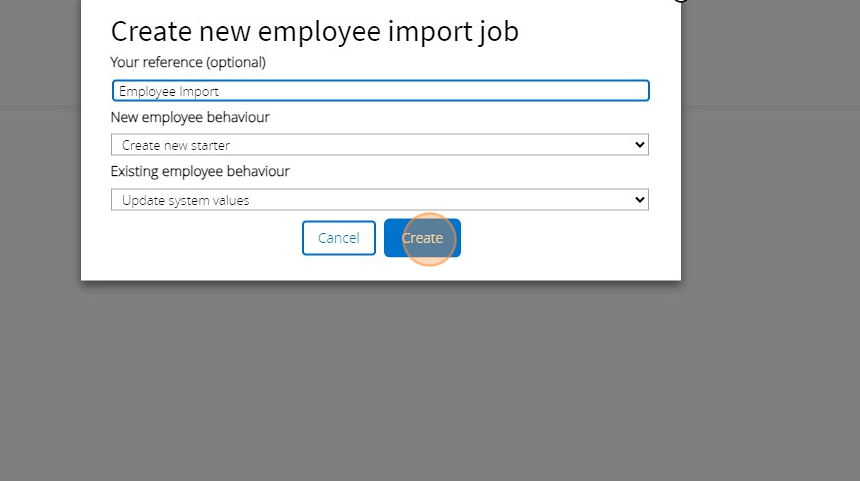
8 Click the "Your reference (optional)" field and enter in a name for the import if you wish to

9 Click "Create"
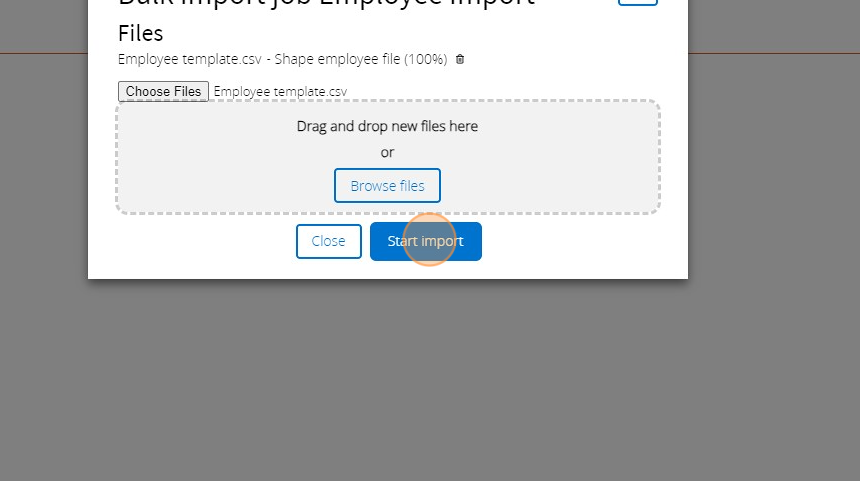
0 Click the "Choose files" button and select your csv file

1 Click "Start import"
2 Click "Close"
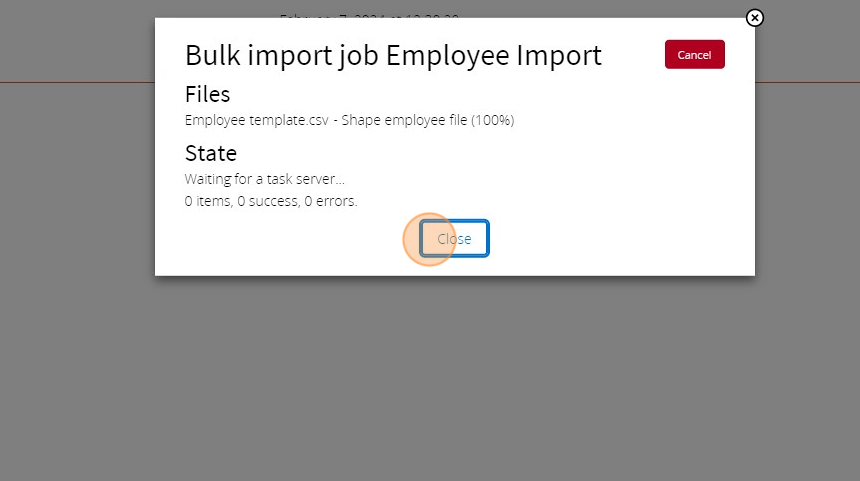
3 Wait for the state of the task in the "Employee bulk import" list to change to complete. If there are any issues with the import you will be able to see the errors in the pop-up that appears by clicking on the task in the list. You may need to refresh the page for an update on the import.
Creating Pension Schemes
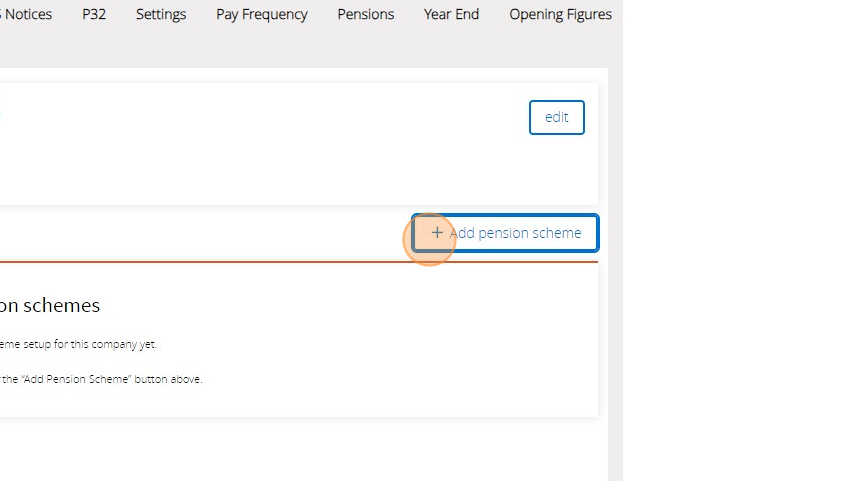
4 Click "Pensions"

5 Click "Add pension scheme"
6 Click the provider dropdown to select the provider. If you cannot see your provider in the list choose "Other"

7 After selecting the provider you will be asked for further information depending on your selection. In this example we are using NEST.

Tip: Tip! Remember you can click on the green ? next to each field for further guidance on what the requested information is and where you may find it
8 Click the "Is default scheme" field for the pension scheme if it is the one your employees are enrolled onto by default

9 Click "Save"

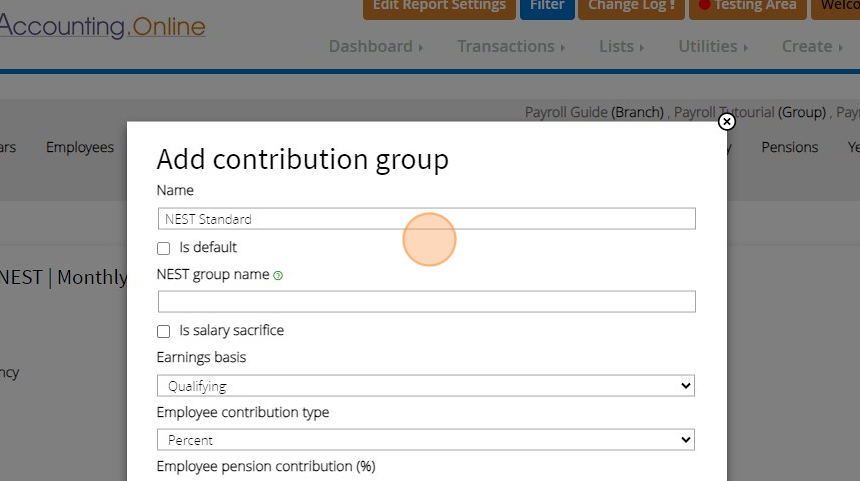
0 Once you have put in the details of the pension provider you can provide the details needed to calculate the pension on payslips. Click "Add Contribution Group"

1 Click the "Name" field and provide it a name descriptive of the calculation e.g. Pensionable Standard

2 "Is salary sacrifice", will mean that the amount is shown on the payslip as a deduction from the Employees salary and attributed to the Employers pension contribution as if the employer has made the full contribution themselves.
3 "Earning basis" changes the way the pension calculation is applied. Qualifying means that until the employee reaches a payment threshold. Pensionable is calculated without any other criteria on every payslip on the full salary.
More information available on the two options is available Pensionable earnings - Shape Payroll
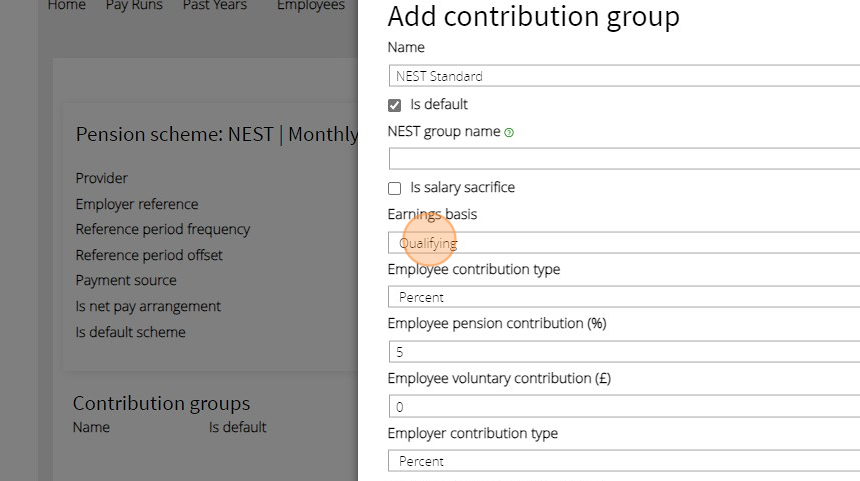
4 The contribution type can be set to percent or fixed. Percent will make the contribution amount relative to the employees pay and fixed will simply use the amount given regardless of the pay being received by the employee. After providing the contribution breakdown. Click "Save"

Alert: Alert! Most if not all employees are eligible for tax relief on their contribution which means 1% of the pension is paid for by the HMRC making the contribution on the payslip appear as 1% less than the percentage set on the above screen
Tip: Tip! You can create multiple contribution types for a single pension scheme if you provide employees various pension options
Editing employees and assigning pension schemes
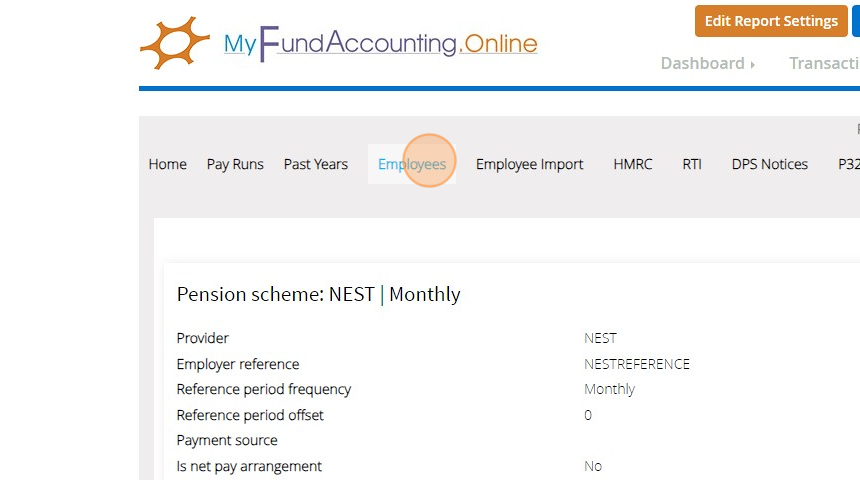
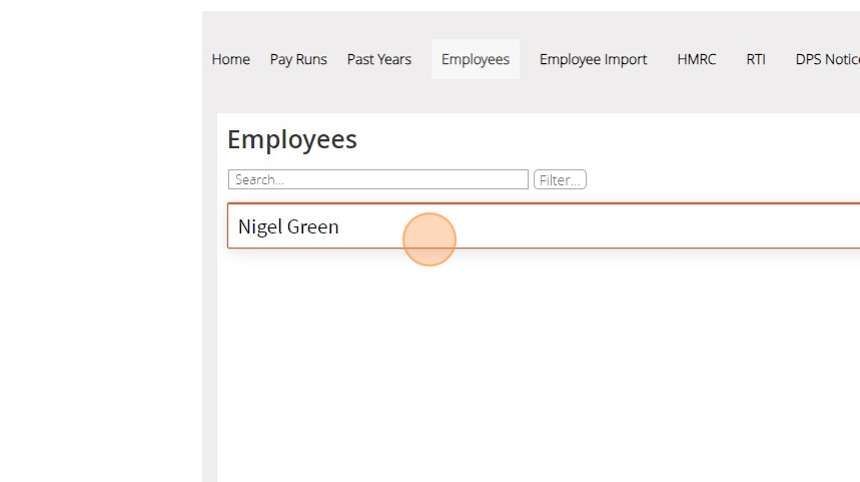
5 Click "Employees"
6 Click on the Employee you wish to edit.
7 You can update the employees personal details on the opening page by clicking "Edit" on any of the panels.
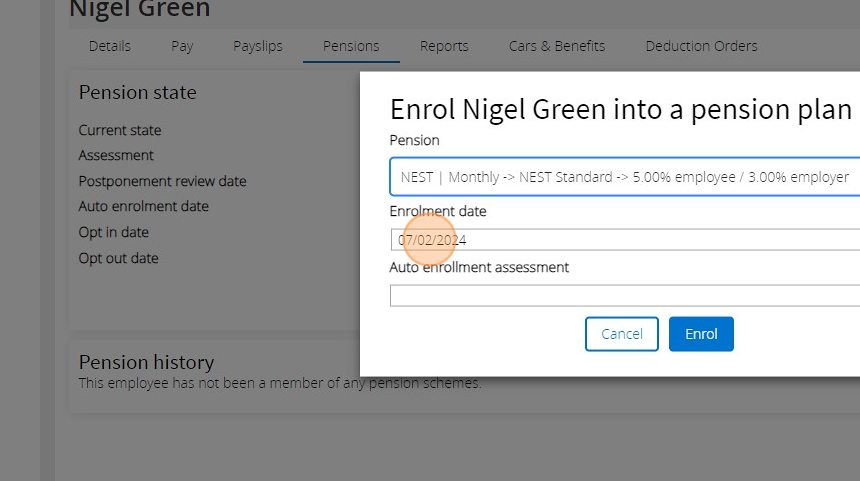
To enrol the employee onto a pension scheme click "Pensions"

8 Click "Enrol"

9 Click on the Pension dropdown.

0 Select the relevant Pension Scheme with the appropriate contribution setup

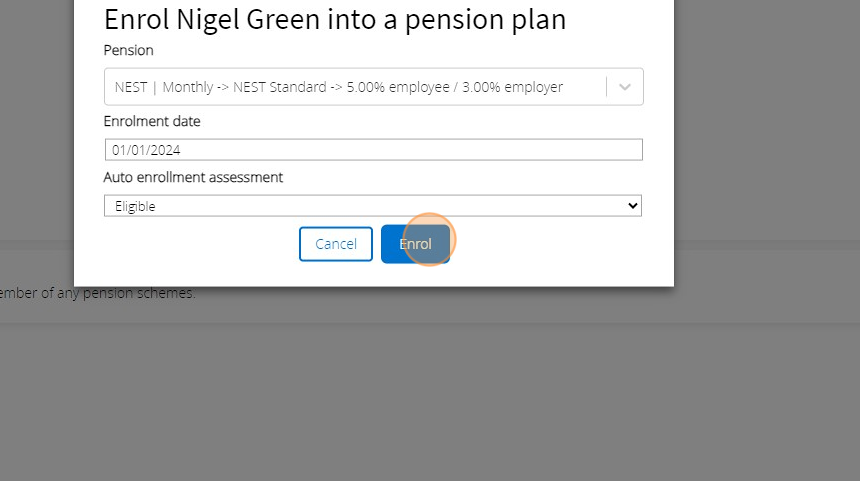
1 Enter the date the employee joined pension scheme and confirm the eligibility status of the enrolment e.g. Eligible being they are fully enrolled
2 Click "Enrol"
3 If the employee received any benefits or is provided an allowance for any expenses e.g. mileage, you can add them under the "Cars & Benefits"
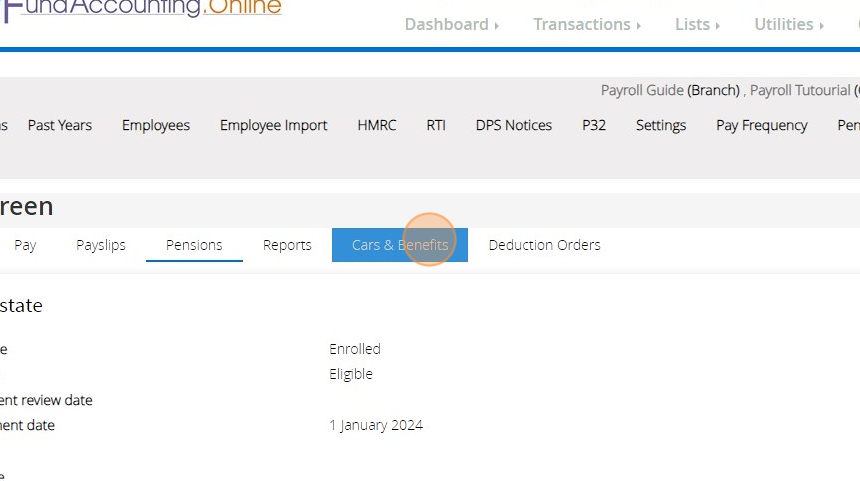
4 Click "Create".

5 Click "E - Mileage allowance payments not taxed at source"

6 Fill in the details of the benefit and Click "Save"

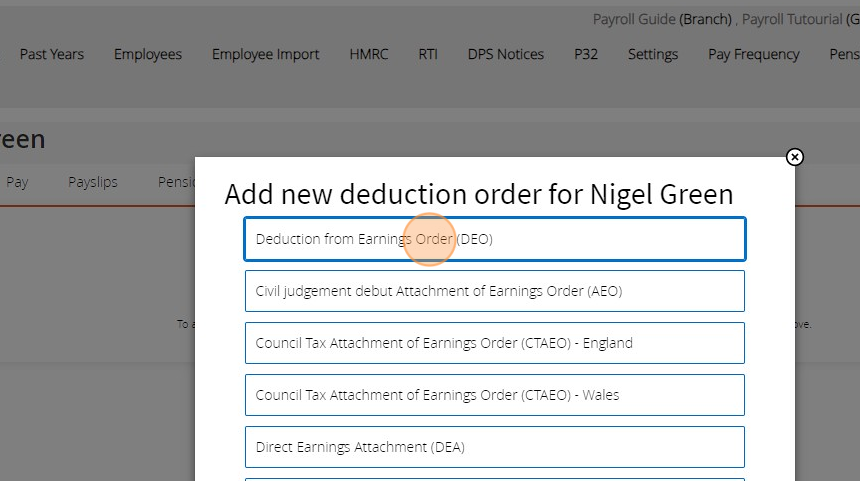
7 If you have received instruction of any additional deductions to be made on the employees salary you can add them under the "Deduction Orders" tab

8 Click "Create".

9 Select the appropriate reason for the additional deduction. Fill out the subsequent details that are requested on the next step and then click "Save".
Generating Pay Slips (Pay Runs)
0 Click "Pay Runs"

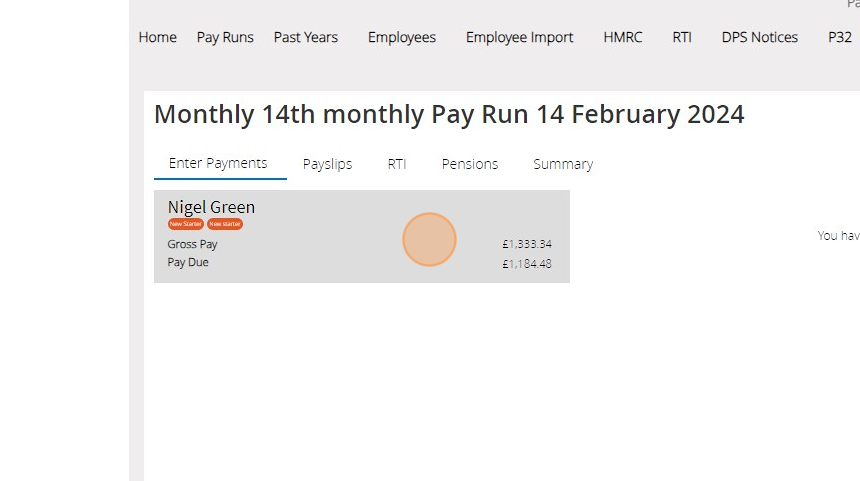
1 Your first period for which you need to pay your employees will be automatically created based on the "Pay Frequencies" you have created. Click on the relevant period you wish to process the pay slips for.

2 Click on your employee to view their payslip on the right hand side
3 Once you have reviewed the payslips and made any necessary amendments to it you can click "Complete pay run"

4 Click "Complete".

Tip: Tip! Once you complete the pay run MyFundAccounting will automatically assign liabilities for amounts you've got to pay for PAYE, Pensions etc. You can view these on List Transactions and/or on a balance sheet report
5 Click "Payslips"

6 On this page you can email individual employees their payslip by clicking the mail icon against each name or click email all to send out the respective payslip to each employees listed

7 If you receive the following message you need to update the employee details and enter in their email address via the "Employee" menu option

8 If an email is available you can compose the message to be sent along with the payslip attached. When composing an email for the "Email all" option mail merged text will appear with <<>> surrounding the text. You can remove this text to make the email more generic or work around them to have your email personalised with the employees name.

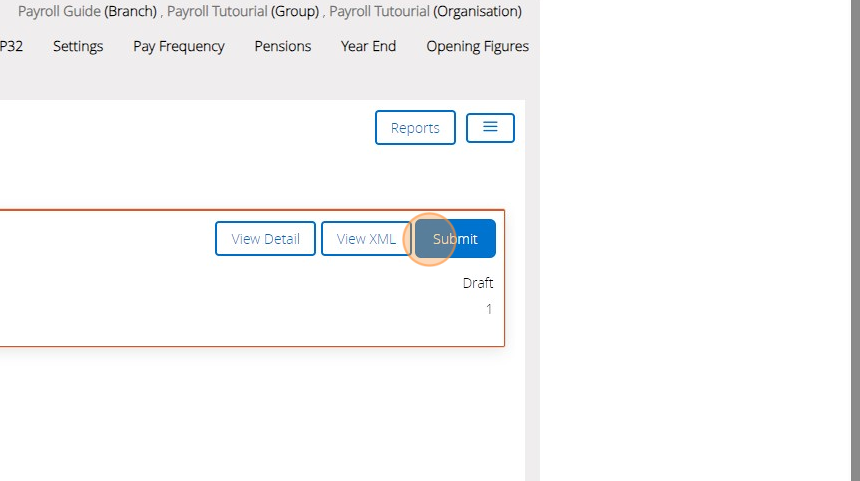
9 To submit the details of the payments to the HMRC click on "RTI"

0 Review the details of what will be sent to the HMRC by clicking "View Detail" and then Click "Submit" if you are happy with it.
1 You can then go back to the "Pay Run" page and click "Start next pay run" when you are ready to generate the next periods pay slips.

2 You can adjust the dates as appropriate and then click "Start pay run" to begin
