Managing Agency Transactions
TABLE OF CONTENTS
Creating Agency Accounts
1. From the Dashboard
2. Click the "Create" menu, highlight the "Accounts Assistant" and click on "Suppliers, Grantors, Agencies"
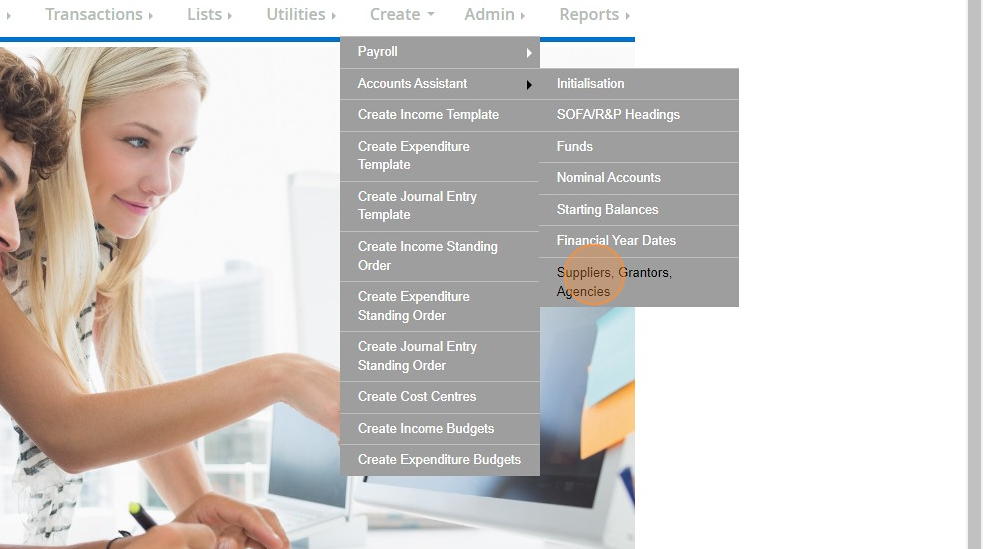
3. Click "Suppliers, grantor, contacts, agencies (postbox a/cs)"

4. Click "Add New"
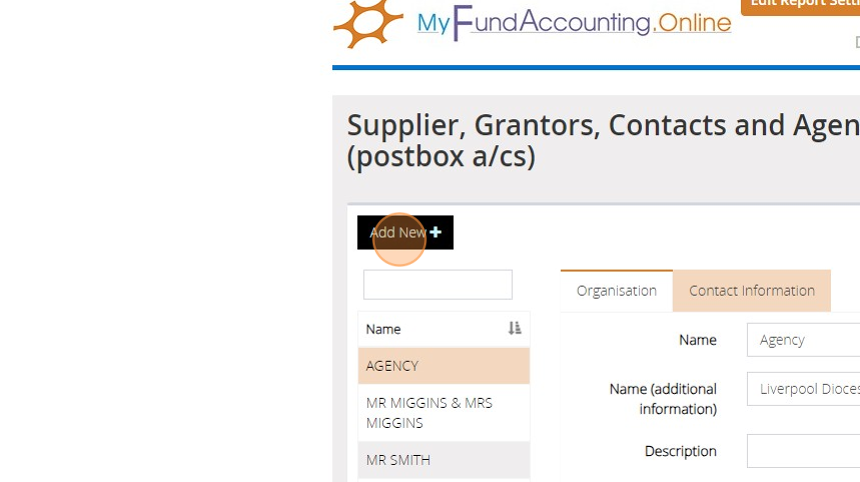
5. Click the "Name" field.

6. Enter the name of the Agency you are wanting to create for example "Children in Need".
You can also add in the name and address information if you wish to, as this could be useful to contact the organisation at a later date, however, it isn't required. to create the Agency. You could also come back and add this additional information at a later time if you wish to.

7. Click the "Agency" field.

8. Click "Save"

Recording Income and Expenditure for an Agency.
9. There are a couple of ways that you can record income and expenditure for an Agency Collection. The first is by using the "Assistant" which will guide you through the process step-by-step.
To access this click the "Transactions" menu, highlight "Transaction Assistants", and then click on "Agency Collections".

10. Click "Agency Transactions (postbox)"
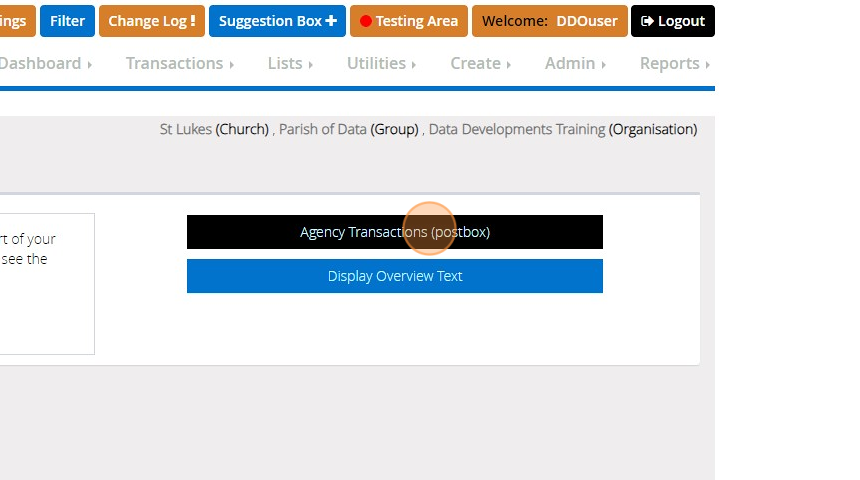
11. Firstly you will need to specify whether you are recording the collection of the money, or recording its payment out of your bank account.
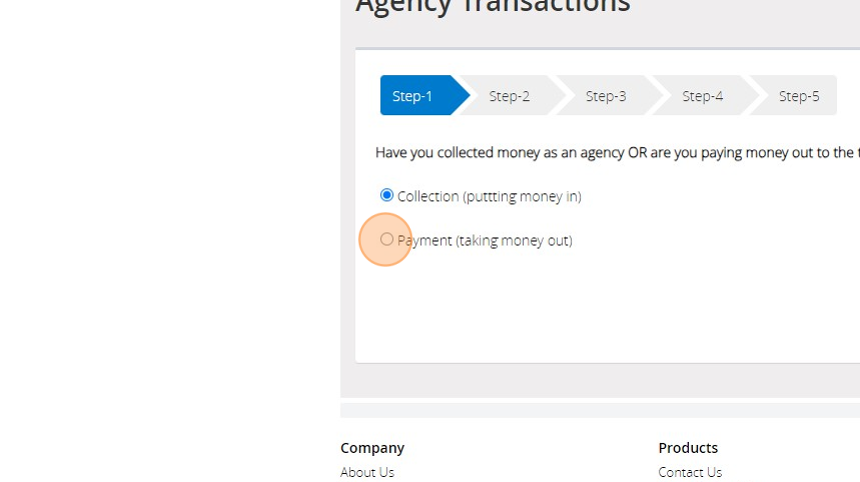
12.
Select the appropriate option and then click "Next Step"
13. Select the Agency this money belongs to from the dropdown box.

14. Click "Next Step"

15. Enter the "Amount", "Date" and "Reference" of the transaction you are recording.

16. Click "Next Step"

17. Select the Bank Account that the transaction relates to.
If you are recording a payment to the Agency, ensure that you select the same account that the money was paid into originally.

18. At the bottom of the window, you can enter a description for the transaction.
Descriptions are a quick and simple way of being able to identify the transaction at a later date.
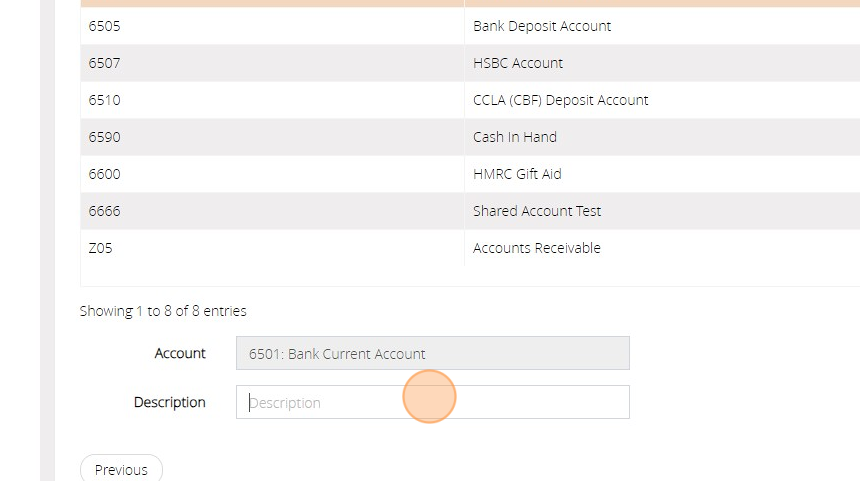
19. Click "Next Step"
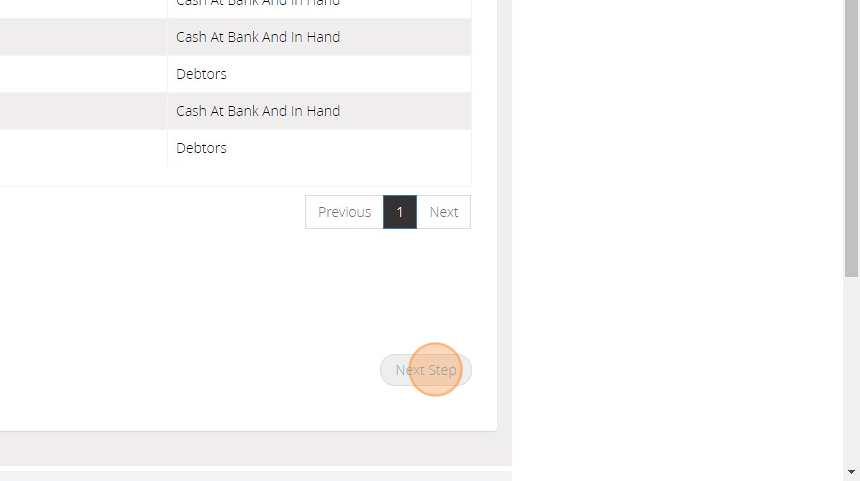
20. The final page will display an overview of the information you have entered. If everything looks correct and you are happy to proceed click "Save & Post".
If any of the elements are incorrect you can return to the previous steps and make the changes as necessary using the "Previous" button.
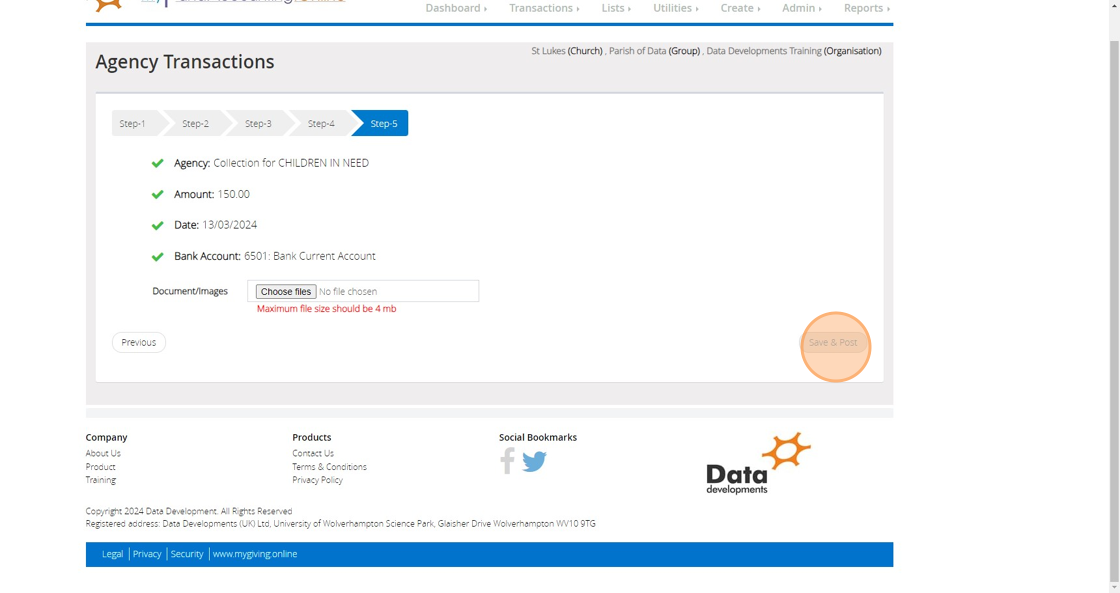
21. You will receive a confirmation message that the transaction has been posted successfully, along with an "Audit Number" reference for your records. Click "OK"

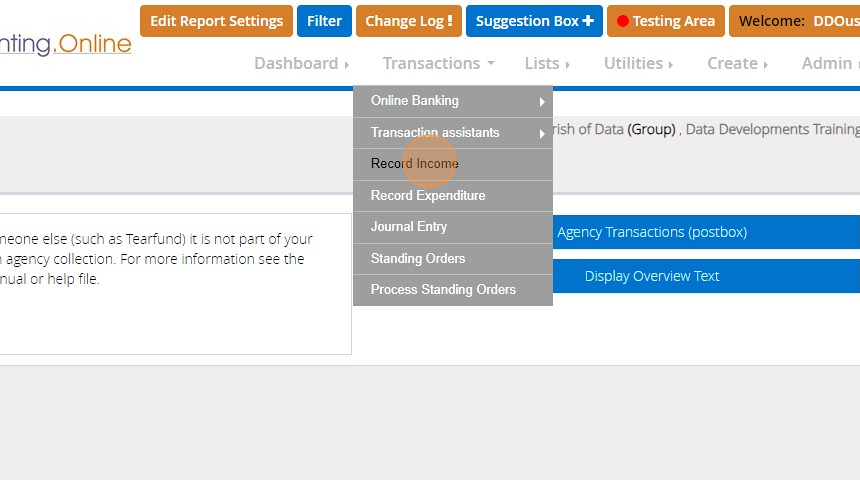
22. You can also record Agency Collections using the normal "Record Income" and "Record Expenditure" screen.
These screens provide you with a bit more flexibility, for instance recording Agency money received along with other monies banked at the same time. The overall process is the same for recording both money in a money out, so for this example will will demonstrate recording the income received.
Click "Record Income"
23. Select the "Bank Account" the money was paid into.

24. Enter the "Amount", "Date" and "Reference" of the transaction you are recording.

25. Under the Income A/C section. Click "Select Account..."

26. From the dropdown list select nominal account "6699 - Agency Collections"
27. Under the "Agency" dropdown select the agency account this transaction relates to.

28. Click "Store"

29. You will receive a confirmation message that the transaction has been posted successfully, along with an "Audit Number" reference for your records. Click "OK"

30. Click "OK"

Producing Agency Reports
31. To produce a report of the Agency Transactions you have recorded. Click "Reports"
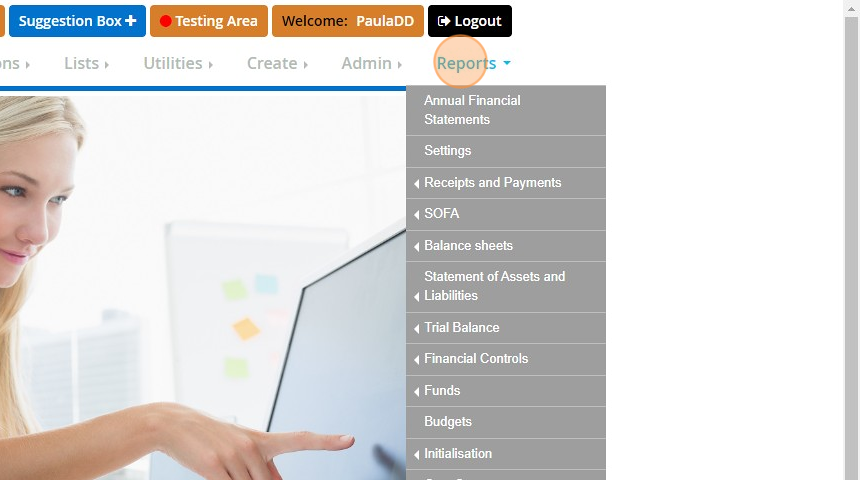
32. Click "Supplier, Grantors and Agencies"

33. Click "Agencies"

34. Ensure that the correct Financial Period you wish to use is selected.

35. Select the Agency or Agencies you wish to produce the report for.

36. Click "Refresh"

37. Click "Preview & Export"

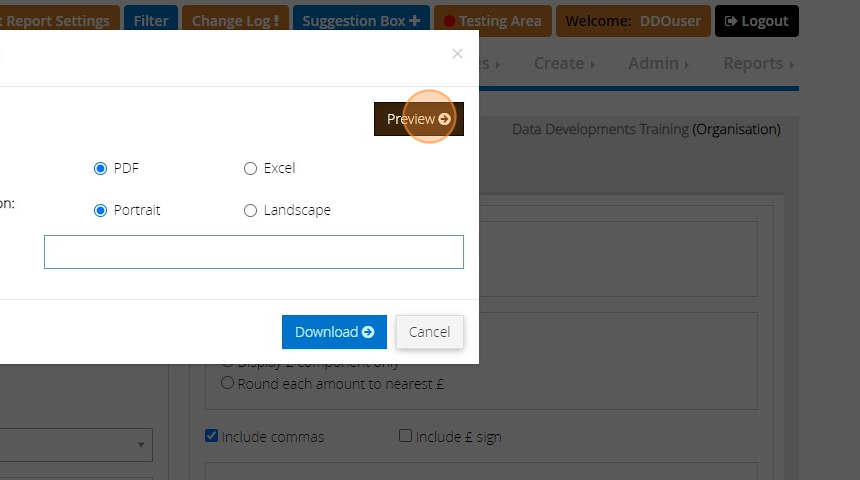
38. Click "Preview".
This will open the report on a new tab, and you will be able to see the transactions grouped by the 'Agency/Postbox' they are allocated to. It will also provide you with a balance so that you can easily see which Agencies still have amounts outstanding and are due to be paid to the relevant organisation.
