Creating, managing and processing Standing Orders
Tip: If you have recurring transactions or standing orders that you enter each month or at regular intervals, you can utilize the standing order feature to automate their generation according to the desired frequency. These transactions will appear on the ‘Process standing orders’ screen, allowing you to choose whether to include them in your transaction listings.
Creating a Standing Order
1. Navigate to https://www.myfundaccounting.online/dashboard
2. Click the "Create" menu.
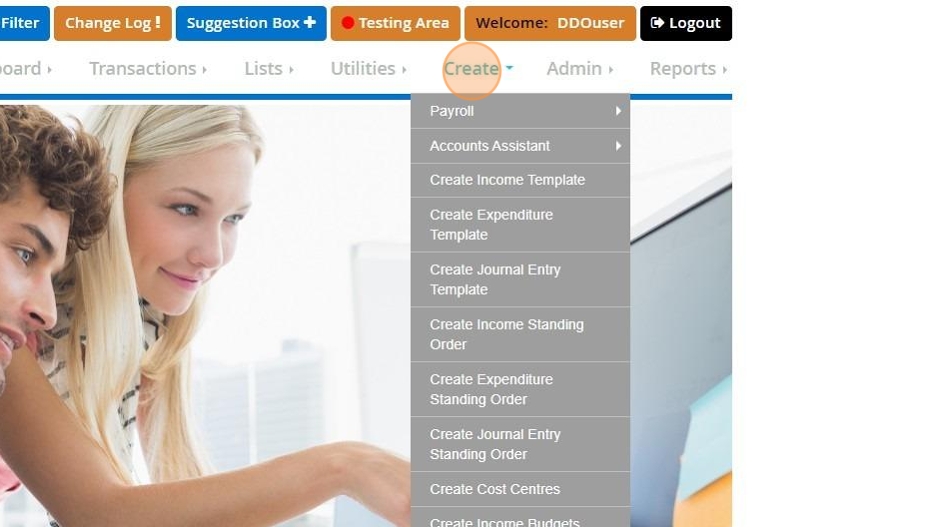
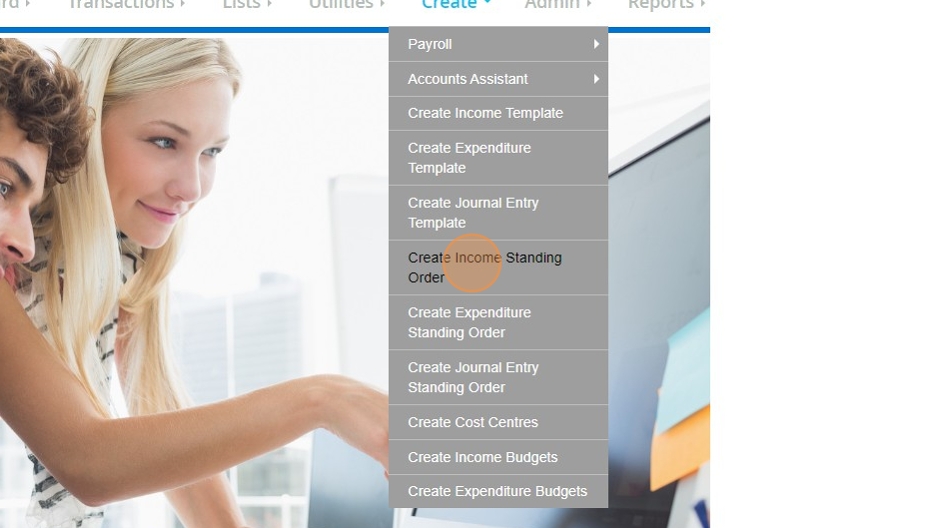
3. Click "Create Income Standing Order"
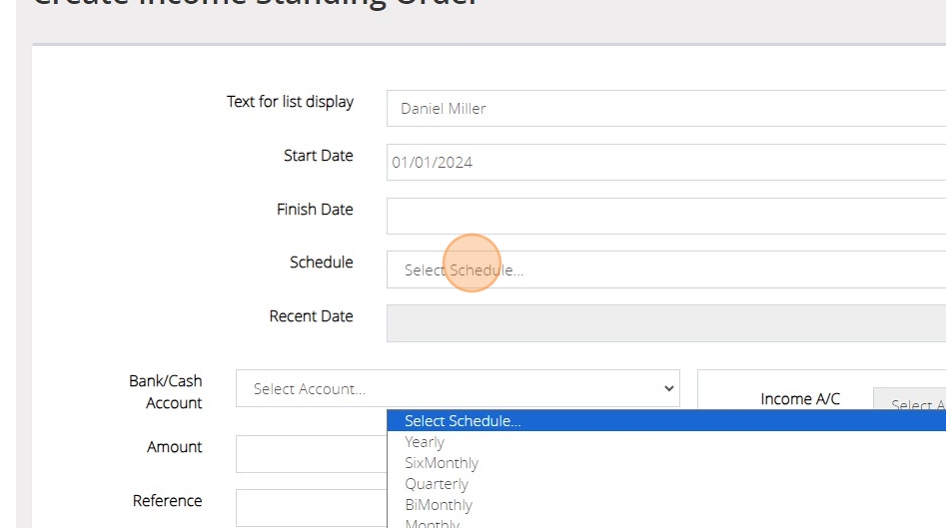
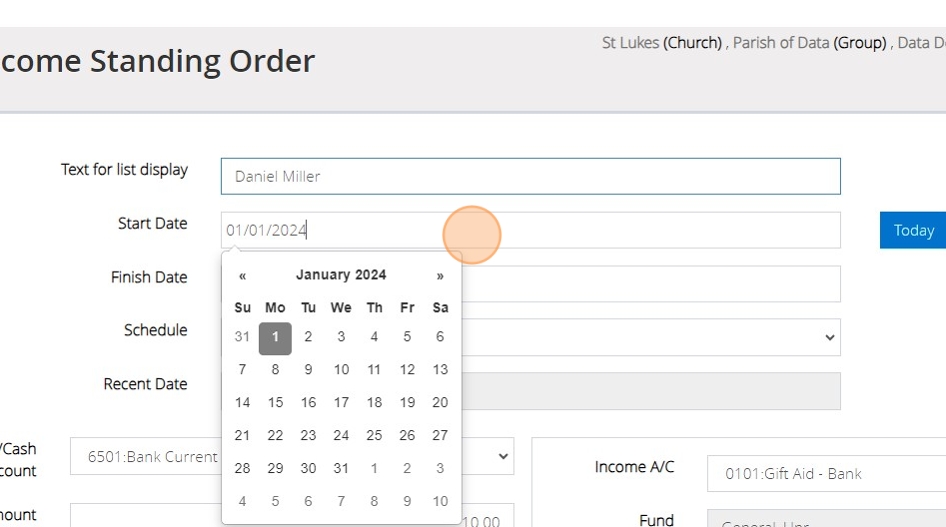
4. On the Create Income Standing Order screen, you will be able to enter in a 'text for list display'. This is a name that you will be able to see in the display of your standing orders, but will not be posted to the actual transaction itself. If you wish to keep donor's names private in your transaction listings, you can put their name here instead and use a more generic description and reference on the actual transaction.
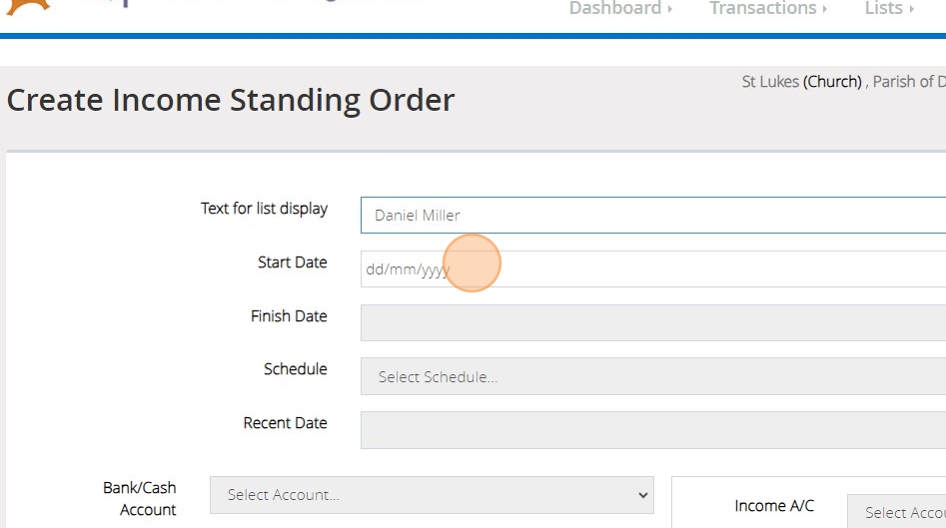
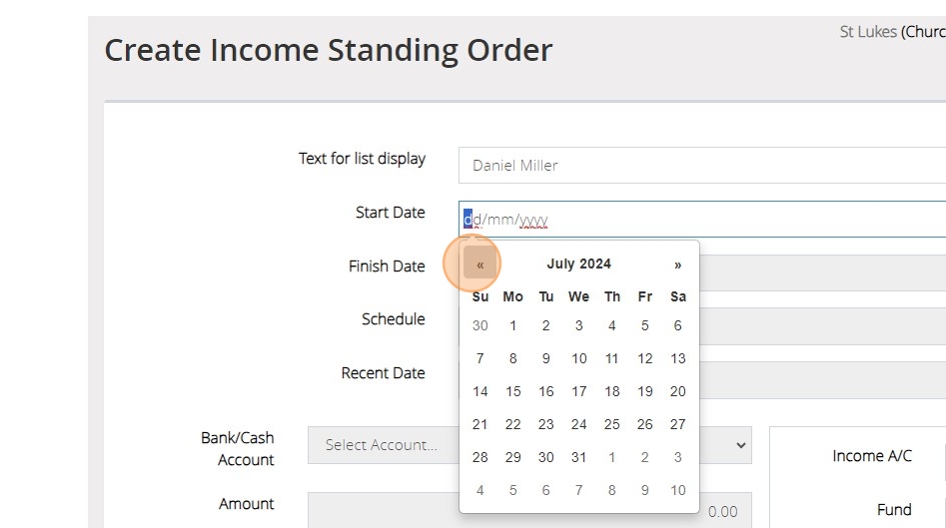
5. You will then need to enter the Start Date of the transaction. This is the date that the standing order will begin generating from. You are able to backdate this if you need to enter multiple months worth of transactions.
6. If the standing order already has a date at which it is set to finish, you can also enter that in the 'Finish Date' box.
7. The 'Schedule' dropdown allows you to set a frequency at which this standing order will generate, for example 'Monthly' means it will generate each month starting from the Start Date that has been set.
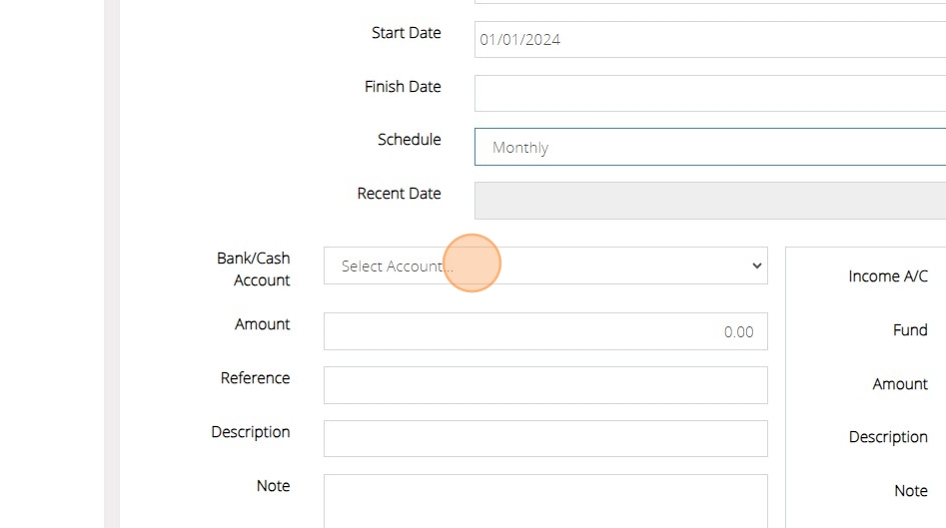
8. You can then enter the details of the transaction in the same way that you would for any normal income transaction. First, select the bank account this will post to.
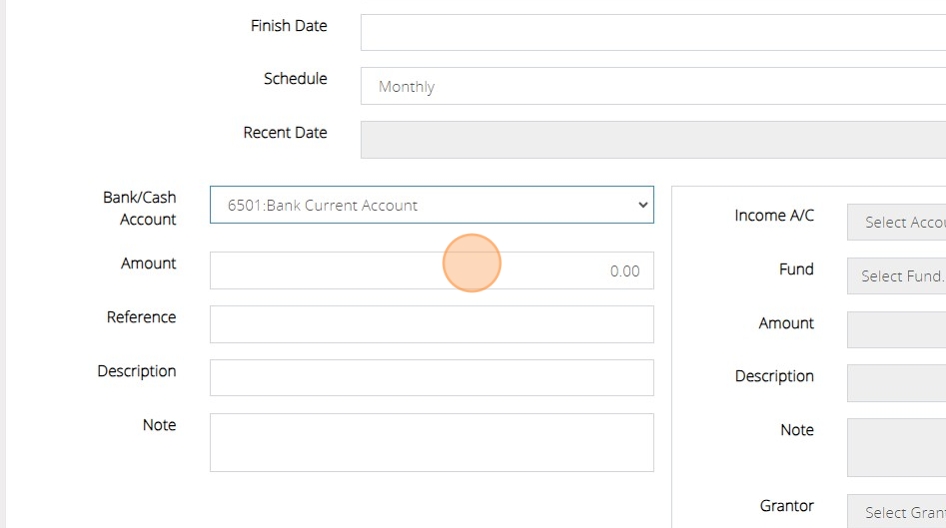
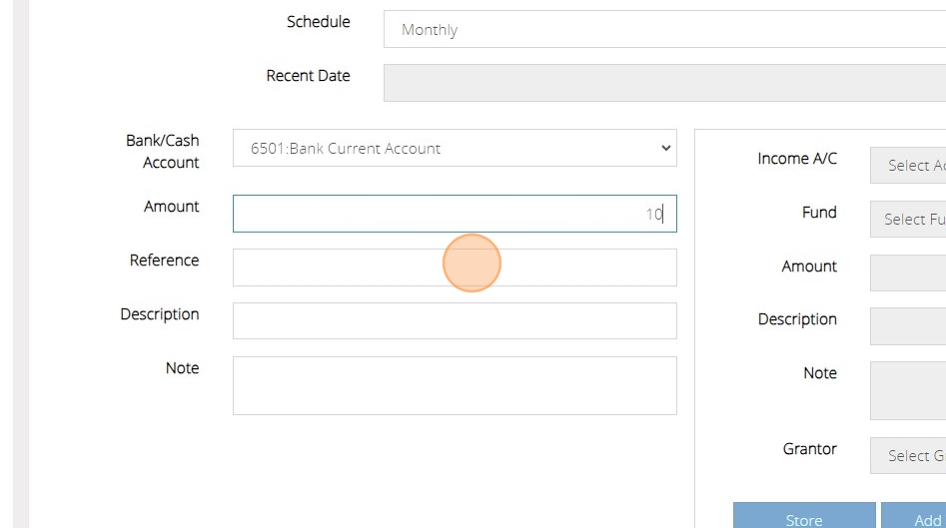
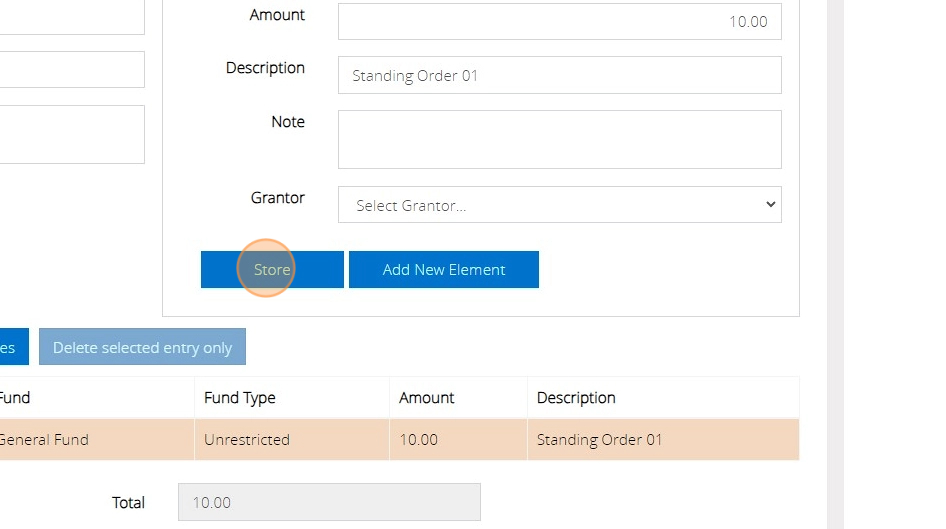
9. Then, enter the amount for the standing order.
10. Then, enter a relevant reference and description.
11. Select the income code.

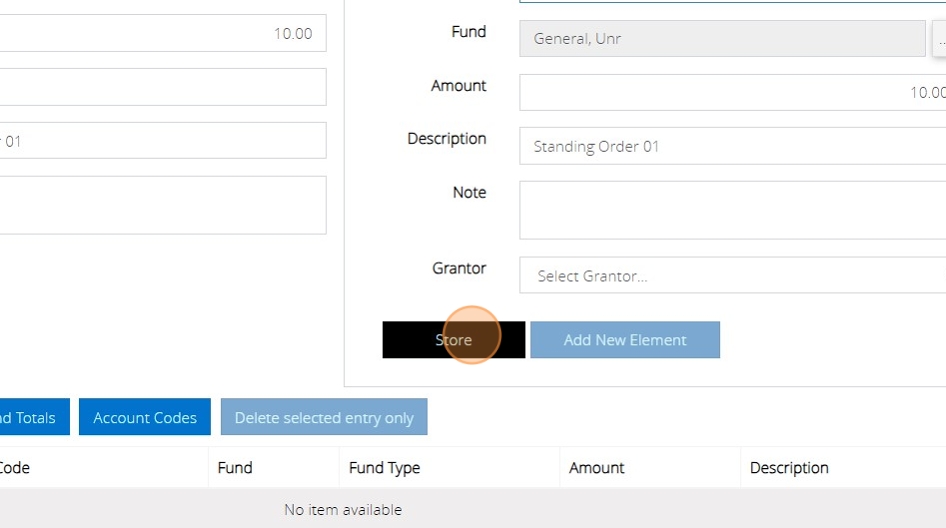
12. Once you have filled in all the details of the transaction, click the 'Store' button.
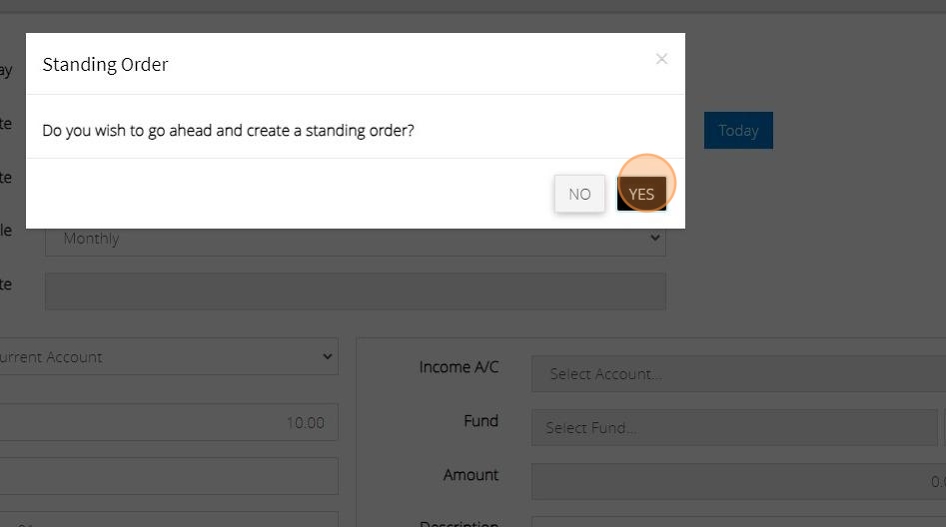
13. If both sides of the transaction balance, you will see a message that asks if you wish to go ahead and create a standing order. Click 'YES'
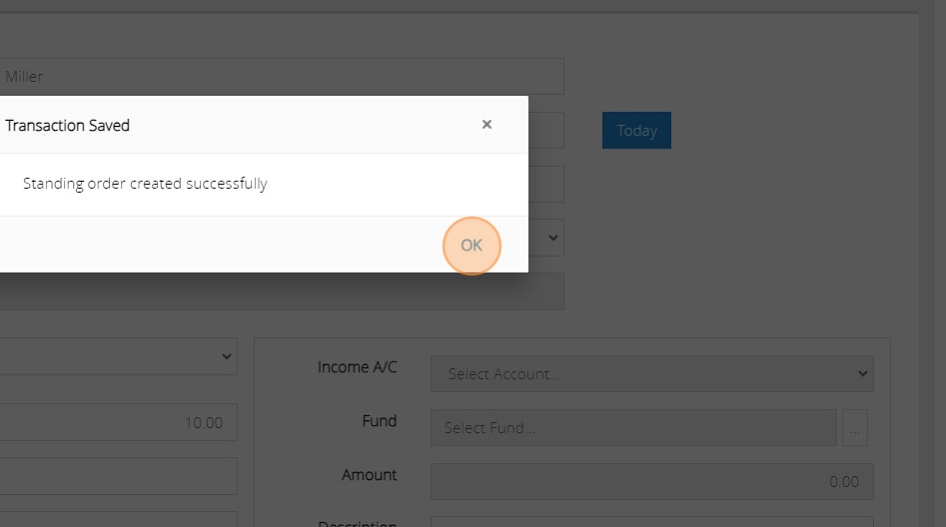
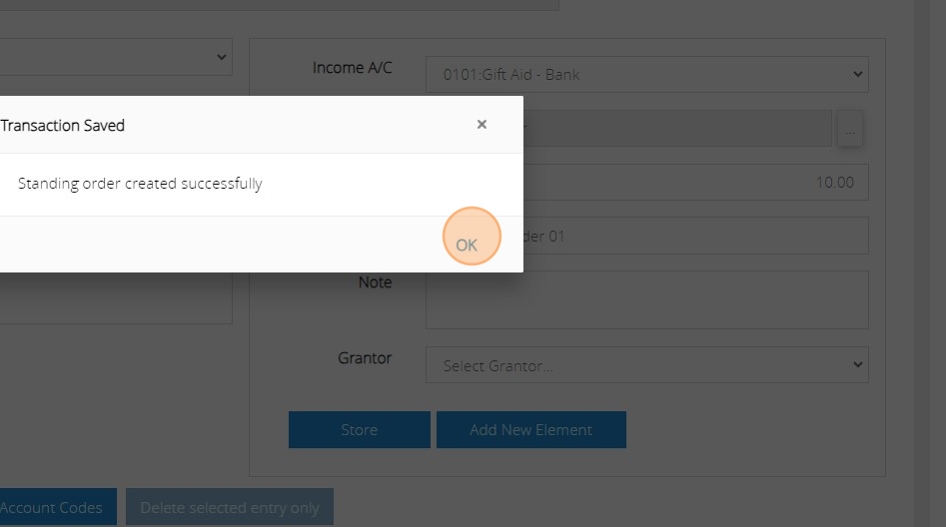
14. You will then be notified that the standing order has been created successfully. You can click OK.
Tip: Creating Expenditure standing orders works in exactly the same way. You can just reach it by going to Create > Create Expenditure standing orders.
Managing Standing Orders
Tip: You are also able to view, amend and delete standing orders.
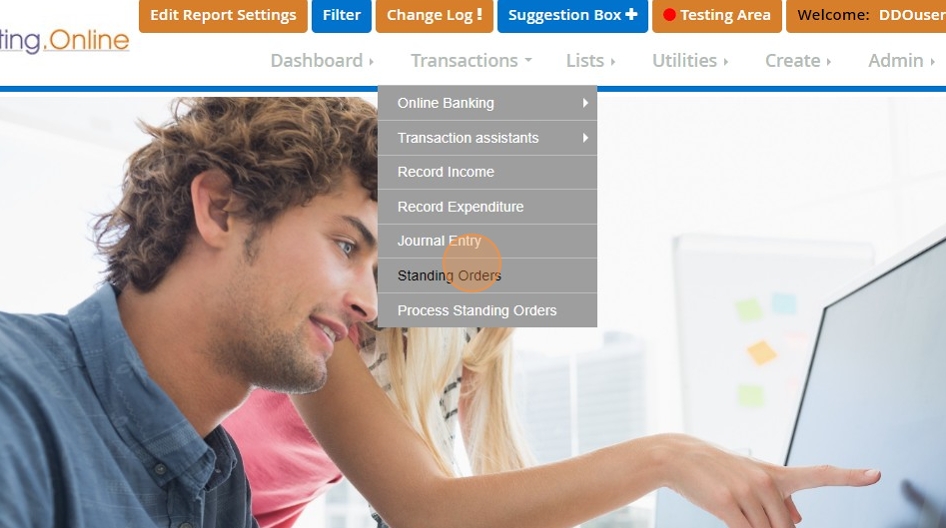
15. Under the transactions menu, click "Standing Orders"
16. Select the standing order that you wish to view, amend or delete.
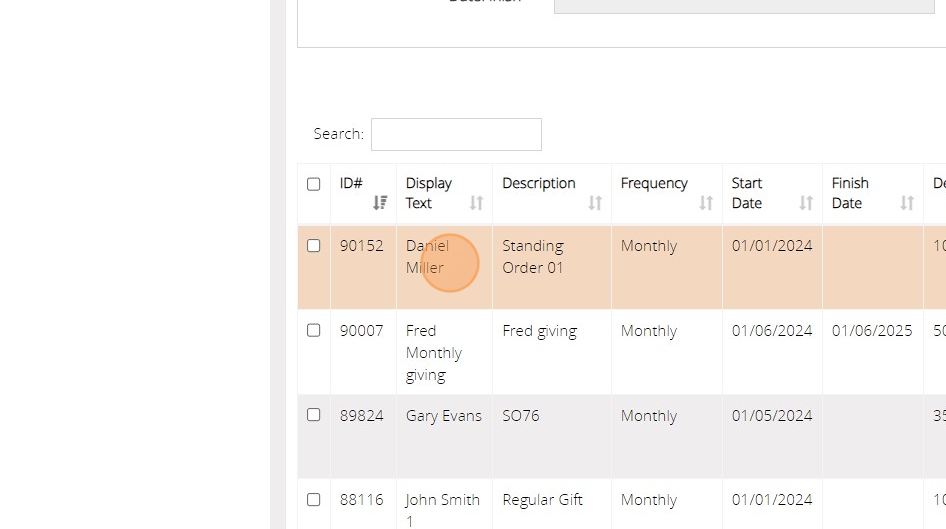
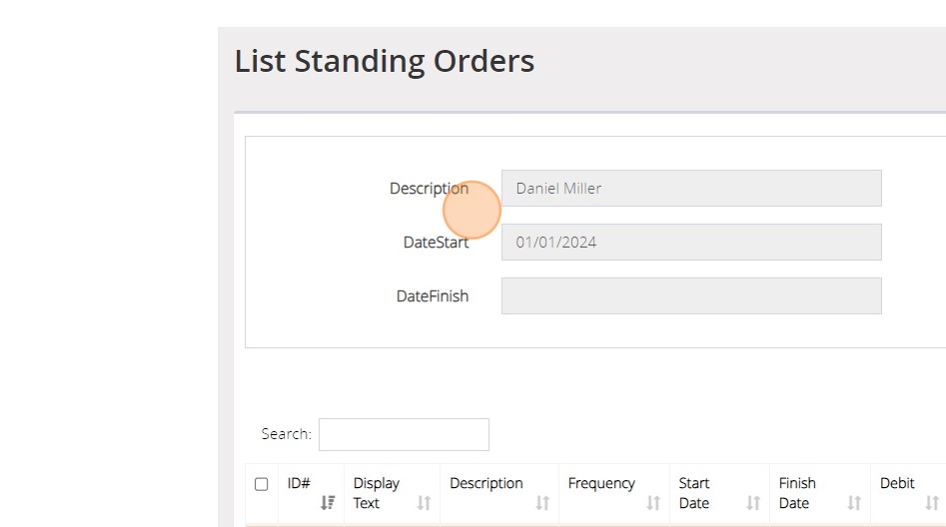
17. Once selected, you can view the details at the top of the list of standing orders.
18. If you wish to edit the standing order you can click the 'Edit' button. If you wish to delete the standing order, you can click the 'Delete selected items' button.

19. Once on the edit screen, you can then amend any of the details of the transaction that you wish, including the Text for list display and start date.
20. Once you have finished amending any details of the standing order, click the "Store" button.
21. You will see the confirmation message that the standing order has been created successfully. Click 'OK'.
Processing Standing Orders
Tip: Standing orders do not automatically post to your transaction listings. They generate on the Process Standing Orders screen, ready for you to select which of them are to be posted to list transactions.
22. Under the Transactions menu, click "Process Standing Orders"

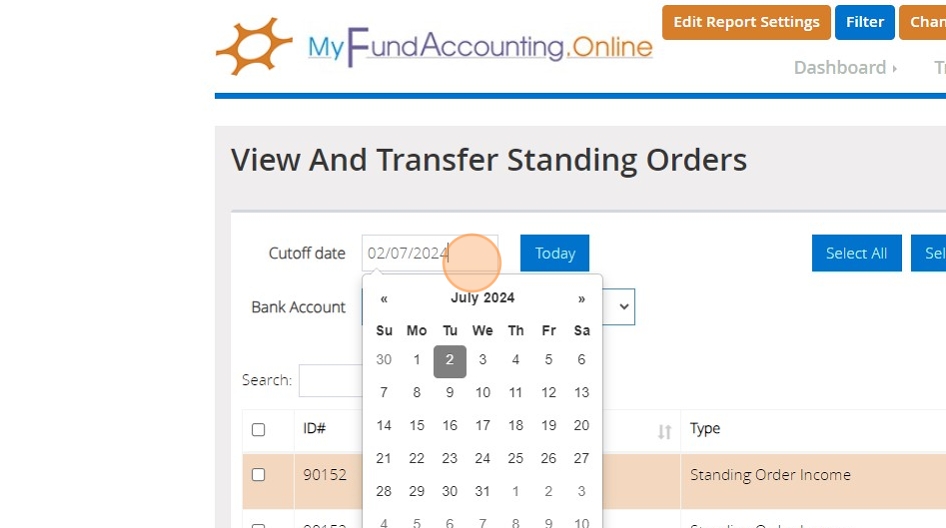
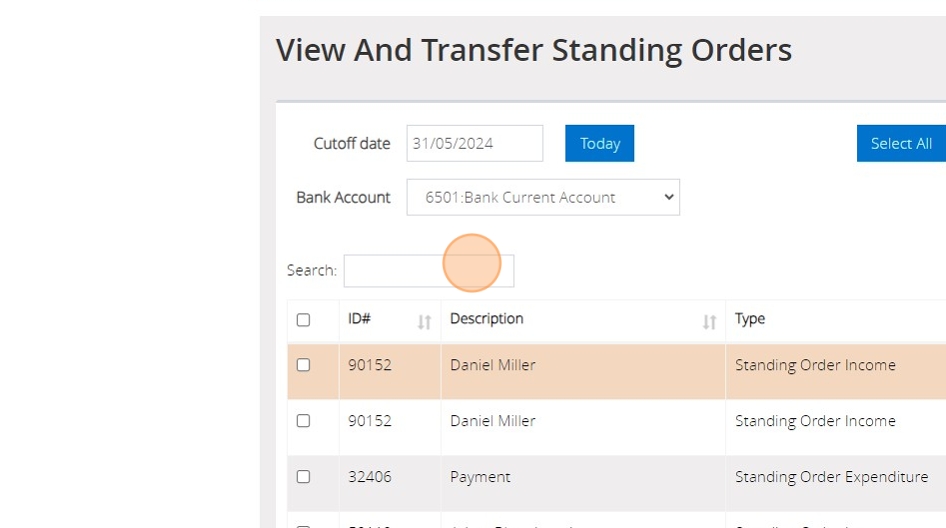
23. On the 'View and transfer standing orders' screen, you are able to select a 'Cut off date' for the transactions that you can see on this screen. This can be especially helpful if you are posting one month at a time. Setting a cut off date will limit the transactions that appear in the list on the screen.
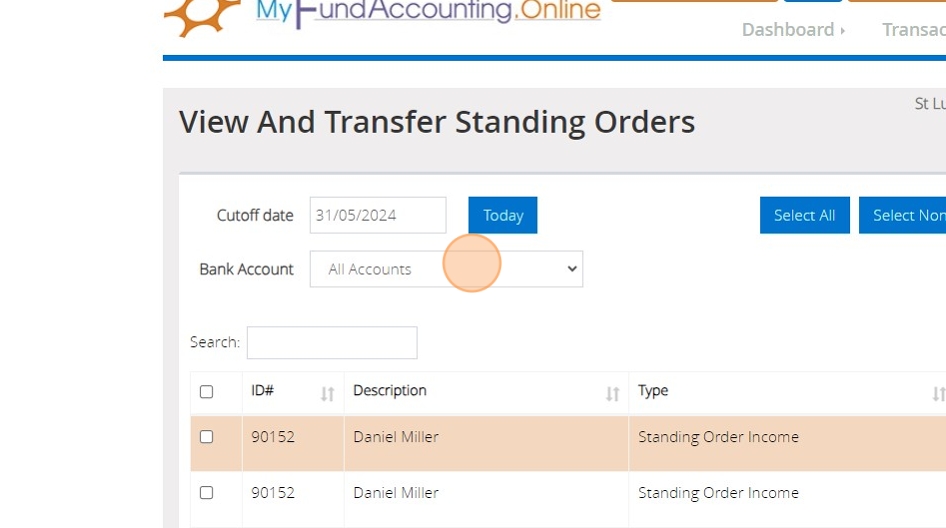
24. You can also click the Bank Account dropdown to narrow down the list further to just the transactions for one particular bank account.
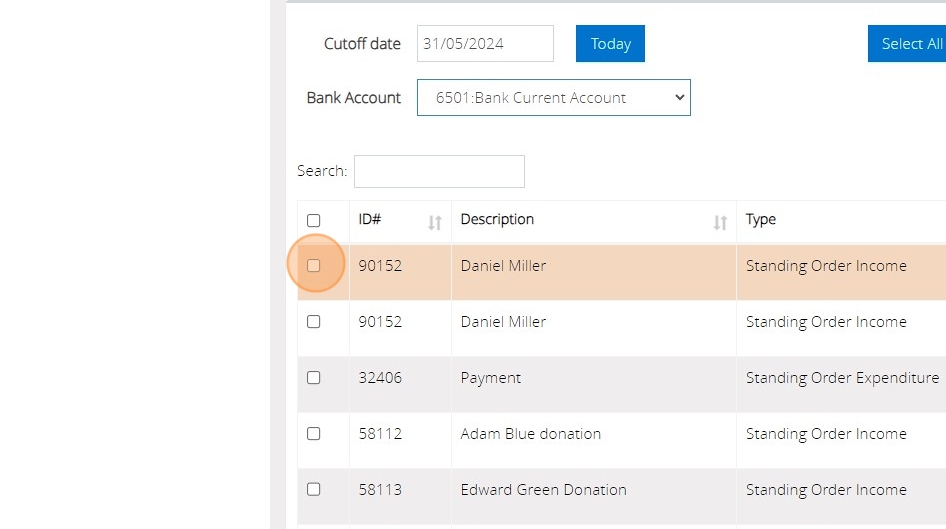
25. If you wish to select a standing order to be posted, you can click the checkbox shown below to the left of the transaction.
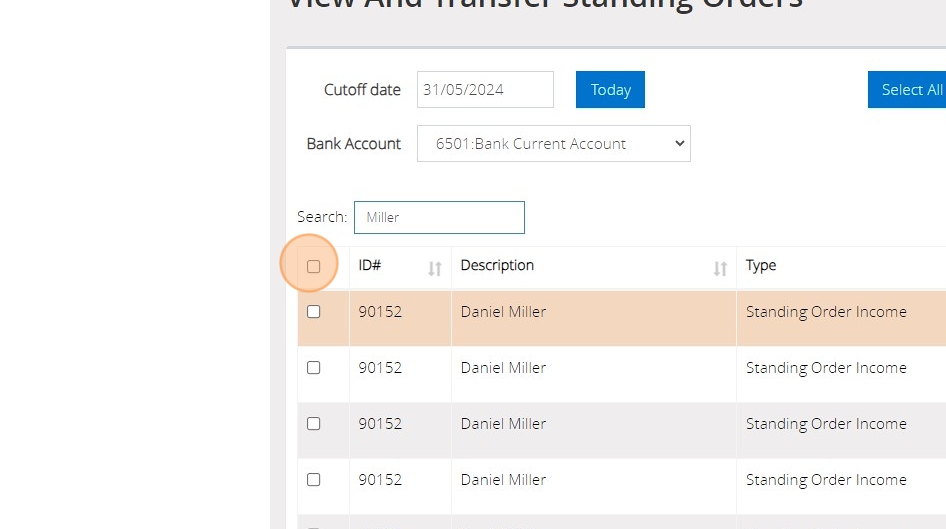
26. You can also use the search box to search for a particular donor name or description on a standing order.
27. If you wish to post all the transactions that you can see in the list that is presented to you after you have filtered down, you can click the checkbox shown below This will select all the transactions that you can see in the list.
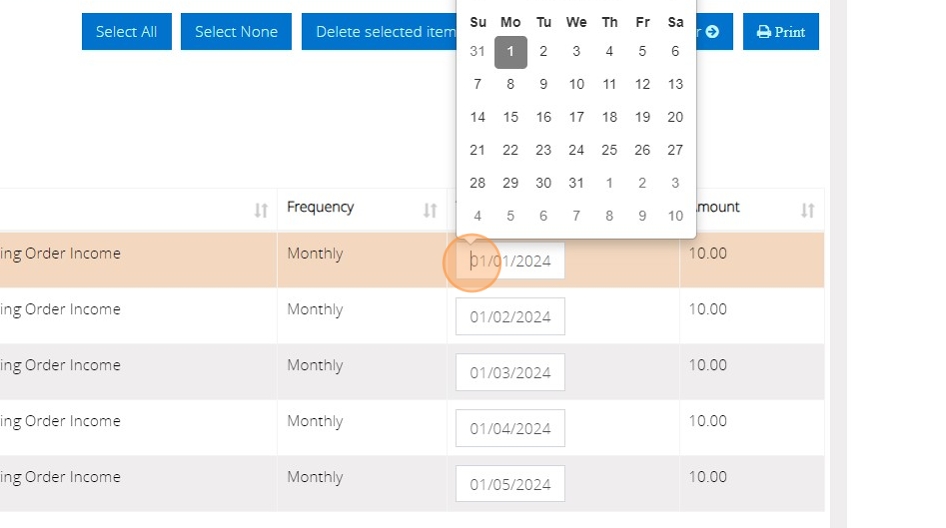
28. You can also change the date on the transaction, if for example, the date the transaction came into the bank account is slightly different to the one automatically generated for it in MyFundAccounting.Online.
29. When you are happy that you have all the transactions that you wish to post to the bank account selected, click the "Transfer" button.

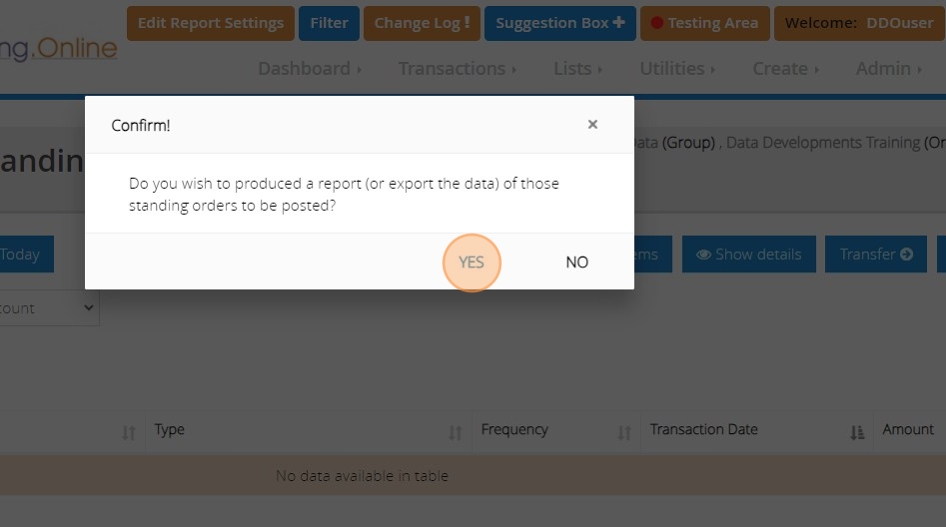
30. This will post all of the transactions that you had selected. You will then be able to produce a report of those transactions. If you wish to do so, click 'Yes' when the confirmation message pops up.
Tip: All of the transactions that you have just posted will now show on your transaction listings and on the bank reconciliation screen, ready to be reconciled.