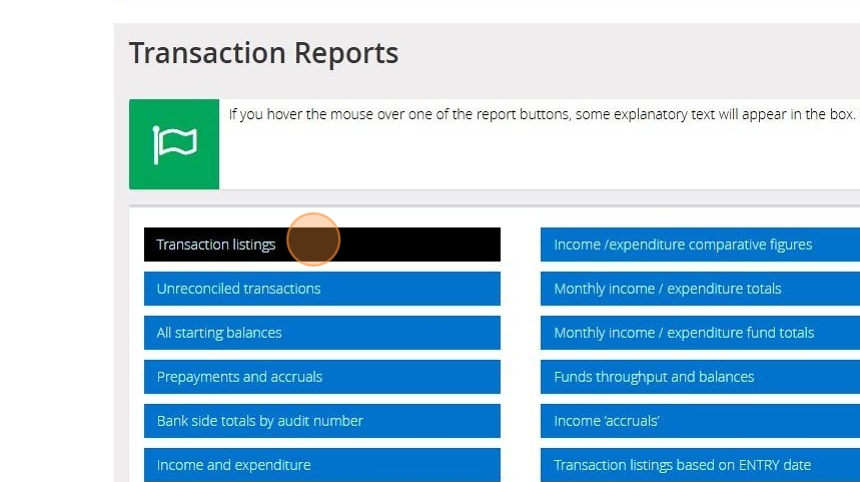
1. Navigate to https://www.myfundaccounting.online/dashboard
2. Click "Transactions"

3. Click "Transaction listings"
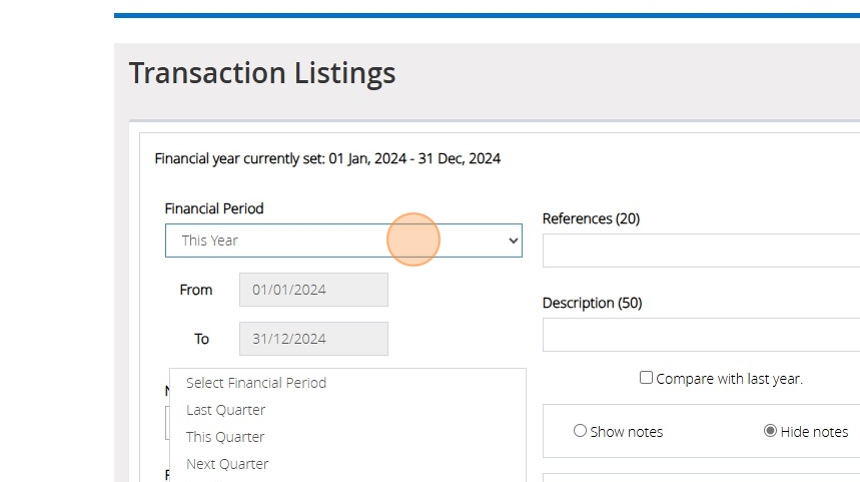
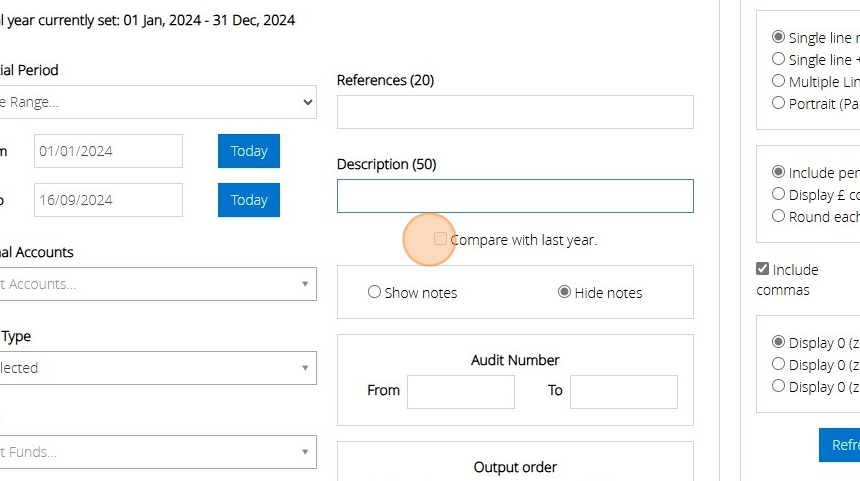
4. Click this dropdown to change the dates the report is generated for. There are several preloaded options that will enter in a from and to date relevant to your current tax year and selected options
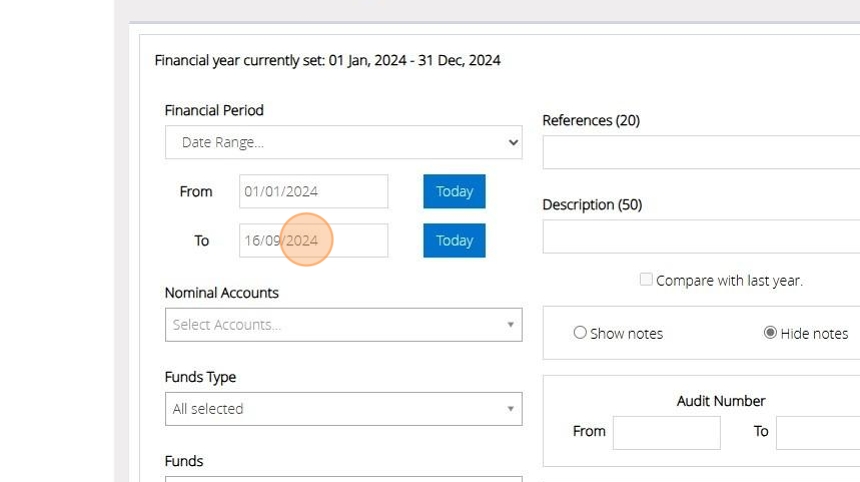
5. If you select the date range option you can customise the from and to date by clicking on the box with the "From" date
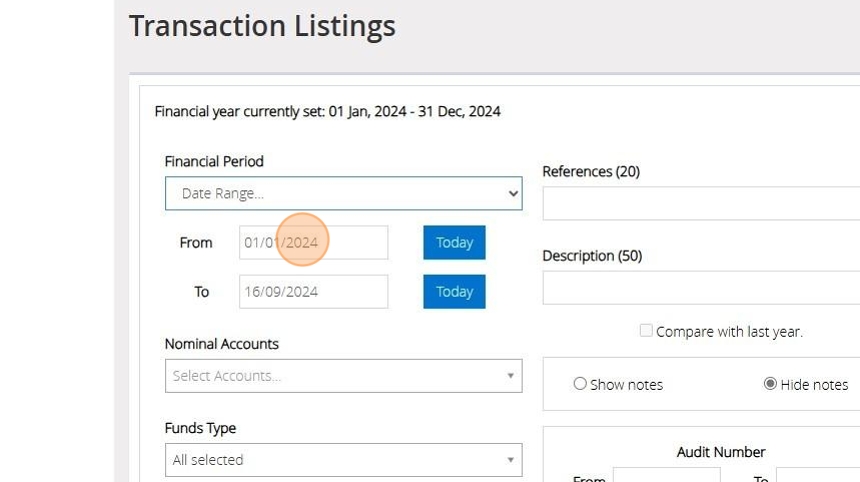
6. And "To" date
7. Once you have set the date you wish to generate a report for you can start filtering the data on various selections. The dropdown labelled "Nominal Accounts" will allow you to select one or more of your nominal codes of any class e.g. Current assets, Income, Expenditure etc. Depending on the nominal codes you select the report will only show transactions that include those codes.
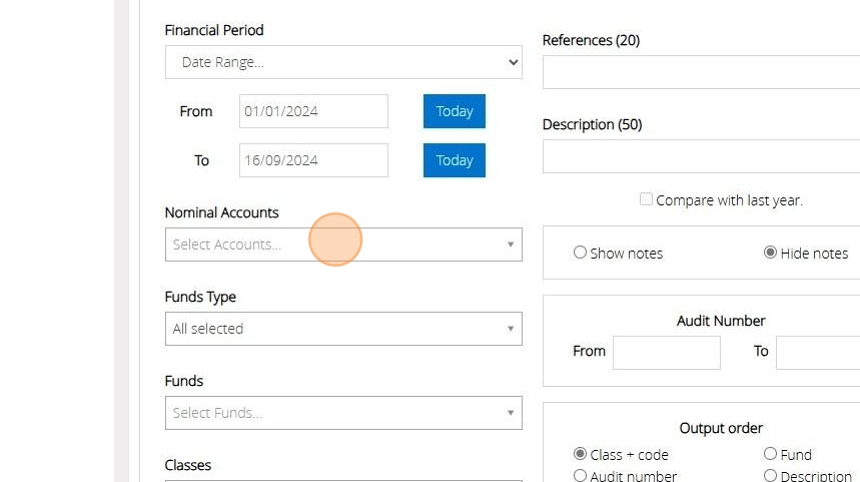
Tip: Tip! If you do not want to exclude any of the options shown in the dropdown you do not need to make a selection. By default no selection means you want to show transactions with any nominal code, fund, class etc.
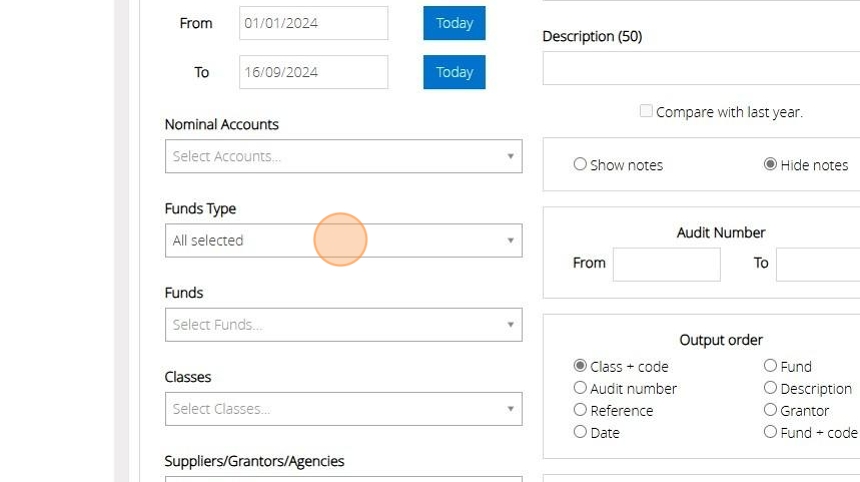
8. The dropdown labelled "Fund Types" will allow you to select one or more fund types to limit the transactions to. The 4 fund types you can select are unrestricted, restricted, designated and endowment. The selection made also affects the individual funds you can select in the next step.
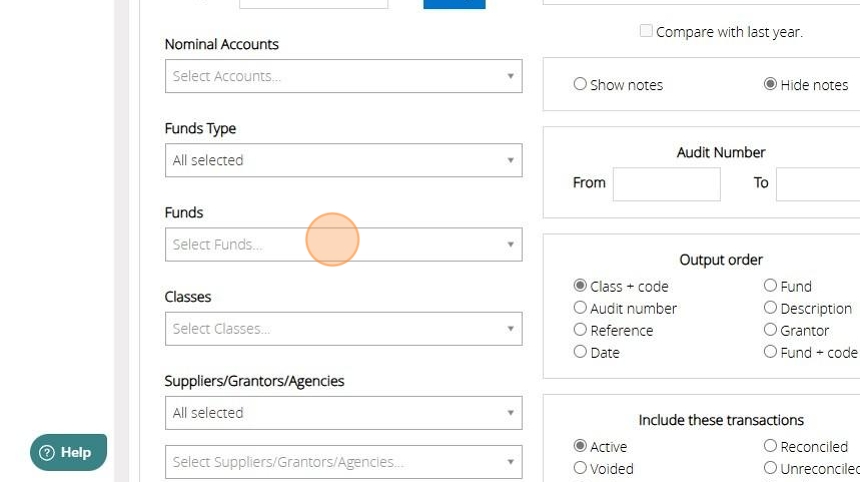
9. The dropdown labelled "Funds" will show the specific funds you have set up which meet the criteria of the Fund Types you have selected. If you haven't selected any fund types funds of all types will be listed. You can select one or more of your funds to limit the transactions on the report to.
10. The dropdown labelled "Classes" is similar to "Fund Types" as in it will allow you to select one or more type of nominal account. There are 6 types of nominal accounts you can select e.g. Current assets, Income, Expenditure, Liabilities, Fixed Assets and reserves.

Alert: Alert! If you select the class "Current Assets" in this step but select only income codes in step 7 you will always get a "No data to process" message as this is a conflicting selection.
11. Like Nominal Codes and Funds you have two dropdowns for suppliers/grantors/agencies. The first allows you to select one or more types in this case Supplier, Grantors or Agencies. The second will shows you the list of the suppliers, grantors and/or agencies you have created. Depending on your selection the report will only show you transactions with a supplier,
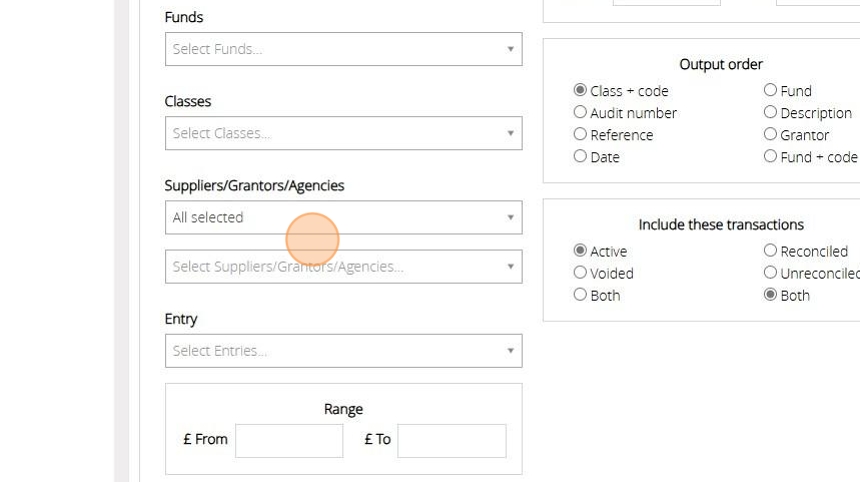
Alert: Alert! If you do not select a specific supplier, grantor or agency to report on you will get all transactions that do not have a supplier, grantor or agency assigned to them in the report.
12. The dropdown labelled "Entry" will allow you to select one or more sources from which a transaction can be recorded. These options relate to the menu option you selected before creating the transactions e.g. "Record Income"
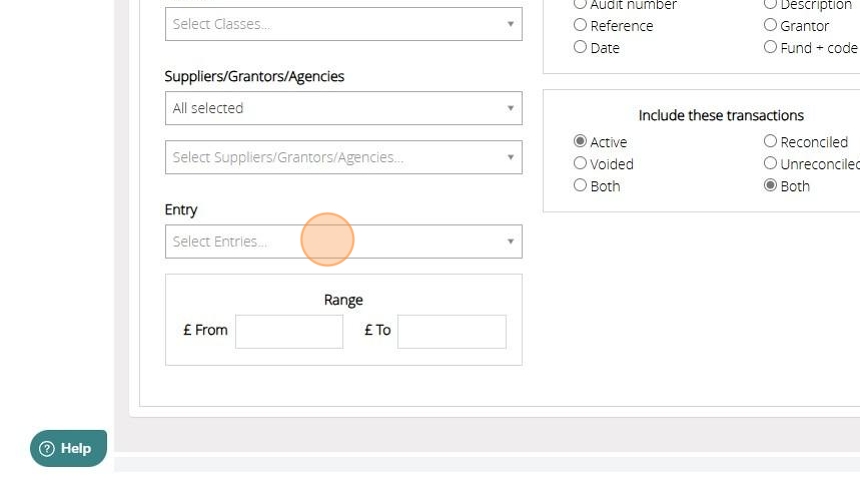
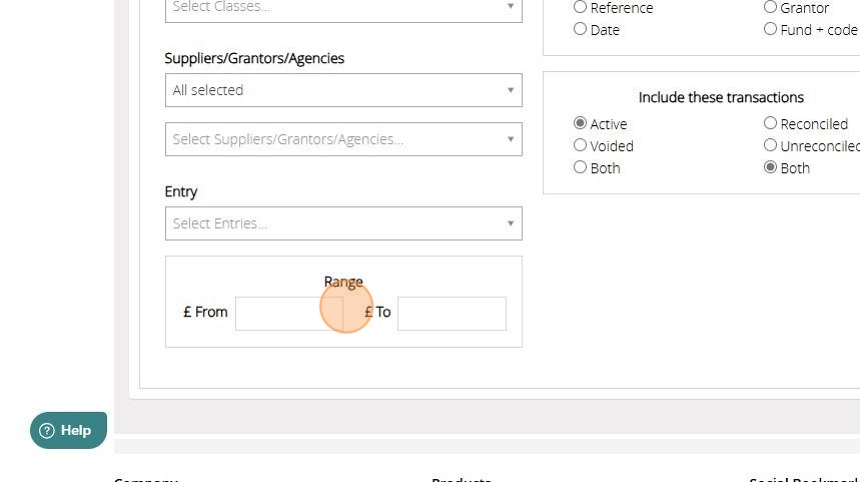
13. If you are looking for a transaction of a specific amount to see if it has been recorded you can use the options provided below to provide a range of amounts or the system to search. You can provide the same amount in both the from and to box.
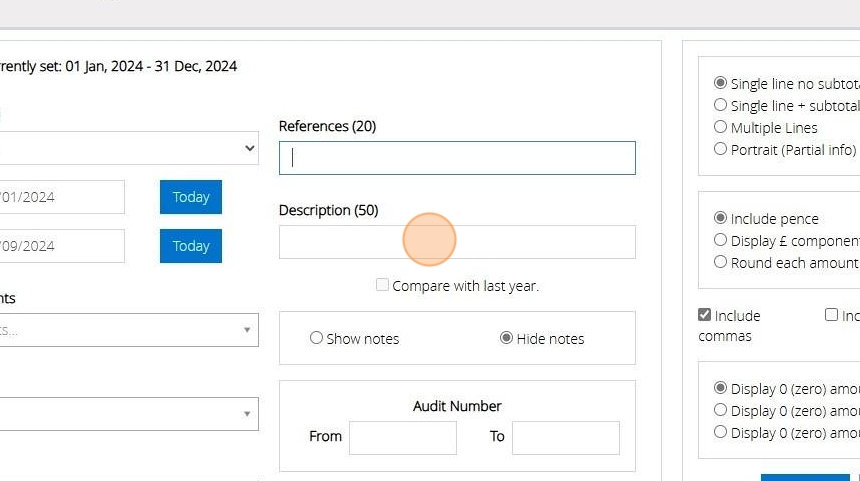
14. If you use a specific reference for transactions and want to see all transactions for that reference you can type it in here. If you do not know the full reference you can enter in one or more words and the report will show all transactions with a reference that contain those words.
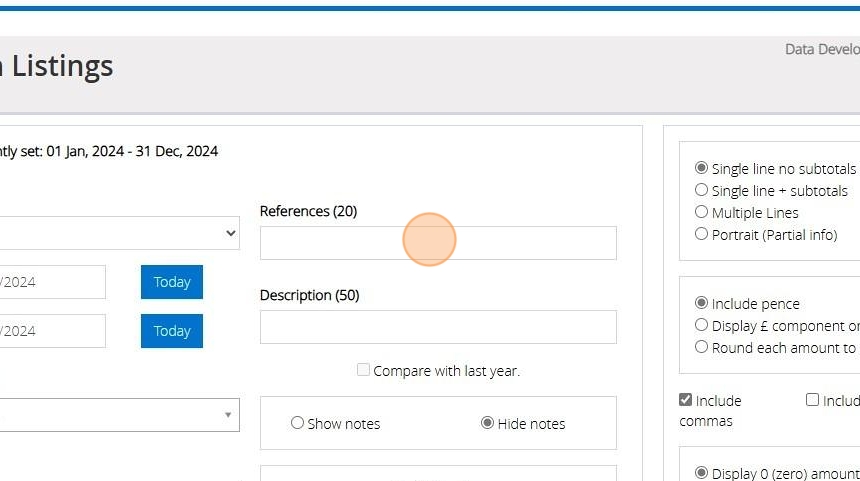
15. Same as the reference you can get a report of transactions with a description that contains the text you provide in the description box
16. You can only use the "Compare with last year" option when you use a preloaded "This Year" option for the financial period. This will result in a different report to the one the "Transaction Listings" report will normally provide. It will contain summarised credit, debit and balance figure for each nominal account for the current year and the previous year.
17. Click this radio button to show any notes in the report that you may have recorded against the transaction
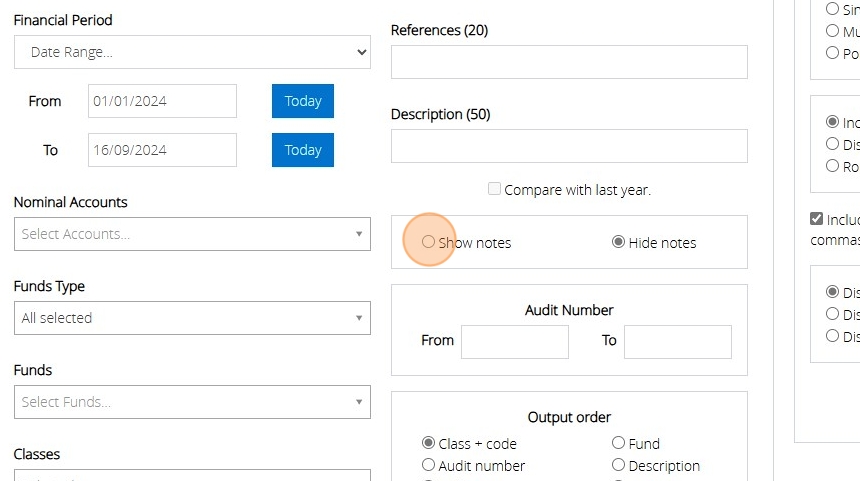
18. If you know the audit number(s) you want to report the details on you can provide it in this section. You can enter in the same audit number in both of the boxes or provide a range e.g. from 1000001 to 1000005

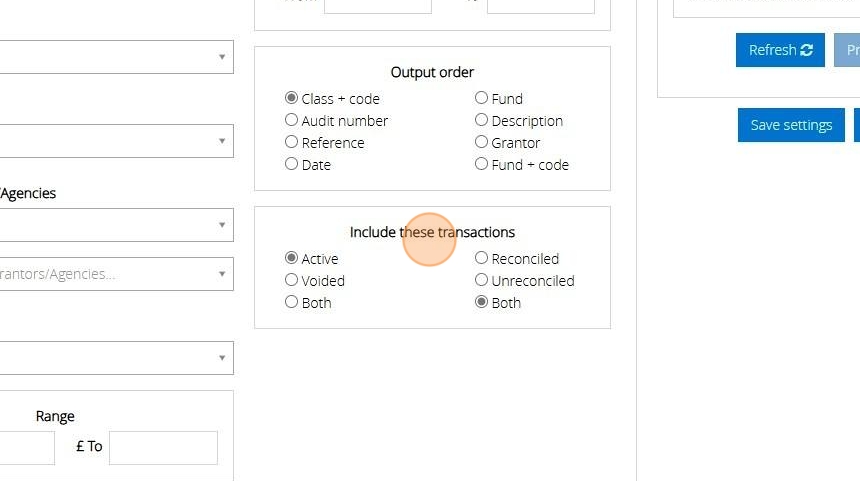
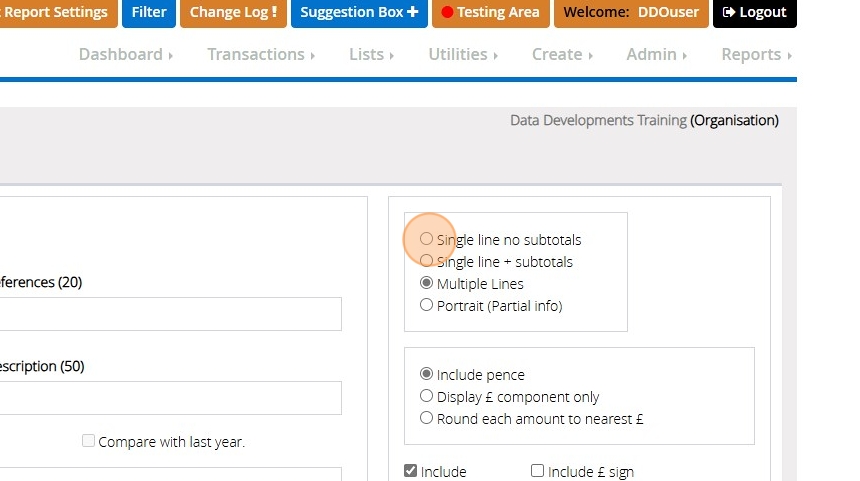
19. The "Output order" will determine how the transactions are ordered in the report. Select the relevant option that would be most appropriate for the information you want to extract. This option also controls the basis of sub totals which is covered further down this guide.
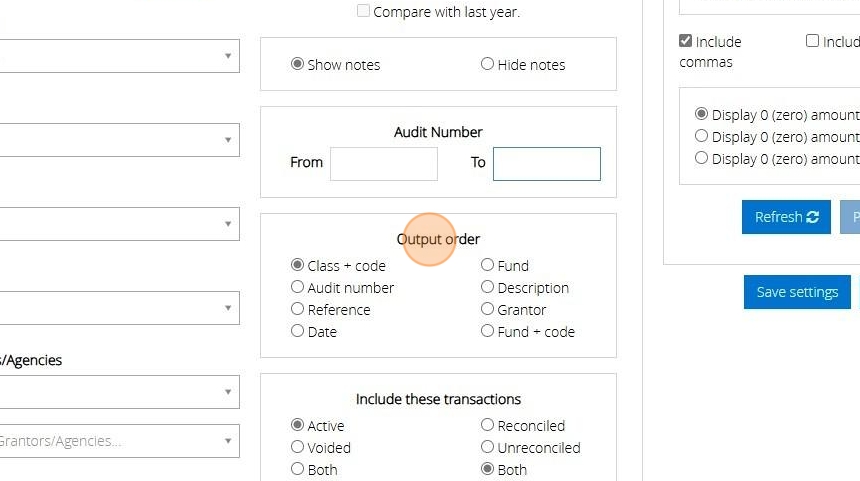
20. By default only active transactions will be included in the report but you can choose to show only voided transactions or both active and voided. The reconciled and unreconciled option is best used with the class "Current Assets" as only Bank Accounts are marked as reconciled/unreconciled.
21. Click this radio button "Single line no subtotals" to get a report with a single list of all transactions that meet the criteria entered and one total at the end of the report of the credits and debits columns
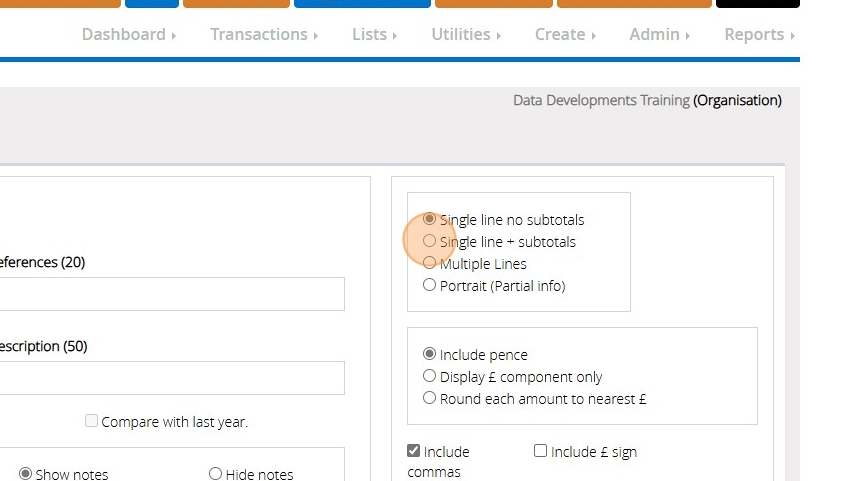
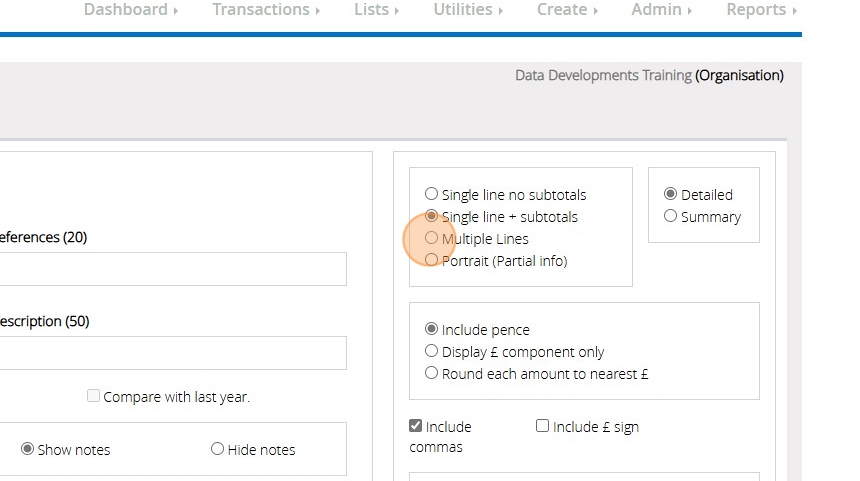
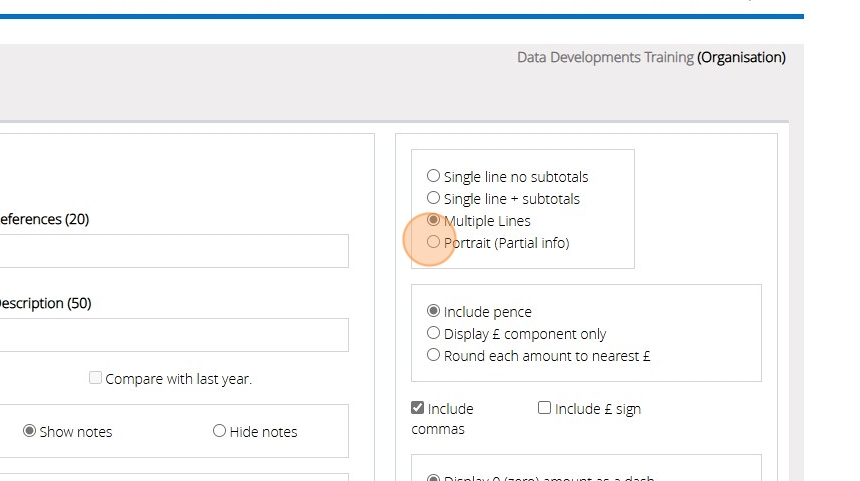
22. Click this radio button "Single line + subtotals" to generate a report which provides a total for each unique value for the output order you have set in step 19
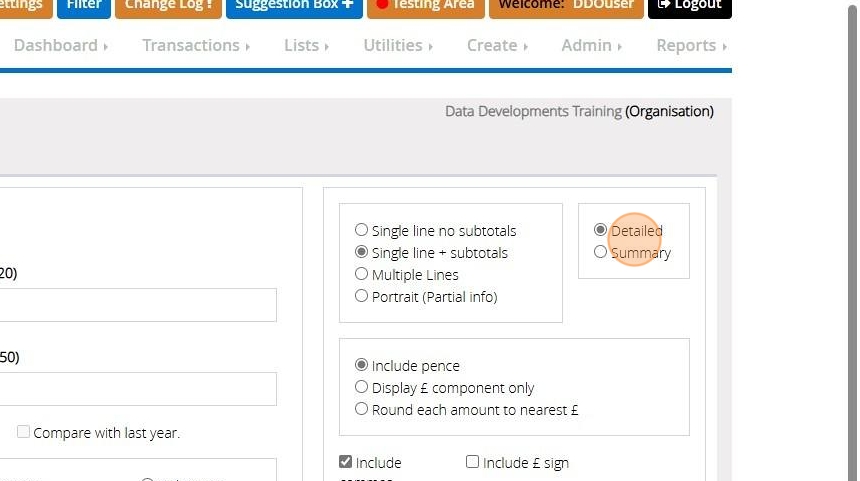
23. The "Detailed" version of the report with subtotals will give you a list of transactions and a total for each unique value and the "Summary" option will give you just the total without the list of individual transactions
24. Click this radio button "Multiple Lines" to show additional information against the transactions e.g. notes, entry date, entry screen, which are not available on the previous 2 reports or the next report style
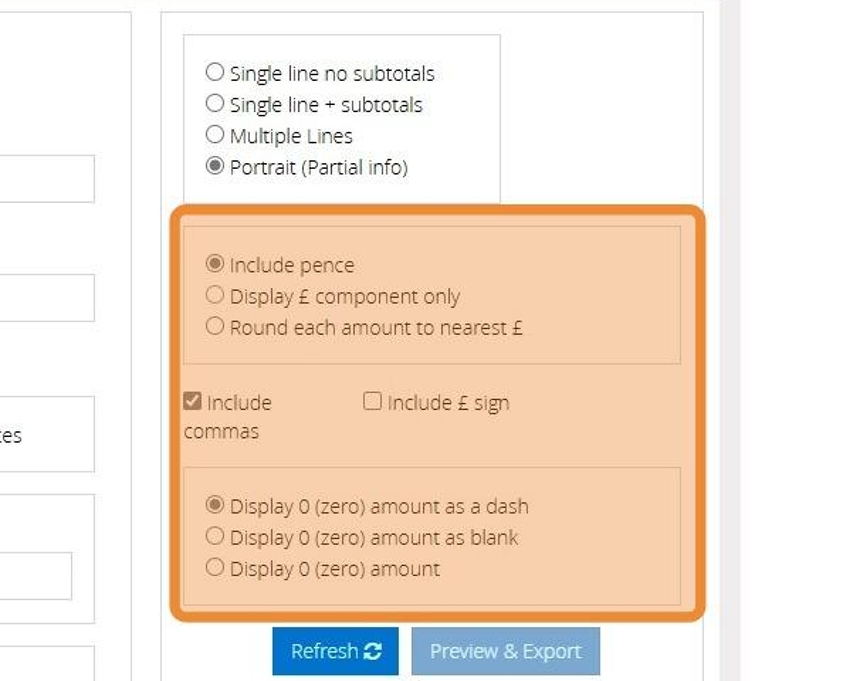
25. Click this radio button "Portrait" to print a report generated in portrait mode. Due to the reduced space this report has less information about the transaction. It excludes fields like reference and description
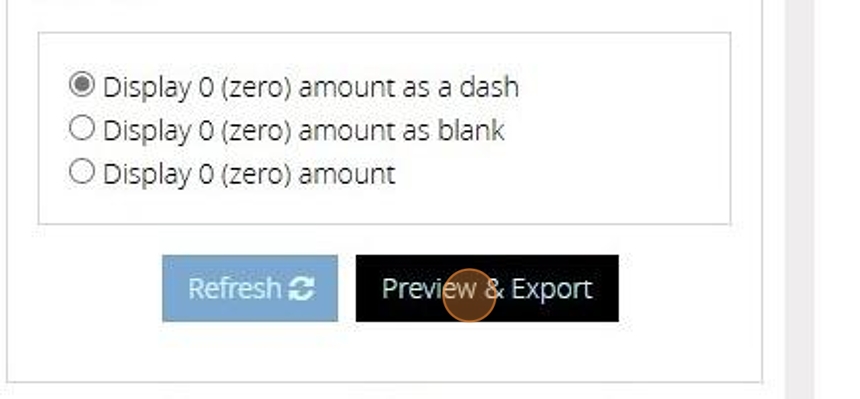
26. The section highlighted below let you control the way the amounts are displayed in the report.
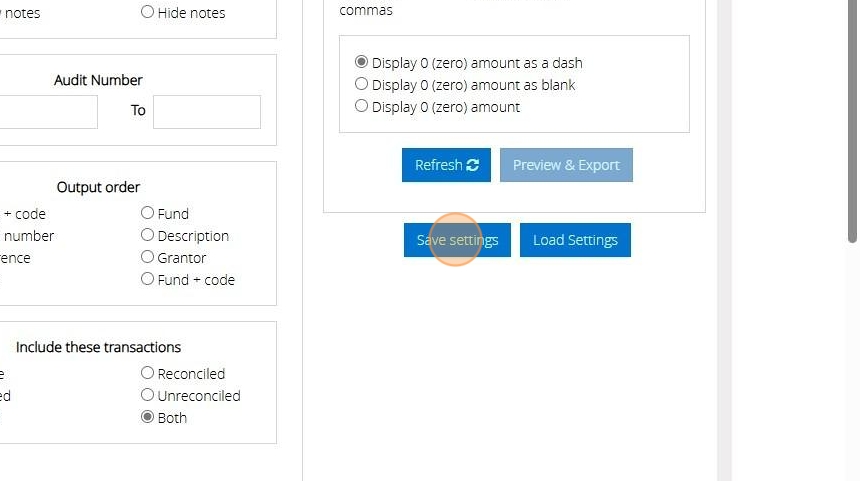
27. Given how many selections are available and the re-usability of this report we have the option available for you to save and recall the filters you have applied to remove the need to re-select them every time you need the same or a similar report. If you wish to save your selections for future use click "Save Settings".
28. Enter in a name for the setting e.g. "All donations received this year", and then click "Save"

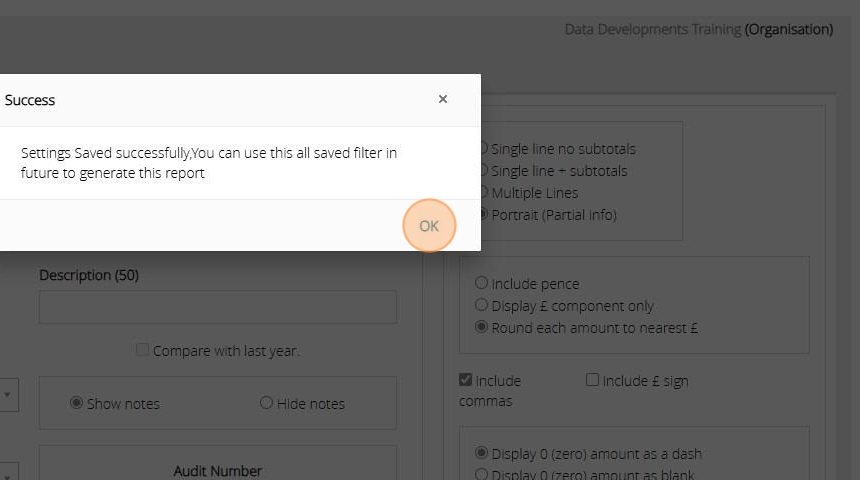
29. Click "OK"
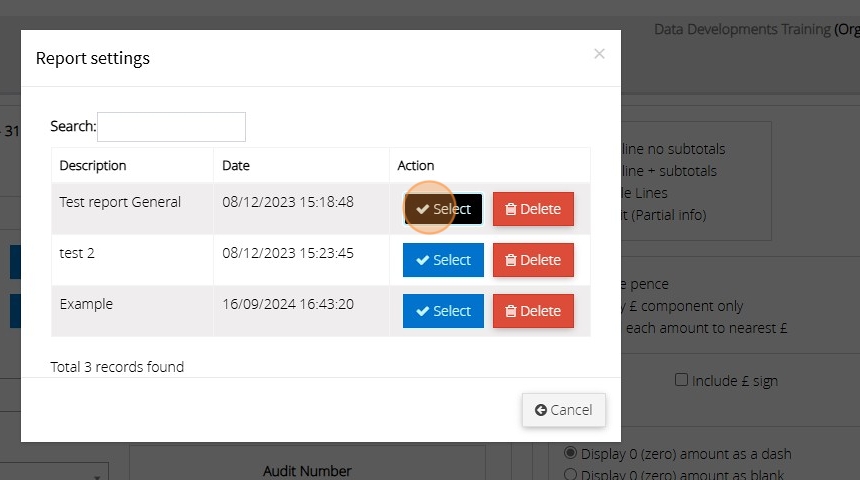
30. To recall a saved setting click "Load Settings"

31. Click "Select" on the one you wish to recall. You can also click "Delete" in this list to remove any unwanted settings
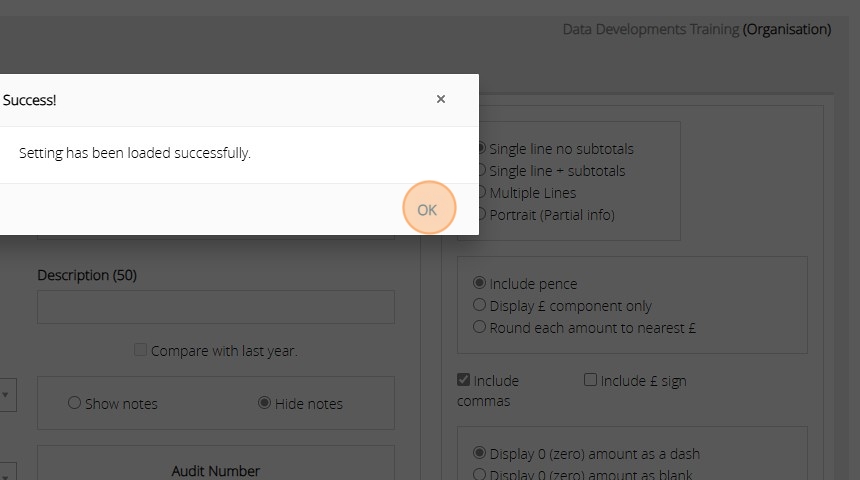
32. Click "OK"
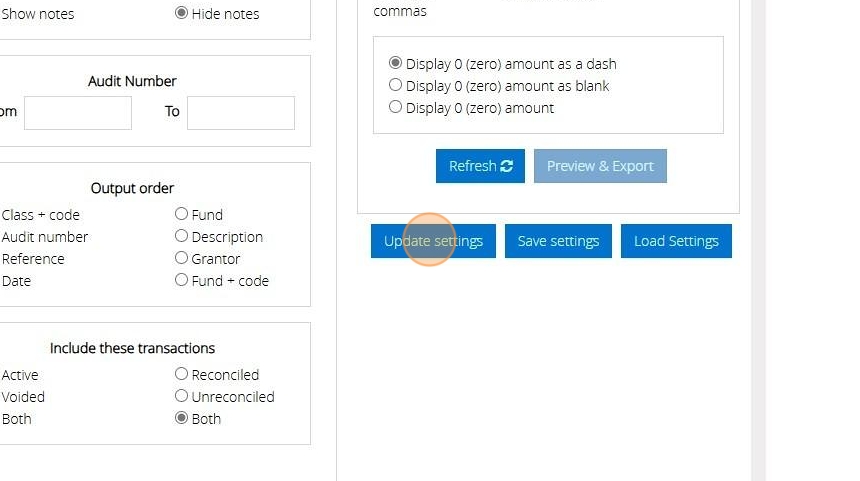
33. You can then amend any of the selections that have been loaded from the settings and update the saved selections if necessary
34. To then generate the report click "Refresh"
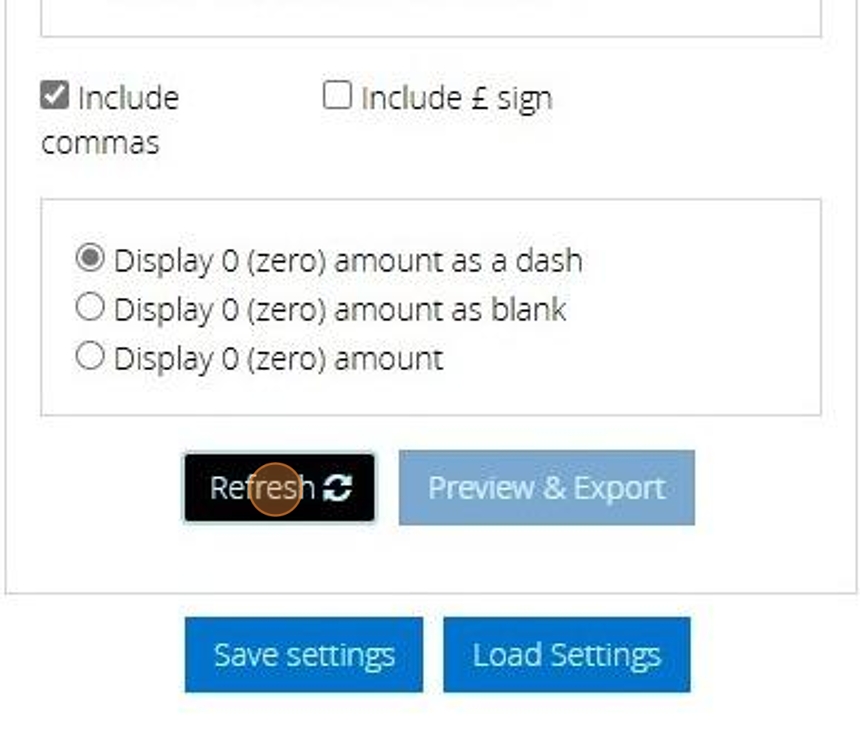
Tip! If you change any of your selections for what to include in the report you will need to click refresh again
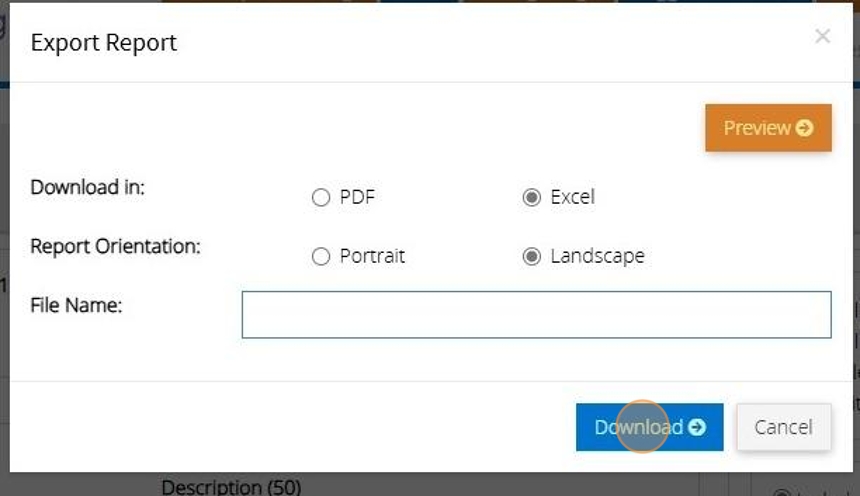
35. Click "Preview & Export"
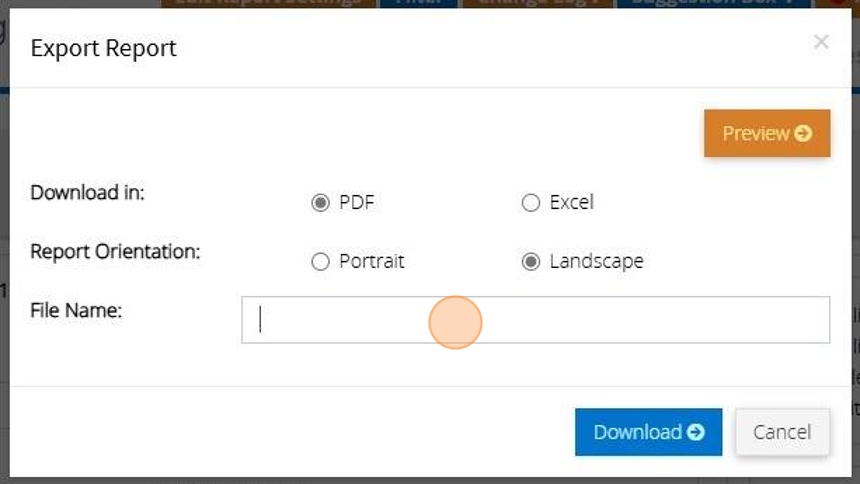
36. You can generate the report as a PDF or Excel file. By default "PDF" is selected
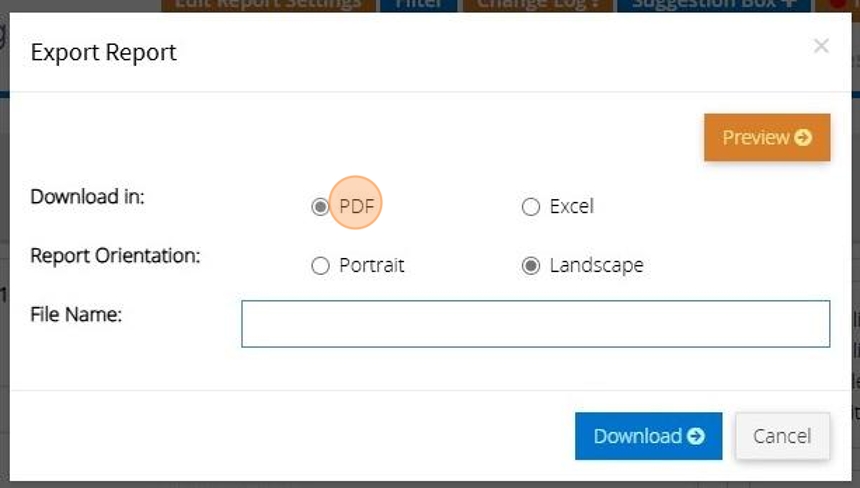
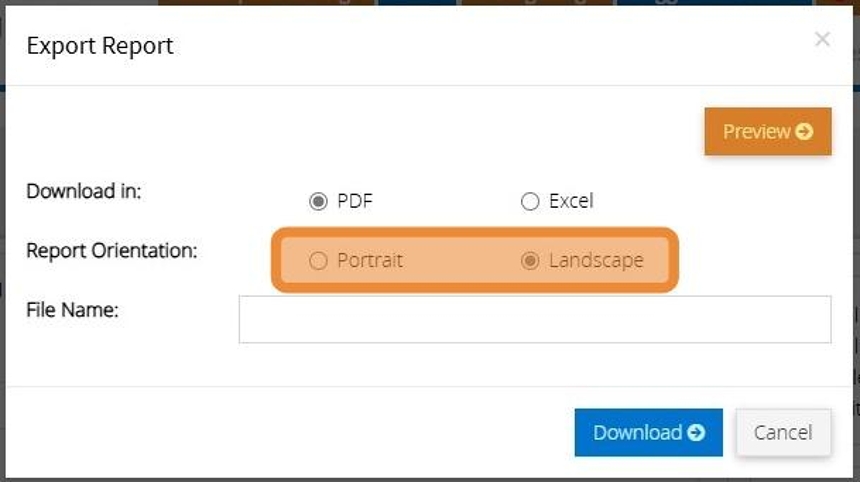
37. You can choose to have the report in portrait or landscape mode. Depending on the report this may be set to landscape or portrait. You can change this, however, it may result in a report that doesn't look right.
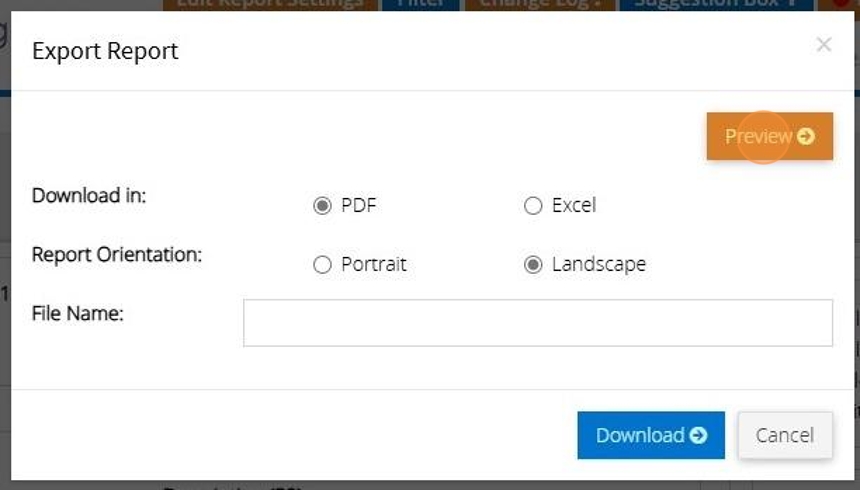
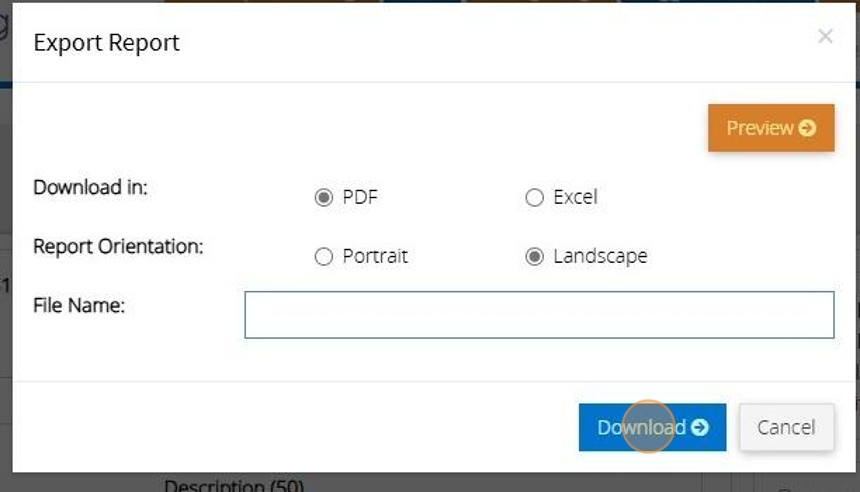
38. Click "Preview" to see the report in the browser. (Only works with PDF)
39. If you want to download a copy of the report click this text field and enter in a name for the file that will be created
40. Then click "Download"
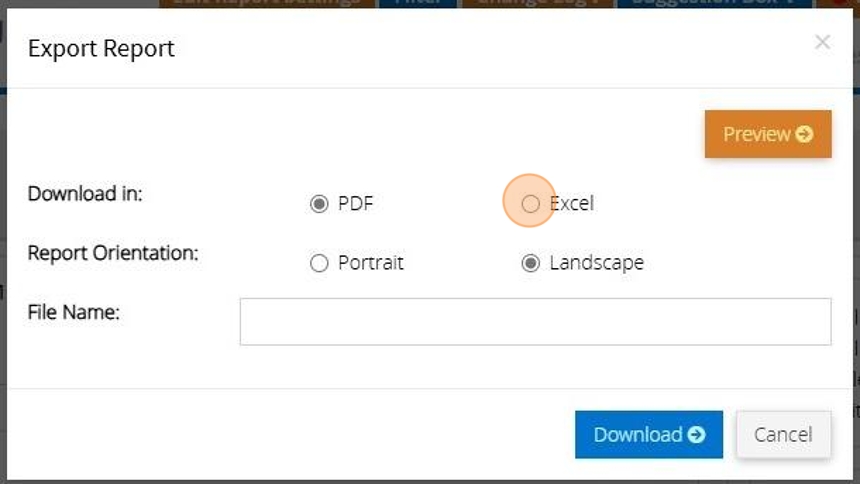
41. To generate the "Excel" file click the "Excel" option.
42. Enter a name for the file
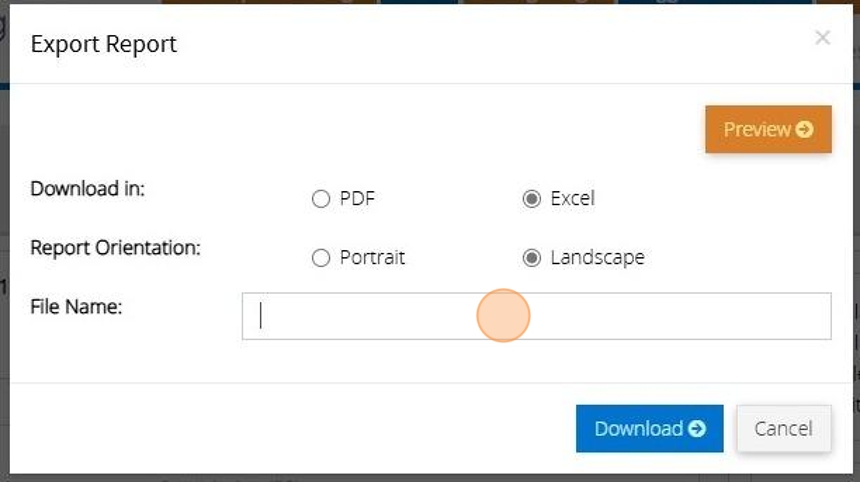
43. And click "Download"
Tip! This is one of the most flexible reports on MyFundAccounting and is perfect for extracting information for a specific criteria. It is worth setting time aside to get familiar with it and generate various reports to see what data you are able to extract from it.