So that MyFundAccounting can report the correct worth of your organisation you must specify the value of each of your assets and liabilities at the beginning of the current year.
The below steps will guide you in entering a starting balance
1. Navigate to https://www.myfundaccounting.online
2. Click "Create"

3. Click "Accounts Assistant"
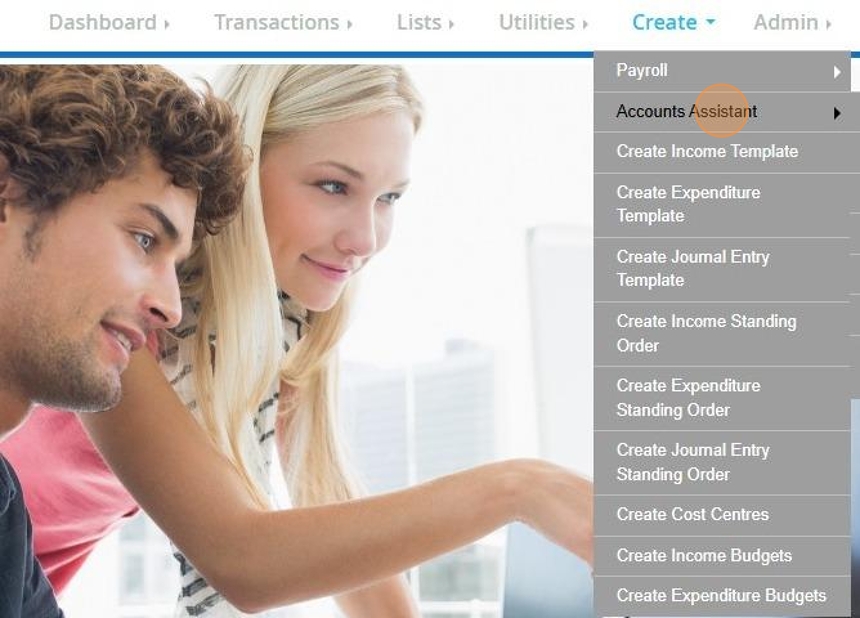
4. Click "Starting Balances"
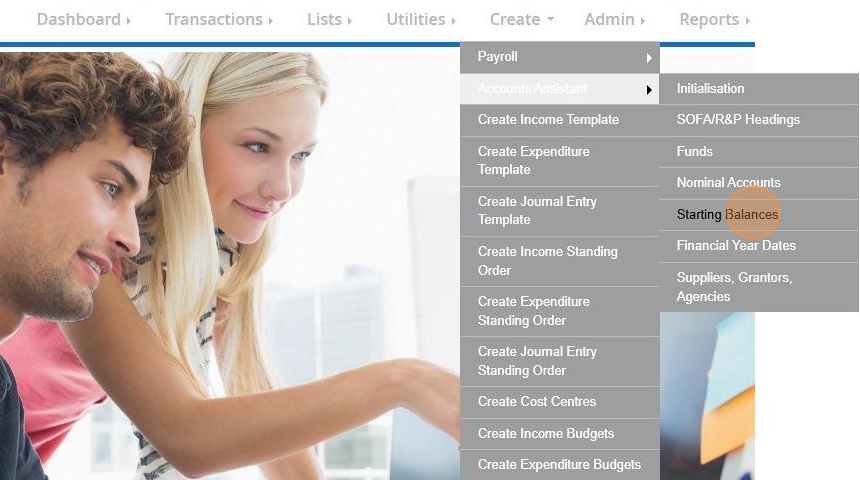
5. Click "Starting Balances"
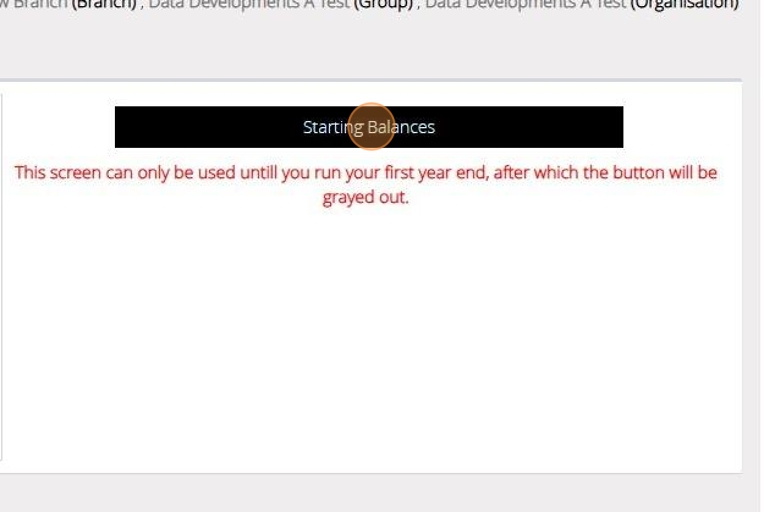
Alert: Alert! This screen is only available if this is your first year using our software and you have not yet ran the Year End Procedure.
6. Step 1 will show a table of all of your Current Assets, Fixed Assets and Liability account codes.
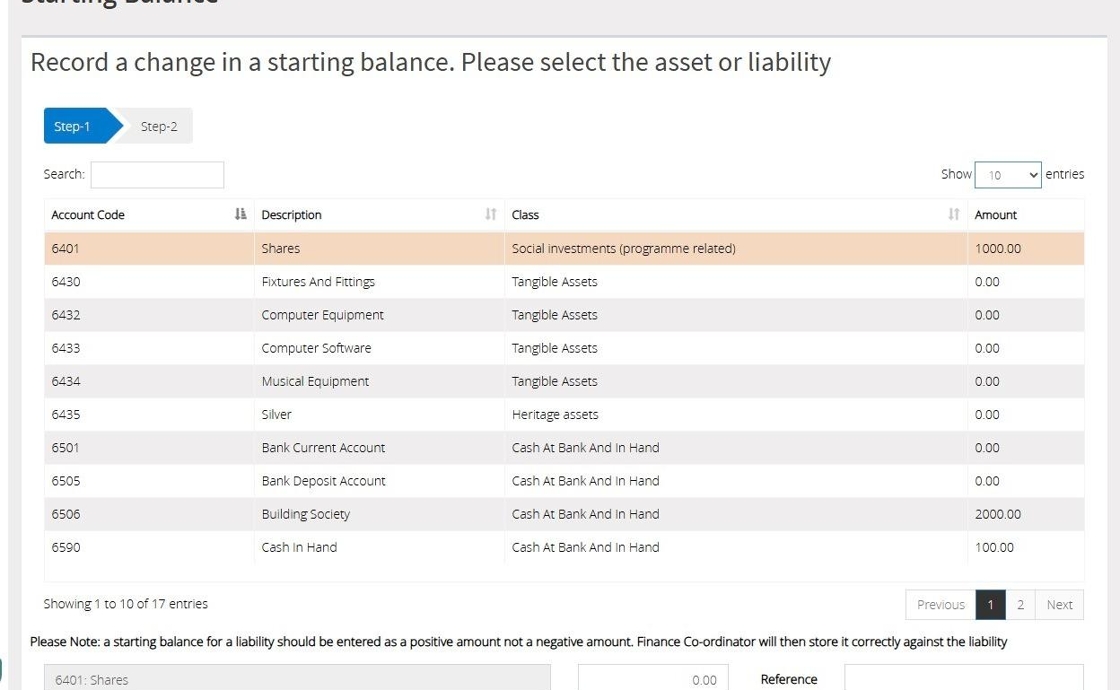
7. Select the code you wish to assign a starting balance to.
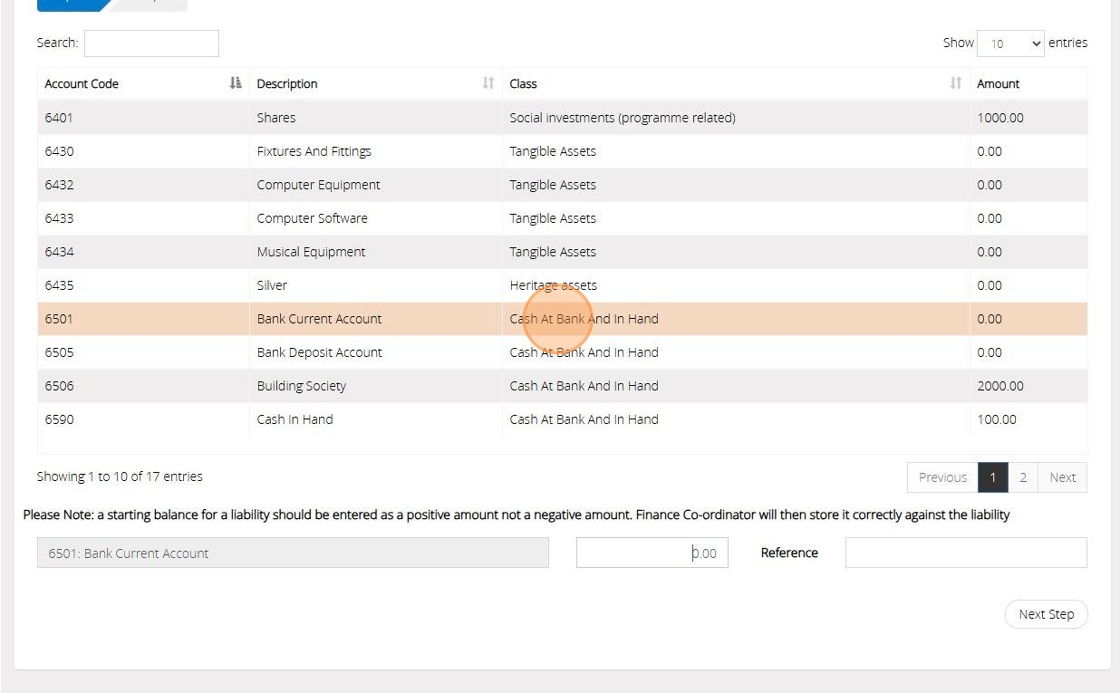
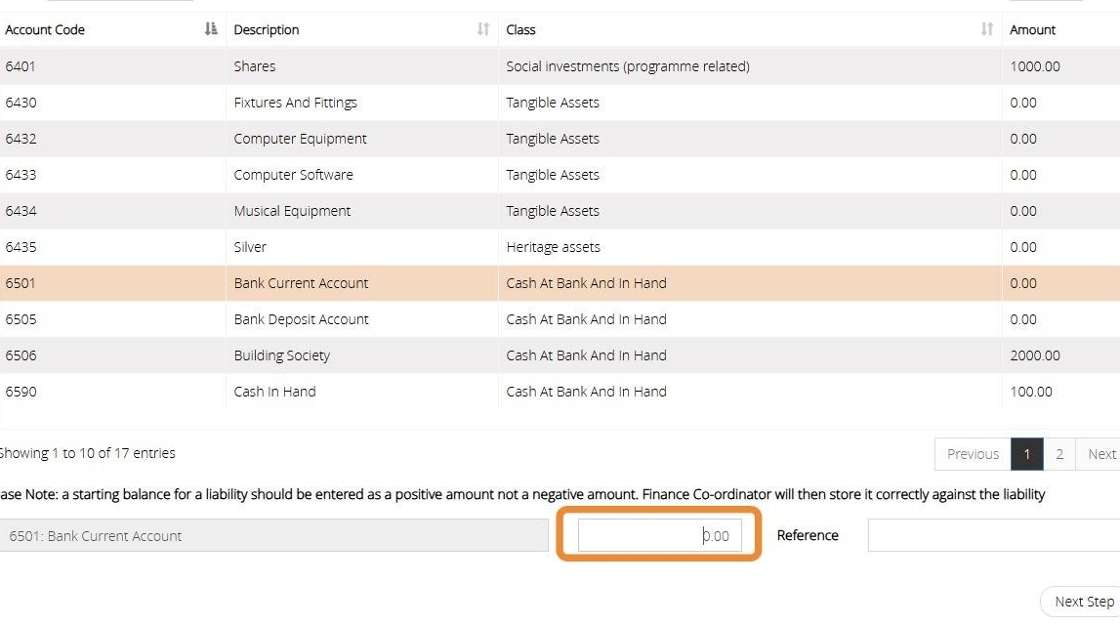
8. Click the "Amount" field on the bottom of the screen and enter the starting balance.
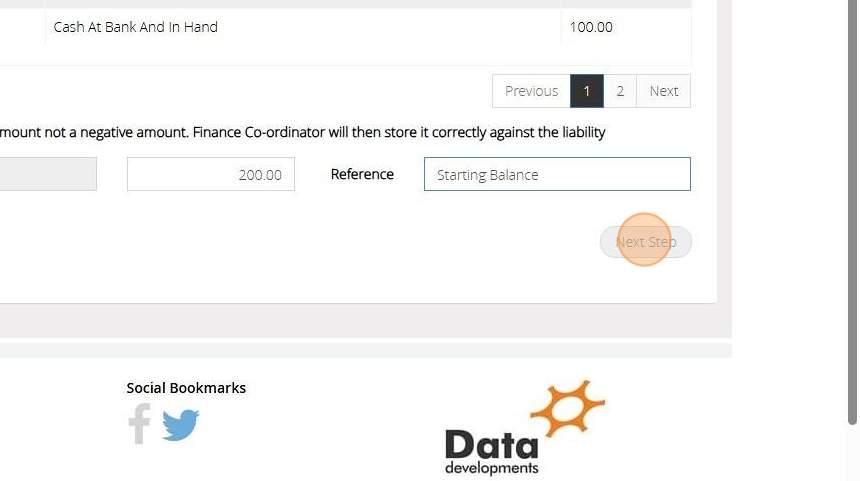
Enter a "reference" in the box provided if you wish.
9. Click "Next Step"
Tip: You will need to know the breakdown of the funds against each asset or liability. For example, at the beginning of the financial year a Bank Current Account balance of £200 could be made up of:
£50 allocated to the Building Fund
£150 allocated to the General Fund
You can see from this example that the total worth (also called the total equity) of the organisation must equal the amount represented by funds. These two figures can be seen on the Balance Sheet.
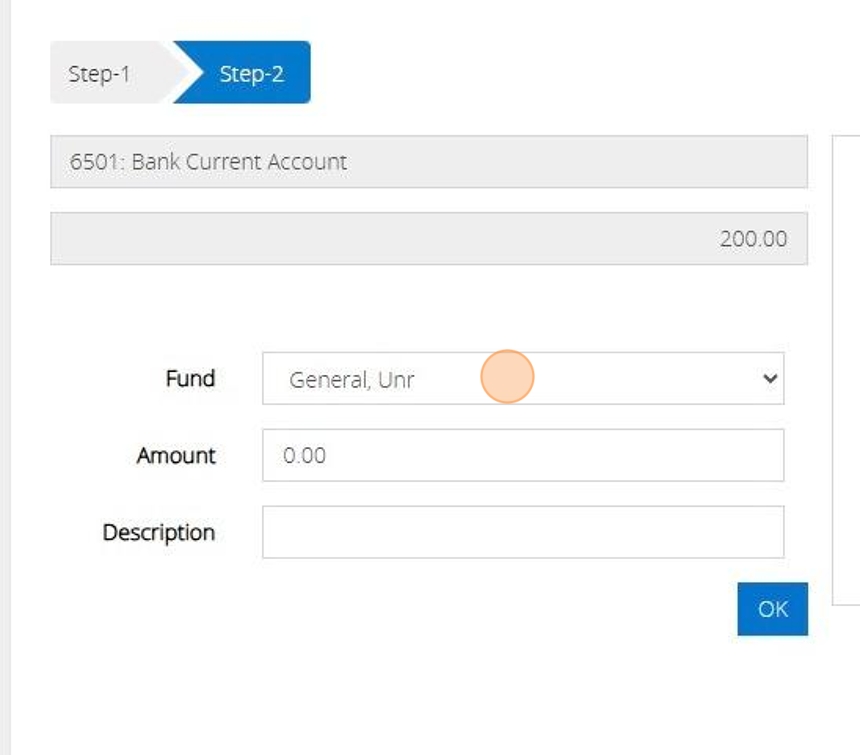
10. Click here to select a "Fund" from the drop down menu.
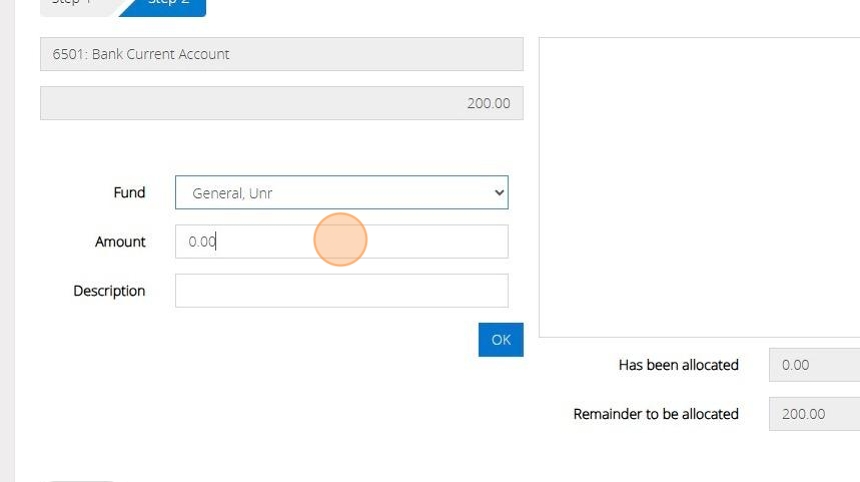
11. Enter the "Amount" of money that should be allocated to the fund.
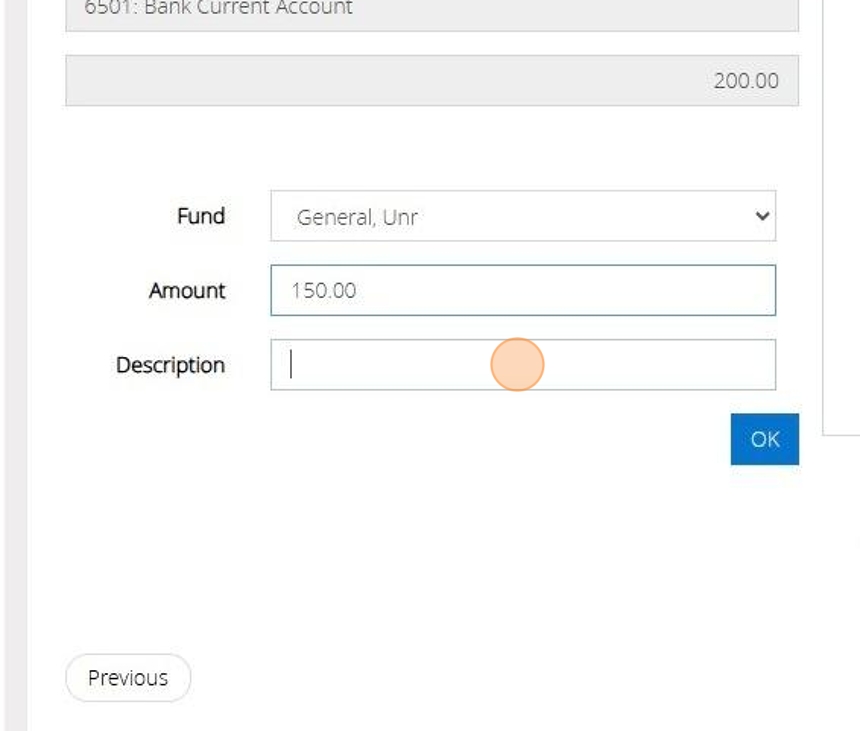
12. Enter a description here if you wish.
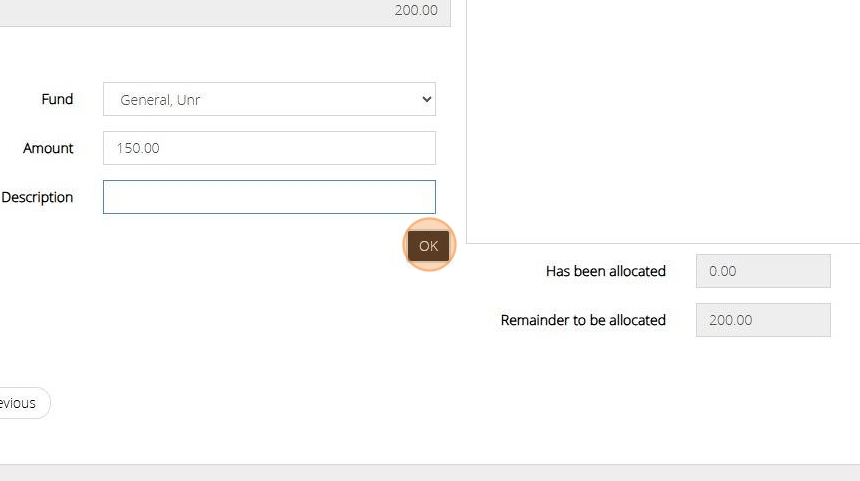
13. Click "OK"
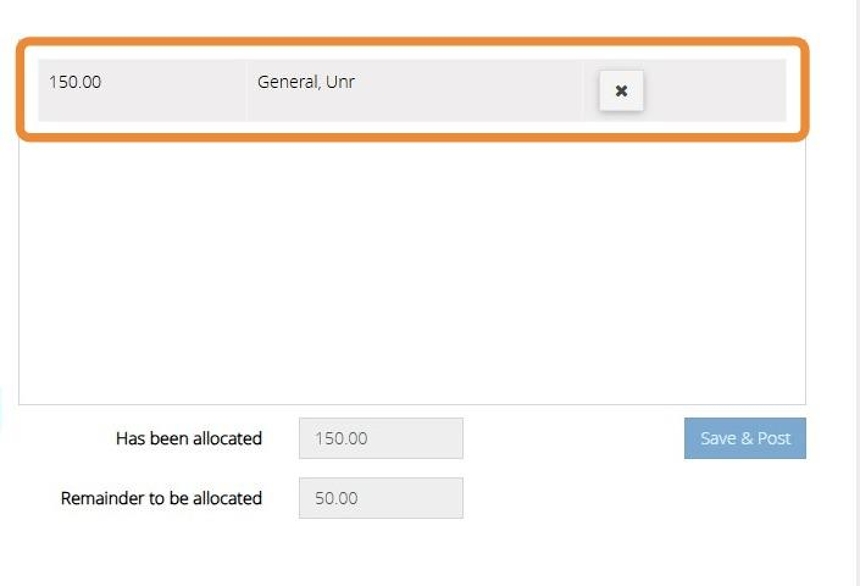
14. You will see that this amount and fund has now been moved to the right hand side of the screen.
Should you need to remove this allocation click on the "X" icon
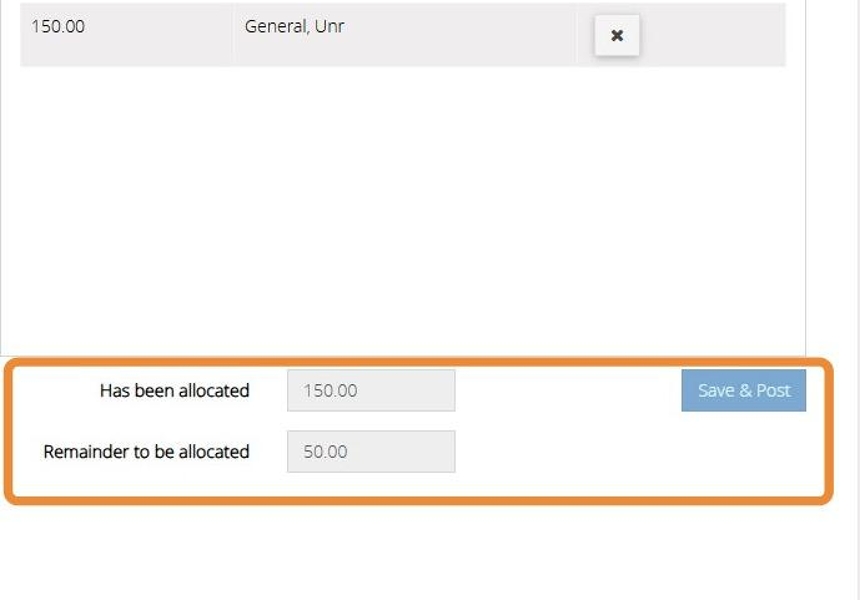
15. On the bottom of the screen you will see two boxes.
As you allocate money to different funds the first box will increase and the amount to be allocated in the second box will decrease until the entire balance has been allocated to a fund.
16. Repeat steps 10 to 13 until all of the balance has been allocated.

17. Once the "Remainder to be allocated" is zero the "Save & Post" button will become highlighted.
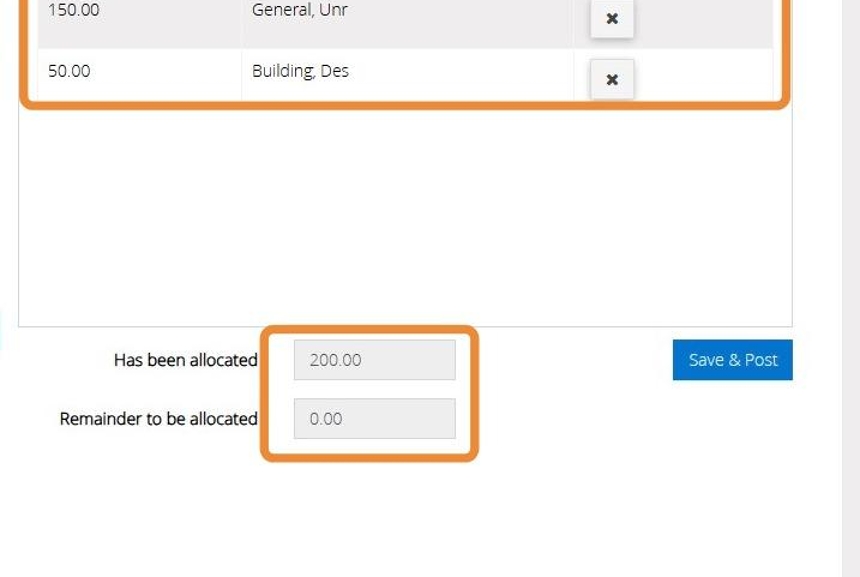
18. Click "Save & Post"

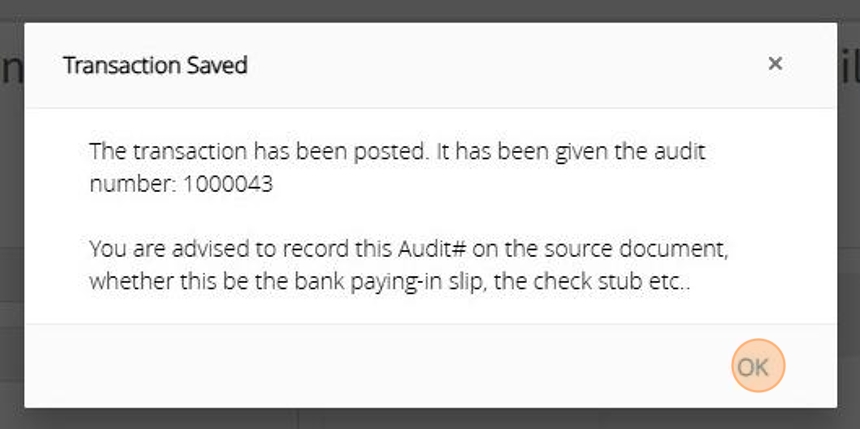
19. The below message will display you show the transaction has been saved.
Click "Ok"
20. You will be taken back to Step 1 of the starting balances screen.
You can now see the starting balance we have entered next to the account code.
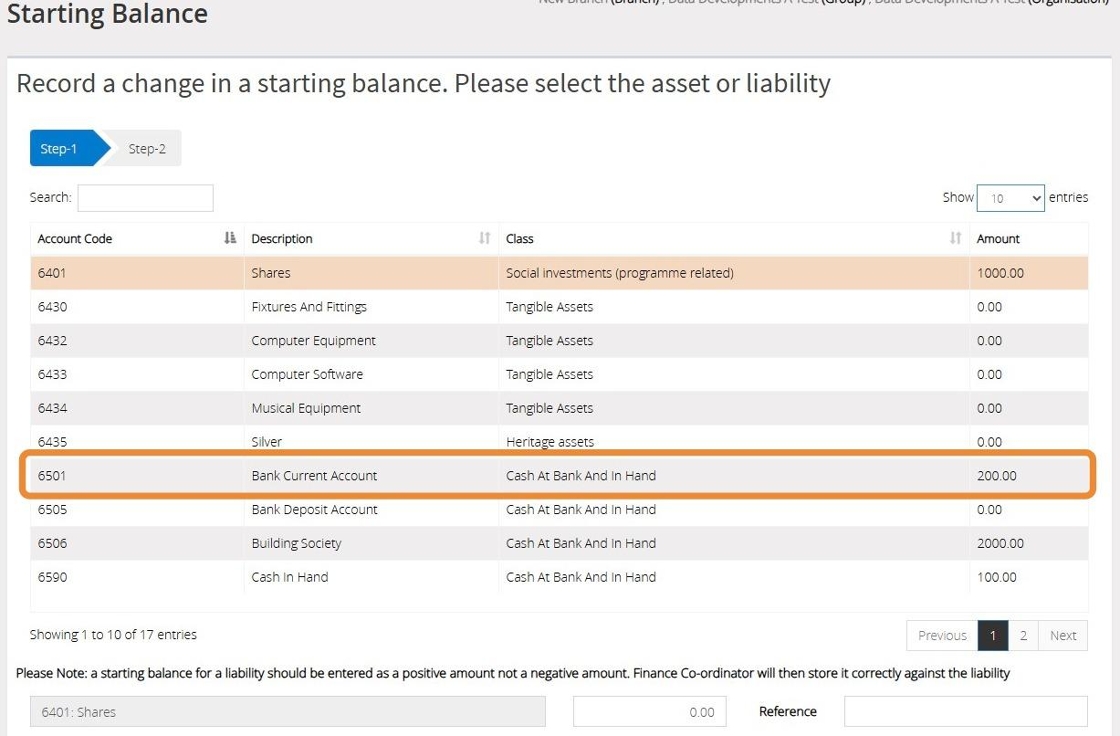
21. Repeat Steps 6 to 20 for each "Starting Balance" you need to enter.
Amend a Starting Balance
Tip: The below steps will guide you in amending an incorrect starting balance that has been entered.
Alert: Alert! You cannot amend your Starting Balances if you have performed the first Year End Procedure.
For further help and guidance please contact Data Developments Support.
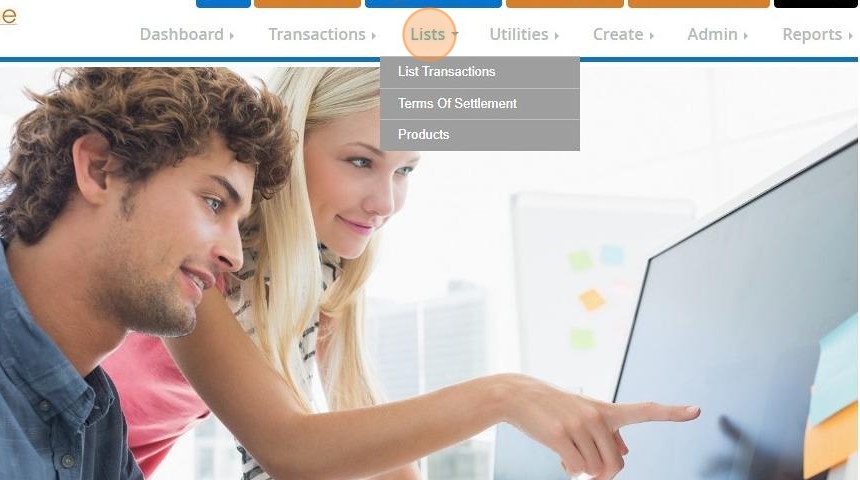
22. Click "Lists"
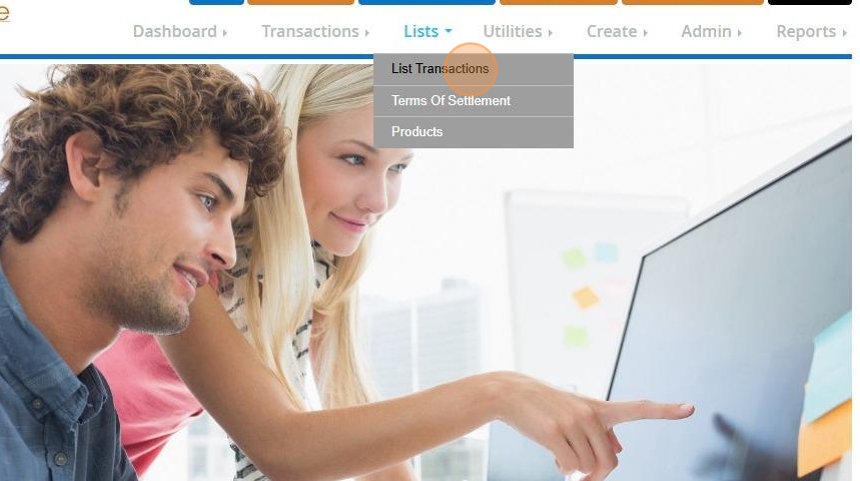
23. Click "List Transactions"
24. Change the Financial Period to Date Range and set the from and to date to one day before the beginning of your first Financial Year e.g. 01-01-2024 is the first day of the year so the From and To date should be 31-12-2023.
After setting the Date Range click Refresh on the top-right hand side

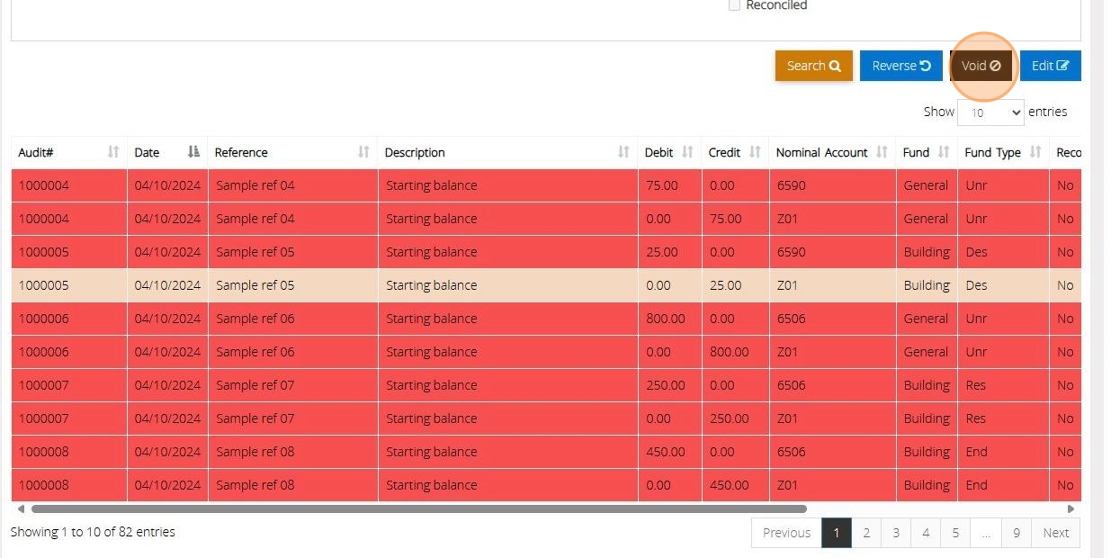
25. All starting balances will be highlighted in red.
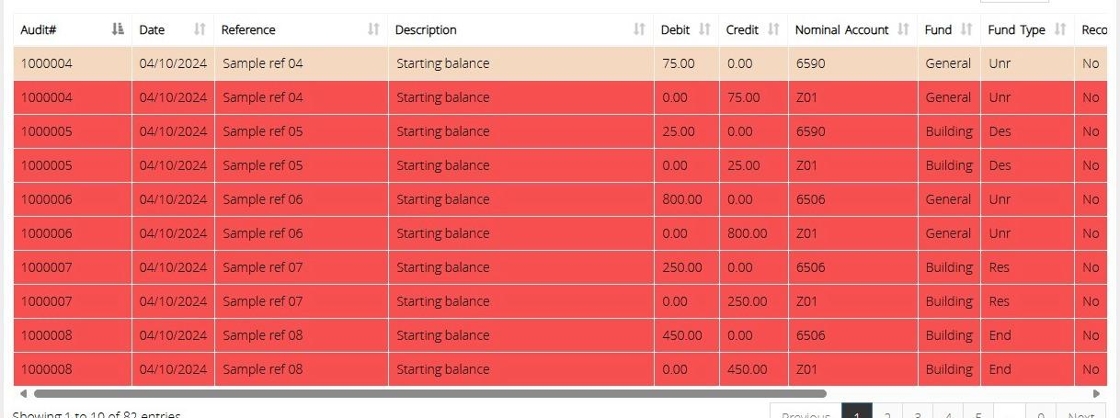
26. To locate a specific starting balance transactions click "Search" and enter the Audit number.
Alternatively, click on the icon next to Audit to bring the earliest transactions to the top.
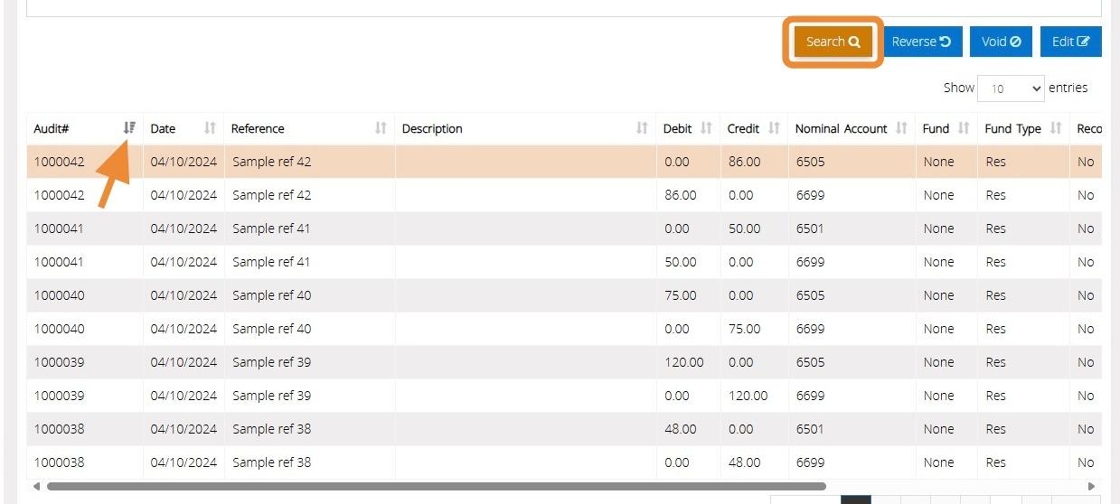
27. Select the incorrect starting balance transaction and then click "Void"
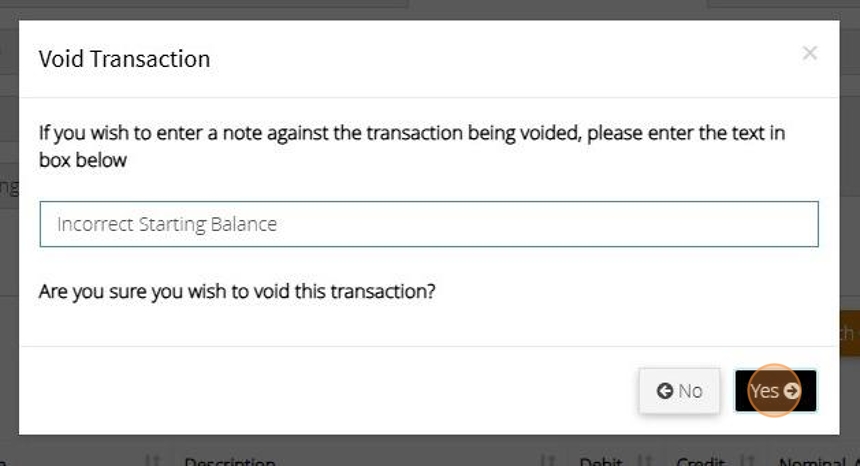
28. Enter a note against the transaction to advise why this has been voided.

29. Click "Yes"
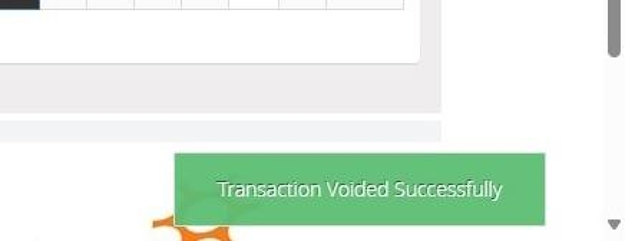
30. The below message will display once the transaction has been voided successfully.
Tip: You can now re-enter the balance against the account through the Accounts Assistant
Generate a Starting Balance Report
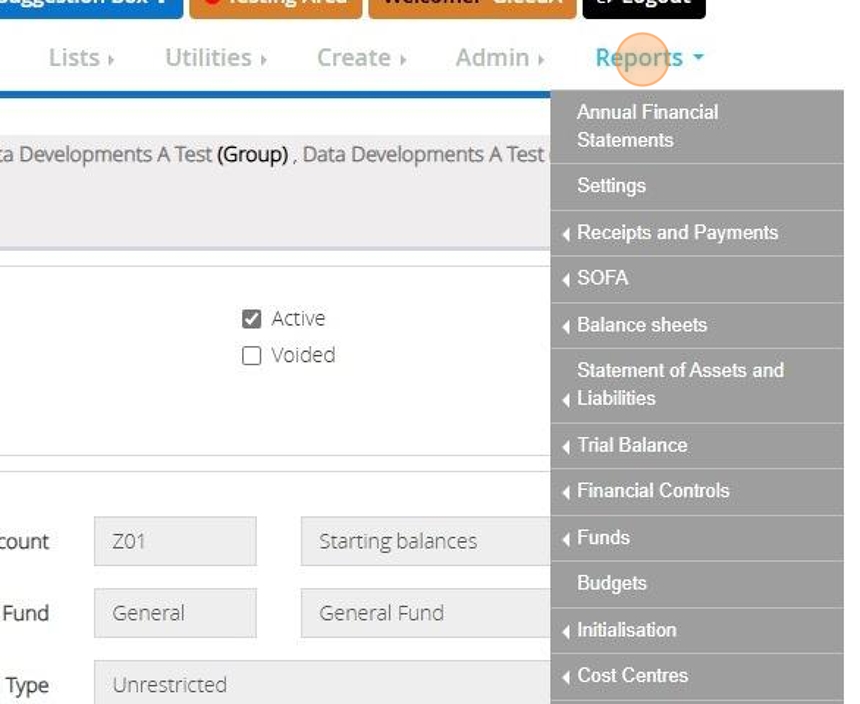
31. Click "Reports"
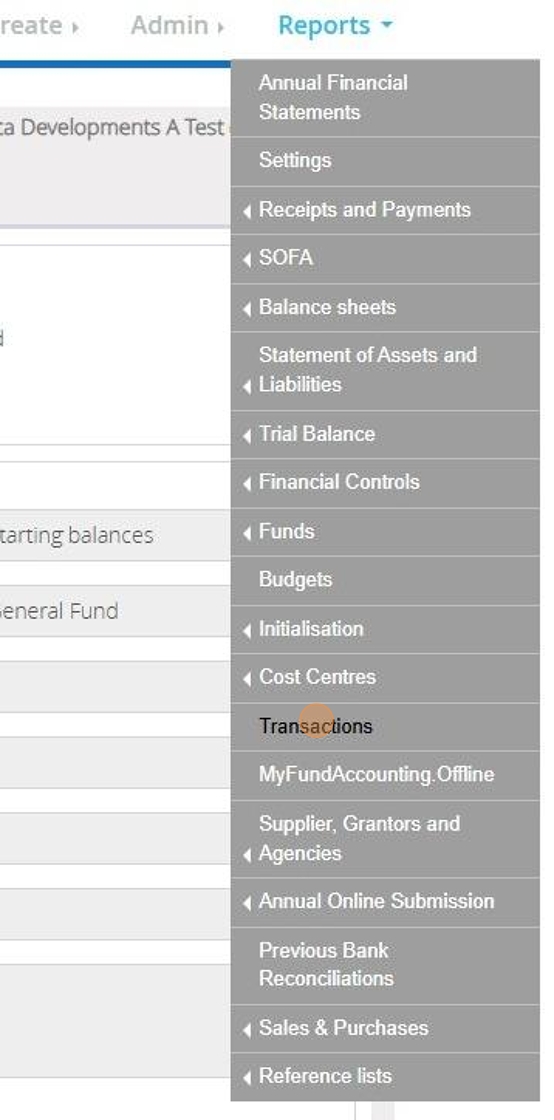
32. Click "Transactions"
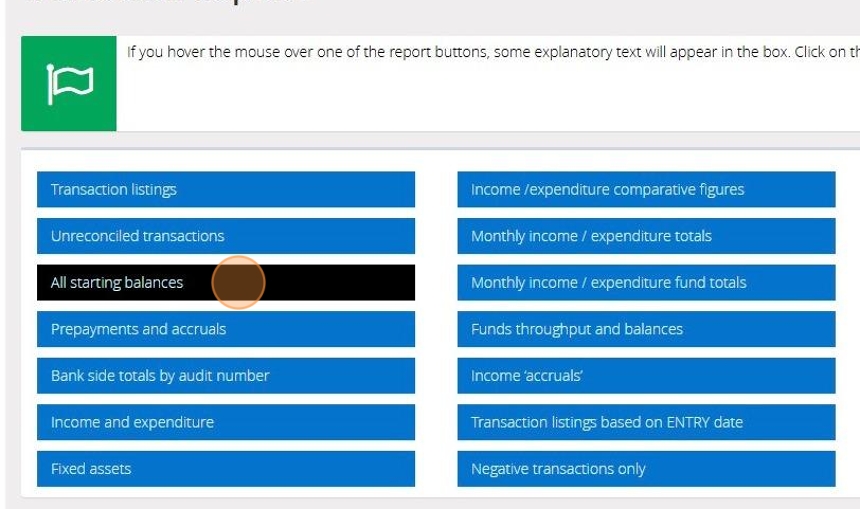
33. Click "All starting balances"
34. To generate the report click "Refresh"
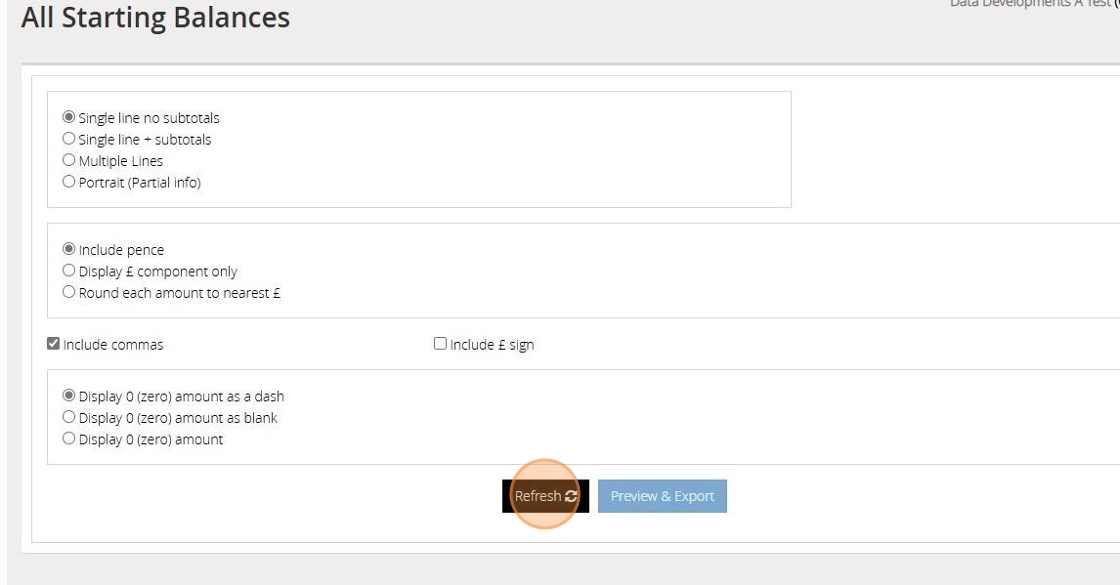
Tip: Tip! If you change any of your selections for what to include in the report you will need to click refresh again
35. Click "Preview & Export"
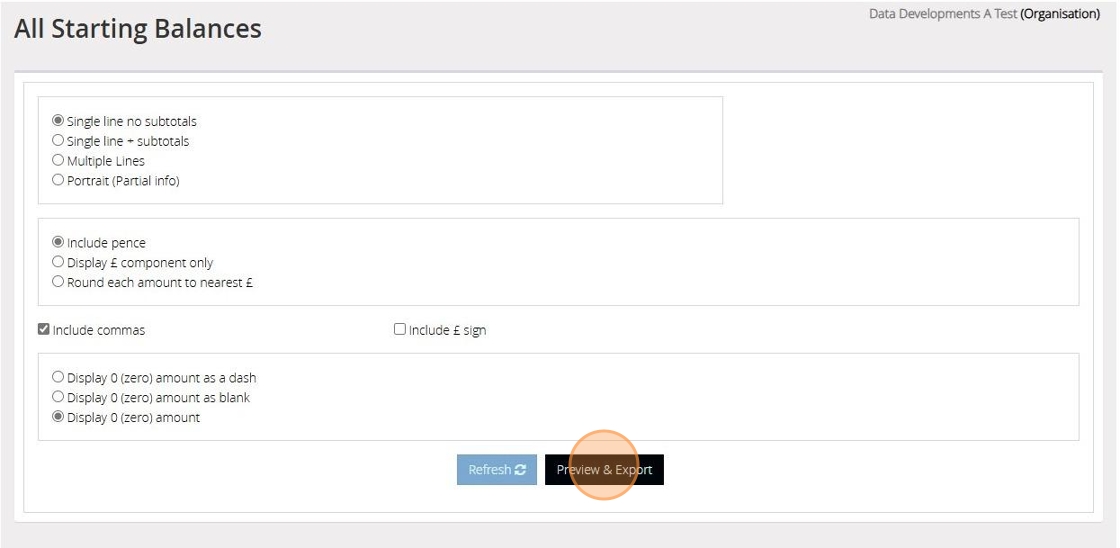
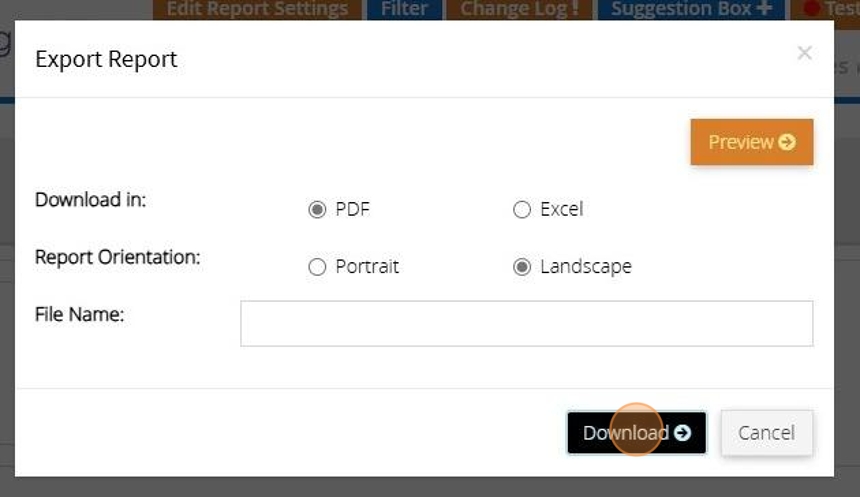
36. You can generate the report as a PDF or Excel file. By default "PDF" is selected
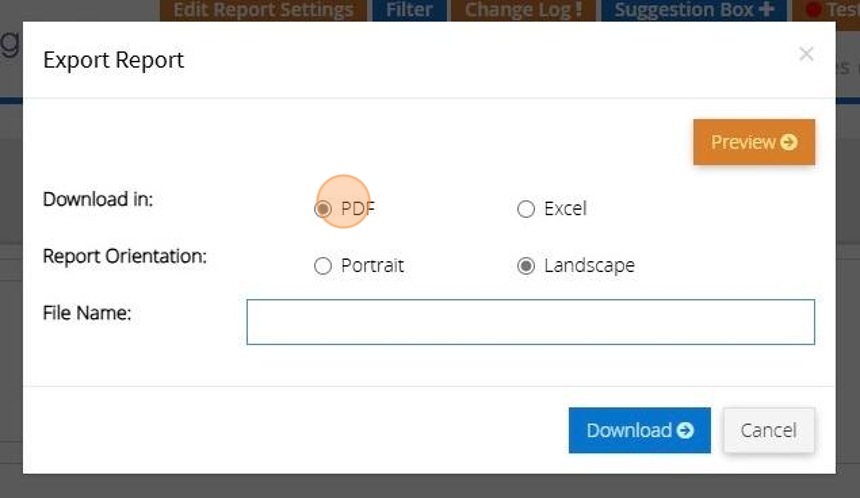
37. You can choose to have the report in portrait or landscape mode. Depending on the report this may be set to landscape or portrait. You can change this, however, it may result in a report that doesn't look right.
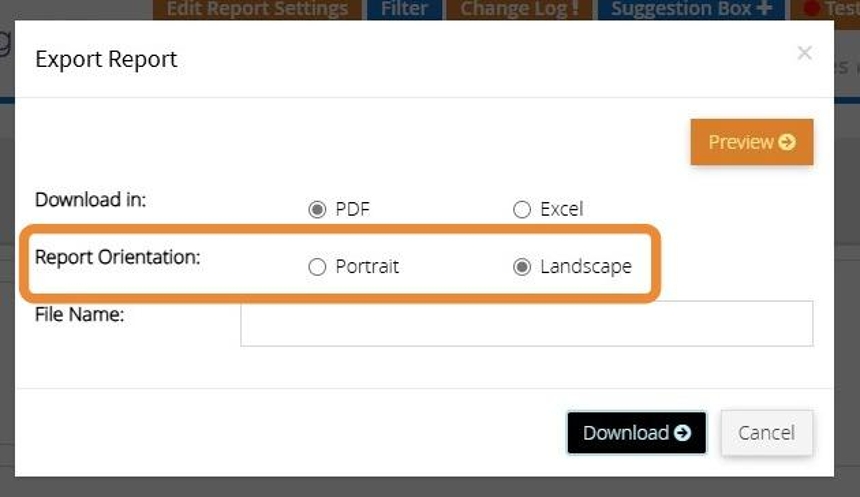
38. Click "Preview" to see the report in the browser. (Only works with PDF)
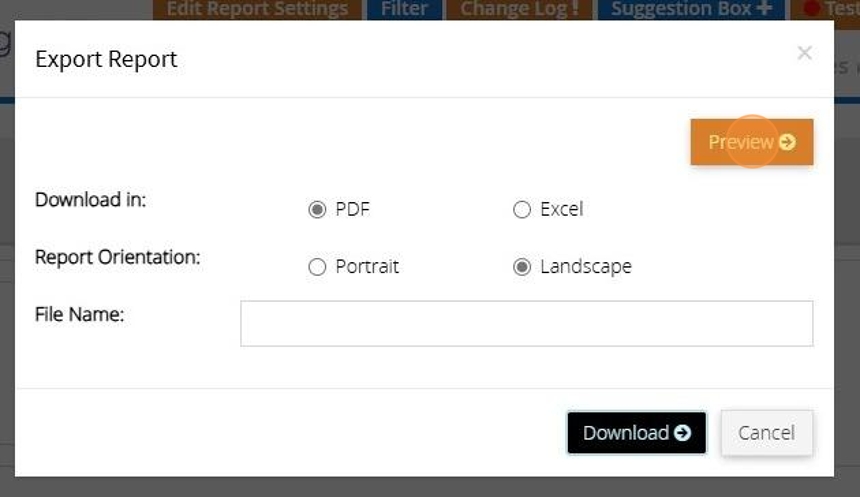
39. If you want to download a copy of the report click this text field and enter in a name for the file that will be created
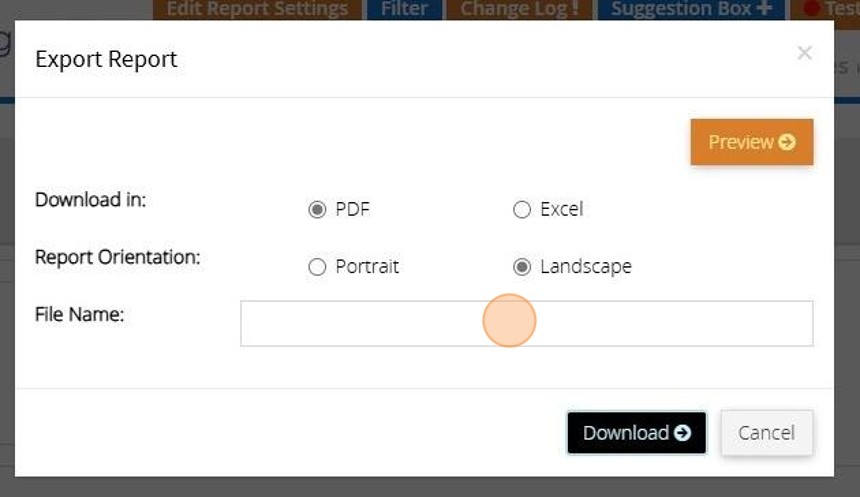
40. Click "Download"
