You can create user accounts with specific permissions so that users can only access specific pages only. The below instructions will guide you in creating a new user account with permissions.
1. Navigate to https://www.myfundaccounting.online
Create a User Account
2. Click "Admin"

3. Click "User & Security"
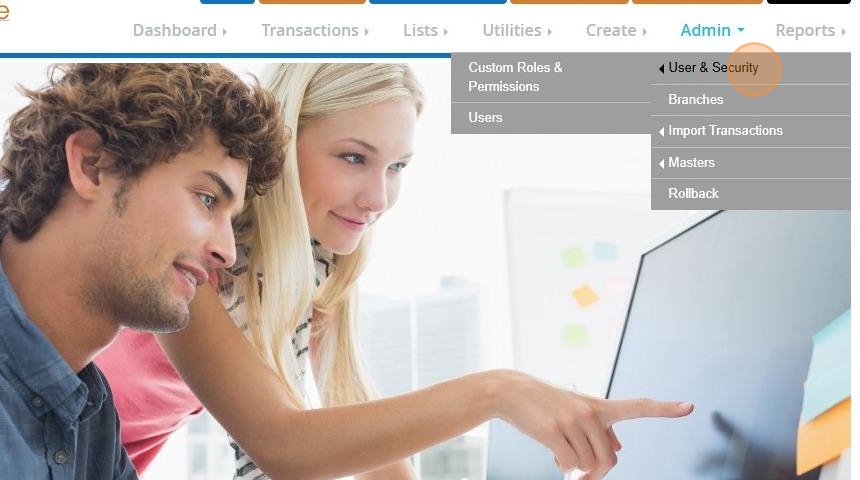
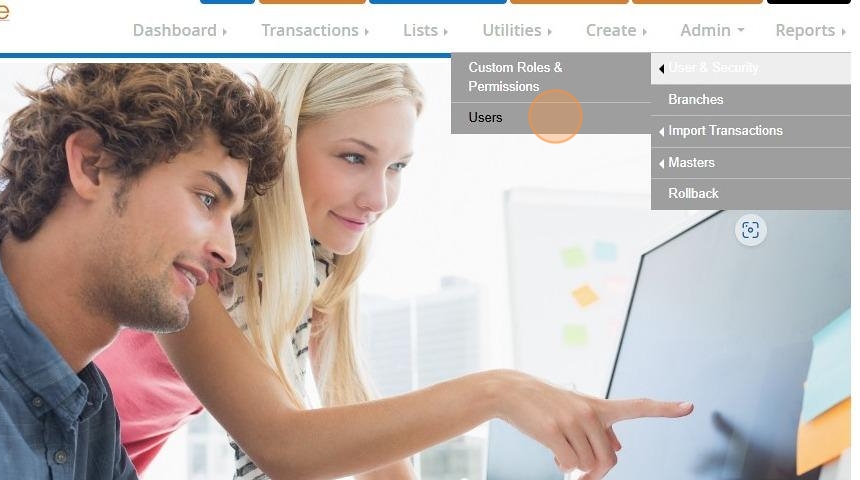
4. Click "Users"
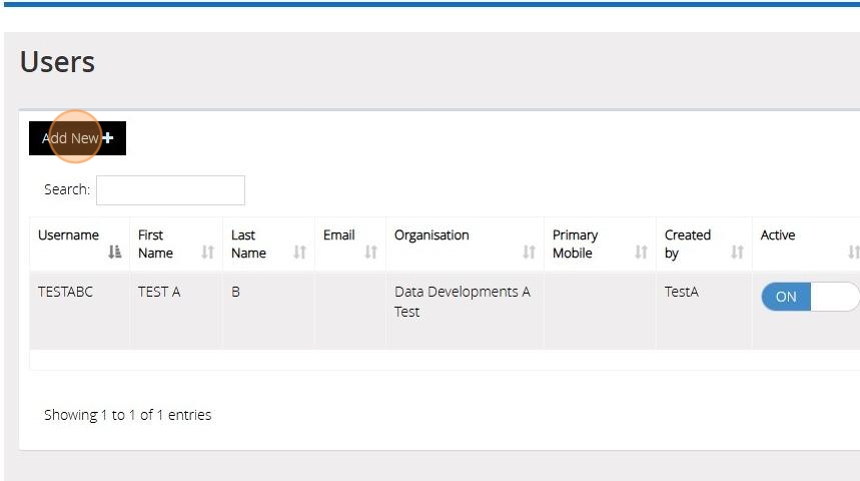
5. Click "Add New"
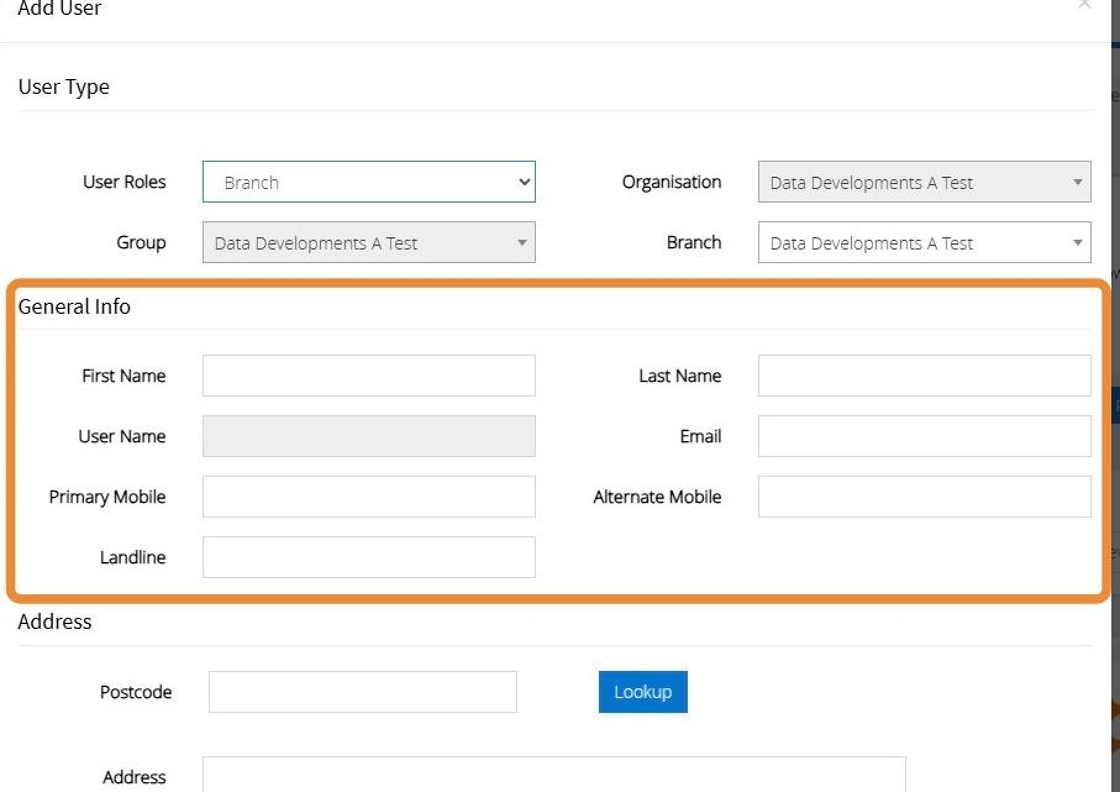
6. Select either Group or Branch from the 'User Roles' and select the Group/Branch the user should have access to from the drop down menus that appear
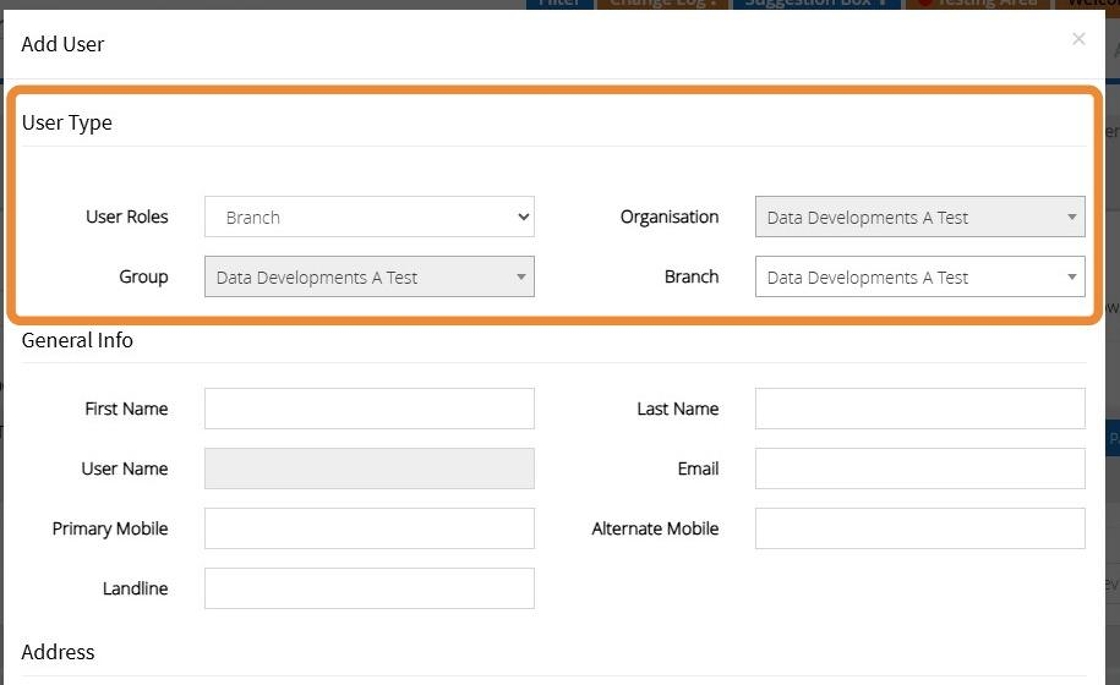
7. Enter a Name, Username, Email and contact number (optional).
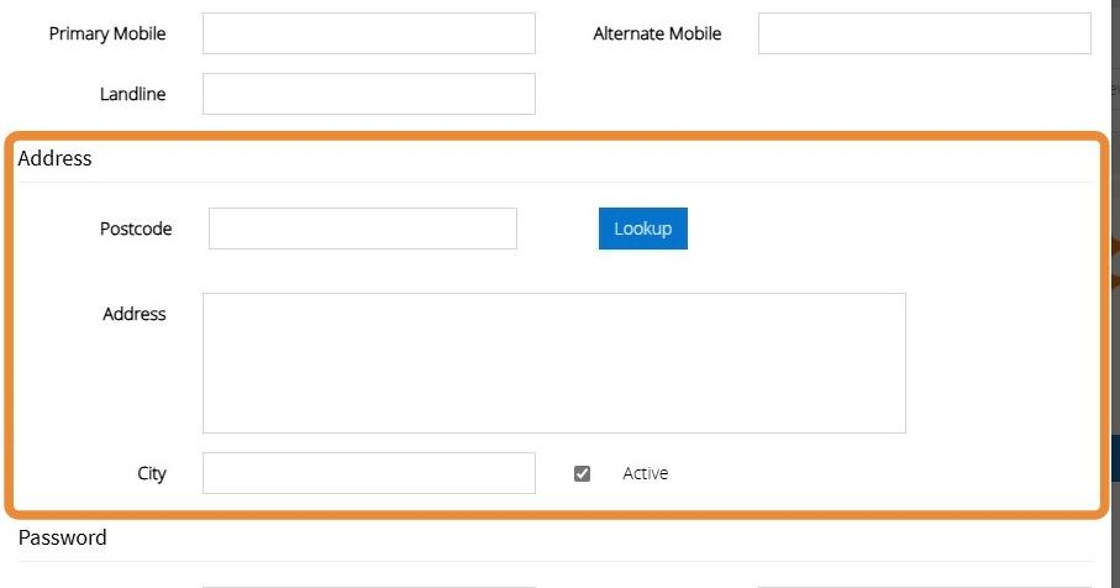
8. Enter a postcode and click "Lookup"
Select the address from the dropdown bar provided
9. Enter a Password, please note the password must have at least one number, one upper case, one lower case and a special character (@#$%&+=!_)
Enter a Password Question and Password Answer

10. Click "Save"

Edit Data Access
Tip: The below steps will guide you in providing data access to your branches/groups for a user account
11. Click "Admin"

12. Click "User & Security"
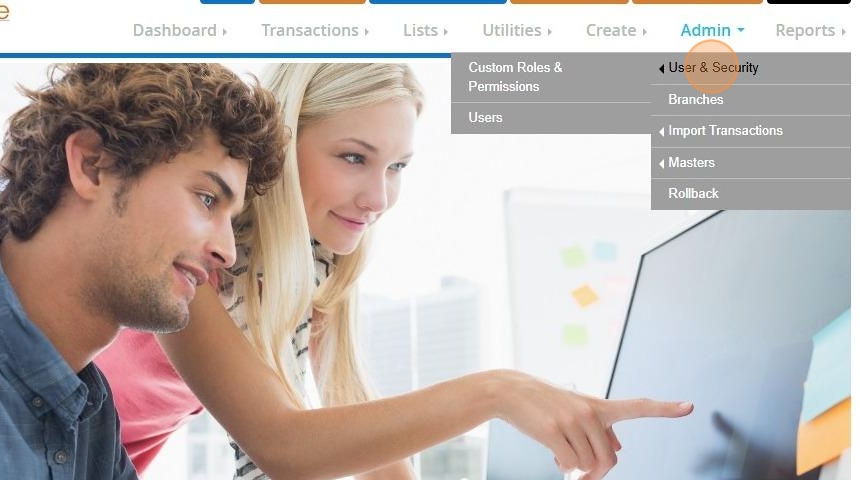
13. Click "Users"

14. Click "Edit Data Access"
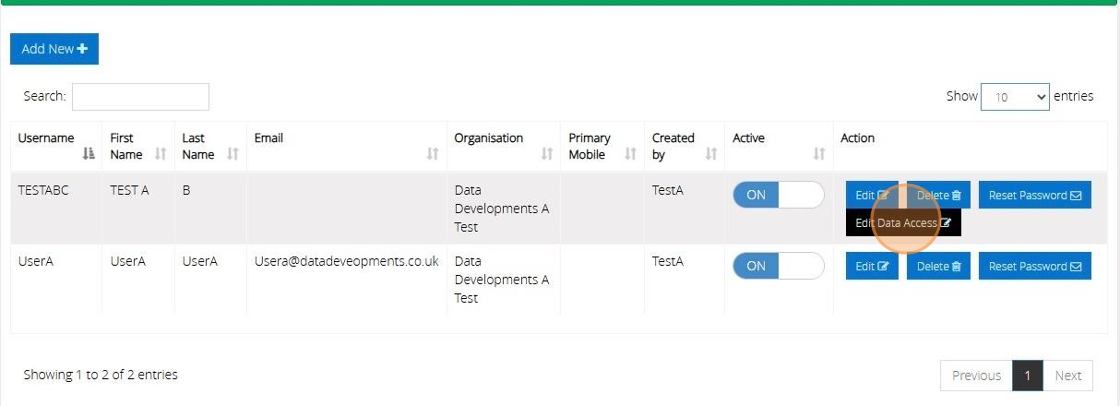
Tip! If the user is set up using the "Branch" role the "Edit Data Access" option with not be available, instead you would click "Edit" to change which branch they are assigned to.
15. Select from the ‘Grant Access to’ drop down the specific branches you wish the user to be able to access.
The drop down bar for "Current Access" will show the specific branches the user currently has access to.
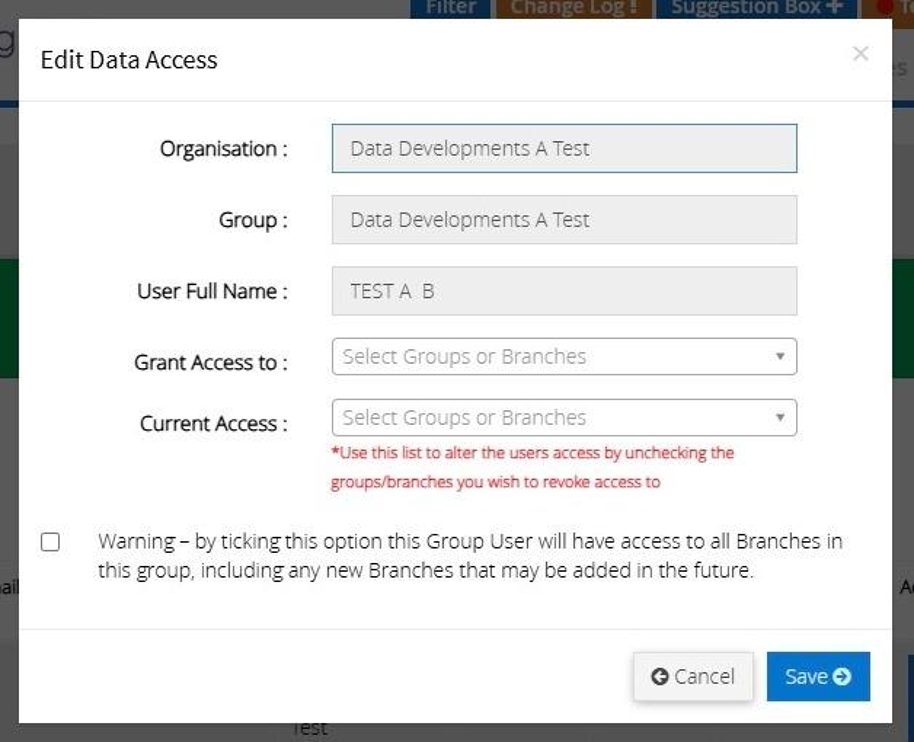
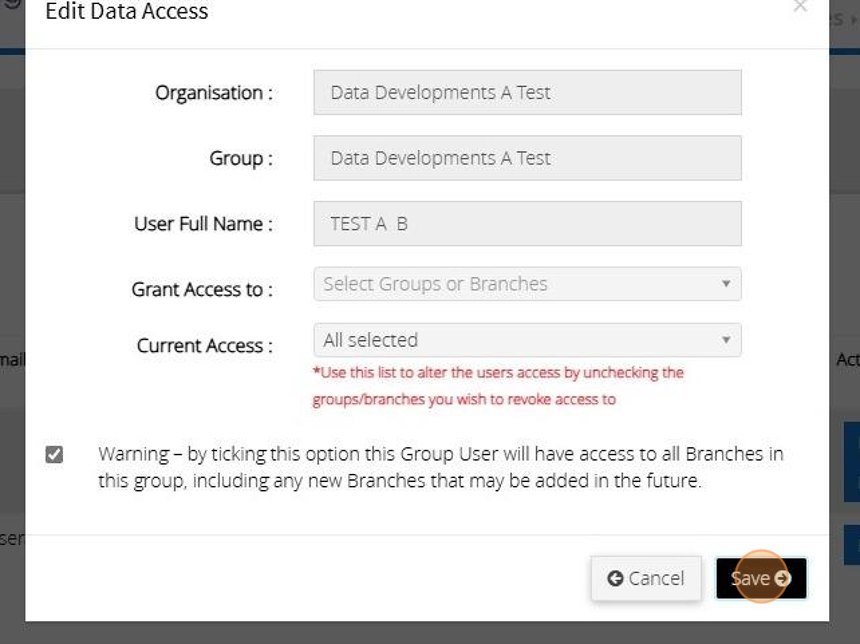
Alert! Be aware that if you tick the checkbox next to the 'Warning - by ticking this option...'you will give the user access to all current and future branches in this group.
16. Click "Save"
Tip: Once the account has been created you can now send the Username ad Password to the user to enable them to log into the accounts.
Create a Custom Role
17. Click "Admin"

18. Click "User & Security"

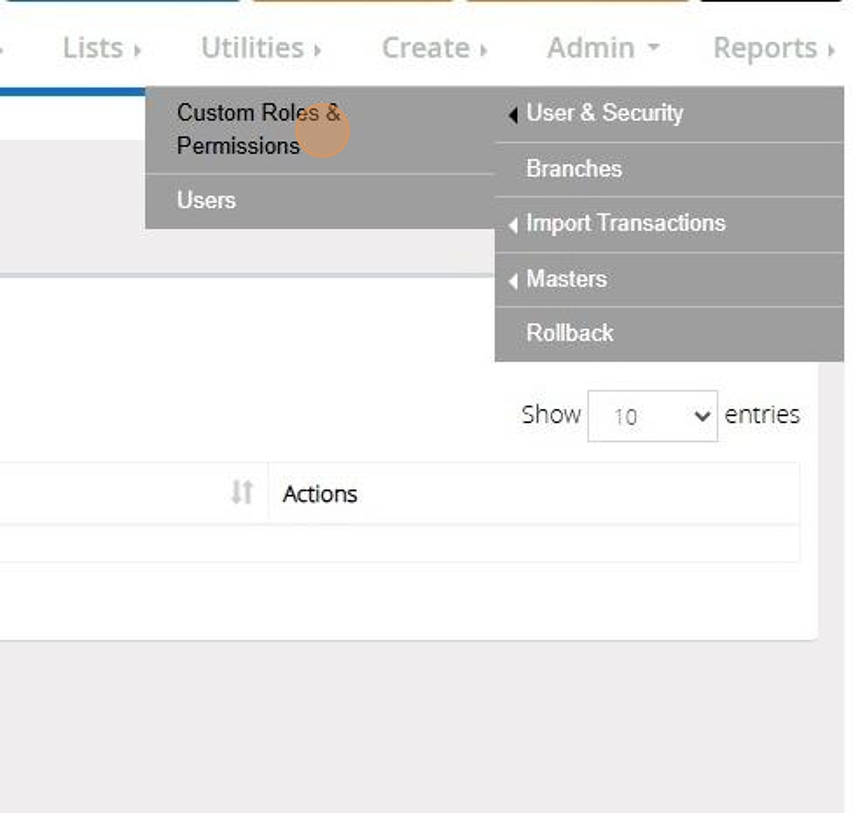
19. Click "Custom Roles & Permissions"
20. Click "Add New"

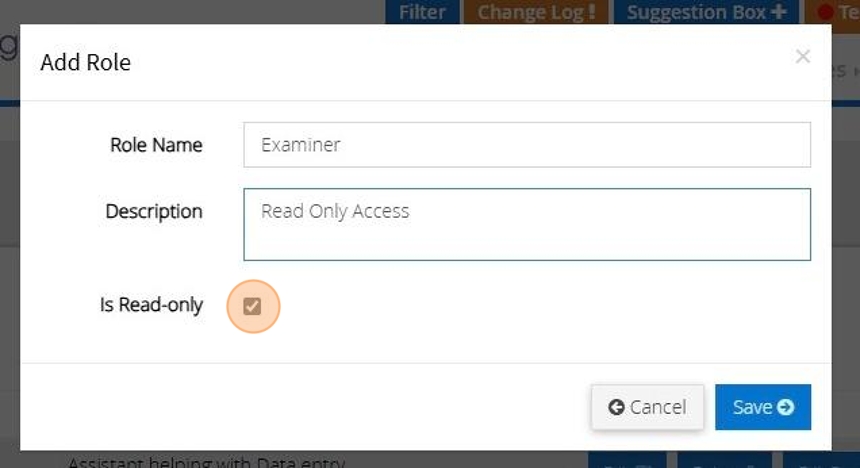
21. Enter and Name and Description
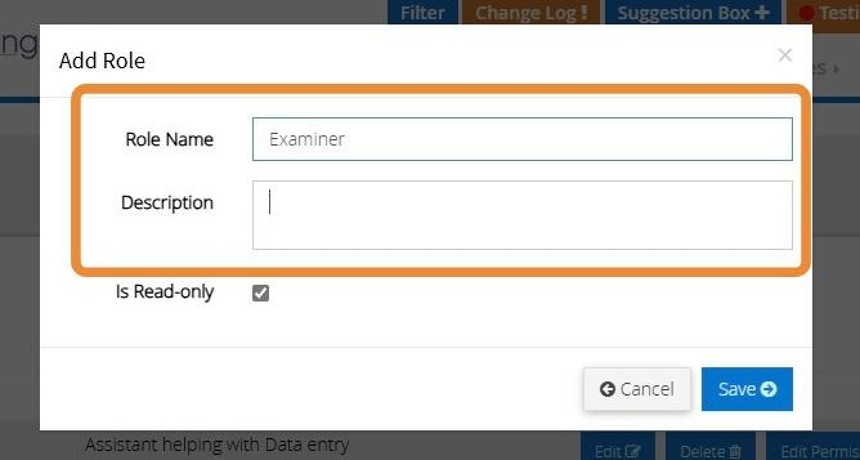
22. Untick the 'Read Only' Checkbox if you would like users to be able enter and amend the data. If Read-Only remains ticked the User will only be able to view the data and make no input or amendments
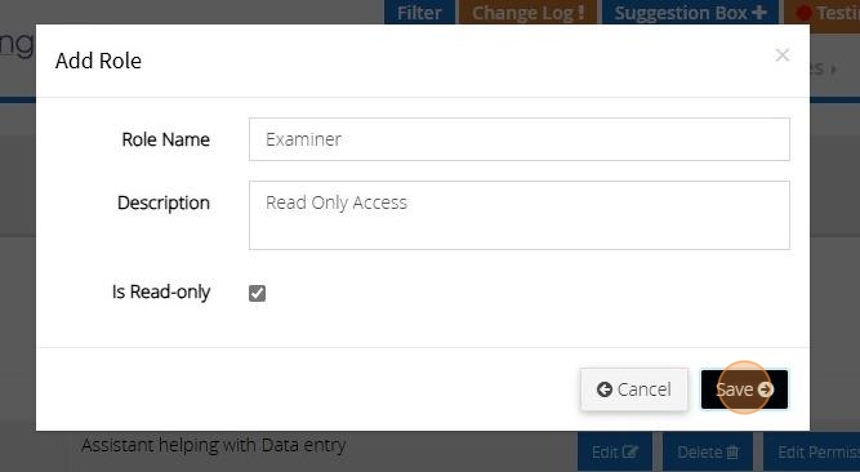
23. Click "Save"
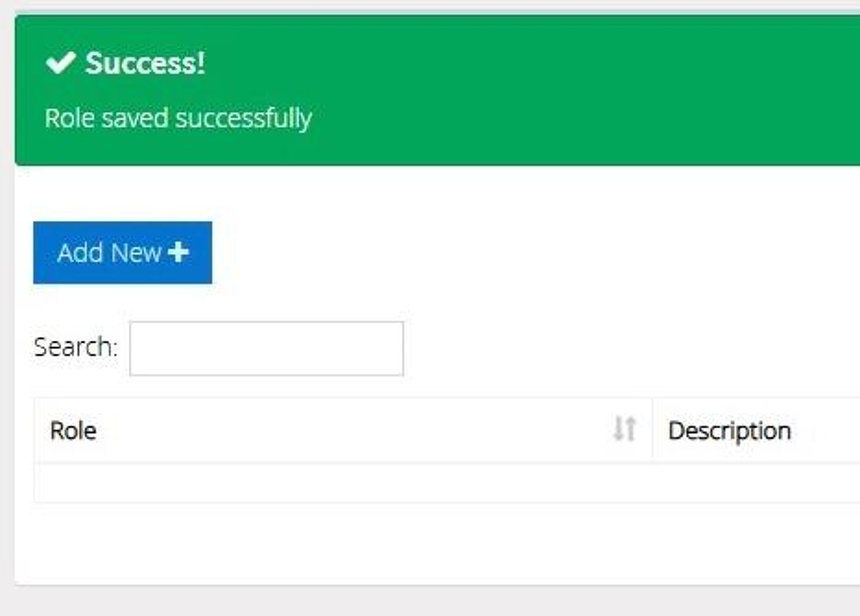
24. The below message will appear once the role has been saved successfully
Custom Role Permissions
Tip: The below steps will guide you in selecting the permissions for a Custom Role
25. Click "Admin"

26. Click "User & Security"
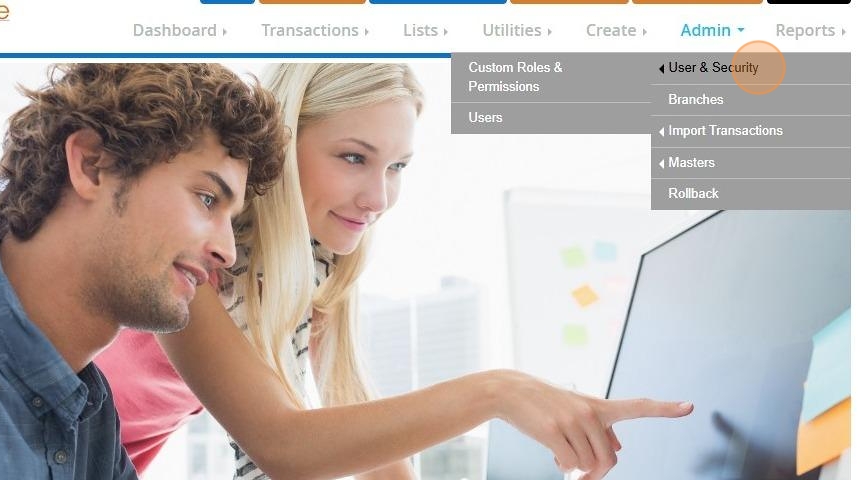
27. Click "Custom Roles & Permissions"
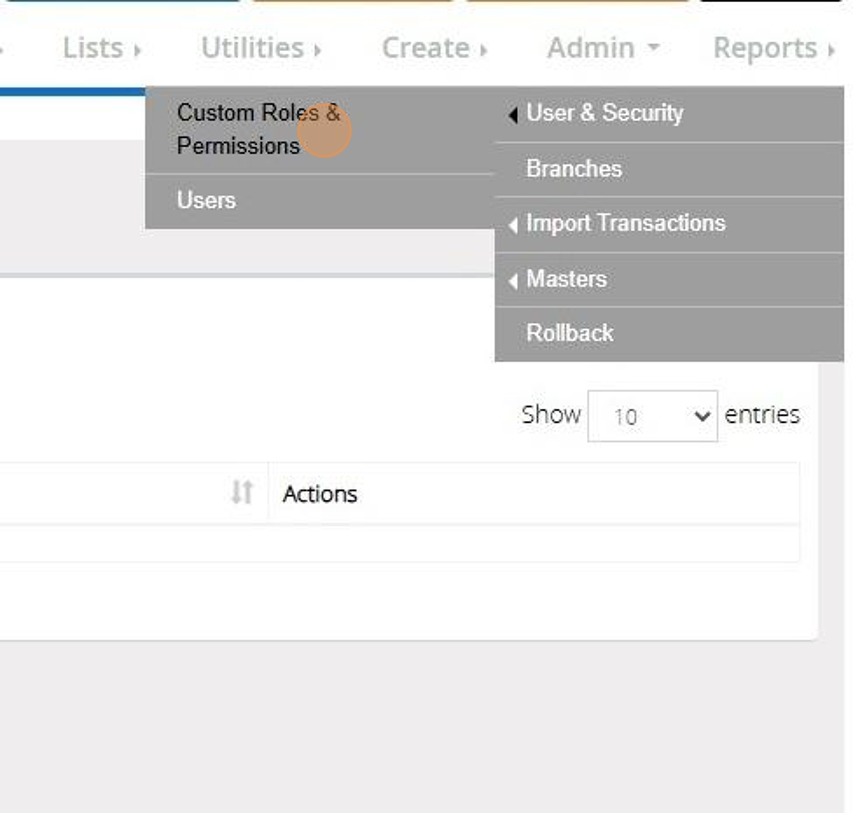
28. All Custom Roles that have been created will be listed here

29. Click "Edit Permission"
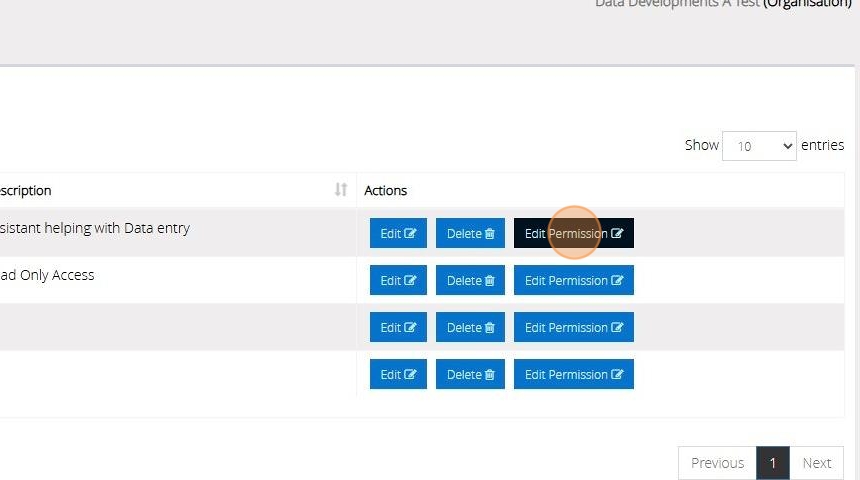
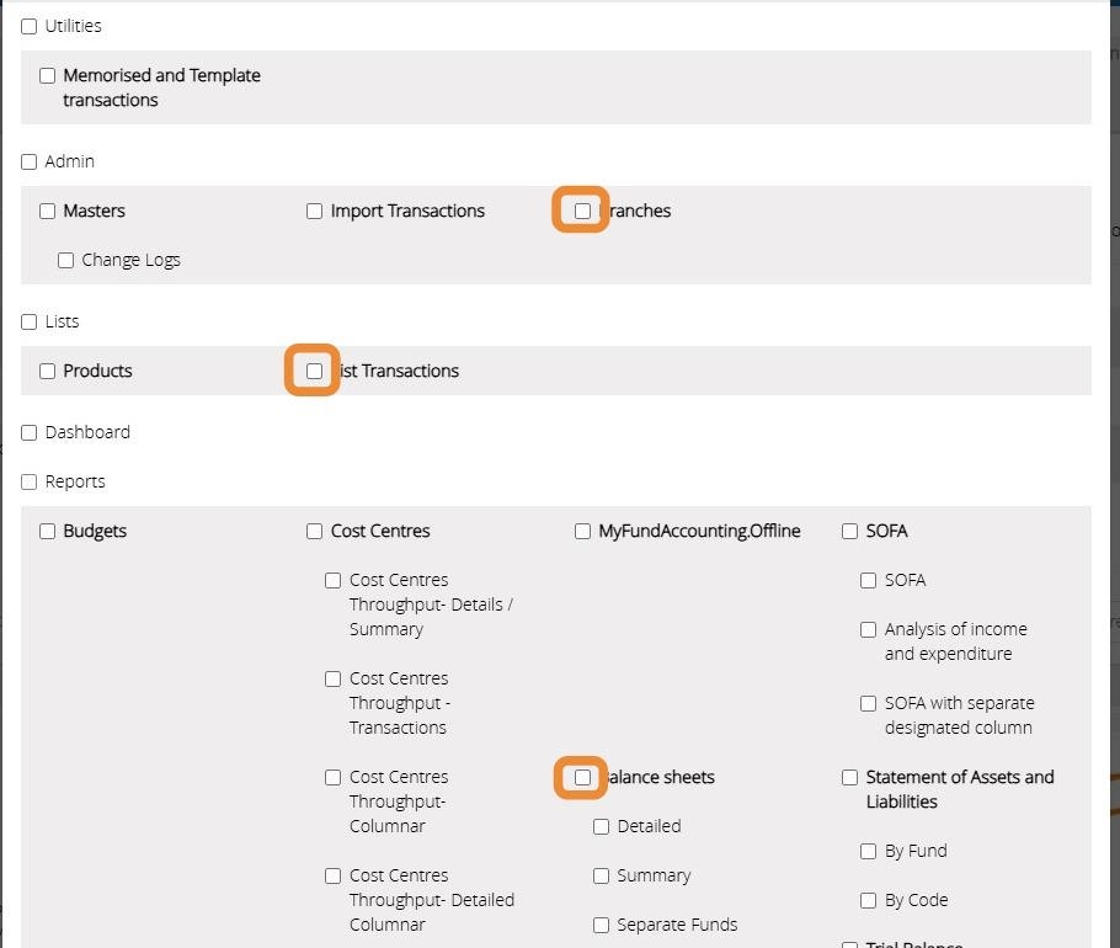
30. Tick the box next to each function you want the user to be able to access
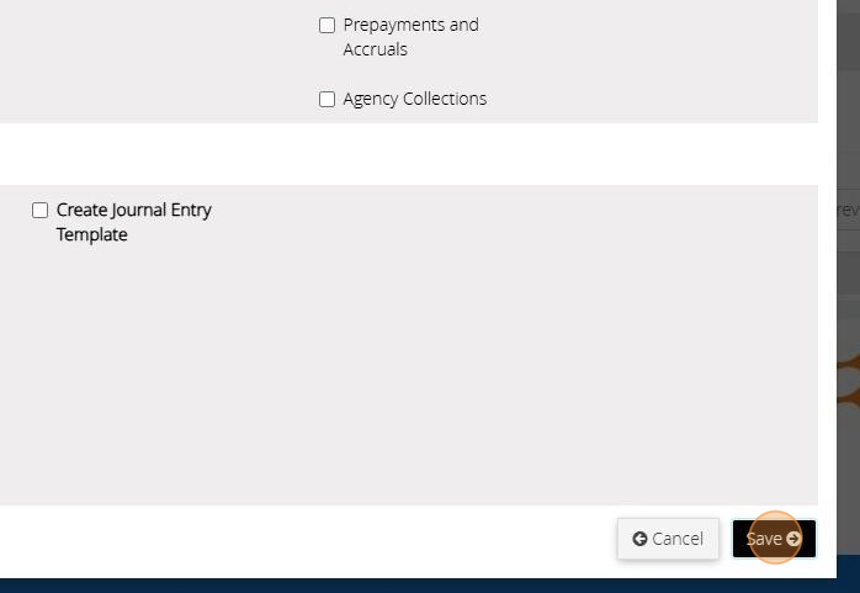
31. Click "Save"
Assign a Custom Role to a User Account
Tip: The below steps will guide you in assigning a custom role you have created to a user account
32. Click "Admin"
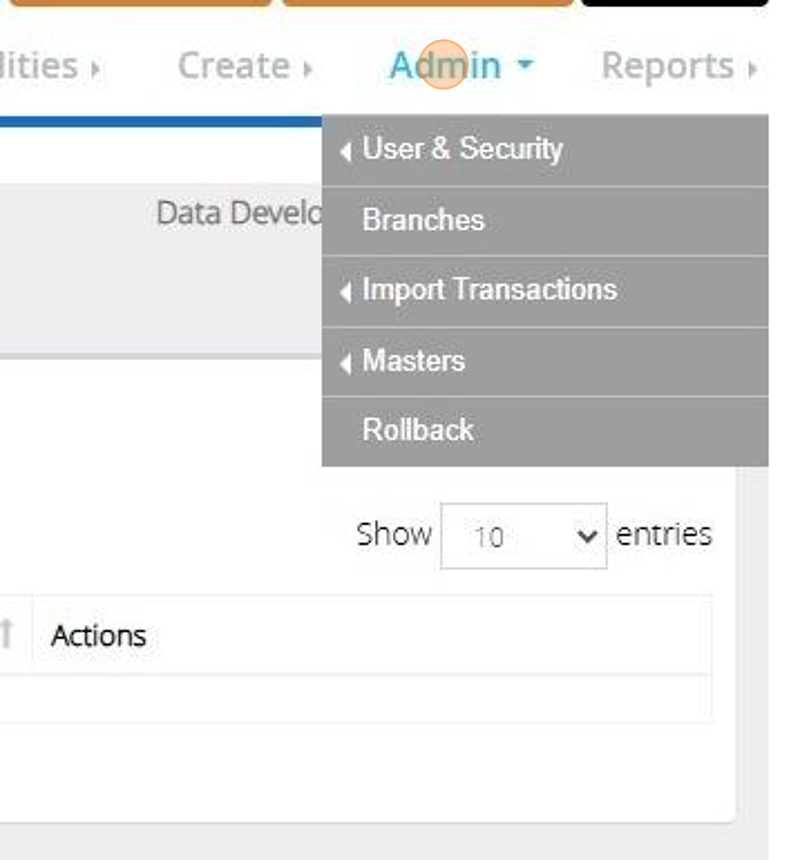
33. Click "User & Security"
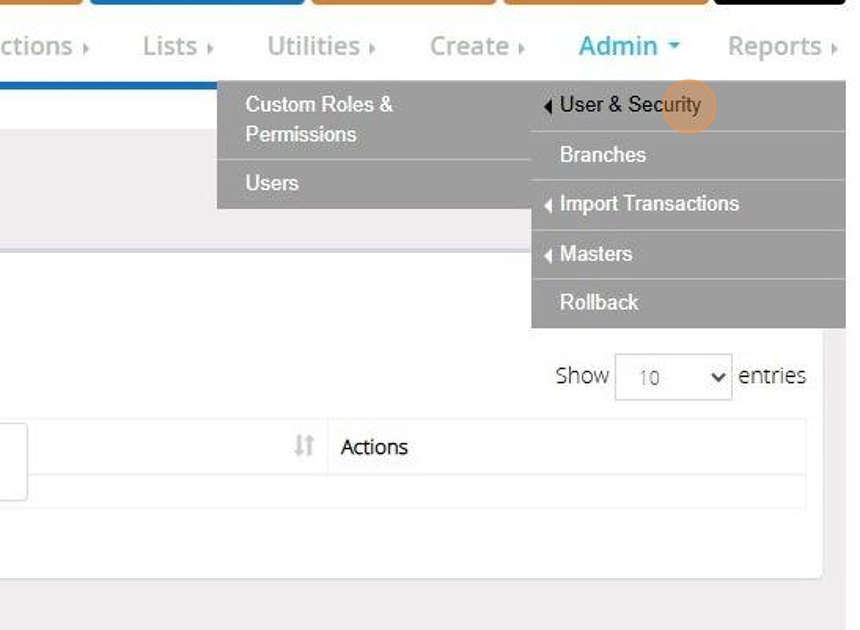
34. Click "Users"
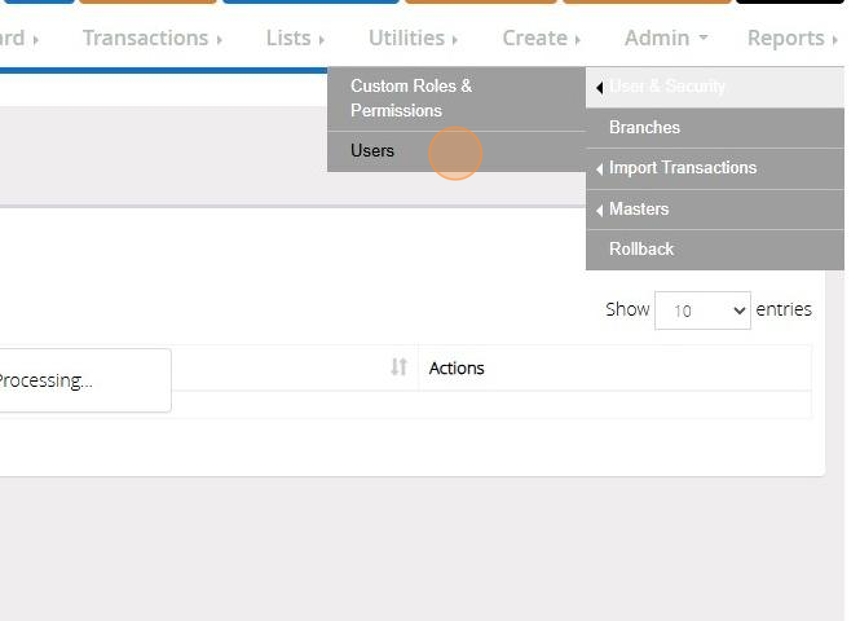
35. Click "Edit" next to the user account

36. From the User Roles Drop down bar select your Custom Role
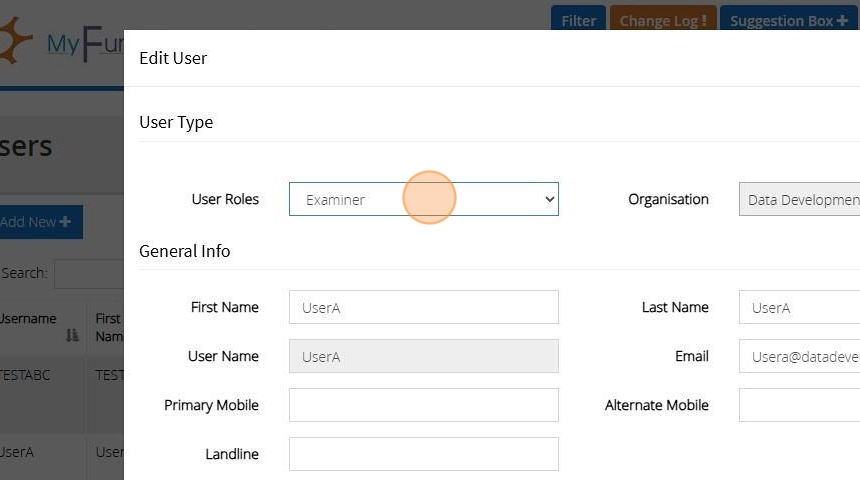
37. Click "Save"

Tip! After assigning a custom role you will need to assign the data access to limit the Groups and Branches they have access to
