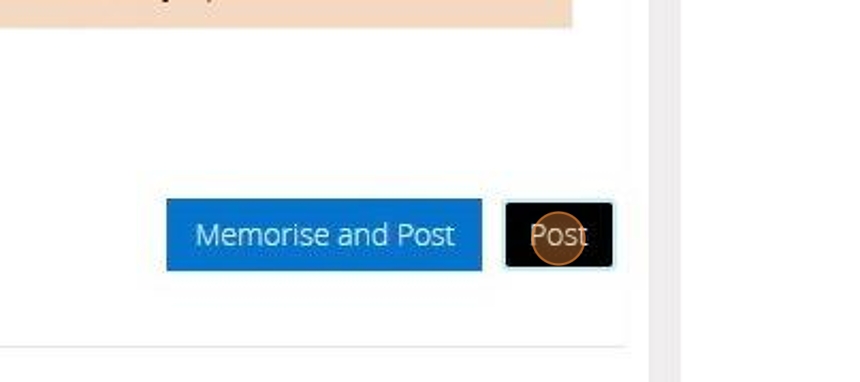
The below steps will guide you in recording an Expenditure Transaction
1. Navigate to https://www.myfundaccounting.online
2. Click "Transactions"
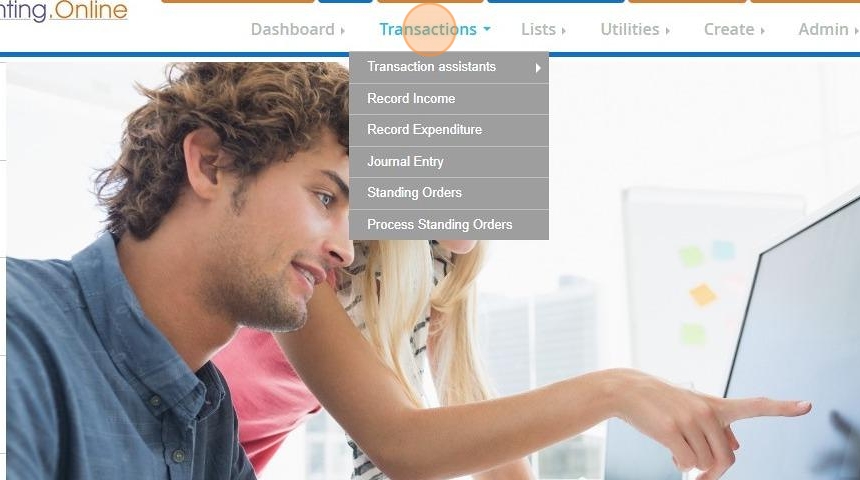
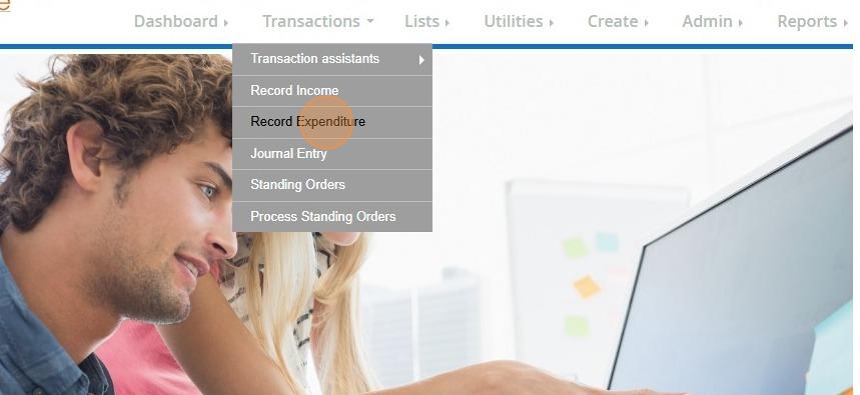
Record Expenditure
3. Click "Record Expenditure"
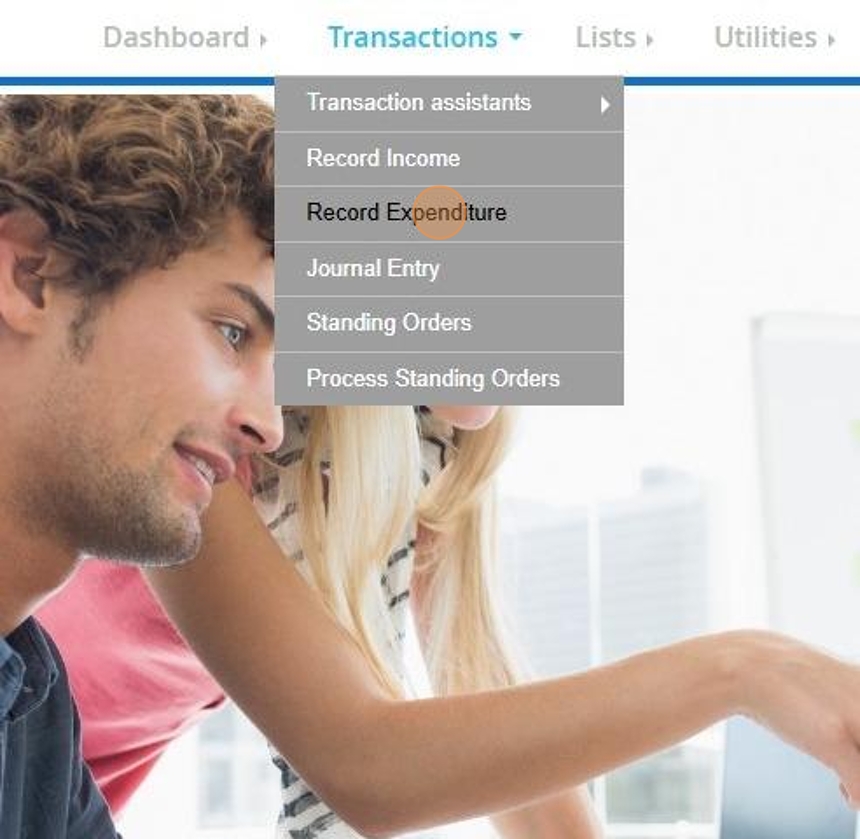
Tip! You can also access this screen by selecting "Record Expenditure" directly from your dashboard.
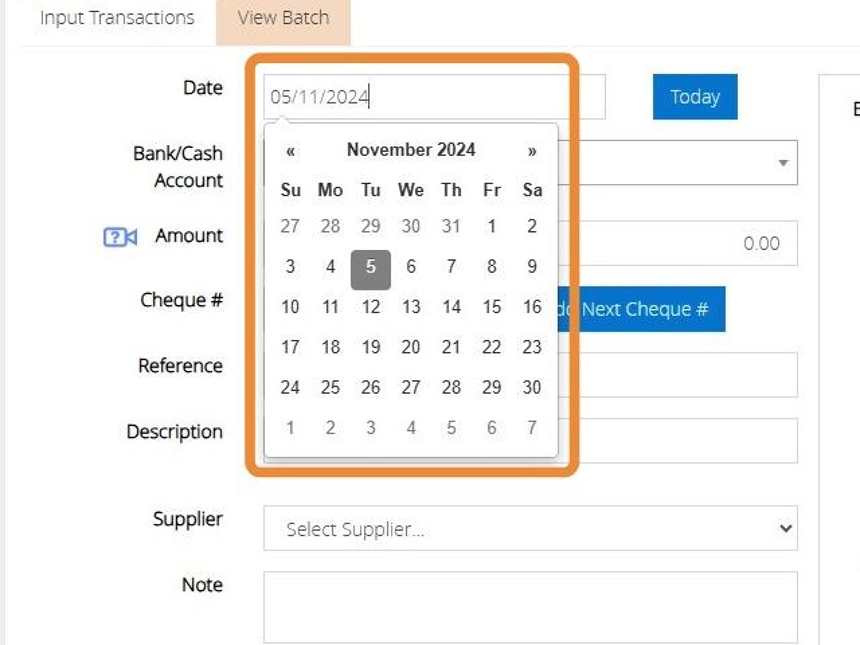
4. Today’s date will be automatically added but you can change it by typing the new date in or enter the date by using the calendar that appears when you click on the date box
5. Click the Bank/Cash account dropdown menu and a list of bank accounts will appear.
Click the bank account you want to use.
Type the amount of money to be paid out of the bank for example: £50
Enter the Cheque number or click "Add Next Cheque" to autofill the next subsequent cheque number if a cheque was used
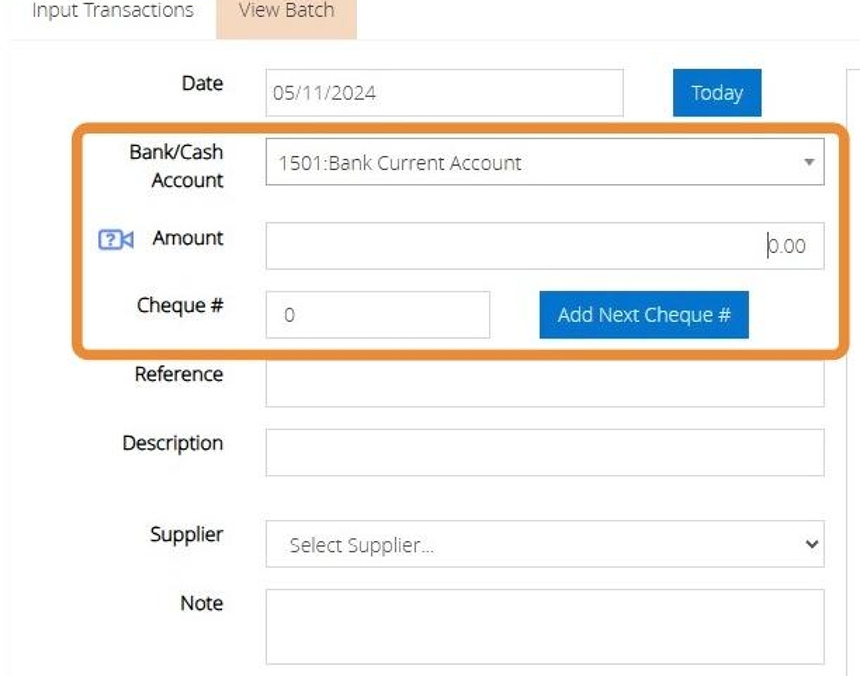
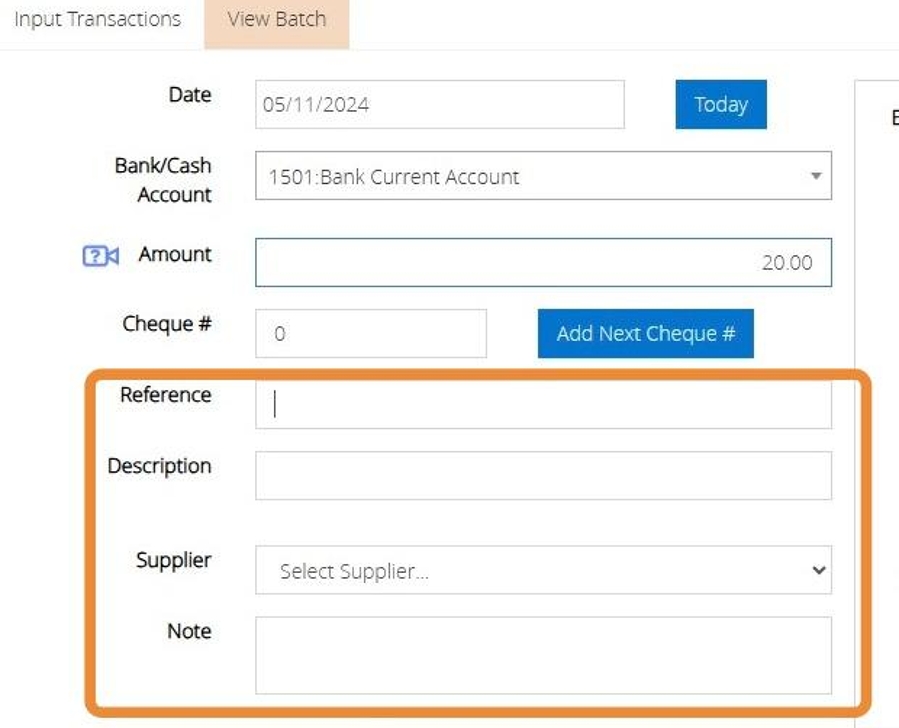
6. Click in the Reference box and type a reference of your choice – this will be seen in the bank reconciliation screen and reports
Click in the Description box and type a description of your choice.
You can assign a supplier to the expense by clicking the "Select Supplier" option
Enter any notes that relate to the transaction
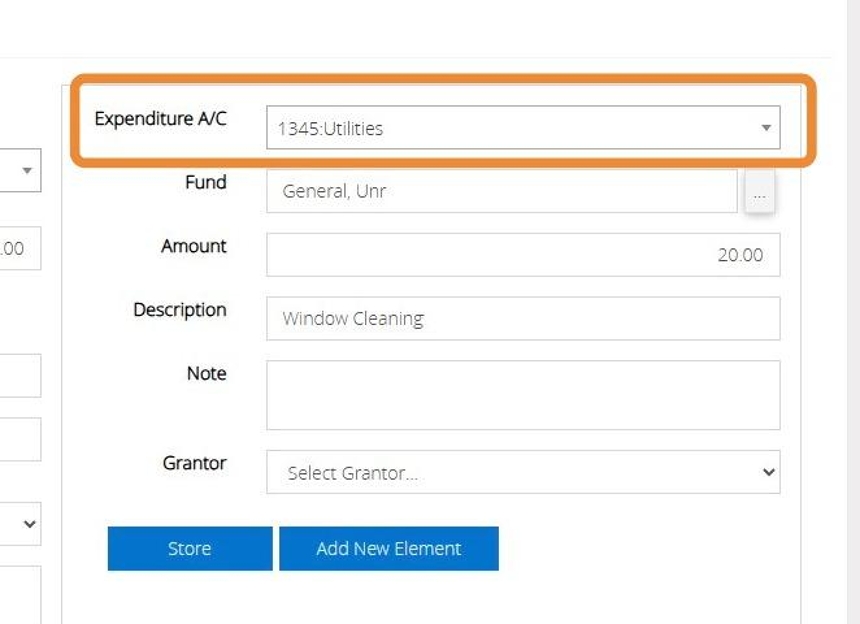
7. Click the Expenditure a/c dropdown menu on the right of the screen and a list of income accounts will appear.
Click the Expenditure account you want to use
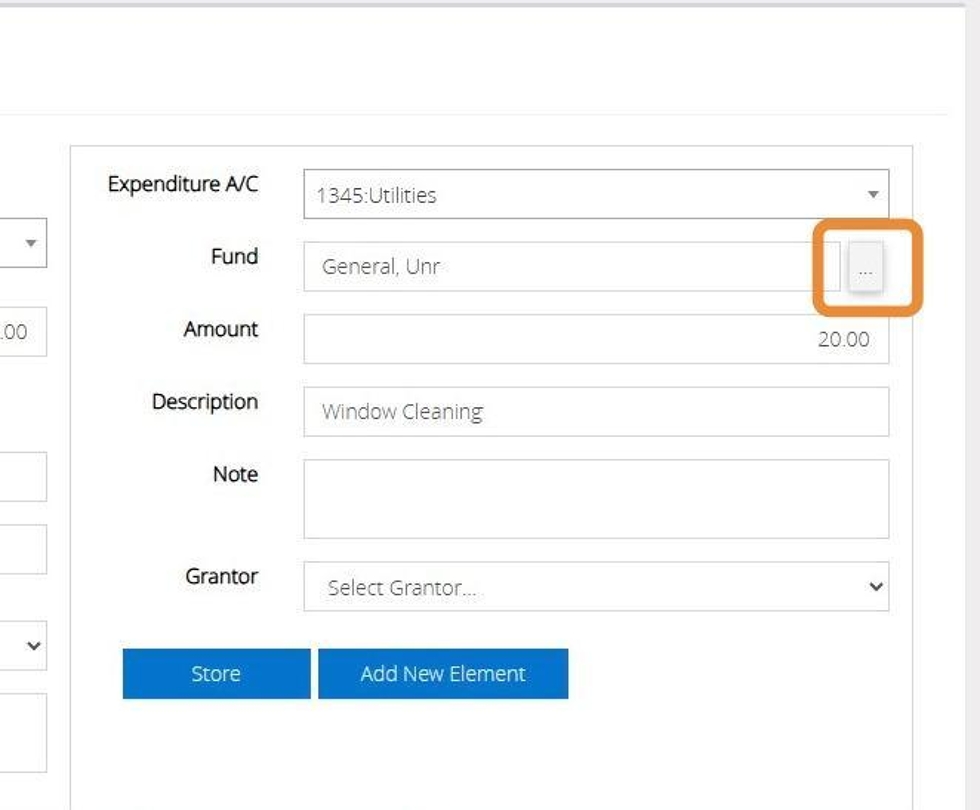
8. Click the small box to the right of the Fund box to show a list of all funds. Click on the fund you wish to use.
9. The amount and description will automatically be entered from the bank side of the transaction. You can overtype this should you need to.

10. Select a Grantor record from the drop down menu should you wish to assign a grantor record to the transaction.

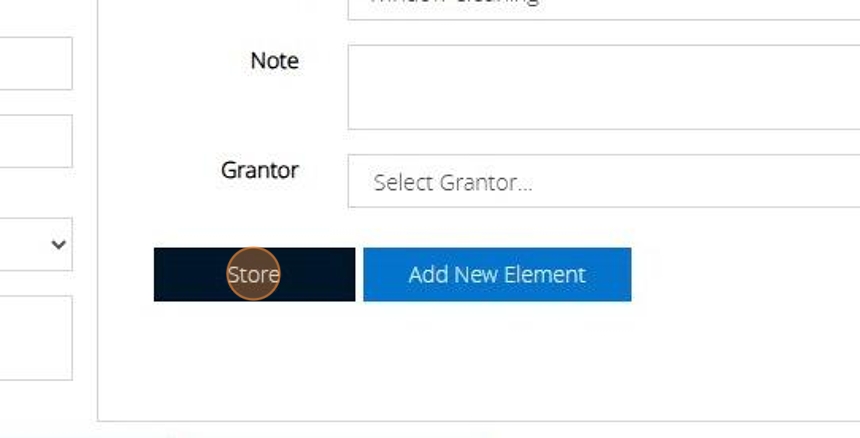
11. When you are ready to post the transaction Click "Store"
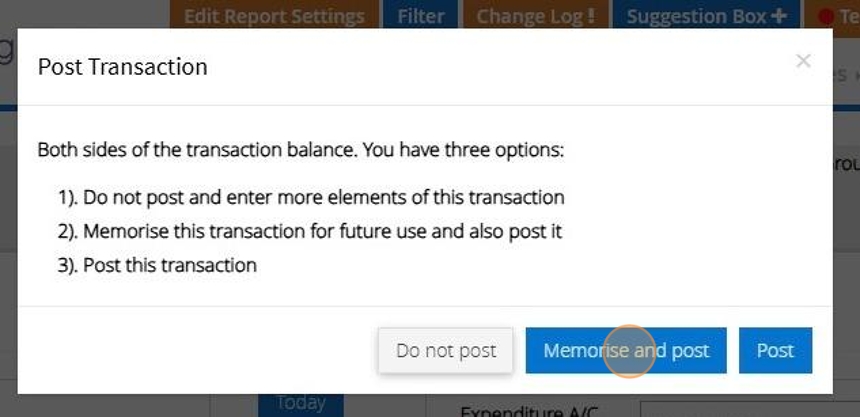
12. Click "Post"

Memorise Transaction
13. If the transaction is an expense that you enter frequently you can select "Memorise and Post" to save the transaction as a template.
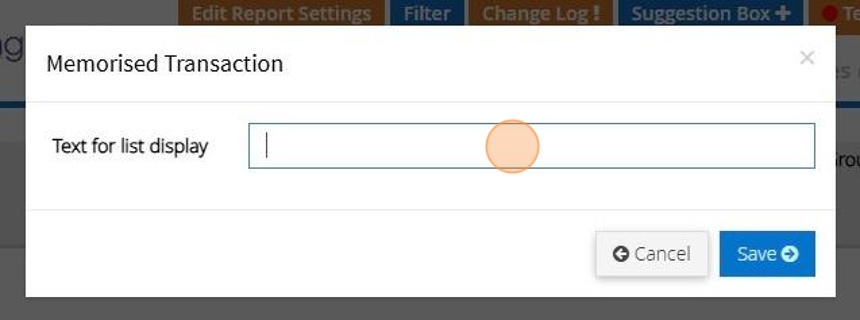
14. Enter a name for the transaction
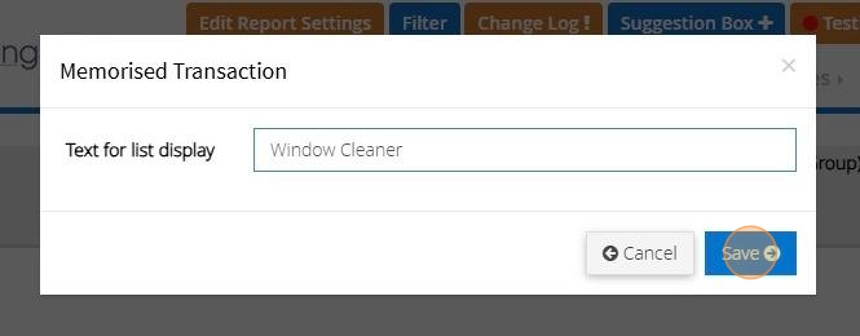
15. Click "Save"
Recall a memorised transaction
16. Click "Record Expenditure"
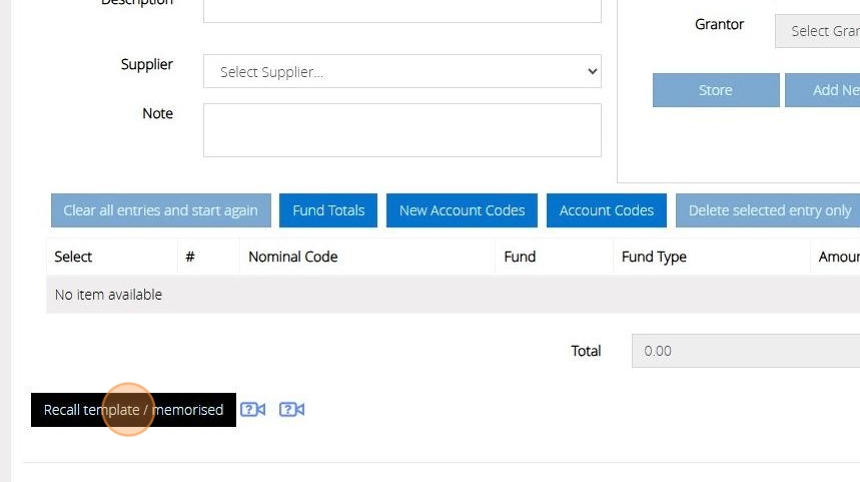
17. Click "Recall template / memorised"
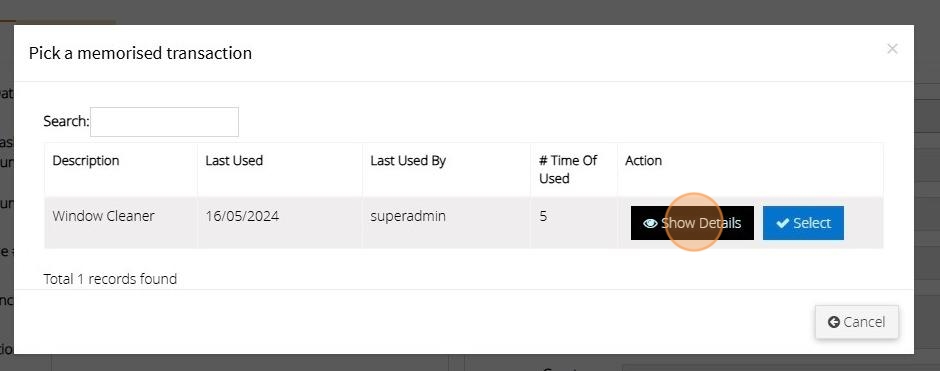
18. All transactions that have been memorised will display here. Click "Show Details" next to a transaction to show further information
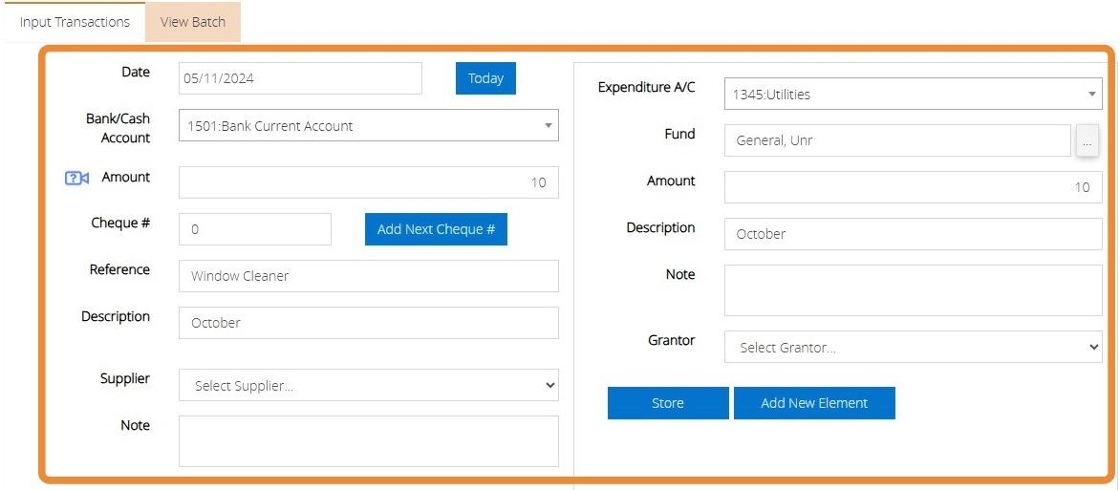
19. The transaction will open as per the below image.
Click "Cancel"

20. Click "Select" next to the template you wish to use

21. Make any changes that are needed to the transaction such as the date or amount
22. To update the template with the changes made click "Update Template and Post"
To create a new template while keeping the original unchanged click on "Memorise and Post"

23. Alternatively, Click "Post"
Multiple Elements
Tip: There may be instances where you have paid out a sum of money but this affects more than one Expenditure code and fund. In this instance we would enter an expenditure transaction with multi elements. The below steps will guide you through this process.
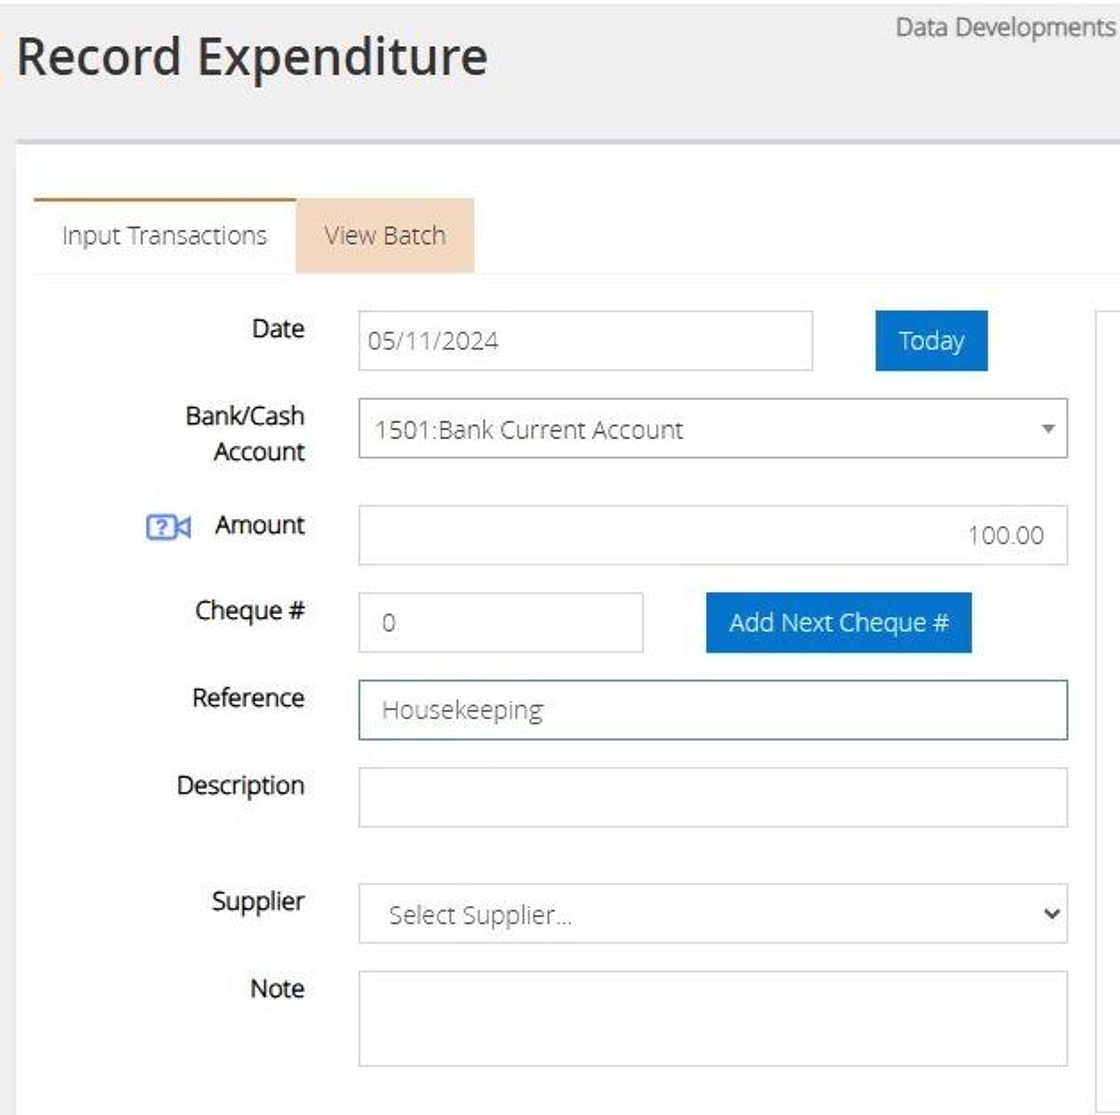
24. Enter the date, select the bank account and enter the total amount that was paid out of the account.
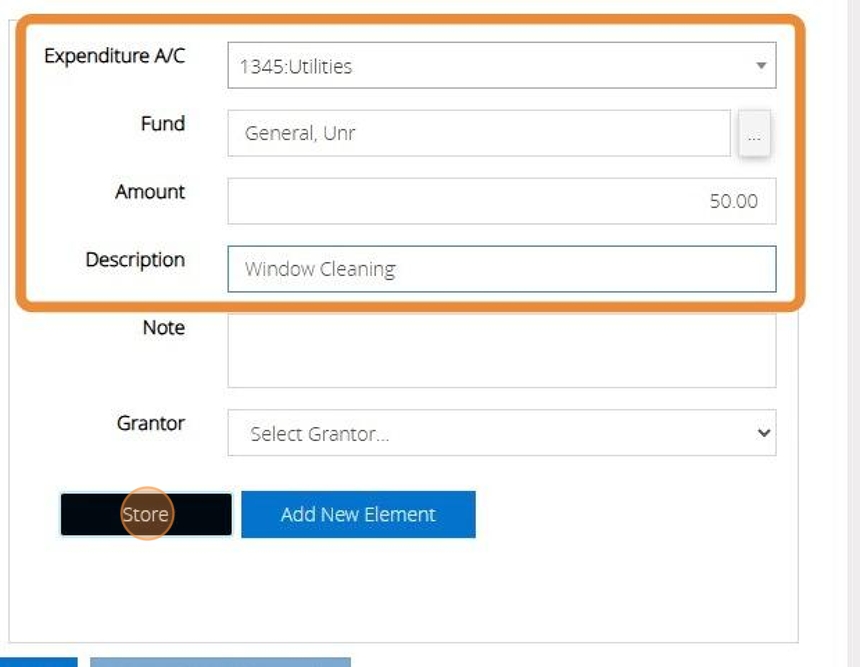
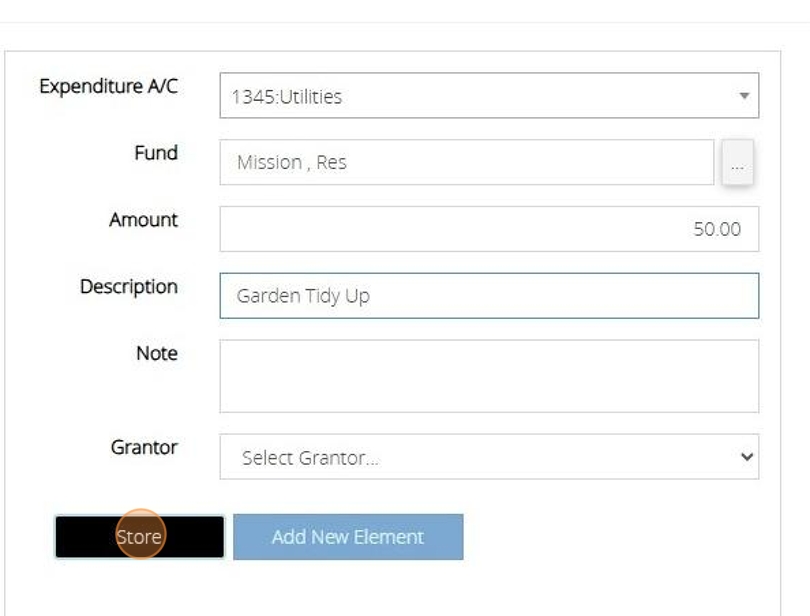
25. Select the Expenditure code and Fund from the drop down menus provided.
The description and the amount will automatically fill from the bank side balance entered on the left hand side of the screen. Adjust the amount as needed for the selected expenditure code and fund
Enter a Description relating to this element
Click "Store"
26. The elements will display on the bottom of your transaction and the Total box will keep a tally of the amounts that have been entered. You will not be able to post the transaction until the total box balances with the amount entered on the top left bank side of the transaction.

27. Click "Add New Element"
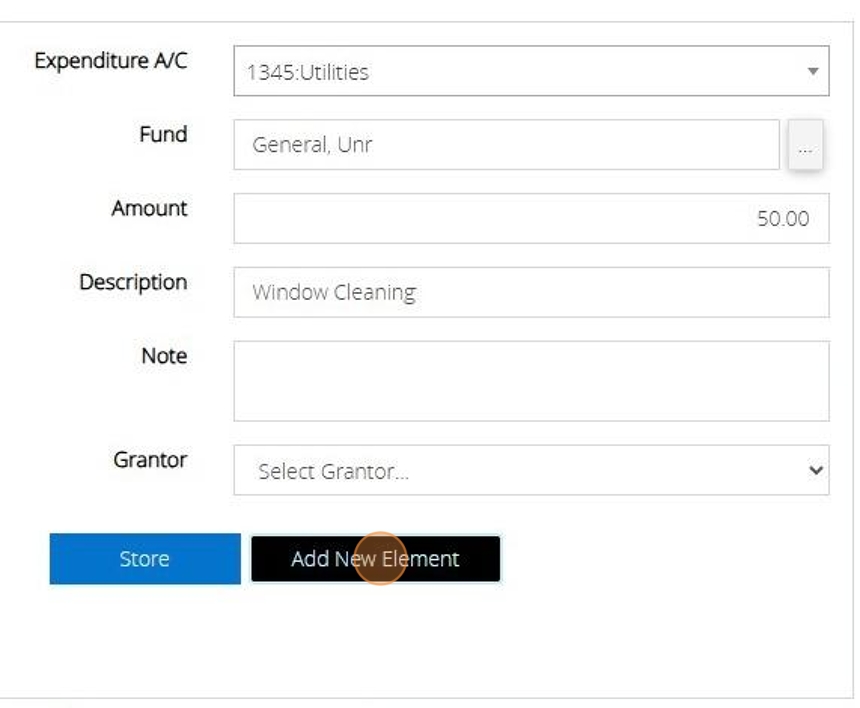
28. Select the next code and fund and confirm the amount to be allocated.
Click "Store"
Repeat this step until the full balance has been allocated.
29. As all the elements balances now total £100 and matches the bank amount entered the "Post" button has become available.

30. Click "Post"
