The below steps will guide you in managing your Grantor records, assigning them to transactions and generating a report on how a grant has been handled
1. Navigate to https://www.myfundaccounting.online
Create a Grantor Record
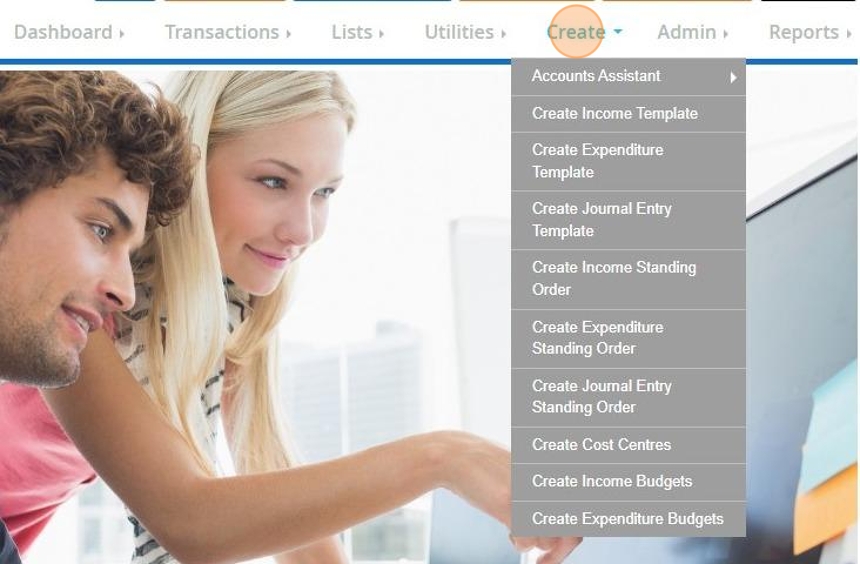
2. Click "Create"
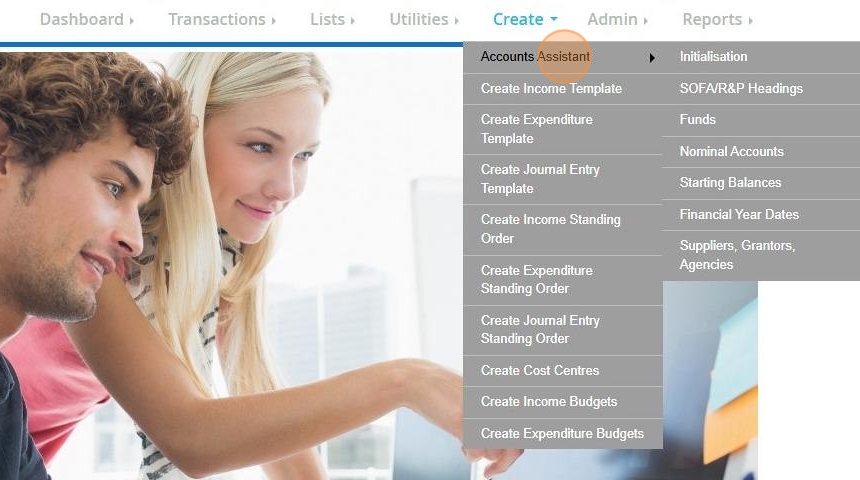
3. Click "Accounts Assistant"
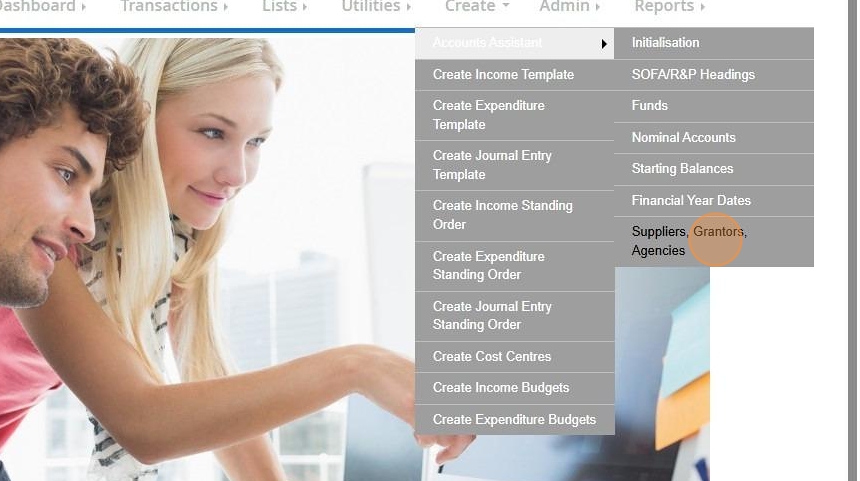
4. Click "Suppliers, Grantors, Agencies"
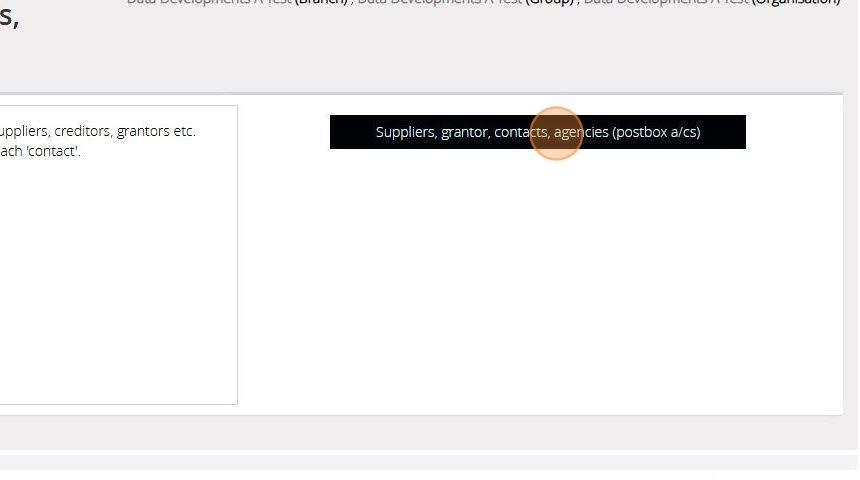
5. Click "Suppliers, grantor, contacts, agencies (postbox a/cs)"
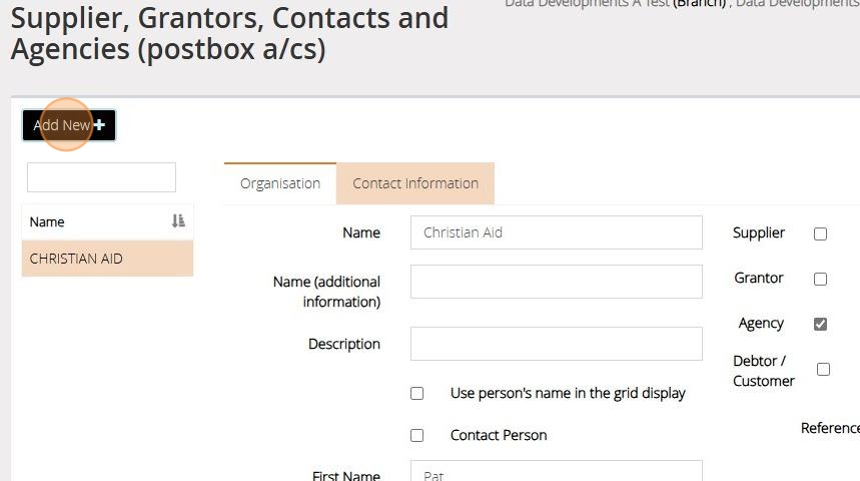
6. Click "Add New"
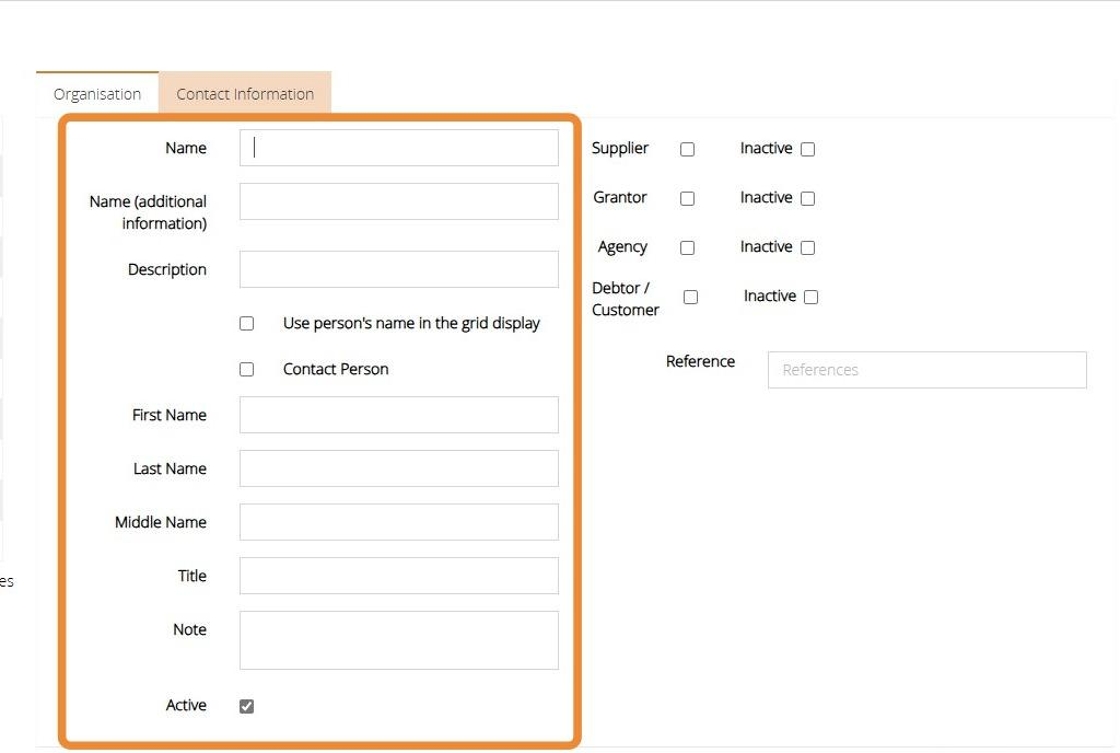
7. Enter the Grantor information into the boxes provided
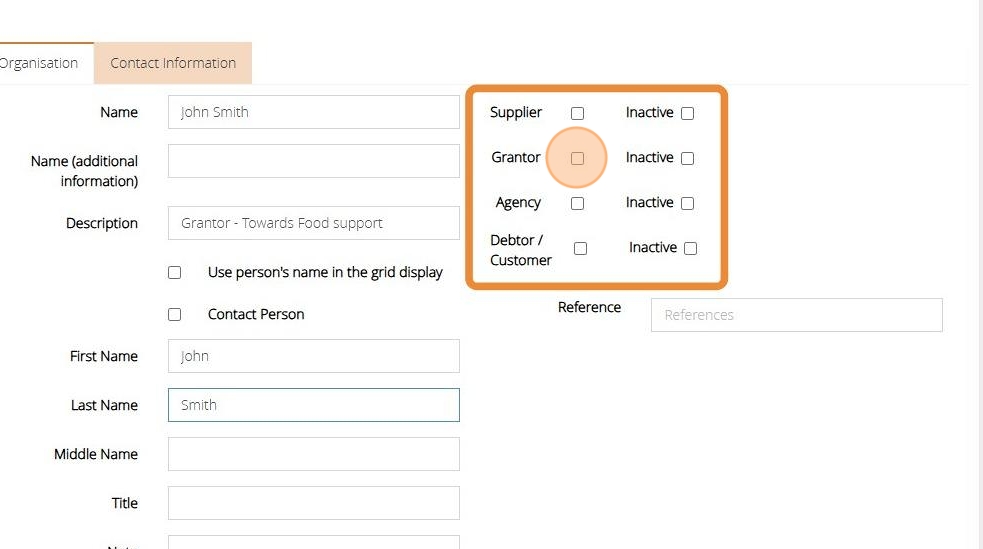
8. Tick the check box next to "Grantor"
9. Ensure the box is ticked next to "Active" to mark your Grantor Record as active.
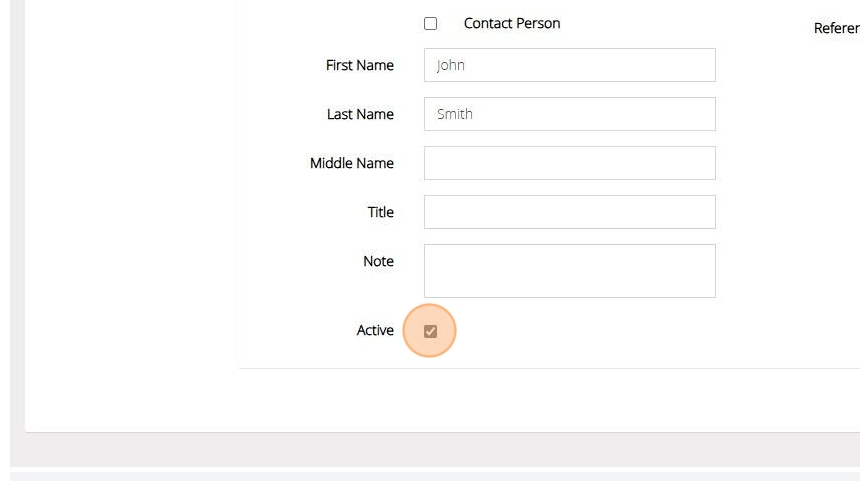
10. Should you need to mark this record as Inactive in the future you can do so by ticking the box next to "Inactive"

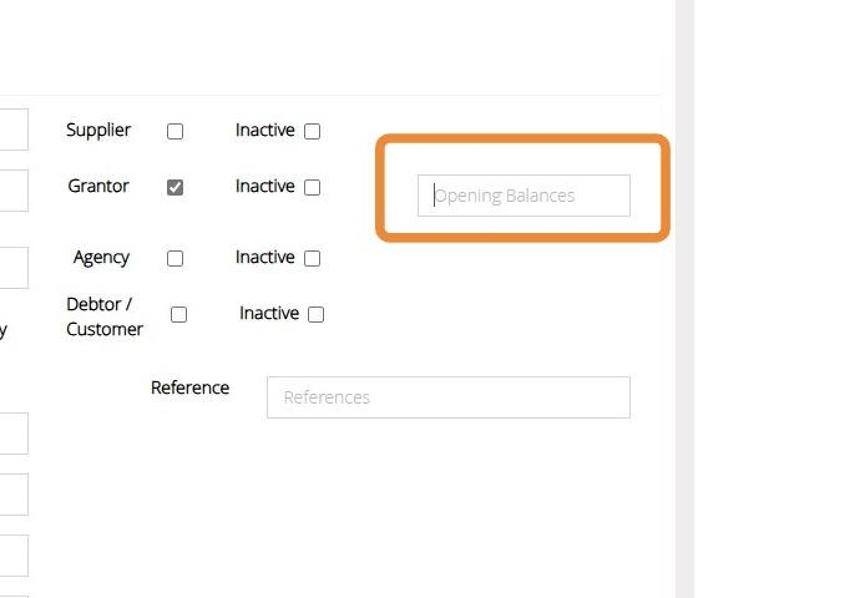
11. You can enter a starting balance for your Grantor by entering the amount here
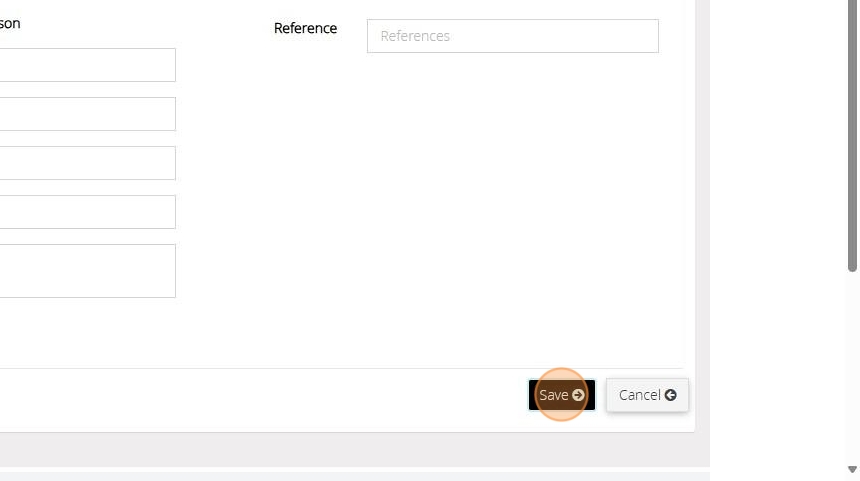
12. Click "Save"
Assign a Grantor to a Transaction
In the below example we will guide you in assigning a Grantor record to an Income transaction. The process is the same using the record Expenditure screen.
13. Click "Transactions"
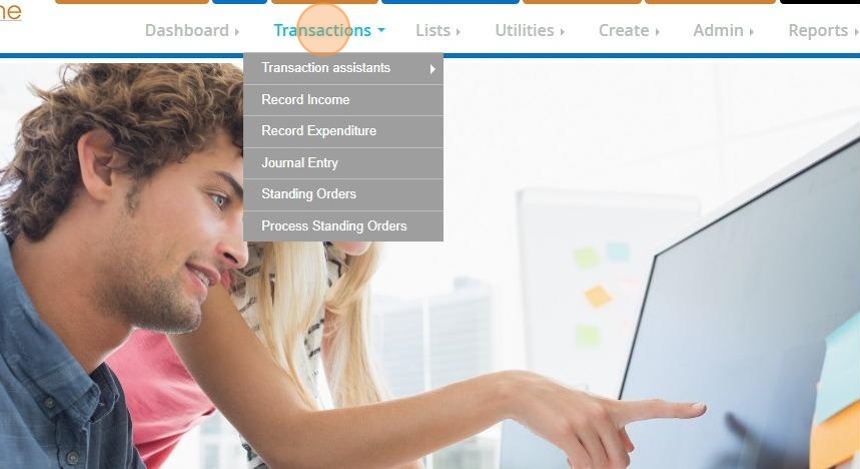
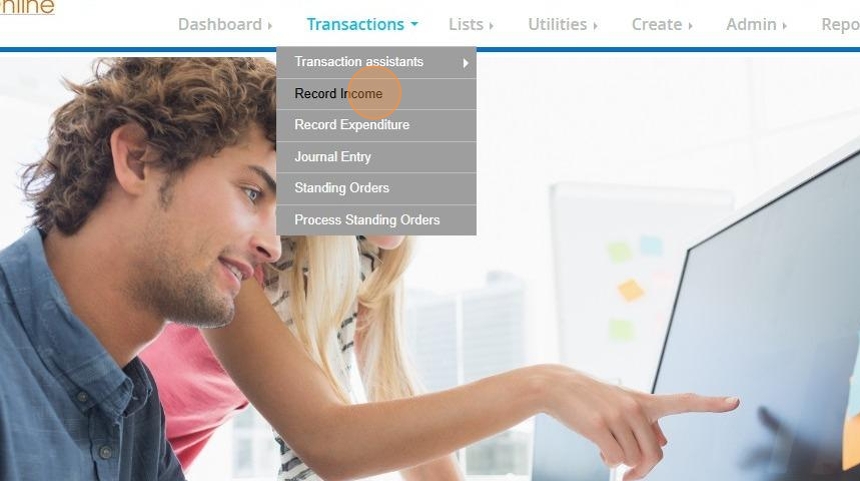
14. Click "Record Income"
15. Click "Select Account..."
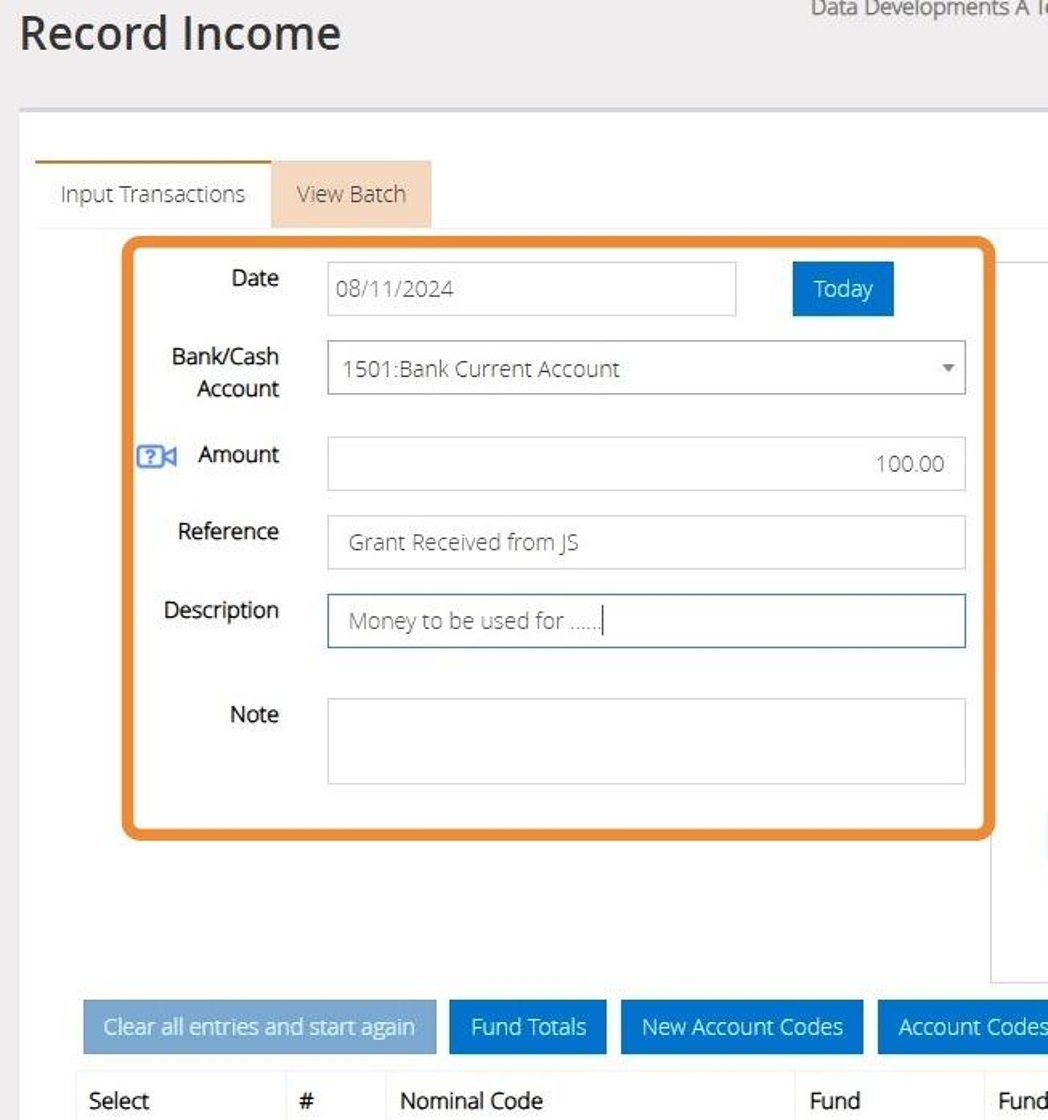
16. Select the Income code and Fund from your lists provided.
Confirm the amount and enter a description.
Notes can also be added that relate to the transaction.
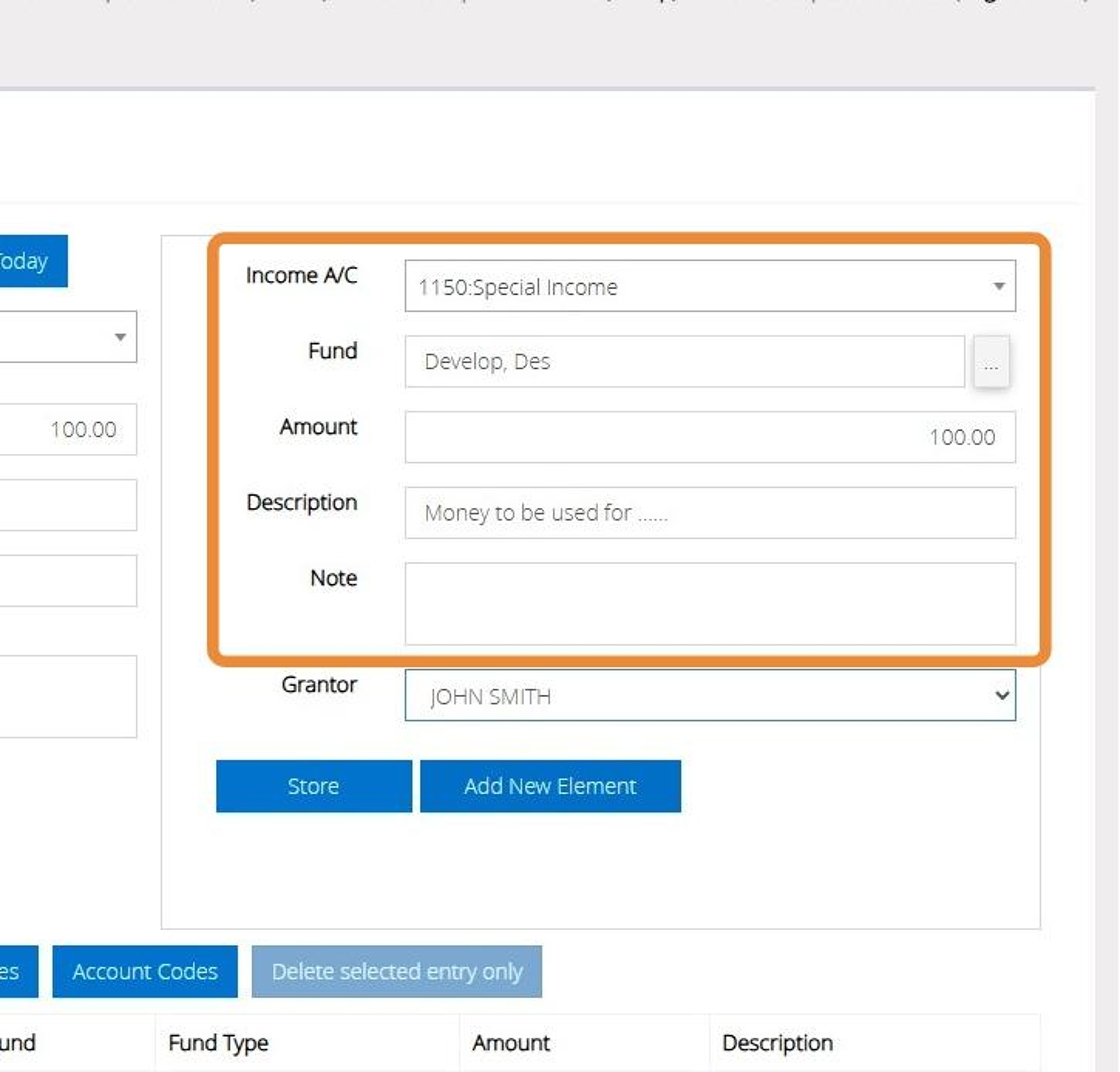
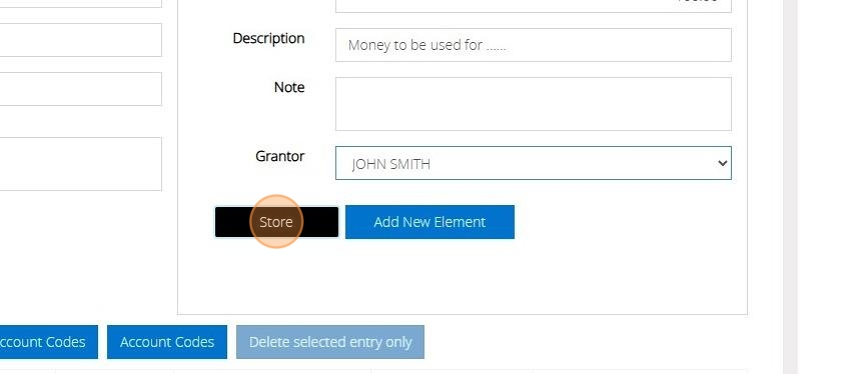
17. Select the Grantor record from the drop down menu provided
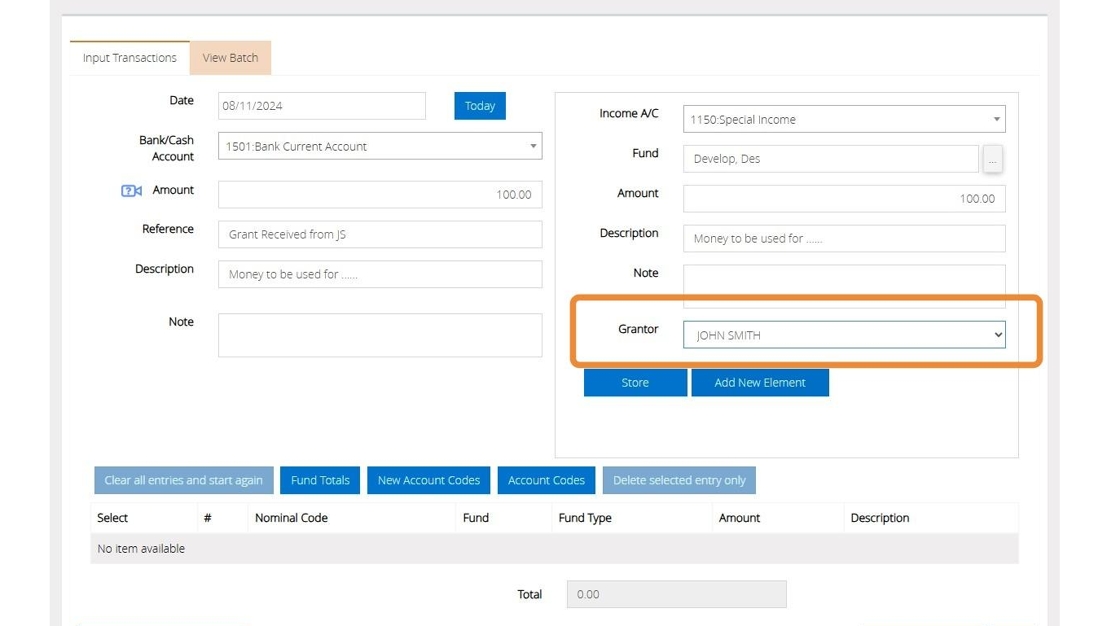
18. Click "Store"
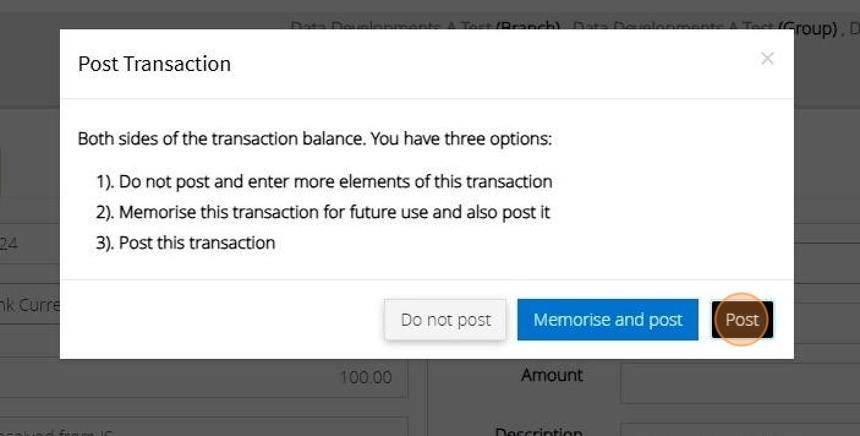
19. Click "Post"
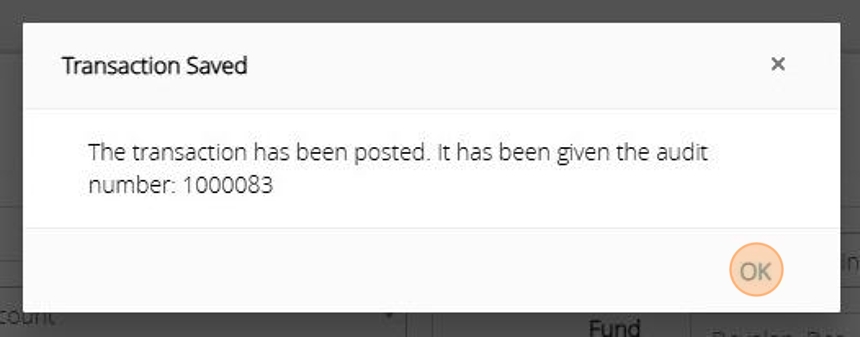
20. An Audit number will be issued once the transaction has been posted successfully.
Produce a Grantor Report
21. Click "Reports"

22. Click "Supplier, Grantors and Agencies"

23. Click "Grantors"

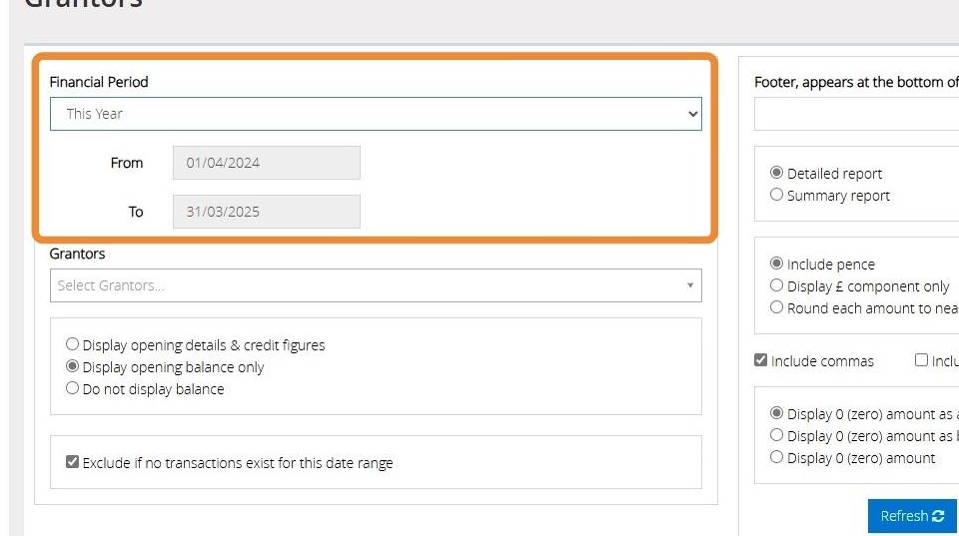
24. Select the Financial period you wish to report on.
To enter manual dates please click the "Data Range" option and type you to and from dates in the boxes provided.
25. Select the "Grantor" record from the drop down menu provided.
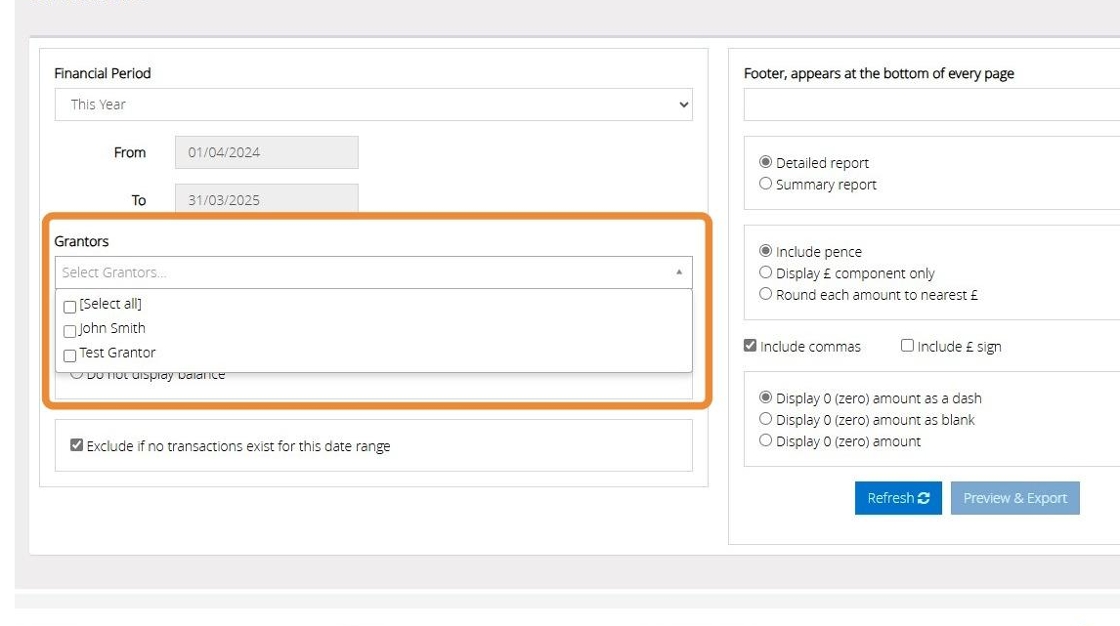
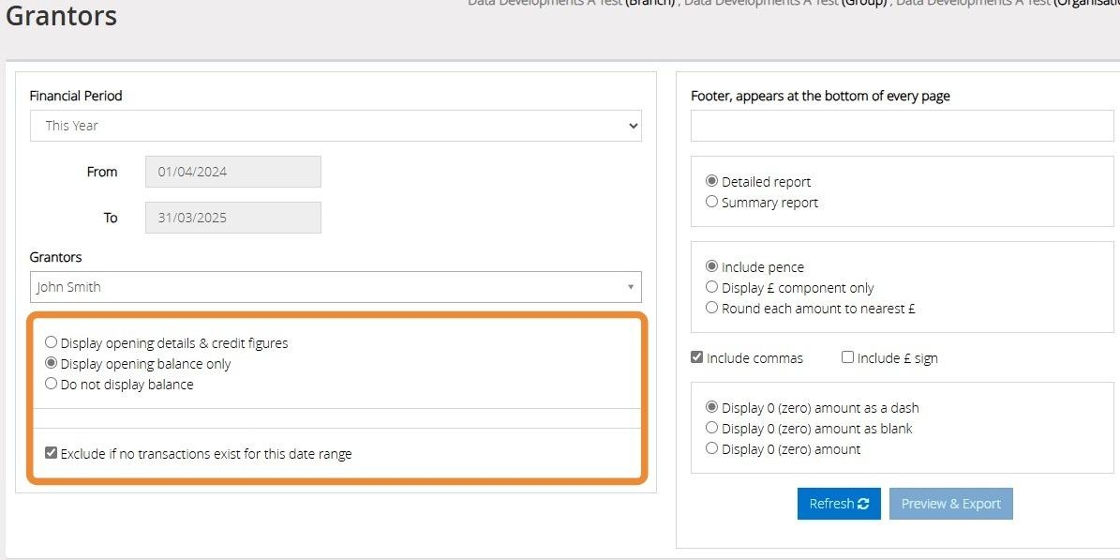
26. Here you have options to filter the data included within the report
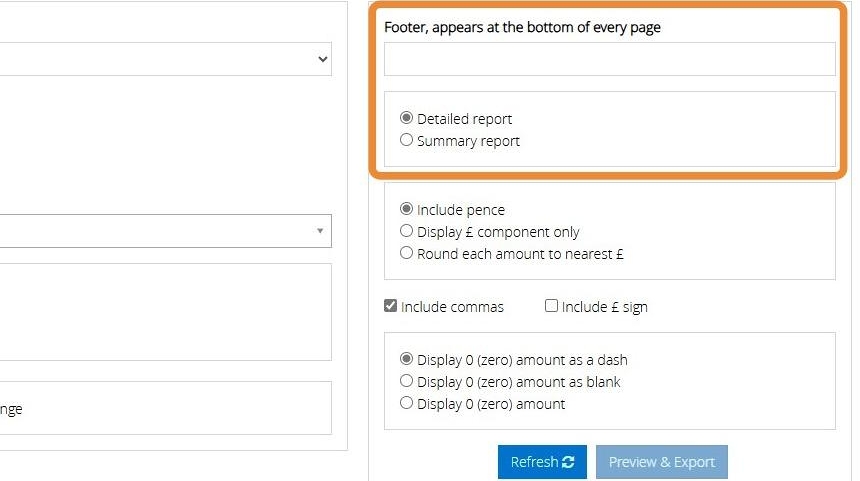
27. You can enter a footer to appear at the bottom of every page on the report
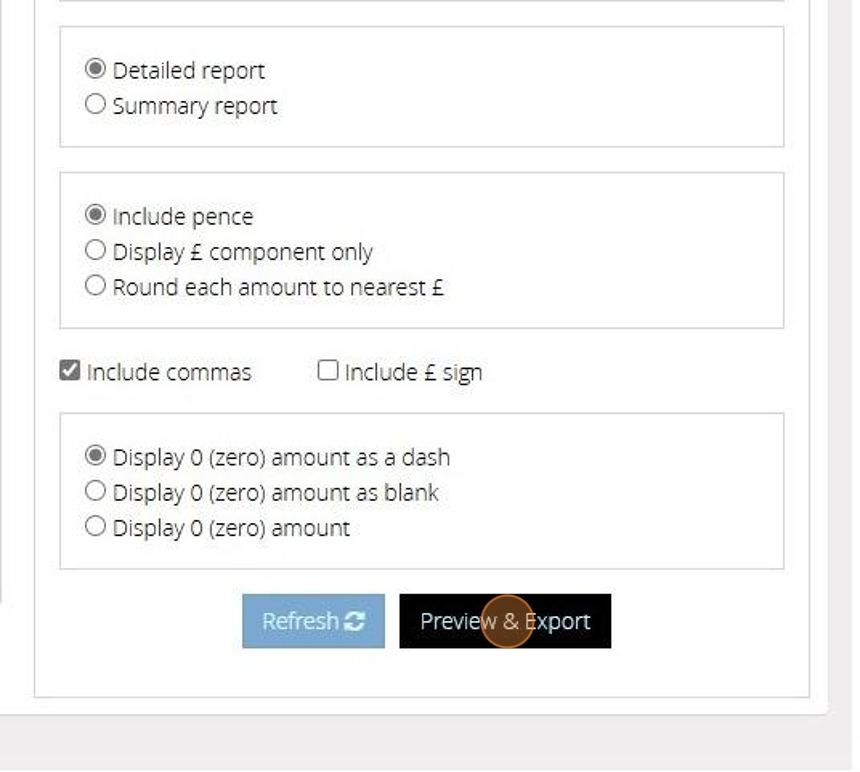
The "Detailed" version of the report with subtotals will give you a list of transactions and a total and the "Summary" option will give you just the total without the list of individual transactions
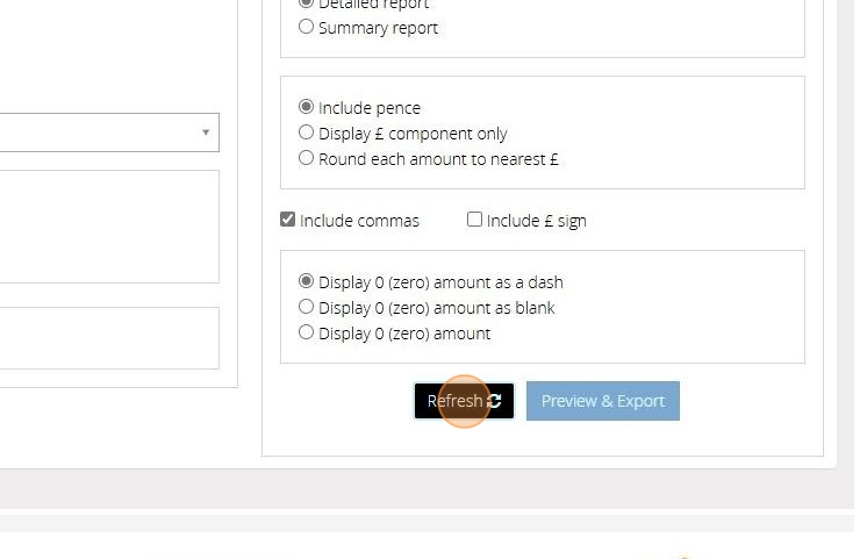
28. The section below lets you control the way the amounts are displayed in the report.

29. To then generate the report click "Refresh"
30. Click "Preview & Export"
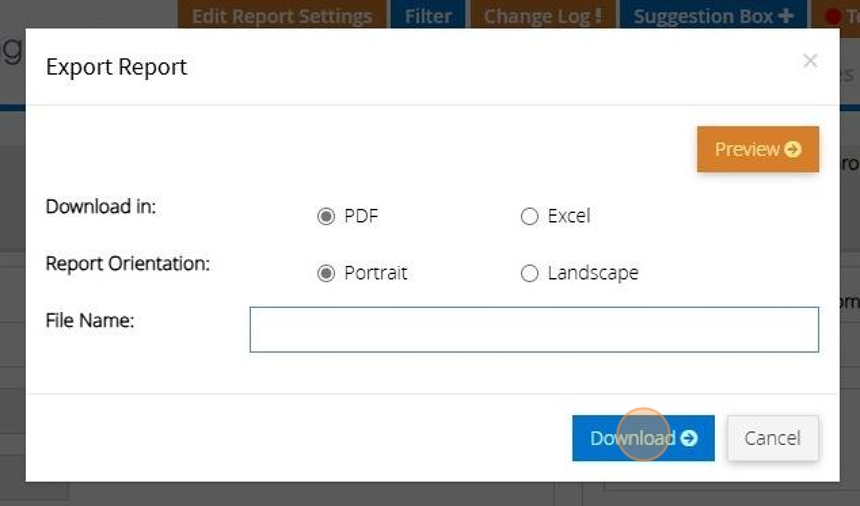
31. You can generate the report as a PDF or Excel file. By default "PDF" is selected
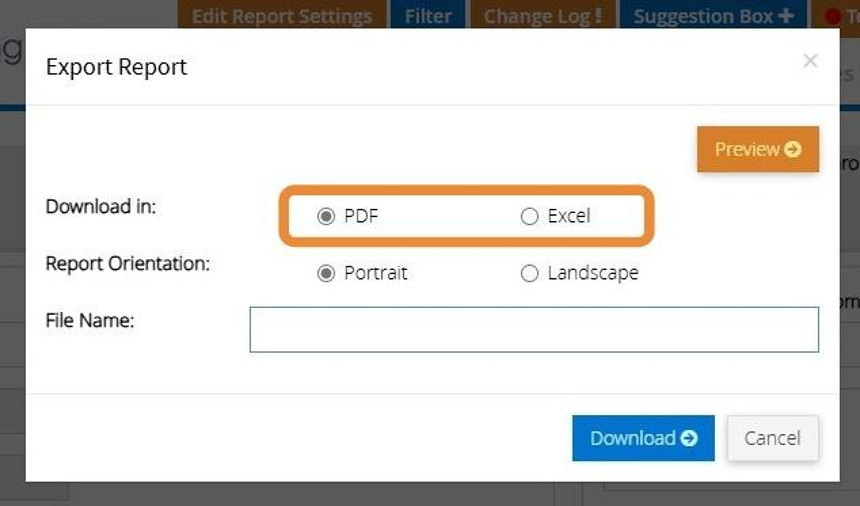
32. You can choose to have the report in portrait or landscape mode. Depending on the report this may be set to landscape or portrait. You can change this, however, it may result in a report that doesn't look right.

33. Click "Preview" to see the report in the browser. (Only works with PDF)
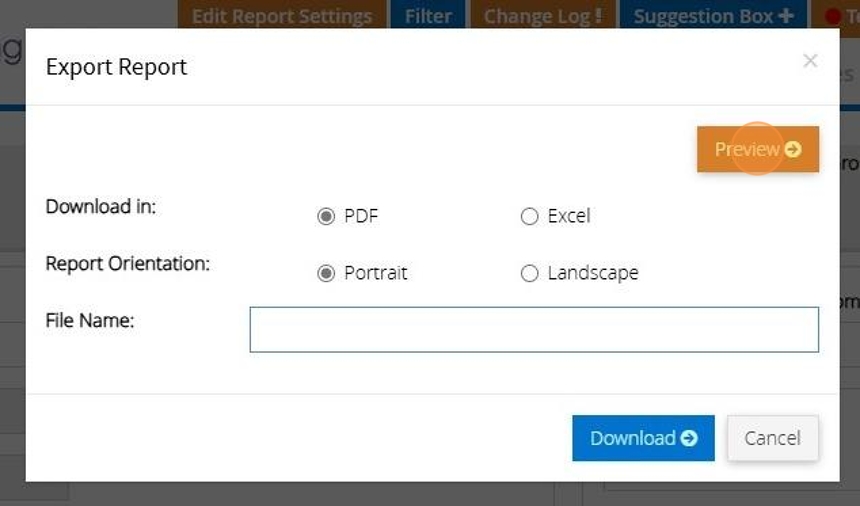
34. Click this text field and enter in a name for the file that will be created

35. And click "Download"
