Generating a Transaction Listings Report (Copy)
1. Navigate to https://www.myfundaccounting.online/dashboard
2. Click "Transactions"

3. Click "Transaction listings"

4. Click this dropdown to change the dates the report is generated for. There are several preloaded options that will enter in a from and to date relevant to your current tax year and selected options

5. If you select the date range option you can customise the from and to date by clicking on the box with the "From" date

6. And "To" date

7. Once you have set the date you wish to generate a report for you can start filtering the data on various selections. The dropdown labelled "Nominal Accounts" will allow you to select one or more of your nominal codes of any class e.g. Current assets, Income, Expenditure etc. Depending on the nominal codes you select the report will only show transactions that include those codes.

Tip: Tip! If you do not want to exclude any of the options shown in the dropdown you do not need to make a selection. By default no selection means you want to show transactions with any nominal code, fund, class etc.
8. The dropdown labelled "Fund Types" will allow you to select one or more fund types to limit the transactions to. The 4 fund types you can select are unrestricted, restricted, designated and endowment. The selection made also affects the individual funds you can select in the next step.

9. The dropdown labelled "Funds" will show the specific funds you have set up which meet the criteria of the Fund Types you have selected. If you haven't selected any fund types funds of all types will be listed. You can select one or more of your funds to limit the transactions on the report to.

10. The dropdown labelled "Classes" is similar to "Fund Types" as in it will allow you to select one or more type of nominal account. There are 6 types of nominal accounts you can select e.g. Current assets, Income, Expenditure, Liabilities, Fixed Assets and reserves.

Alert: Alert! If you select the class "Current Assets" in this step but select only income codes in step 7 you will always get a "No data to process" message as this is a conflicting selection.
11. Like Nominal Codes and Funds you have two dropdowns for suppliers/grantors/agencies. The first allows you to select one or more types in this case Supplier, Grantors or Agencies. The second will shows you the list of the suppliers, grantors and/or agencies you have created. Depending on your selection the report will only show you transactions with a supplier,

Alert: Alert! If you do not select a specific supplier, grantor or agency to report on you will get all transactions that do not have a supplier, grantor or agency assigned to them in the report.
12. The dropdown labelled "Entry" will allow you to select one or more sources from which a transaction can be recorded. These options relate to the menu option you selected before creating the transactions e.g. "Record Income"

13. If you are looking for a transaction of a specific amount to see if it has been recorded you can use the options provided below to provide a range of amounts or the system to search. You can provide the same amount in both the from and to box.

14. If you use a specific reference for transactions and want to see all transactions for that reference you can type it in here. If you do not know the full reference you can enter in one or more words and the report will show all transactions with a reference that contain those words.

15. Same as the reference you can get a report of transactions with a description that contains the text you provide in the description box

16. You can only use the "Compare with last year" option when you use a preloaded "This Year" option for the financial period. This will result in a different report to the one the "Transaction Listings" report will normally provide. It will contain summarised credit, debit and balance figure for each nominal account for the current year and the previous year.

17. Click this radio button to show any notes in the report that you may have recorded against the transaction

18. If you know the audit number(s) you want to report the details on you can provide it in this section. You can enter in the same audit number in both of the boxes or provide a range e.g. from 1000001 to 1000005

19. The "Output order" will determine how the transactions are ordered in the report. Select the relevant option that would be most appropriate for the information you want to extract. This option also controls the basis of sub totals which is covered further down this guide.

20. By default only active transactions will be included in the report but you can choose to show only voided transactions or both active and voided. The reconciled and unreconciled option is best used with the class "Current Assets" as only Bank Accounts are marked as reconciled/unreconciled.

21. Click this radio button "Single line no subtotals" to get a report with a single list of all transactions that meet the criteria entered and one total at the end of the report of the credits and debits columns

22. Click this radio button "Single line + subtotals" to generate a report which provides a total for each unique value for the output order you have set in step 19

23. The "Detailed" version of the report with subtotals will give you a list of transactions and a total for each unique value and the "Summary" option will give you just the total without the list of individual transactions

24. Click this radio button "Multiple Lines" to show additional information against the transactions e.g. notes, entry date, entry screen, which are not available on the previous 2 reports or the next report style

25. Click this radio button "Portrait" to print a report generated in portrait mode. Due to the reduced space this report has less information about the transaction. It excludes fields like reference and description

26. The section highlighted below let you control the way the amounts are displayed in the report.

27. Given how many selections are available and the re-usability of this report we have the option available for you to save and recall the filters you have applied to remove the need to re-select them every time you need the same or a similar report. If you wish to save your selections for future use click "Save Settings".

28. Enter in a name for the setting e.g. "All donations received this year", and then click "Save"

29. Click "OK"

30. To recall a saved setting click "Load Settings"

31. Click "Select" on the one you wish to recall. You can also click "Delete" in this list to remove any unwanted settings

32. Click "OK"

33. You can then amend any of the selections that have been loaded from the settings and update the saved selections if necessary

34. To then generate the report click "Refresh"

Tip: Tip! If you change any of your selections for what to include in the report you will need to click refresh again
35. Click "Preview & Export"

36. You can generate the report as a PDF or Excel file. By default "PDF" is selected

37. You can choose to have the report in portrait or landscape mode. Depending on the report this may be set to landscape or portrait. You can change this, however, it may result in a report that doesn't look right.

38. Click "Preview" to see the report in the browser. (Only works with PDF)

39. If you want to download a copy of the report click this text field and enter in a name for the file that will be created

40. Then click "Download"

41. To generate the "Excel" file click the "Excel" option.

42. Enter a name for the file

43. And click "Download"

Tip: Tip! This is one of the most flexible reports on MyFundAccounting and is perfect for extracting information for a specific criteria. It is worth setting time aside to get familiar with it and generate various reports to see what data you are able to extract from it.
Creating an Income or Expenditure Template in MyFundAccounting.Online (Copy)
Tip: Many payments or receipts happen on a regular basis that are not Standing Orders or Direct Debits.
For example, payments to a window cleaner that repeat regularly.
The below steps will guide you in creating a transaction that can be recalled at any time.
1. Click on Create and select either "Create Income Template" or "Expenditure Template "
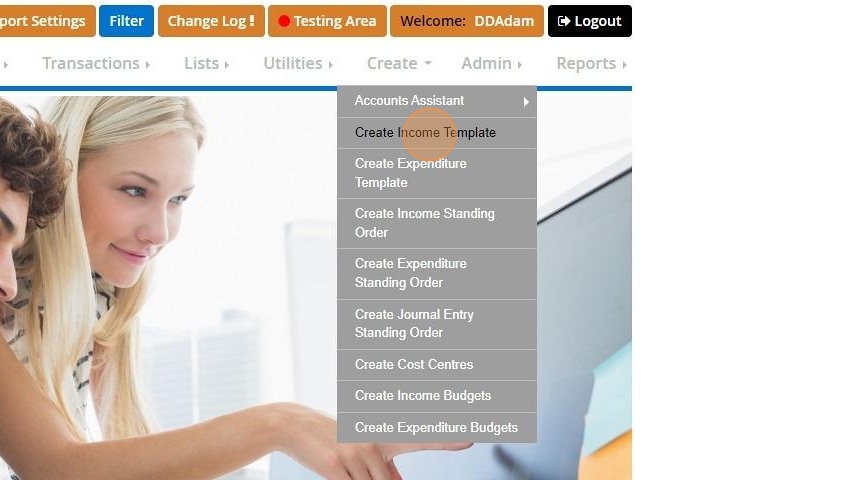
2. In this example we are creating an Income Template.
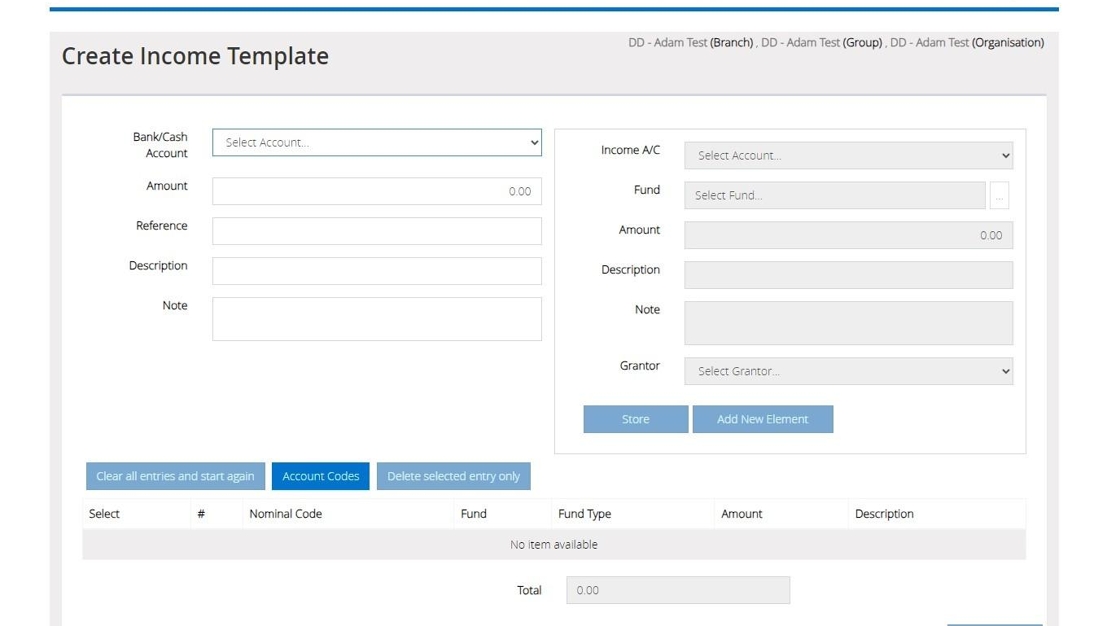
3. On the left, we can click on the Bank/Cash account dropdown to select the Bank account you wish to create the Template for.

4. Also on the left hand side of the screen, you can enter an amount, reference, description and notes to be part of your Template.

5. Once you have completed filling in all the elements you wish to have on the left part of the screen. We can then move across to the right side, clicking the Income A/C or Expenditure A/C dropdown, depending on the Template you are creating. This will then allow you to select the Income / Expenditure code.

6. If you need to change the fund in your Template you can click on the square with the ellipse "..."
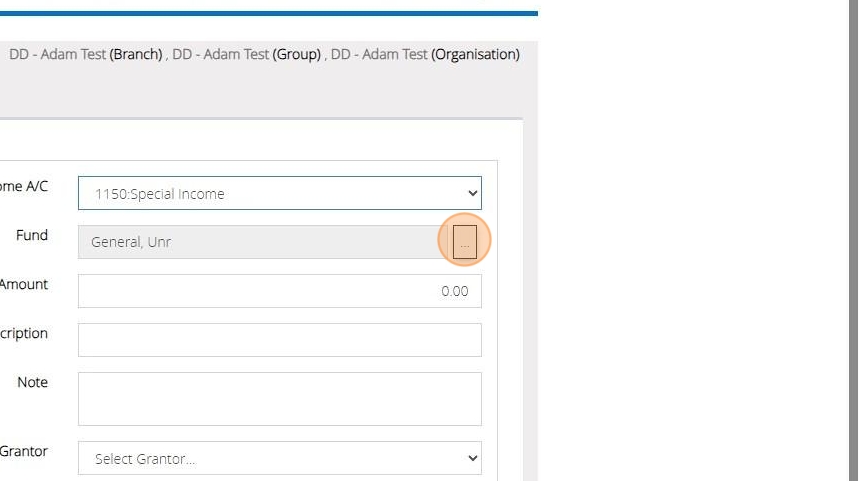
7. Click "Select" to add your desired fund.

8. Once you have made your selections on the right click "Store" to add this to your Template.

9. After clicking store, if you want to add another element to your Template, select "Add New Element" to then add another Income or Expenditure code.

10. Repeat steps 5- 8 to select a new code.
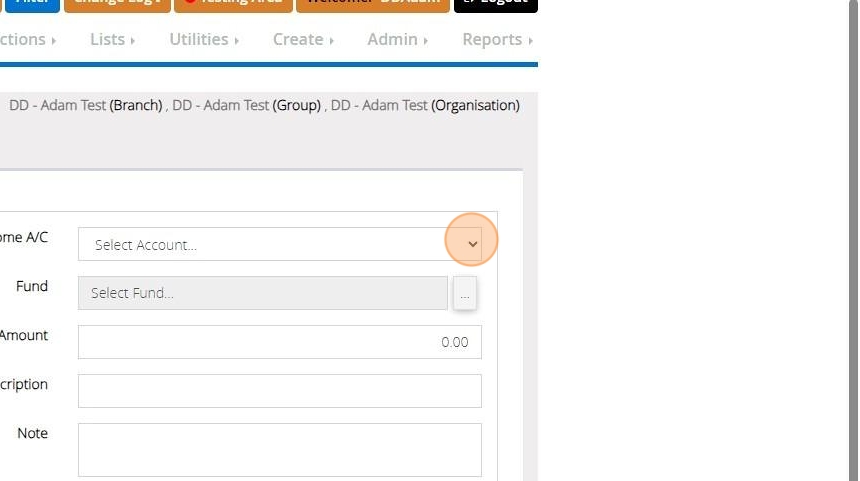
11. Once you have added all your elements click "Save Template"

12. Type in a name for your Template and select "Save".

How to Recall an Income or Expenditure Template
13. After you have created your Template, you can return to the dashboard and select "Record Income" or "Expenditure" depending on the template you have created.
14. Then when you are on the "Record Income/ Expenditure" screen click "Recall Template / memorised" to select the template that we created.
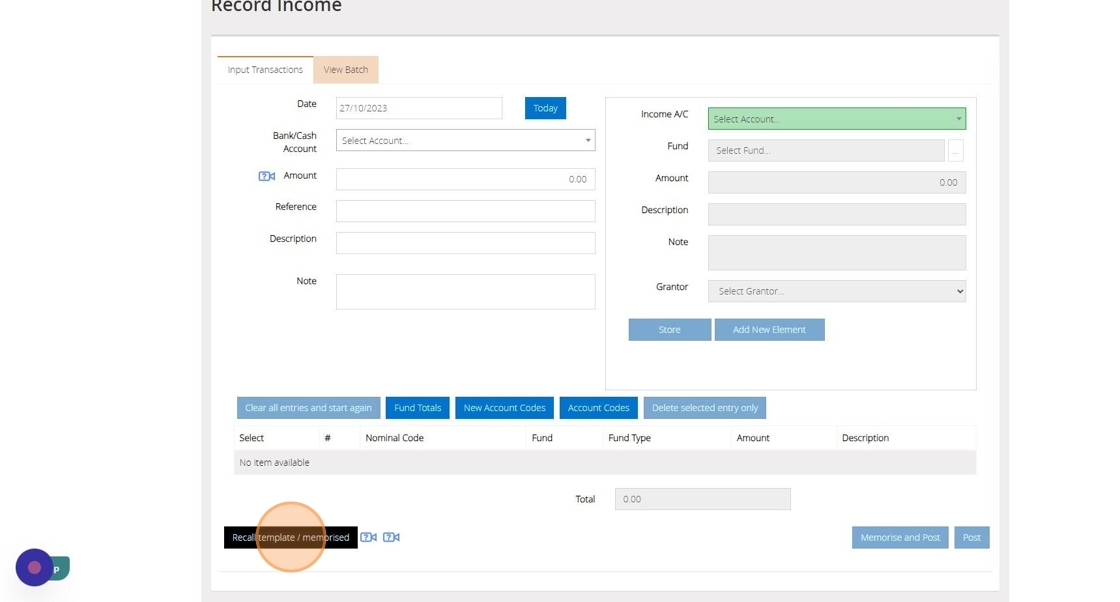
15. Now click "Select" to choose your Template.

16. Once you have recalled the Template, you will have the option to change the Bank amount or enter a new one.

17. Now you will want to enter your amount for each element making up your Bank total for the transaction.
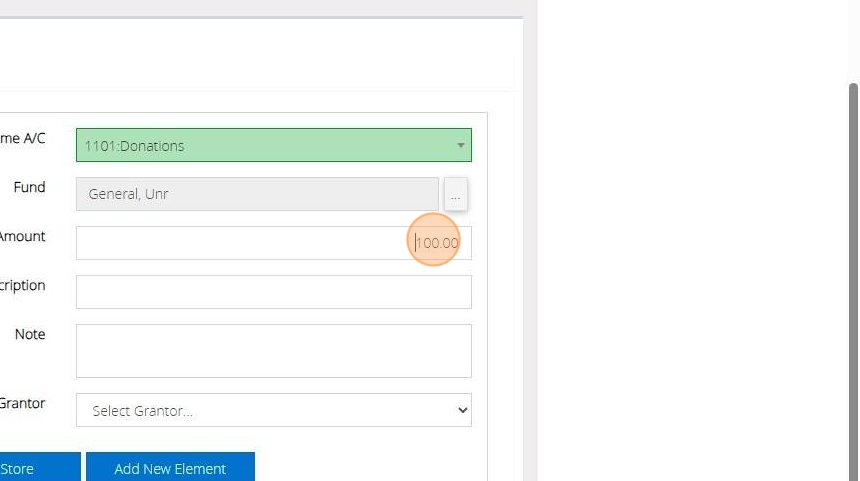
18. Click "Store" when entering an amount to lock this element in place.

19. If your Template is multi-element you can then scroll to the bottom of the screen to select your next element you created to add the next amount.

20. Once completed, if you click store on your final element as long as everything adds up to match the Bank amount, the option to post will become available.

How to Edit/Update Templates
21. When on the record Income or Expenditure screen click "Recall template / memorised" to bring up the template you wish to update.
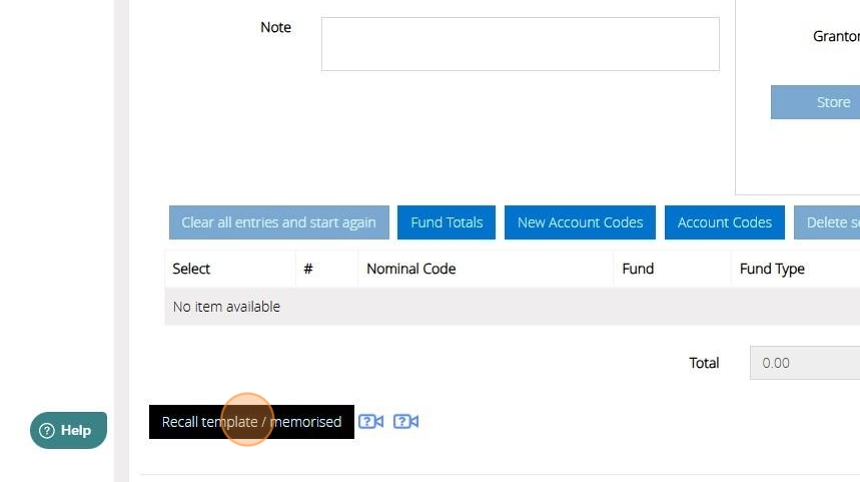
22. Select the element you would like to alter from the list recalled.
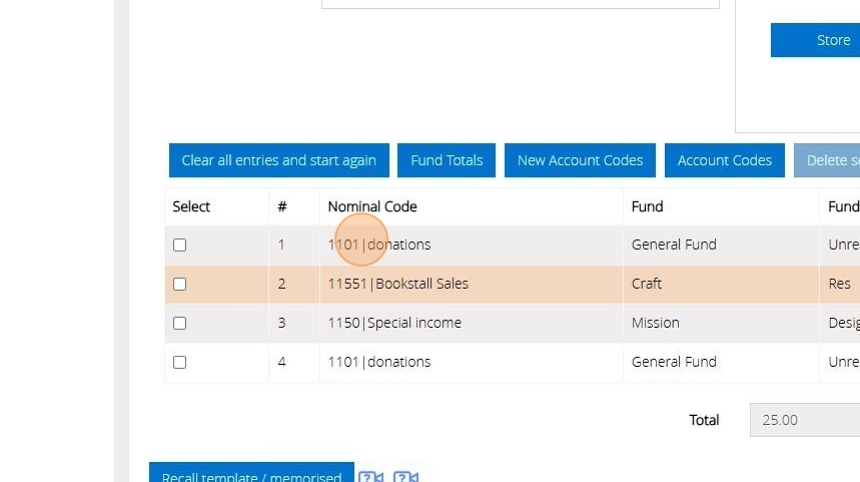
23. Select a new Income Account and input an amount if one is not already established.
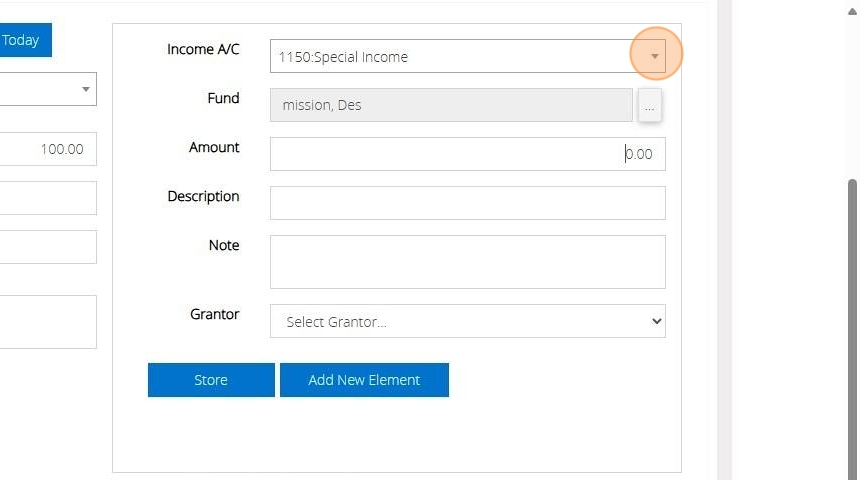
24. Click "Store"

25. You will see the element has now update to the new code you required.
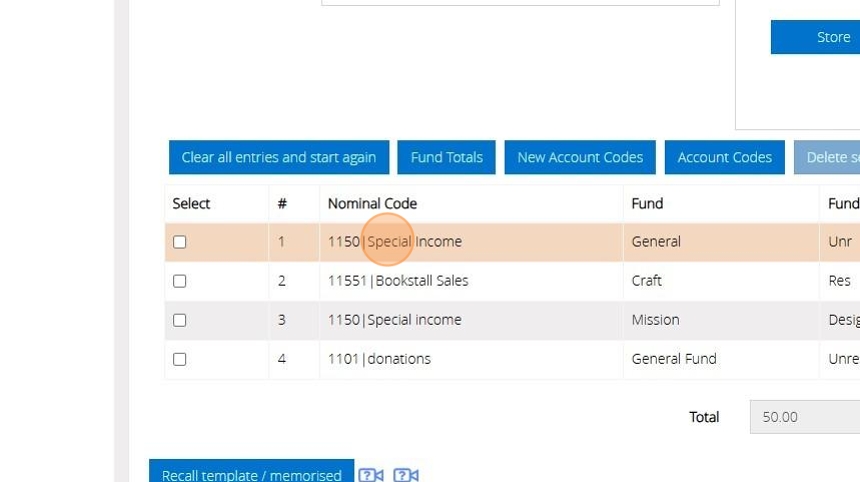
26. Once you have finished entering the final element select "Update Template and post"

27. When you next recall template you will see the elements have been updated.
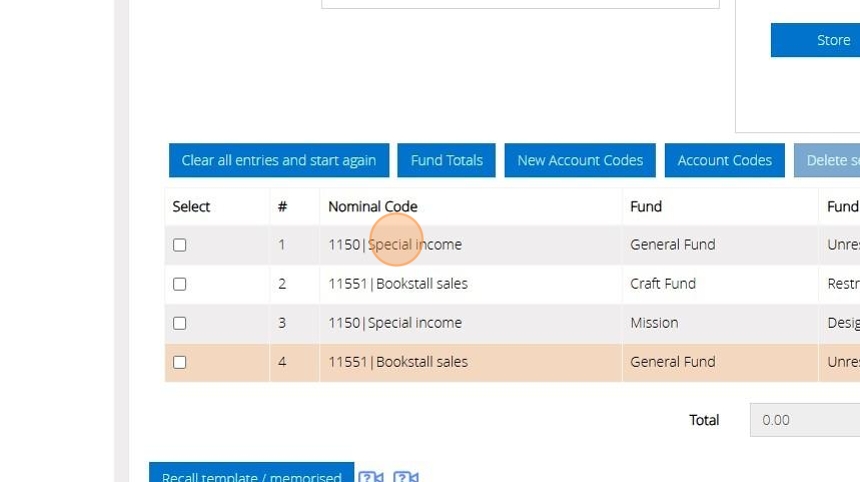
Alert: Alert! Please note that if your template initially contains zero values, updating and posting the template will not change those values. Conversely, if your template has existing amounts, expect them to be updated and changed accordingly.
How to Delete Templates
28. Go to "Utilities"
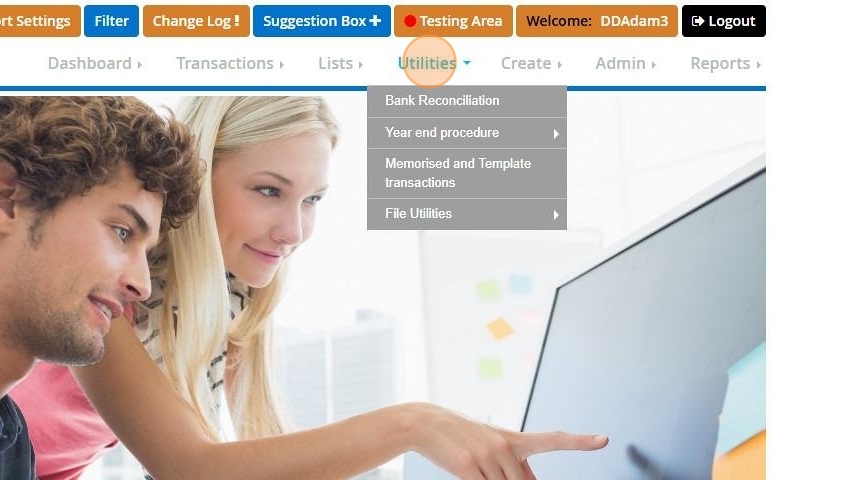
29. Select "Memorised and Template transactions"
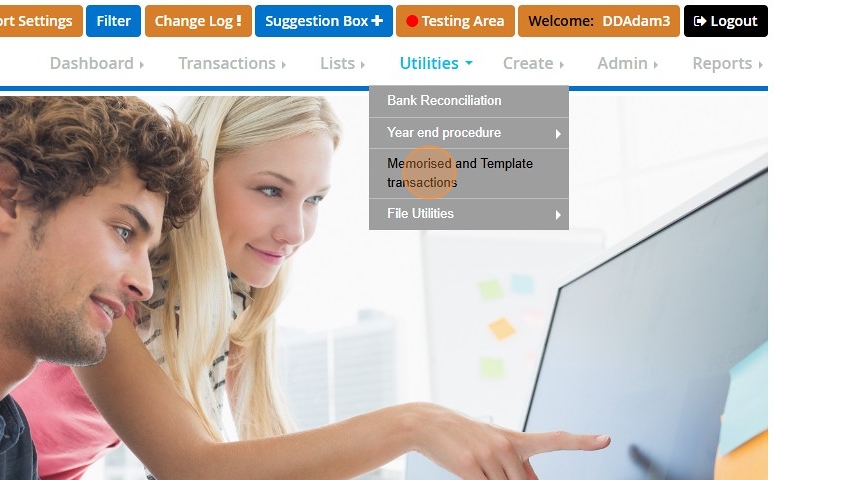
30. Find your template and click "Delete"
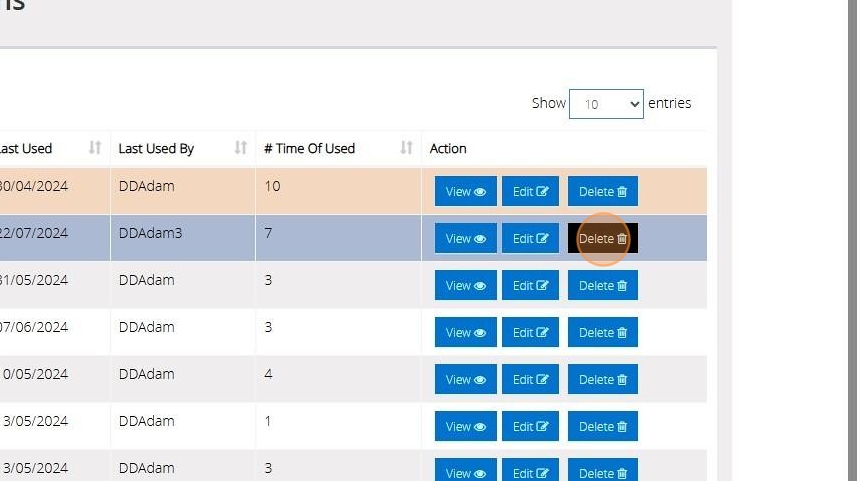
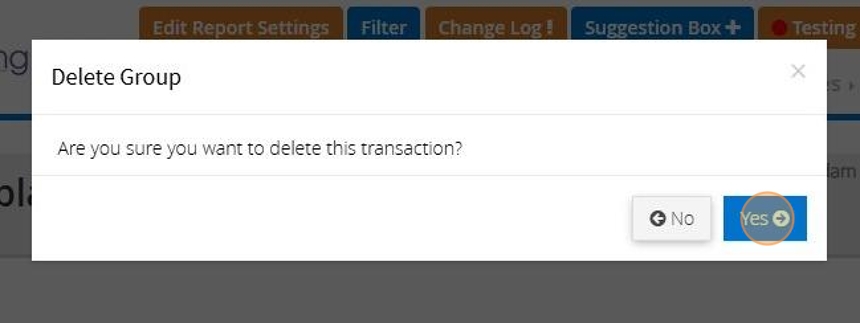
31. A message will appear "Are you sure you want to delete this transaction?
No, or Yes"
Select yes and this will delete the template.
32. For any additional inquiries, please contact us by telephone at 01902 714030 or by email at support@datadevelopments.co.uk.
Bank Reconciliation MyFundAccounting.Online
Summary of a Bank Reconcilation
1. As a newcomer to MyFundAccounting.Online, you might wonder what a Bank Reconciliation is, its functions, and how it can assist you with your accounts.
Essentially, a Bank Reconciliation involves comparing the transactions recorded in MyFundAccounting.Online with your bank statement.
This process enables you to examine each transaction individually, ensuring all data is entered accurately. By conducting this reconciliation monthly, you can generate precise reports for your organisation.
How to access Bank reconciliation Screen
2. From the dashboard, you have two locations of accessing the Bank reconciliation screen.

3. Location 1 click "Bank Reconciliation" to left on the dashboard.

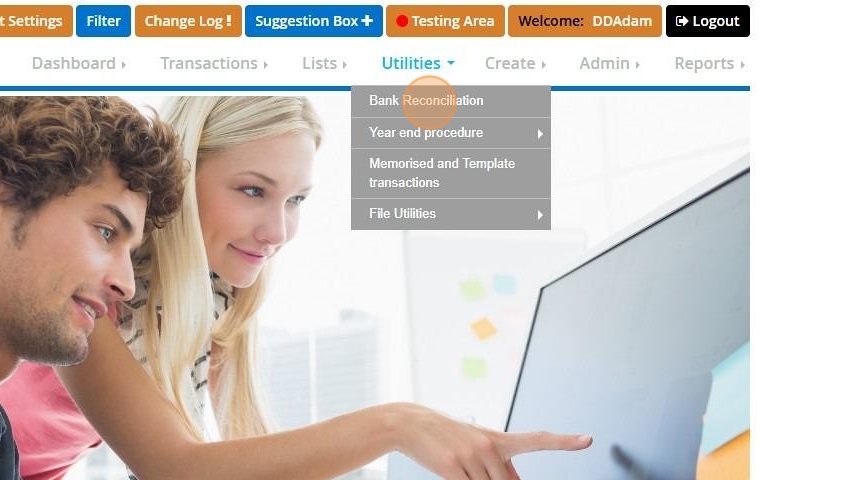
4. Location 2 select "Utilities" then click "Bank Reconciliation". This can be a quick way to access the Bank Reconciliation screen, without having to return to the dashboard.
Bank Reconciliation Walkthrough
5. After accessing the Bank Reconciliation, choose the Bank Account you wish to perform a reconciliation.
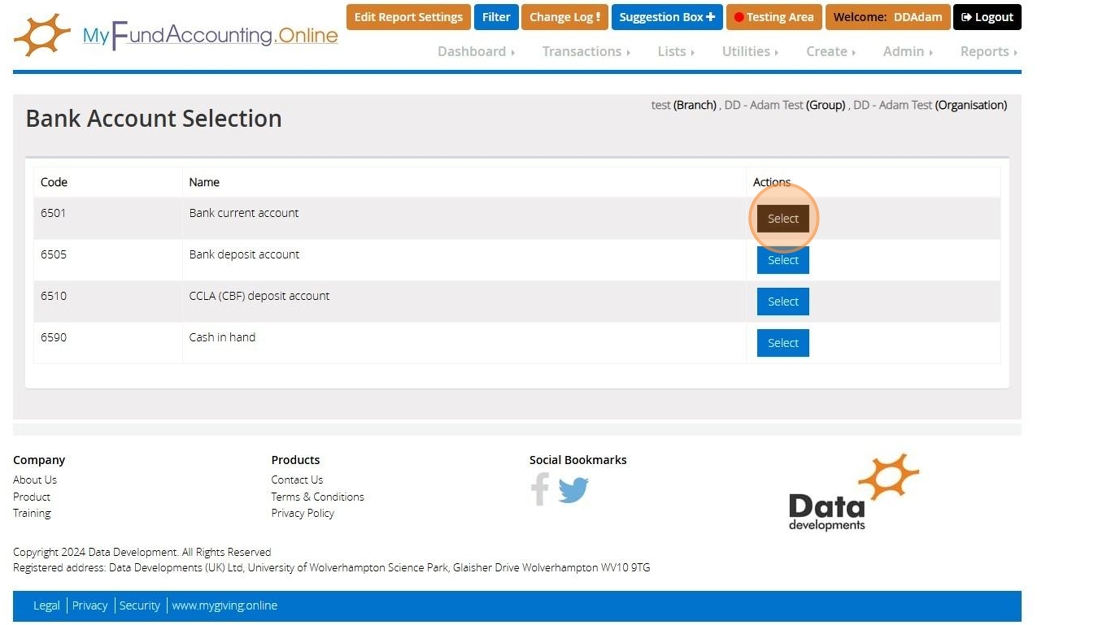
Bank Reconciliation Set Up
6. First of all you will want to enter the "Bank Statement Opening Balance" from your bank statement.
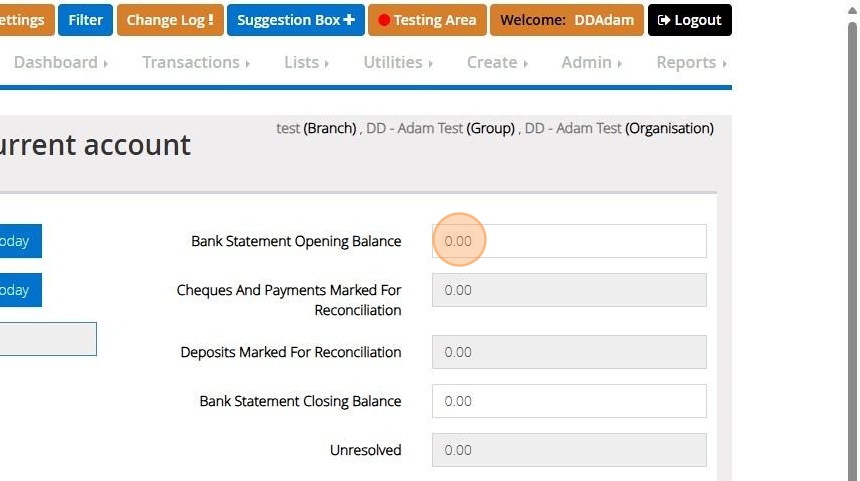
Tip: Tip: The opening balance will only need to be entered on your first reconciliation.
If you notice a balance in the bank statement opening balance, don't be concerned. If you have performed a previous reconciliation, the closing balance will subsequently become the new opening balance.
7. The next field you will want to enter is the "Bank Statement Closing Balance" from your bank statement.
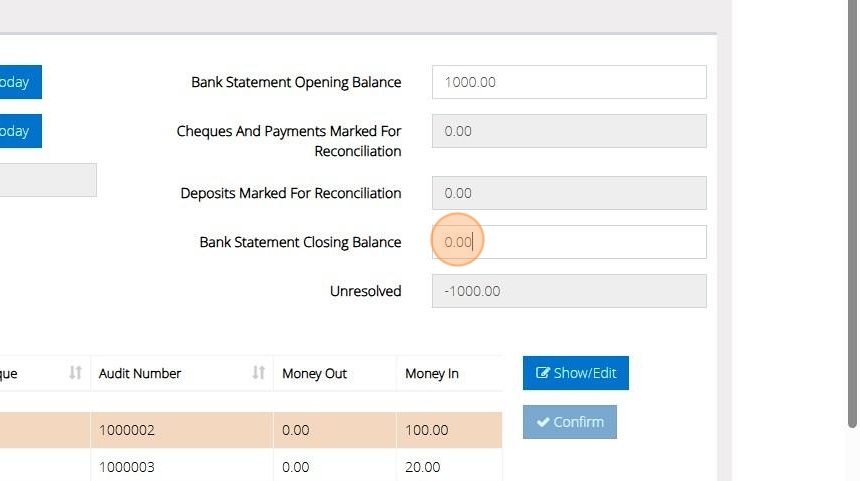
8. Next, click on the "Date To Be As Report Title" field. You may enter the date as either the beginning or the end of the month you are reconciling. The report title can be any date you choose, even if you are not reconciling an entire month.

Tip: Tip: Using the date as the report title helps to organise your bank reconciliation reports. Listing them with the first or last day of each month allows for sequential arrangement.
9. After, you'll want to click on the "Show Transaction On Or Before" field. This feature limits the transactions displayed on the screen to those up to the end date of your reconciliation. For instance, if transactions have been entered beyond January, inputting 31/01/2024 will exclude any transactions from February onwards, allowing you to concentrate on reconciling with the bank statement in question.

How to Reconcile Transactions
10. Now if we look further down the page, you can see an unreconciled transaction section and a reconciled transactions section. To begin checking the transactions that appear on the bank statement and mark the transaction for reconciliation we will click the "Down" button.
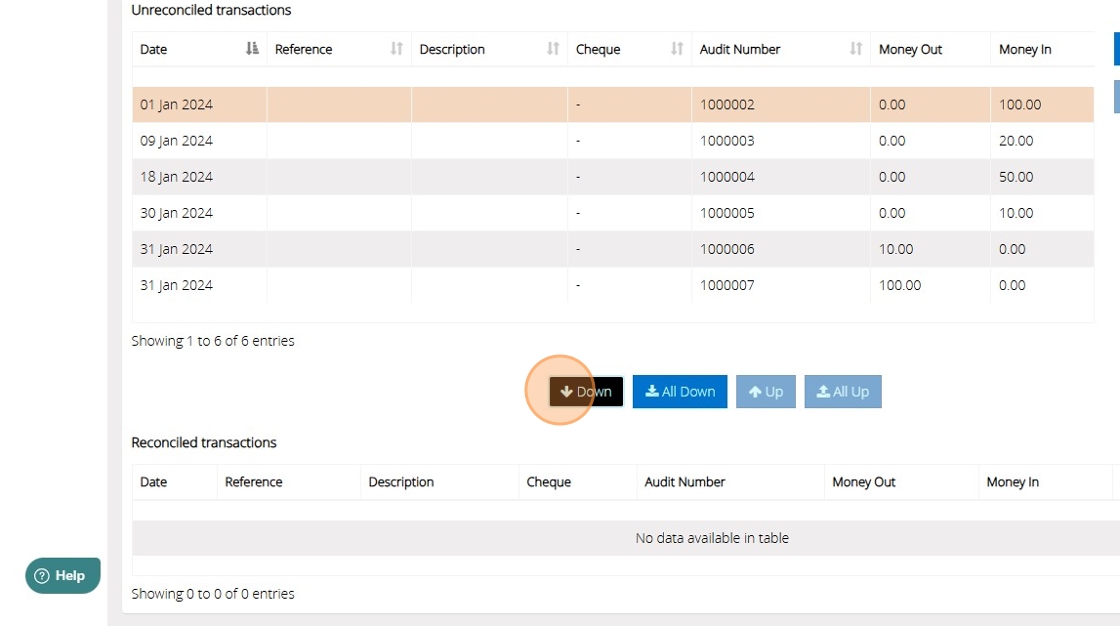
Tip: Tip: It is generally considered good practice to move transactions down individually for thorough processing instead of opting for the 'all down' option.
11. Clicking the down button moves the transaction from the unreconciled to the reconciled section. Additionally, there is a running total available to cross-check against your bank statement should there be any discrepancies in your entries.
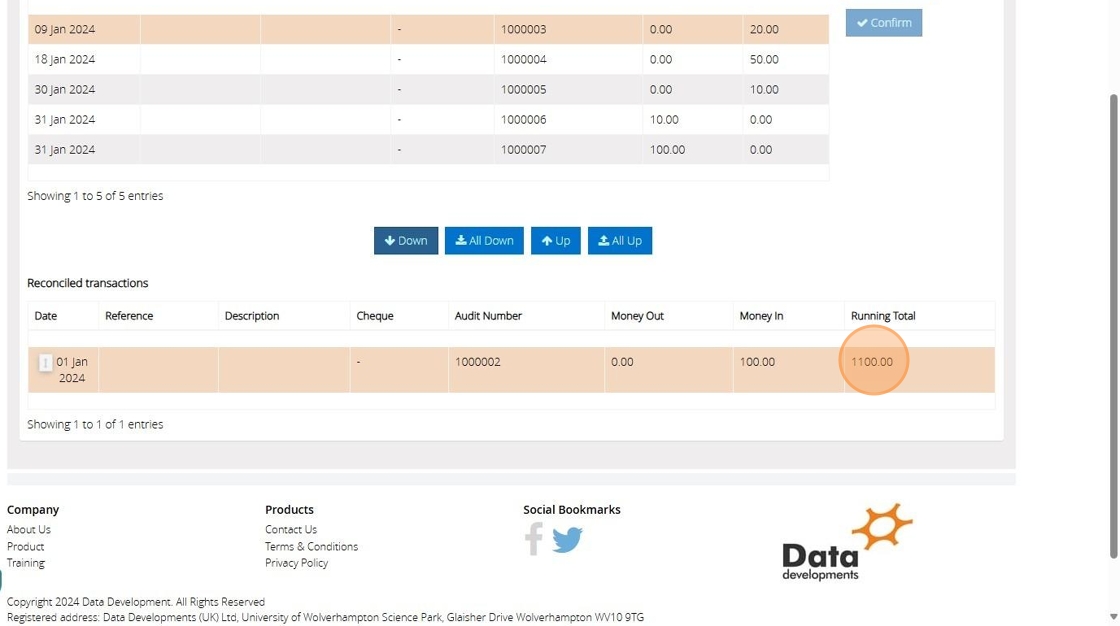
Tip: Tip: To prevent discrepancies in the running total, please ensure that you order the transactions to match the sequence they appear on the bank statement.
12. Under the closing balance, you'll observe that the unresolved amount changes. This occurs as transactions are moved down, reducing the unresolved figure to eventually reach zero. The unresolved figure represents the difference between the opening and closing balances. Moving a transaction to the reconciled section will cause an increase or decrease, depending on the nature of the transaction.
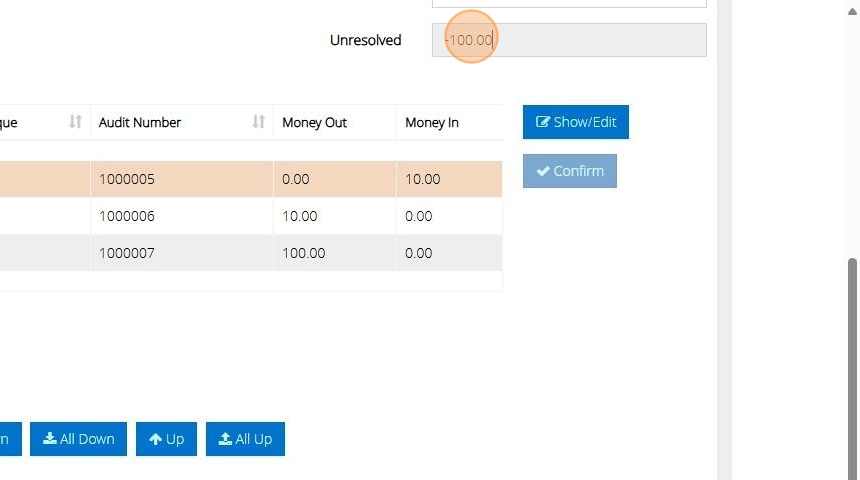
13. Now that all transactions have been reviewed and accounted for, the unresolved balance is shown to be zero. If the unresolved calculation is not zero, it likely suggests a problem with one of the transactions, such as an incorrect amount or an entry that should not be included in this month's reconciliation.
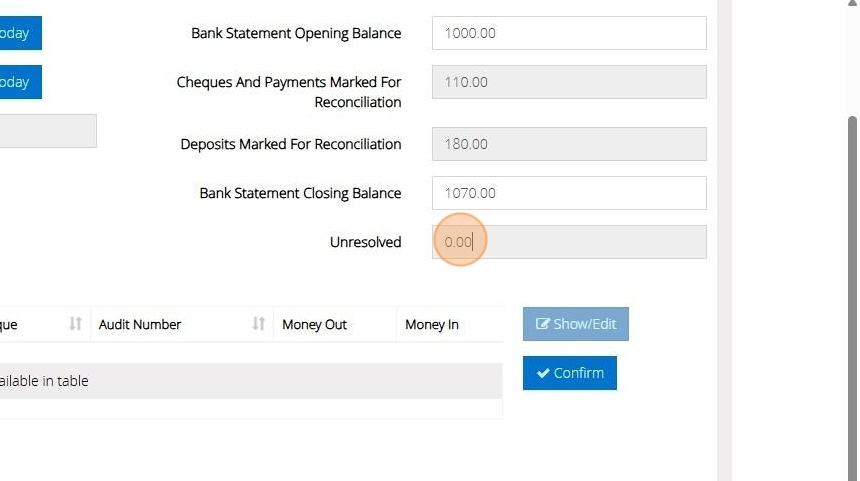
14. You will see that the "Confirm" button is now illuminated, indicating it's ready for you to click once you are satisfied with everything. If the unresolved count doesn't reach 0, this will also prevent you from confirming the reconciliation.
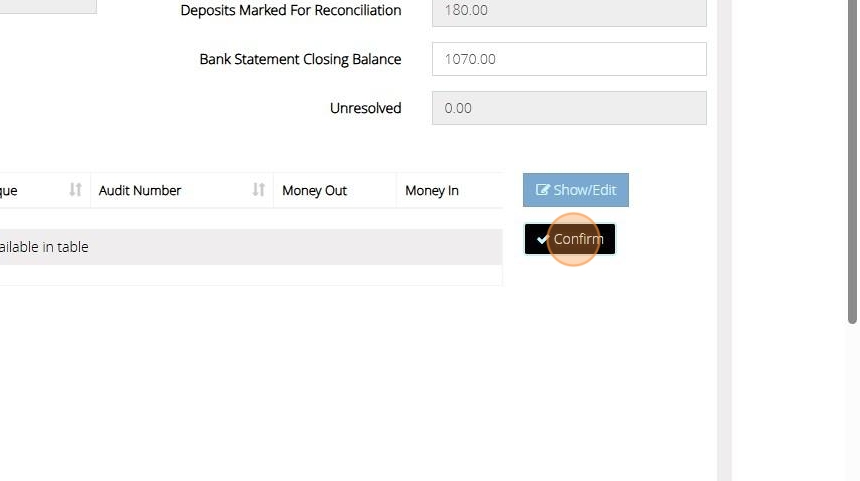
15. Upon clicking "Confirm," you will receive a notification confirming the reconciliation, and you will be presented with an option to generate a reconciliation report after selecting "OK".
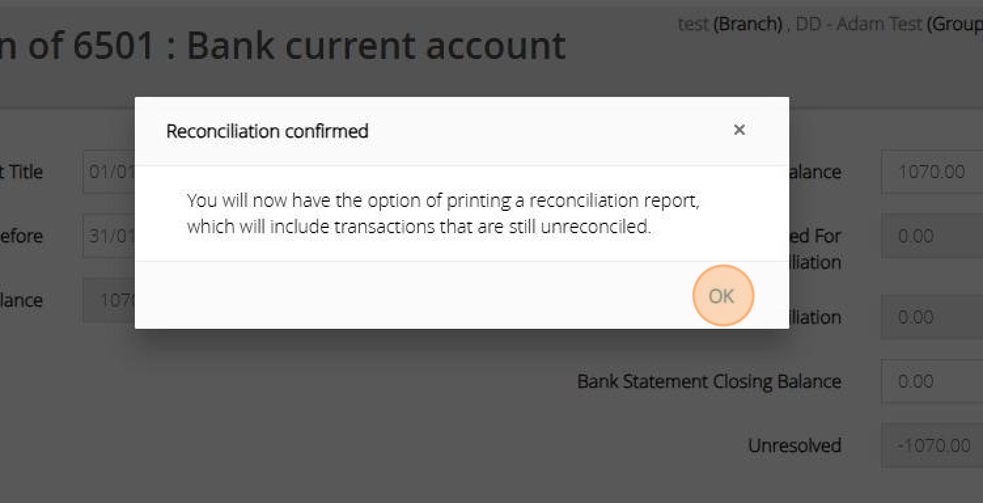
16. Click "Preview" This will produce a report of the Bank reconciliation that you have confirmed.

How to recall reports
17. Go to "Reports"
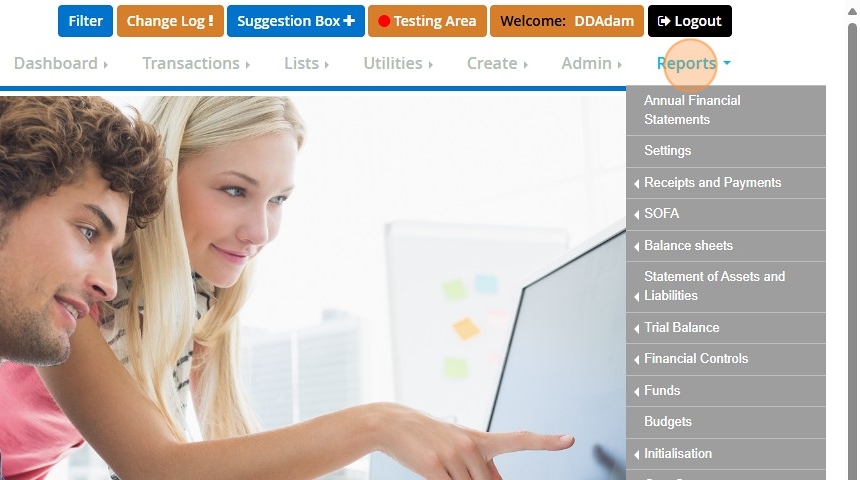
18. Click "Previous Bank Reconciliations" This will then list your Bank reconciliation for each account.

Useful tips
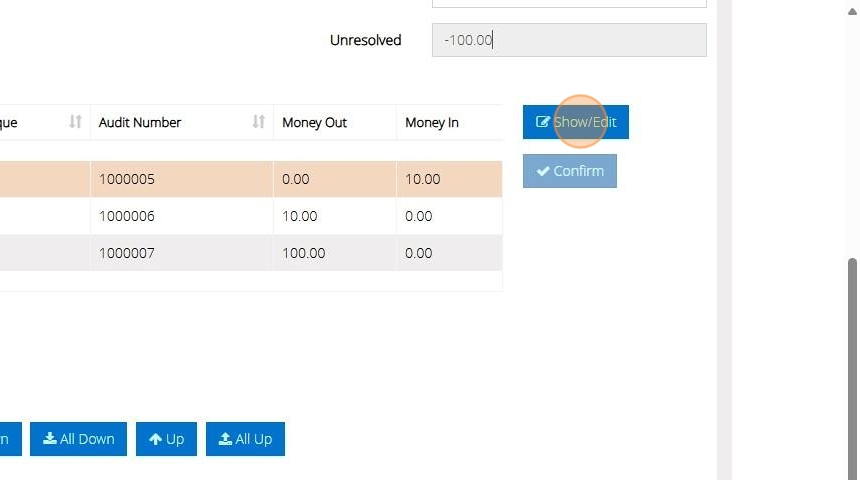
19. To quickly edit transactions, instead of navigating to the list of transactions, you can utilise the "show/edit" function to modify the transaction directly from the reconciliation screen. Note that the transaction must be in the unreconciled section to be eligible for editing.
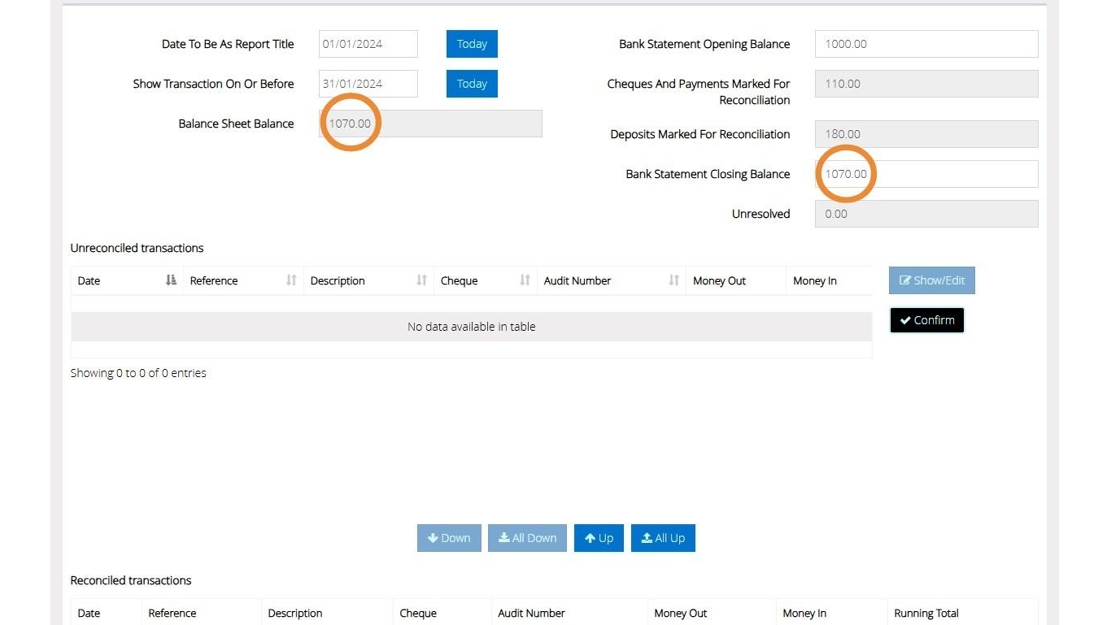
20. When selecting the dates for the "show transactions on or before," option the amount in the balance sheet amount box may change. This occurs because the system provides the value based on the entered transactions and the chosen dates.
Typically, if there are no outstanding unreconciled transactions, the bank statement's closing balance and the balance sheet figure should match. However, when there are unreconciled transactions, the amounts may differ. This could cause the balance sheet figure to appear higher or lower, depending on the transaction. By adding or subtracting these figures from the bank statement's closing balance, you can reconcile it with the balance sheet balance in the system.
21. You can order the unreconciled transactions by Date, Reference, Description, Cheque, Audit Number and Money Out/ Money In.

22. There is an option to 'Move All Transactions Down', which allows you to reorder the transactions to match the sequence above.

23. For any additional inquiries, please contact us by telephone at 01902 714030 or by email at support@datadevelopments.co.uk.
Change Password on MyFundAccounting.Online
1. Navigate to https://www.myfundaccounting.online/dashboard
2. Click "My Profile"

3. Click "General"
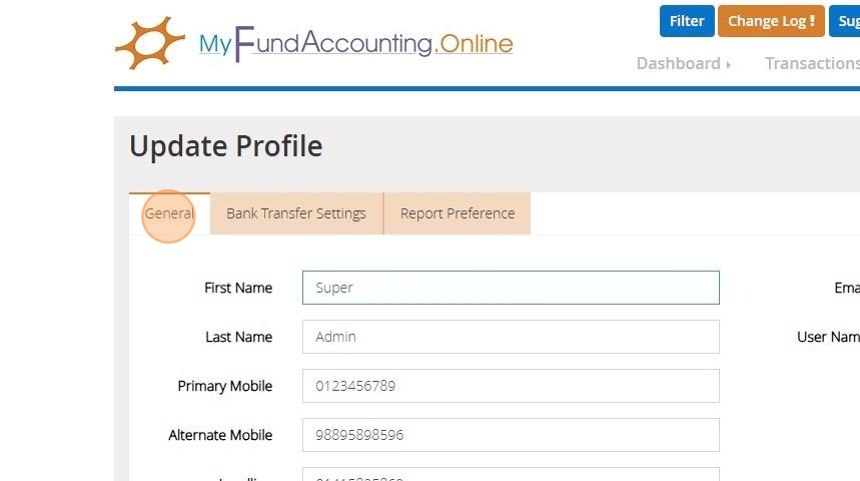
4. Click the "Change Password" field.

5. Enter your old password, the new password you wish to change this to and the password question and answer
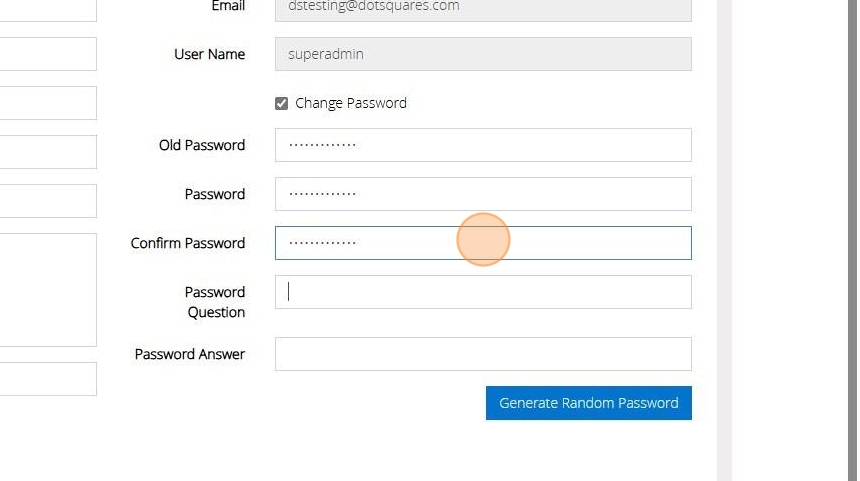
6. Alternatively Click "Generate Random Password" for the application to generate a unique random password. You will still be required to enter your old password and password question and answer
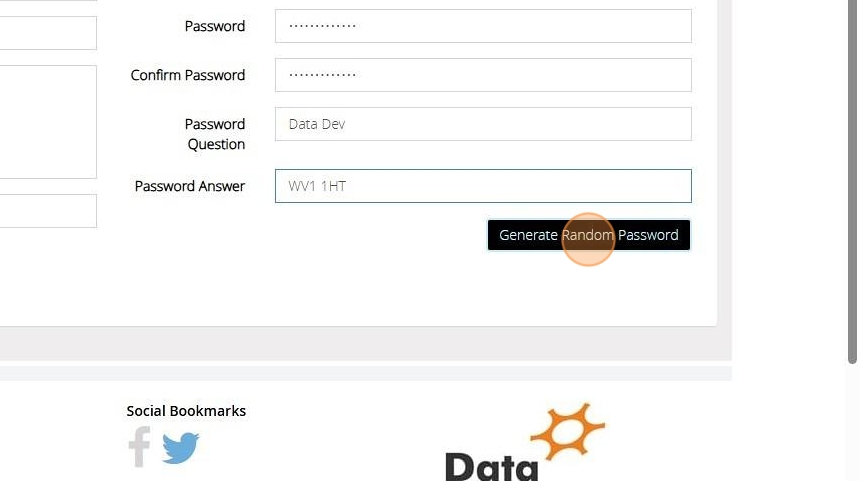
7. The random password will generate as per the below. You can then copy and past this into the New password Field

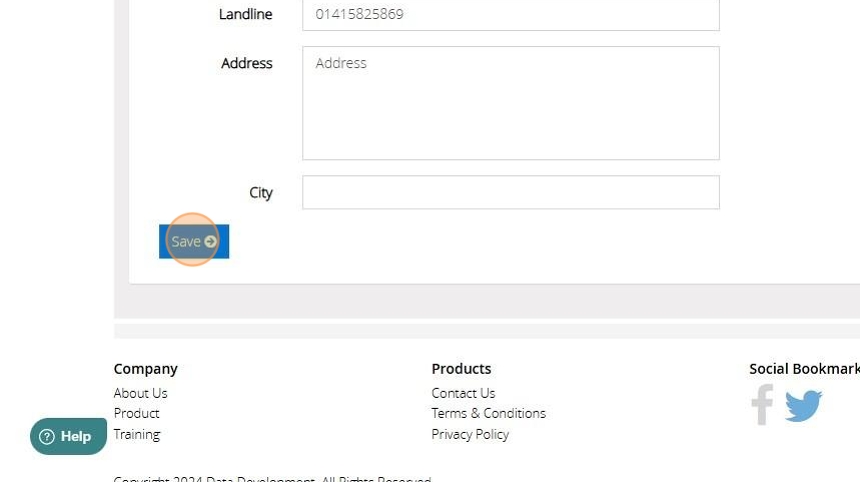
8. Once you are happy with the changes made click "Save"
Confirm Payroll Payments
1. Navigate to https://www.myfundaccounting.online/dashboard
2. Click "Confirm Payments"
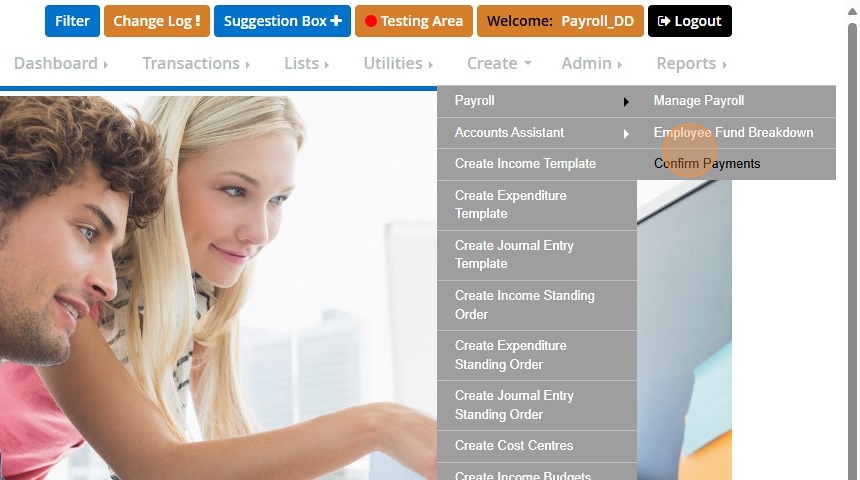
3. Click this dropdown.
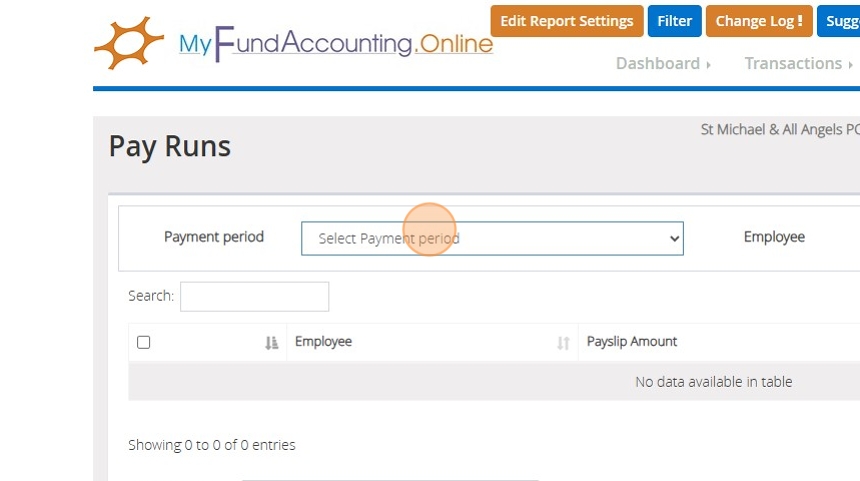
4. Click this checkbox.
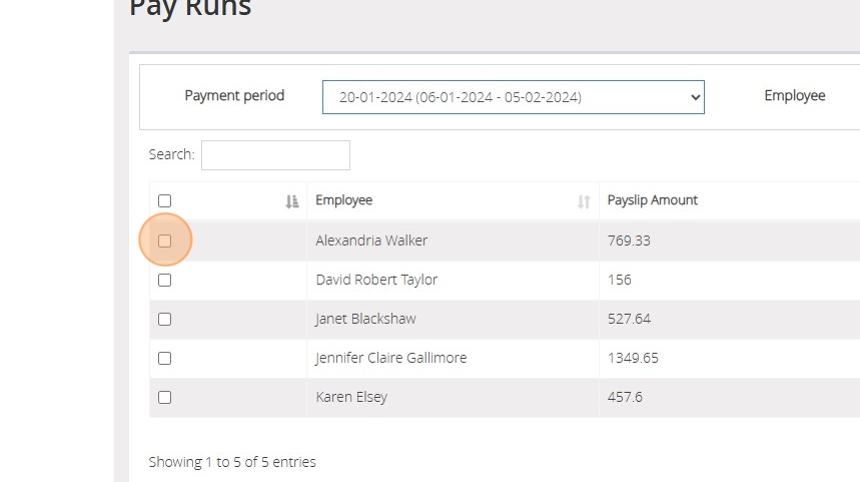
5. Click this checkbox.
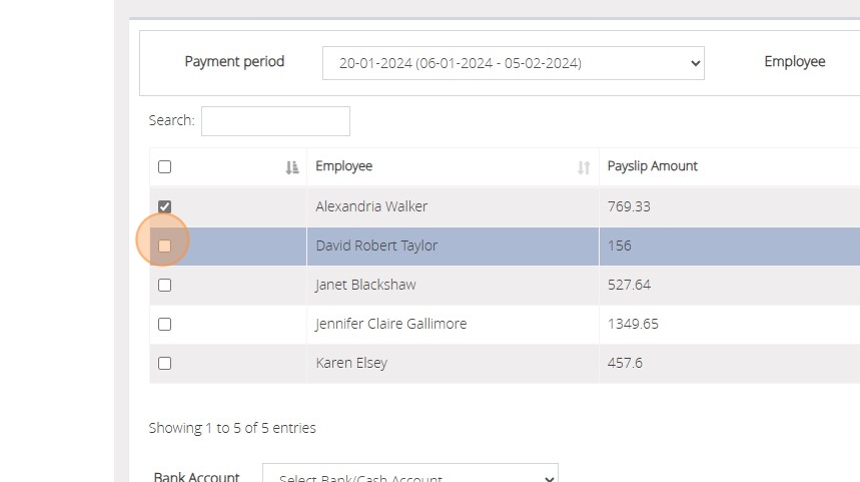
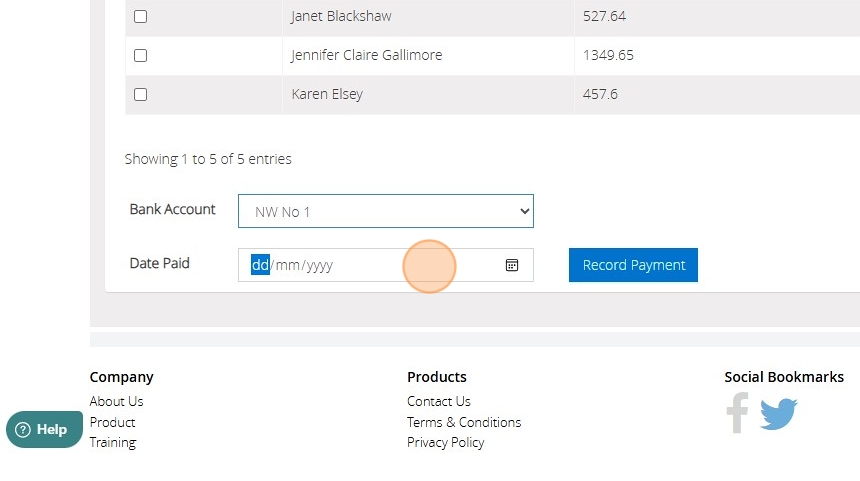
6. Click this dropdown to choose the bank account the payment went out of

7. Select the data it was paid and then click "Record Payment"
Create Income Budget with Multiple Nominal Codes and Funds
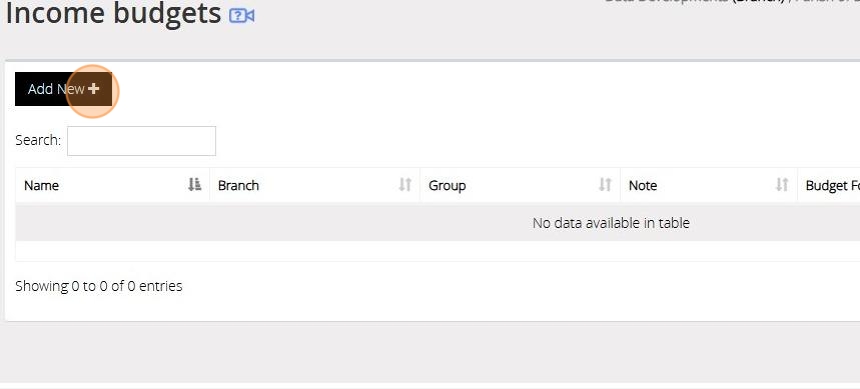
1. Click "Create and select Income Budgets"

2. Click here.
3. Click the "Name" field.
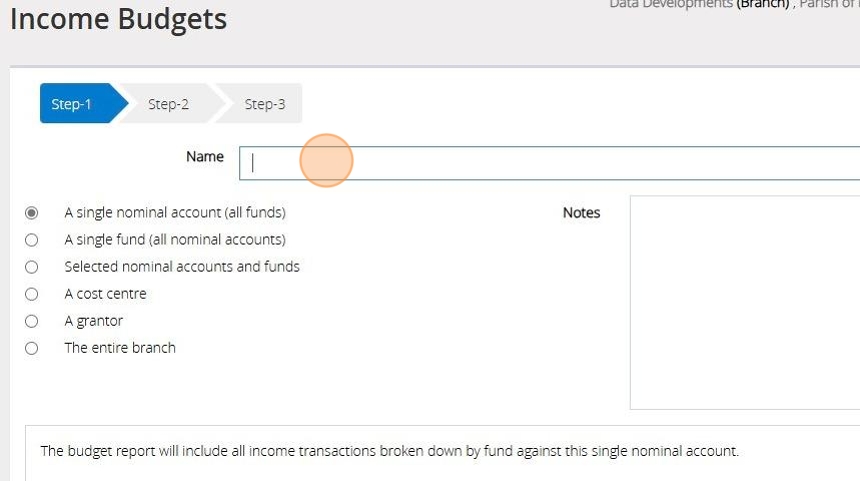
4. Click Selected Nominal Accounts and Funds

5. Click "Next Step"
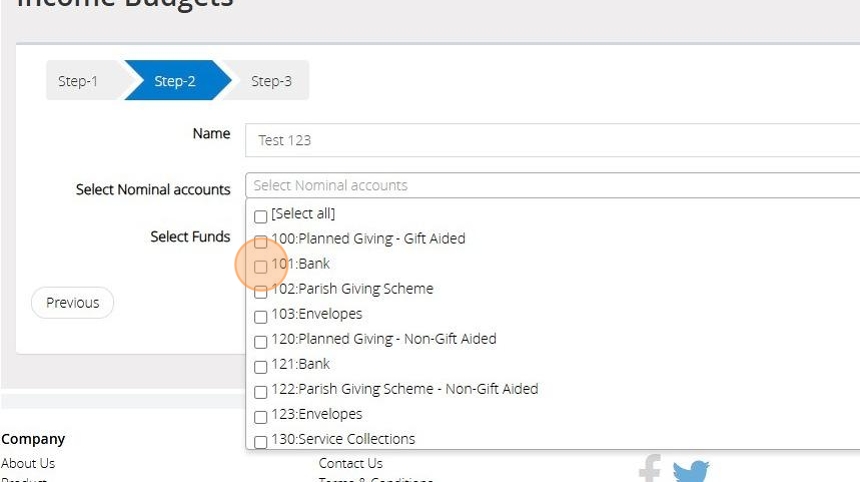
6. Tick next to all of the nominal codes you wish to include
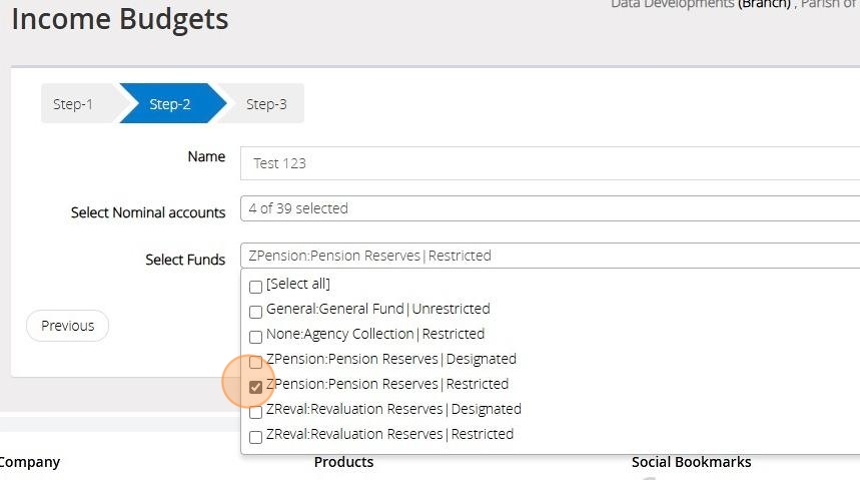
7. Select the Funds you wish to include
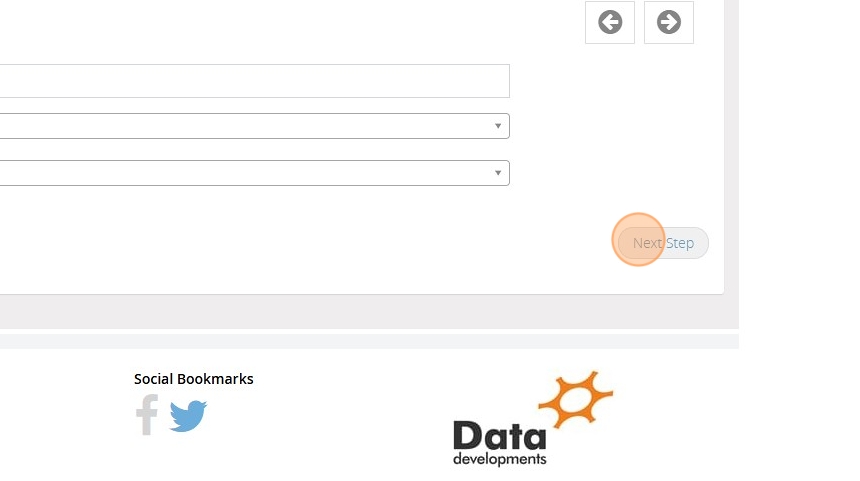
8. Click "Next Step"
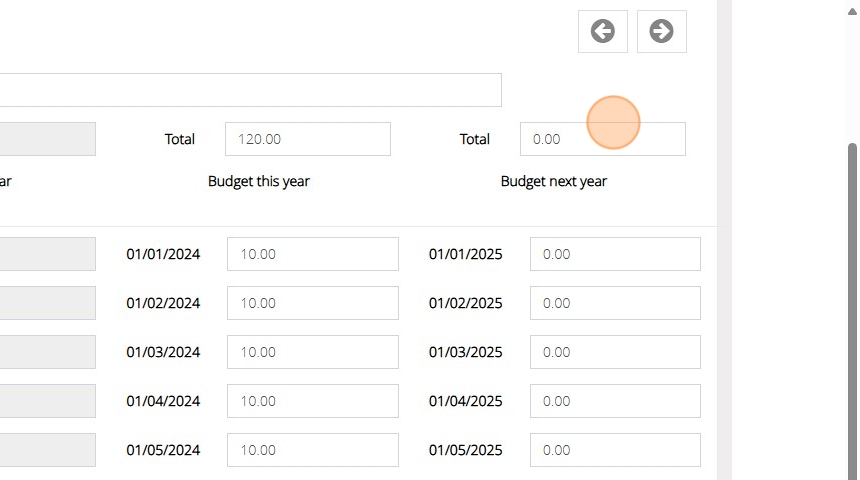
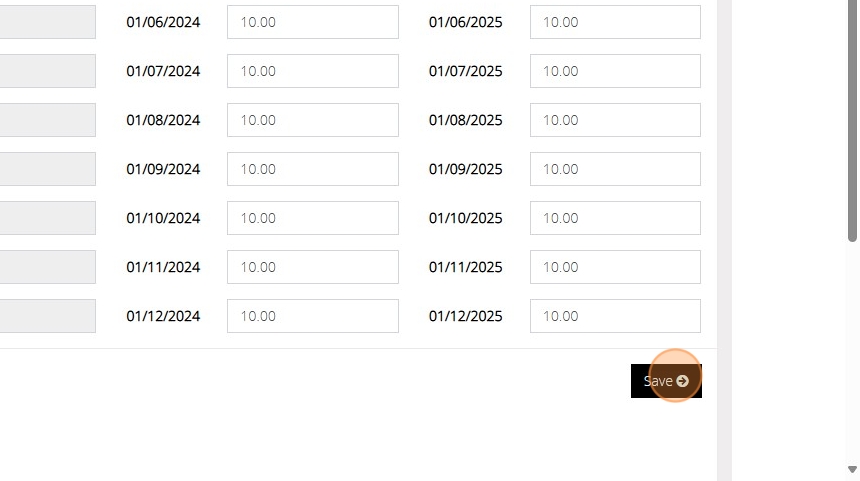
9. If you Enter the amount in the total Column this will automatically be divided between the 12 months. Alternatively you can freely enter the amount in each month

10. Repeat the steps for Next Year if needed
11. Click Save.
Create Journal Entry Template
Tip: The following steps will assist you in creating a journal entry template, which you can use repeatedly to minimize the time spent on data entry.
1. Navigate to https://www.myfundaccounting.online
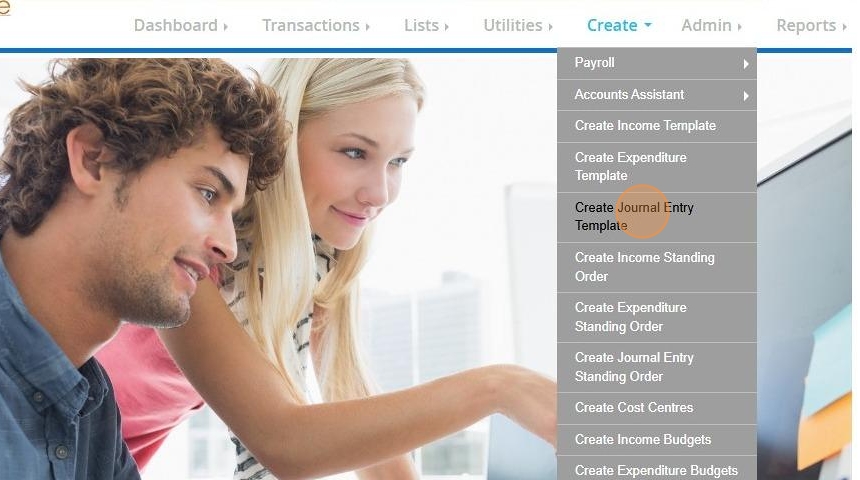
2. Click "Create"

3. Click "Create Journal Entry Template"
Tip: Tip! In the below instructions we will enter the debit side of the transaction first
4. Select your Nominal Account and Fund from the drop down menus

5. Enter the amount and select Debit

6. Input a reference and description.
More detailed information can be entered in the notes section.
Select a grantor or supplier should this be required.
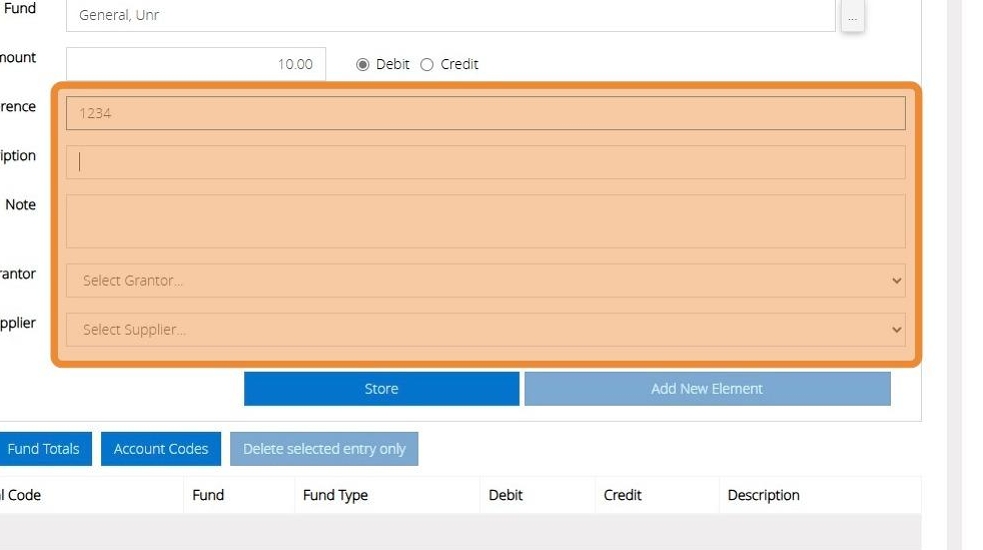
7. Click "Store"

8. Click "Add New Element"
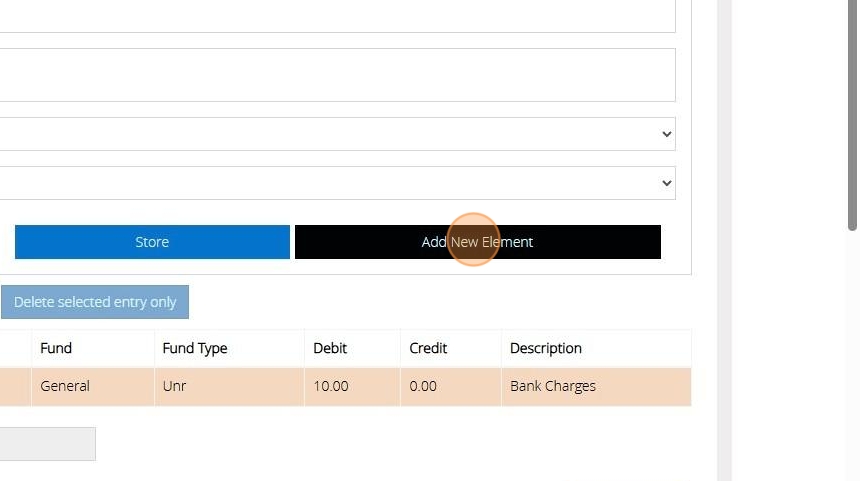
9. Next, enter the credit side of the transaction. Choose your nominal account and fund from the provided drop-down menus.

10. Enter the Amount and select Credit
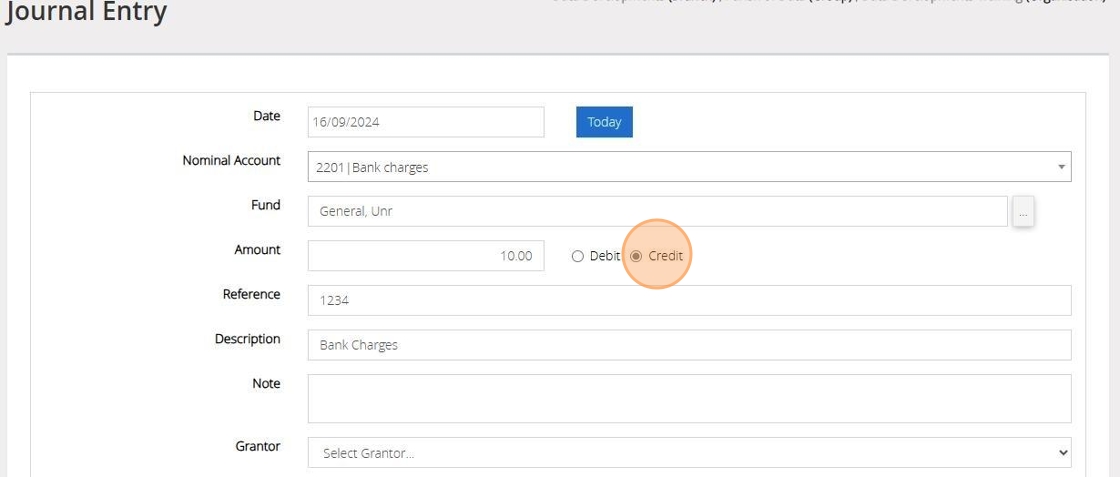
11. Click "Store"

12. Click "Save Template"
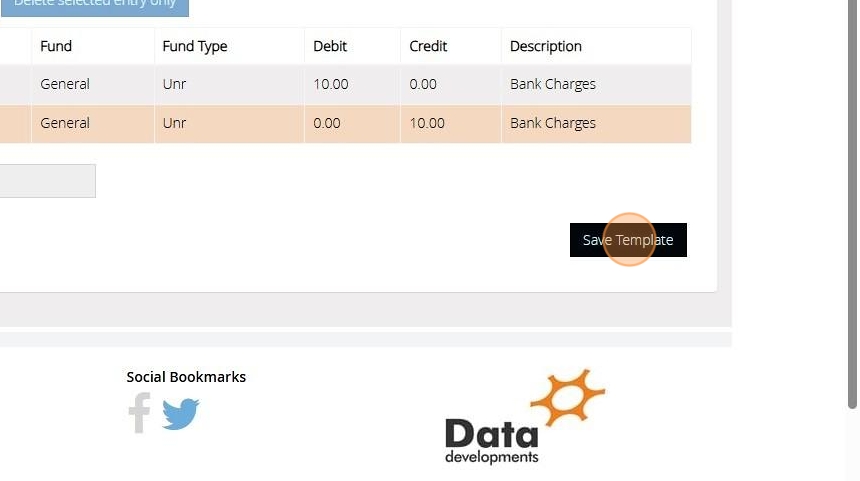
13. Enter a name of your memorised transaction and click "Save"
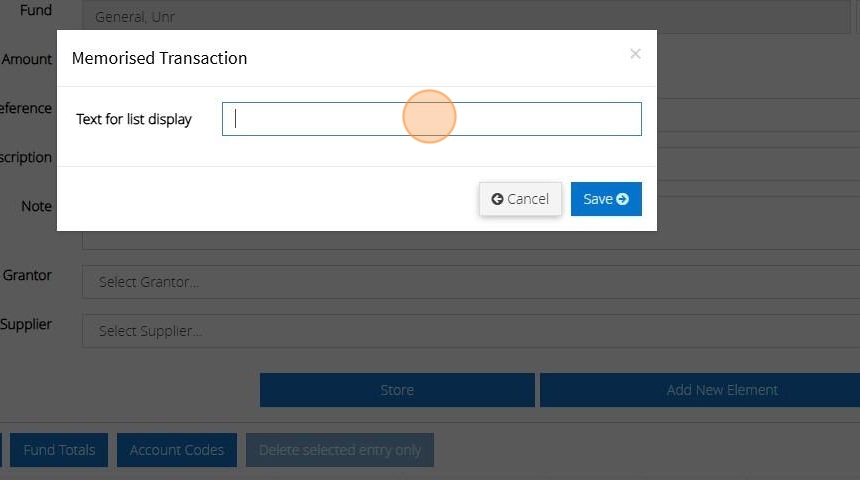
14. Click "Save"
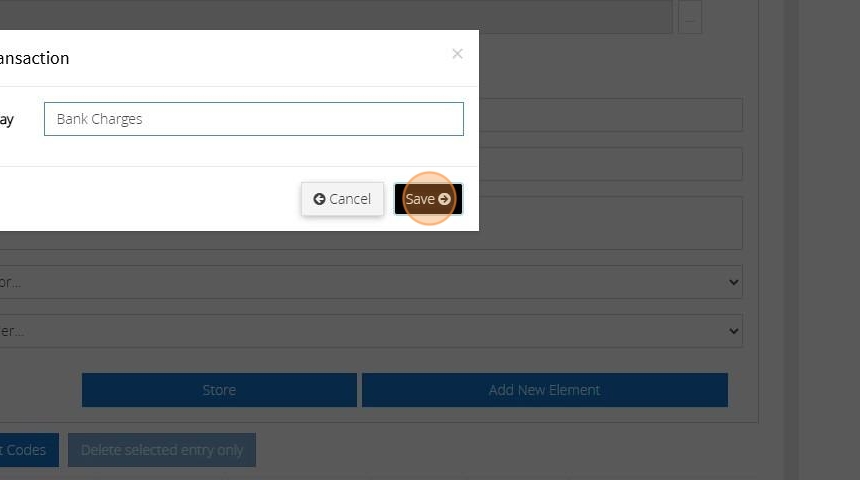
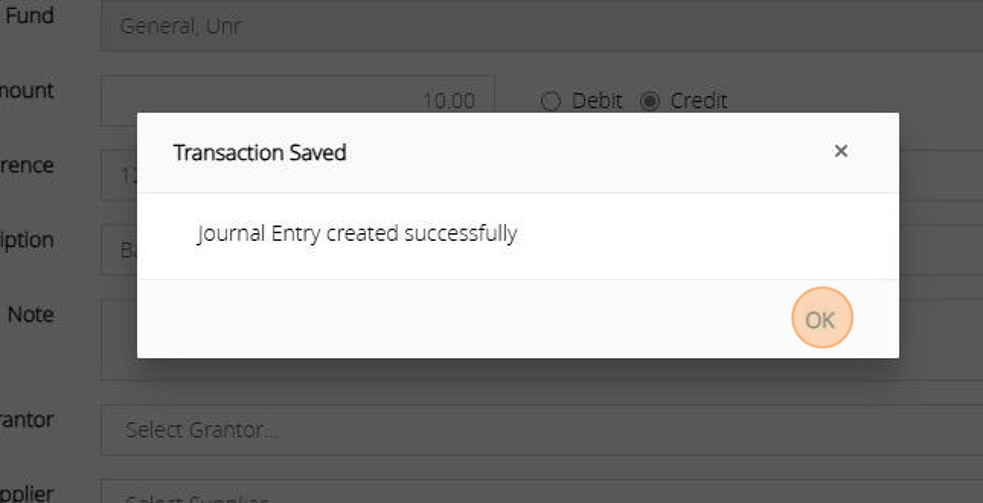
15. Click "OK"
Tip: The below steps will guide you in recalling your journal template
16. Click "Transactions"
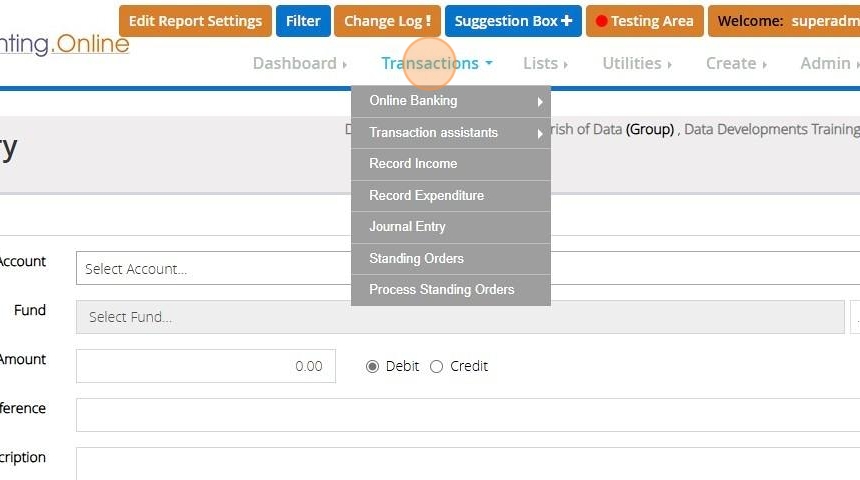
17. Click "Journal Entry"

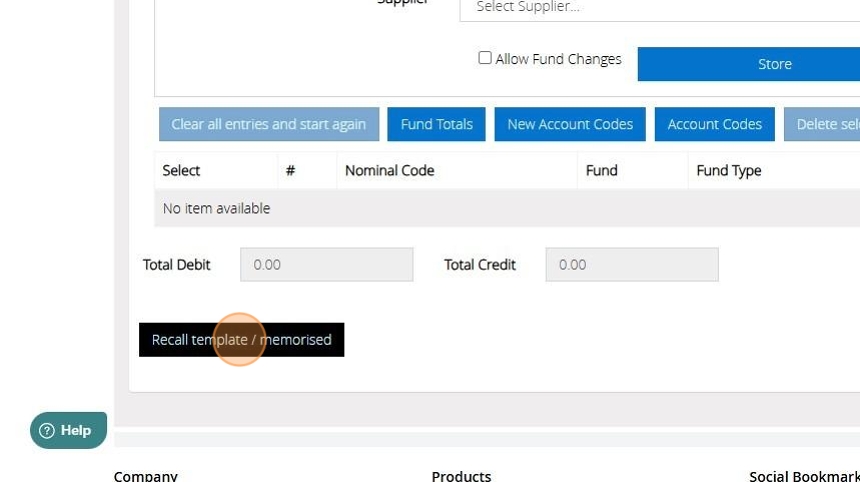
18. Click "Recall template / memorised"
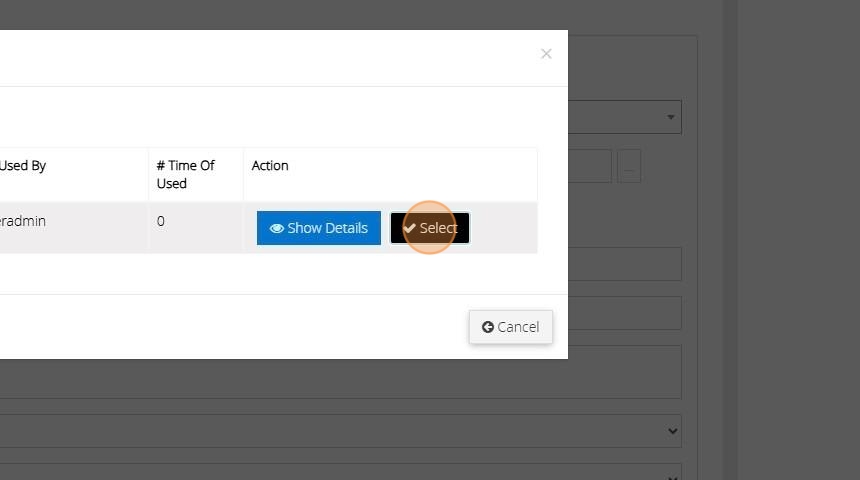
19. Click "Select" to open your memorised transaction
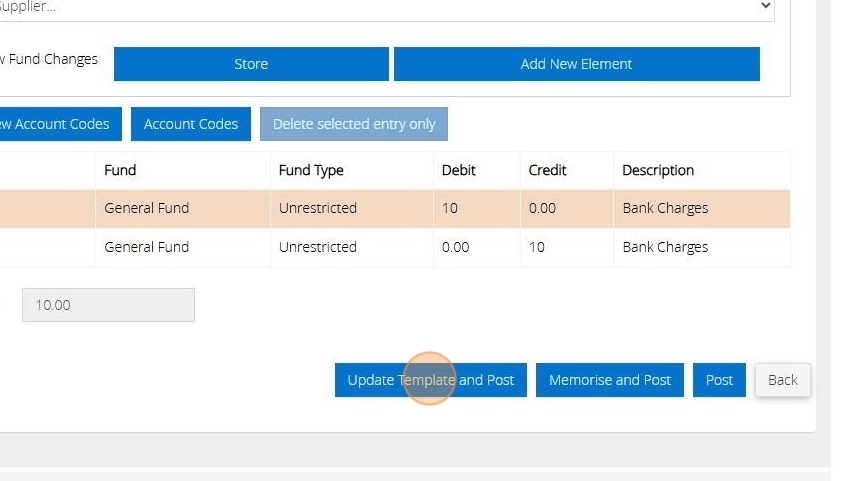
20. Click " Update Template and Post" to save changes on your template and post the transaction
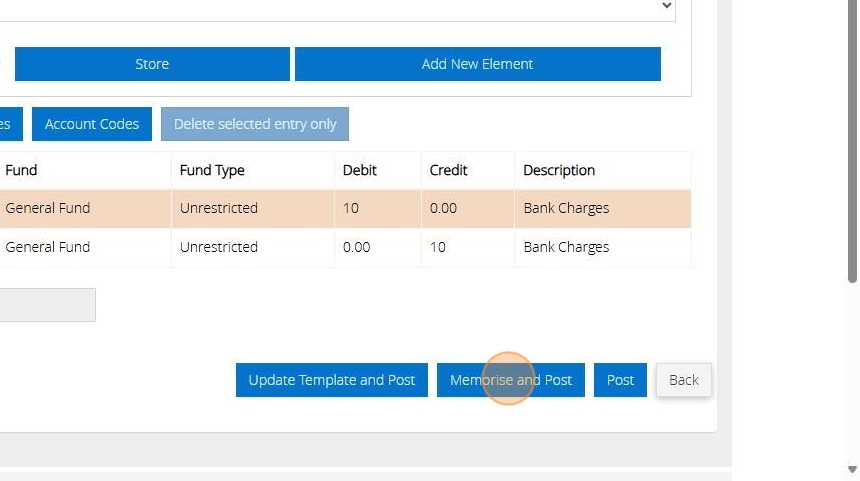
21. Click "Memorise and Post" if you've modified your template and want to save the changes as a new memorised template, while keeping the original template unchanged.
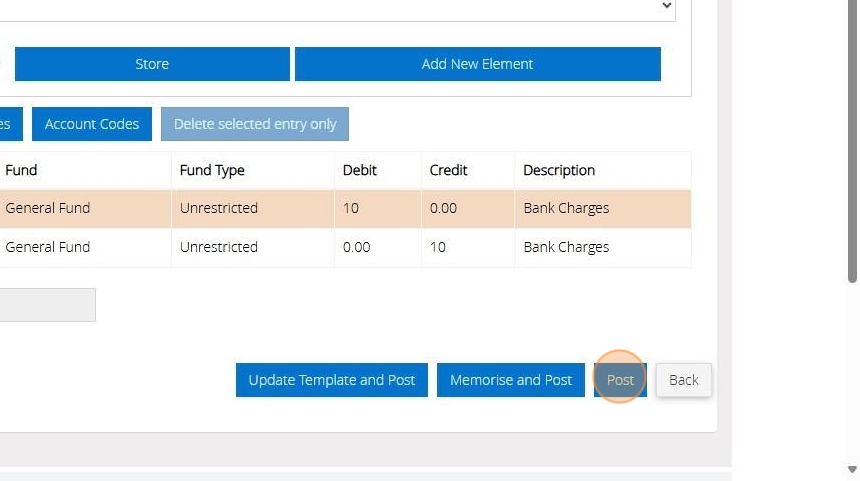
22. Click "Post" to simply post the transaction
Creating an Income or Expenditure Template in MyFundAccounting.Online
Tip: Many payments or receipts happen on a regular basis that are not Standing Orders or Direct Debits.
For example, payments to a window cleaner that repeat regularly.
The below steps will guide you in creating a transaction that can be recalled at any time.
1. Click on Create and select either "Create Income Template" or "Expenditure Template "

2. In this example we are creating an Income Template.
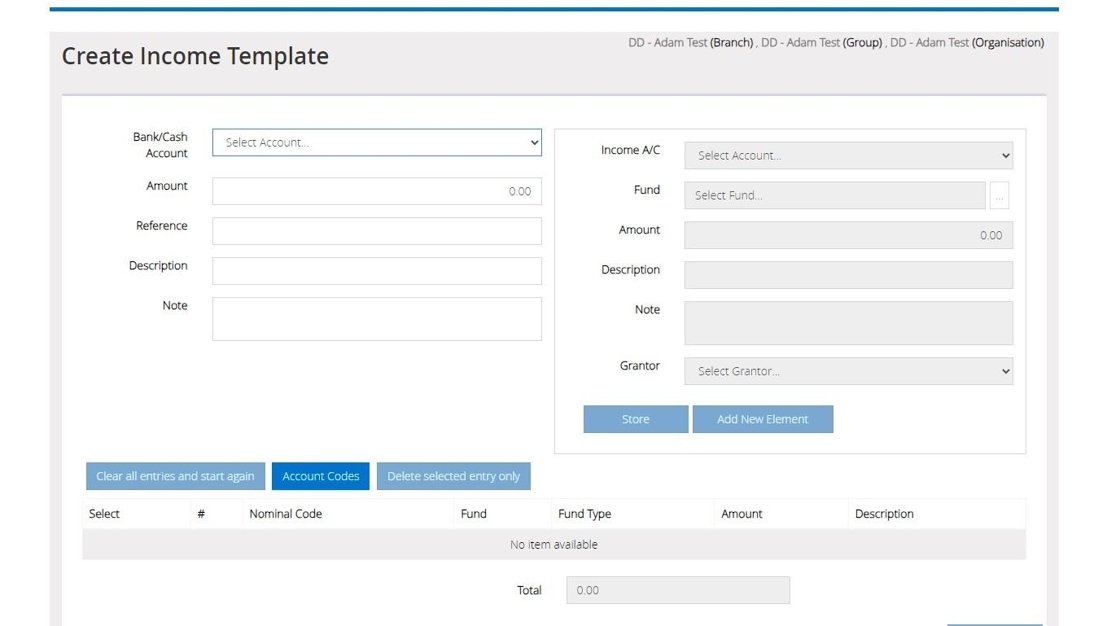
3. On the left, we can click on the Bank/Cash account dropdown to select the Bank account you wish to create the Template for.

4. Also on the left hand side of the screen, you can enter an amount, reference, description and notes to be part of your Template.

5. Once you have completed filling in all the elements you wish to have on the left part of the screen. We can then move across to the right side, clicking the Income A/C or Expenditure A/C dropdown, depending on the Template you are creating. This will then allow you to select the Income / Expenditure code.

6. If you need to change the fund in your Template you can click on the square with the ellipse "..."

7. Click "Select" to add your desired fund.

8. Once you have made your selections on the right click "Store" to add this to your Template.

9. After clicking store, if you want to add another element to your Template, select "Add New Element" to then add another Income or Expenditure code.

10. Repeat steps 5- 8 to select a new code.

11. Once you have added all your elements click "Save Template"
12. Type in a name for your Template and select "Save".

How to Recall an Income or Expenditure Template
13. After you have created your Template, you can return to the dashboard and select "Record Income" or "Expenditure" depending on the template you have created.
14. Then when you are on the "Record Income/ Expenditure" screen click "Recall Template / memorised" to select the template that we created.

15. Now click "Select" to choose your Template.
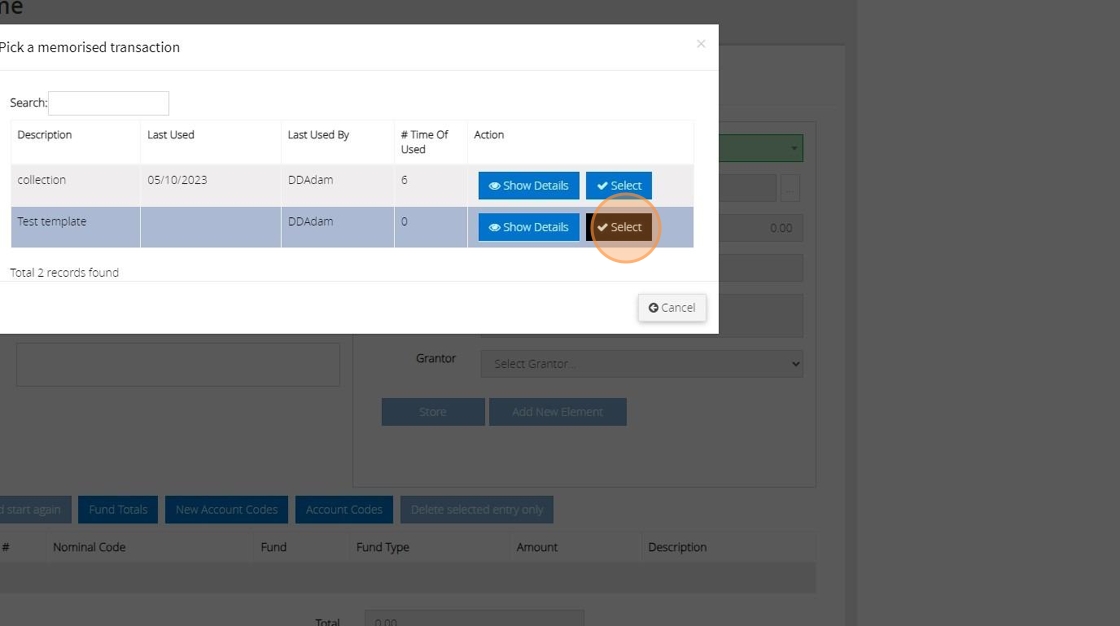
16. Once you have recalled the Template, you will have the option to change the Bank amount or enter a new one.

17. Now you will want to enter your amount for each element making up your Bank total for the transaction.

18. Click "Store" when entering an amount to lock this element in place.

19. If your Template is multi-element you can then scroll to the bottom of the screen to select your next element you created to add the next amount.

20. Once completed, if you click store on your final element as long as everything adds up to match the Bank amount, the option to post will become available.

How to Edit/Update Templates
21. When on the record Income or Expenditure screen click "Recall template / memorised" to bring up the template you wish to update.

22. Select the element you would like to alter from the list recalled.

23. Select a new Income Account and input an amount if one is not already established.

24. Click "Store"

25. You will see the element has now update to the new code you required.

26. Once you have finished entering the final element select "Update Template and post"

27. When you next recall template you will see the elements have been updated.

Alert: Alert! Please note that if your template initially contains zero values, updating and posting the template will not change those values. Conversely, if your template has existing amounts, expect them to be updated and changed accordingly.
How to Delete Templates
28. Go to "Utilities"

29. Select "Memorised and Template transactions"

30. Find your template and click "Delete"

31. A message will appear "Are you sure you want to delete this transaction?
No, or Yes"
Select yes and this will delete the template.

32. For any additional inquiries, please contact us by telephone at 01902 714030 or by email at support@datadevelopments.co.uk.
Creating, managing and processing Standing Orders
Tip: If you have recurring transactions or standing orders that you enter each month or at regular intervals, you can utilize the standing order feature to automate their generation according to the desired frequency. These transactions will appear on the ‘Process standing orders’ screen, allowing you to choose whether to include them in your transaction listings.
Creating a Standing Order
1. Navigate to https://www.myfundaccounting.online/dashboard
2. Click the "Create" menu.

3. Click "Create Income Standing Order"
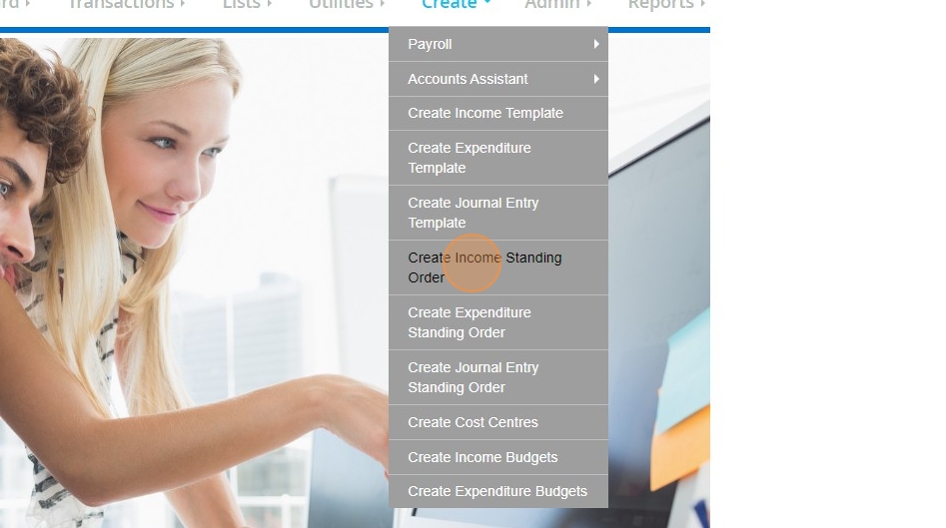
4. On the Create Income Standing Order screen, you will be able to enter in a 'text for list display'. This is a name that you will be able to see in the display of your standing orders, but will not be posted to the actual transaction itself. If you wish to keep donor's names private in your transaction listings, you can put their name here instead and use a more generic description and reference on the actual transaction.

5. You will then need to enter the Start Date of the transaction. This is the date that the standing order will begin generating from. You are able to backdate this if you need to enter multiple months worth of transactions.

6. If the standing order already has a date at which it is set to finish, you can also enter that in the 'Finish Date' box.
7. The 'Schedule' dropdown allows you to set a frequency at which this standing order will generate, for example 'Monthly' means it will generate each month starting from the Start Date that has been set.

8. You can then enter the details of the transaction in the same way that you would for any normal income transaction. First, select the bank account this will post to.

9. Then, enter the amount for the standing order.

10. Then, enter a relevant reference and description.

11. Select the income code.

12. Once you have filled in all the details of the transaction, click the 'Store' button.
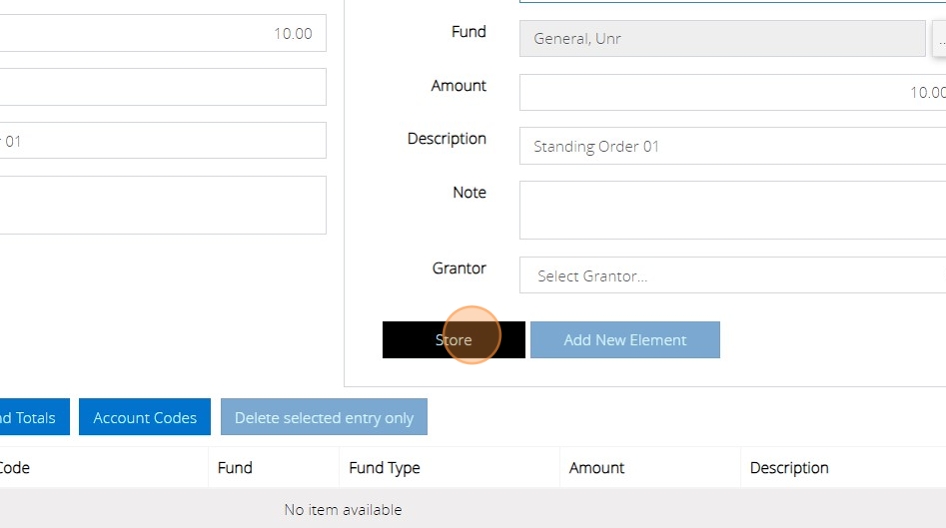
13. If both sides of the transaction balance, you will see a message that asks if you wish to go ahead and create a standing order. Click 'YES'

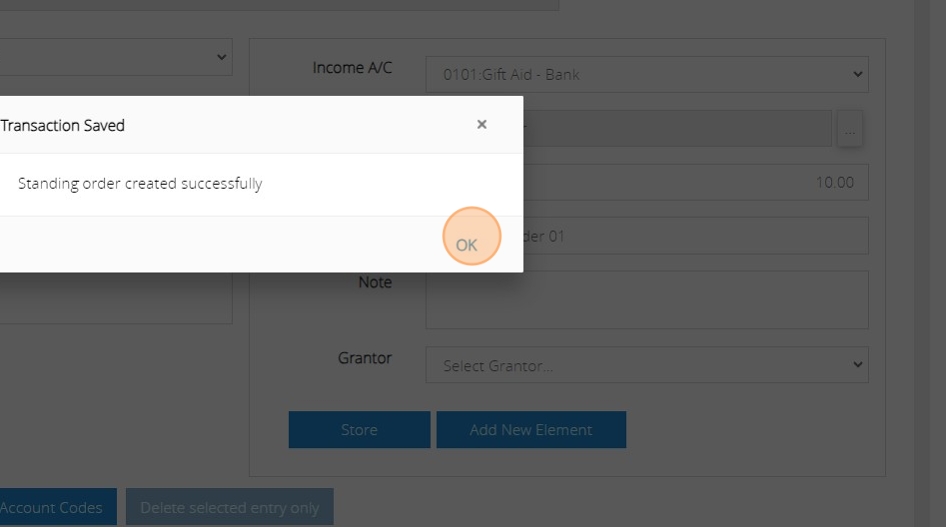
14. You will then be notified that the standing order has been created successfully. You can click OK.
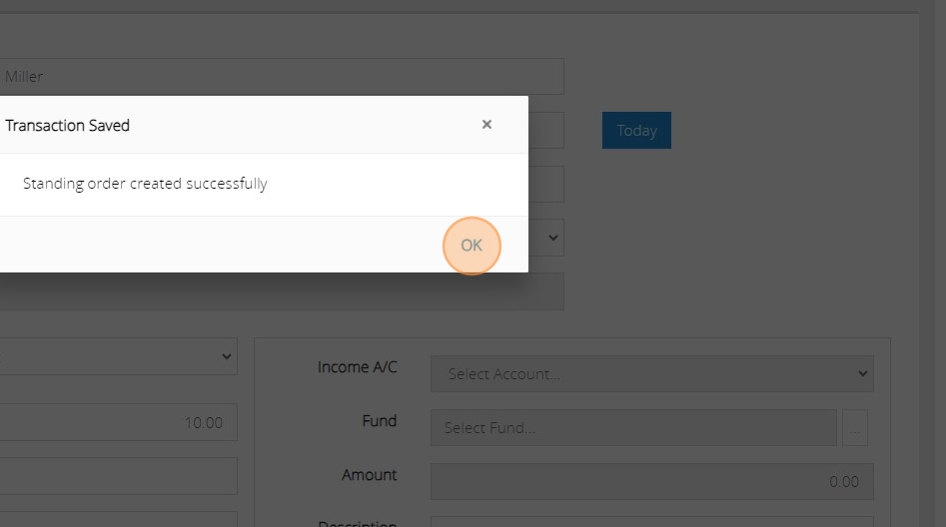
Tip: Creating Expenditure standing orders works in exactly the same way. You can just reach it by going to Create > Create Expenditure standing orders.
Managing Standing Orders
Tip: You are also able to view, amend and delete standing orders.
15. Under the transactions menu, click "Standing Orders"

16. Select the standing order that you wish to view, amend or delete.
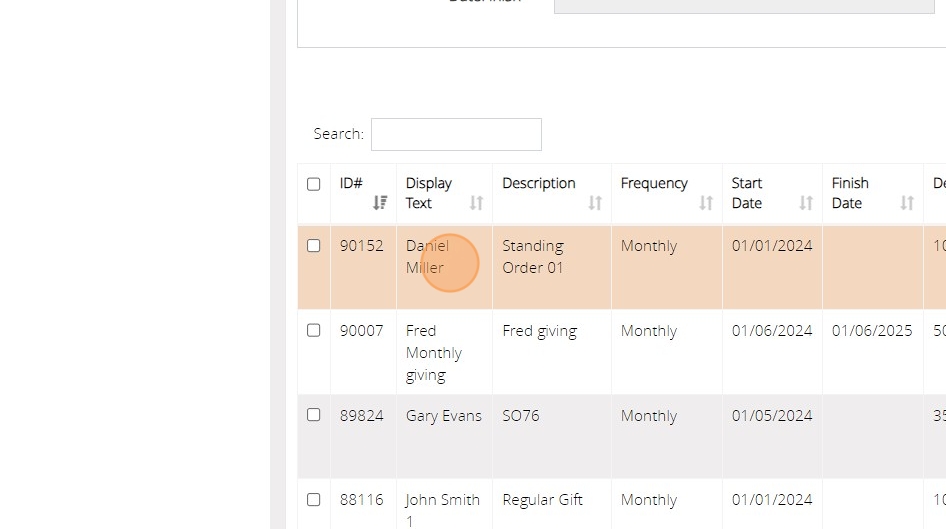
17. Once selected, you can view the details at the top of the list of standing orders.
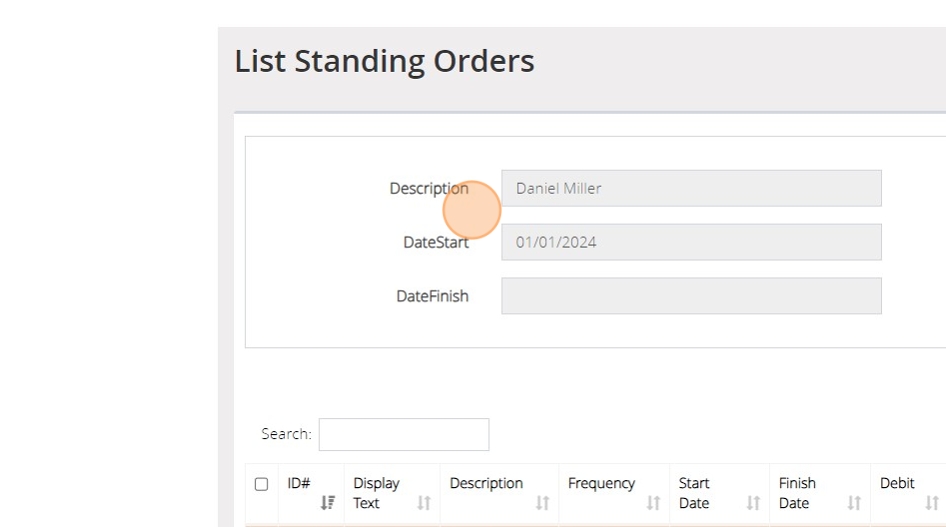
18. If you wish to edit the standing order you can click the 'Edit' button. If you wish to delete the standing order, you can click the 'Delete selected items' button.
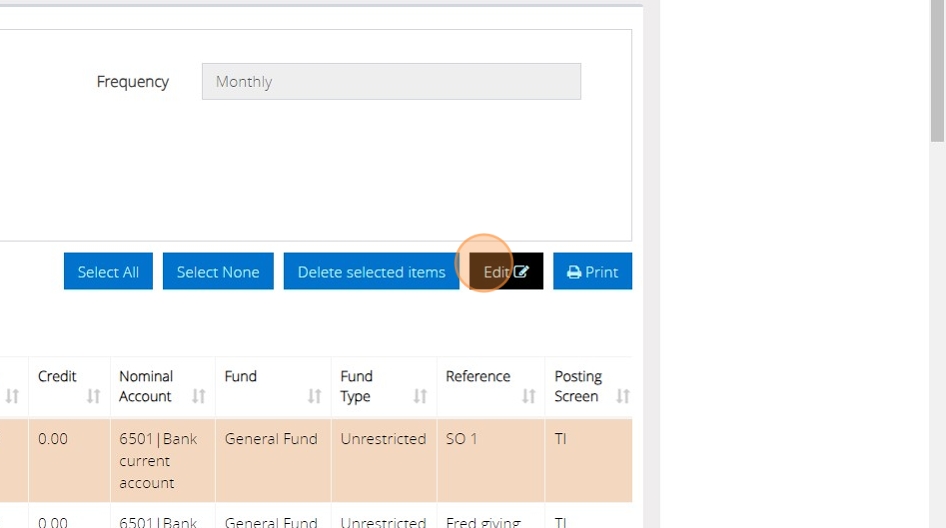
19. Once on the edit screen, you can then amend any of the details of the transaction that you wish, including the Text for list display and start date.
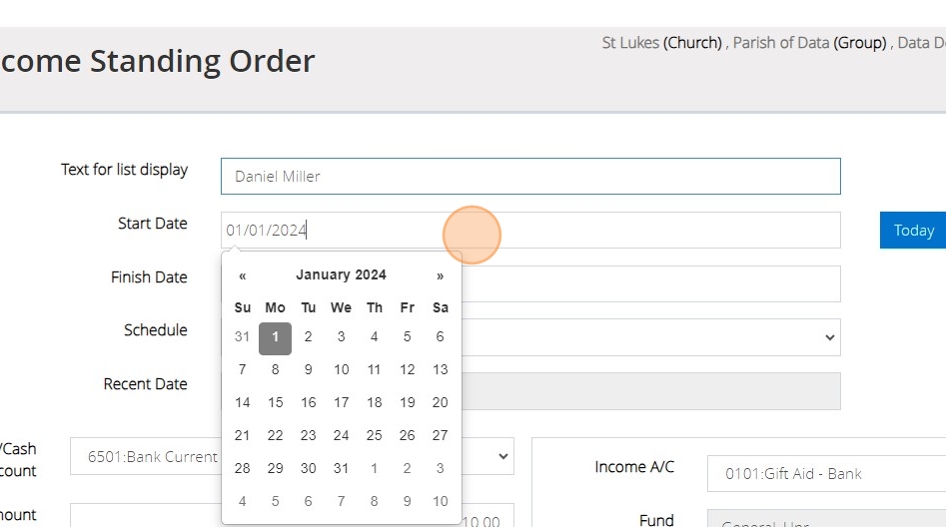
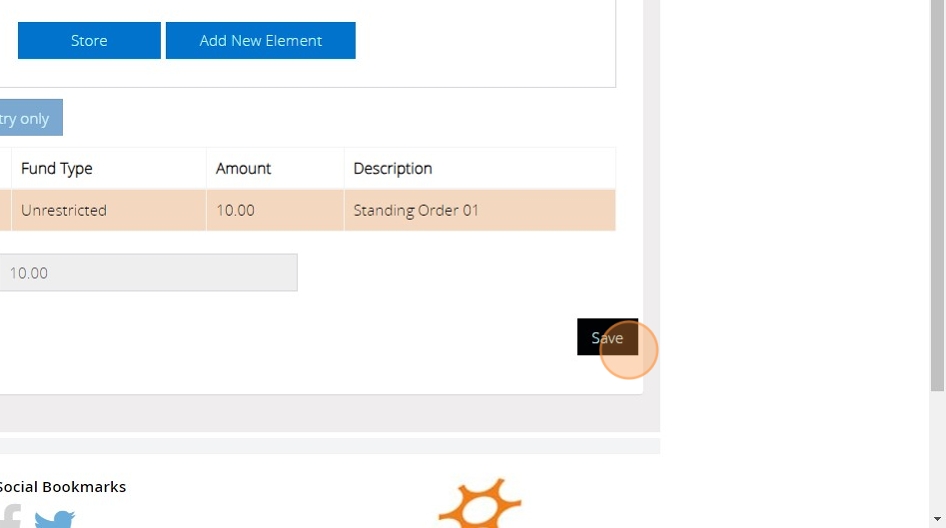
20. Once you have finished amending any details of the standing order, click the "Save" button.
21. You will see the confirmation message that the standing order has been created successfully. Click 'OK'.
Processing Standing Orders
Tip: Standing orders do not automatically post to your transaction listings. They generate on the Process Standing Orders screen, ready for you to select which of them are to be posted to list transactions.
22. Under the Transactions menu, click "Process Standing Orders"

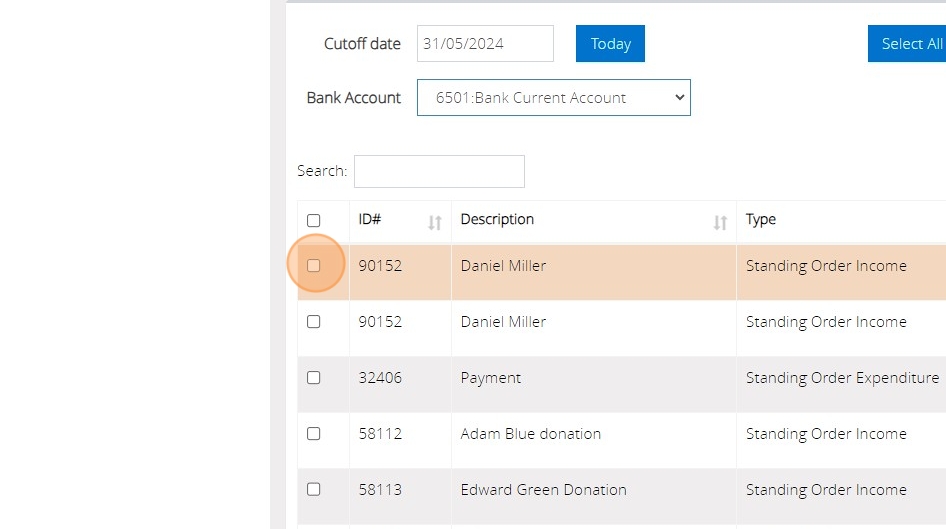
23. On the 'View and transfer standing orders' screen, you are able to select a 'Cut off date' for the transactions that you can see on this screen. This can be especially helpful if you are posting one month at a time. Setting a cut off date will limit the transactions that appear in the list on the screen.

24. You can also click the Bank Account dropdown to narrow down the list further to just the transactions for one particular bank account.

25. If you wish to select a standing order to be posted, you can click the checkbox shown below to the left of the transaction.
26. You can also use the search box to search for a particular donor name or description on a standing order.

27. If you wish to post all the transactions that you can see in the list that is presented to you after you have filtered down, you can click the checkbox shown below This will select all the transactions that you can see in the list.
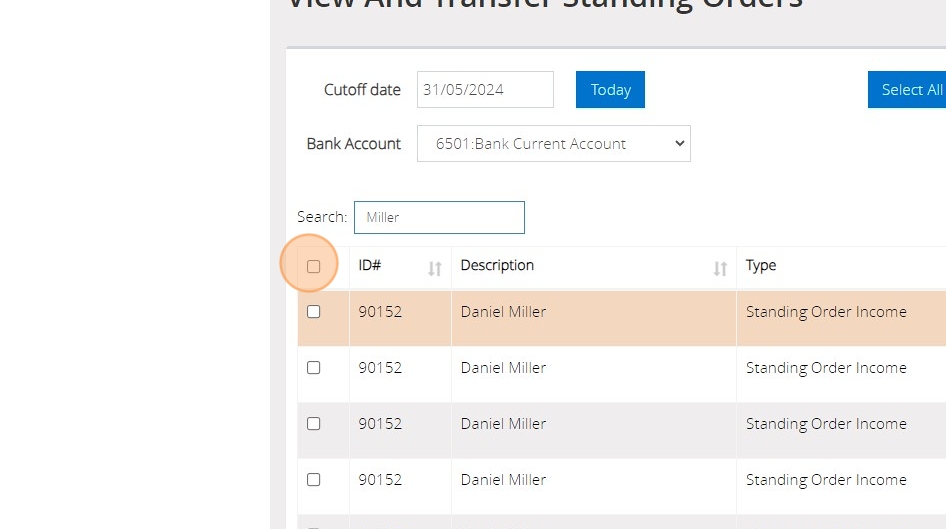
28. You can also change the date on the transaction, if for example, the date the transaction came into the bank account is slightly different to the one automatically generated for it in MyFundAccounting.Online.

29. When you are happy that you have all the transactions that you wish to post to the bank account selected, click the "Transfer" button.
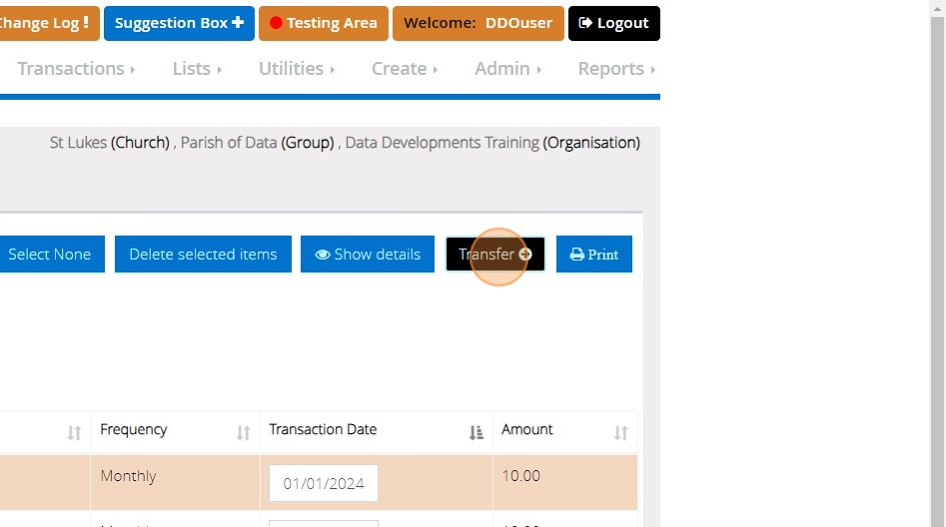
30. This will post all of the transactions that you had selected. You will then be able to produce a report of those transactions. If you wish to do so, click 'Yes' when the confirmation message pops up.

Tip: All of the transactions that you have just posted will now show on your transaction listings and on the bank reconciliation screen, ready to be reconciled.
Creating shared accounts
Tip: You may have situations where one bank account is shared between more than one organisation. In order to reconcile the bank account we have included a feature where you can share a bank account between more than one branch.
Tip: Tip! When on you reconciliation page you will then be able to see all transactions that have been recorded to the bank account regardless of the branch they were created in.
Tip: The below steps will guide you in setting up your shared accounts.
1. Click "Create"
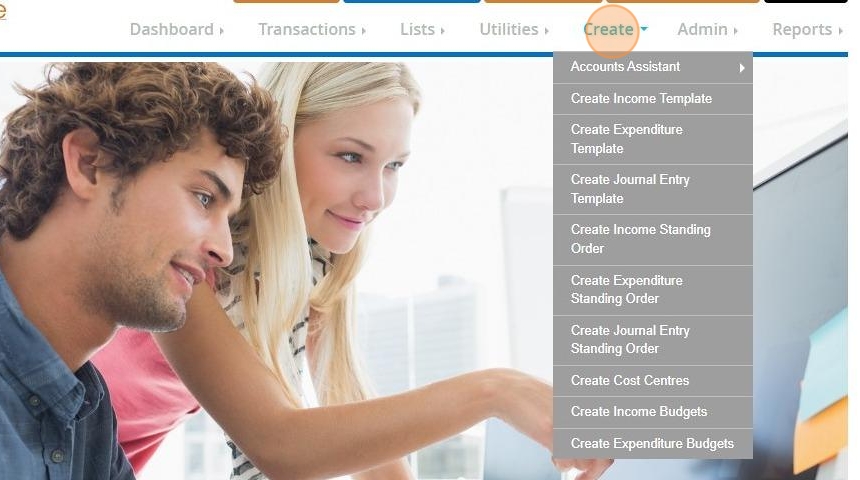
2. Choose "Accounts Assistant"
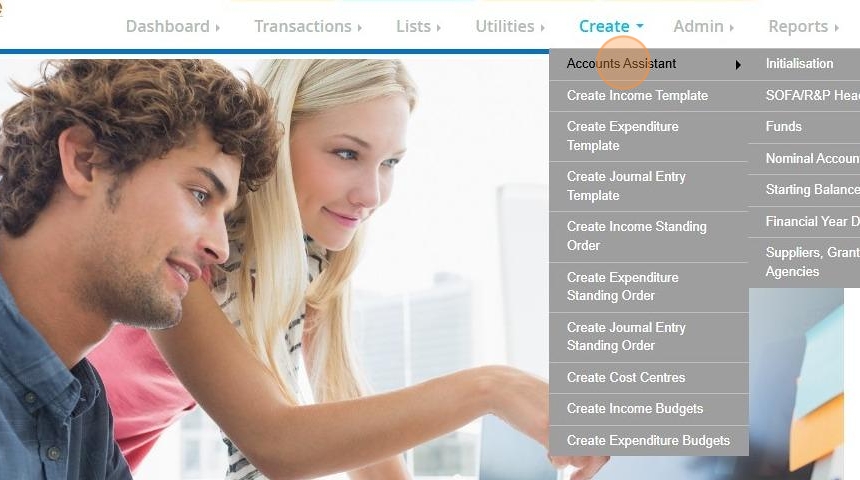
3. Select "Nominal Accounts"
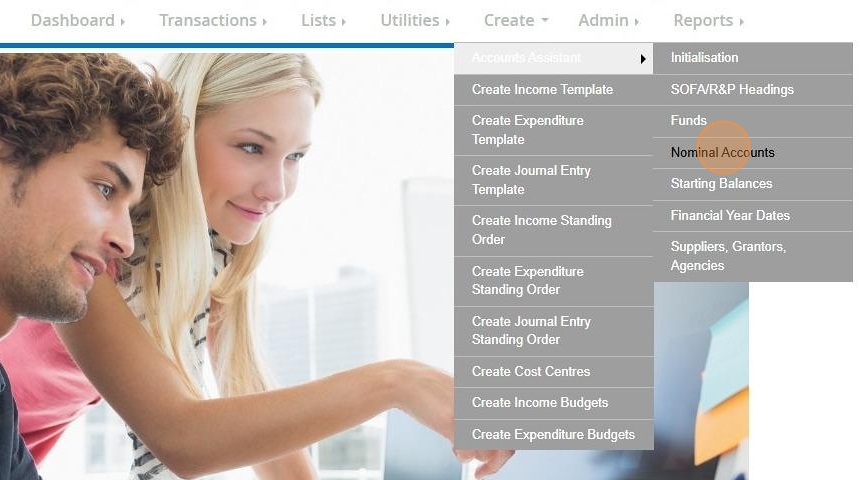
4. Click "Current Assets"

Alert: Alert! If you have already set up your bank account please click Edit and skip to step 7!
5. Click "Add New"
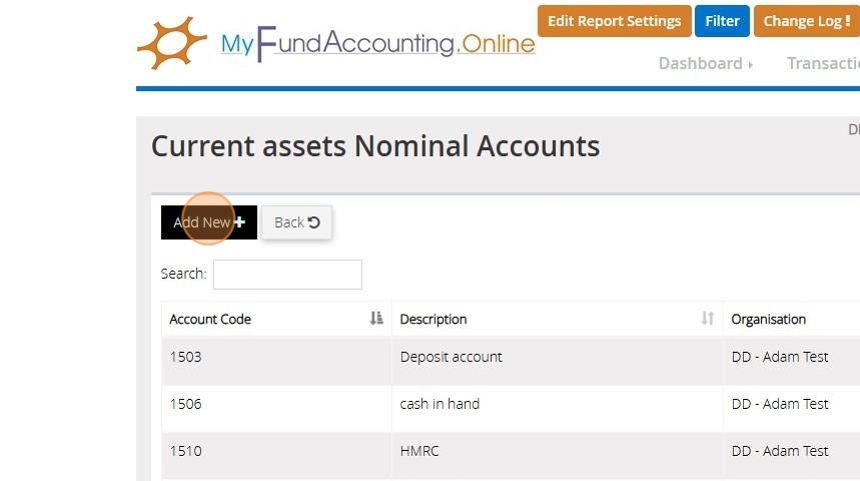
6. Enter your bank account details such as Description, Account code and select the Class
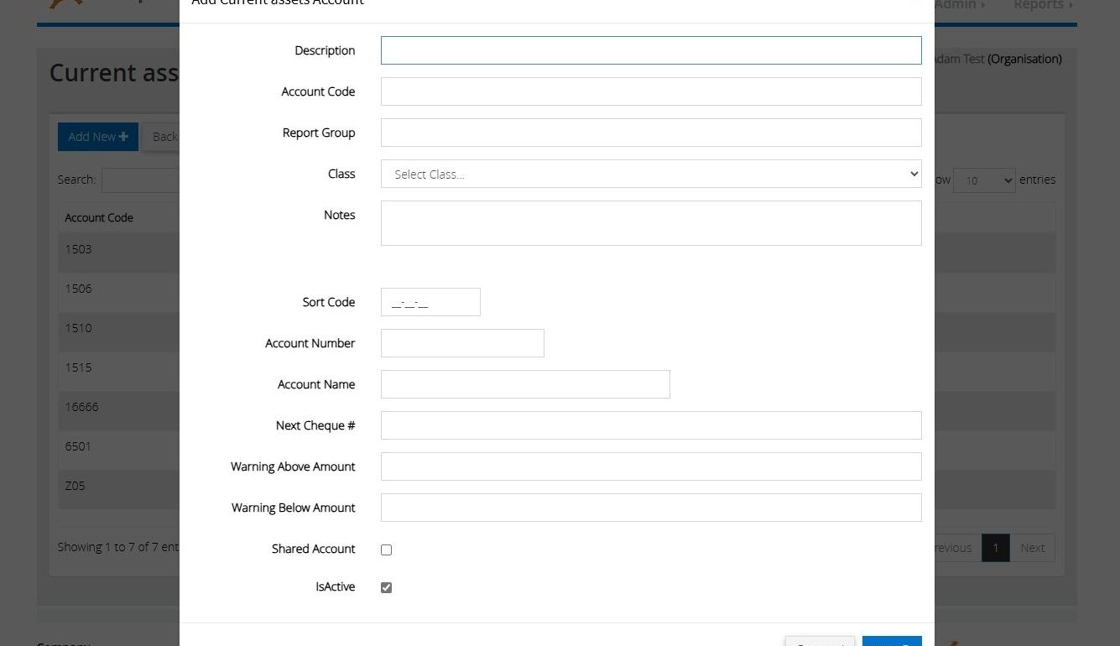
Tip: Tip! Only the Description, Account code and Class are required fields to create the code.
Alert: Alert! All information entered must match each of the codes created in each separate branch.
7. Click the checkbox next to "Shared Account"
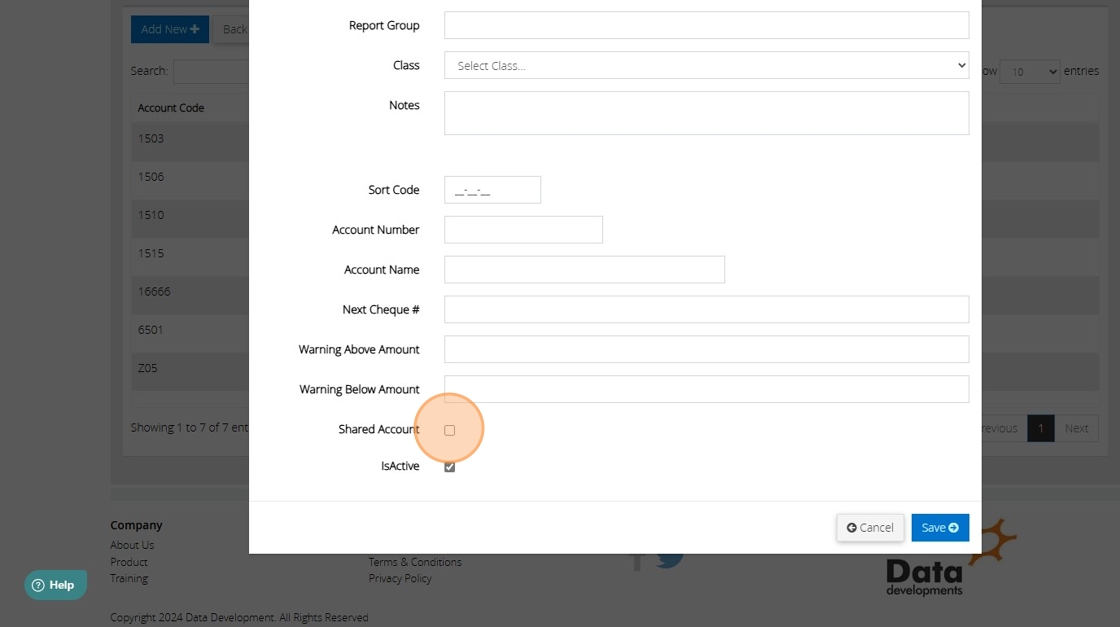
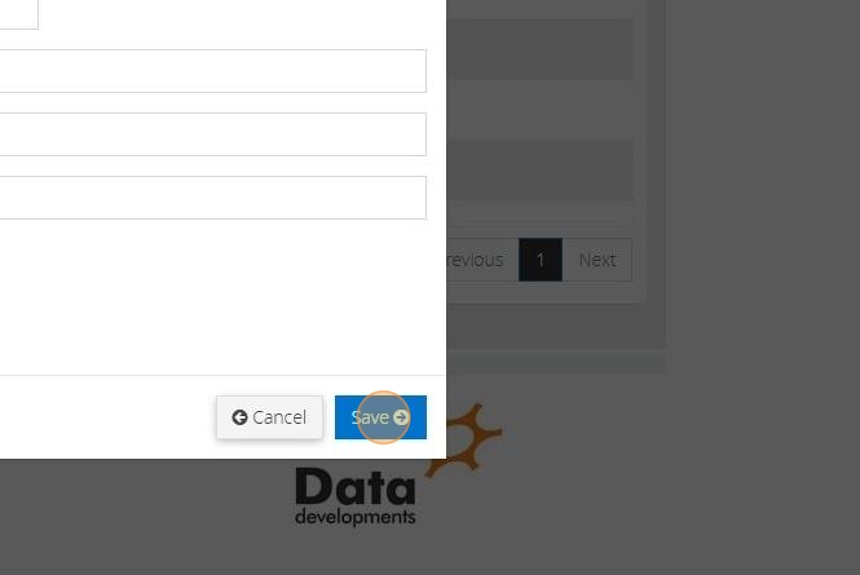
8. Click "Save"
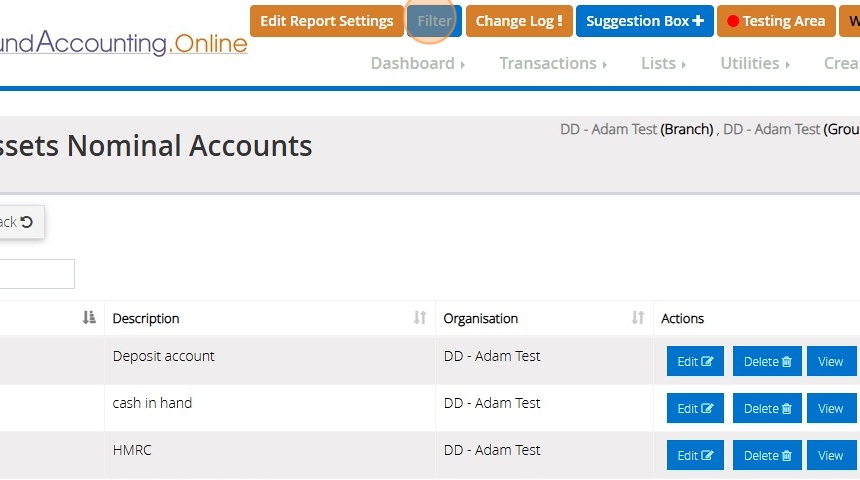
9. Click "Filter" and change to the second branch.
Tip: Tip! Repeat all of the above steps in each branch who shares the bank account
Deferred Income
Tip: Deferred income refers to money received that will be recognised as income at a future date that falls under another financial year. For instance, it can occur when you receive an advance payment for services that you will provide later.
1. Navigate to https://www.myfundaccounting.online
Receive deferred income
Tip: The below steps will guide you in recording an amount of deferred income
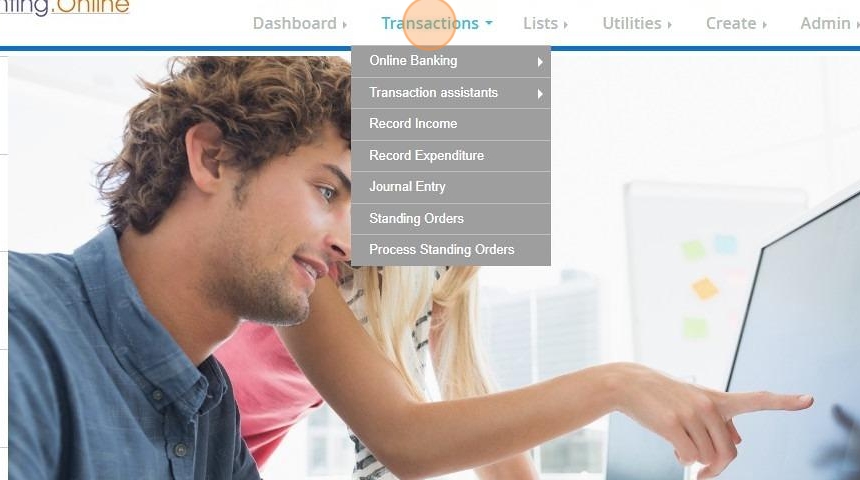
2. Click "Transactions"
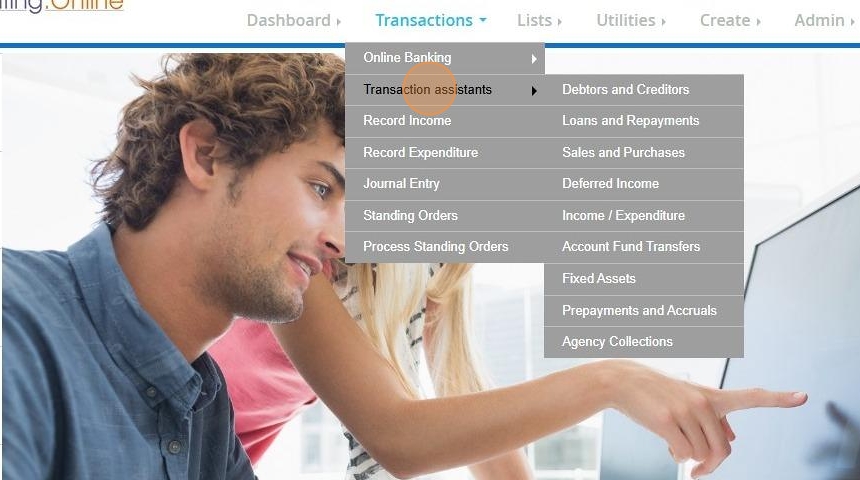
3. Click "Transaction assistants"
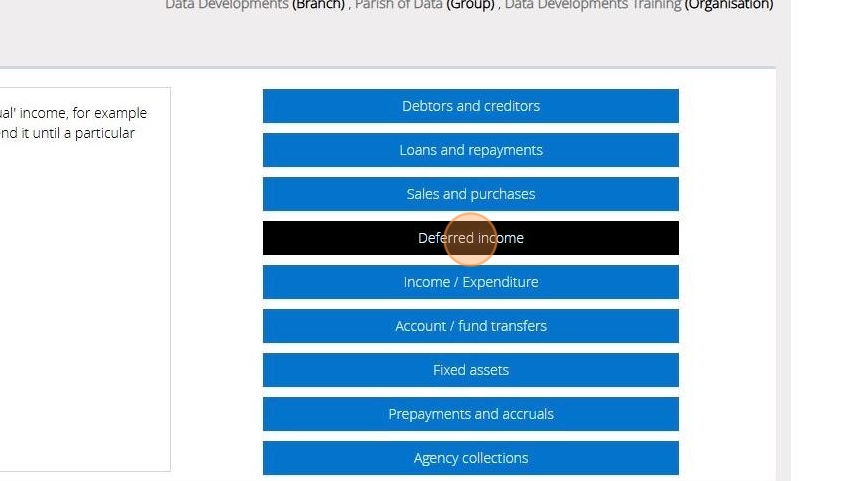
4. Click "Deferred income"
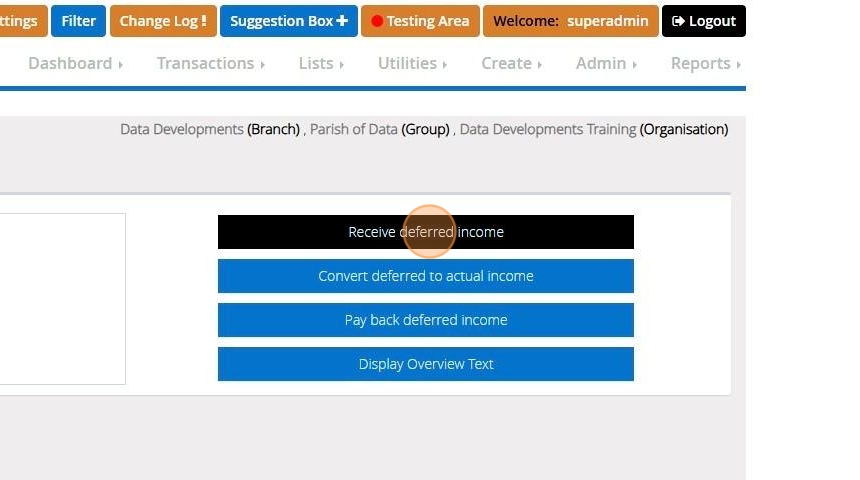
5. Click "Receive deferred income"
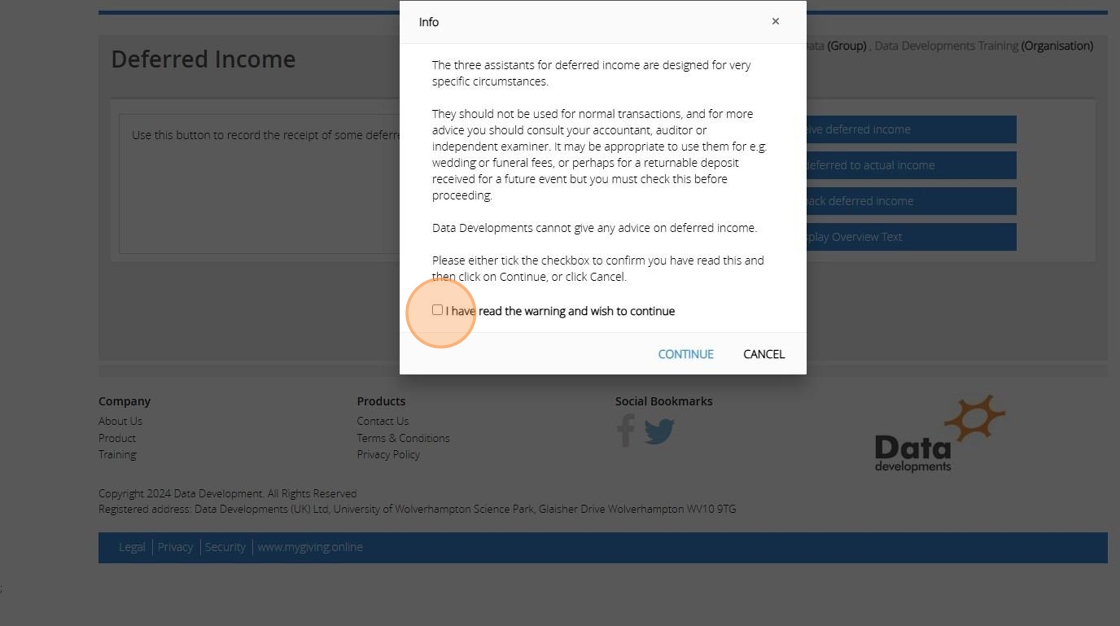
6. Read though the statement and should you wish to proceed tick the check box next to "I have read the warning and wish to continue" and click continue
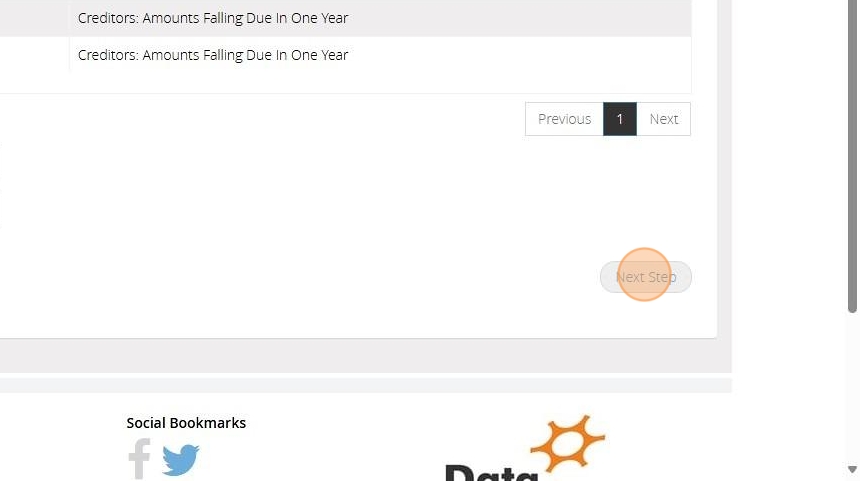
7. On Step 1 Select the Liability code from your list

8. Click "Next Step"
9. On Step 2 select the current asset from your list
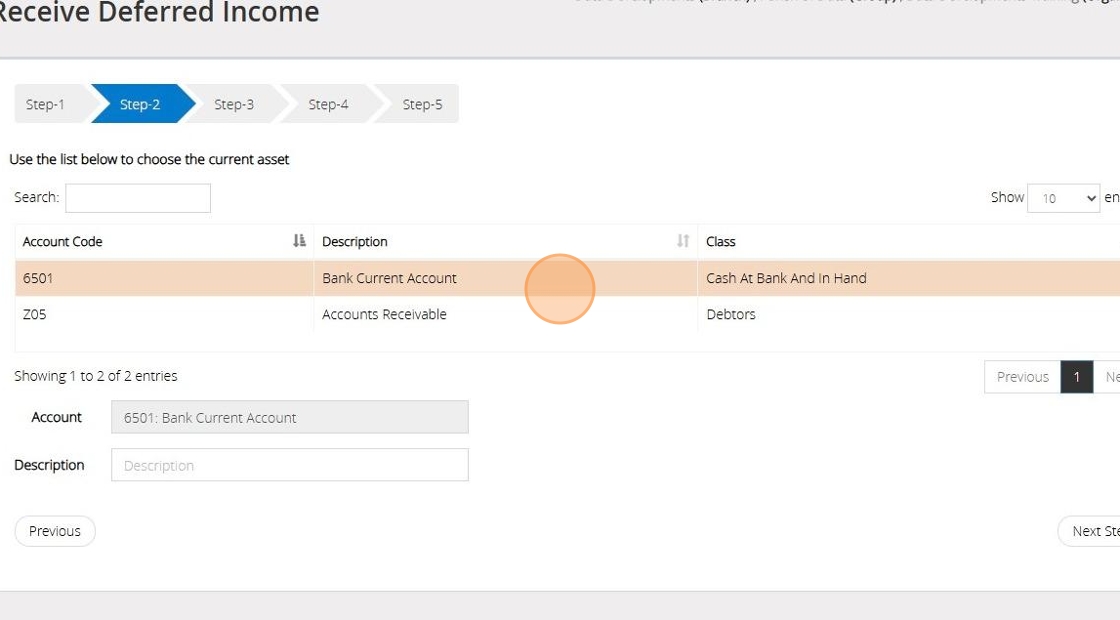
10. Click "Next Step"
11. In Step 3, input the date, provide a reference, and enter the amount of income you wish to defer.

12. Click "Next Step"
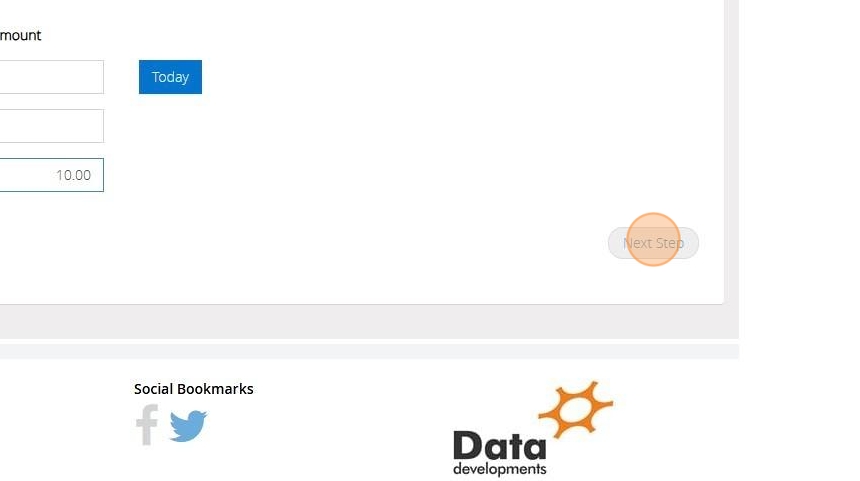
13. On Step 4 Select the fund that this transaction should affect
14. Click "Next Step"
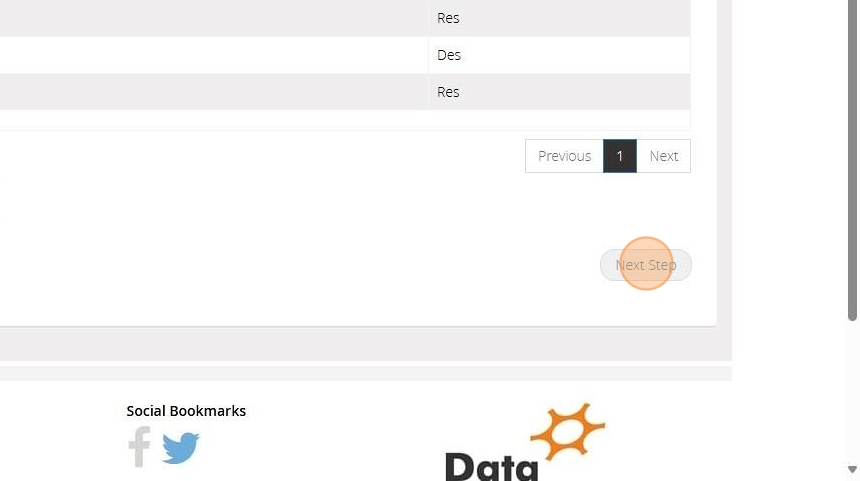
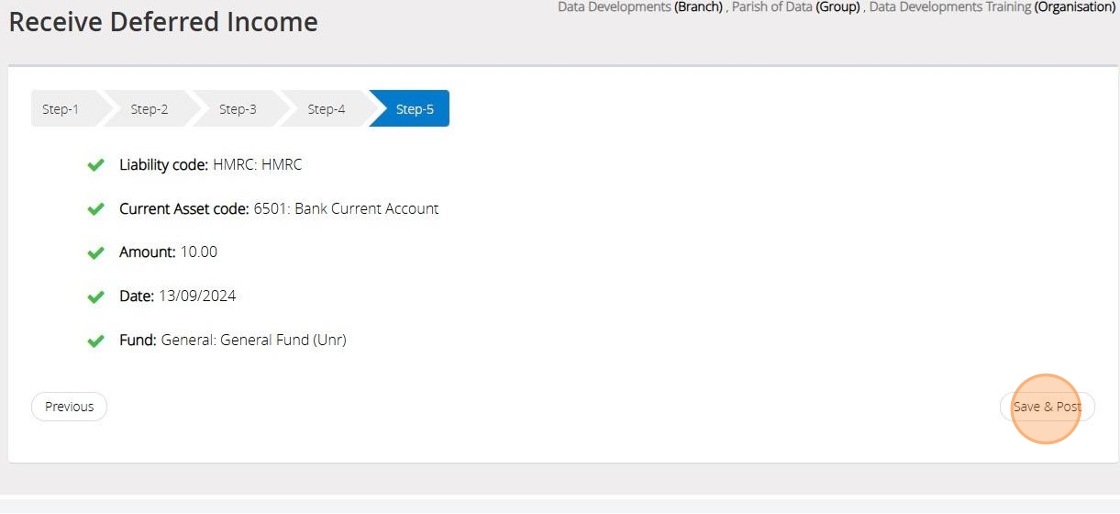
15. On Step 5 confirm the selections that have been made > Once ready click "Save & Post"
Convert deferred to actual income
Tip: The below steps will guide you in converting deferred income to actual income
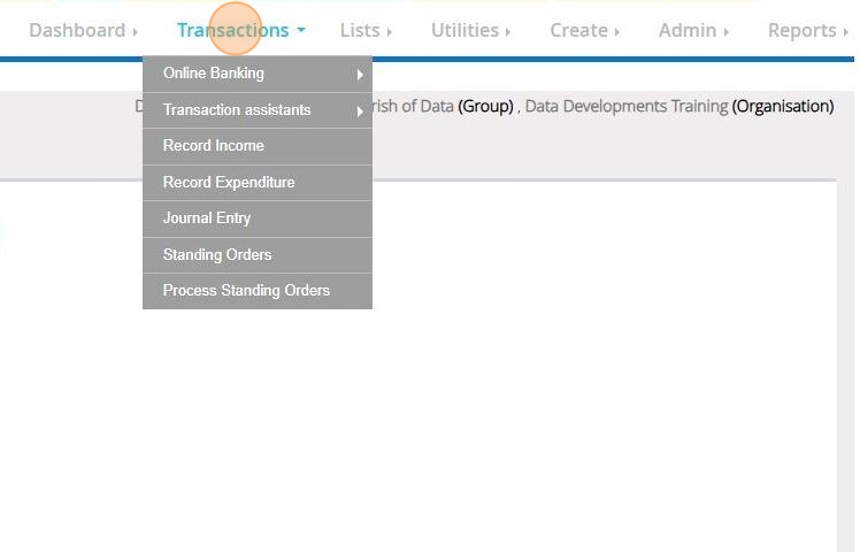
16. Click "Transactions"
17. Click "Transaction assistants"
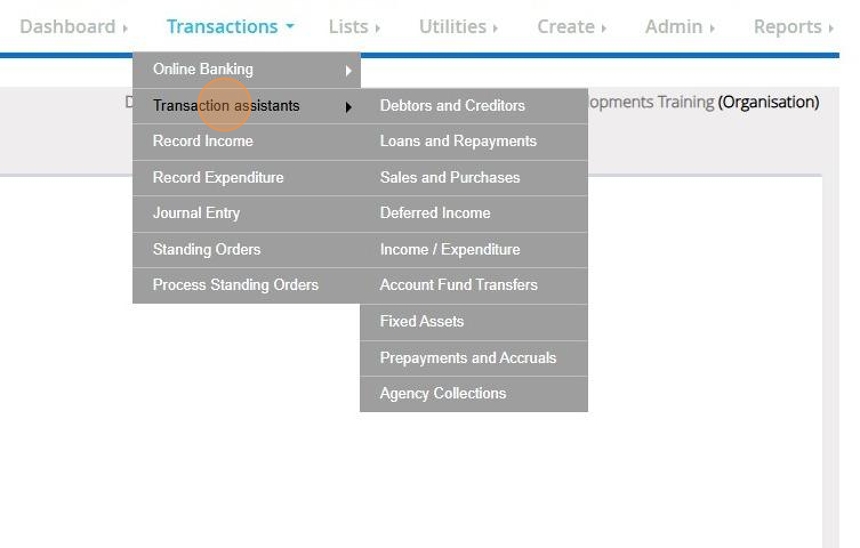
18. Click "Deferred income"

19. Click "Convert deferred to actual income"

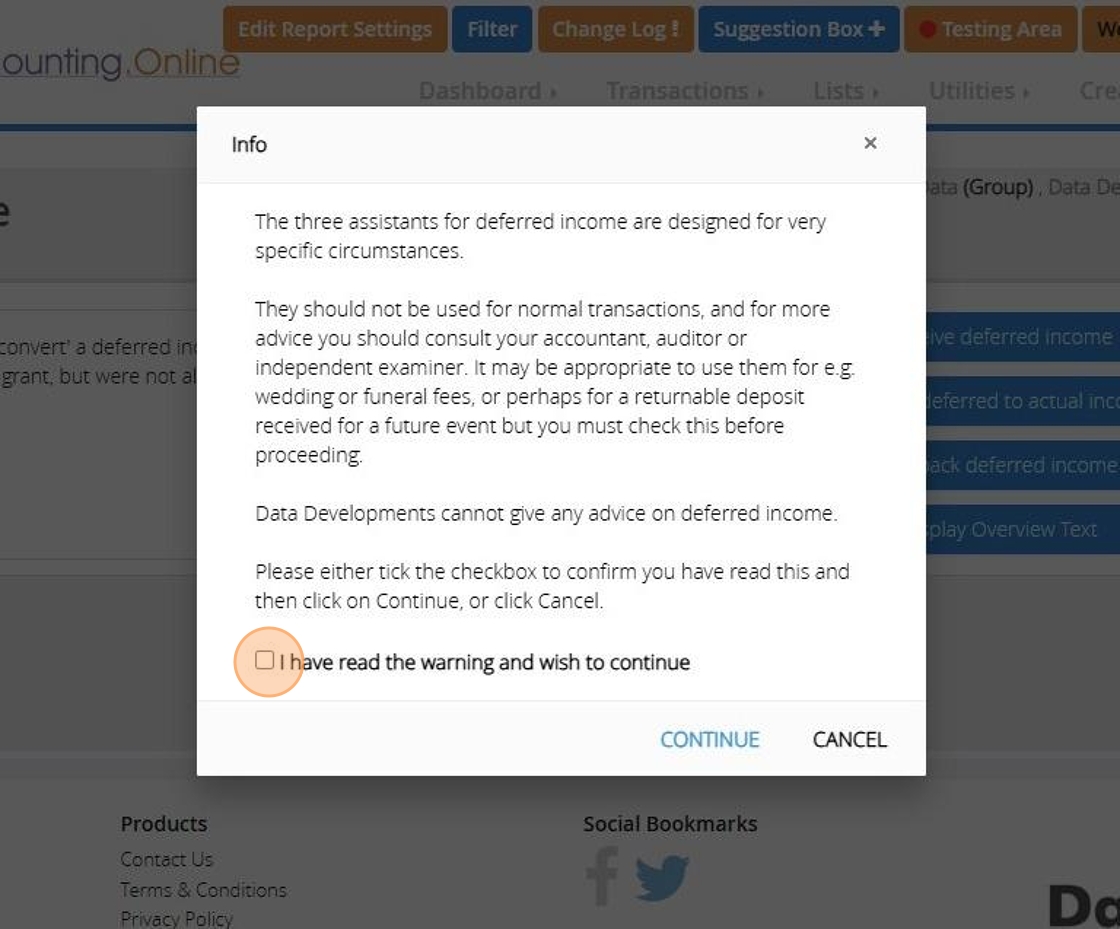
20. Read though the statement and should you wish to proceed tick the check box next to "I have read the warning and wish to continue" and click continue
21. On Step 1 select the income code to be used

22. Click "Next Step"
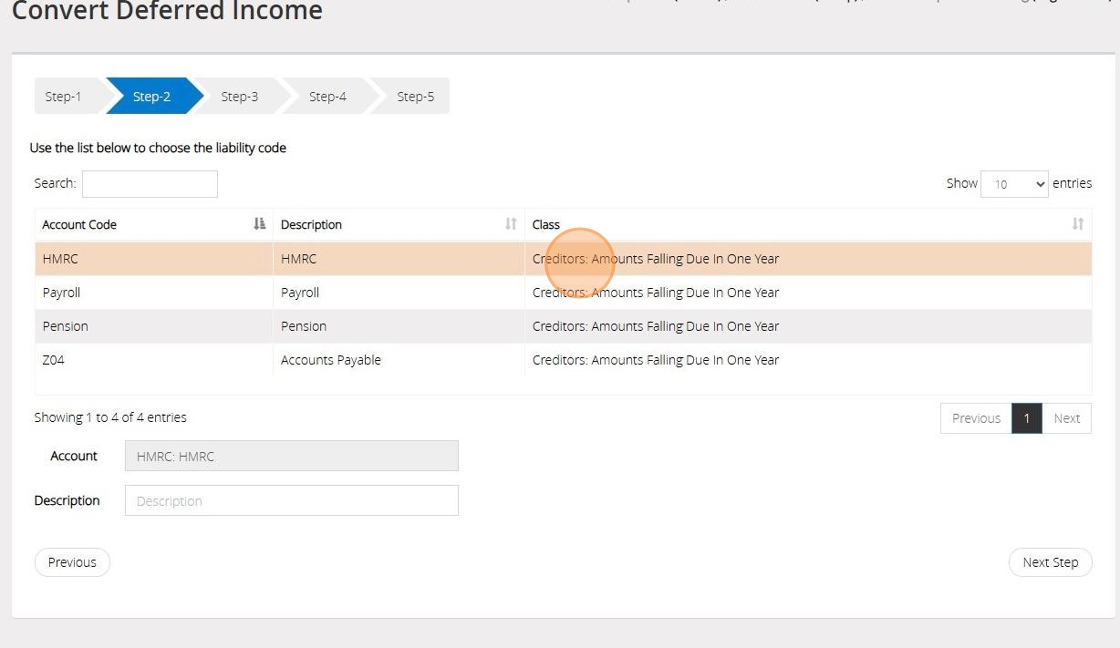
23. On Step 2 select the liability code you used when recording the deferred Income in Step 7
24. Click "Next Step"
25. In Step 3, input the date (this can be the date the service was provided or any date within the year the service took place), provide a reference, and enter the amount of deferred income you wish to convert
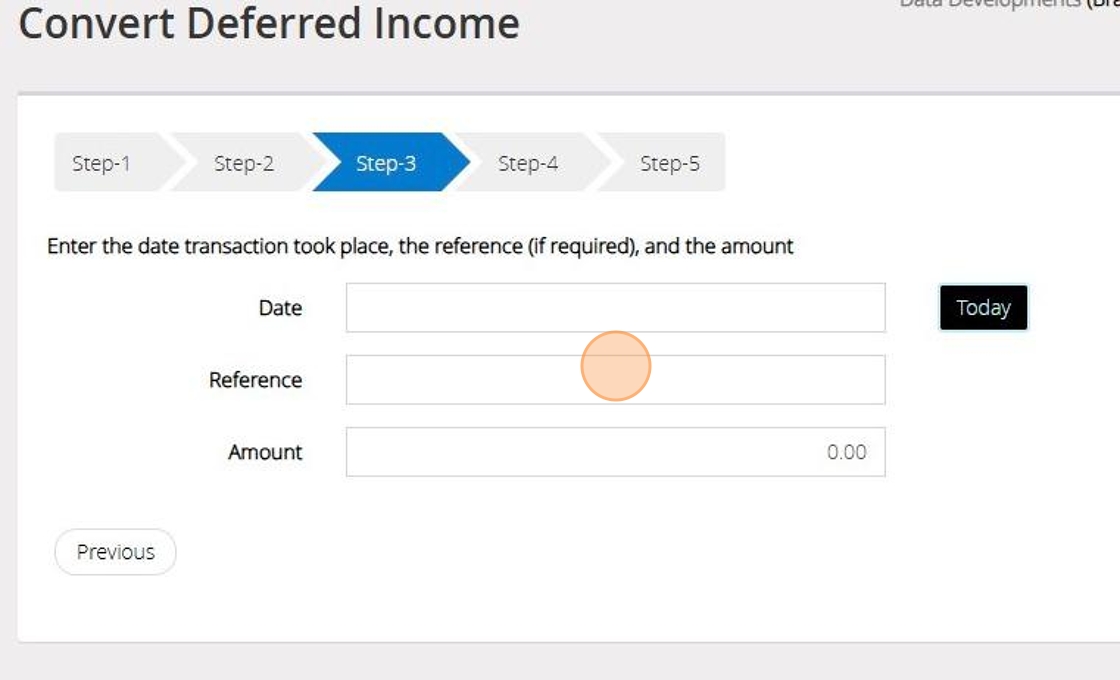
26. Click "Next Step"

27. On Step 4 Select the fund that this transaction should affect
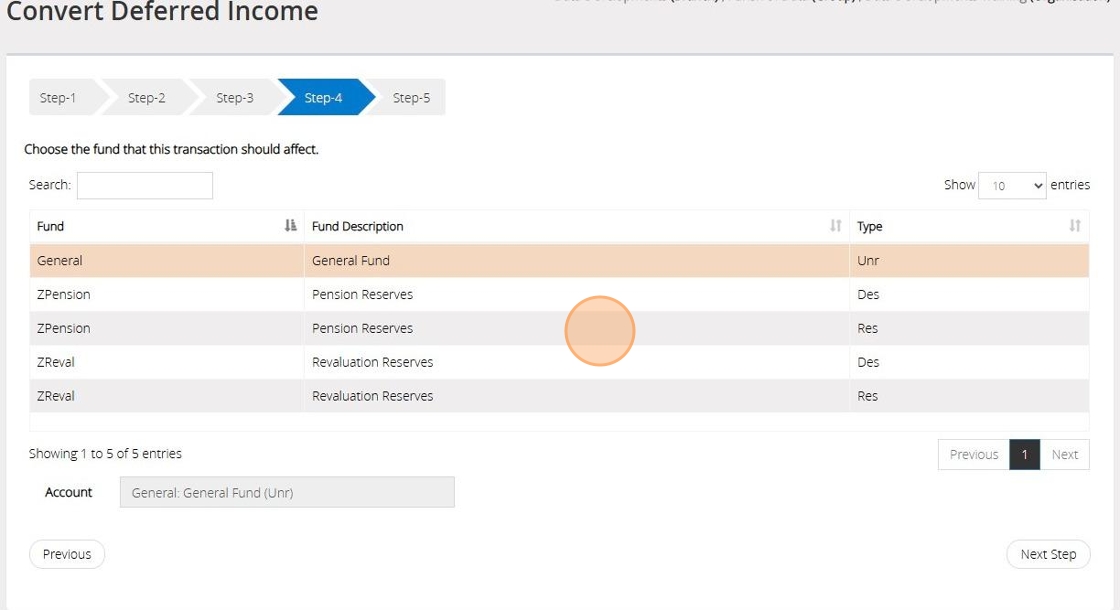
28. Click "Next Step"
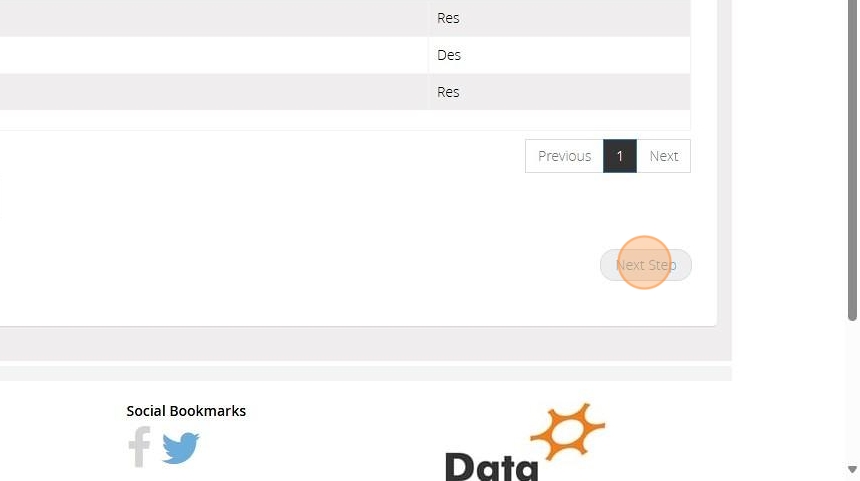
29. On Step 5 confirm the selections that have been made > Once ready click "Save & Post"

Pay Back Deferred Income
Tip: You may experience a situation where an amount of deferred income has to be paid back and never becomes actual income. The below steps will guide you in removing the deferred income from your accounts.
30. Click "Transactions"
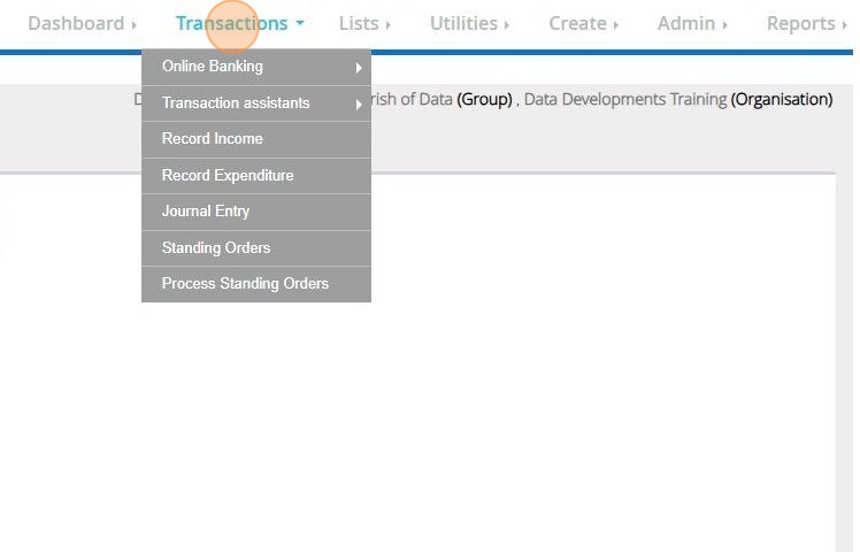
31. Click "Transaction assistants"

32. Click "Deferred income"
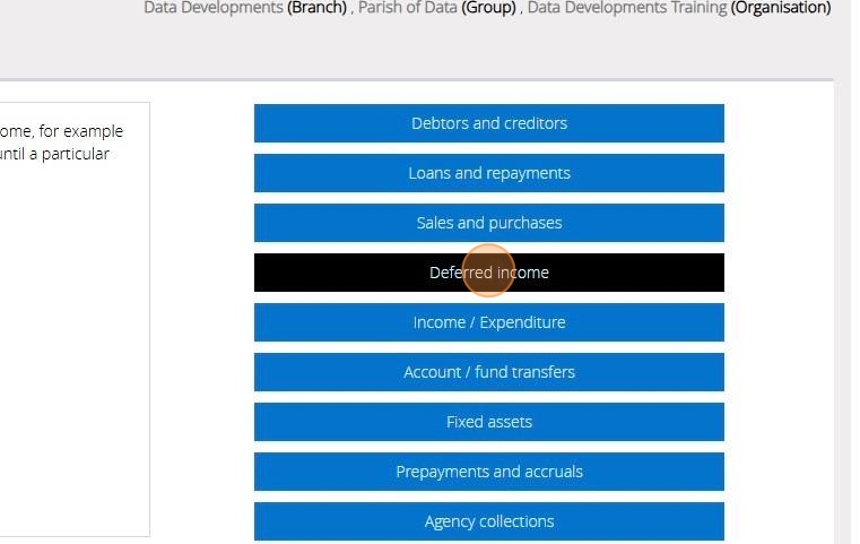
33. Click "Pay back deferred income"
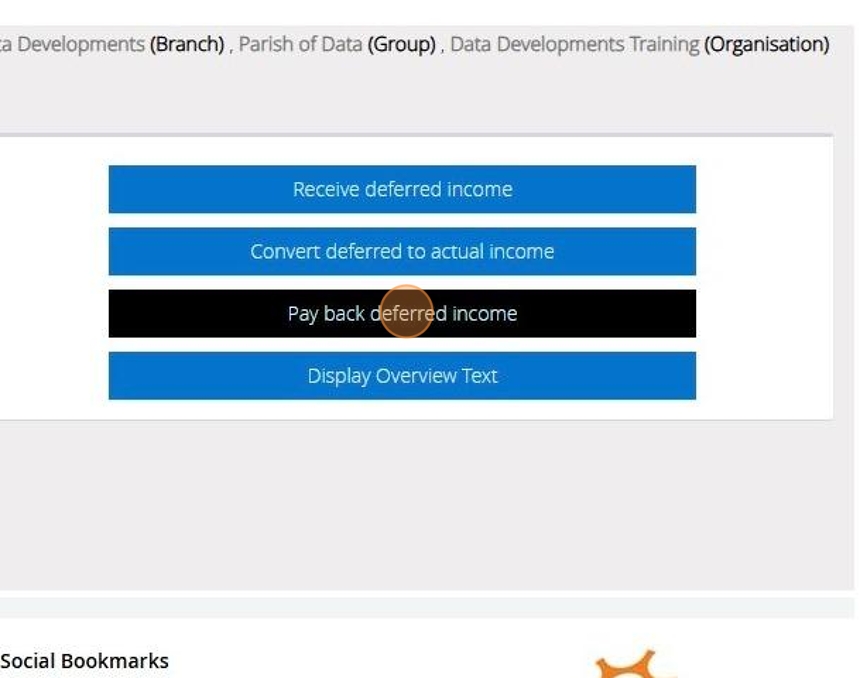
34. Read though the statement and should you wish to proceed tick the check box next to "I have read the warning and wish to continue" and click continue
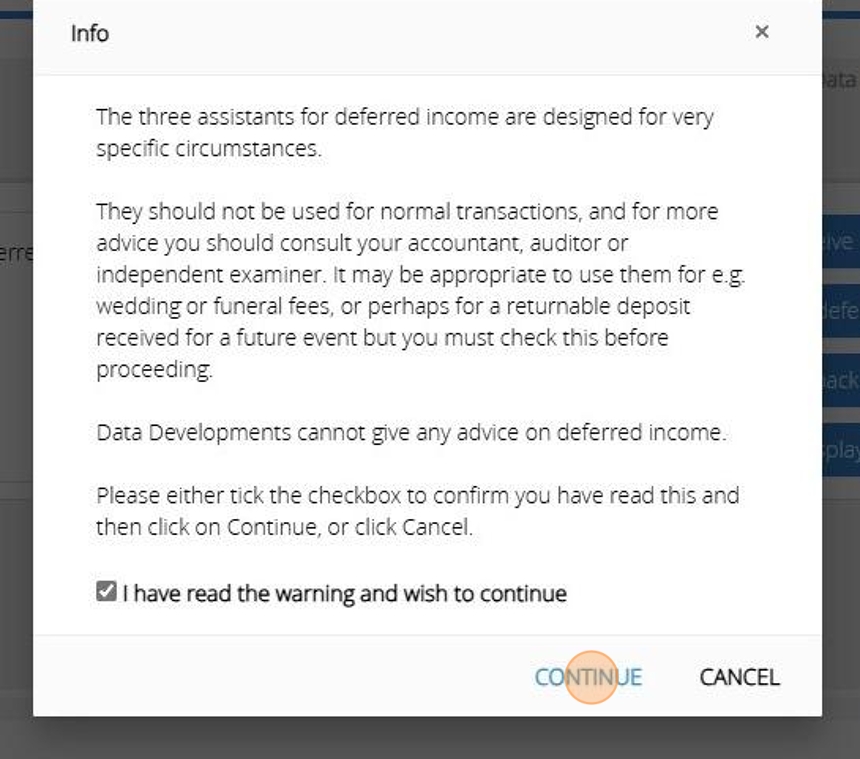
35. On Step 1 select the current asset
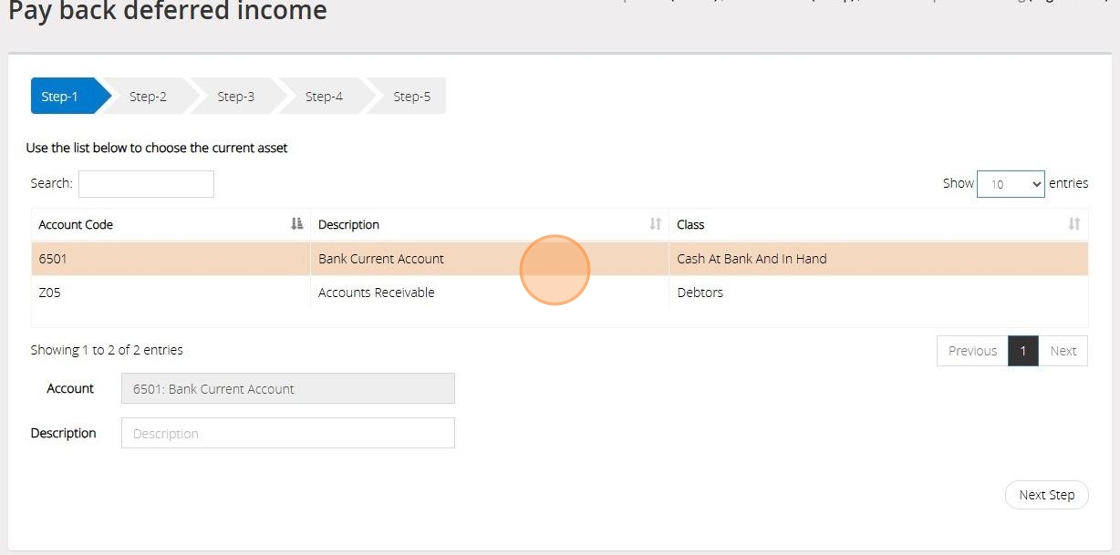
36. Click "Next Step"
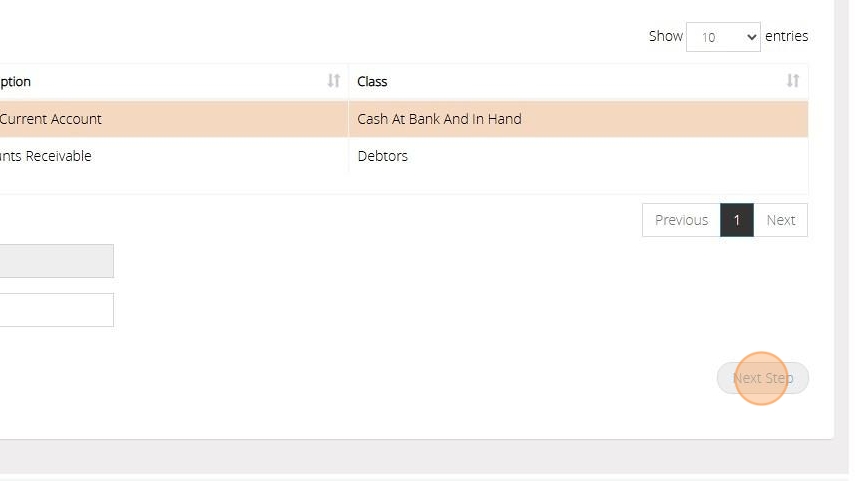
37. On Step 2 select the liability code you used when recording the deferred Income in Step 7
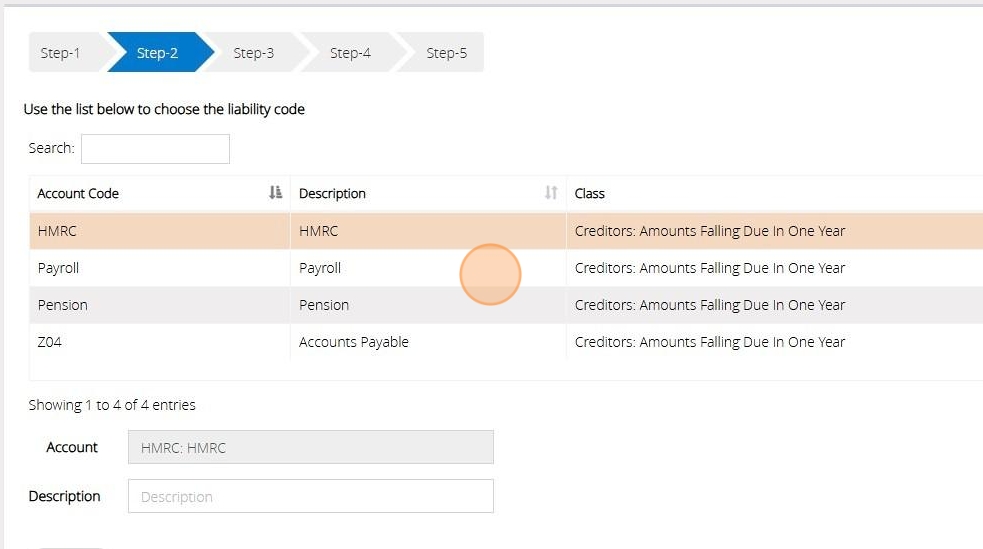
38. Click "Next Step"
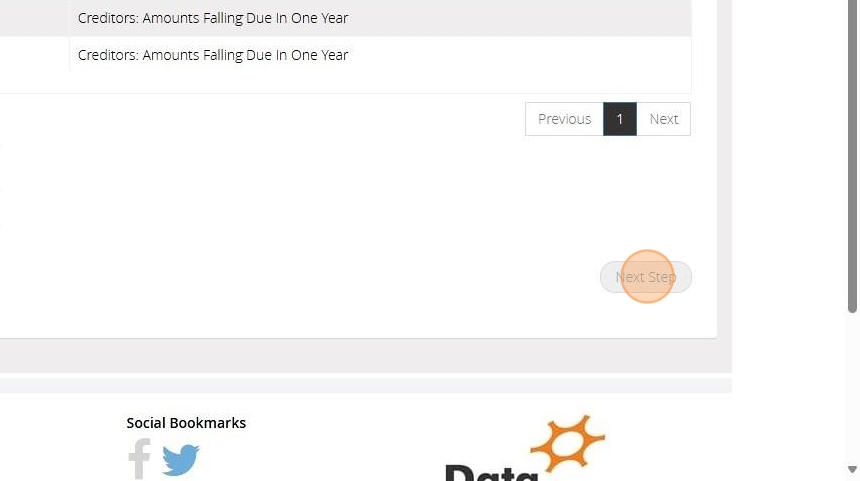
39. In Step 3, input the date, provide a reference, and enter the amount of money that has been paid back
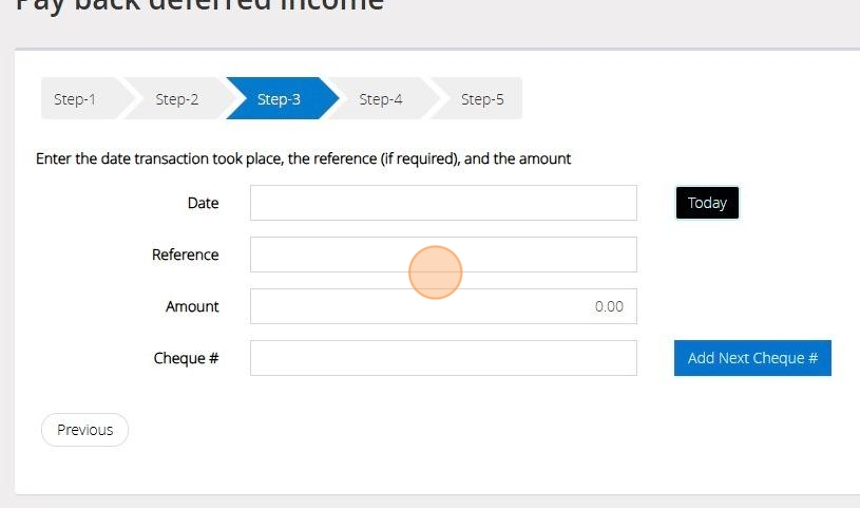
40. If a cheque was issued Click "Add Next Cheque" to auto-fill the subsequent cheque number.
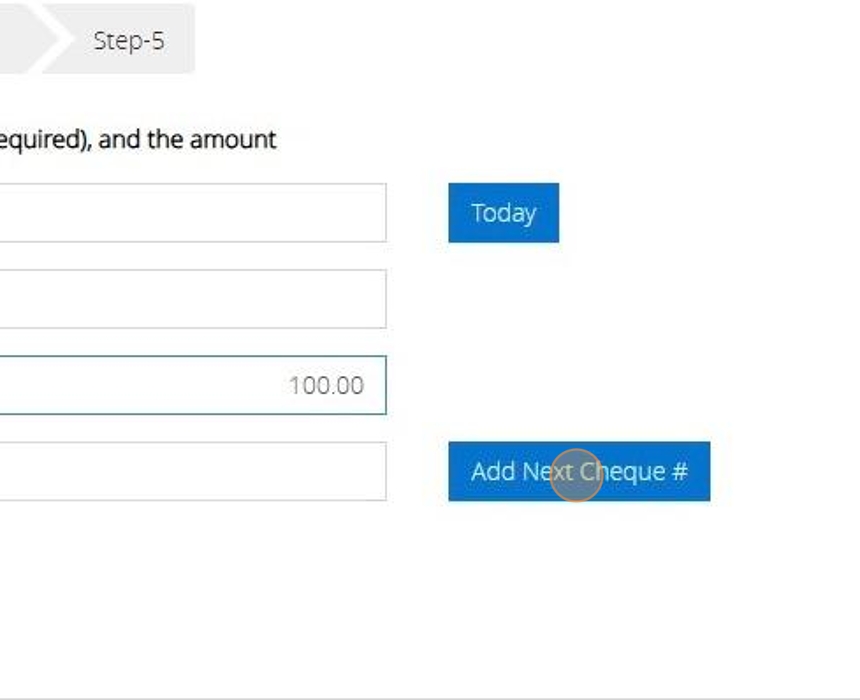
41. Click "Next Step"
42. On Step 4 Select the fund that this transaction should affect
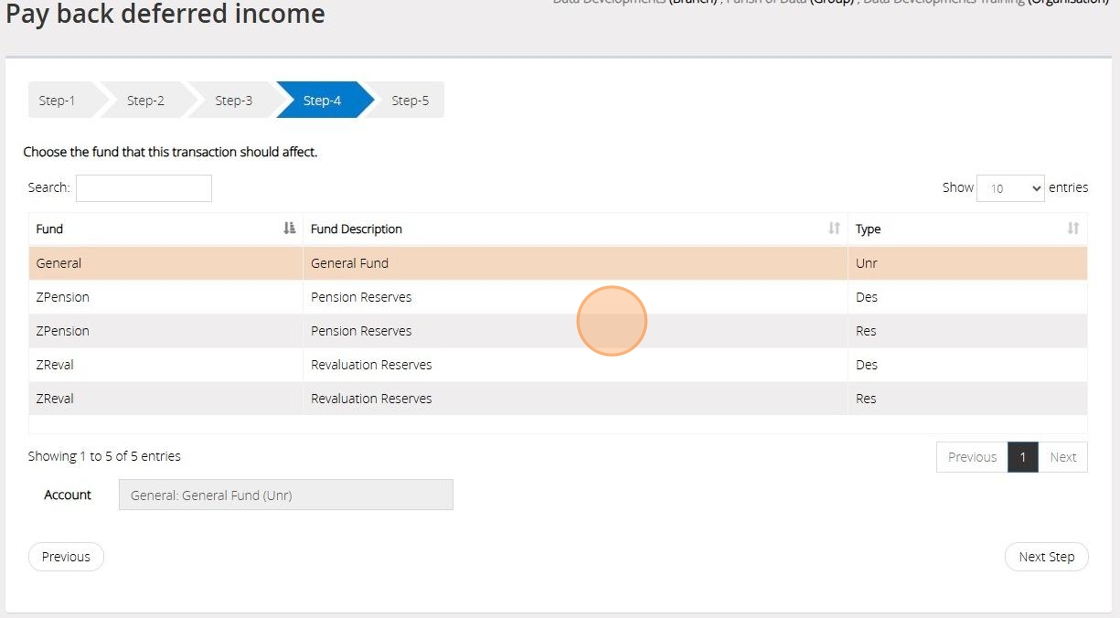
43. Click "Next Step"

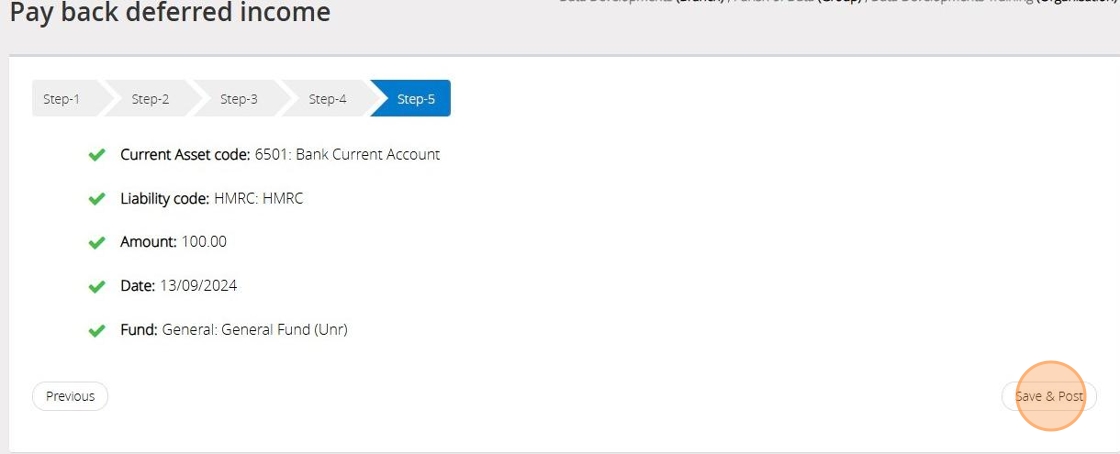
44. On Step 5 confirm the selections that have been made > Once ready click "Save & Post"
Entering Starting Balances
Tip: So that MyFundAccounting can report the correct worth of your organisation you must specify the value of each of your assets and liabilities at the beginning of the current year.
Tip: The below steps will guide you in entering a starting balance
1. Navigate to https://www.myfundaccounting.online
2. Click "Create"

3. Click "Accounts Assistant"
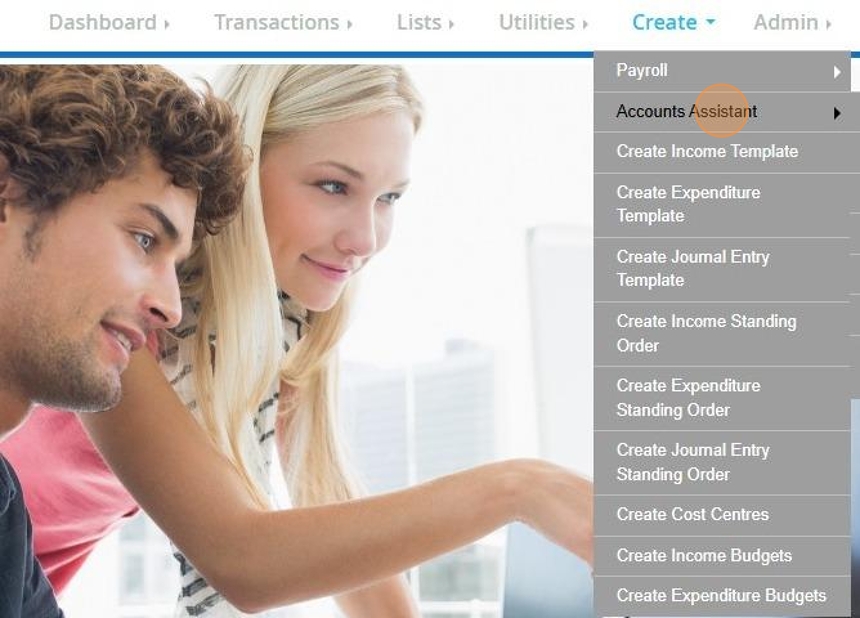
4. Click "Starting Balances"
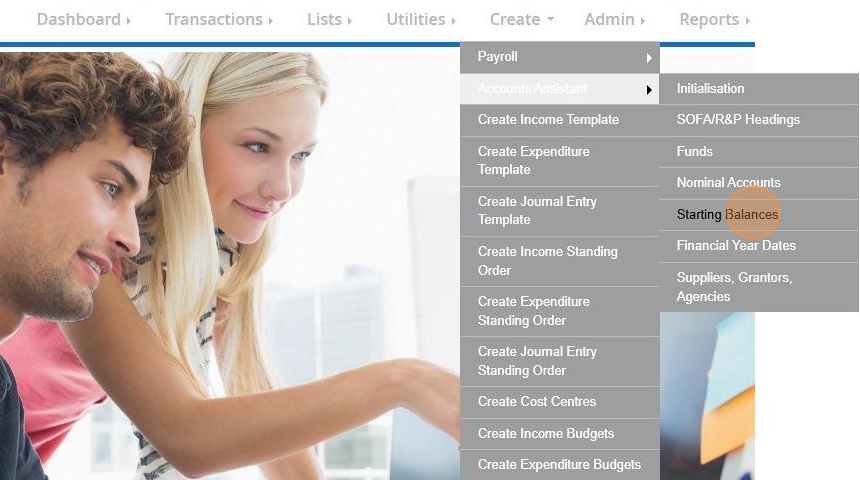
5. Click "Starting Balances"
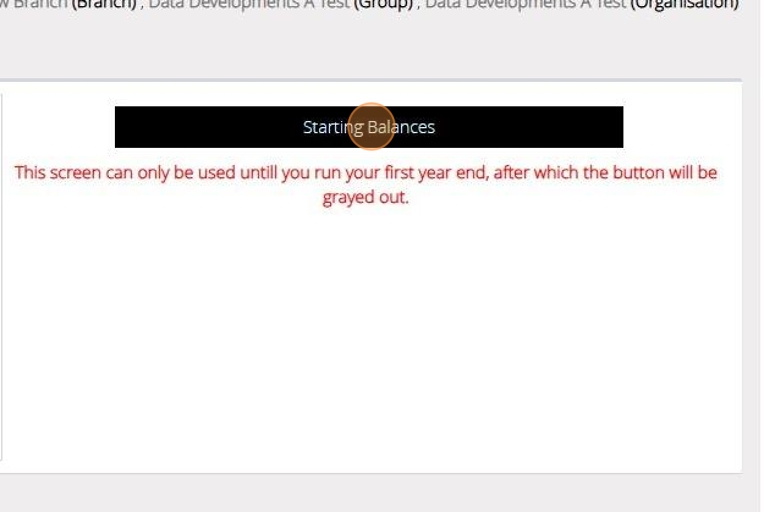
Alert: Alert! This screen is only available if this is your first year using our software and you have not yet ran the Year End Procedure.
6. Step 1 will show a table of all of your Current Assets, Fixed Assets and Liability account codes.
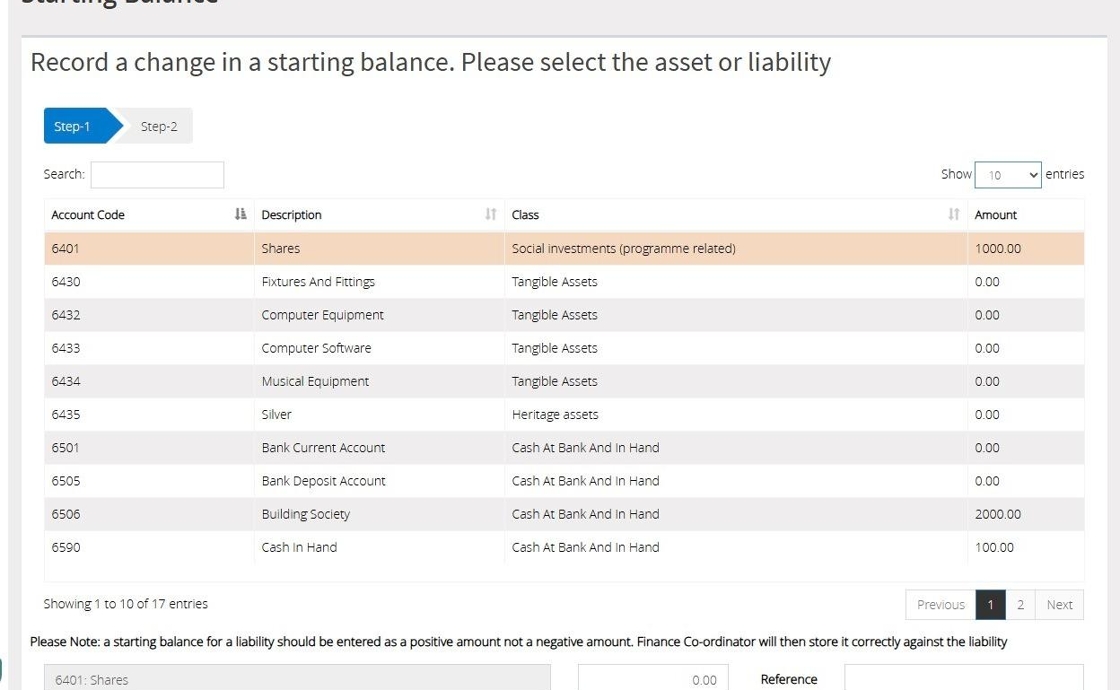
7. Select the code you wish to assign a starting balance to.
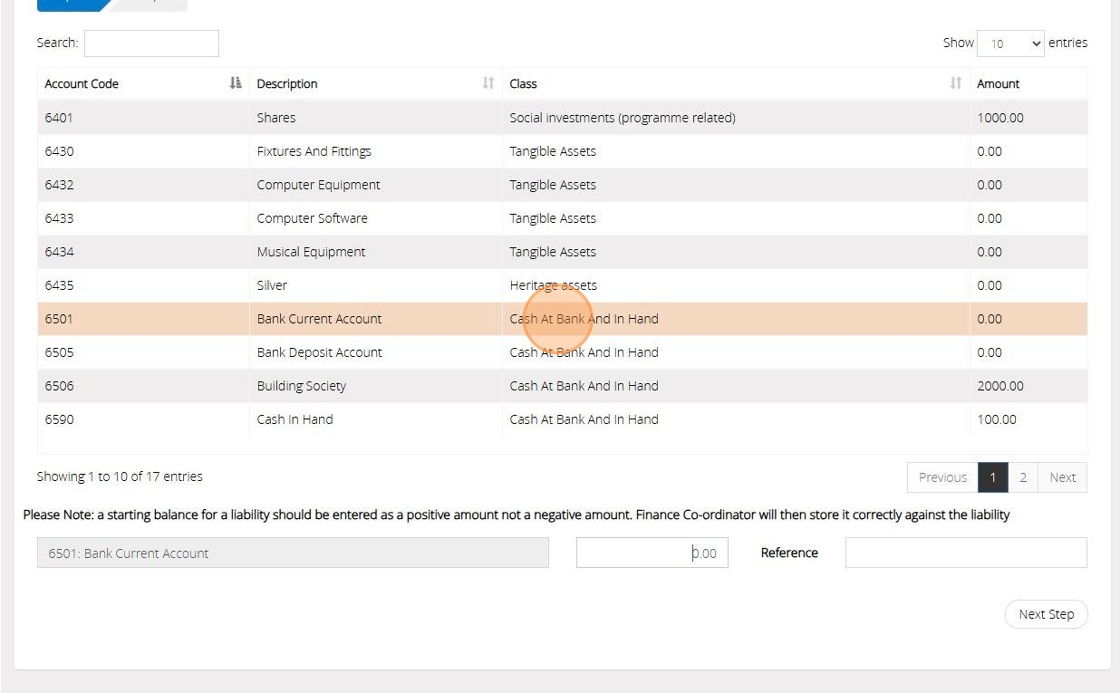
8. Click the "Amount" field on the bottom of the screen and enter the starting balance.
Enter a "reference" in the box provided if you wish.
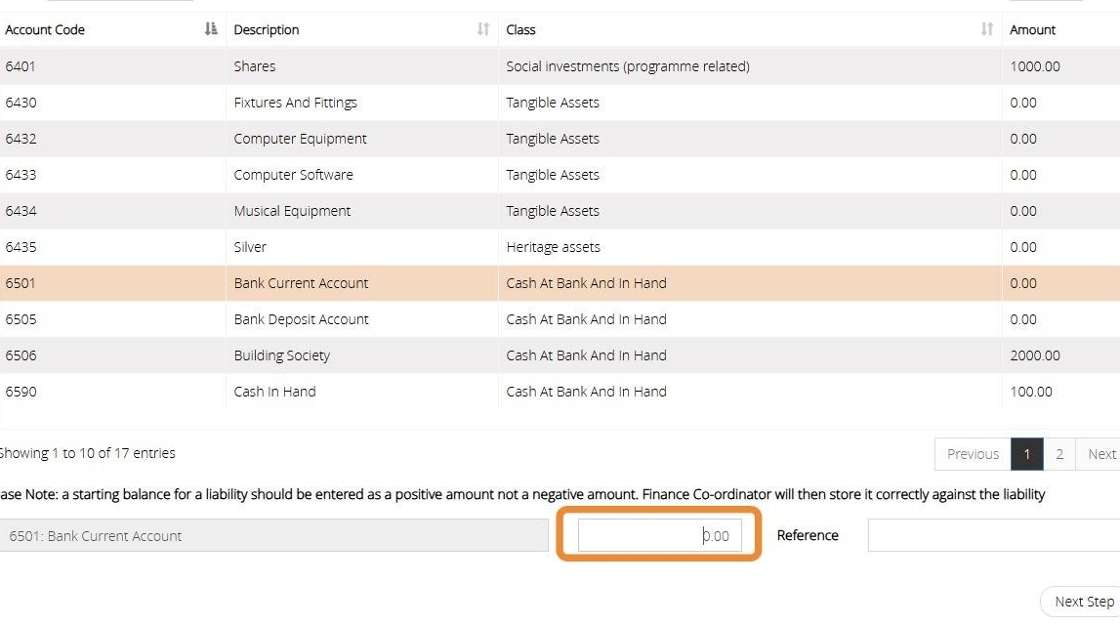
9. Click "Next Step"
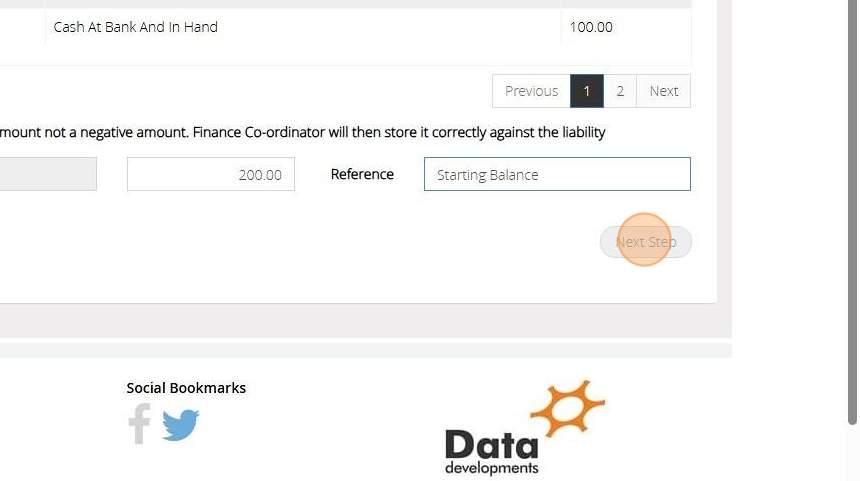
Tip: You will need to know the breakdown of the funds against each asset or liability. For example, at the beginning of the financial year a Bank Current Account balance of £200 could be made up of:
£50 allocated to the Building Fund
£150 allocated to the General Fund
You can see from this example that the total worth (also called the total equity) of the organisation must equal the amount represented by funds. These two figures can be seen on the Balance Sheet.
10. Click here to select a "Fund" from the drop down menu.
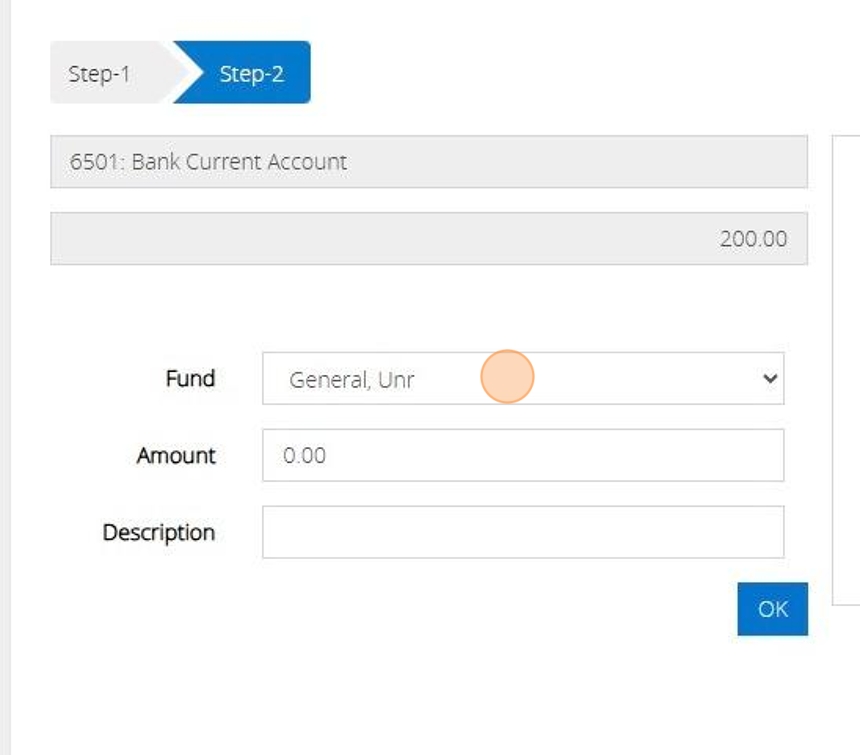
11. Enter the "Amount" of money that should be allocated to the fund.
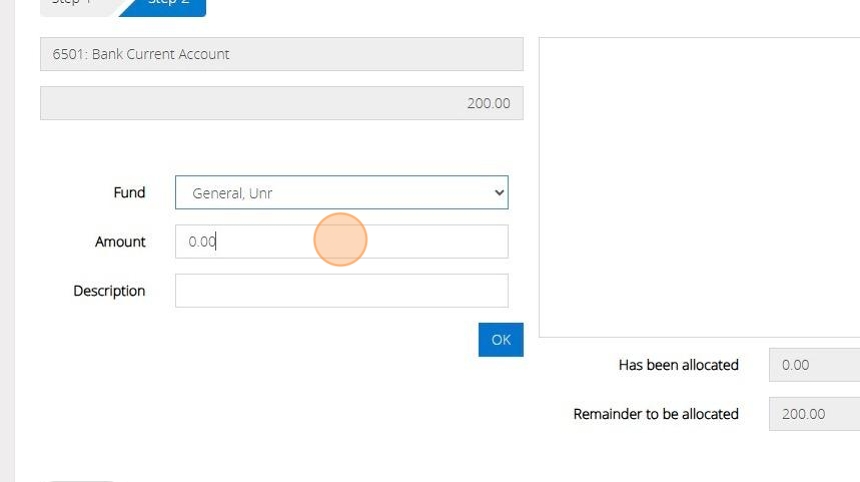
12. Enter a description here if you wish.
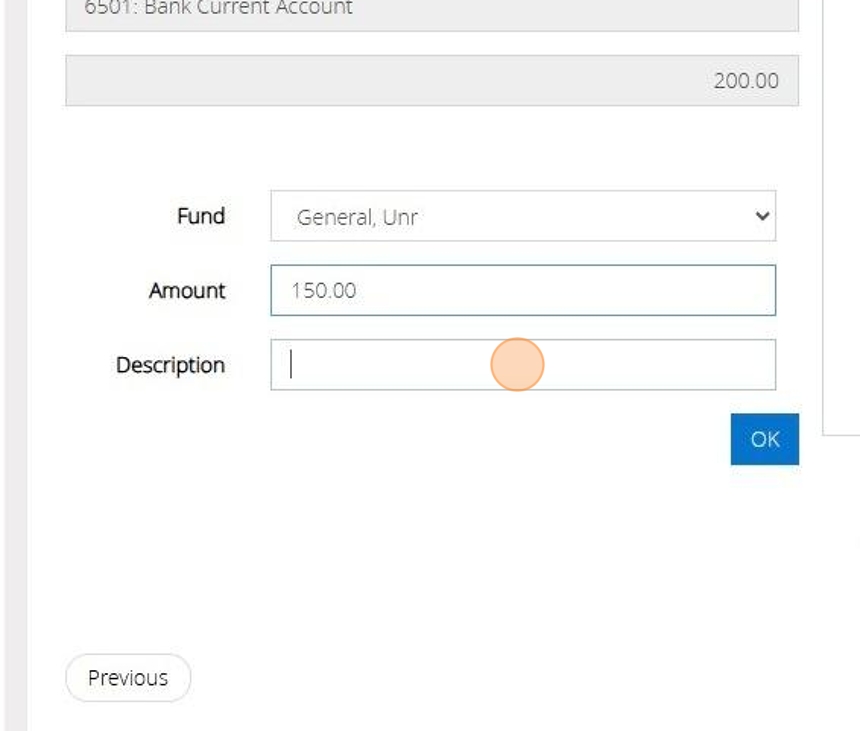
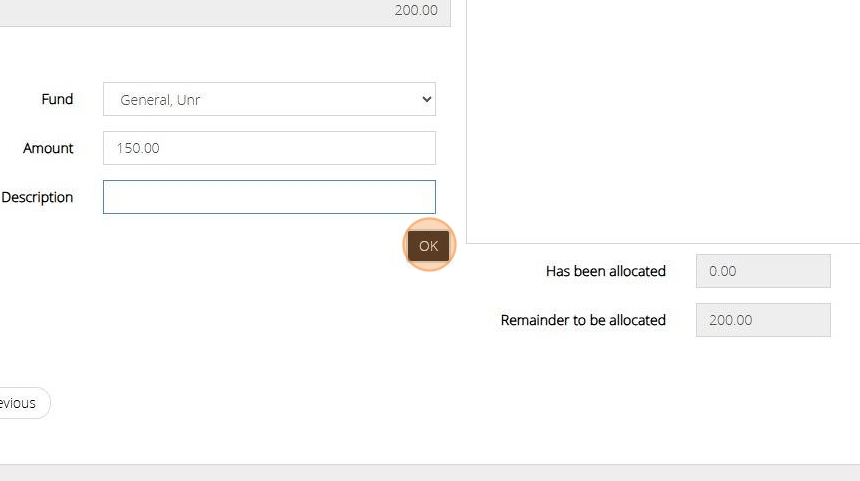
13. Click "OK"
14. You will see that this amount and fund has now been moved to the right hand side of the screen.
Should you need to remove this allocation click on the "X" icon
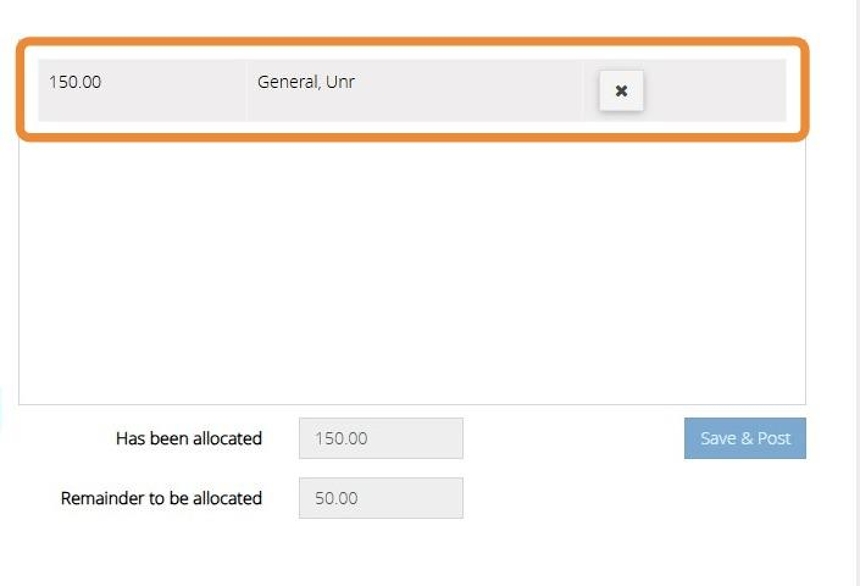
15. On the bottom of the screen you will see two boxes.
As you allocate money to different funds the first box will increase and the amount to be allocated in the second box will decrease until the entire balance has been allocated to a fund.
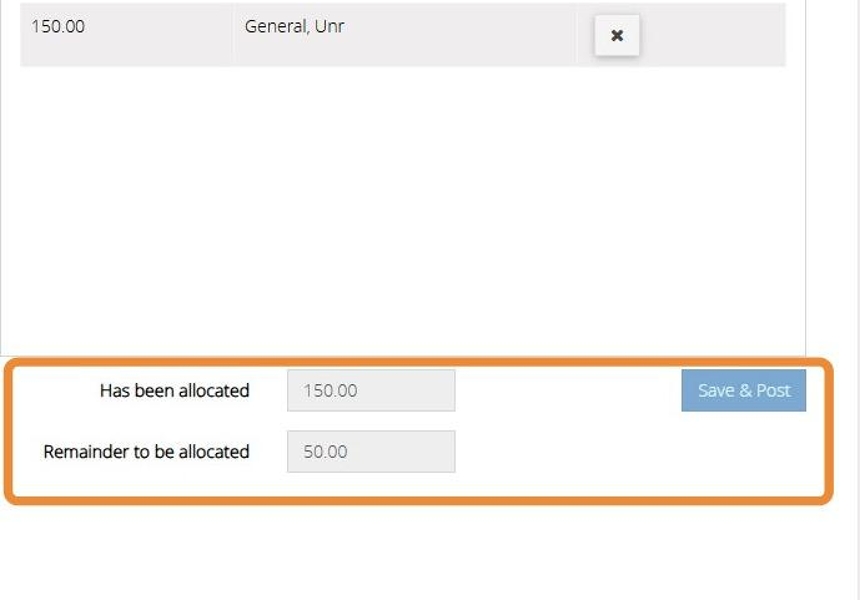
16. Repeat steps 10 to 13 until all of the balance has been allocated.

17. Once the "Remainder to be allocated" is zero the "Save & Post" button will become highlighted.
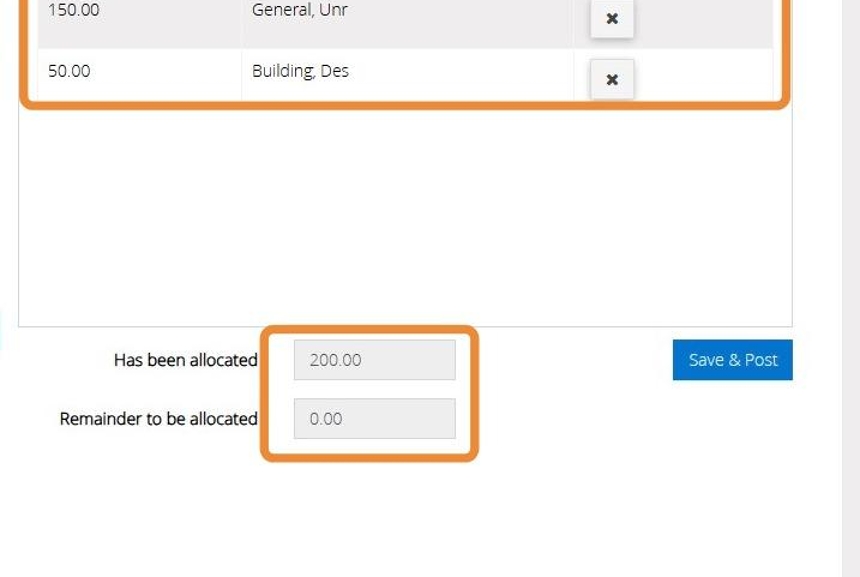
18. Click "Save & Post"

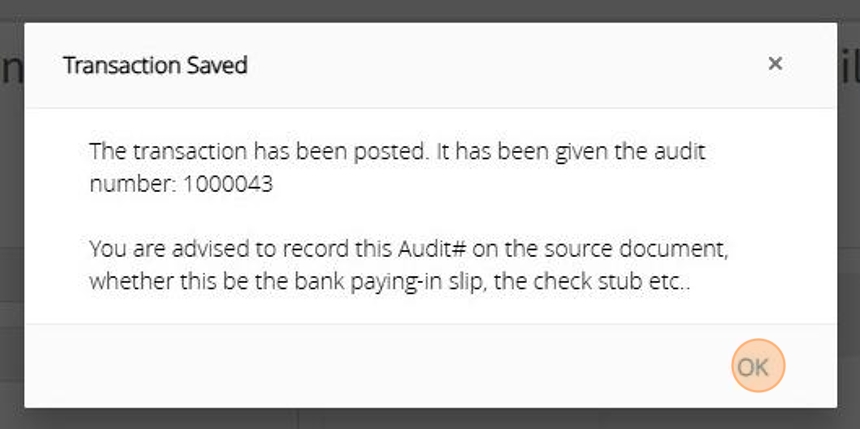
19. The below message will display you show the transaction has been saved.
Click "Ok"
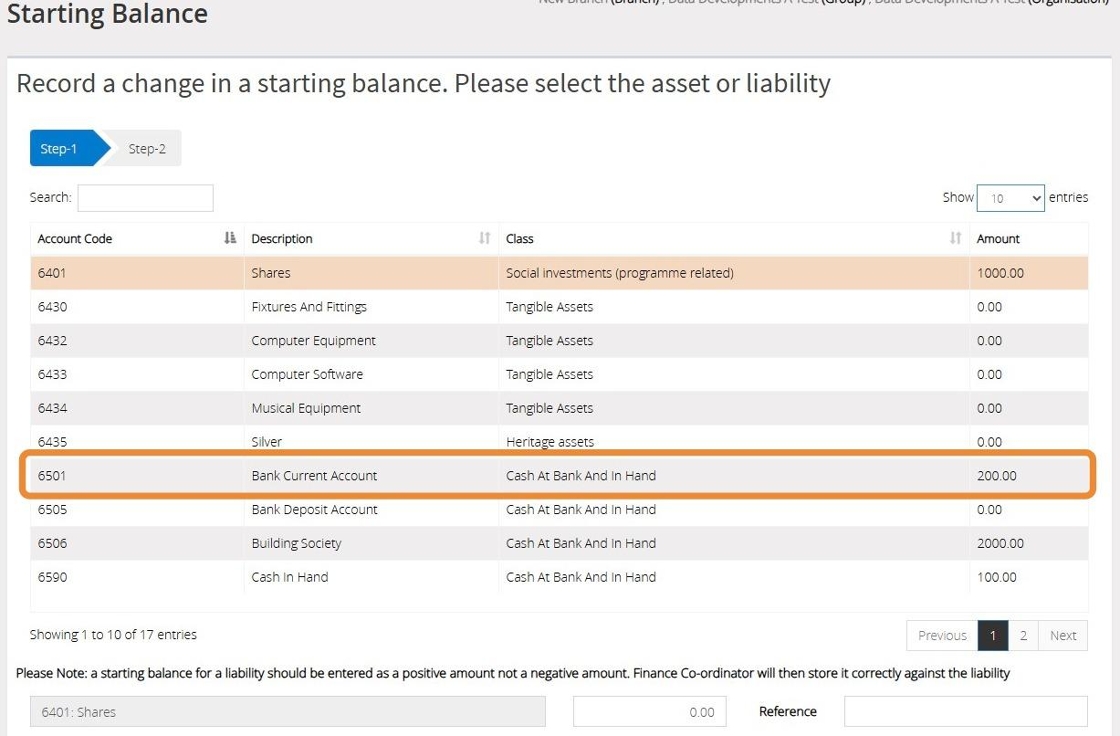
20. You will be taken back to Step 1 of the starting balances screen.
You can now see the starting balance we have entered next to the account code.
21. Repeat Steps 6 to 20 for each "Starting Balance" you need to enter.
Amend a Starting Balance
Tip: The below steps will guide you in amending an incorrect starting balance that has been entered.
Alert: Alert! You cannot amend your Starting Balances if you have performed the first Year End Procedure.
For further help and guidance please contact Data Developments Support.
22. Click "Lists"

23. Click "List Transactions"

24. Change the Financial Period to Date Range and set the from and to date to one day before the beginning of your first Financial Year e.g. 01-01-2024 is the first day of the year so the From and To date should be 31-12-2023.
After setting the Date Range click Refresh on the top-right hand side

25. All starting balances will be highlighted in red.
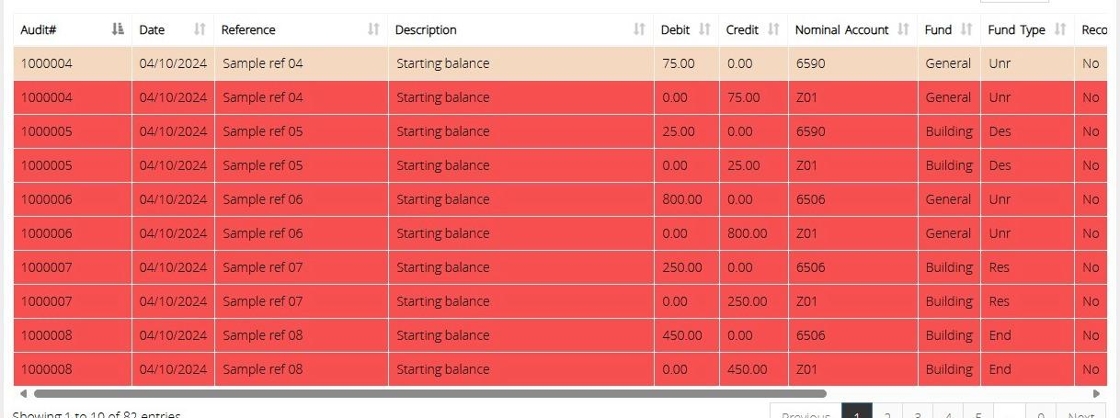
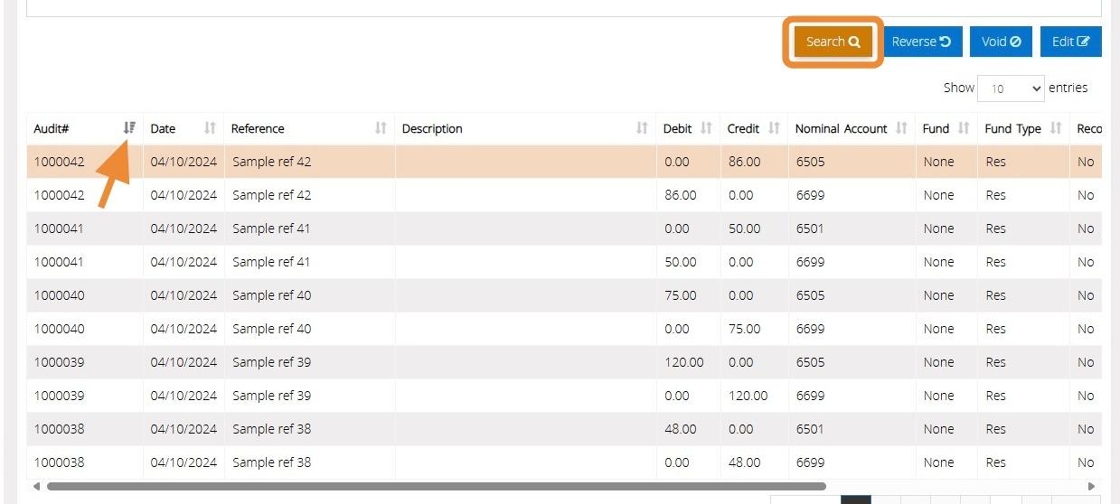
26. To locate a specific starting balance transactions click "Search" and enter the Audit number.
Alternatively, click on the icon next to Audit to bring the earliest transactions to the top.
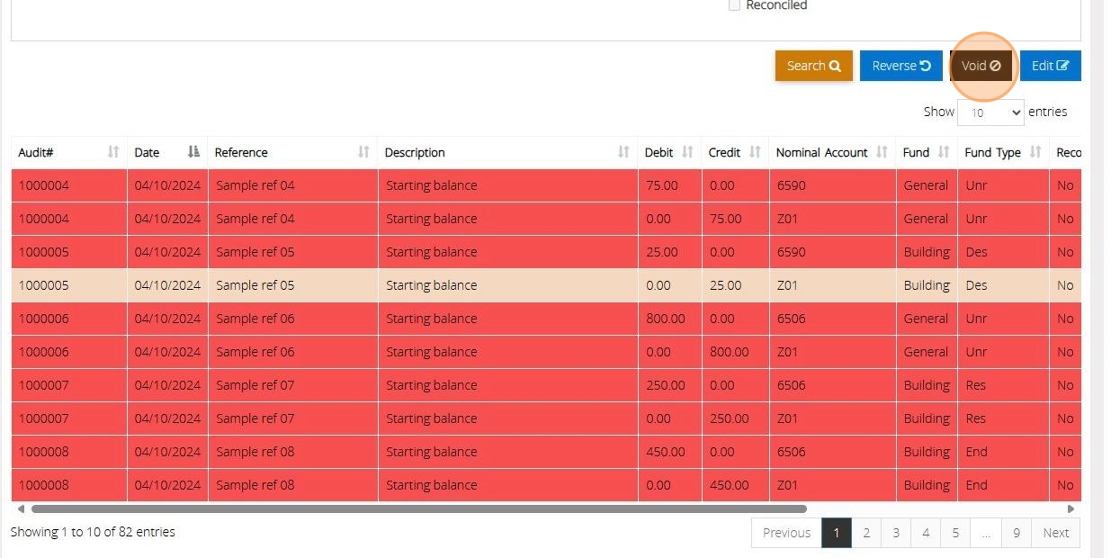
27. Select the incorrect starting balance transaction and then click "Void"
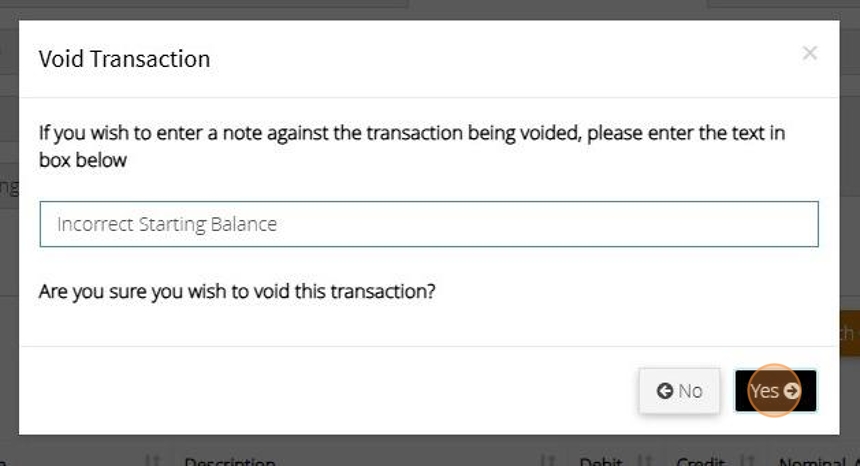
28. Enter a note against the transaction to advise why this has been voided.

29. Click "Yes"
30. The below message will display once the transaction has been voided successfully.
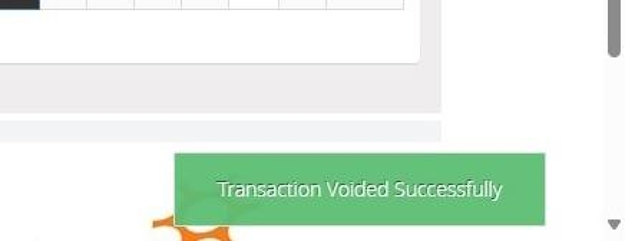
Tip: You can now re-enter the balance against the account through the Accounts Assistant
Generate a Starting Balance Report
31. Click "Reports"
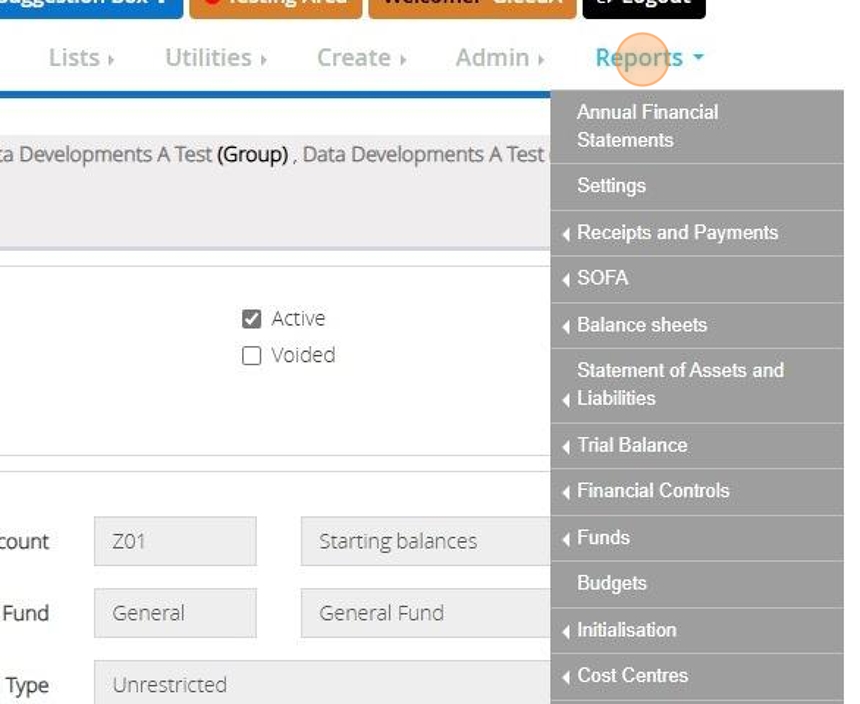
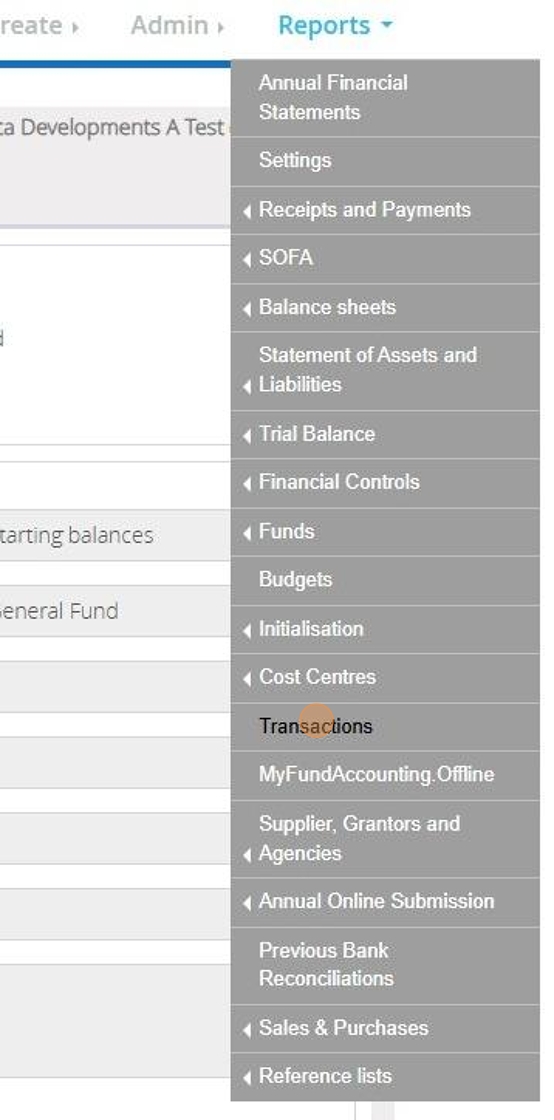
32. Click "Transactions"
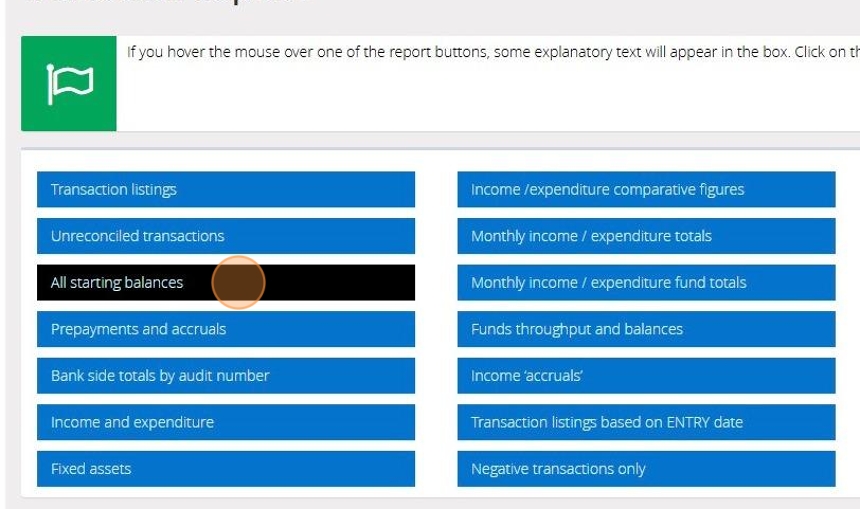
33. Click "All starting balances"
34. To generate the report click "Refresh"
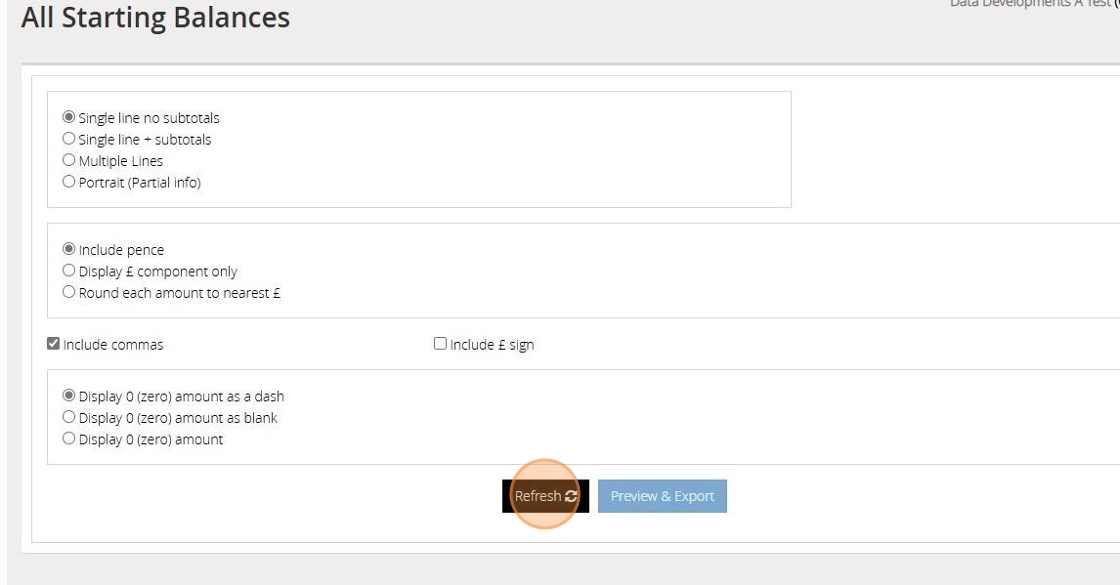
Tip: Tip! If you change any of your selections for what to include in the report you will need to click refresh again
35. Click "Preview & Export"
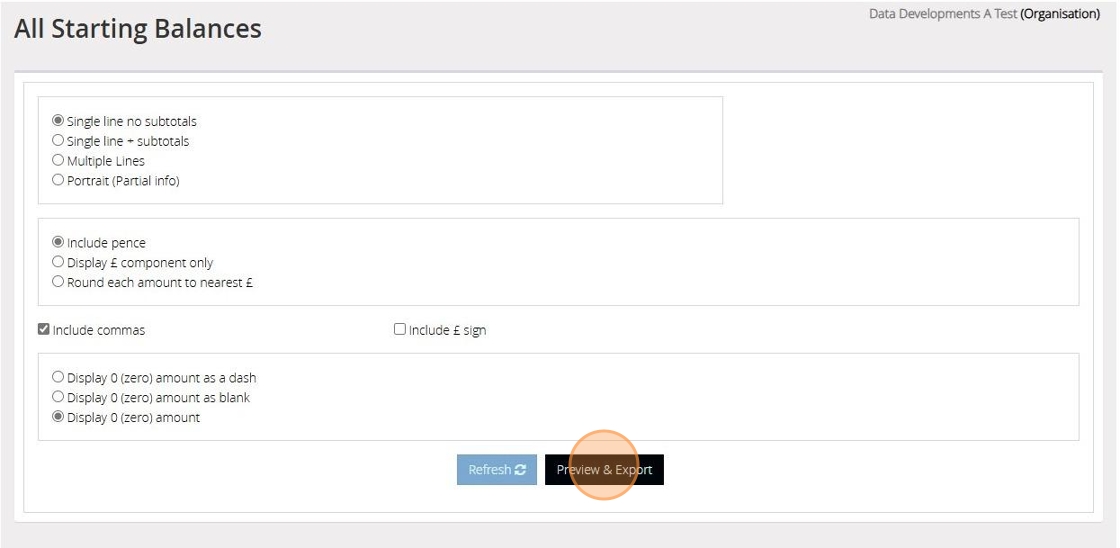
36. You can generate the report as a PDF or Excel file. By default "PDF" is selected
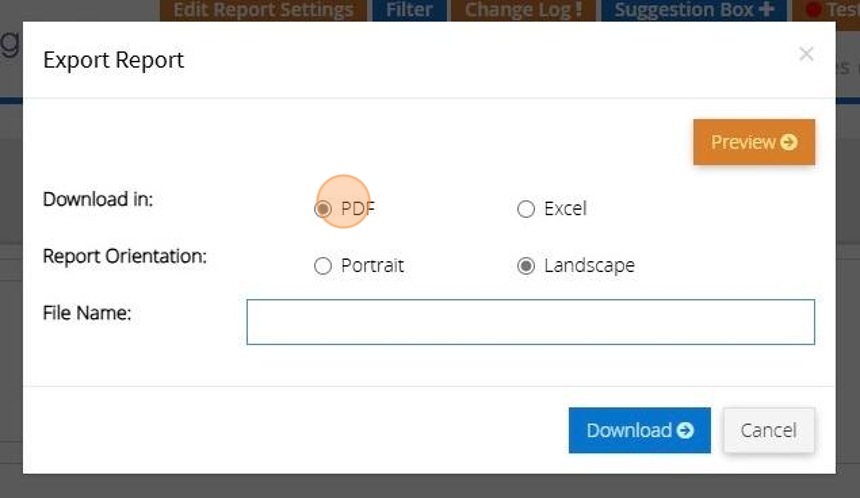
37. You can choose to have the report in portrait or landscape mode. Depending on the report this may be set to landscape or portrait. You can change this, however, it may result in a report that doesn't look right.
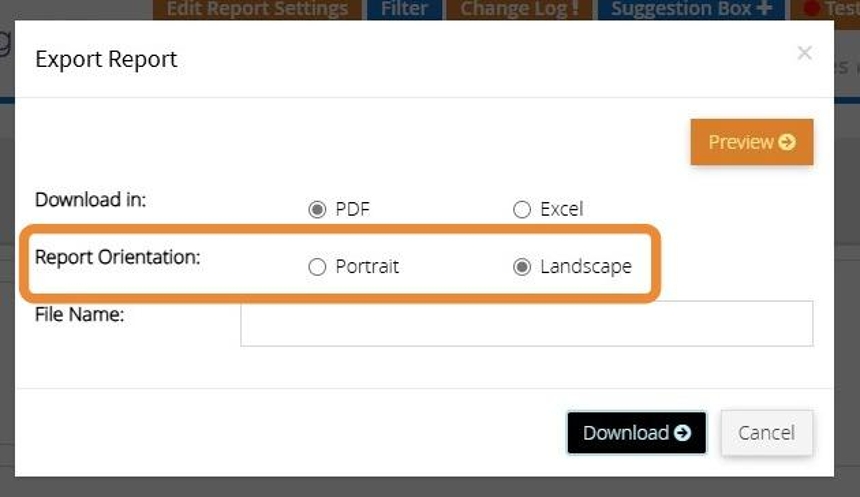
38. Click "Preview" to see the report in the browser. (Only works with PDF)
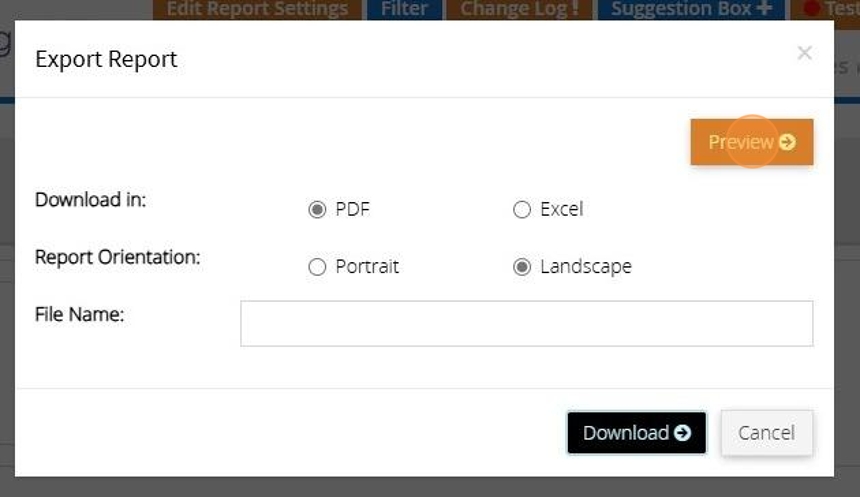
39. If you want to download a copy of the report click this text field and enter in a name for the file that will be created
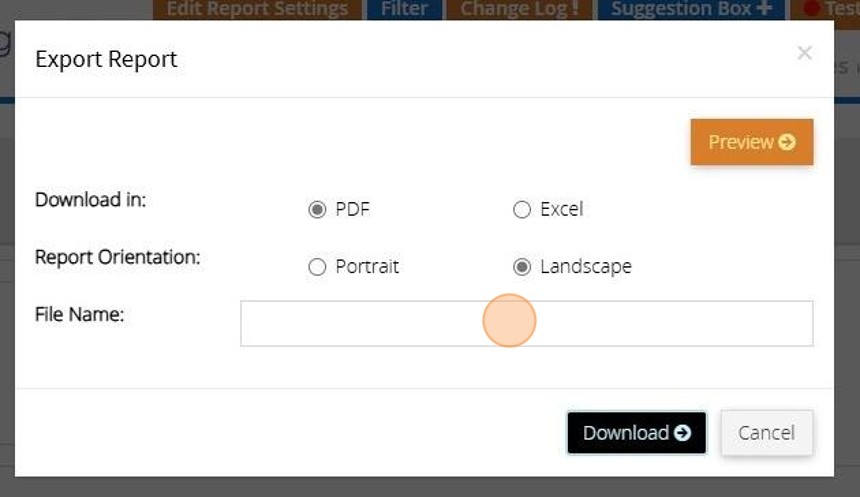
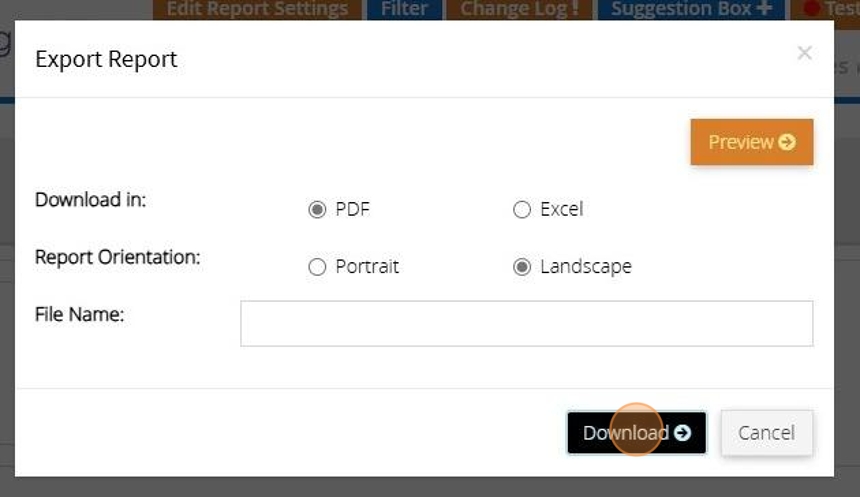
40. Click "Download"
Export Transaction Reports to PDF and Excel
1. Click "Refresh"
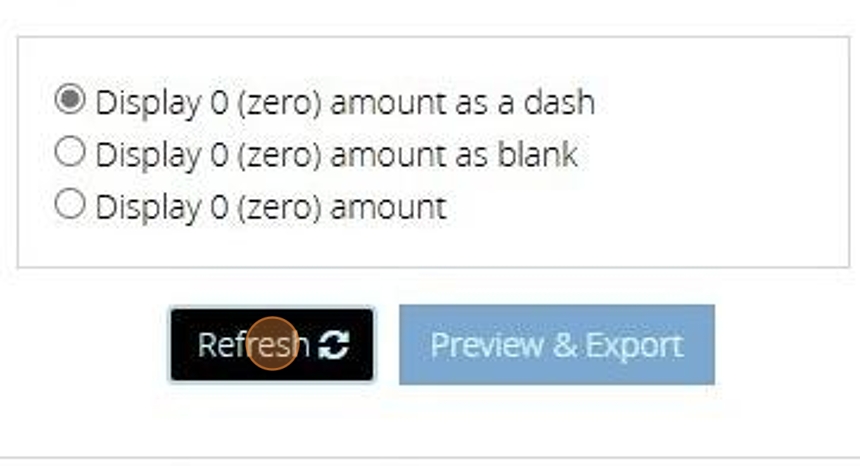
2. Then click "Preview & Export"
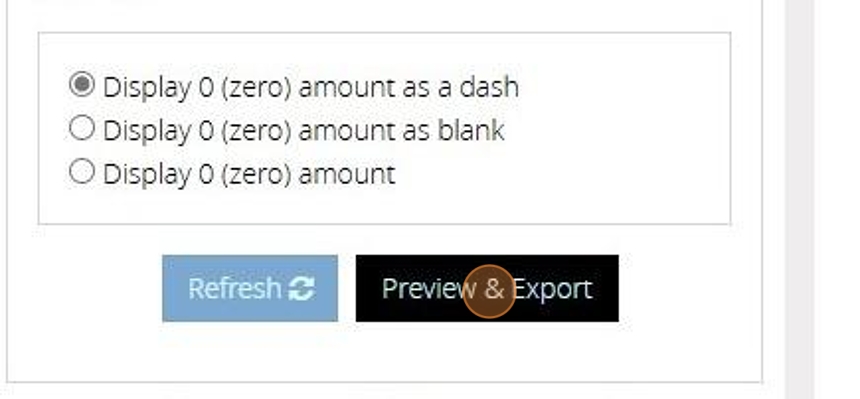
3. You can generate the report as a PDF or Excel file. By default "PDF" is selected
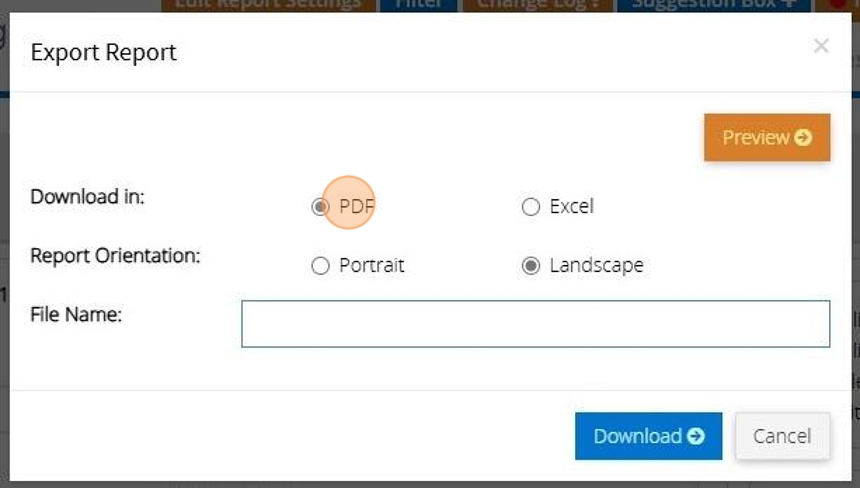
4. You can choose to have the report in portrait or landscape mode. Depending on the report this may be set to landscape or portrait. You can change this, however, it may result in a report that doesn't look right.
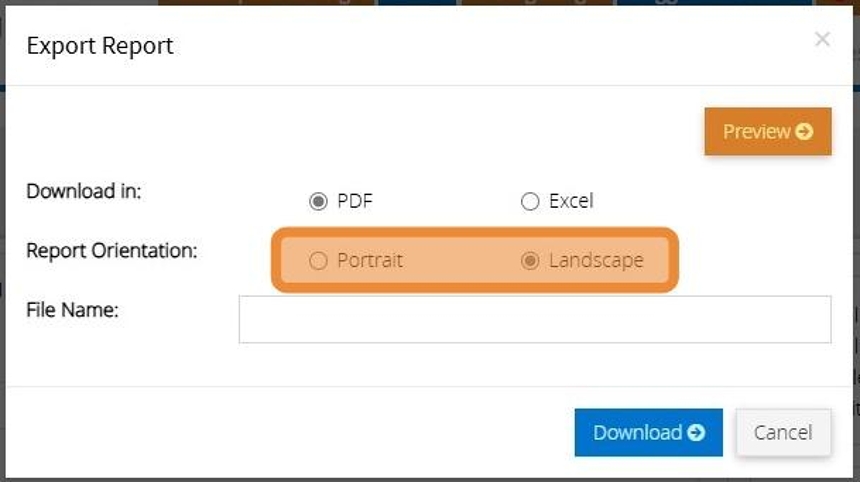
5. Click "Preview" to see the report in the browser. (Only works with PDF)
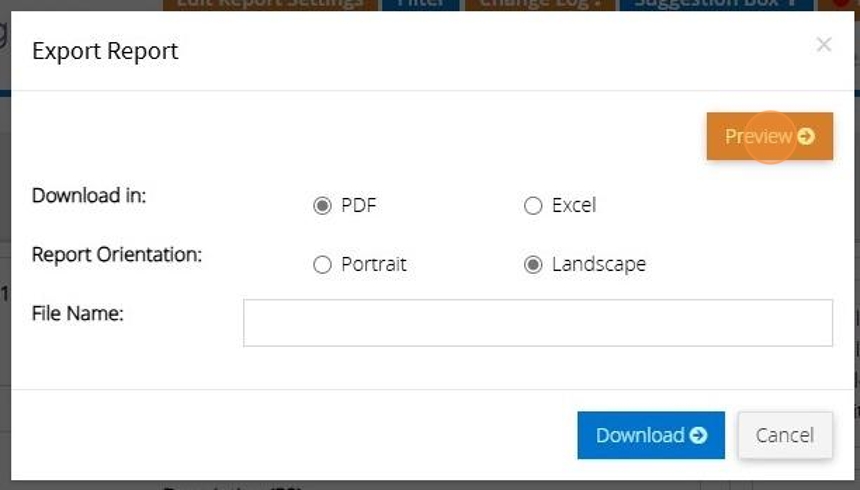
6. If you want to download a copy of the report click this text field and enter in a name for the file that will be created
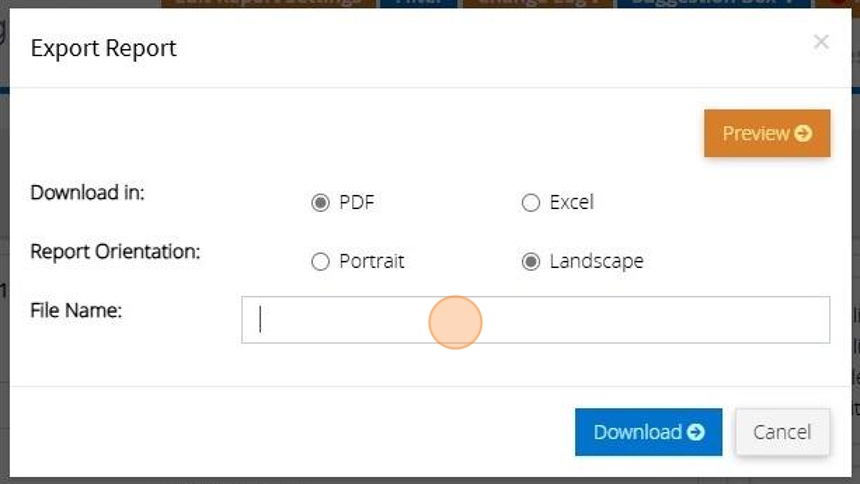
7. Then click "Download"
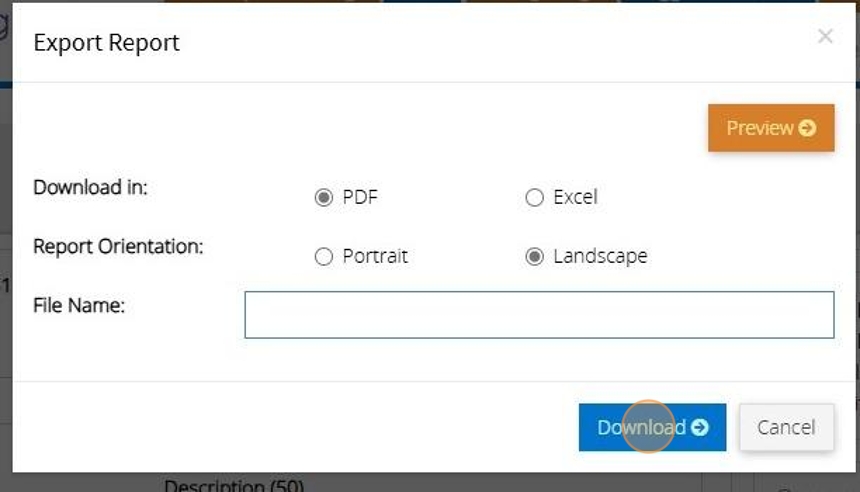
8. To generate the "Excel" file click the "Excel" option.

9. Enter a name for the file
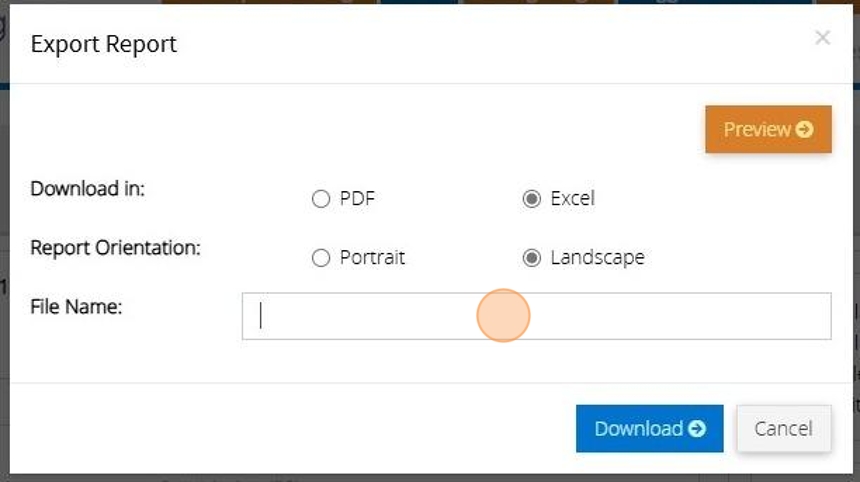
10. Click "Download"

Generating a Transaction Listings Report
1. Navigate to https://www.myfundaccounting.online/dashboard
2. Click "Transactions"

3. Click "Transaction listings"
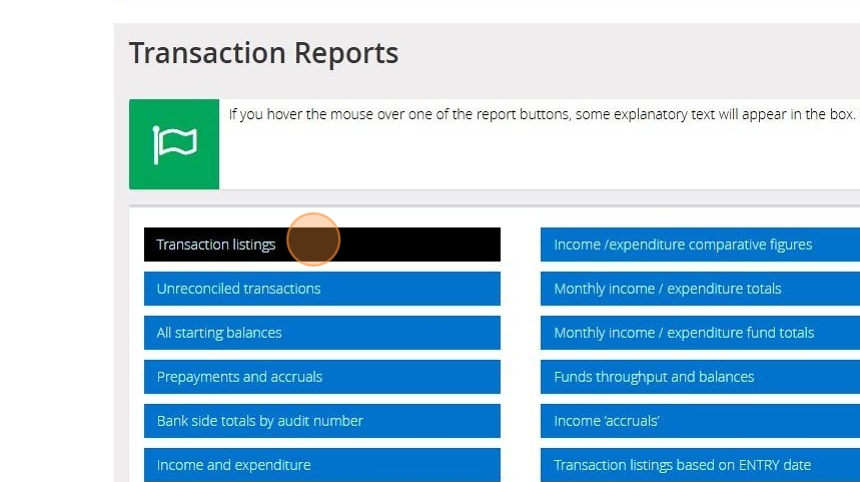
4. Click this dropdown to change the dates the report is generated for. There are several preloaded options that will enter in a from and to date relevant to your current tax year and selected options
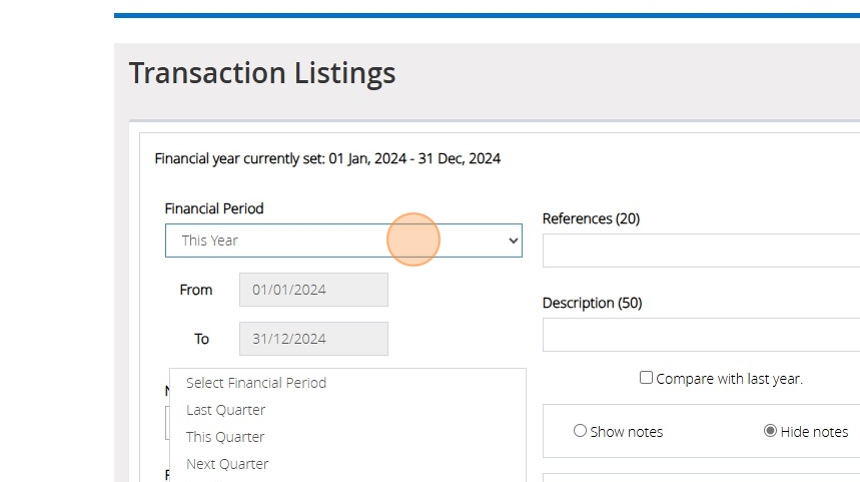
5. If you select the date range option you can customise the from and to date by clicking on the box with the "From" date
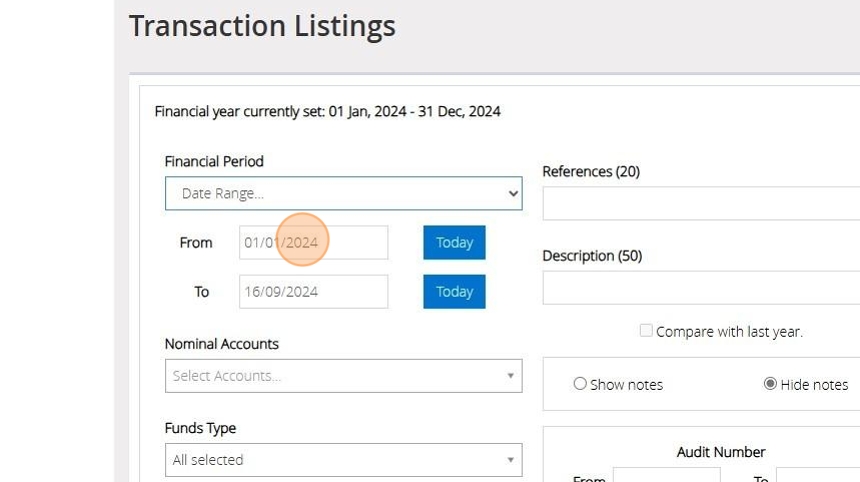
6. And "To" date
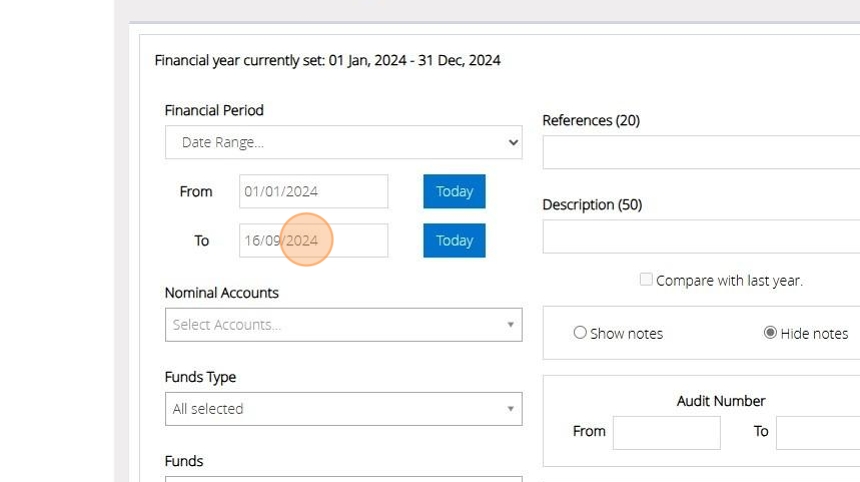
7. Once you have set the date you wish to generate a report for you can start filtering the data on various selections. The dropdown labelled "Nominal Accounts" will allow you to select one or more of your nominal codes of any class e.g. Current assets, Income, Expenditure etc. Depending on the nominal codes you select the report will only show transactions that include those codes.
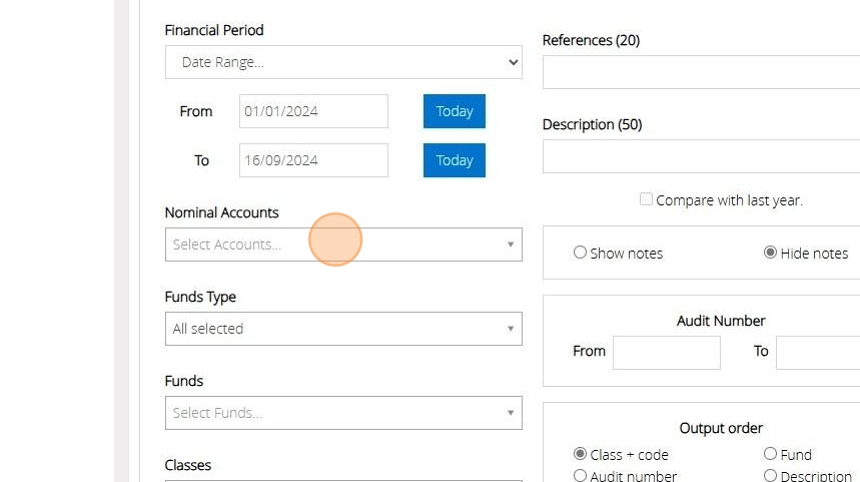
Tip: Tip! If you do not want to exclude any of the options shown in the dropdown you do not need to make a selection. By default no selection means you want to show transactions with any nominal code, fund, class etc.
8. The dropdown labelled "Fund Types" will allow you to select one or more fund types to limit the transactions to. The 4 fund types you can select are unrestricted, restricted, designated and endowment. The selection made also affects the individual funds you can select in the next step.

9. The dropdown labelled "Funds" will show the specific funds you have set up which meet the criteria of the Fund Types you have selected. If you haven't selected any fund types funds of all types will be listed. You can select one or more of your funds to limit the transactions on the report to.
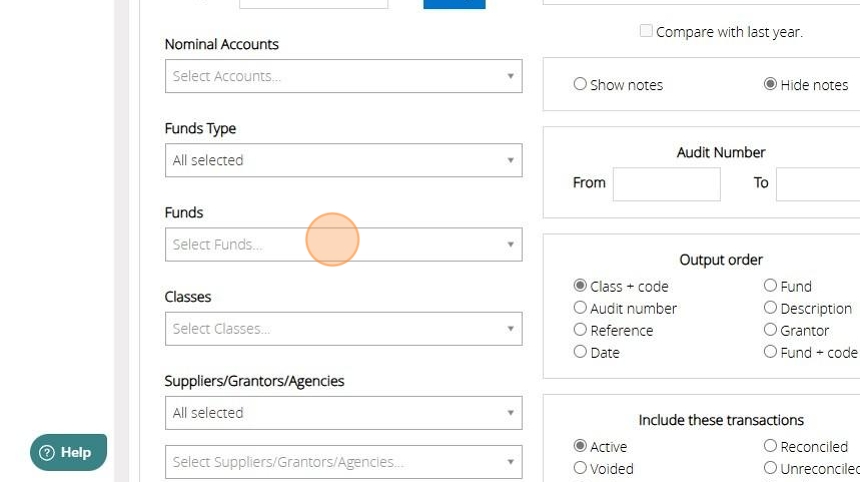
10. The dropdown labelled "Classes" is similar to "Fund Types" as in it will allow you to select one or more type of nominal account. There are 6 types of nominal accounts you can select e.g. Current assets, Income, Expenditure, Liabilities, Fixed Assets and reserves.

Alert: Alert! If you select the class "Current Assets" in this step but select only income codes in step 7 you will always get a "No data to process" message as this is a conflicting selection.
11. Like Nominal Codes and Funds you have two dropdowns for suppliers/grantors/agencies. The first allows you to select one or more types in this case Supplier, Grantors or Agencies. The second will shows you the list of the suppliers, grantors and/or agencies you have created. Depending on your selection the report will only show you transactions with a supplier,
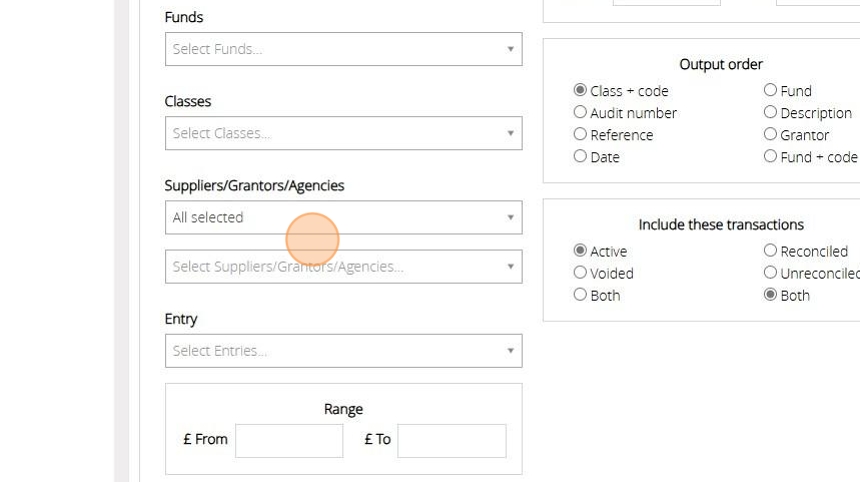
Alert: Alert! If you do not select a specific supplier, grantor or agency to report on you will get all transactions that do not have a supplier, grantor or agency assigned to them in the report.
12. The dropdown labelled "Entry" will allow you to select one or more sources from which a transaction can be recorded. These options relate to the menu option you selected before creating the transactions e.g. "Record Income"
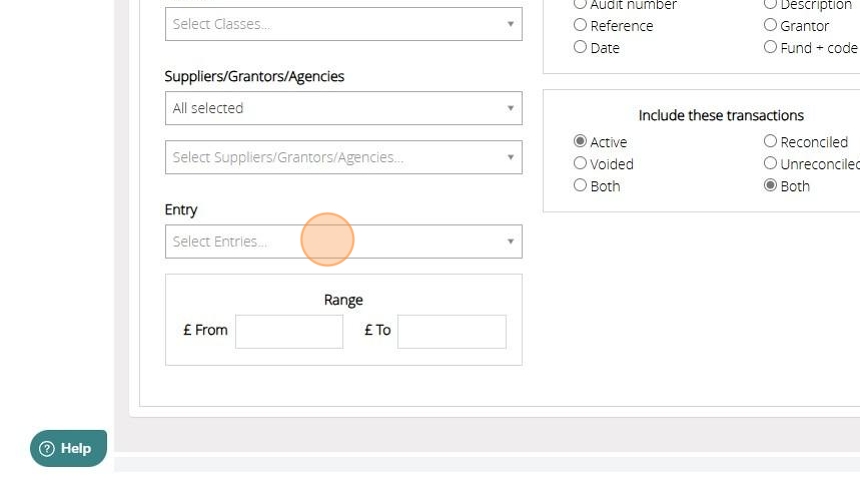
13. If you are looking for a transaction of a specific amount to see if it has been recorded you can use the options provided below to provide a range of amounts or the system to search. You can provide the same amount in both the from and to box.
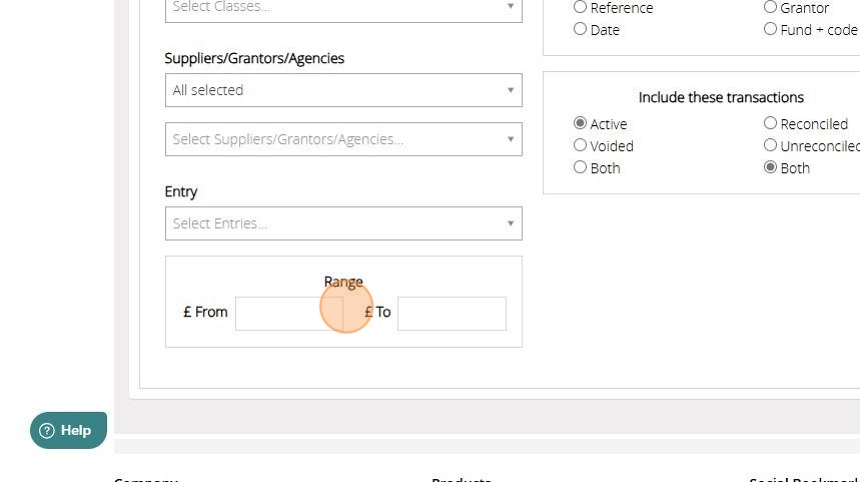
14. If you use a specific reference for transactions and want to see all transactions for that reference you can type it in here. If you do not know the full reference you can enter in one or more words and the report will show all transactions with a reference that contain those words.

15. Same as the reference you can get a report of transactions with a description that contains the text you provide in the description box

16. You can only use the "Compare with last year" option when you use a preloaded "This Year" option for the financial period. This will result in a different report to the one the "Transaction Listings" report will normally provide. It will contain summarised credit, debit and balance figure for each nominal account for the current year and the previous year.

17. Click this radio button to show any notes in the report that you may have recorded against the transaction

18. If you know the audit number(s) you want to report the details on you can provide it in this section. You can enter in the same audit number in both of the boxes or provide a range e.g. from 1000001 to 1000005

19. The "Output order" will determine how the transactions are ordered in the report. Select the relevant option that would be most appropriate for the information you want to extract. This option also controls the basis of sub totals which is covered further down this guide.

20. By default only active transactions will be included in the report but you can choose to show only voided transactions or both active and voided. The reconciled and unreconciled option is best used with the class "Current Assets" as only Bank Accounts are marked as reconciled/unreconciled.

21. Click this radio button "Single line no subtotals" to get a report with a single list of all transactions that meet the criteria entered and one total at the end of the report of the credits and debits columns

22. Click this radio button "Single line + subtotals" to generate a report which provides a total for each unique value for the output order you have set in step 19

23. The "Detailed" version of the report with subtotals will give you a list of transactions and a total for each unique value and the "Summary" option will give you just the total without the list of individual transactions
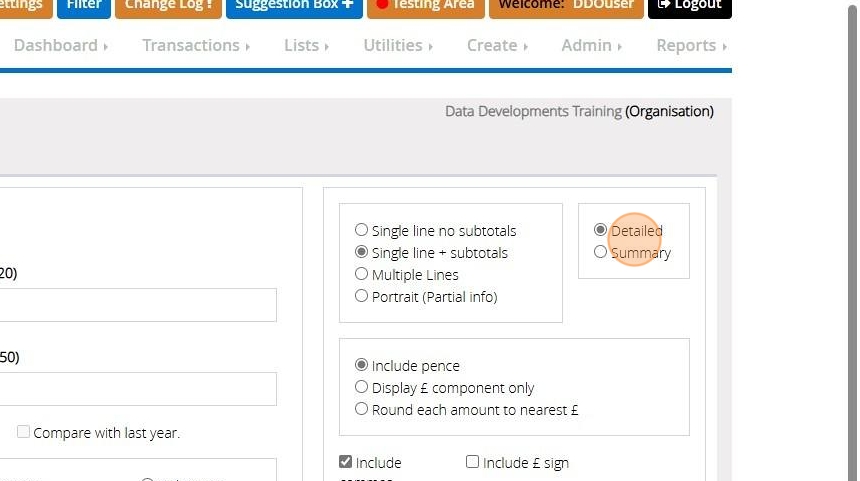
24. Click this radio button "Multiple Lines" to show additional information against the transactions e.g. notes, entry date, entry screen, which are not available on the previous 2 reports or the next report style

25. Click this radio button "Portrait" to print a report generated in portrait mode. Due to the reduced space this report has less information about the transaction. It excludes fields like reference and description

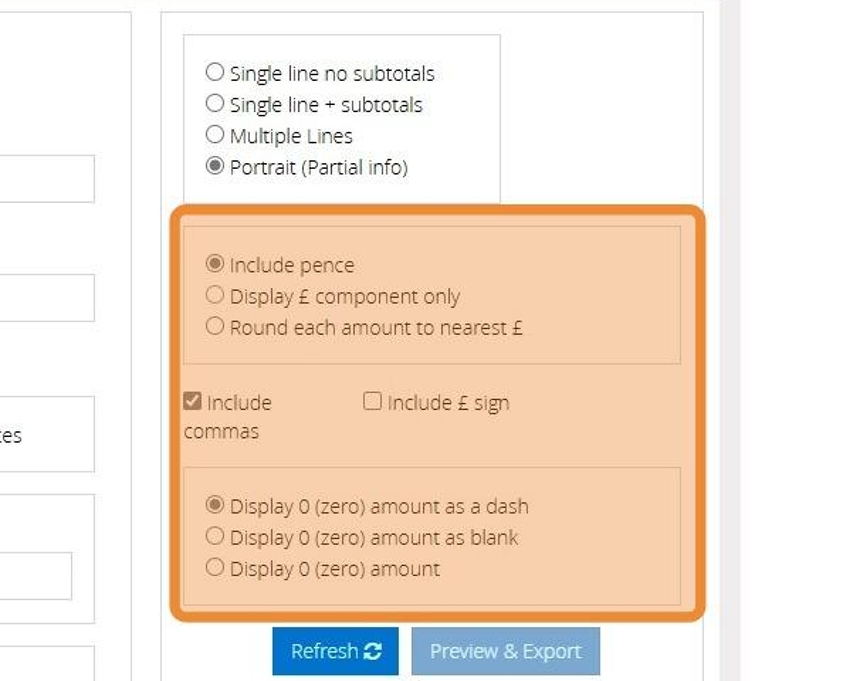
26. The section highlighted below let you control the way the amounts are displayed in the report.
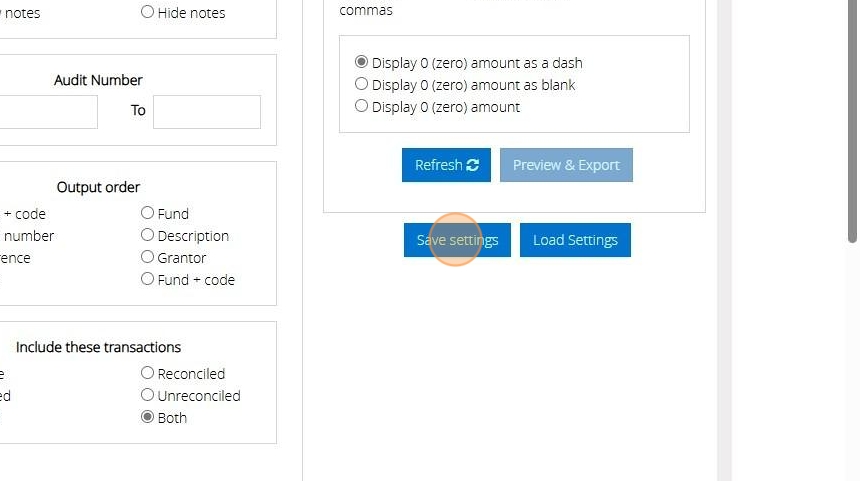
27. Given how many selections are available and the re-usability of this report we have the option available for you to save and recall the filters you have applied to remove the need to re-select them every time you need the same or a similar report. If you wish to save your selections for future use click "Save Settings".
28. Enter in a name for the setting e.g. "All donations received this year", and then click "Save"

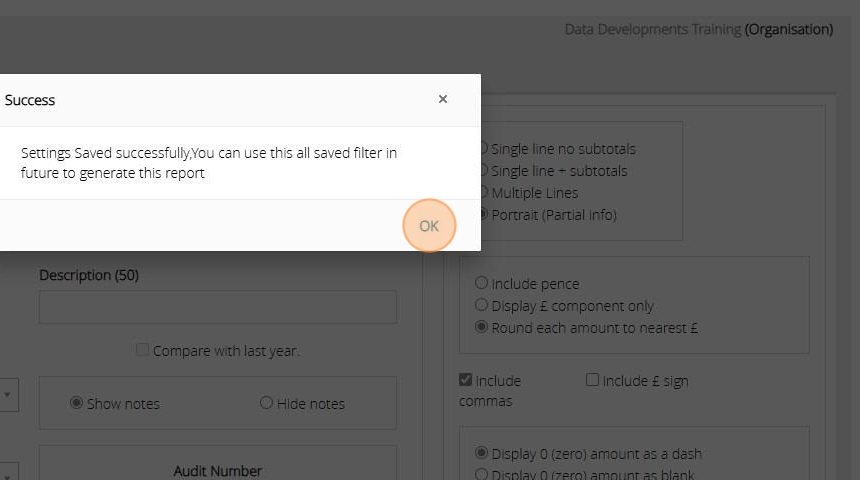
29. Click "OK"
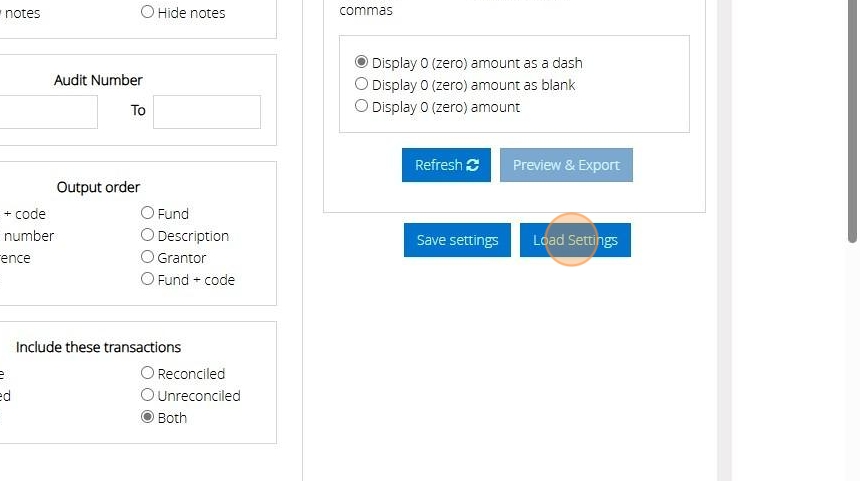
30. To recall a saved setting click "Load Settings"
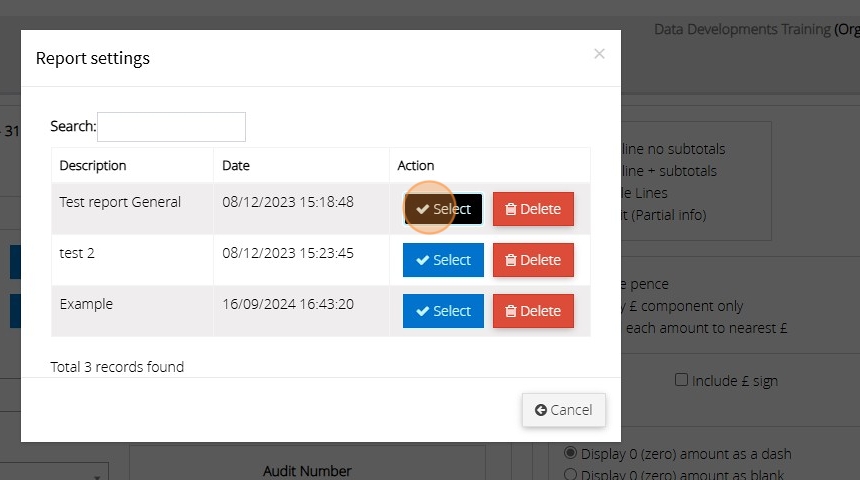
31. Click "Select" on the one you wish to recall. You can also click "Delete" in this list to remove any unwanted settings
32. Click "OK"

33. You can then amend any of the selections that have been loaded from the settings and update the saved selections if necessary

34. To then generate the report click "Refresh"
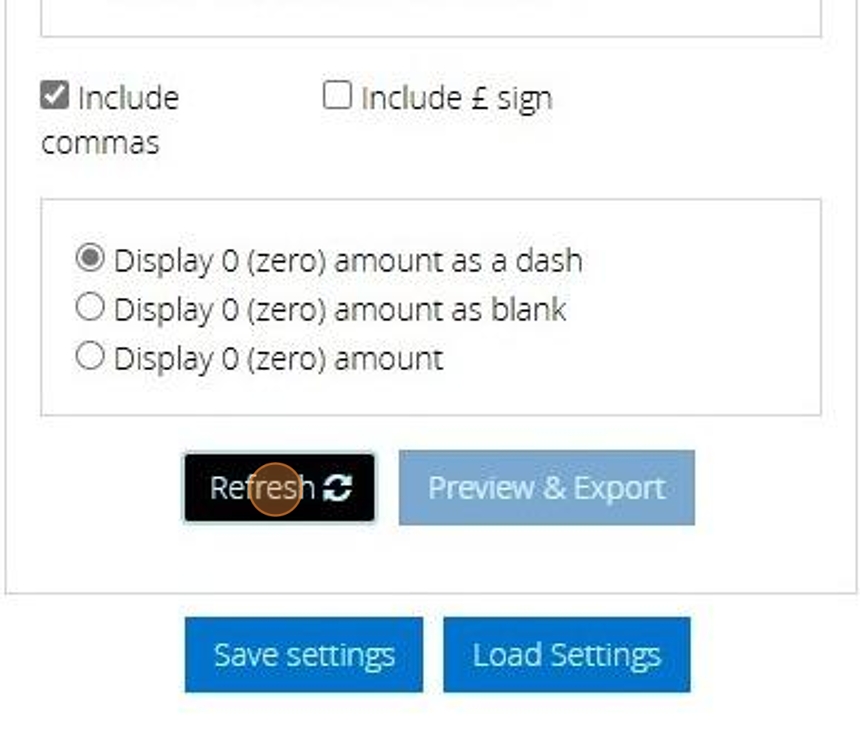
Tip: Tip! If you change any of your selections for what to include in the report you will need to click refresh again
35. Click "Preview & Export"
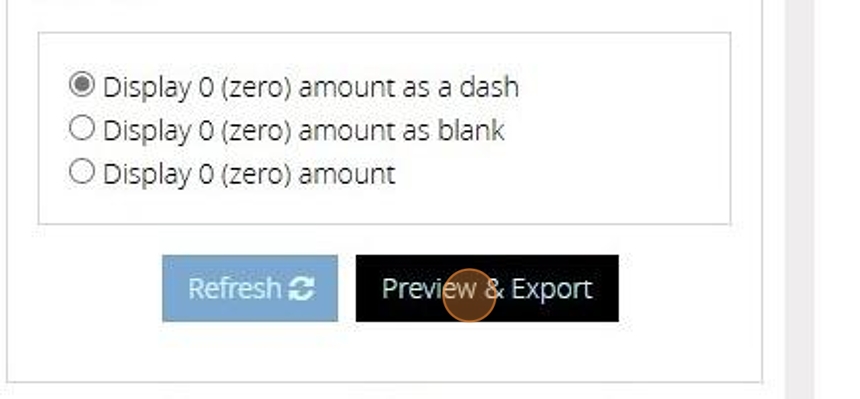
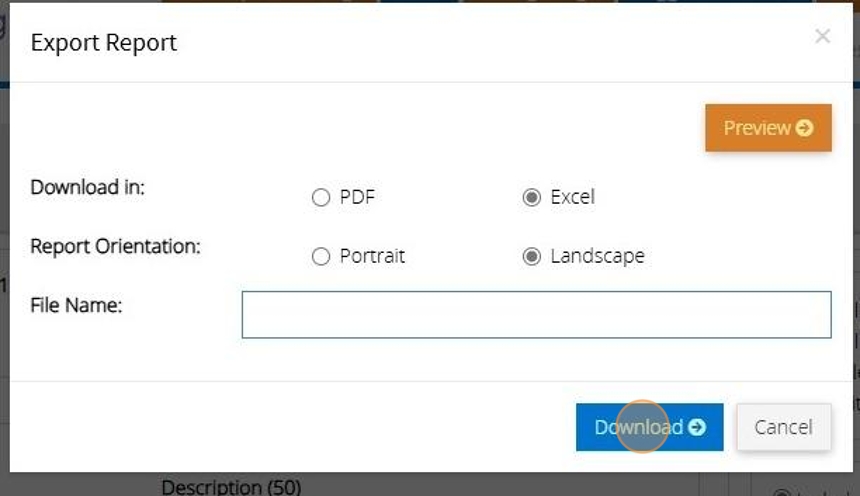
36. You can generate the report as a PDF or Excel file. By default "PDF" is selected
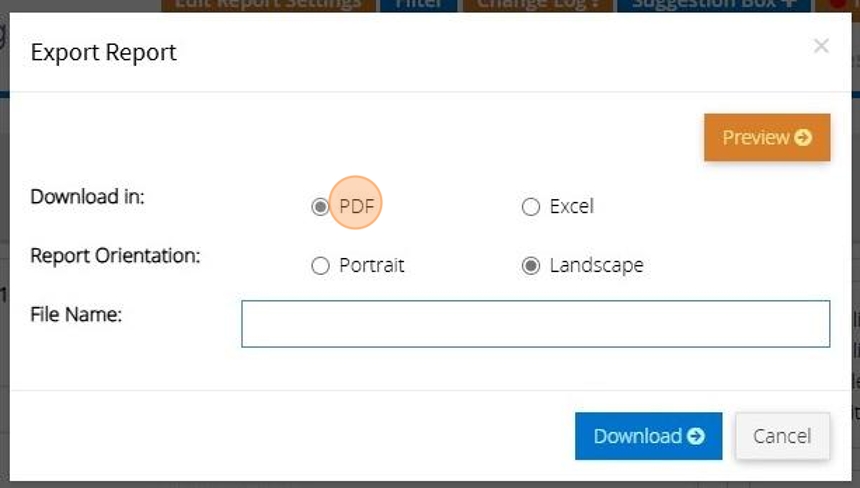
37. You can choose to have the report in portrait or landscape mode. Depending on the report this may be set to landscape or portrait. You can change this, however, it may result in a report that doesn't look right.
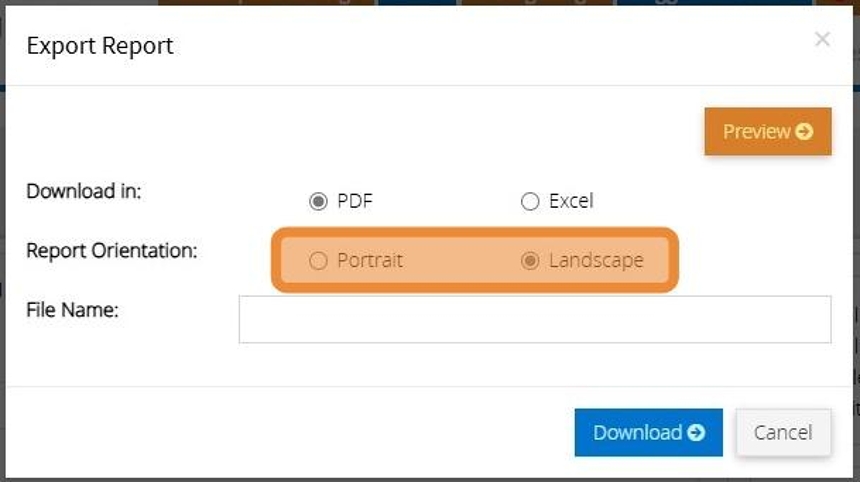
38. Click "Preview" to see the report in the browser. (Only works with PDF)
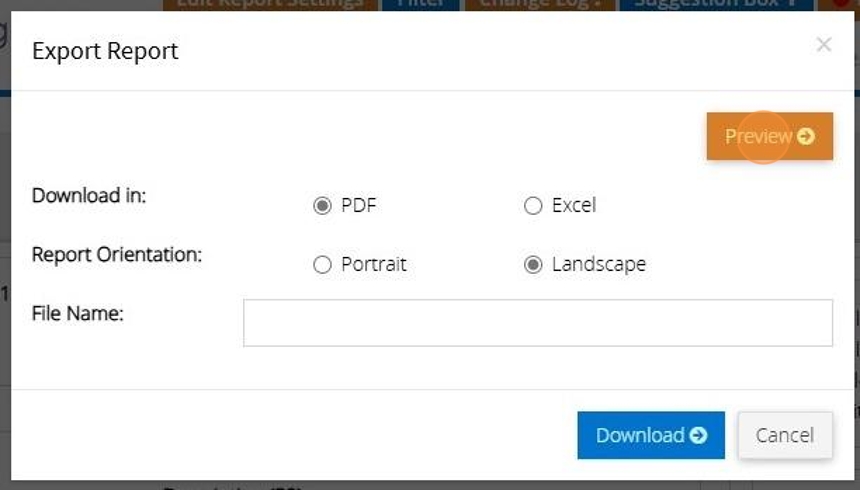
39. If you want to download a copy of the report click this text field and enter in a name for the file that will be created

40. Then click "Download"

41. To generate the "Excel" file click the "Excel" option.
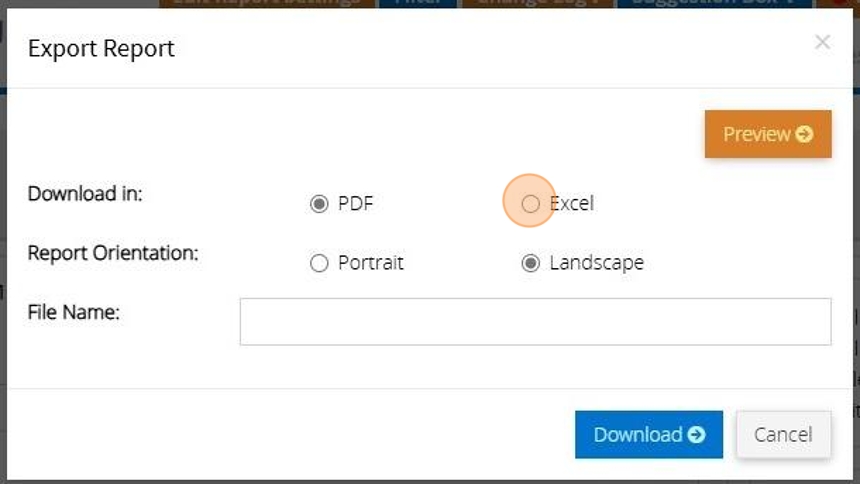
42. Enter a name for the file

43. And click "Download"
Tip: Tip! This is one of the most flexible reports on MyFundAccounting and is perfect for extracting information for a specific criteria. It is worth setting time aside to get familiar with it and generate various reports to see what data you are able to extract from it.
Handling Income with Fees
1. Sometimes you will receive income, such as online and contactless donations, that incur a fee, and in some cases that fee is deducted before the payment reaches your bank account.
For example, let's imagine that an individual has donated via our website. The amount they've given is £20 but the processing merchant charges 2% per donation, which in this example equates to 40p. This is deducted before the payment is made to you; so the amount you received into your bank account was £19.60.
Your income from the online donation is £20, you've paid expenditure fees of 40p, and your bank has increased by £19.60 each of these elements needs to be reported accordingly within your accounts.
Below are the steps on how to handle this type of transaction in MyFundAccounting.Online.
2. From the 'Dashboard' click "Transactions"
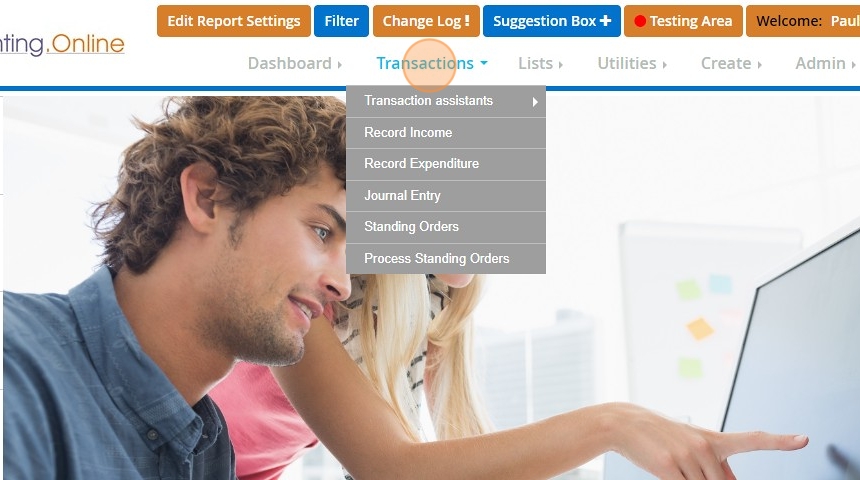
3. Click "Journal Entry"

4. Enter or select the date of the transaction you wish to record.

5. Under 'Nominal Account' select the bank account you wish to use.

6. Enter the amount received into the bank account - In our example above this would be £19.60 - and ensure that the 'Debit' option is selected.

7. Enter a reference and description of your choosing - remember that these details will appear on some reports, so if this transaction is a donation from an individual you may wish to keep these fields anonymous.

8. Click "Store"
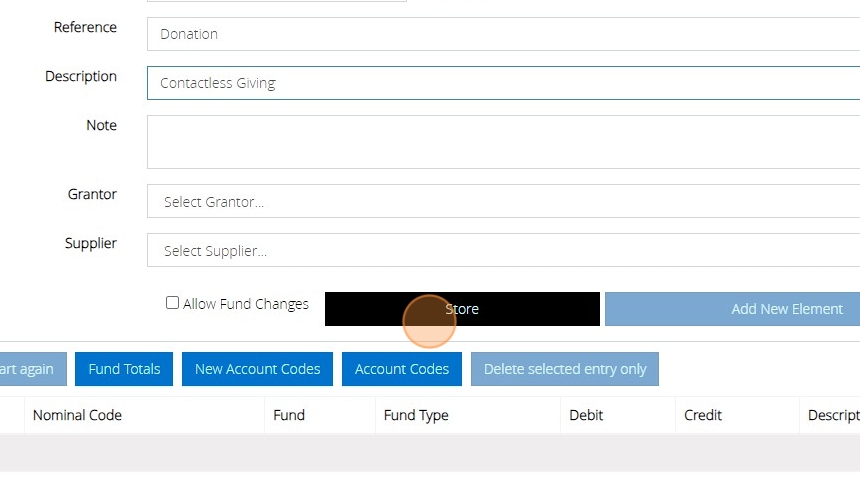
9. Click "Add New Element"
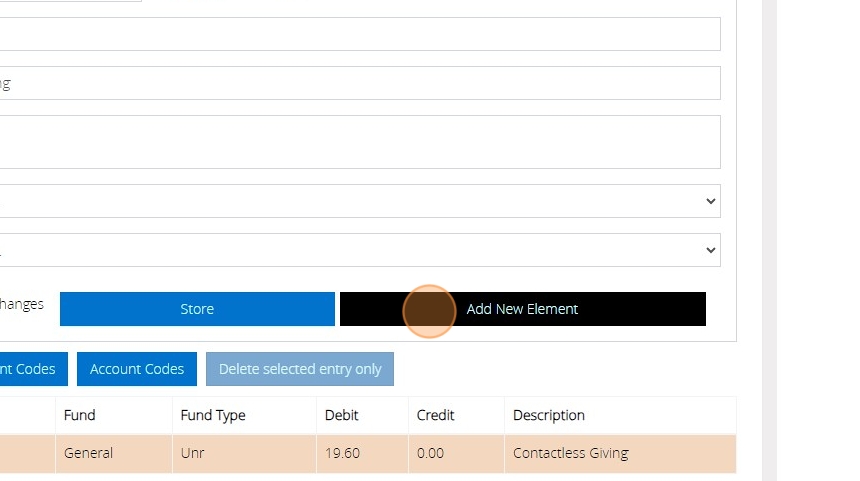
10. Under 'Nominal Account' select the income code you wish to use.

11. Enter the total amount of the donation - In our example above this would be £20.00 - and ensure that the 'Credit' option is selected.

12. Click "Store"
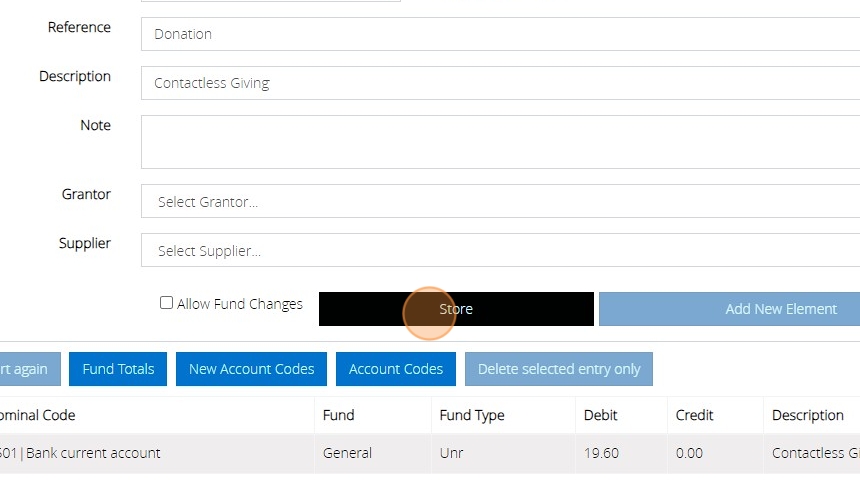
13. Click "Add New Element"
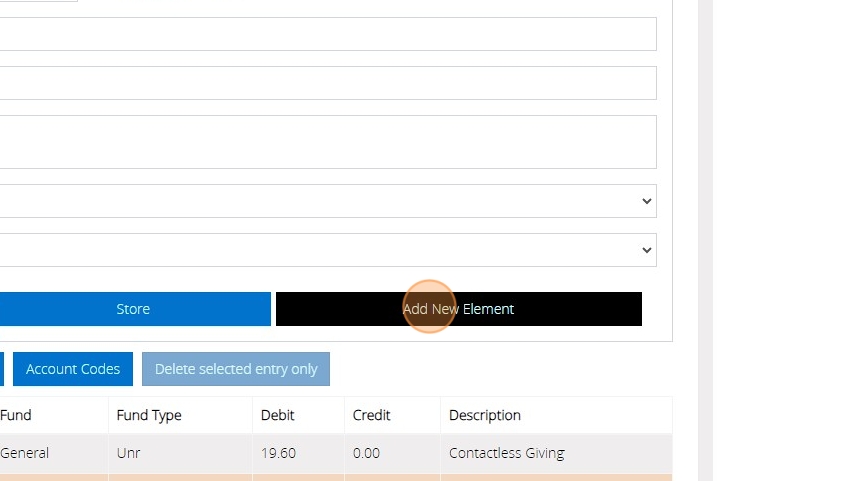
14. Under 'Nominal Account' select the expenditure code you wish to use.

15. Enter the amount of the fees that have been deducted - In our example above this would be 40p - and ensure that the 'Debit' option is selected.

16. Click "Store" and you will be given the option to 'Post' the transaction.
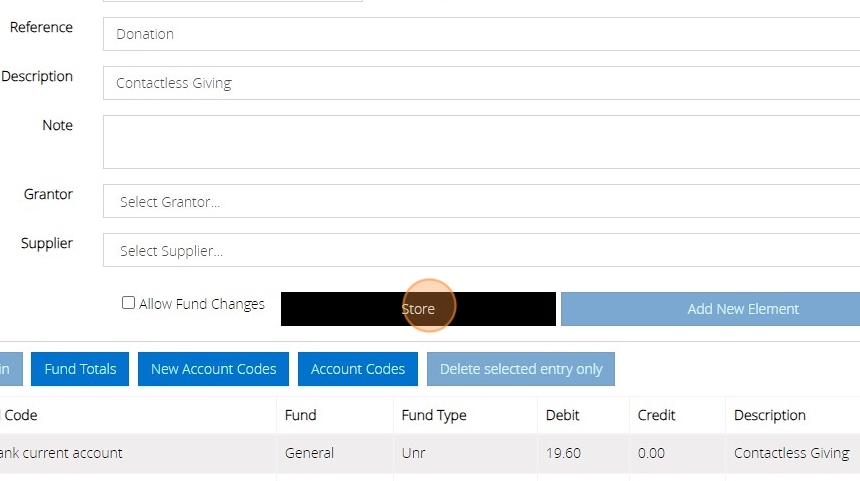
17. If this is a transaction that you will be using regularly you may wish to "Memorise and post" the transaction, this will enable you to easily recall it for use in the future.

18. Once the transaction has been posted you will be given the audit number. Click "OK"

How To Add A Expense Payment
1. Navigate to https://www.myfundaccounting.online/managepayroll#/
2. Click "Pay Runs"

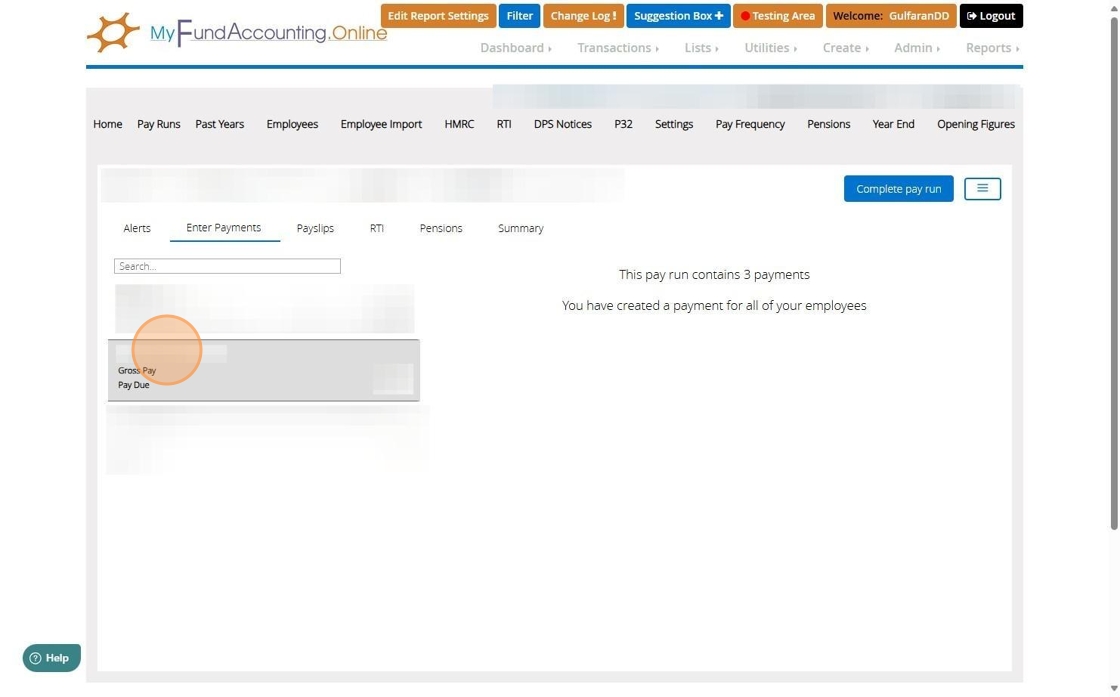
3. Click here.
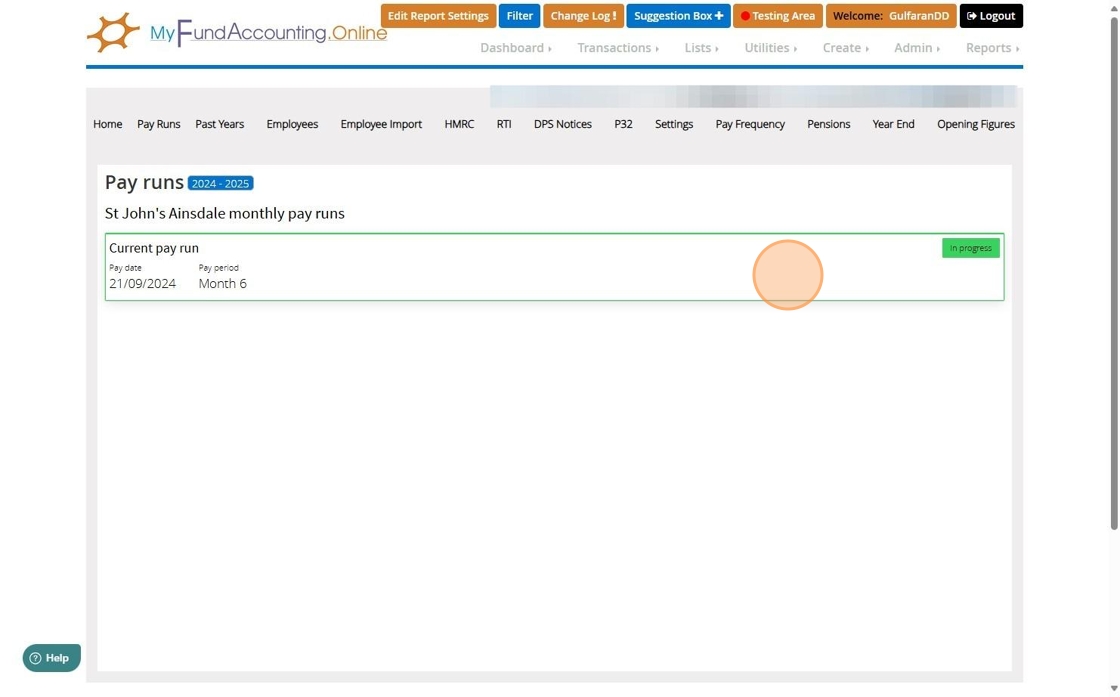
4. Click "Michelle Oddy"
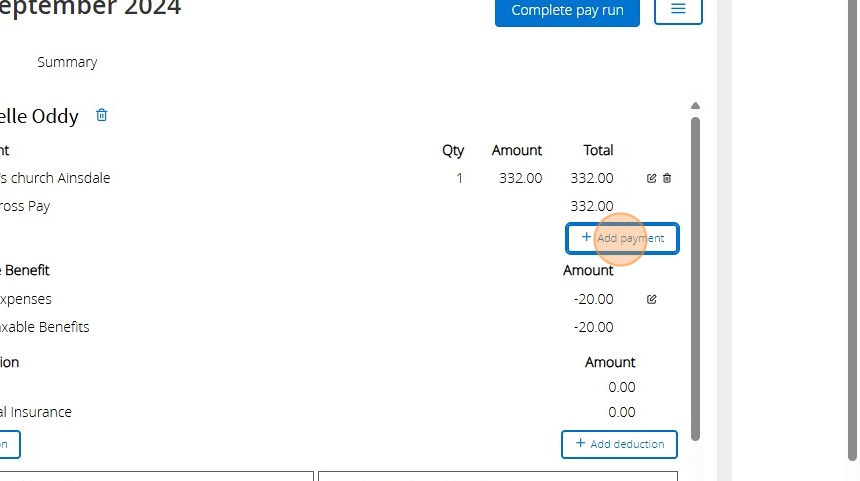
5. Click "Add payment"
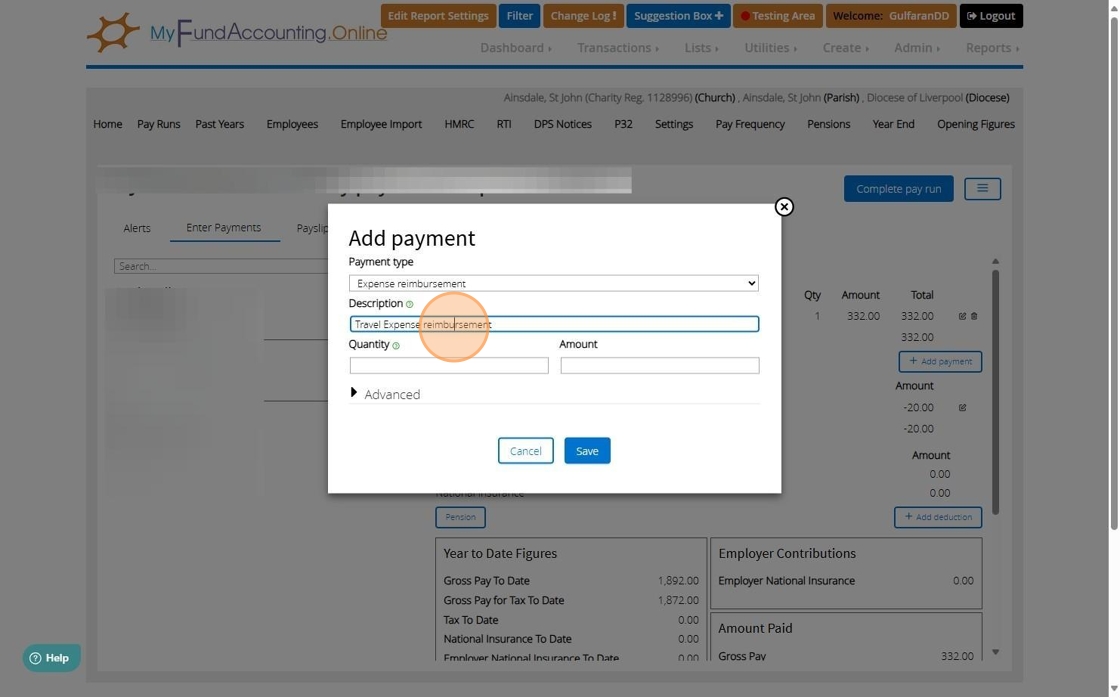
6. Click this dropdown.

7. Click the "Description" field.

8. Enter a appropriate name in the "Description" field.
9. Click the "Quantity" field.
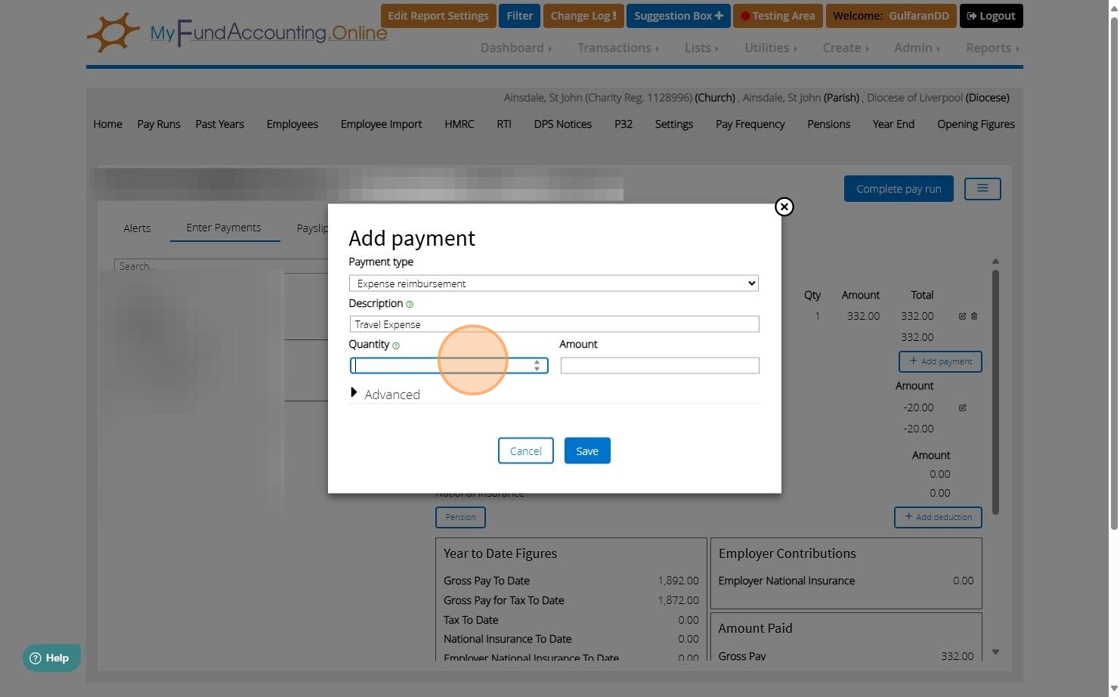
10. Type "1"
11. Click the "Amount" field.

12. Type "20"
13. Click "Advanced"
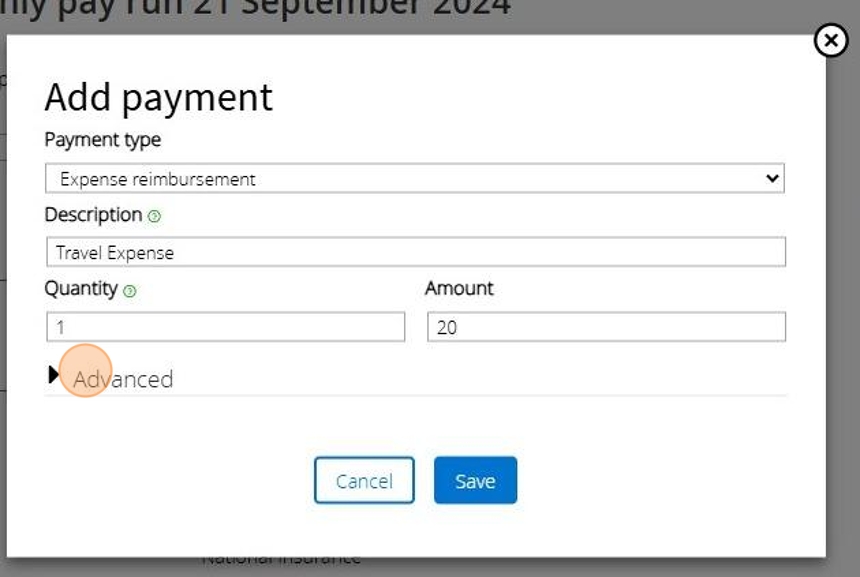
14. Click the "Repeat every pay run" field.
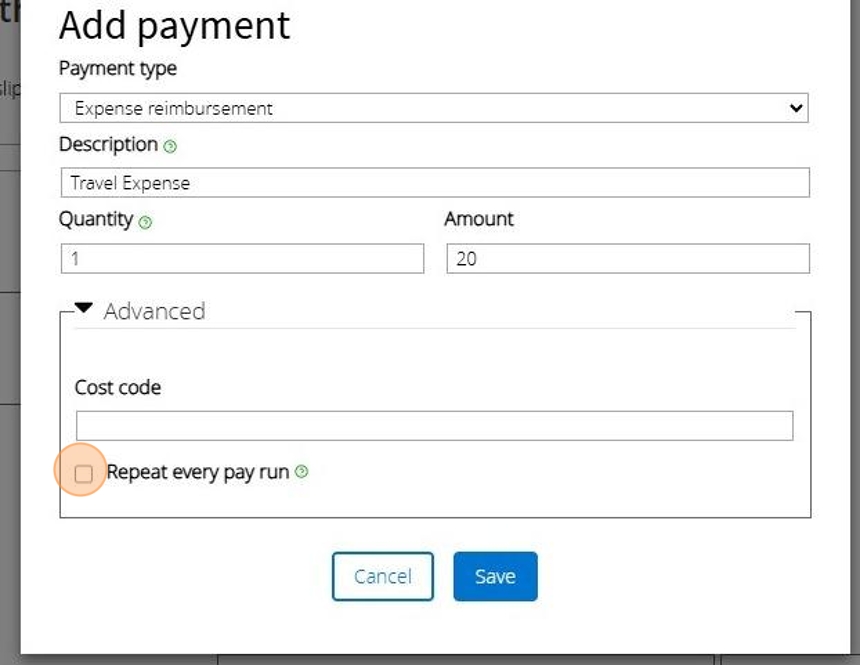
15. Click "Save"
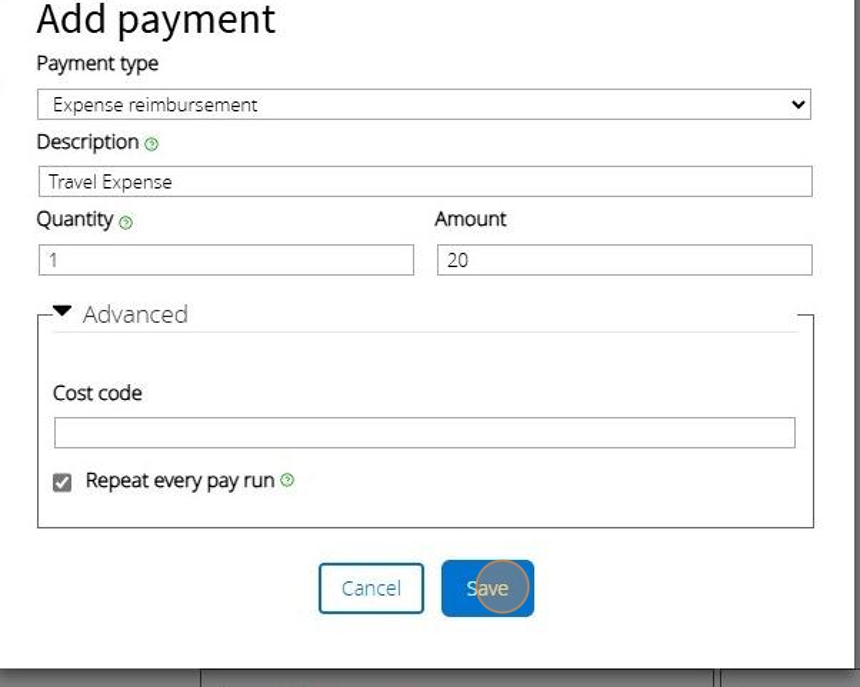
How to Create an Income Budget ( A single Fund )
Tip: Income Budgets can be created for:
All Income against a nominal account ( All Fund)
All income for a single fund ( All Nominal Accounts)
Income transactions against one or more income nominal accounts AND against one or more funds
All income against one or more nominal accounts attached to a cost centre.
All income against a grantor.
All income transactions for an organisation.
Tip: In this example we are setting a budget for the General fund
1. Navigate to https://www.myfundaccounting.online/dashboard
2. Go to Create and Click "Create Income Budgets"

3. Click Add New

4. Click the "Name" field and Enter the Budget Name

5. Click "A single fund (all nominal accounts)"

6. Click "Next Step"
7. Click the Fund dropdown to select the Fund

8. Click "Next Step"
Tip: From left to right this page is displaying ‘Last Year’ actual throughput (i.e. what was processed by this account for that period) , ‘This Year’ actual throughput, the budgets for ‘This Year’ and the fourth column relates to next year's budget. Each column display 12 amounts, relating to each financial period
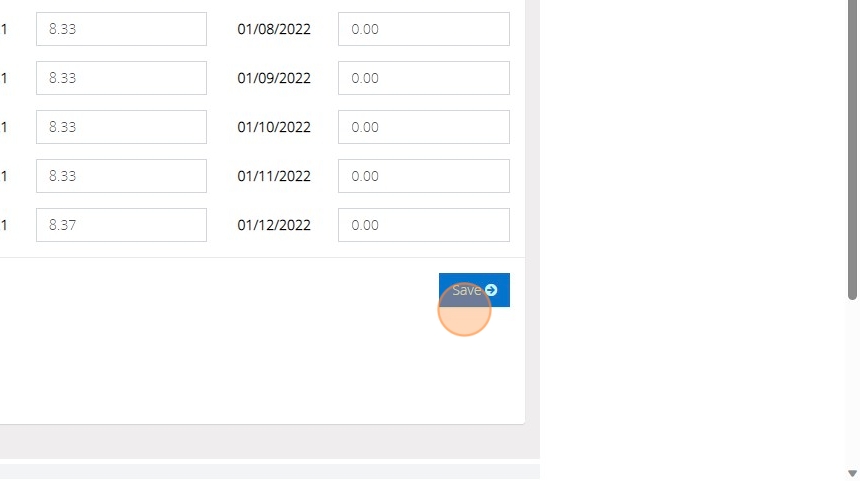
9. Using the third column you can either enter an amount into each period box, or you can enter the total into the Total box. If you enter the total into the Total box the amount will be divided between the periods.
If you enter a total amount indivisible by 12, for example 100, the 12th period will show the amount required to produce the total entered. In this example each period will show 8.33 except for period 12 which will show 8.37. You can then adjust each period if you wish and the total will recalculate automatically as you exit each box.

10. Click Save
How to Create an Income Budget ( A Single Nominal Account All Fund)
Tip: Income Budgets can be created for:
All Income against a nominal account ( All Fund)
All income for a single fund ( All Nominal Accounts)
Income transactions against one or more income nominal accounts AND against one or more funds
All income against one or more nominal accounts attached to a cost centre.
All income against a grantor.
All income transactions for an organisation.
Tip: [[In the example we are setting a budget for the Gift Aid we receive]]
1. Navigate to https://www.myfundaccounting.online/dashboard
2. Click "Create Income Budgets"

3. Click "Add New"
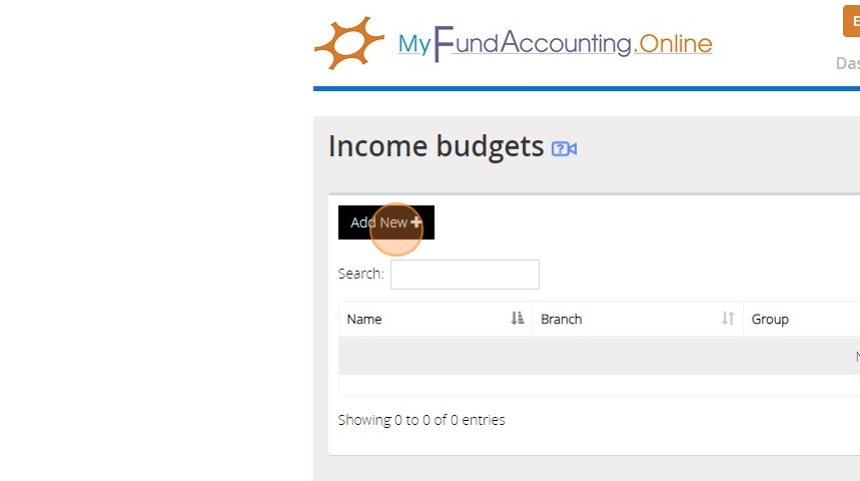
4. Click the "Name" field and enter your Budget Name

5. Click "A single nominal account (all funds)"

6. Click "Next Step"
7. Click this dropdown and select your Income Code

8. Click "Next Step"
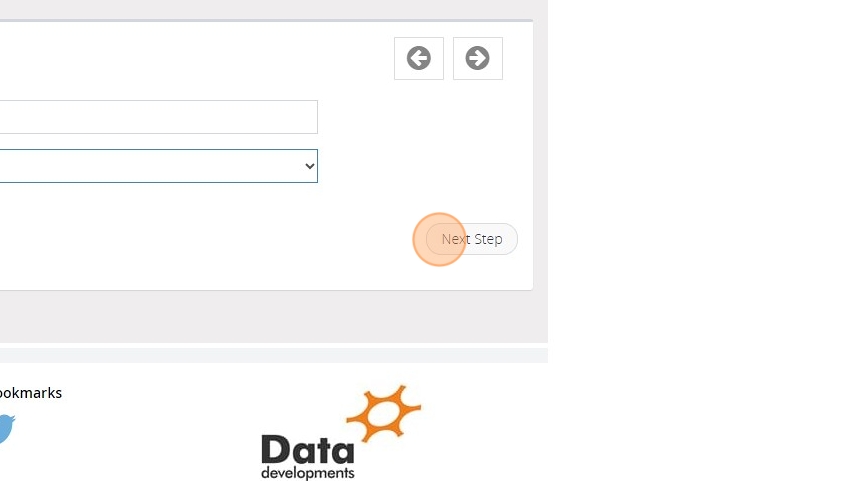
Tip: From left to right this page is displaying ‘Last Year’ actual throughput (i.e. what was processed by this account for that period) , ‘This Year’ actual throughput, the budgets for ‘This Year’ and the fourth column relates to next year's budget. Each column display 12 amounts, relating to each financial period
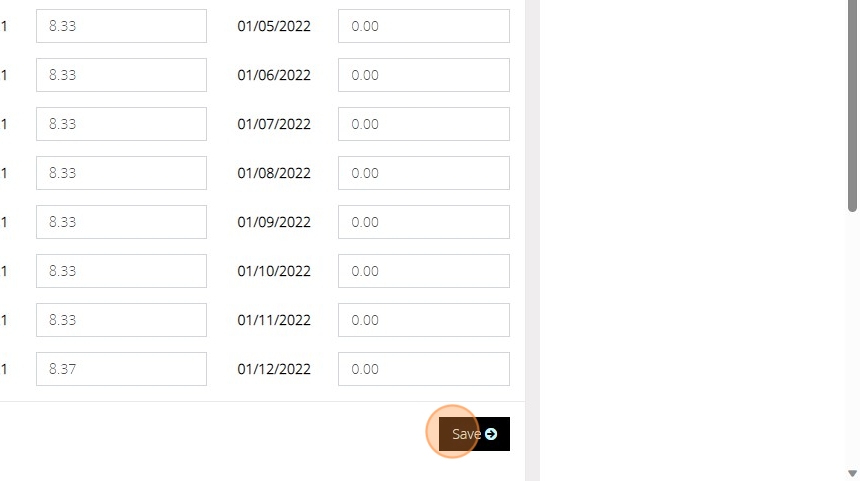
9. Using the third column you can either enter an amount into each period box, or you can enter the total into the Total box. If you enter the total into the Total box the amount will be divided between the periods.
If you enter a total amount indivisible by 12, for example 100, the 12th period will show the amount required to produce the total entered. In this example each period will show 8.33 except for period 12 which will show 8.37. You can then adjust each period if you wish and the total will recalculate automatically as you exit each box.

Tip: At any time during the current financial year you can use the fourth column to set-up a budget for the next financial year. During the year-end procedure the figures in the fourth column ('Next Year Budgets') will be transferred into the third column ('This Year Budget'). If no figures have been entered for next years budget then this years budgets will be carried forward and remain in the third column.
10. When you are happy with the information you have entered click on the 'Save' button
How to create an Income Budget ( Cost Centre)
Tip: Income Budgets can be created for:
All Income against a nominal account ( All Fund)
All income for a single fund ( All Nominal Accounts)
Income transactions against one or more income nominal accounts AND against one or more funds
All income against one or more nominal accounts attached to a cost centre.
All income against a grantor.
All income transactions for an organisation.
Tip: In this example we are setting a budget for the ‘All giving’ Cost Centre
1. Navigate to https://www.myfundaccounting.online
2. Go to Create and Click "Create Income Budgets"
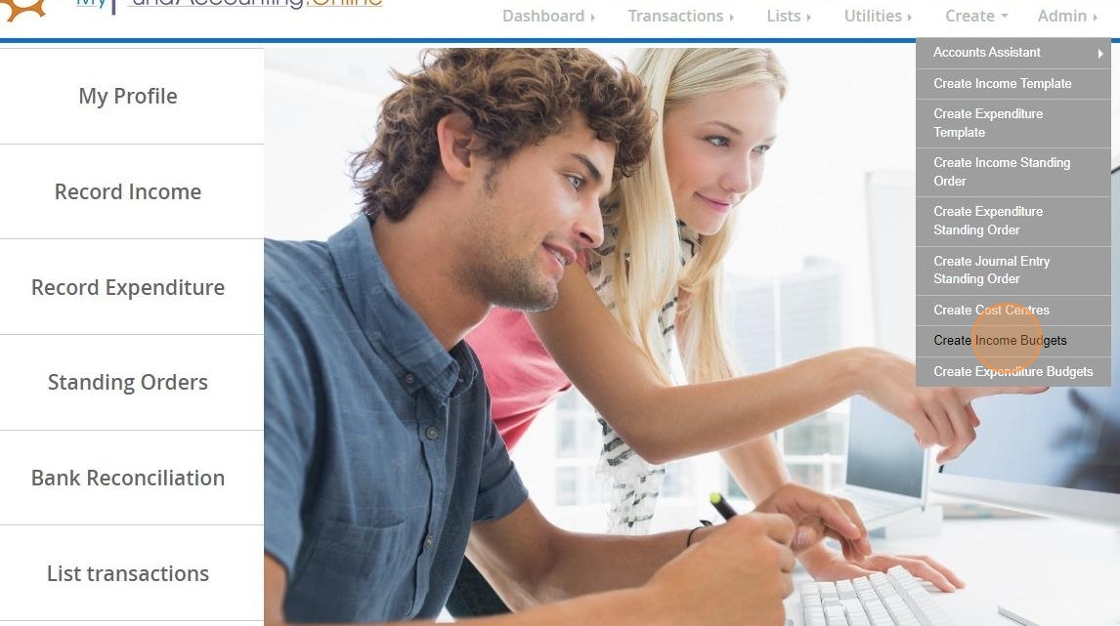
3. Click "Add New"

4. Click the "Name" field and enter your budget name

5. Click "A cost centre"
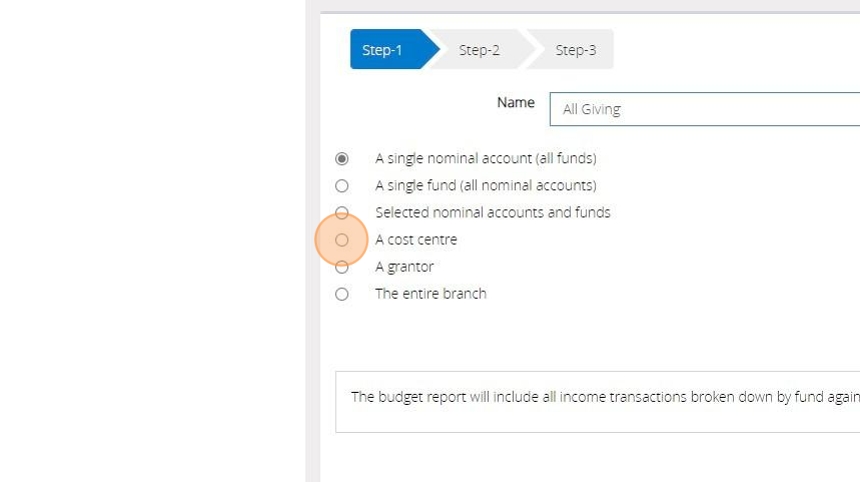
6. Click "Next Step"
7. Use the list to choose the Cost centre to be included in the budget

8. Click "Next Step"

Tip: From left to right this page is displaying ‘Last Year’ actual throughput (i.e. what was processed by this account for that period) , ‘This Year’ actual throughput, the budgets for ‘This Year’ and the fourth column relates to next year's budget. Each column display's 12 amounts, relating to each financial period
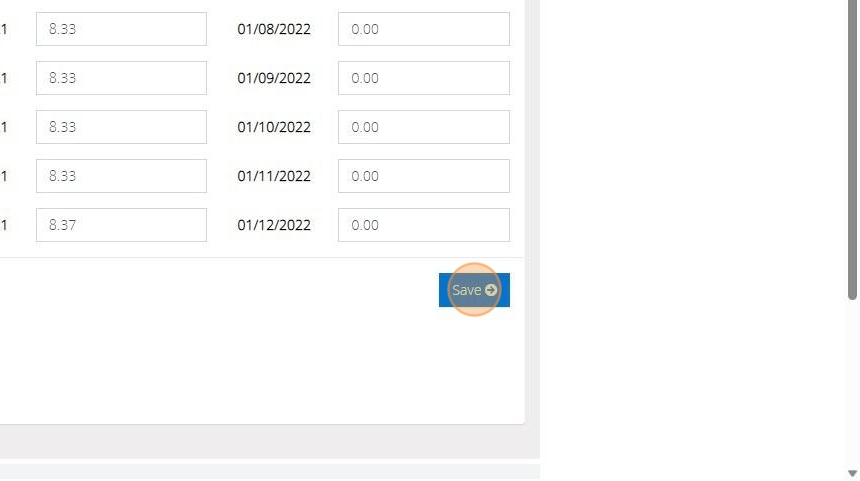
9. Using the third column you can either enter an amount into each period box, or you can enter the total into the Total box. If you enter the total into the Total box the amount will be divided between the periods.
If you enter a total amount indivisible by 12, for example 100, the 12th period will show the amount required to produce the total entered. In this example each period will show 8.33 except for period 12 which will show 8.37. You can then adjust each period if you wish and the total will recalculate automatically as you exit each box.

Tip: Tip: Save time by creating next year's budget now. Enter the budget details in the fourth column.
10. Click Save
How to Create an Income Budget (Selected Nominal Accounts and Funds)
Tip: Income Budgets can be created for:
All Income against a nominal account ( All Fund)
All income for a single fund ( All Nominal Accounts)
Income transactions against one or more income nominal accounts AND against one or more funds
All income against one or more nominal accounts attached to a cost centre.
All income against a grantor.
All income transactions for an organisation.
Tip: In this example we are setting a budget for the Gift Aid and envelope scheme for the Building fund. This budget includes income from Gift Aid and the Envelope scheme that is for the Building fund.
1. Navigate to https://www.myfundaccounting.online
2. Go to Create and then Click "Create Income Budgets"

3. Click Add New
4. Enter Your Budget Name here

5. As the Building fund consists of Designated, Restricted and Endowment the budget will need to include three items in the fund list so choose the third option ‘Selected nominal accounts and funds'

6. Click "Next Step"

7. Click Select Nominal accounts and select the income codes to be used from the drop down menu

8. Click Select Funds and select the Fund

9. Click "Next Step"
Tip: From left to right this page is displaying ‘Last Year’ actual throughput (i.e. what was processed by this account for that period) , ‘This Year’ actual throughput, the budgets for ‘This Year’ and the fourth column relates to next year's budget. Each column display 12 amounts, relating to each financial period
10. Using the third column you can either enter an amount into each period box, or you can enter the total into the Total box. If you enter the total into the Total box the amount will be divided between the periods.
If you enter a total amount indivisible by 12, for example 100, the 12th period will show the amount required to produce the total entered. In this example each period will show 8.33 except for period 12 which will show 8.37. You can then adjust each period if you wish and the total will recalculate automatically as you exit each box.

Tip: Tip: Save time by creating next year's budget now. Enter the budget details in the fourth column.
11. Click Save

How to Edit Nominal Accounts Description for a Initialisation in MyFundAccounting
1. Navigate to https://www.myfundaccounting.online/utility/Initialisation
2. Click "Initialisation"

3. Click "Edit"
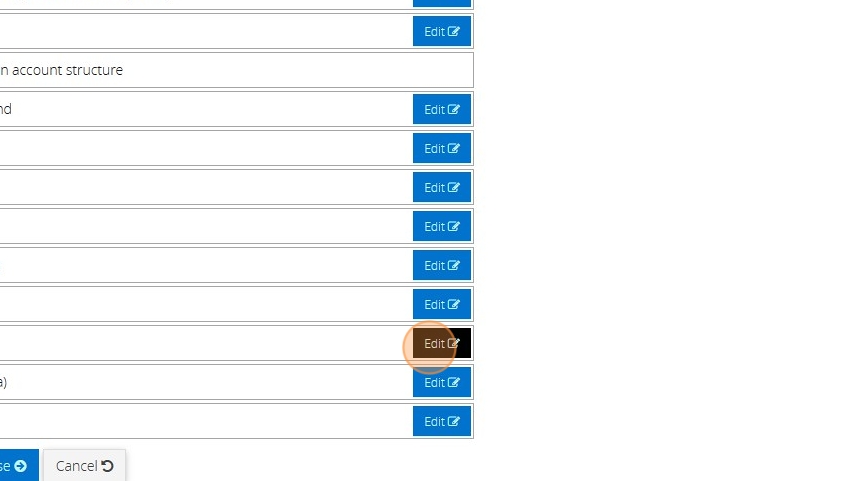
4. Click "Nominal Accounts"
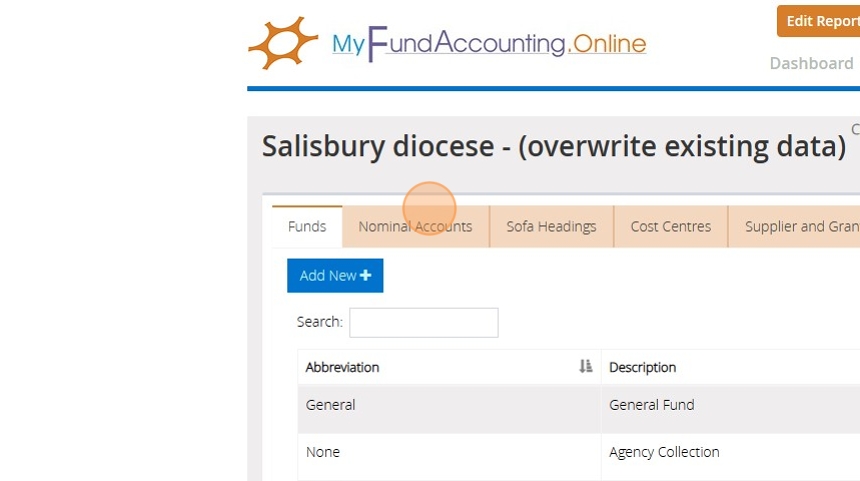
5. Click "Income"

6. Click "Edit"

7. Click the "Description" field.
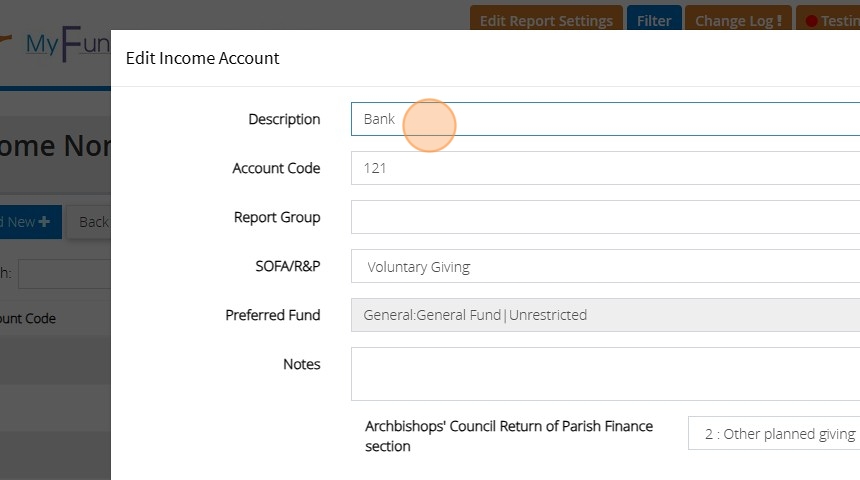
8. Type " - [[CapsLock]] I [[CapsLock]] O [[CapsLock]] ther"
9. Click "Save"

How to enter Accrued Expenditure
Tip: It is possible that you will have not paid for an item or a service and not received it by the end of the financial year. This is an accrual and including it in your accounts at year-end will give a more accurate picture. The Charity Commission require larger churches and charities to adopt this type of accounting, see the SORP document for more information.
1. Navigate to https://www.myfundaccounting.online
2. Click "Transactions"

3. Click "Transaction assistants"
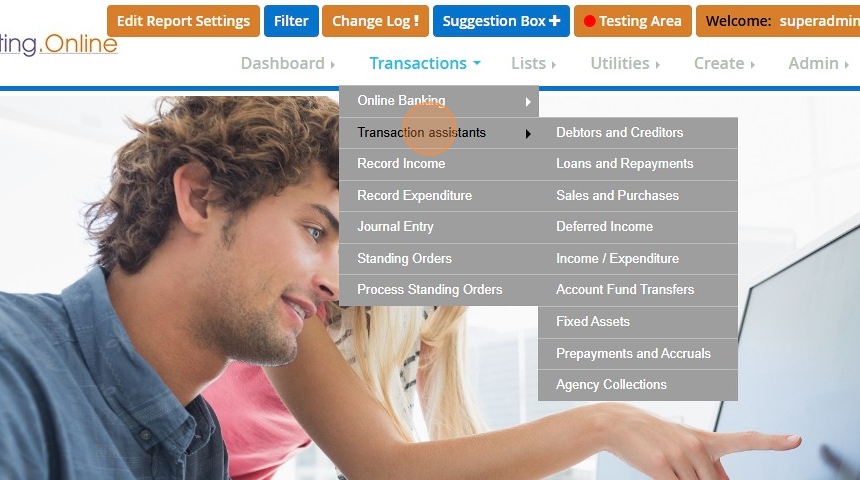
4. Click "Prepayments and accruals"
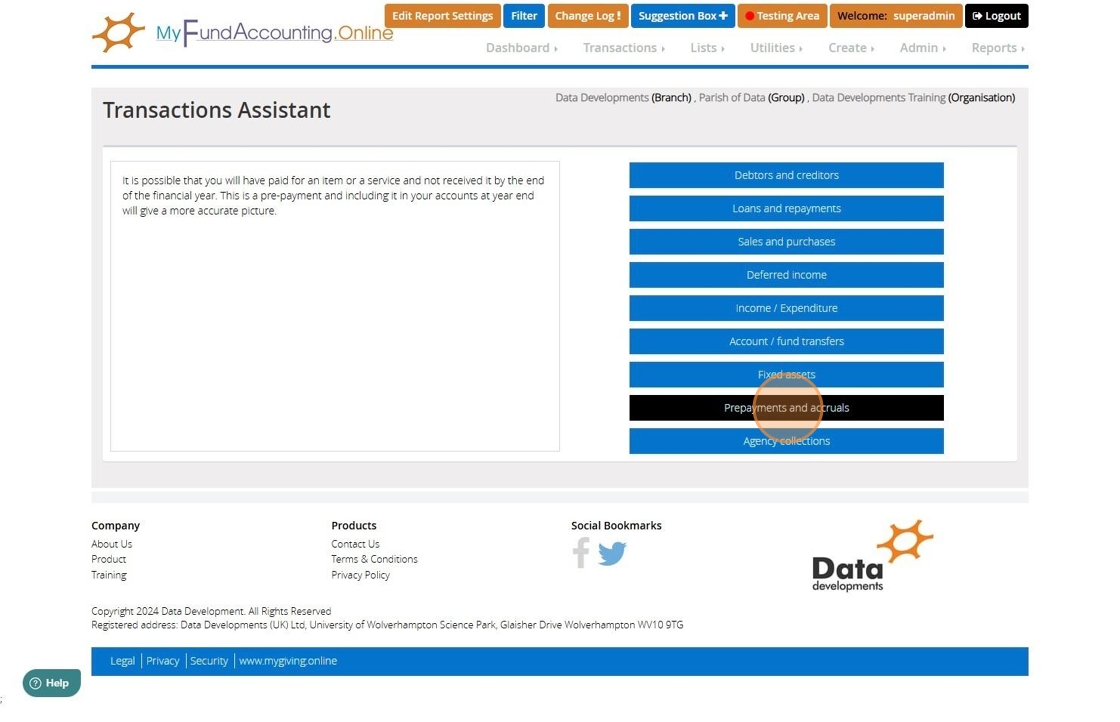
5. Click "Accrued expenditure"

6. Select the expenditure account that you will owe at the end of the financial year
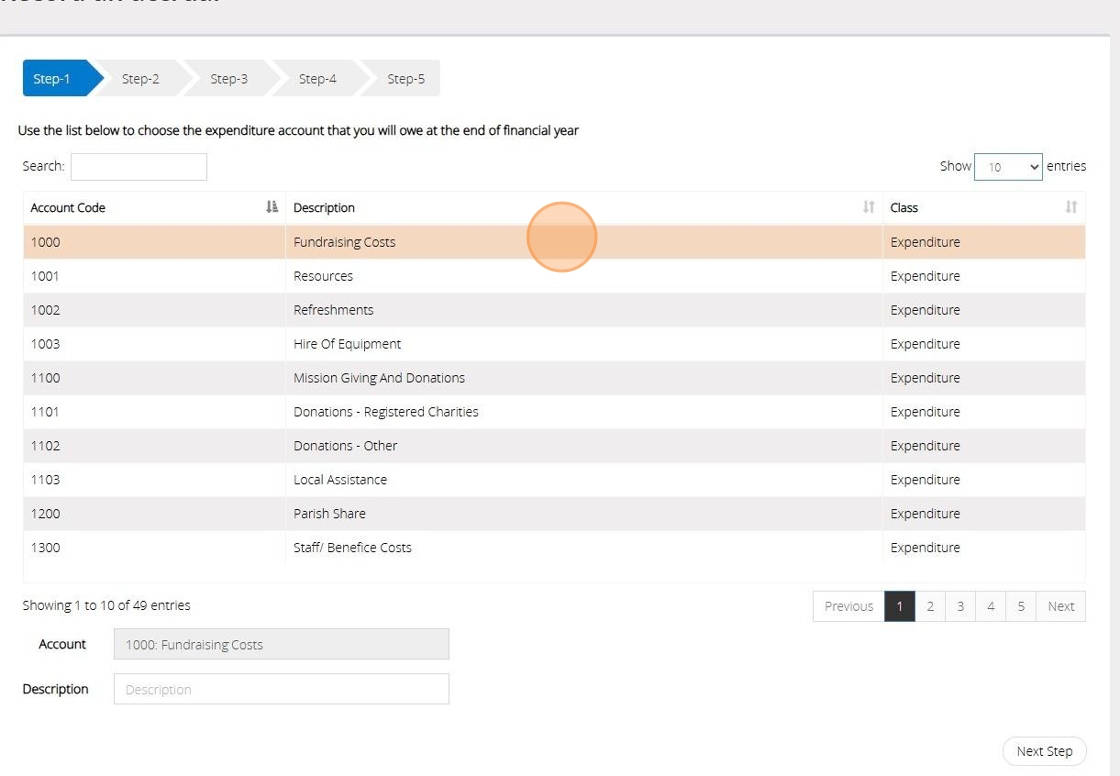
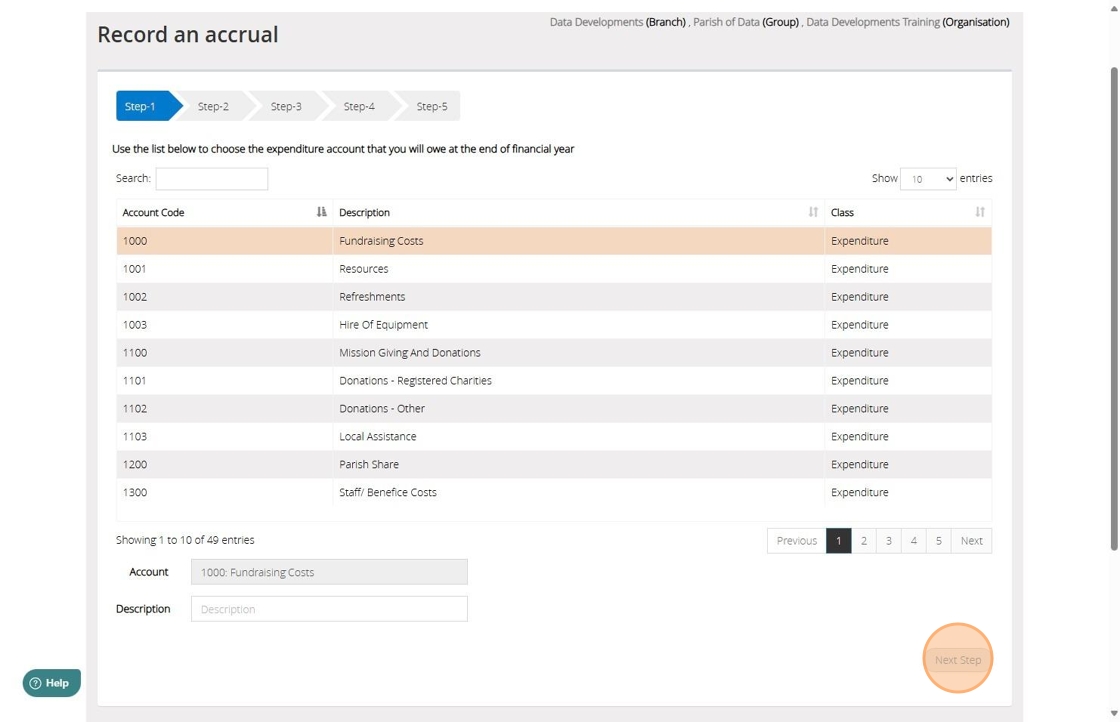
7. Click "Next Step"
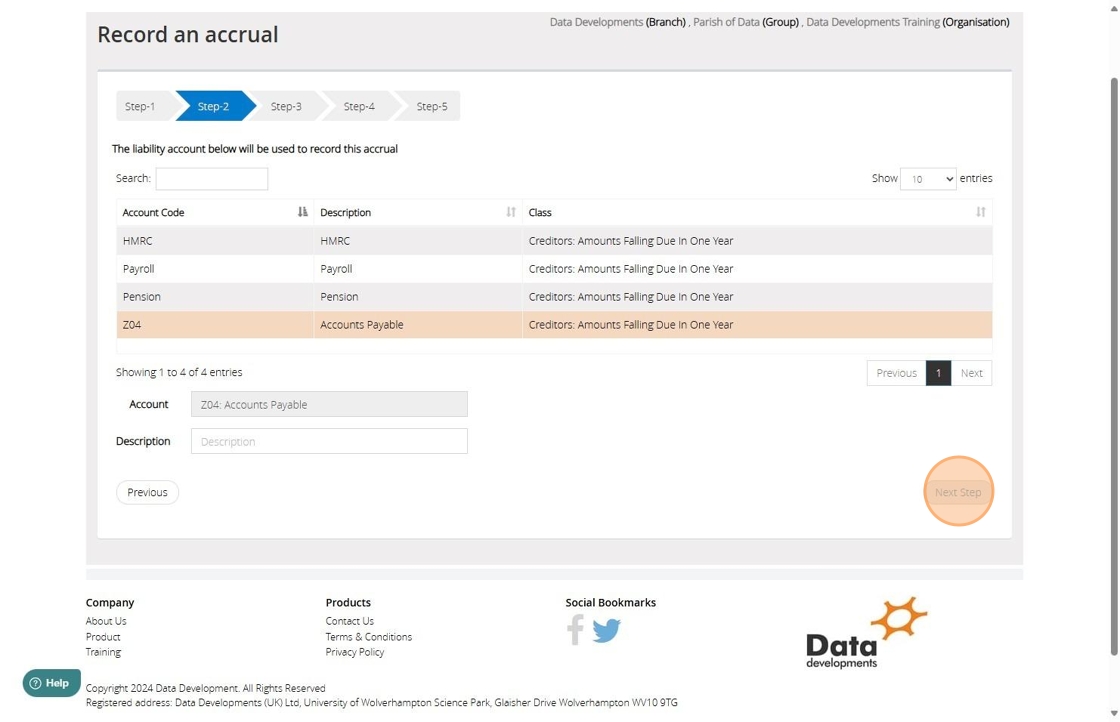
8. [[Select the Liability account to show the amount owed against]]

9. Click "Next Step"
10. If you would like the system to calculate it for you do the following:
Click 'Accrual Calculator' and enter the date the payment will be due > Next Enter the amount you estimate to pay and the number of days to be covered by the prepayment
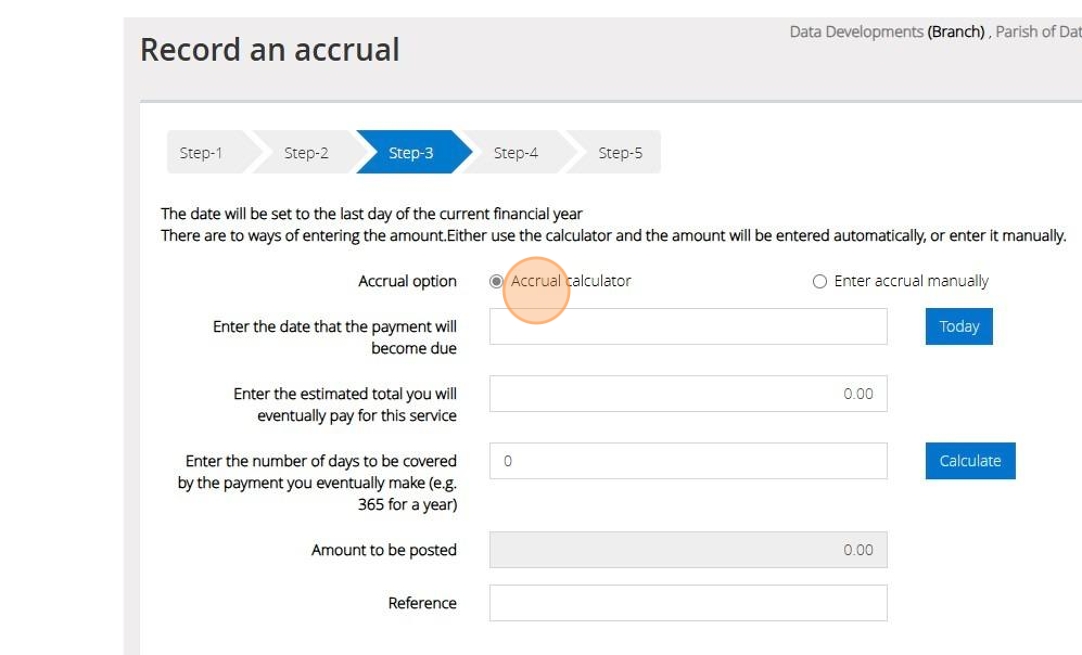
11. Click the 'Calculate' button, and the calculated amount will appear in the 'Amount to be Posted' box.
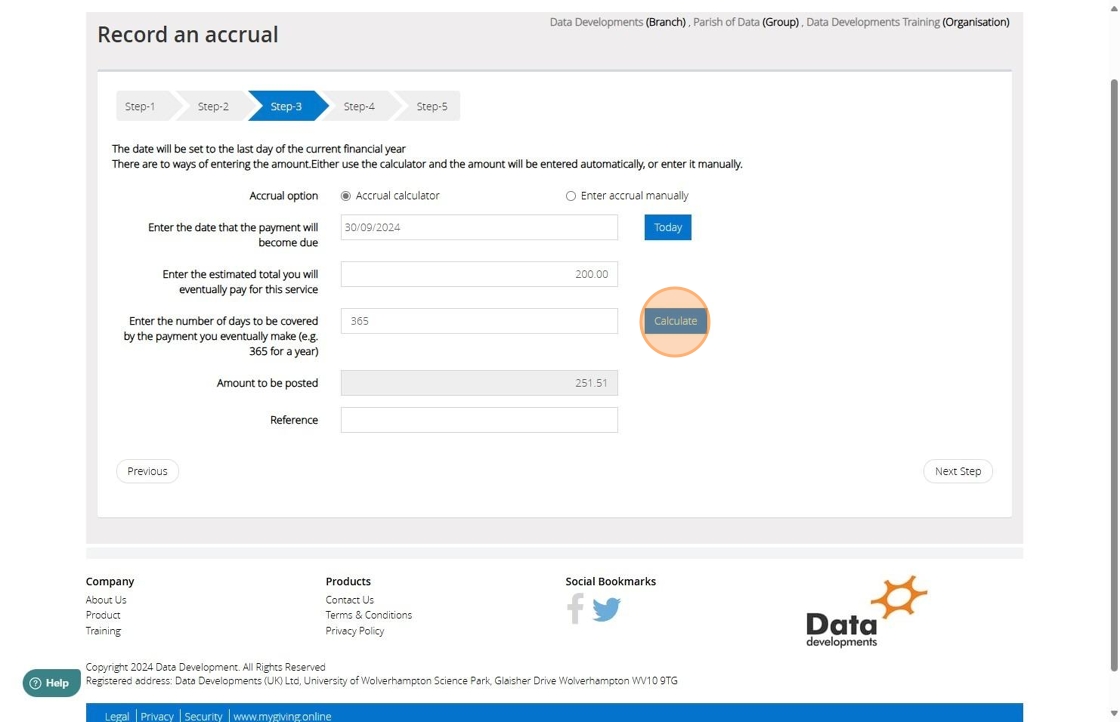
Tip: Alternatively, you can enter the prepayment manually by following the below steps
12. Click the "Enter accrual manually" field.

13. Enter the amount to be paid and a reference
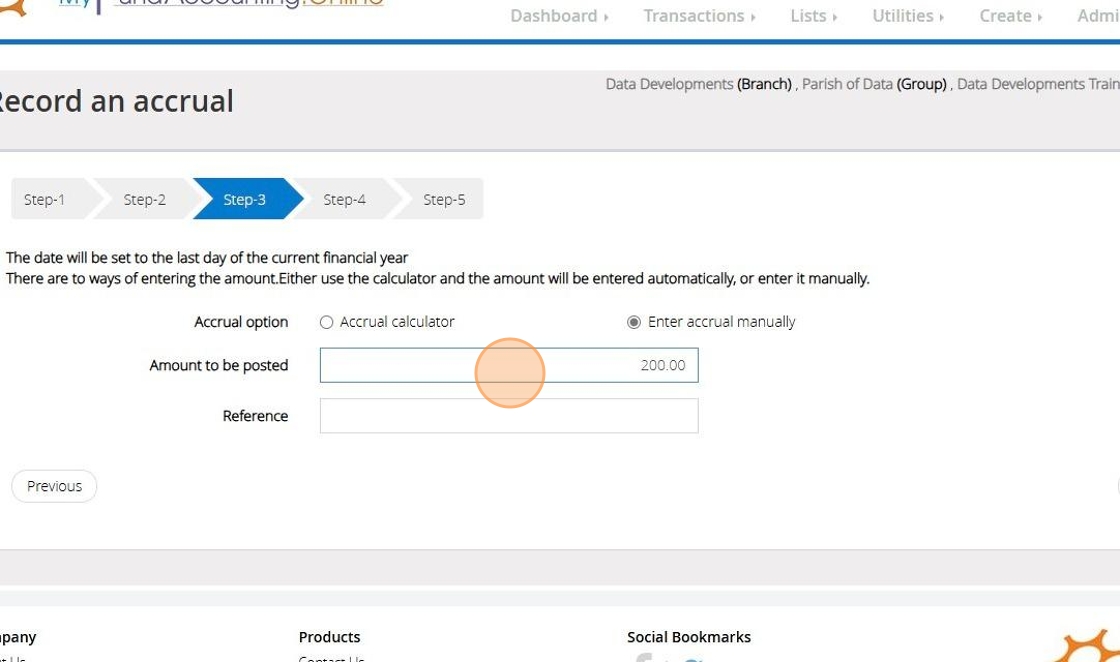
14. Click "Next Step"
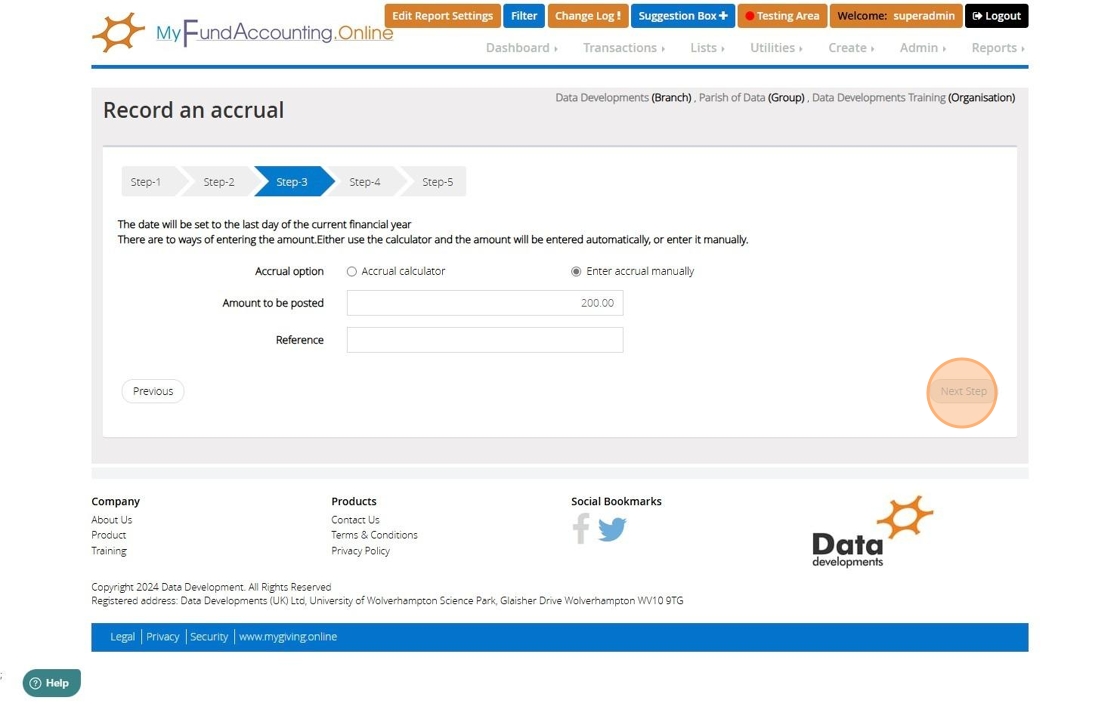
15. Select the fund that the payment should affect
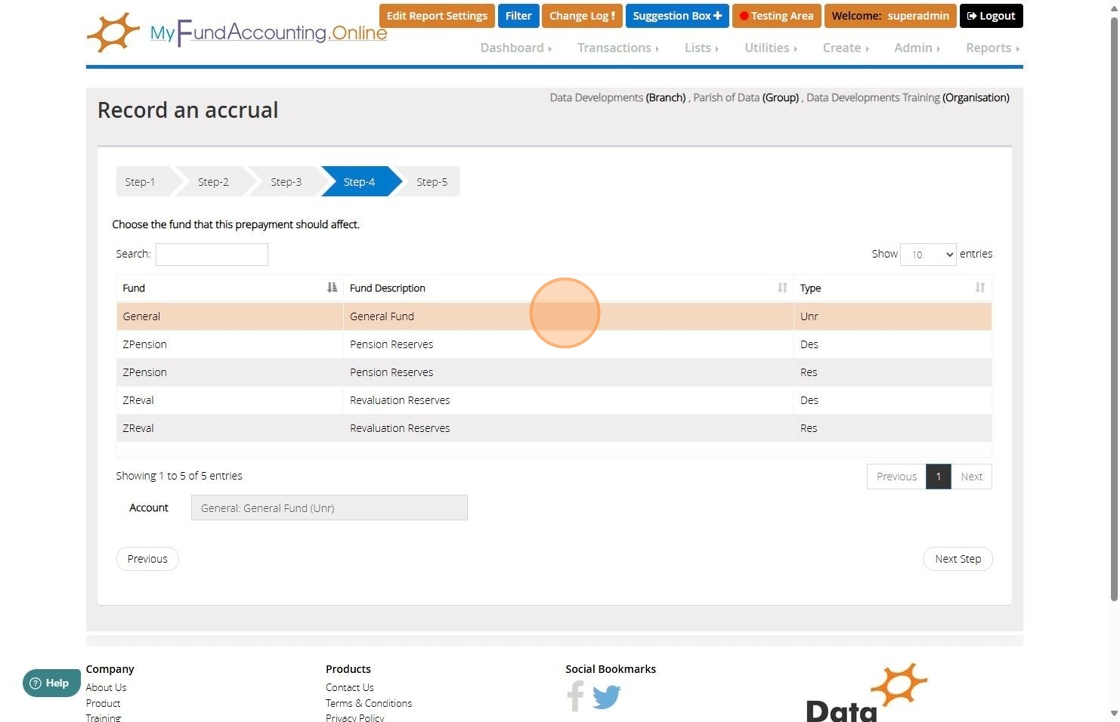
16. Click "Next Step"
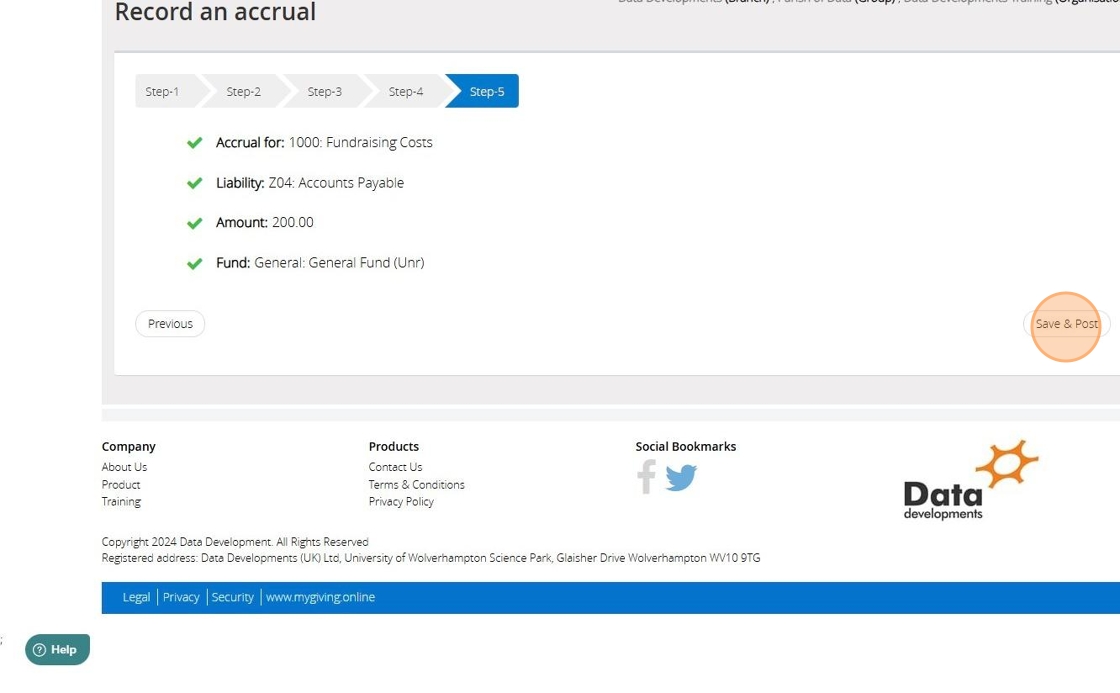
17. Confirm the selections that have been made

18. Click "Save & Post"
How to enter an Income Accrual
Tip: An Income accrual is an amount that you know is coming but has not yet arrived. For example you may be expecting a Gift Aid Claim from HMRC the following January, but your accounts close in December. This transaction will show the expected income, and then reverse it at year end.
1. Navigate to https://www.myfundaccounting.online
2. Click "Transactions"
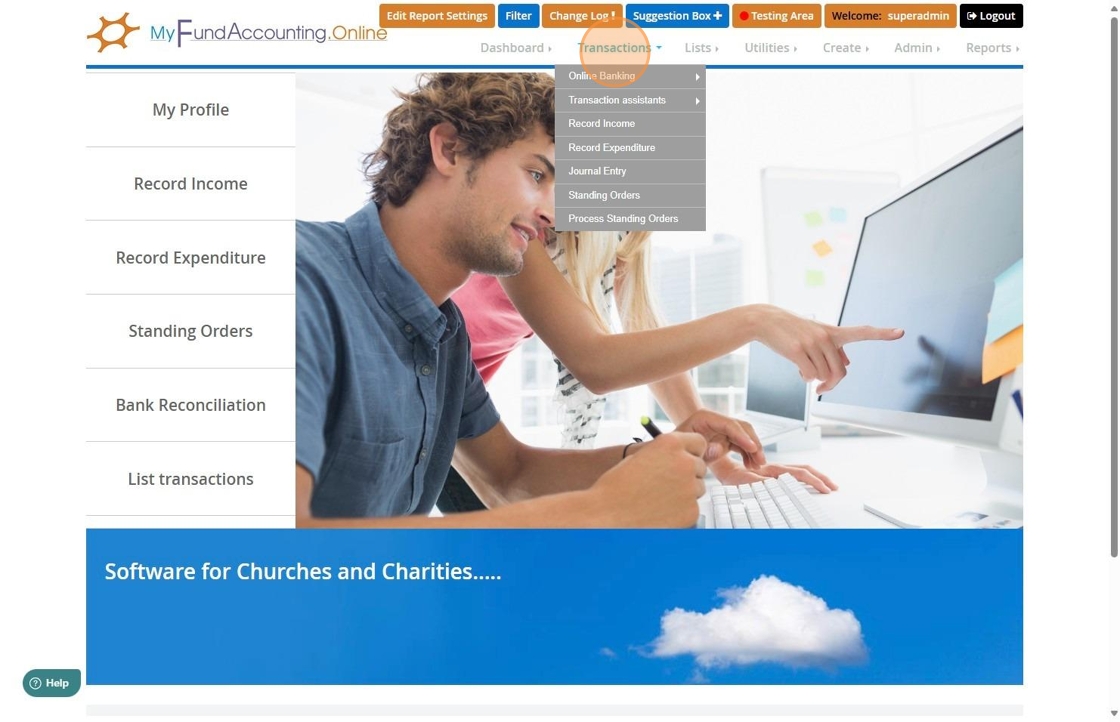
3. Click "Transaction assistants"
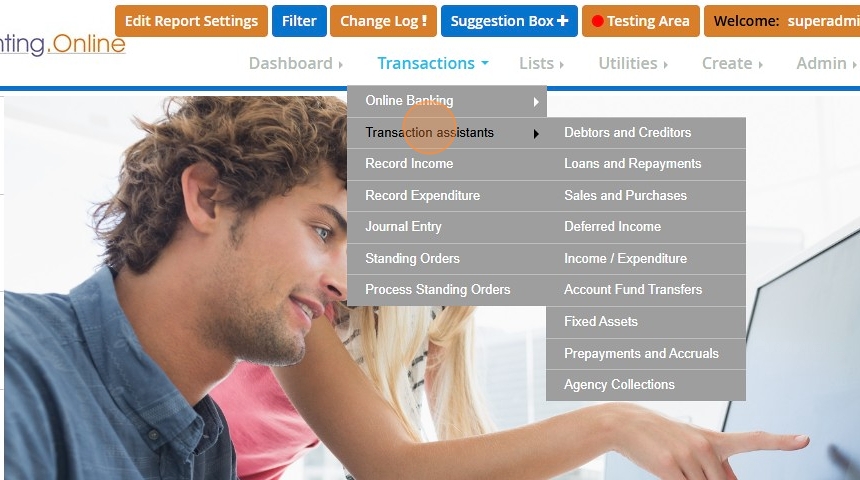
4. Click "Prepayments and accruals"
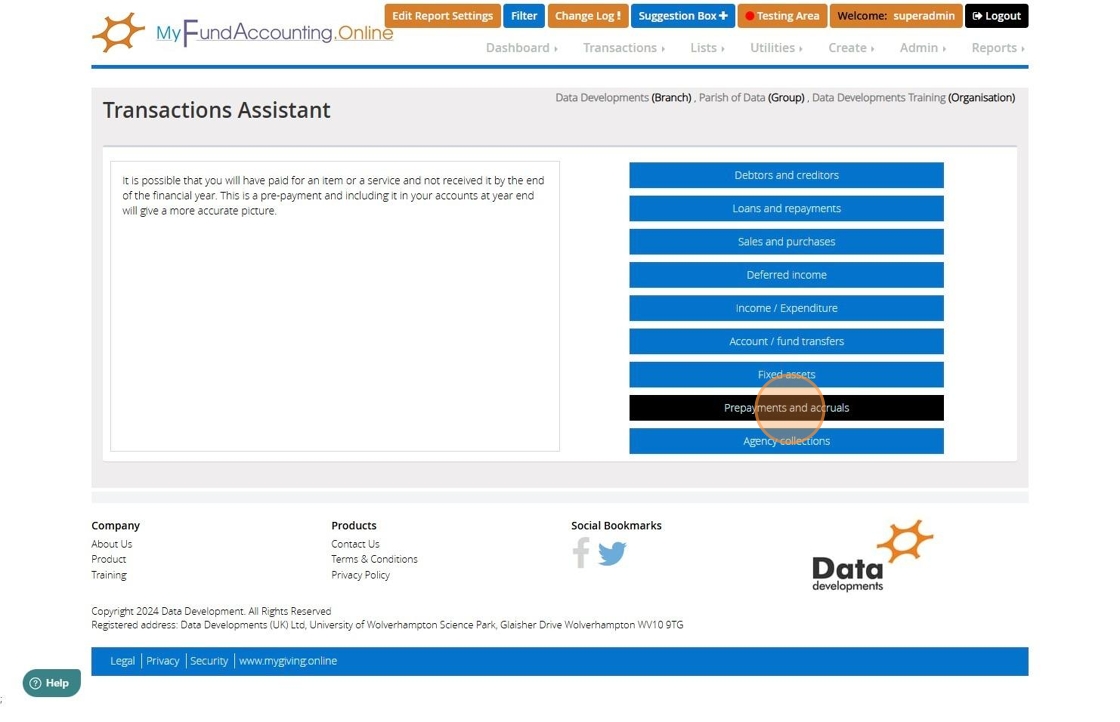
5. Click "Income 'accrual'"
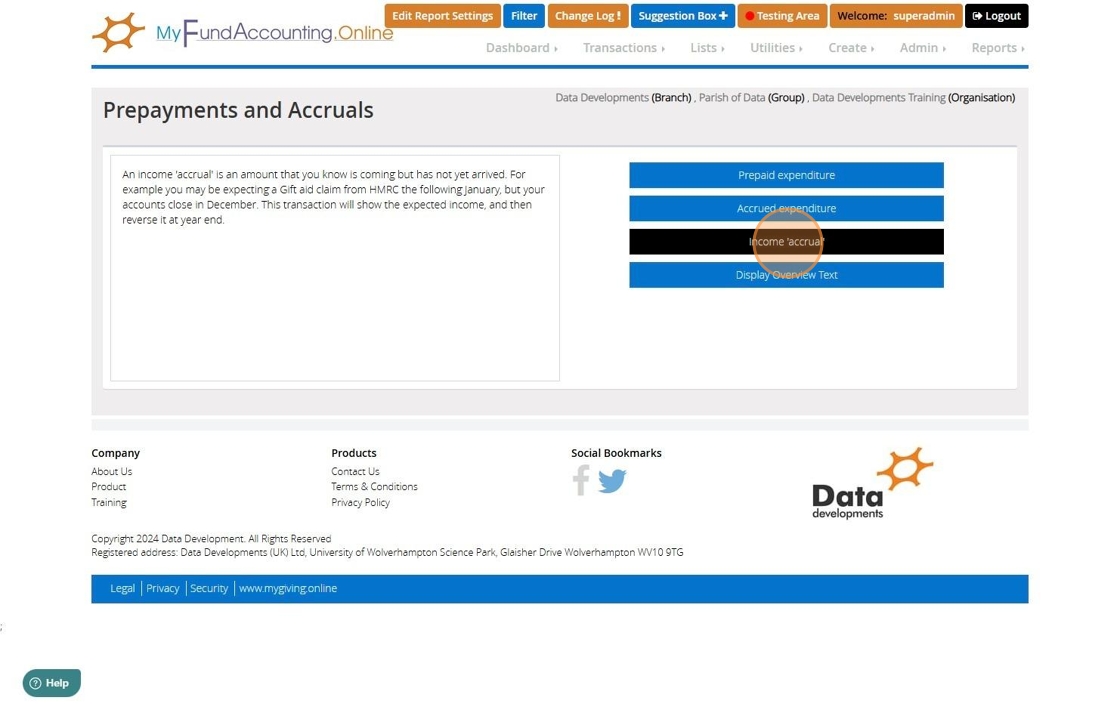
6. On Step 1 select the income account
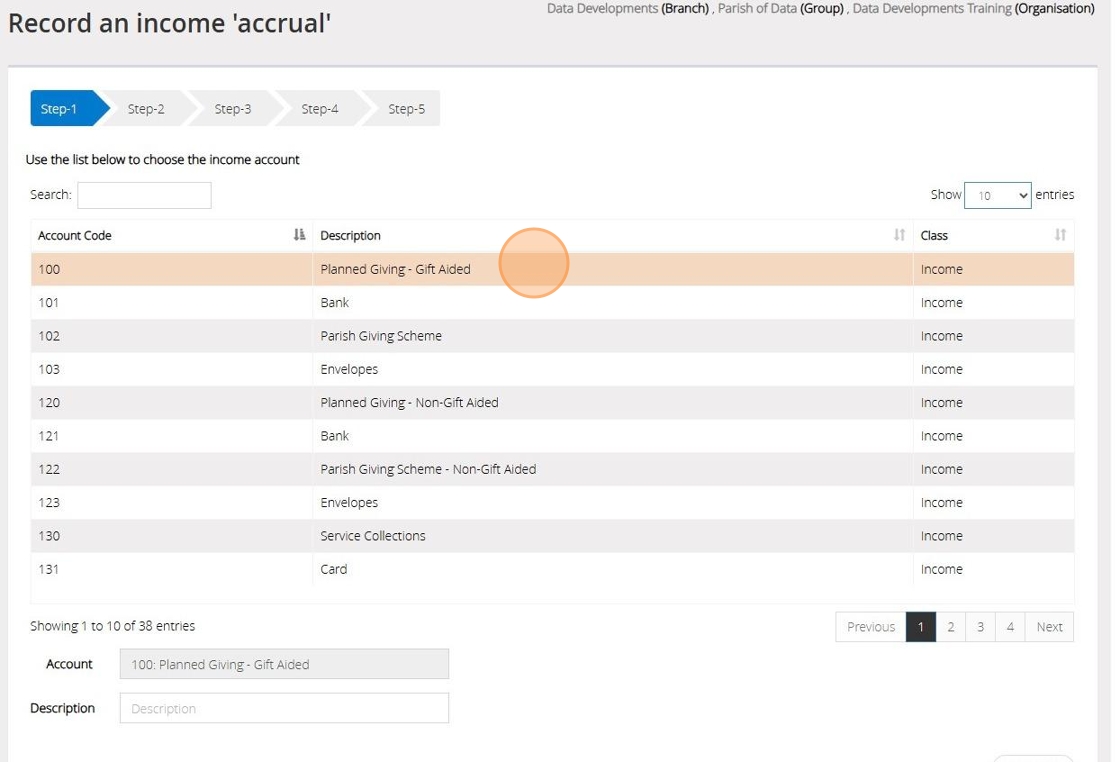
7. Click "Next Step"
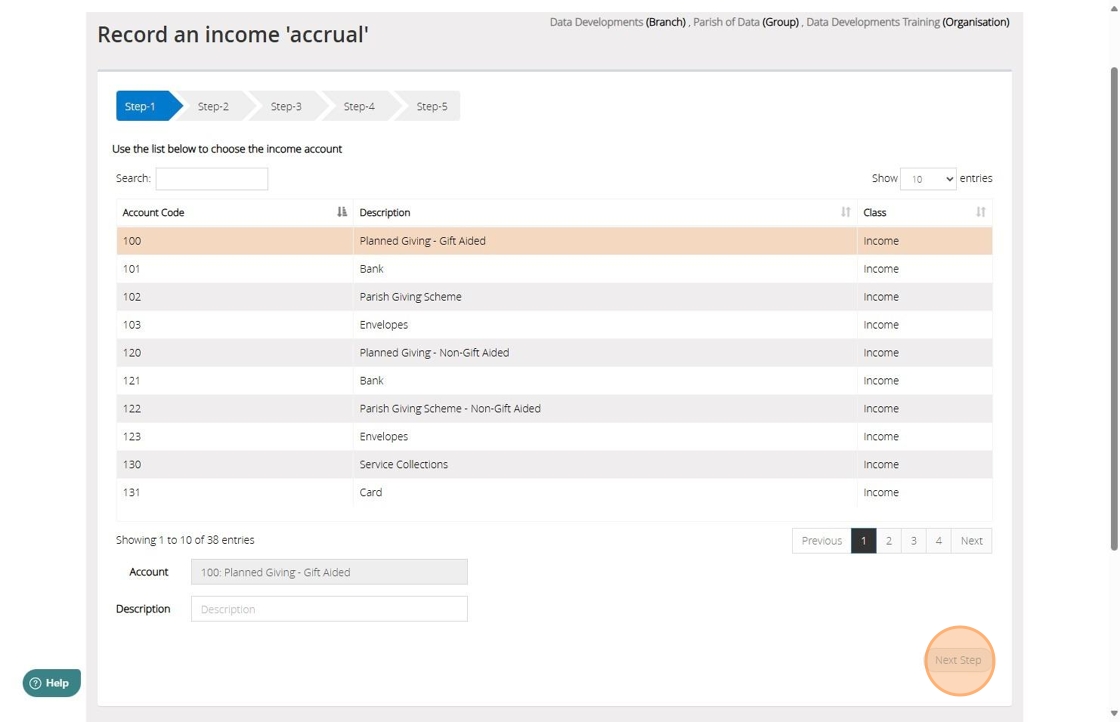
8. [[On Step 2 select the debtor account to be used to record the accrual against]]
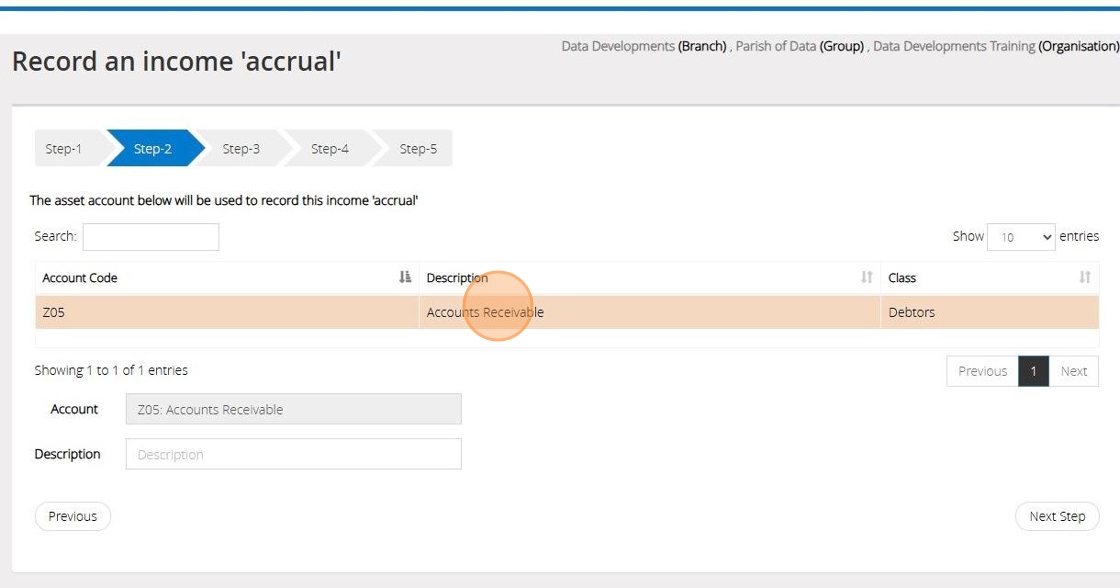
9. Click "Next Step"
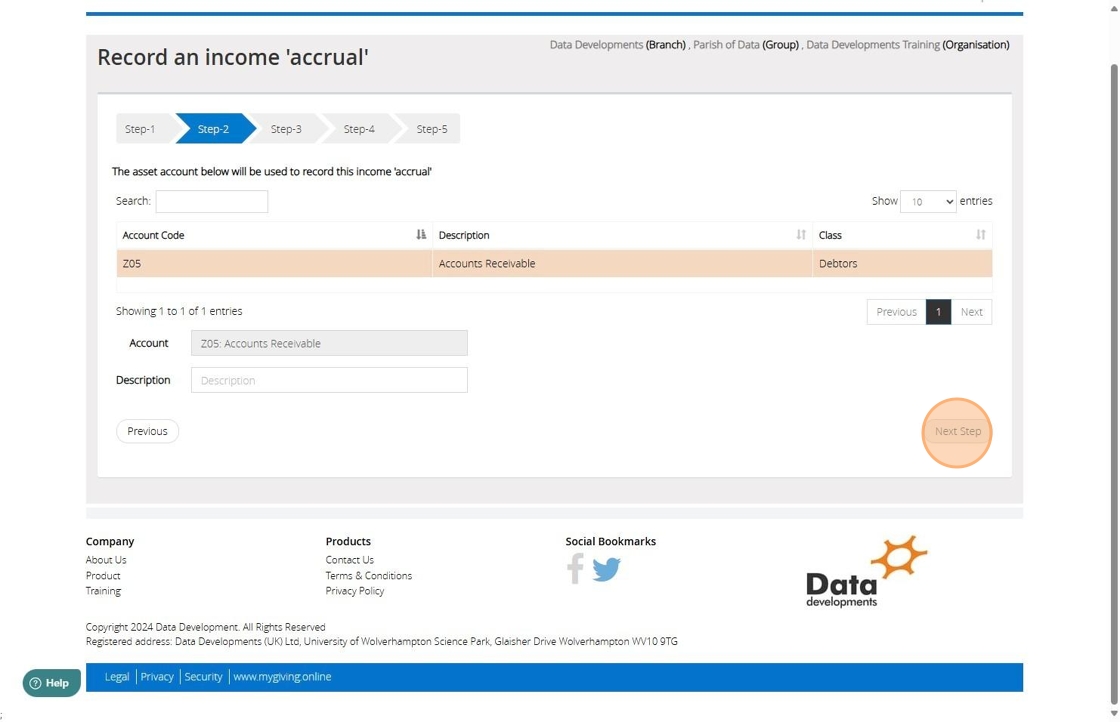
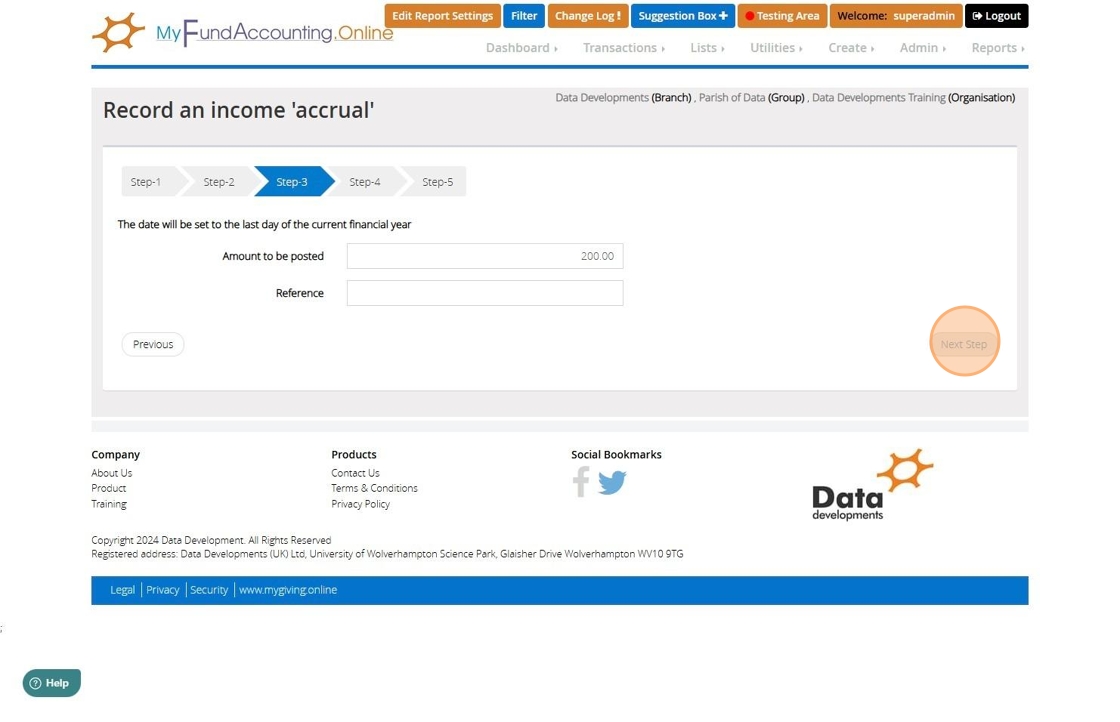
10. On Step 3 enter the amount you expect to receive

11. Click "Next Step"
12. On Step 4 select the fund the accrual should affect
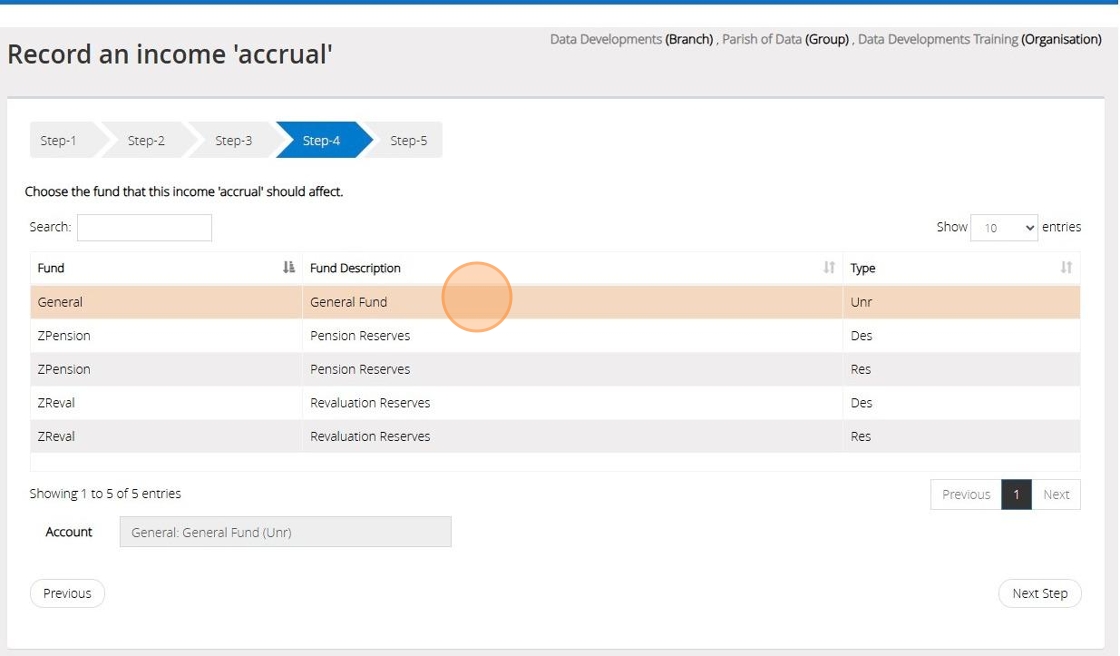
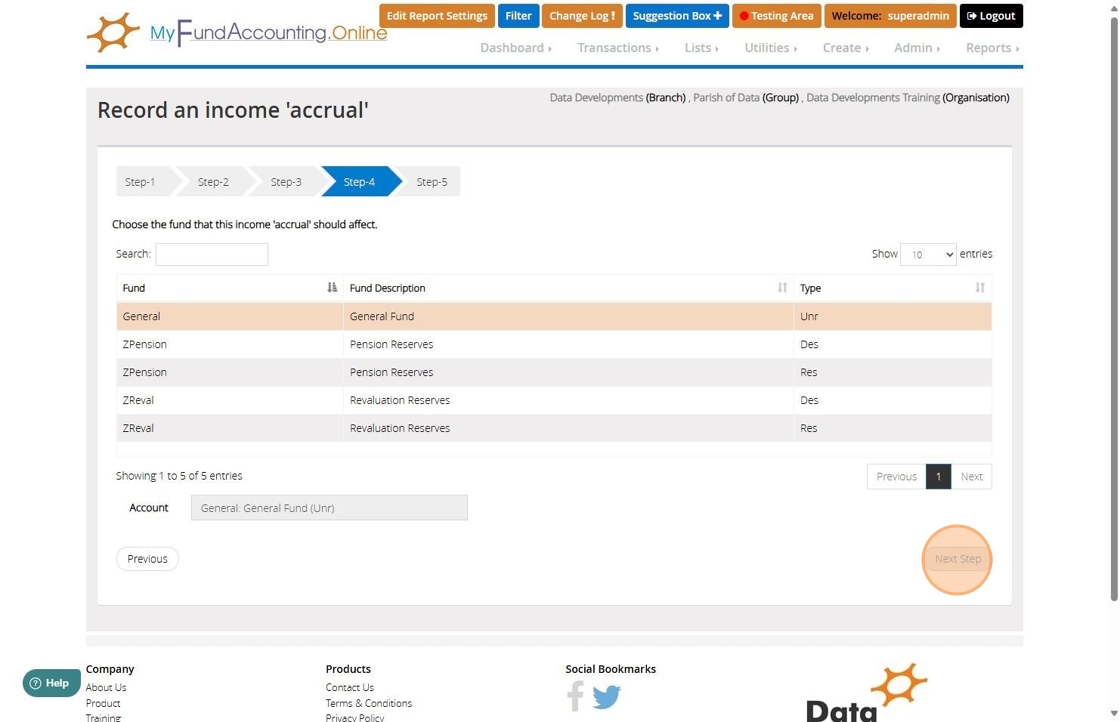
13. Click "Next Step"
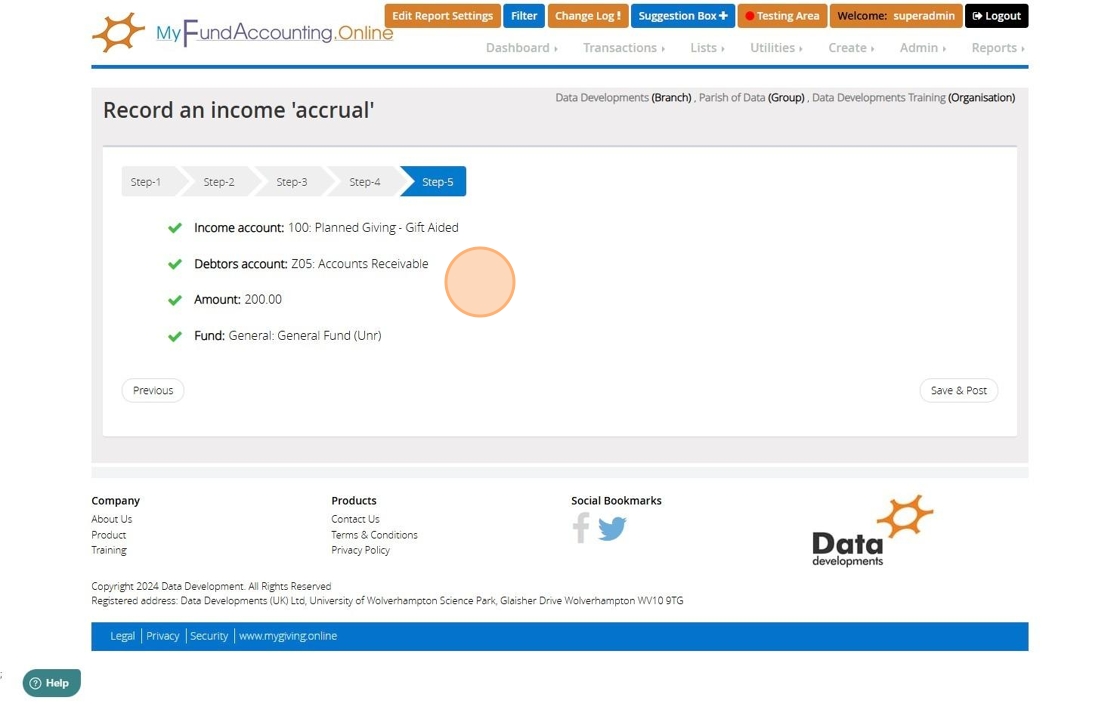
14. Confirm the selections that have been made
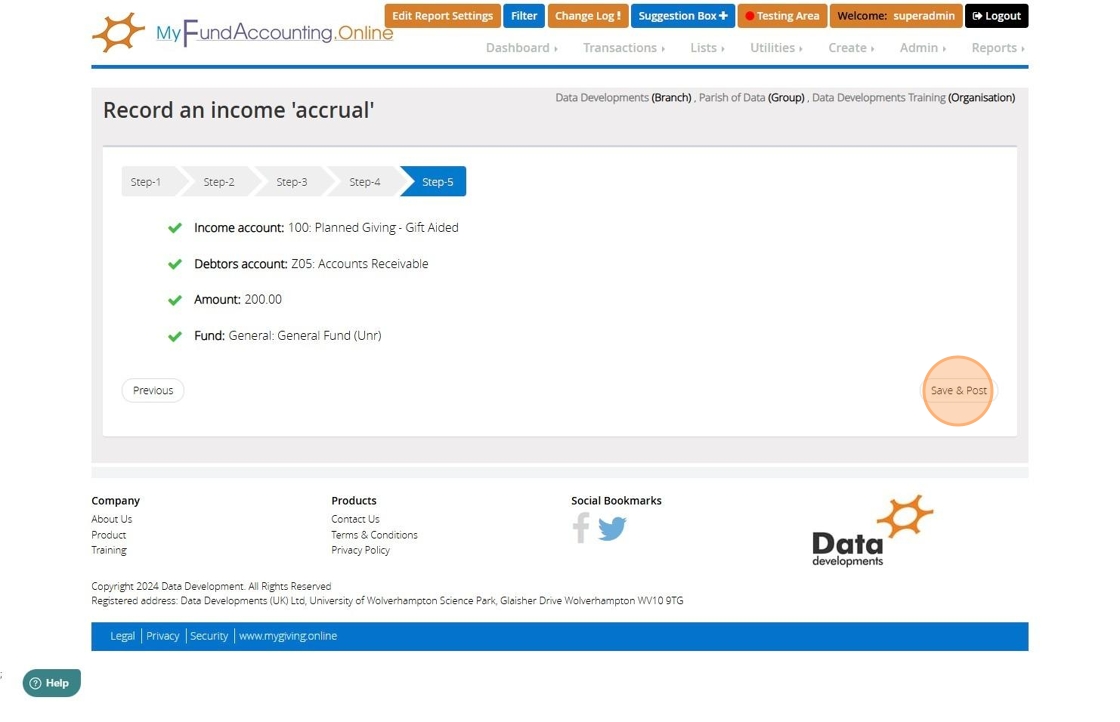
15. Click "Save & Post"
How to enter Prepaid Expenditure
Tip: It is possible that you will have paid for an item or a service and not received it by the end of the financial year. This is a prepayment, and including it in your accounts at year-end will give a more accurate picture. The Charity Commission require larger churches and charities to adopt this type of accounting, see the SORP document for more information.
1. Navigate to https://www.myfundaccounting.online
2. Click "Transactions"
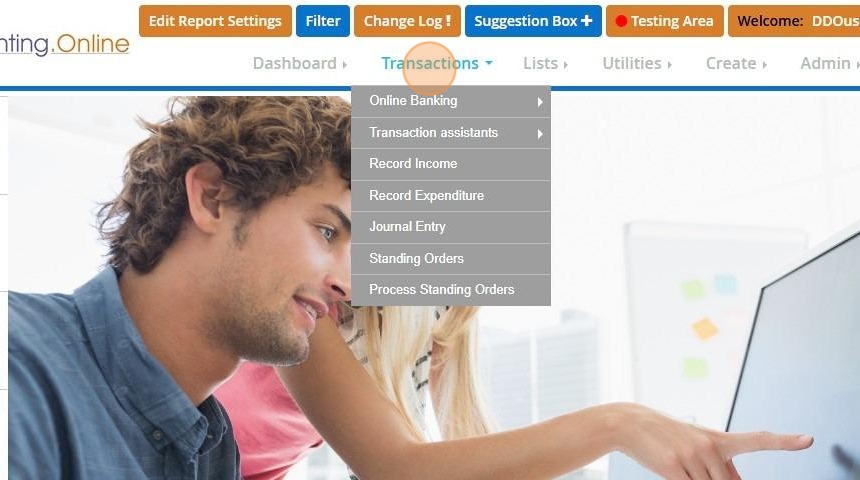
3. Click "Transaction assistants"

4. Click "Prepayments and accruals"

5. Click "Prepaid expenditure"
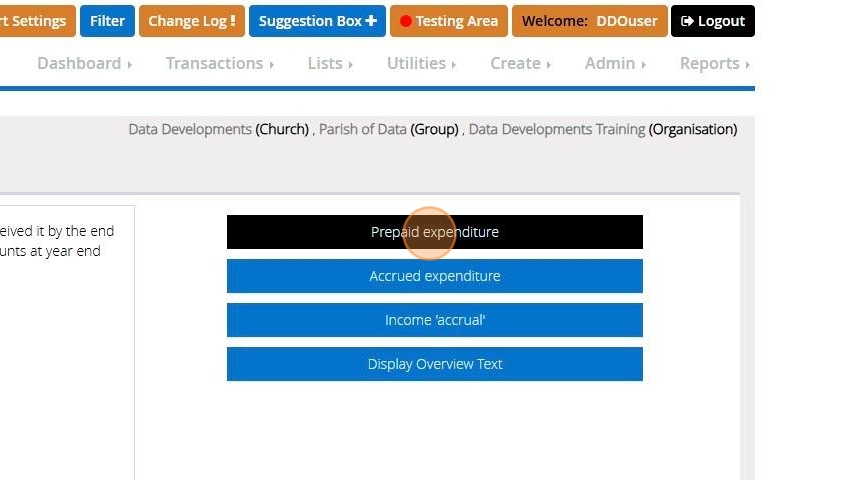
6. On Step 1 Select the Expenditure code that has been prepaid

7. Click "Next Step"
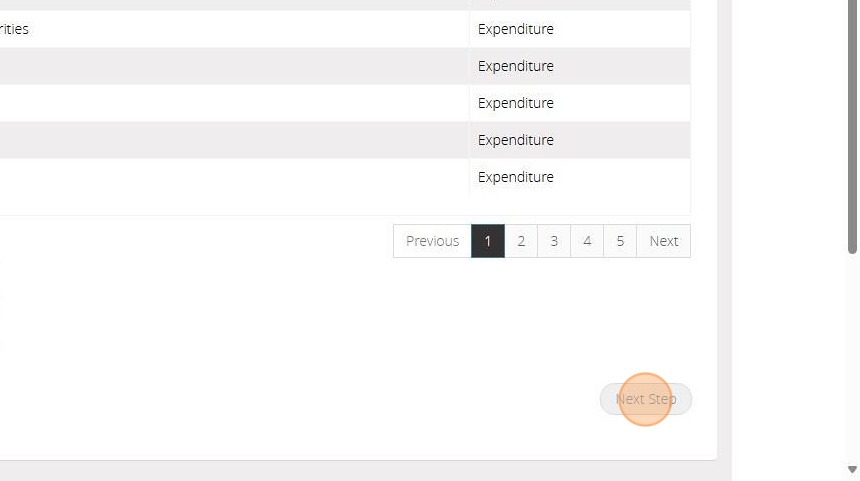
8. On Step 2 select the asset account to be used to record the prepayment. You will have a default code for Accounts Receivable that can be used.

9. Click "Next Step"
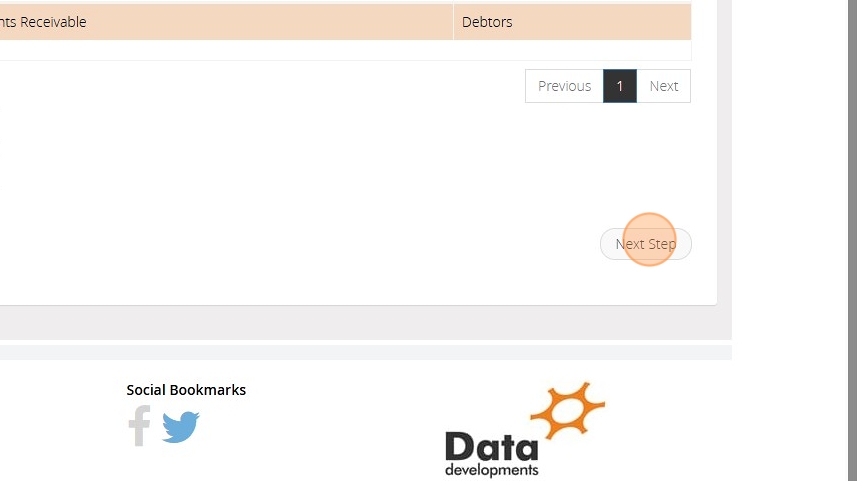
10. If you would like the system to calculate it for you do the following:
Click 'Prepayment Calculator' and enter the date the original payment was made > Next Enter the amount of the original payment and the number of days the original payment covered.
Click the 'Calculate' button, and the calculated prepayment amount will appear in the 'Amount to be Posted' box.

Tip: Alternatively, you can enter the prepayment manually by following the below steps
11. Select "Enter Prepayment manually"

12. Enter the amount that has been prepaid and a enter a reference

13. Click "Next Step"
14. On Step 4 select the fund that the prepayment should affect

15. Click "Next Step"
16. Confirm the selections that have been made

17. Click "Save & Post"

How to Generate the Annual Financial Statement
1. Go to "Reports"
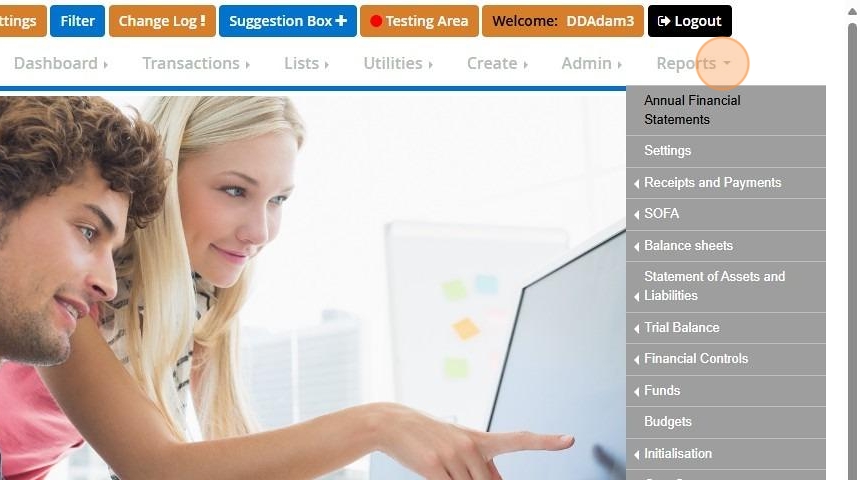
2. Click "Annual Financial Statements"
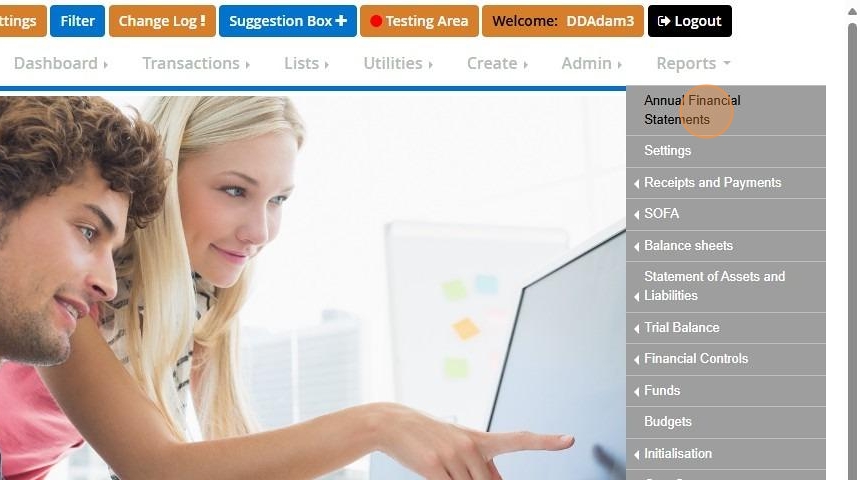
3. On the first step you will need choose a "Statements Of Financial Activities" Report.

Alert: Alert! A SOFA report must be selected in order to generate the annual financial statement.
4. On the left, there is an option to include charts and graphs, which is automatically selected by default.

Alert: Alert! Please note that charts and graphs are included by default in every report. If you prefer not to include them, ensure to deselect this option.
5. Next you can click on the "Balance sheet report" tab

6. From here you will have an option to choice of "Balance sheet Detailed", "Balance sheet Summary" and "Balance sheet Separate Fund"
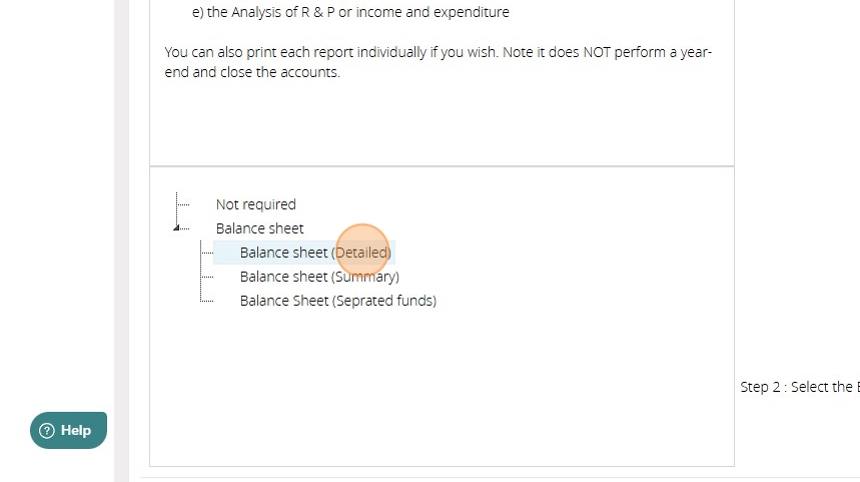
7. After click "Additional reports"

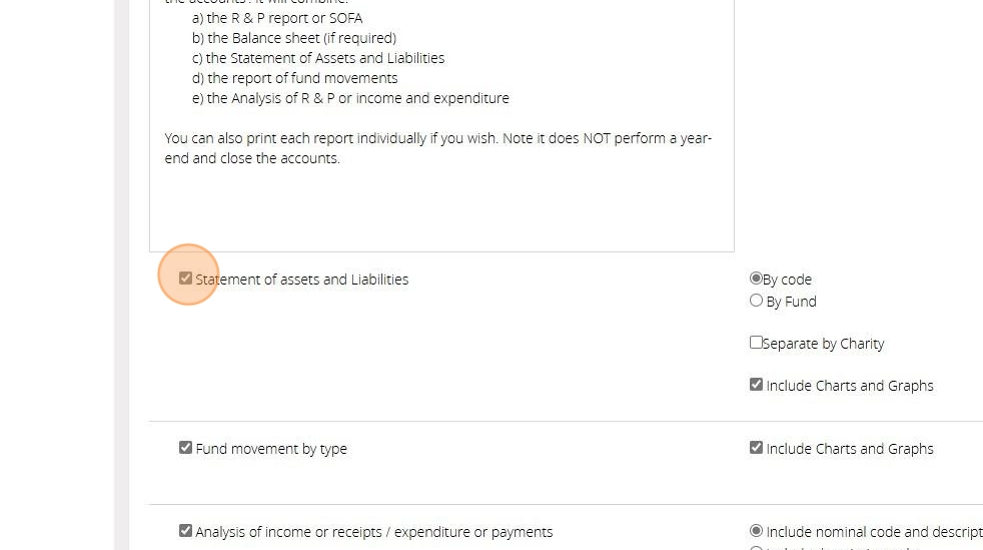
8. Here you will have the option to include "Statement of assets and Labilities by fund or by code", "Fund Movement Summary" and "Analysis of Recpiets and Payments."
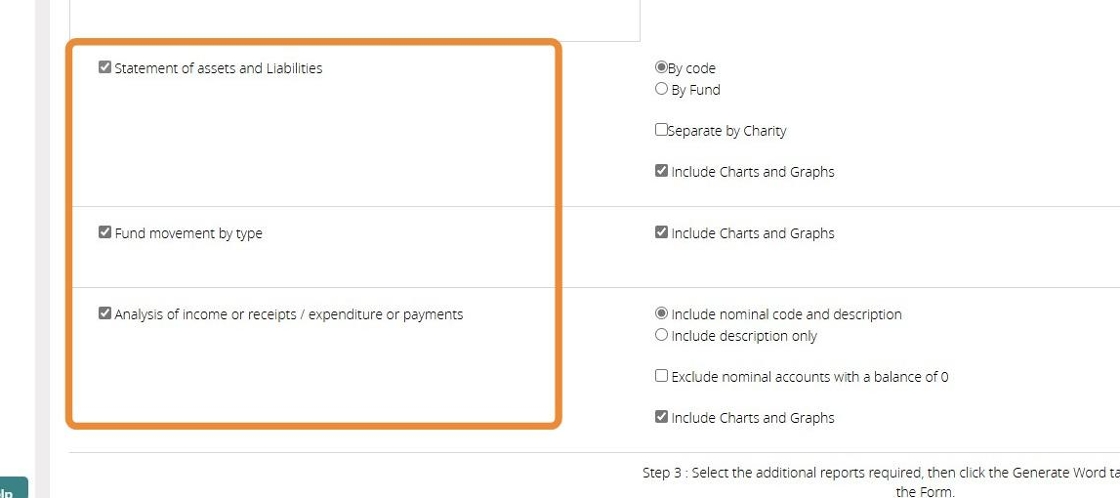
9. You have the option to exclude any additional reports by simply deselecting them.
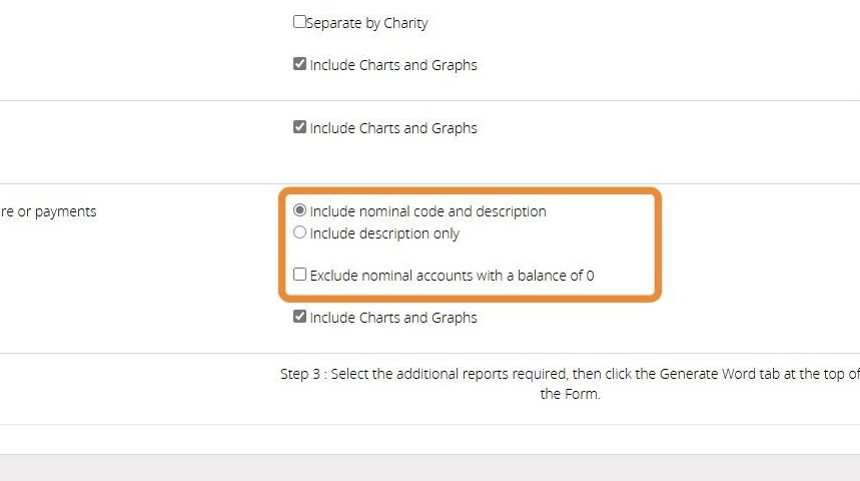
10. The "Receipts and Payments Report" provides the option to include both the code and description or to use only the description. Additionally, there is an option to exclude nominal accounts that have zero balances.
11. For the last step you can click "Generate Word documents / reports" tab.

12. You do have the only the generate an individual copy of the one of the reports selected.

13. From here you can choose the financial period you wish to report on.

14. Under the financial year dates you will have the option to organise how you want your report displayed.
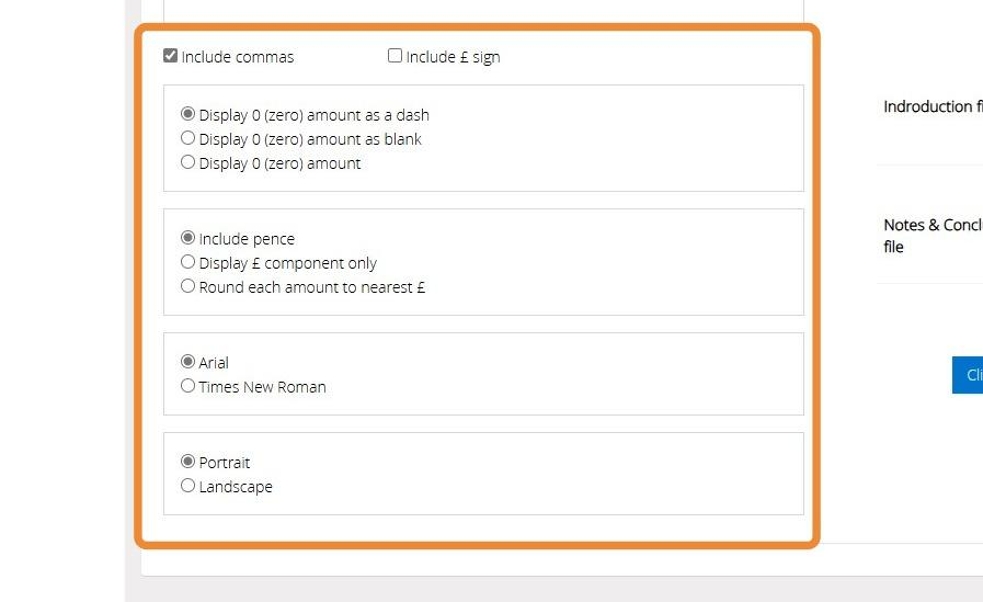
15. You will have the option to add supporting documentation to your Annual Report, although it is not required to generate the report.
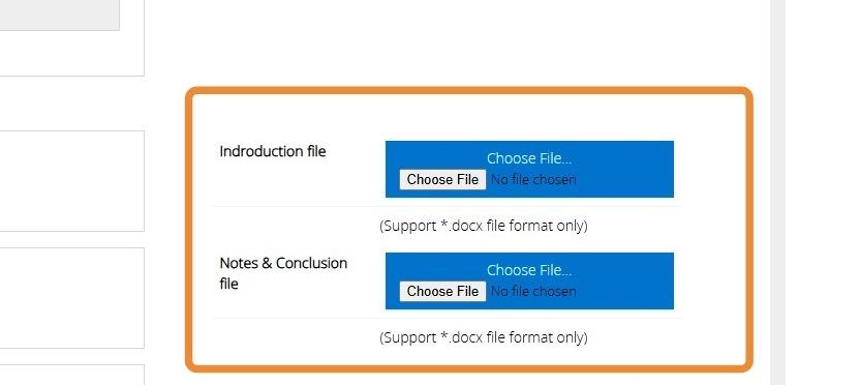
16. In the bottom right-hand corner of the screen there will be an option to combine all the reports that you have selected by choosing the option "Click here to produce combine word document".

How to Initialise in MyFundAccounting.Online
Tip: You will initialise the account during the initial set-up process.
If you have made a mistake and wish to start again, you can use the Accounts Assistant to do so. The below steps will guide you through the process
1. Navigate to https://www.myfundaccounting.online
2. Click "Create"
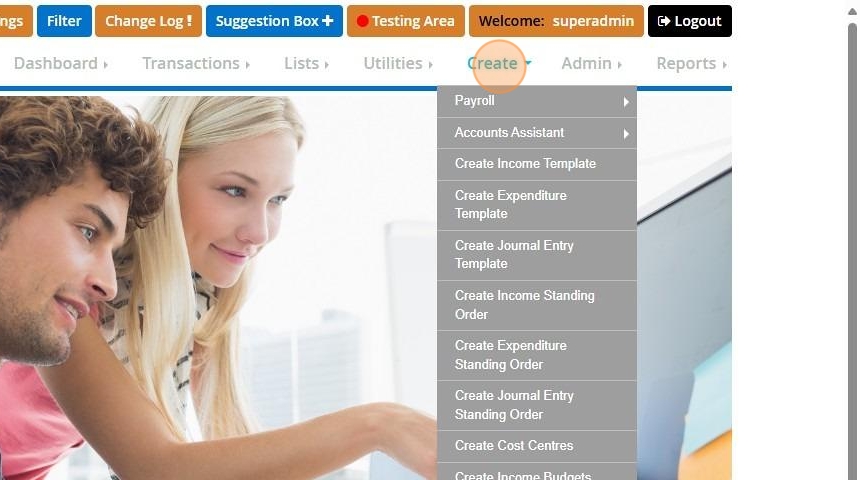
3. Click "Accounts Assistant"
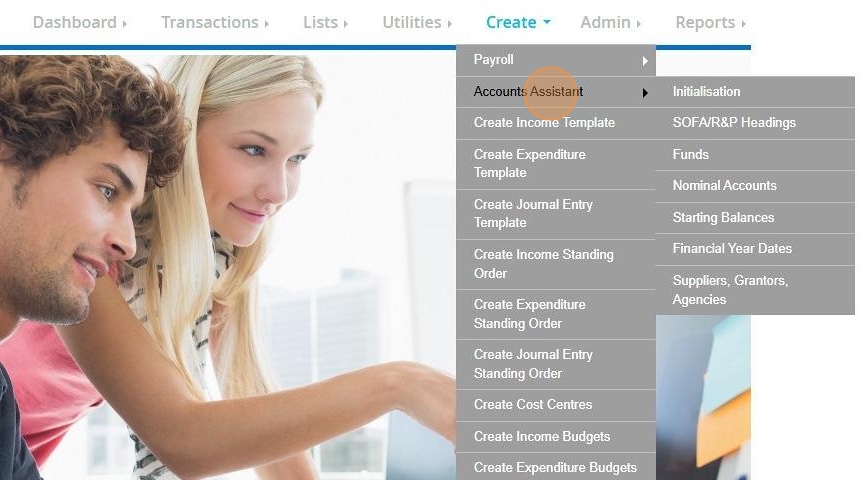
4. Click "Initialisation"

5. Select the set of accounts you wish to initialise to. All selections will have their own preloaded with a standard set of account codes and funds.
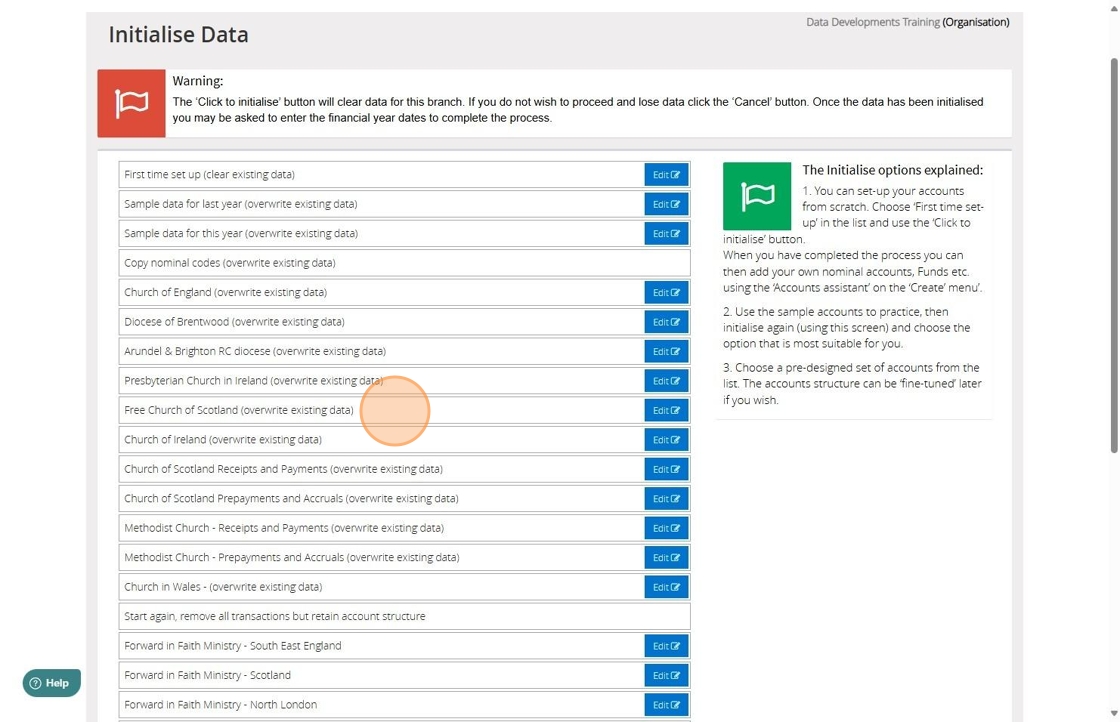
Tip: Tip! To keep the account headings, funds and other settings but remove all transactions including starting balances, use 'Start Again, Remove all Transactions but Retain Account Structure
Tip: Tip! To remove everything and start again, including re-entering all codes and fund details use the 'First Time Set up'
Tip: Tip! Select Copy Nominal Codes to use an existing branches account set up.
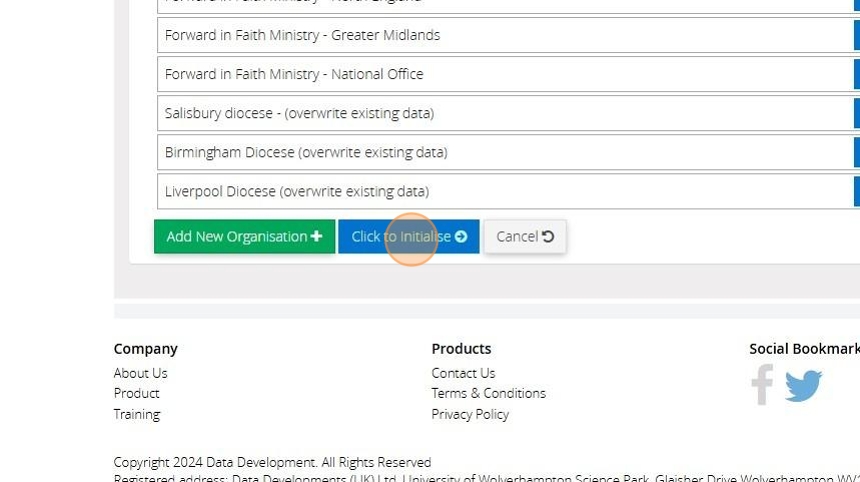
6. Click here to initialise
How to Perform The Year End Procedure in MyFundAccounting.Online
How to Access the Year End Procedure
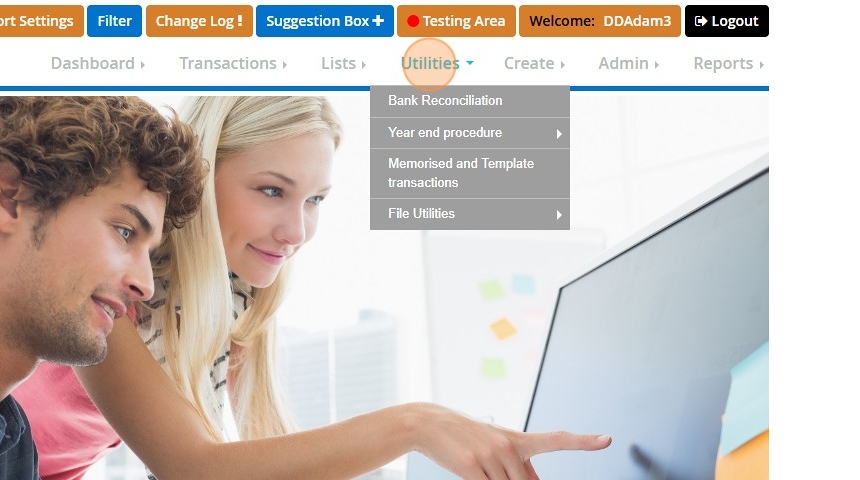
1. Select "Utilities"
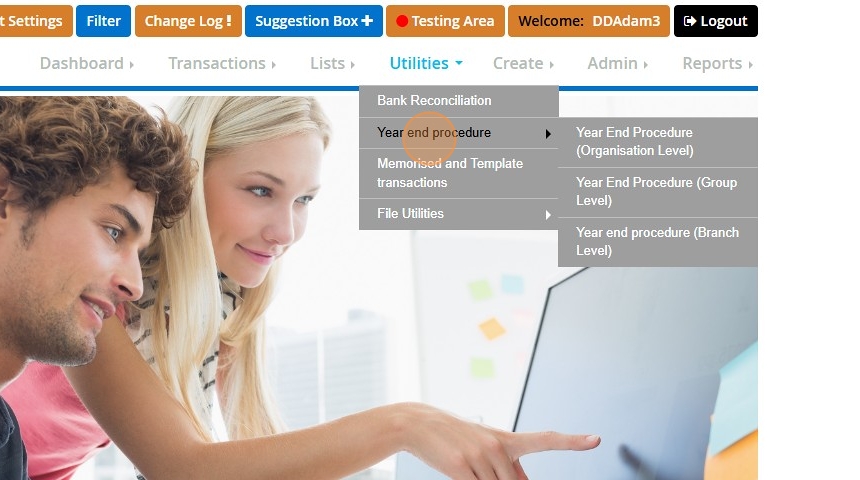
2. Hover over "Year end procedure"
Types of Year End Procedures
3. There are 3 options for the Year end procedure. Option 1 is for "Year End Procedure (Organisation Level)". This allows you to run the year end for all groups and branches in MyFundAccpounting.Online.
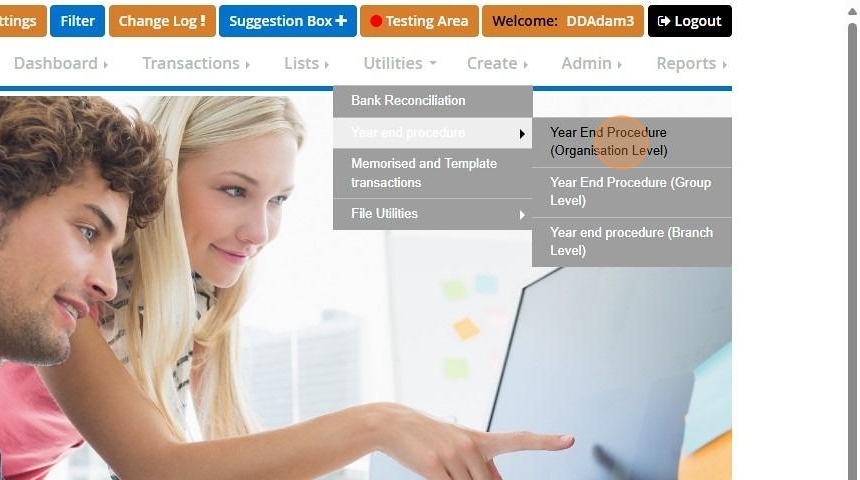
4. Option 2 is for "Year End Procedure (Group Level)". If you have more than one branch, this will allow you to run the year end for more than one branch at a time.
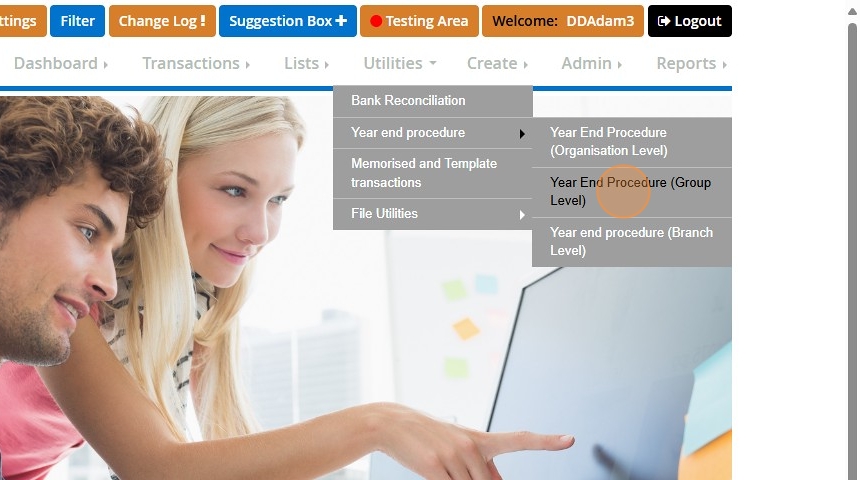
5. Option 3 is for "Year end procedure (Branch Level)" which allow you to run the year end for individual branches.
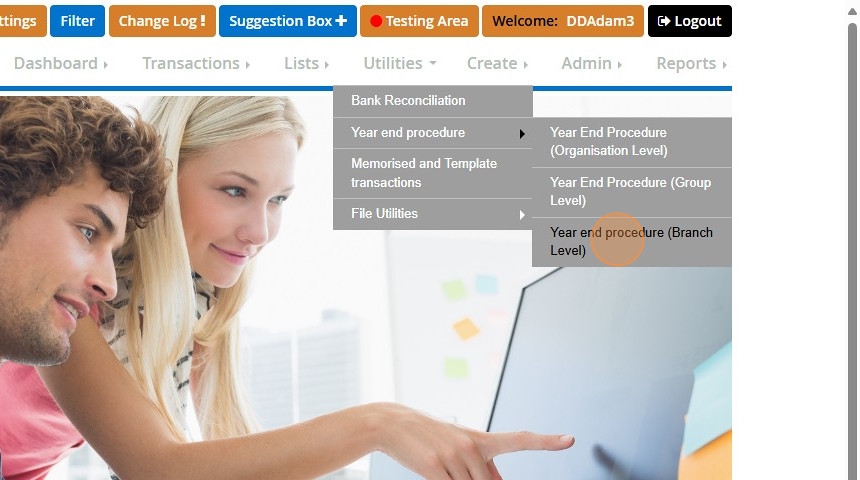
Running Year End at Branch Level
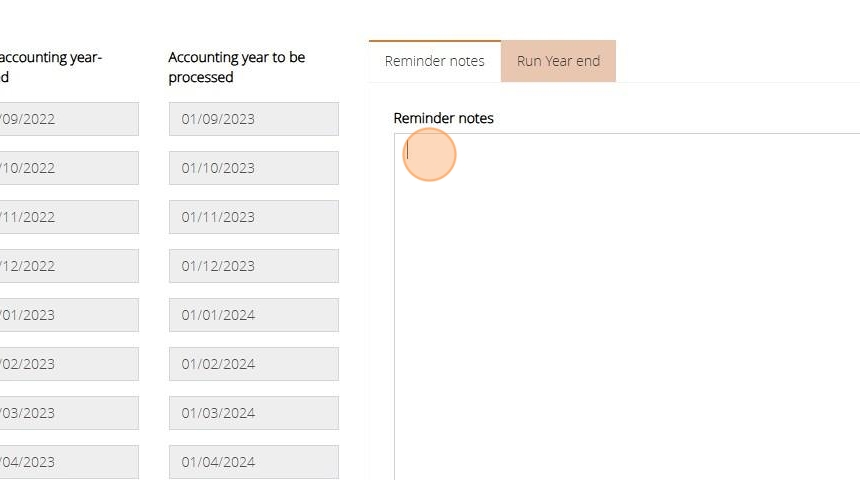
6. Looking at running the year at branch level, there will be "Last accounting year-locked" which will show the last year that has been processed.

7. Then you will see "Accounting year to be processed" which will show the year that is next to be processed.

8. You have an option to enter notes against the account before running the year end.
9. Now you can then click on "Run Year end" once you are ready to proceed.

10. After you have click on the "Run Year End" tab, you will have a list of year end querys to check through, before running the year end. Once you have reviewed the questions please tick the checkboxes.

11. Now you have reviewed all the checkboxes, you must tick that you wish to proceed, as the process can not be reversed.

12. Then "Process year end and lock transactions" will be come available to select.

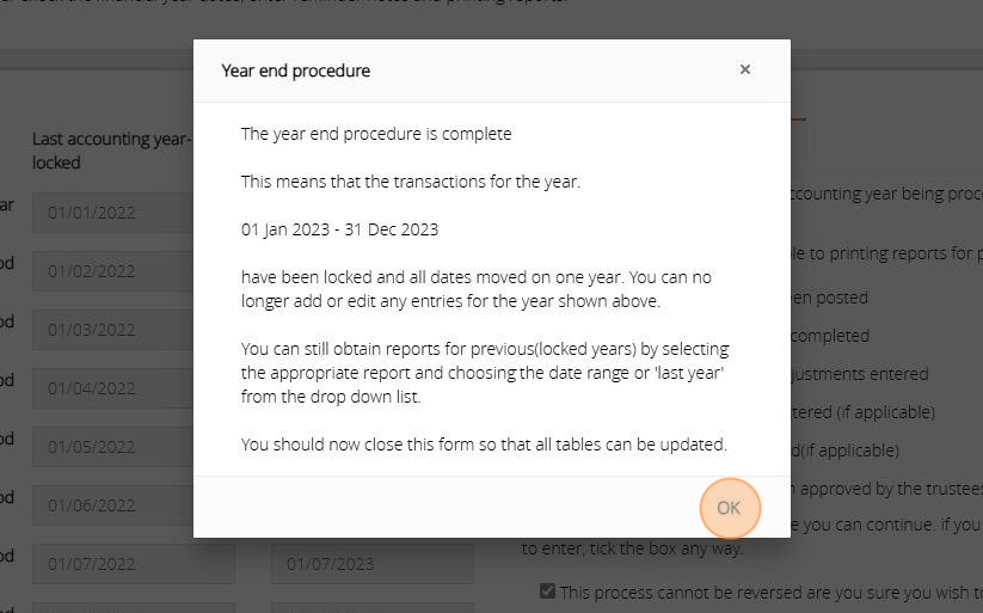
13. A message will then appear to inform you that the year end has been completed.
Although you will not be able to amend or add transactions for the year that you have processed, you will still be able to report on this information.
How To Perform Unusual Bank Reconciliation
What is an unusual bank reconciliation
1. The Unusual Bank Reconciliation feature enables the reconciliation of transactions without requiring an opening or closing balance. This is particularly helpful for correcting entries that cannot be edited and must be reversed and re-entered.
Alert: Alert! Please exercise caution when using the Unusual Bank Reconciliation. It is important to ensure that your accounts remain balanced during reconciliation, as any miscalculation could cause a imbalance in future reconciliations.
How to locate the unusual bank reconciliation
2. Hover over "Utilities".

3. Next go to "File Utilities".
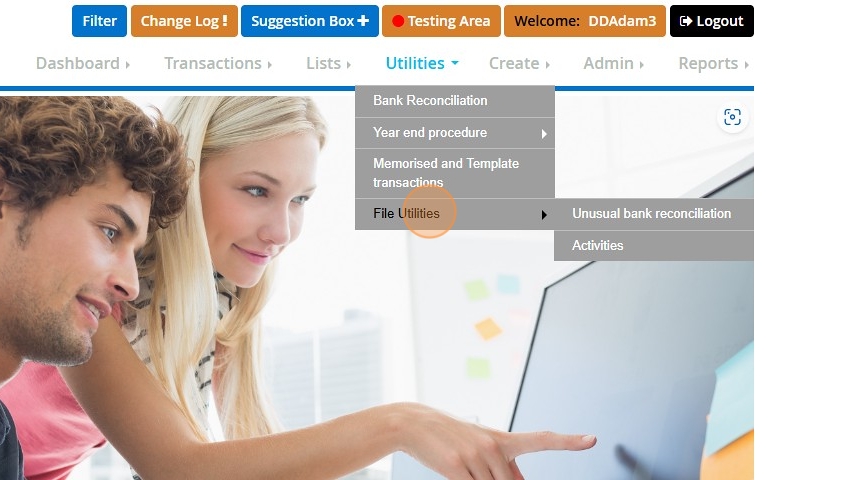
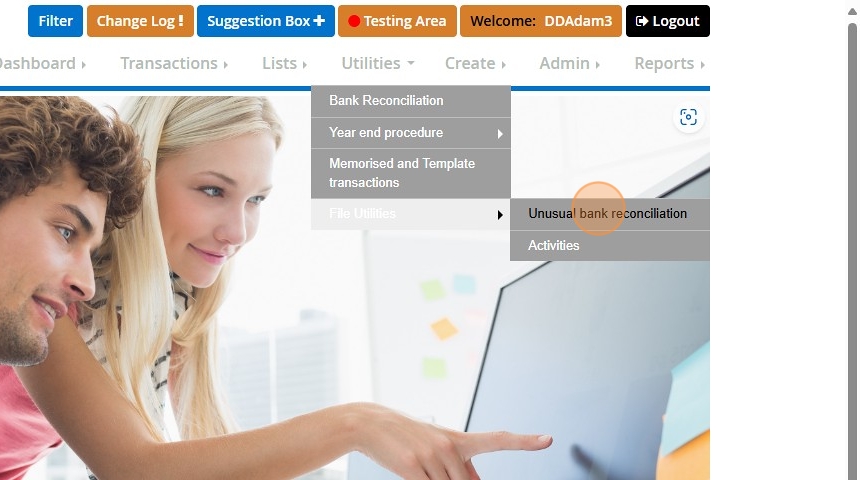
4. Click "Unusual bank reconciliation".
Unusual Bank Reconciliation Walkthrough
5. There will be a warning that will appear to explain that: " This option will allow the reconciliation of transactions without any changes to the opening and closing balances" Choose "YES" to continue.

6. Next select the bank account that contain the transactions you wish to reconcile.
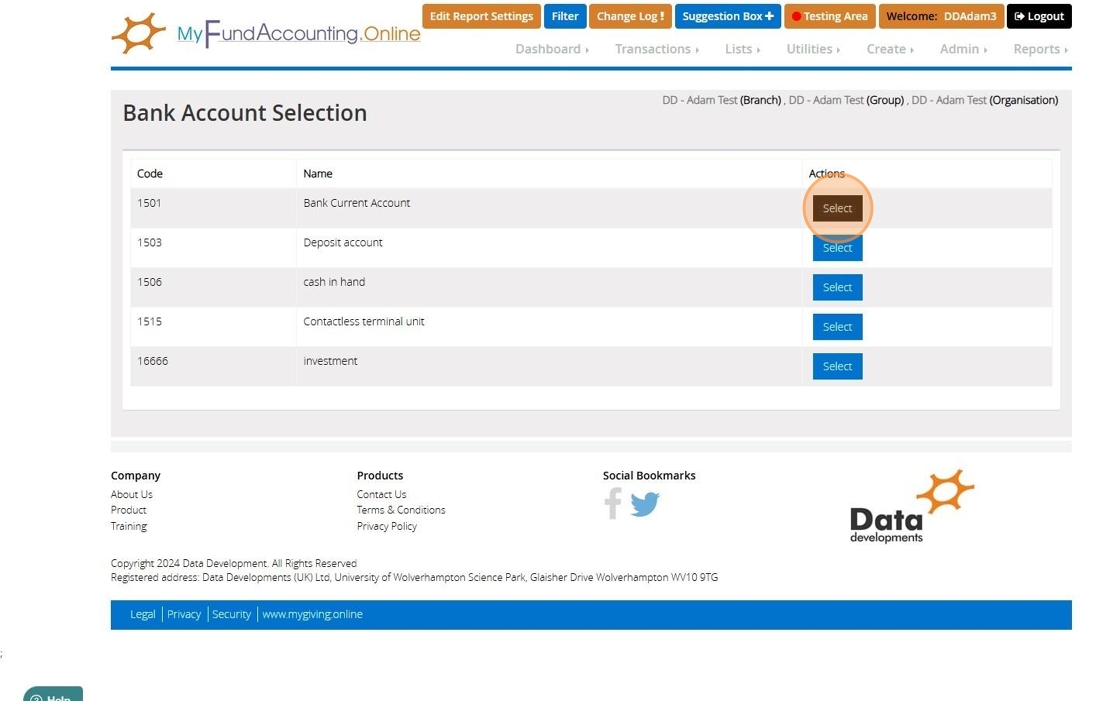
7. Please choose the "Date to be as Report tile and "Show Transaction On Or Before".
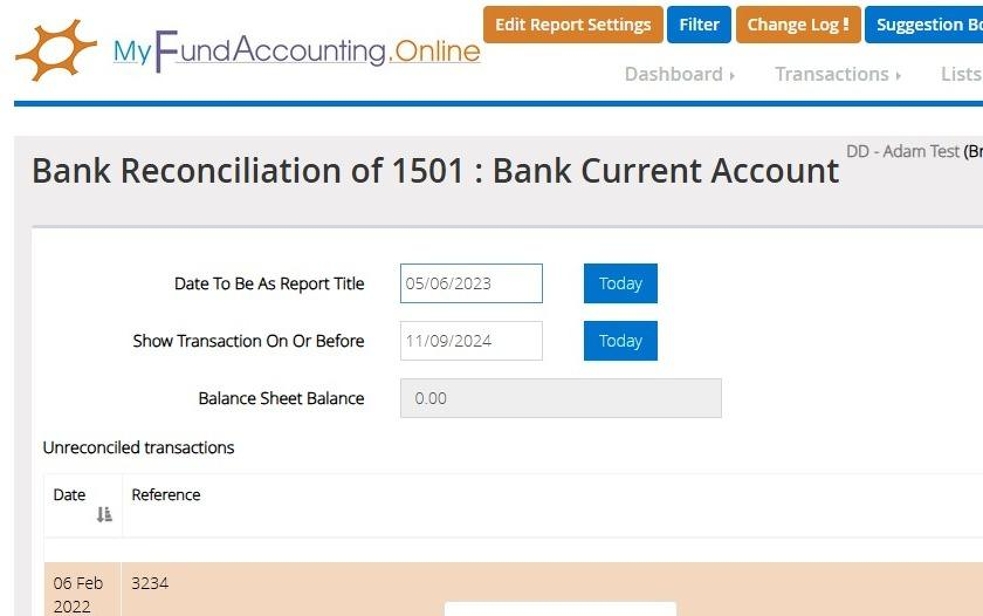
8. Choose the "Down" button once you have highlighted the transactions/corrections you wish to reconcile.

9. Once you have moved you corrections down click "Confirm" no other transactions should be in the reconciled transactions section but the correction .
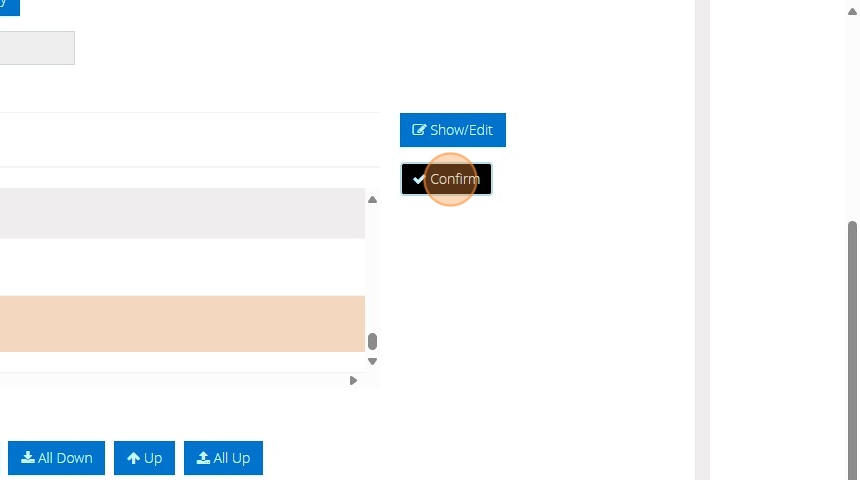
10. You may experience a message after clicking confirm to say "The opening and closing figure doesn't match the balance sheet on this date do you wish to proceed" this isn't anything something you should worry about but make a note once the "YES"

11. Once completed there will option to print a report click "OK", This will be stored in the previous reconciliation reports.

12. Afterwards click "Preview".

How to Process a Refund MyFundAccounting.Online
1. You may need to record a refund into your accounts if you have received money back on one of your expenses. This might be a refund from insurance, gas or electricity companies for example.
How can we record this transaction?
The transaction is recorded through record expenditure. Refunds are recorded against the original bank account and expenditure nominal account chosen during the initial payment recording.
Please see further instructions below:
2. Select "Record Expenditure"

3. Choose the "Bank/ Cash Account" that the refund will need to be processed against.

4. Input the amount as a negative figure to indicate a refund. This is done because a negative entry will decrease the total expenses and reflect as "money in" on the bank account.

5. Enter a reference or description or reference if required.
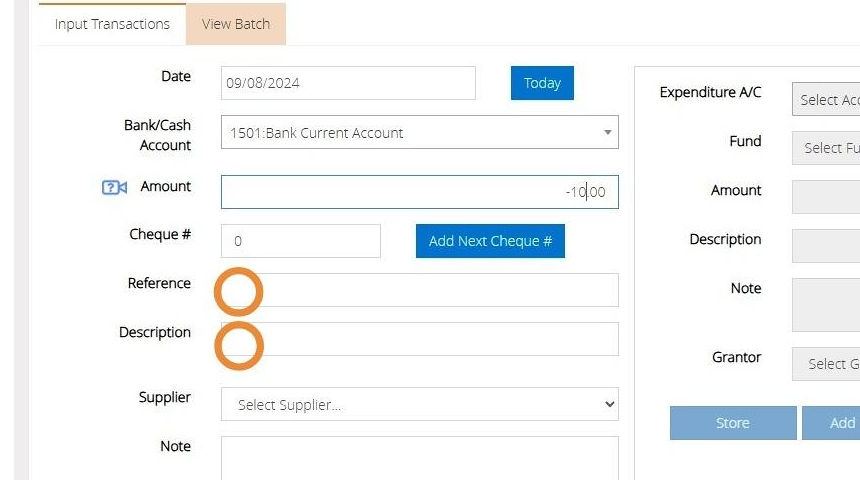
6. Select the "Expenditure A/C" nominal account where the original payment was recorded. This needs to be reflected against the original payment as it represents a reduction in the amount charged to the original "Expenditure A/C," which will also decrease your total expenses.

7. Select the fund that was used in the original transaction, you can do this by clicking "..."

8. Once you have completed entering the information click "Store" then "Post".

9. This process can be utilised for income transactions, such as when a donor has made a duplicate donation and wishes to have the money returned, or when a cheque is listed on the bank statement but is then refunded due to incorrect information. It can be managed by recording negative income against the code where the original income was recorded and bank account.
How To Record Debtors And Creditors In MyFund Accounting
What are Debtor and Creditor useful for in Myfundaccounting.Online?
1. Recording a debtor or creditor is beneficial when you have an outstanding bill that will be settled in the subsequent year or over a span of years. It is also useful if an organisation owes you money or if you are awaiting gift aid.
How to find the Debtor and Creditor assistant
2. Hover over "Transactions"
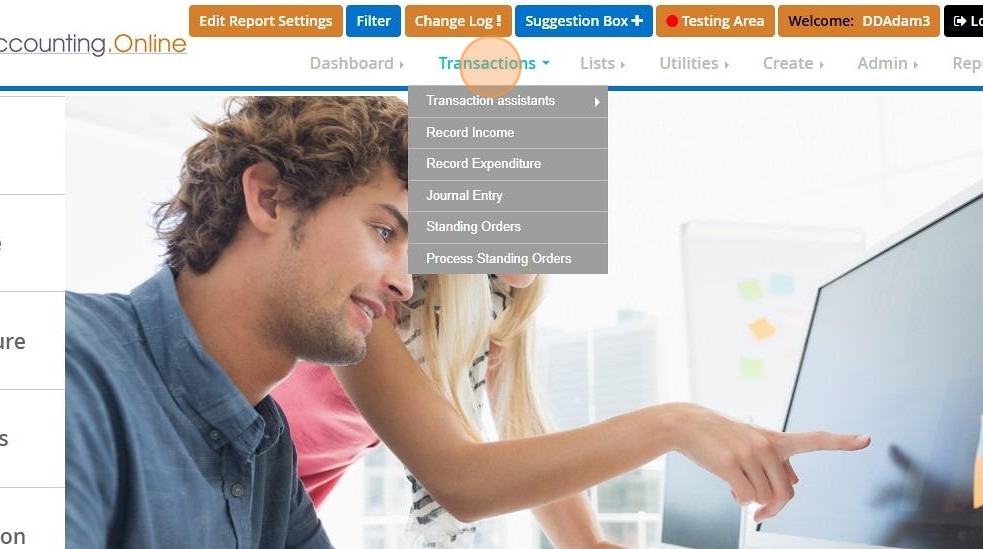
3. "Transaction assistants"
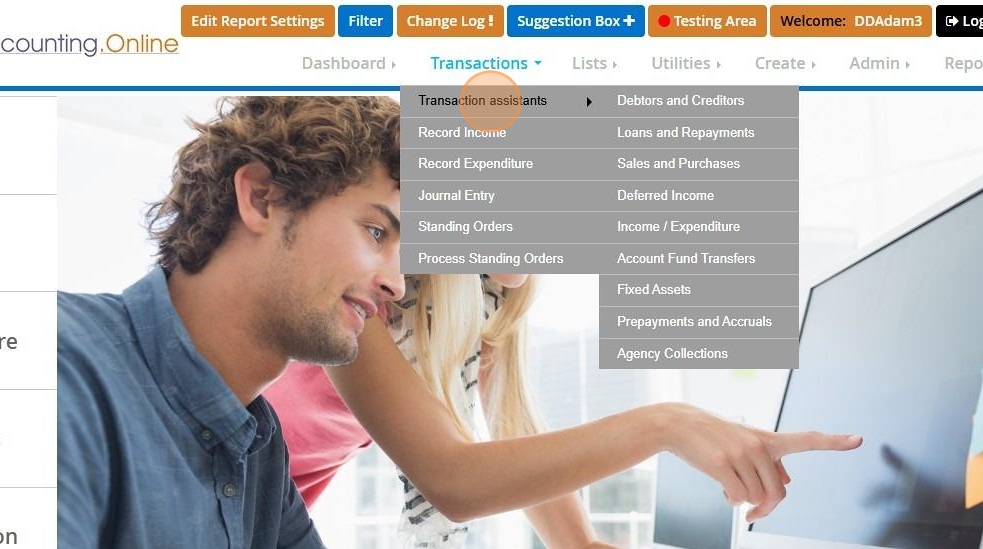
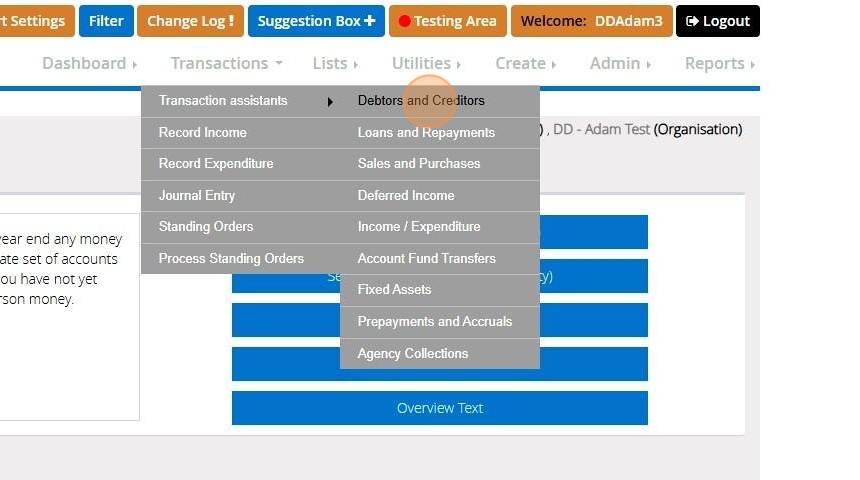
4. Then you will click "Debtors and Creditors"
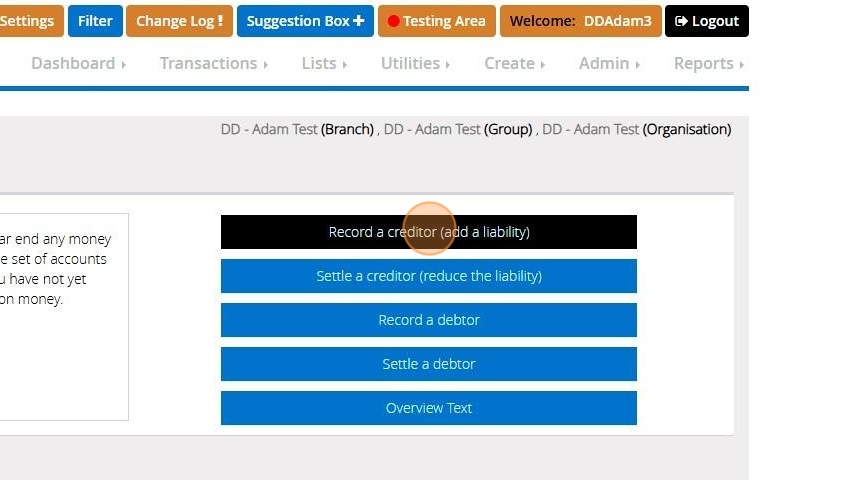
Recording a Creditor
5. Click "Record a creditor (add a liability)"
6. In step 1
"Use the list below to choose the liability code"
You can create a new liability code which would appear in the list. Alternatively, you can use the system code Z04.
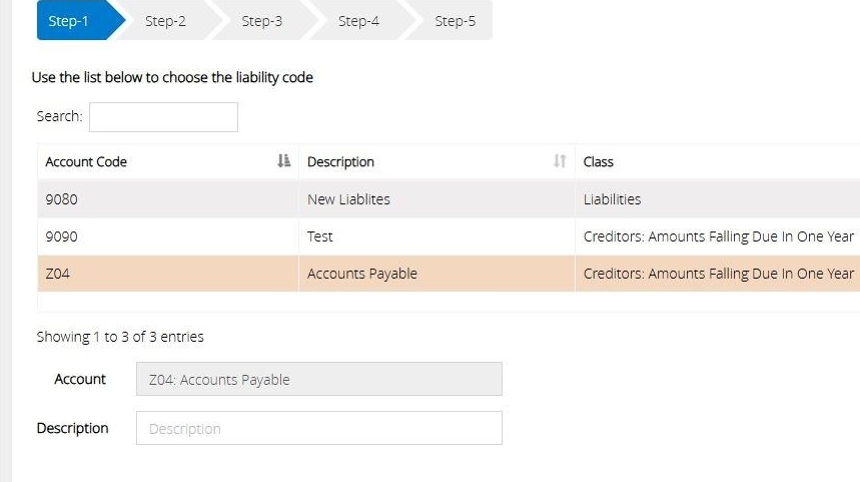
7. You will also have the ability to enter a description for this transaction "Description" field.
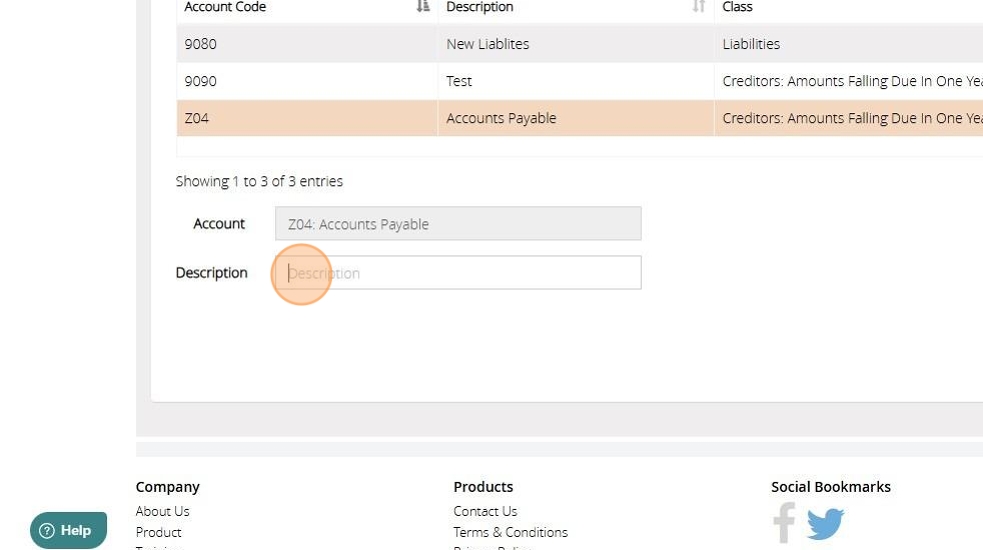
8. Afterwards click "Next Step".

9. Step 2
"Use the list below to choose the expenditure code"
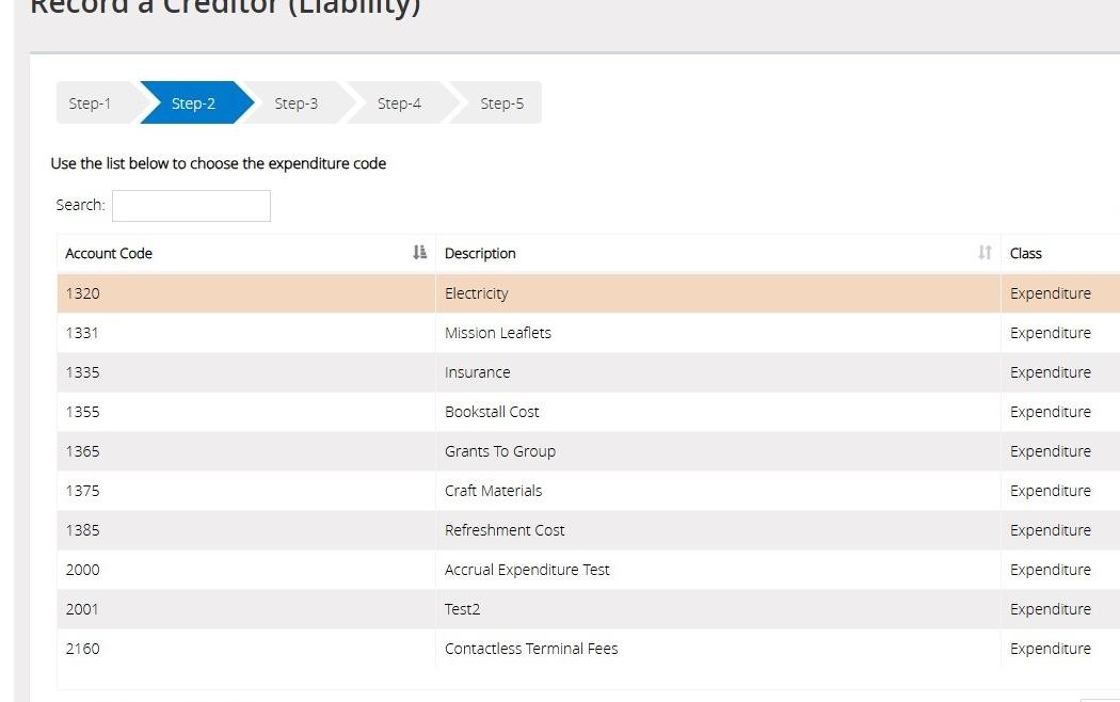
10. On Step 2 you have the option to enter a "Description".
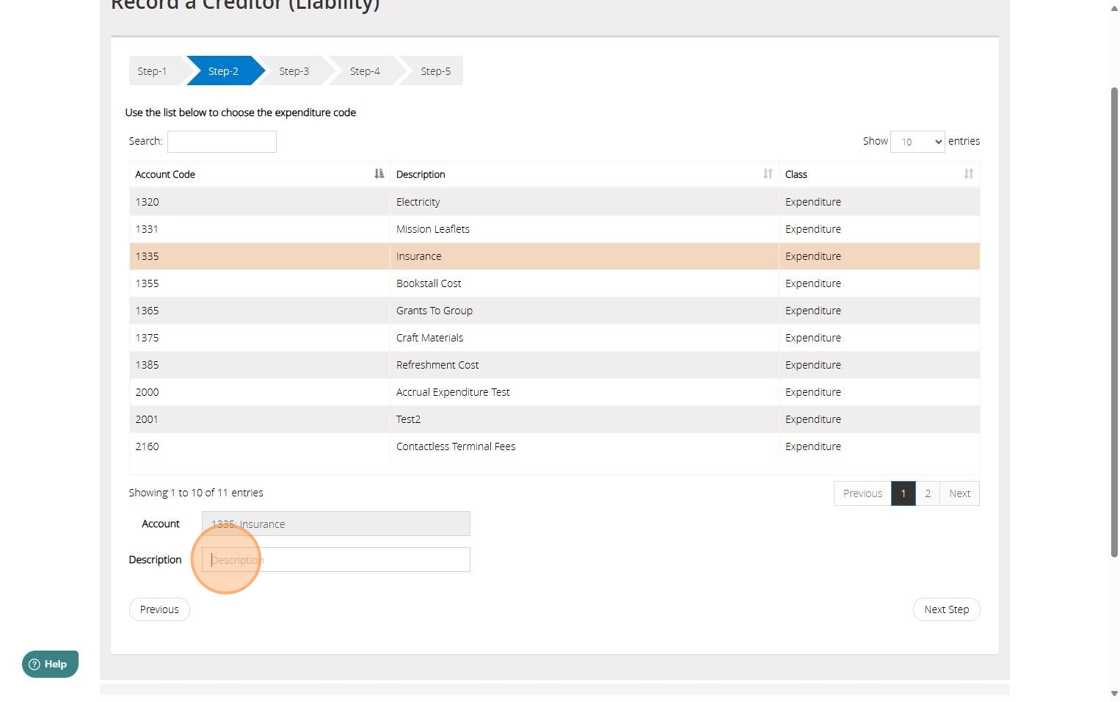
11. Once completed choose "Next Step".
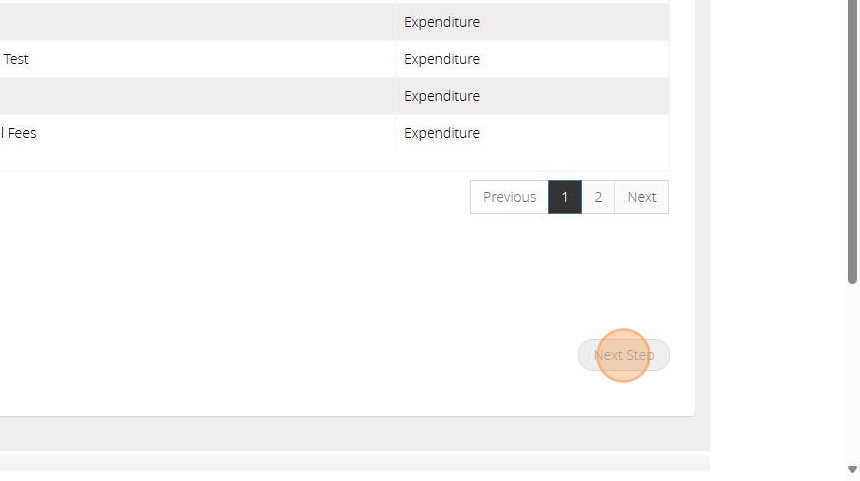
12. Step 3
"Enter the date the transaction took place, the reference (if required) and the amount owed".
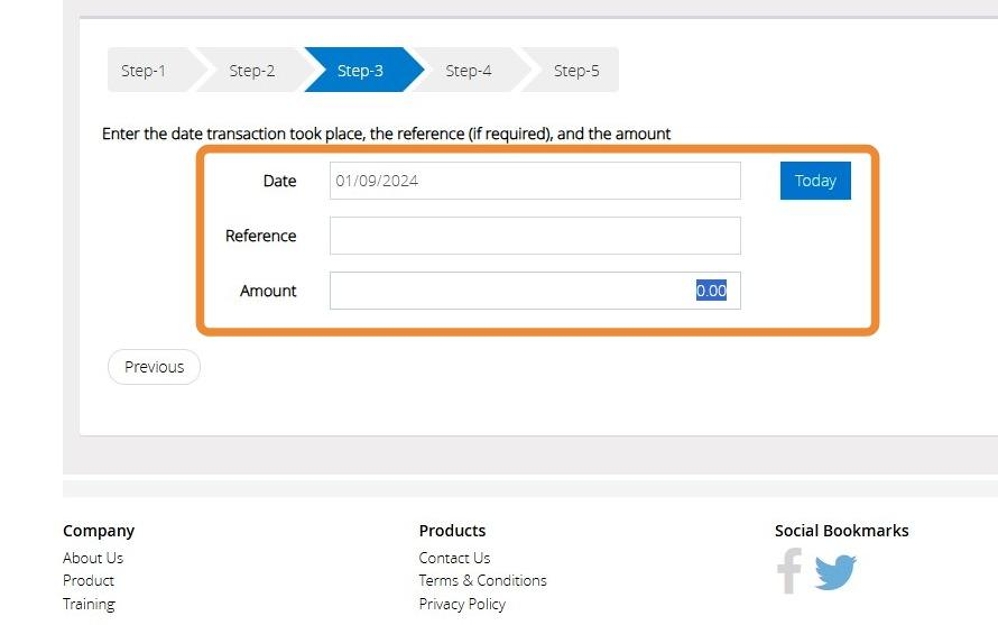
13. After click "Next Step".

14. Step 4
"Choose the fund this transaction should affect".
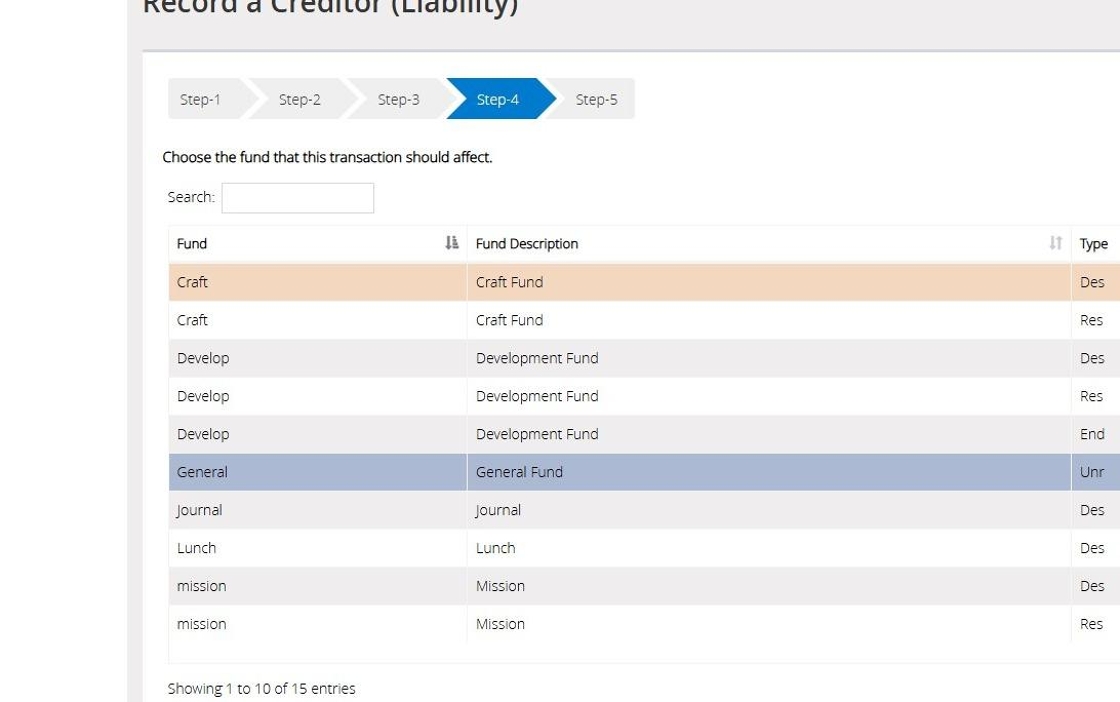
15. Then click "Next Step".
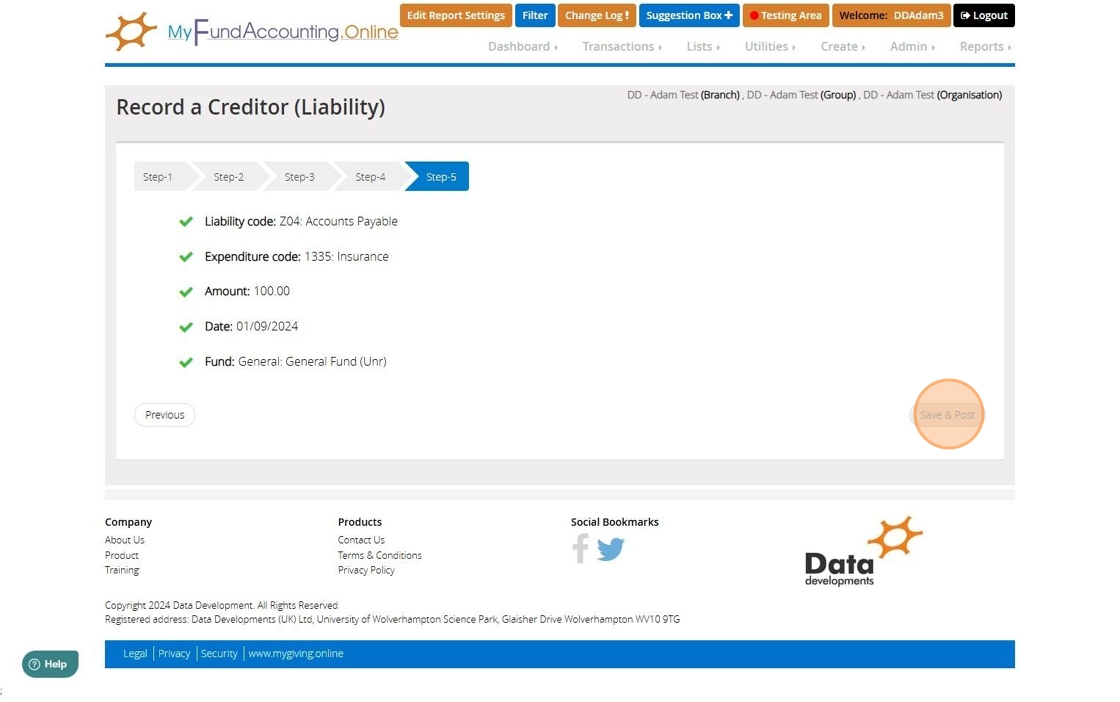
16. Step 5
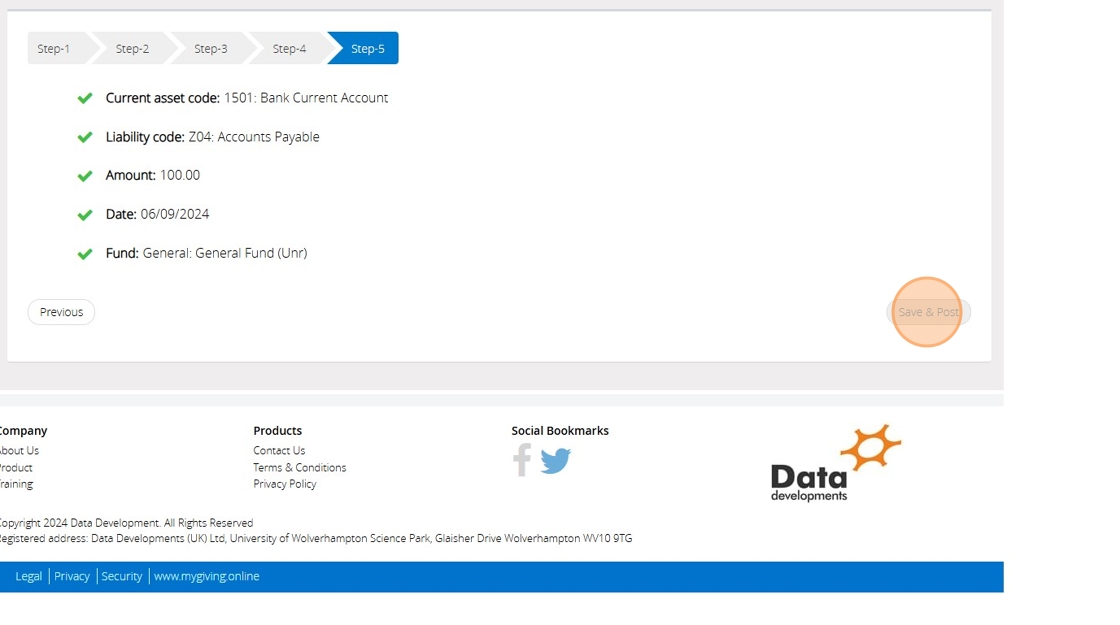
You will have the option to review all the steps, then choose "Save & Post".
Settling a Creditor
17. Click "Settle a creditor (reduce the liability)"

18. Step 1
"Use the list below to choose the current asset".
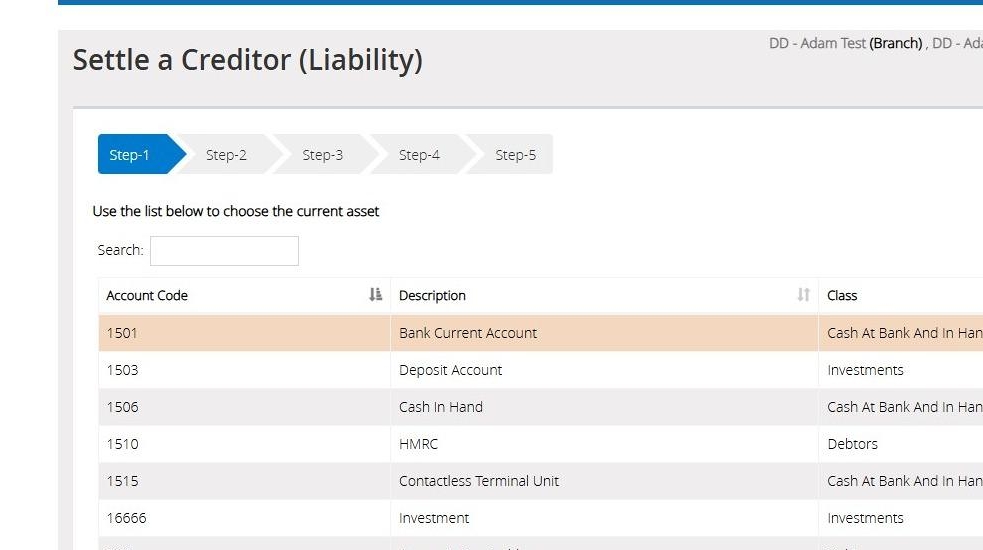
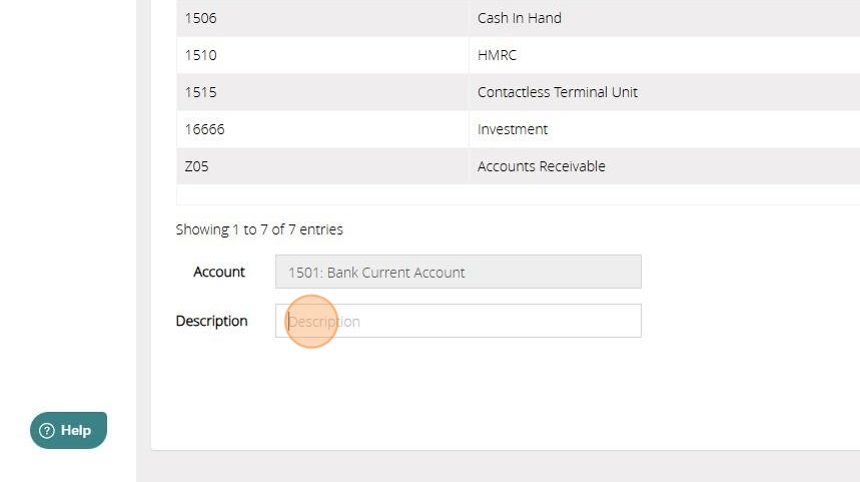
19. Also on Step 1 there will be an option to add a "Description".
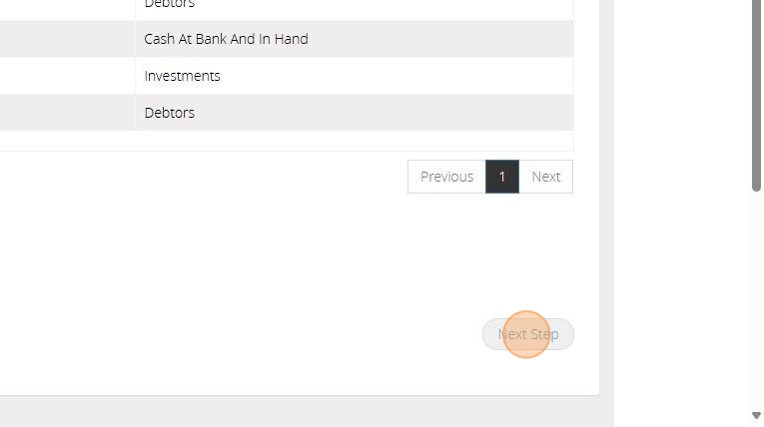
20. After click "Next Step".
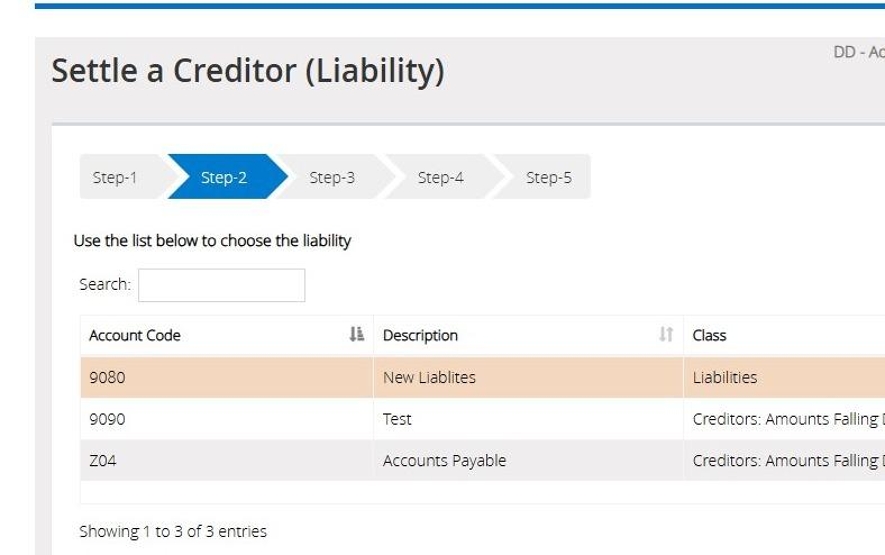
21. Step 2
"Use the list below to choose the liability".
If the original recording of the creditor was recorded against Z04, you will want to choose this option. Or if the liability you created was used when recording the creditor this is the option that should be chosen.
22. In Step 2 you will have an option of entering a "Description".
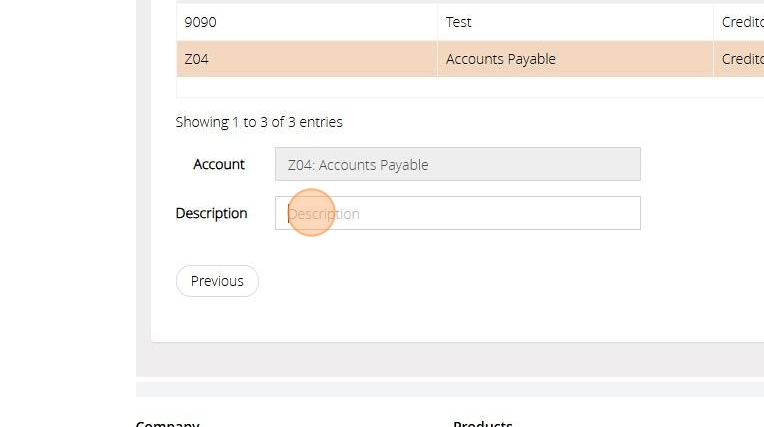
23. Once completed choose "Next Step"
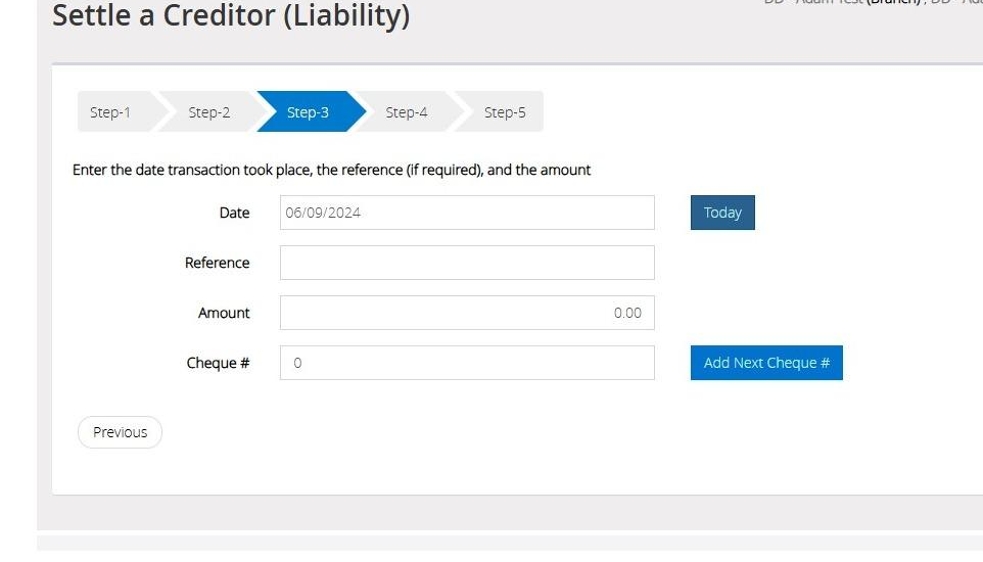
24. Step 3
"Enter the date the transaction took place, the reference (If required) and the amount."
You do have the option of entering a cheque, if this is how you are making the payment.
25. Afterwards select "Next Step".
26. Step 4
"Choose the fund that this transaction should affect."
The fund that is select should be the one chosen when the creditor was raised.
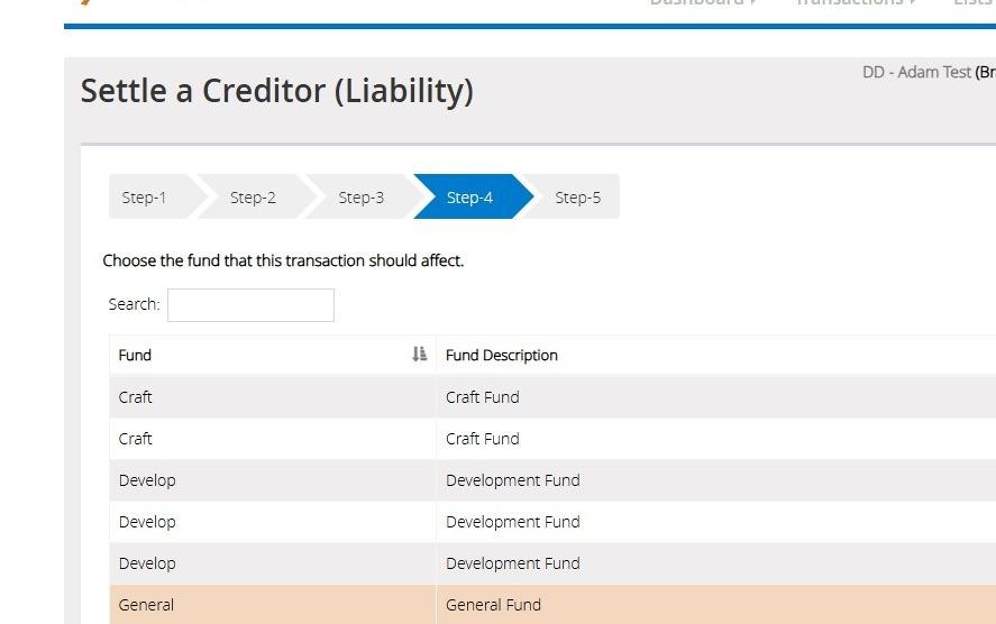
27. Then choose "Next Step".
28. Click "Save & Post"
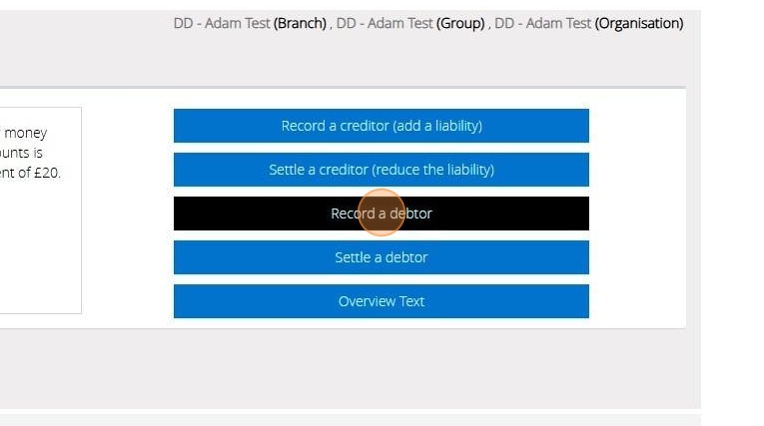
Recording a Debtor
29. Click "Record a debtor"
30. Step 1
"Use the list below to choose the income code".
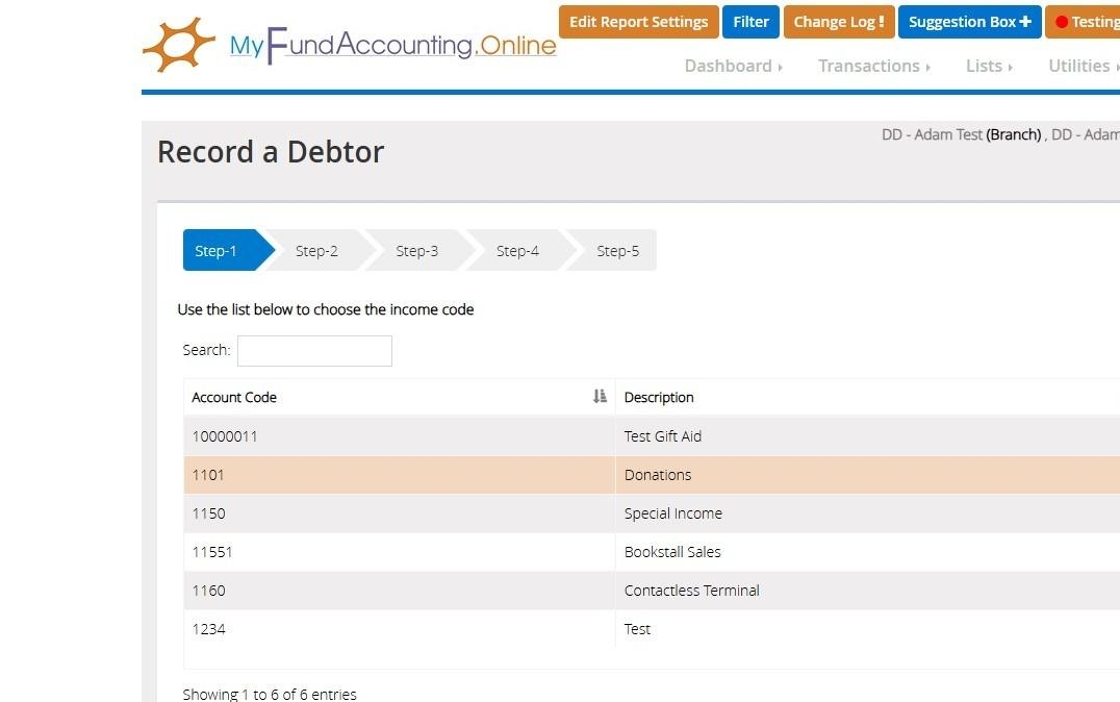
31. On Step 1 you can add a "Description".
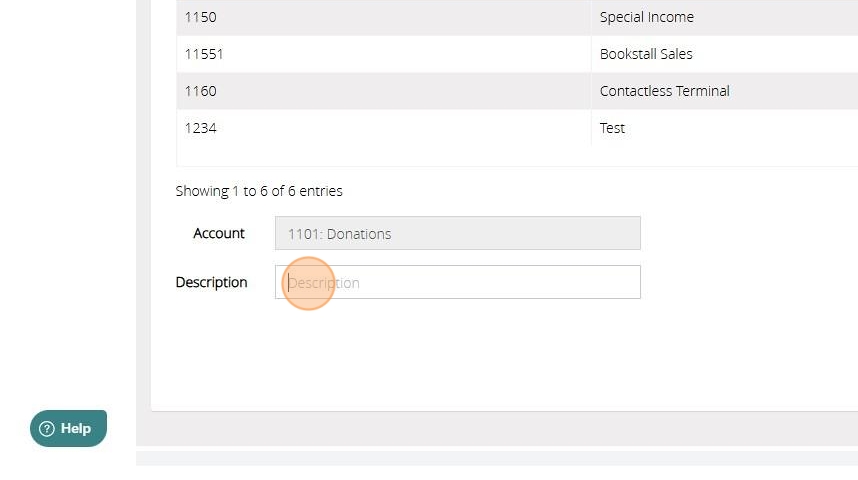
32. Once you chosen click "Next Step".
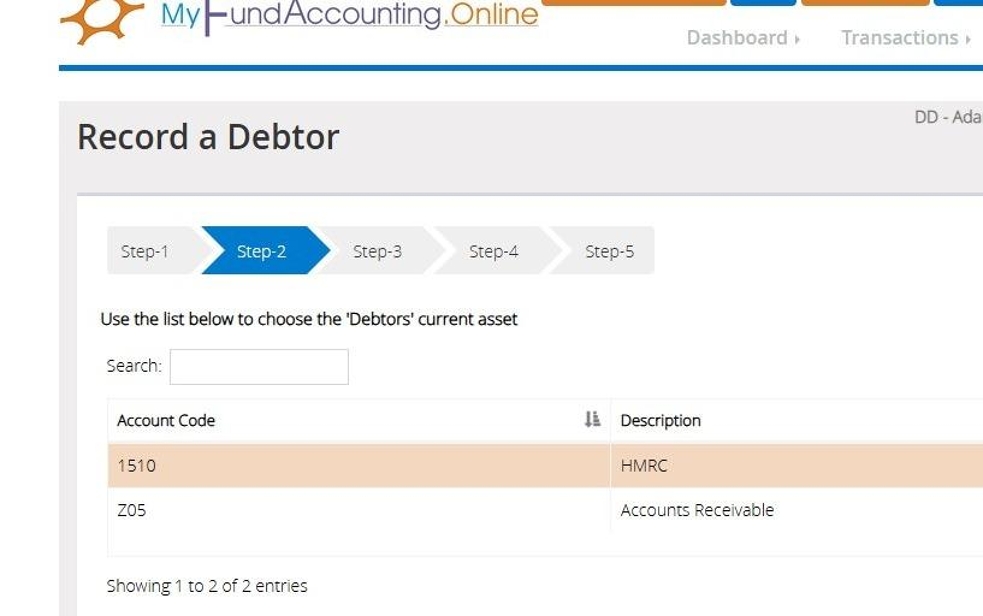
33. Step 2
"Use the list below to choose the 'Debtors' Current asset".
You can create your own debtor's code or use the system code Z05 accounts receivable. As per our example, I have created a debtor code for HMRC.
34. In Step 2 there will be an option to add a "Description".
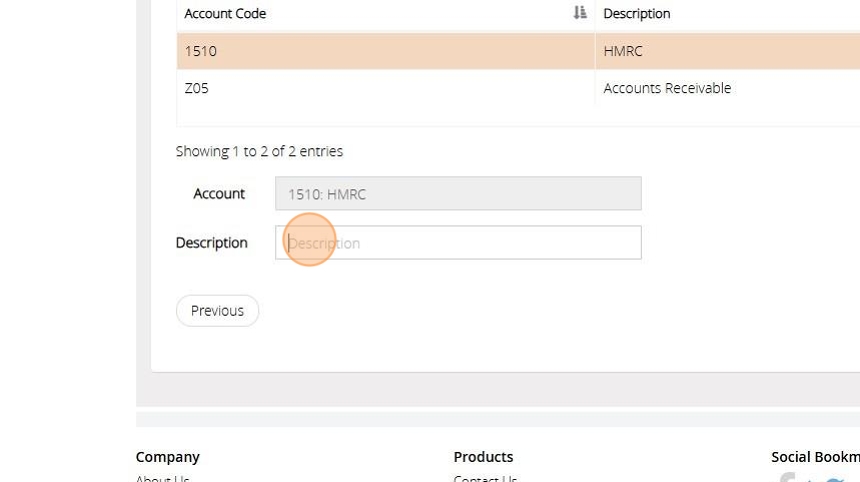
35. Afterwards click "Next Step".

36. Step 3
"Enter the date the transaction took place the reference (if required) and the amount".
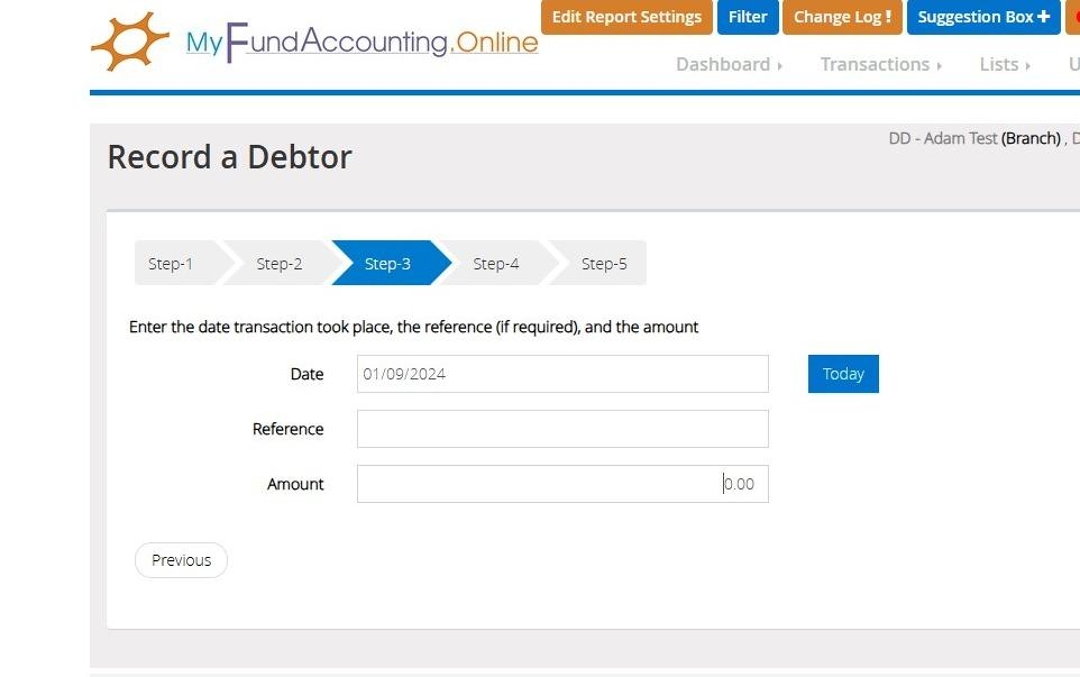
37. Once completed choose "Next Step".

38. Step 4
"Choose the fund that this transaction should affect."
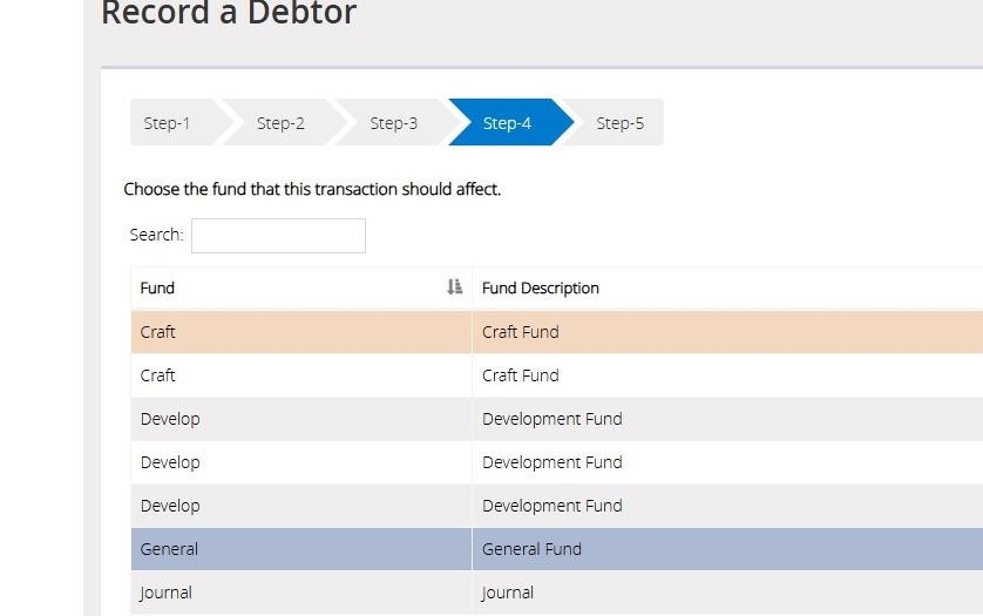
39. Afterwards select "Next Step".
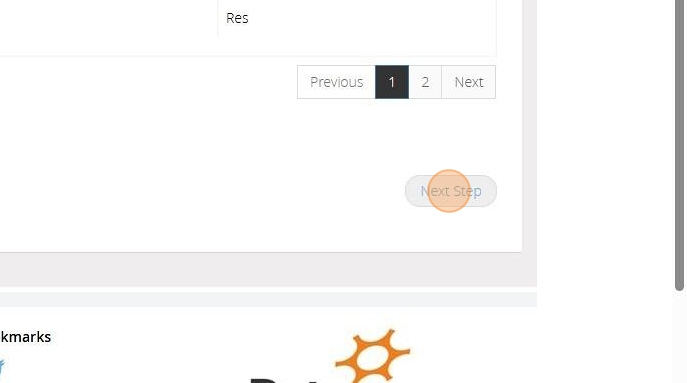
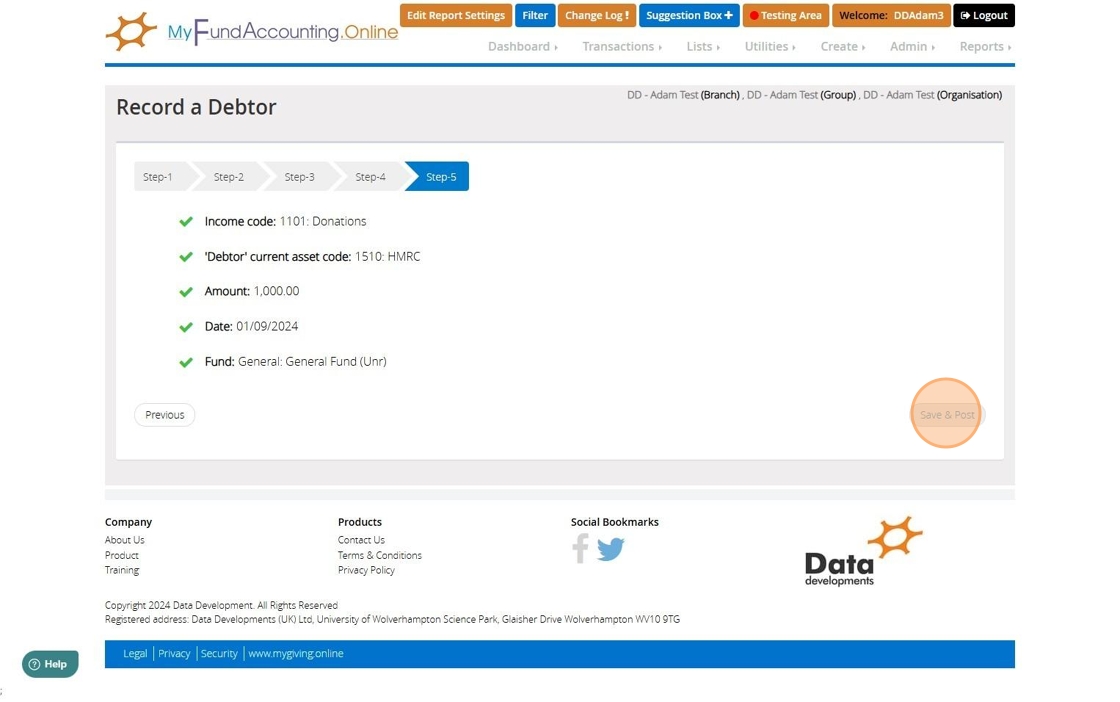
40. Click "Save & Post"
Settling a Debtor
41. Step 1
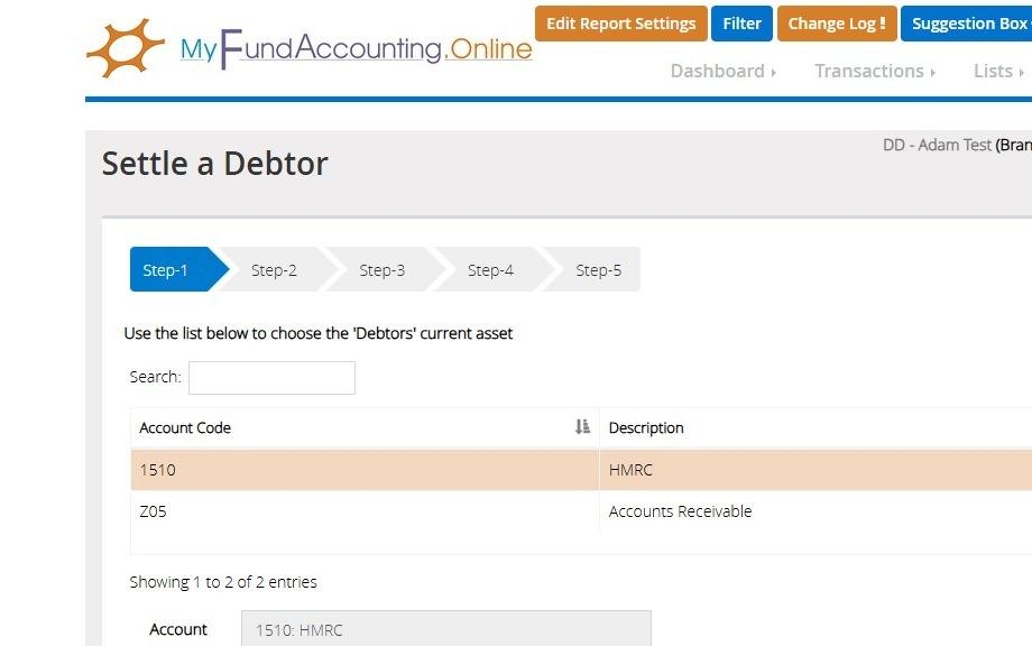
"Use the list below to choose the 'Debtors' current asset"
For our example, I choose to record my debtor against the HMRC code I have created meaning this is the one I will choose to settle against.
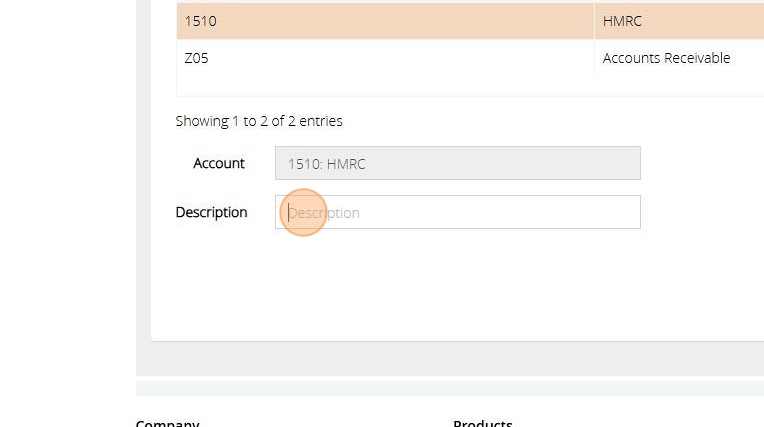
42. In Step 1 there will be a ability to enter a "Description".
43. Afterwards click "Next Step".

44. Step 2
"Use the list below to choose the current asset"
This will be the bank account that the money has been received into.
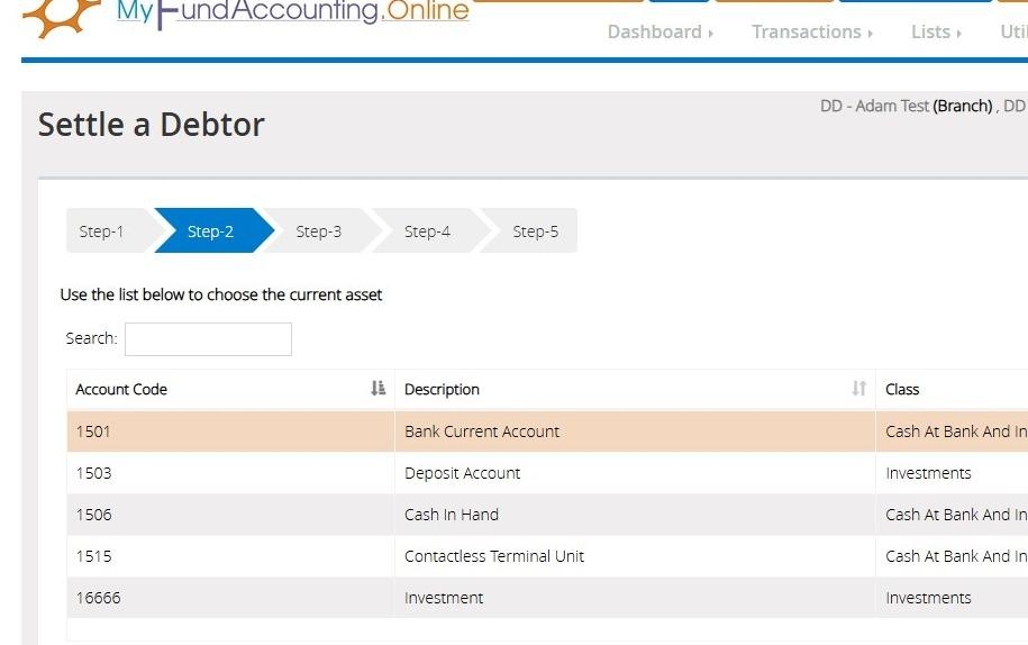
45. In Step 2 there will be an option to enter a "Description".
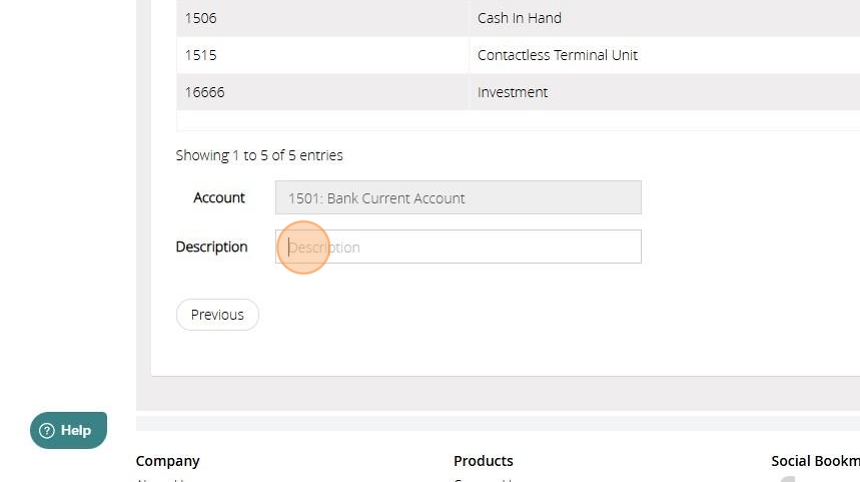
46. Once entered choose "Next Step"
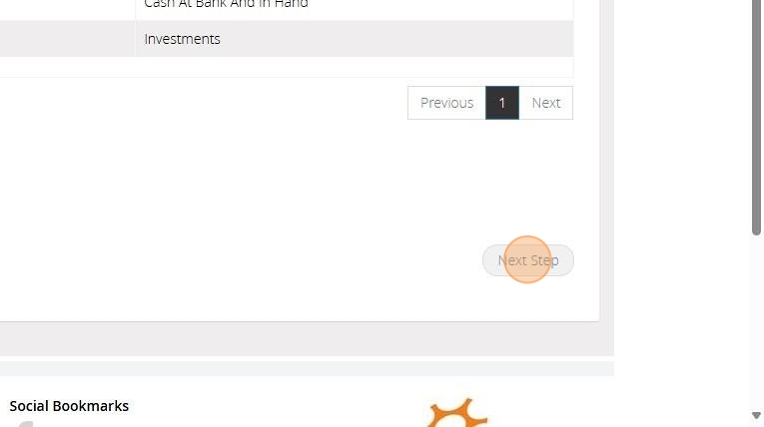
47. Step 3
"Enter the date the transaction took place, the reference (if required) and the amount."
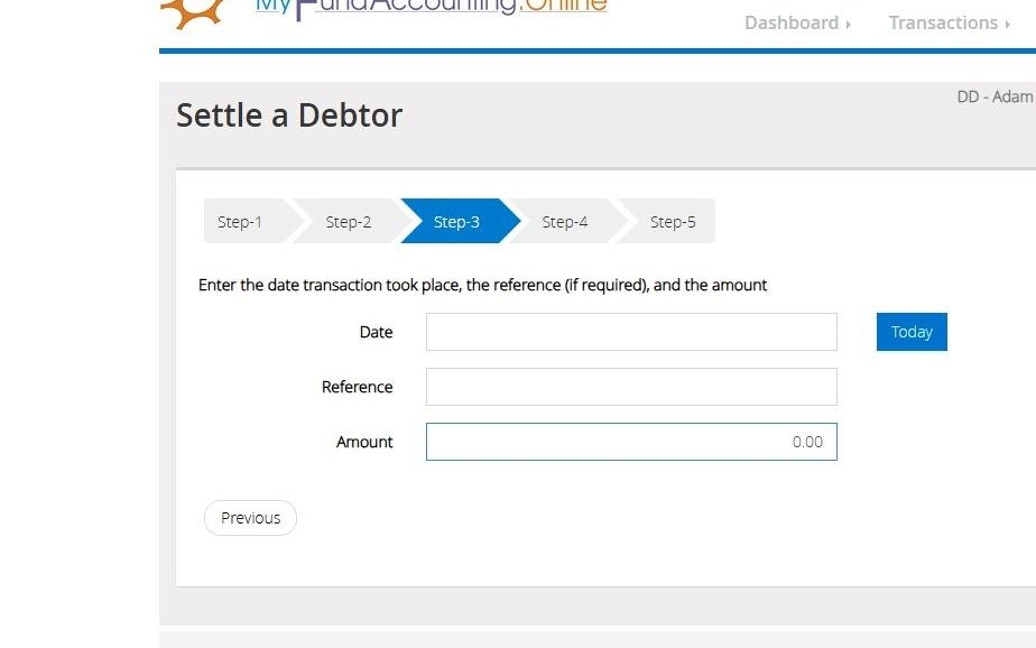
48. After select "Next Step".

49. Step 4
"Choose the fund that this transaction should affect."
This should be the fund choose in the original recording of the debtor.

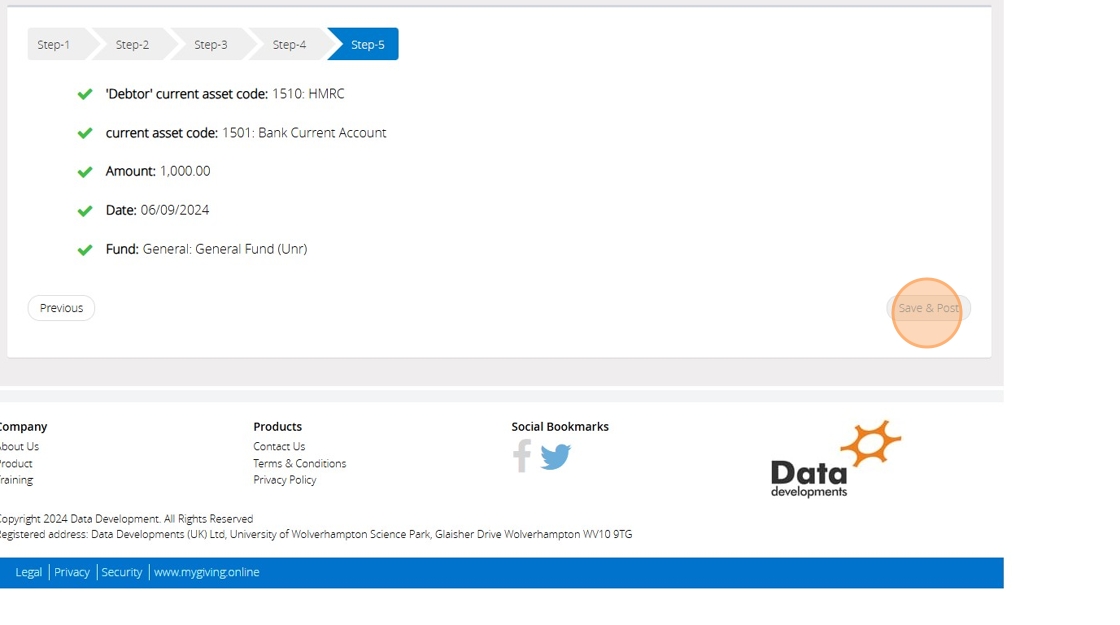
50. Once a fund has been selected choose "Next Step".

51. Click "Save & Post"
How to Record Transfers in MyFundAccounting.Online
How to locate the Transfer facility
1. Choose "Transactions"

2. Hover over "Transaction assistants"
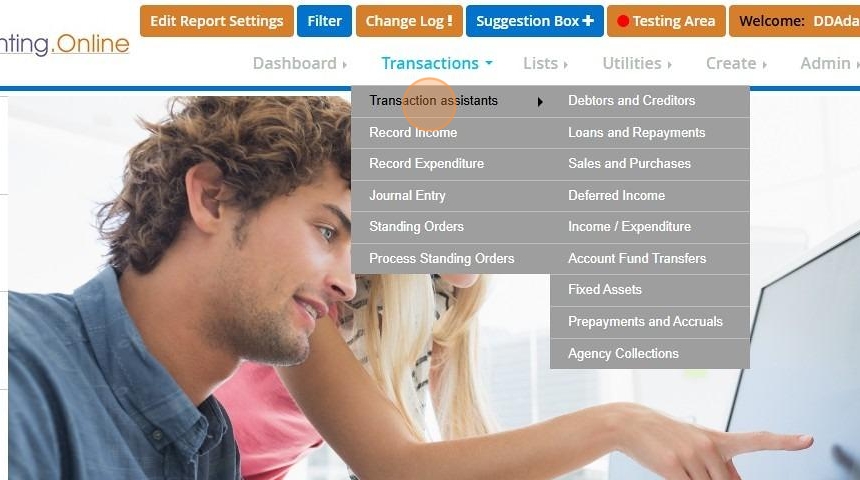
3. Click on "Account Fund Transfers"

4. This will bring you to a list of 3 Types of transfers : Bank and Fund Transfer, Fund Transfer (Fixed assets) and Fund Transfer (Liabilities)
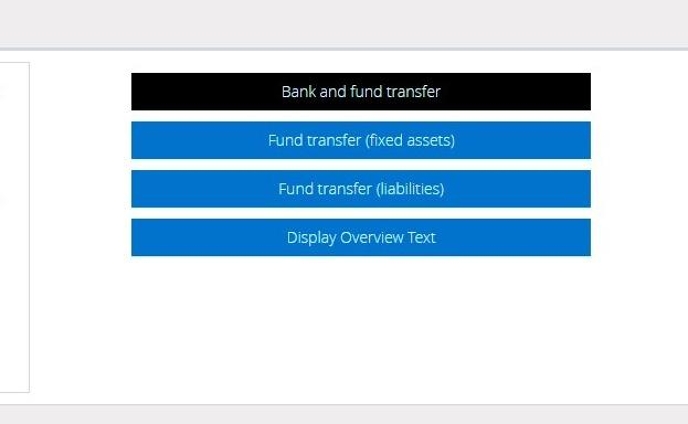
Bank and Fund Transfers
5. First on the list is "Bank and fund transfer," which relates to any current asset held in MyfundAccounting.Online.

6. On step 1 you will enter the amount you require to be transferred.

7. Next select the date of your transfer.

8. You may choose to enter a Reference.

9. For the final portion of step one, you need to select the type of transfers you wish to make.
The transfer types include:
- Transfer between 2 bank accounts for the same fund.
- Transfer between 2 bank accounts for the 2 or more funds.
- Fund Transfer between 2 funds but for the same bank account.
- Transfer between 2 funds and 2 bank accounts in one process.
- Transfer between 2 bank accounts for an agency/postbox.
The transfer options are designed for specific types of fund transfers, allowing us to record them directly without the necessity for journal entries.
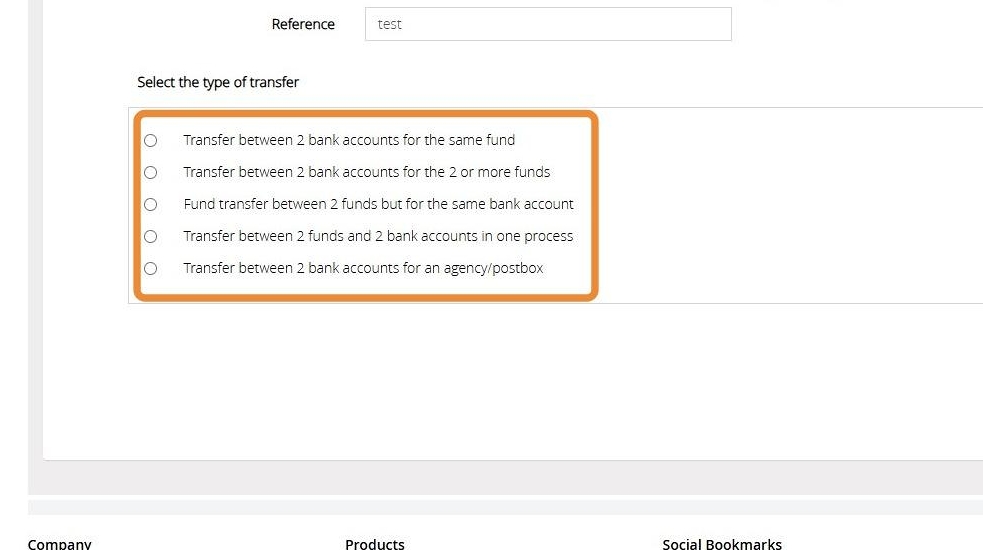
Transfer Type 1 -Transfer between 2 bank accounts for the same fund
10. Click "Transfer between 2 bank accounts for the same fund". Then select "Next Step".
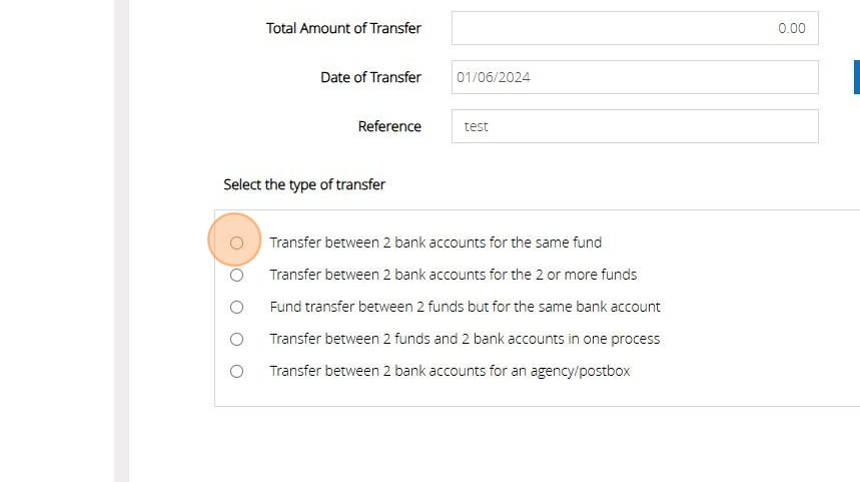
11. Step 2
Select "What account is the money coming out of?"
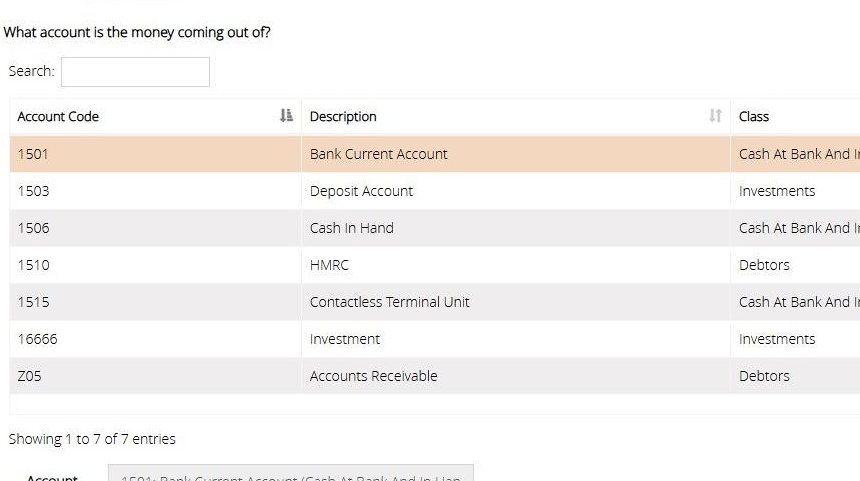
Tip: Tip: If the asset you are looking for is not visible, please note that there is a "Next" button available above the "Next step" button, as only 10 assets are displayed on the screen when entering this step. You can increase the displayed list by selecting the "Show entries" drop down.
12. On this step at the bottom, you have the option to add a "Description" to the transfer. Then click "Next Step".
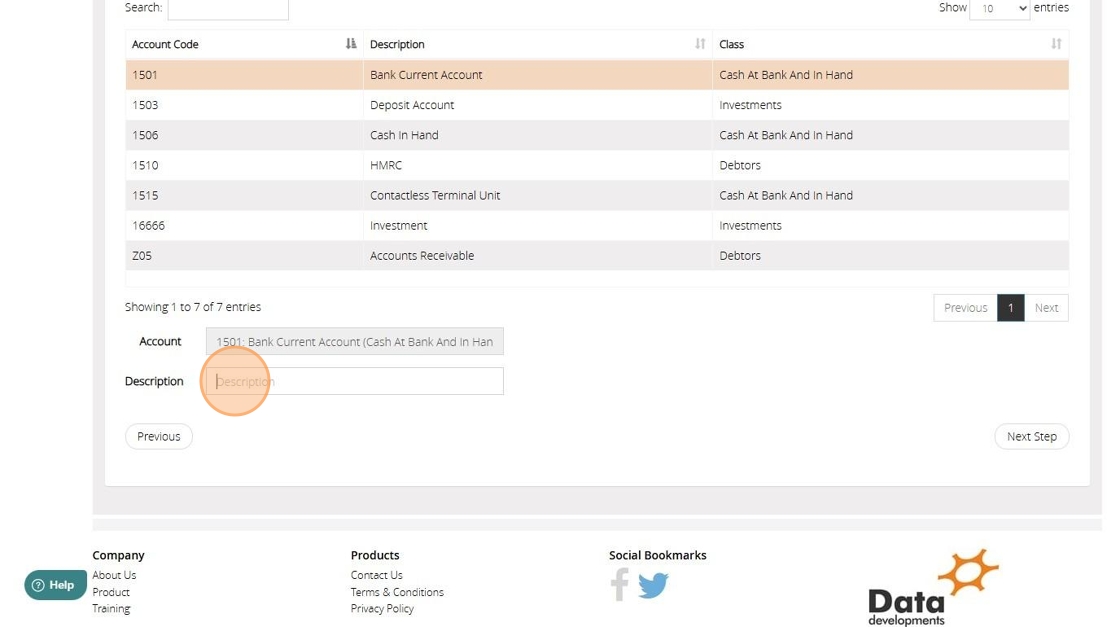
13. Step 3
Select "What account is the money going into?"
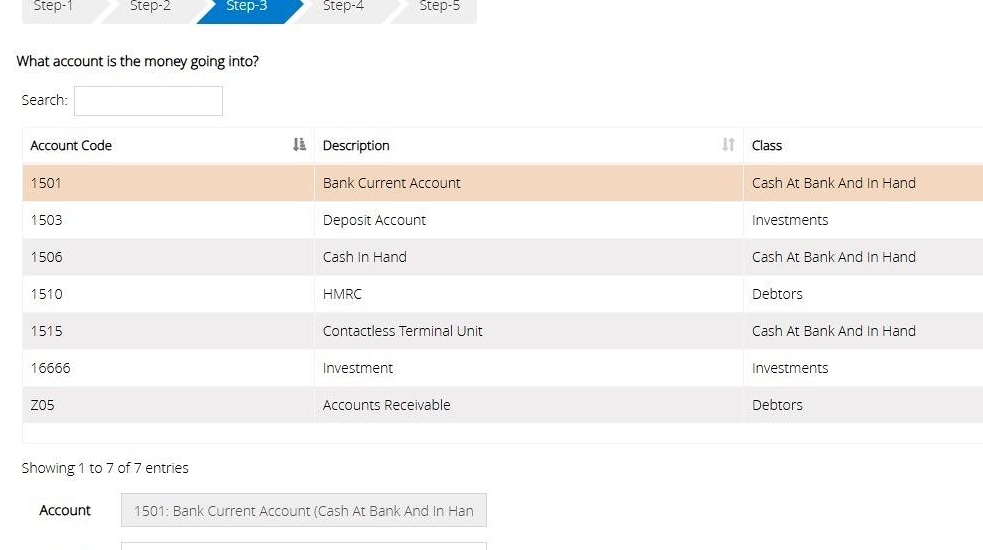
14. On this step at the bottom, you have the option to add a "Description" to the transfer. Then click "Next Step".
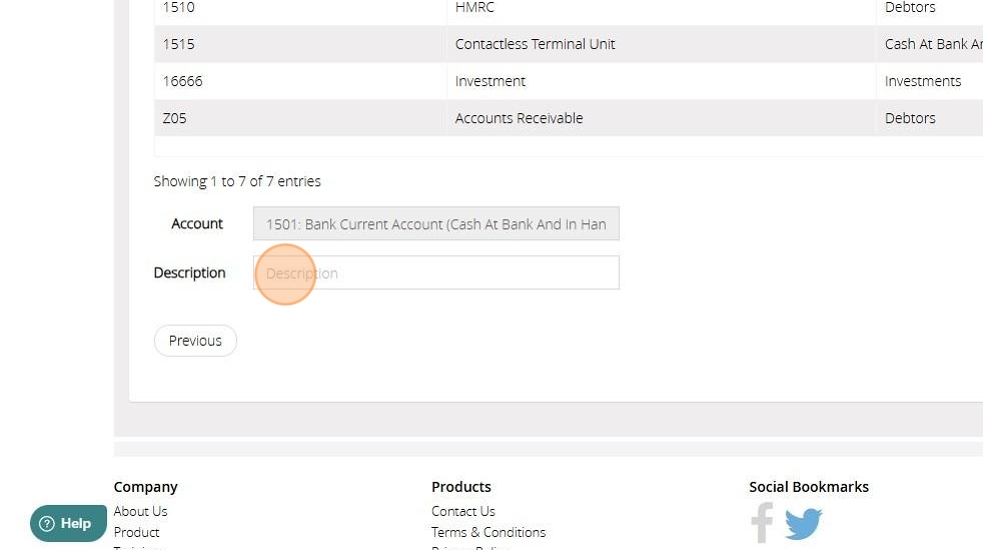
15. Step 4
"Select the fund that this money belongs to."
Then click "Next Step"
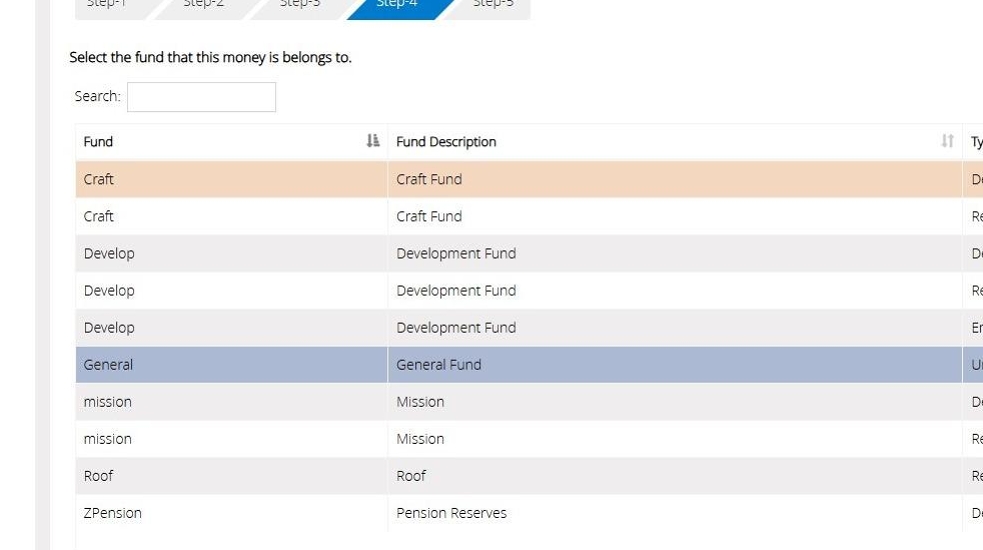
Tip: Tip: Please note that if the fund list as mentioned above if a fund is not visible, the list is limited to 10 funds. To view more funds, please click the "Next" button located above the "Next step."Or use the "Show Entries" drop down to increase the list.
16. Step 5
Review all steps.
Then click "Save and post"
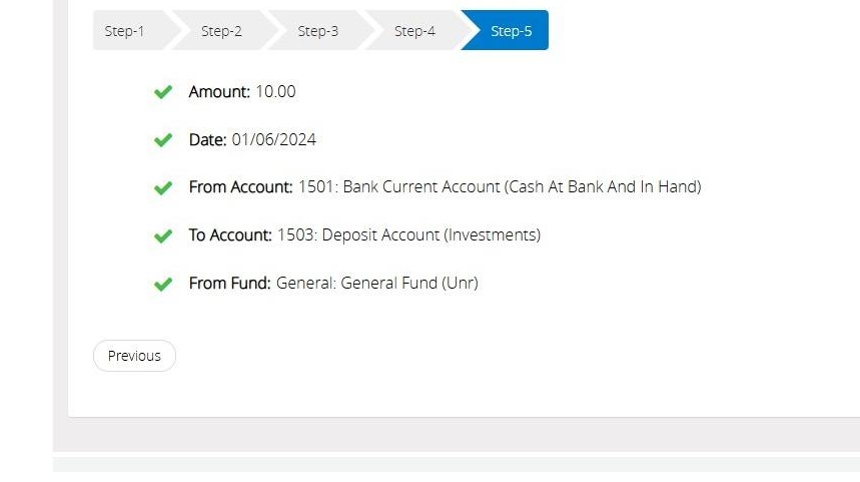
Transfer Type 2 - Transfer between 2 bank accounts for the 2 or more funds.
17. This type of transfer is very useful if you need more than one fund from one account to the other.
18. To begin recording a Transfer between 2 bank accounts for the 2 or more funds
Go to Transactions -> Transaction assistant -> Account fund Transfer -> Bank and Fund transfer.
19. Select the "Transfer between 2 bank accounts for the 2 or more funds" option. Then click "Next Step".
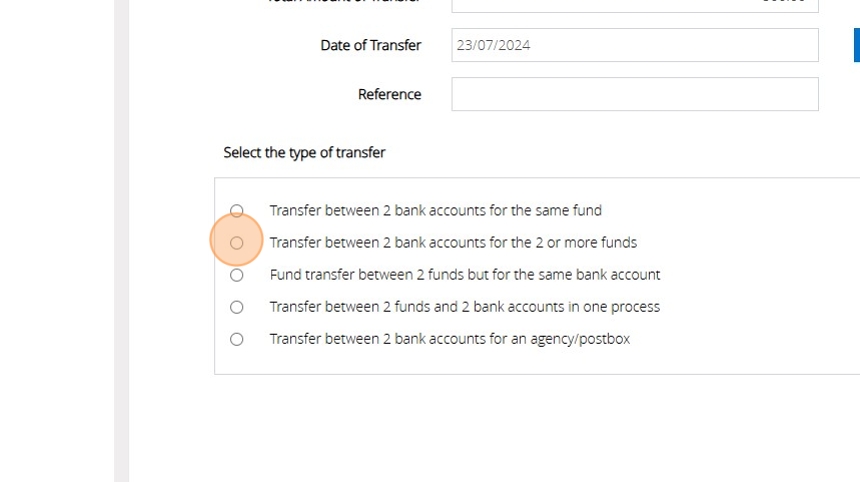
20. Step 2
Select "What account is the money coming out of?"
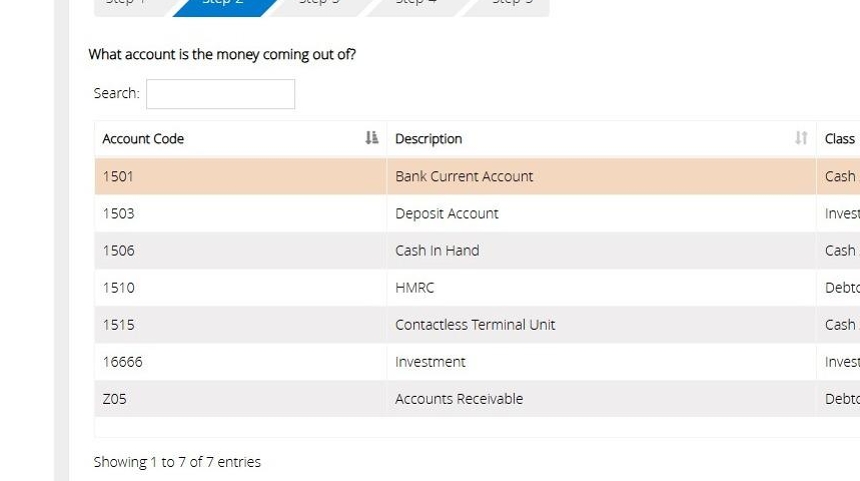
Tip: Tip: If the asset you are looking for is not visible, please note that there is a "Next" button available above the "Next step" button, as only 10 assets are displayed on the screen when entering this step. You can increase the displayed list by selecting the "Show entries" drop down.
21. Here you may add a "Description".
Then click "Next Step"
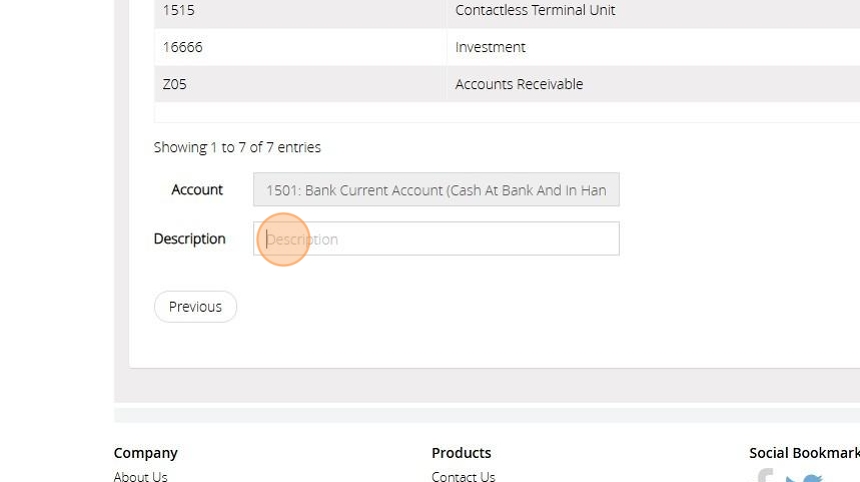
22. Step 3
Select "What account is the money going into?"
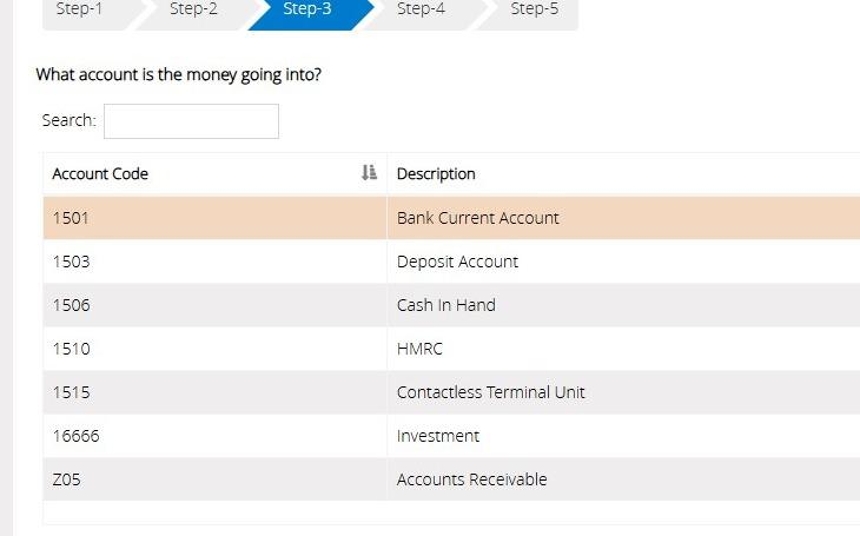
23. Here you may add a "Description".
Then click "Next Step".

24. Step 4
You will need to select the fund you wish to transfer one at a time.

25. Enter the amount you wish to transfer for the first fund and click "OK"

26. This will move the transfer amount to the right-hand side. Additionally, the "has been allocated" section will update with the amount you've entered and the "remainder to be allocated" will correspondingly decrease by the amount entered.
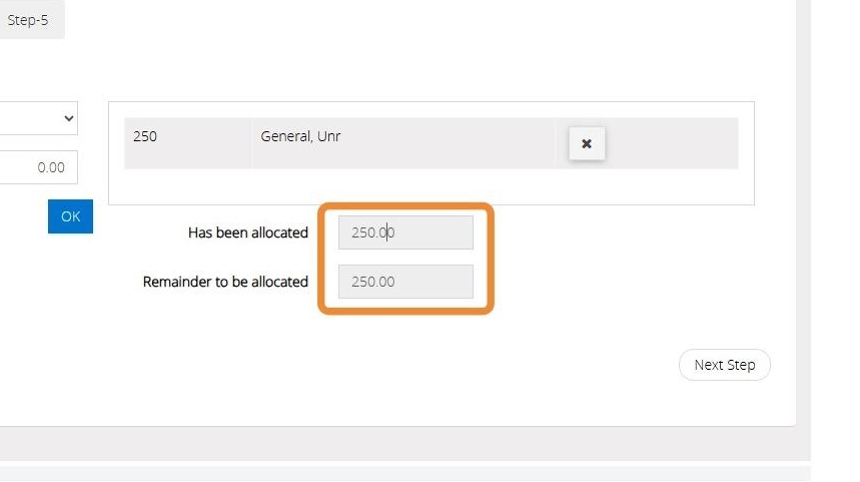
27. Repeat the steps above until all the funds you require have been allocated. Then click "Next Step".
28. Step 5
Review all steps.
Next click "Save & Post".
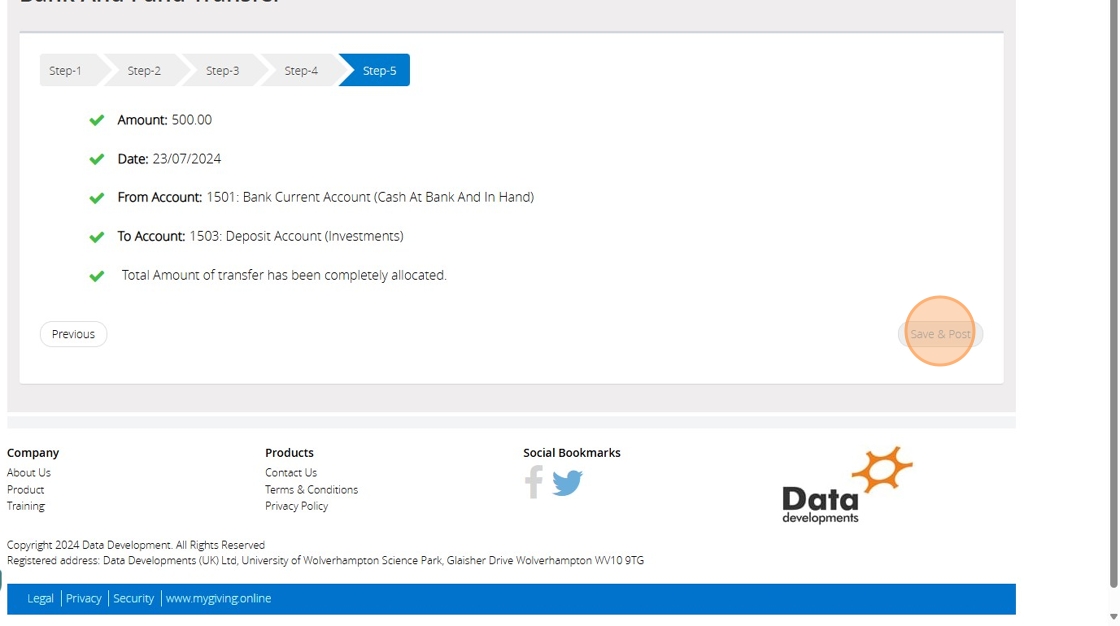
Transfer Type 3 - Fund Transfer between 2 funds but for the same bank account.
29. This type of Transfer is very useful for moving funds within the same bank account if the distribution is incorrect.
30. Enter an Amount to be transferred, Date of Transfer and Reference if required. Select "Fund transfer between 2 funds but for the same bank account" Then click "Next step"
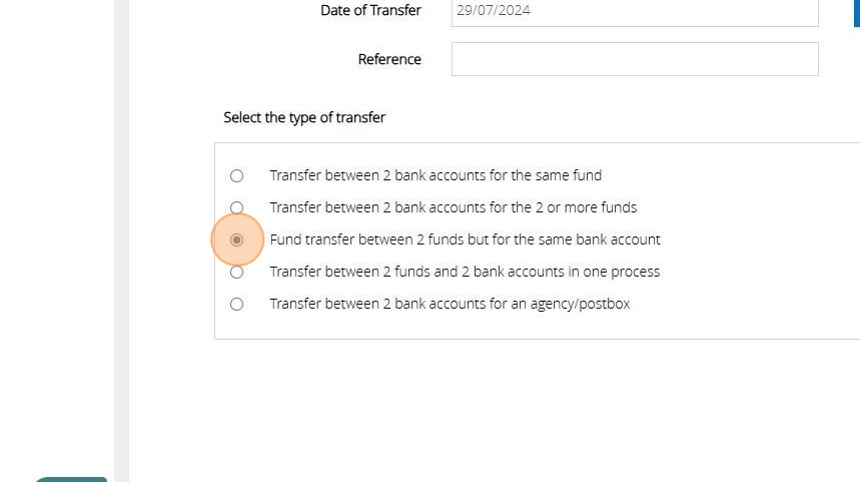
31. Step 2
Select "What fund is the money coming out of?"
Then click "Next Step".
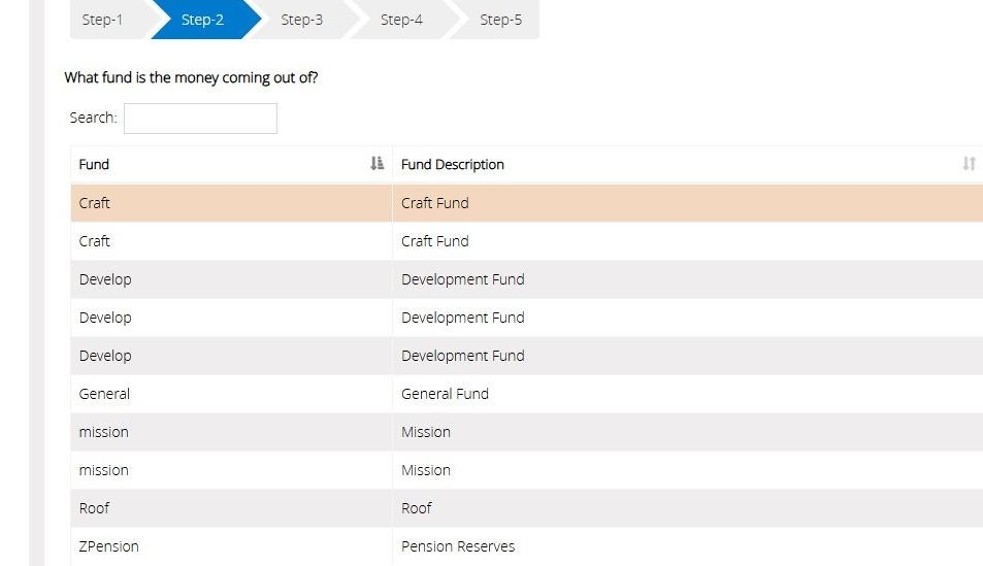
Tip: Tip: Please note that if the fund list as mentioned above if a fund is not visible, the list is limited to 10 funds. To view more funds, please click the "Next" button located above the "Next step."Or use the "Show Entries" drop down to increase the list.
32. Step 3
Select "What fund is the money going into?".
Then click "Next Step"
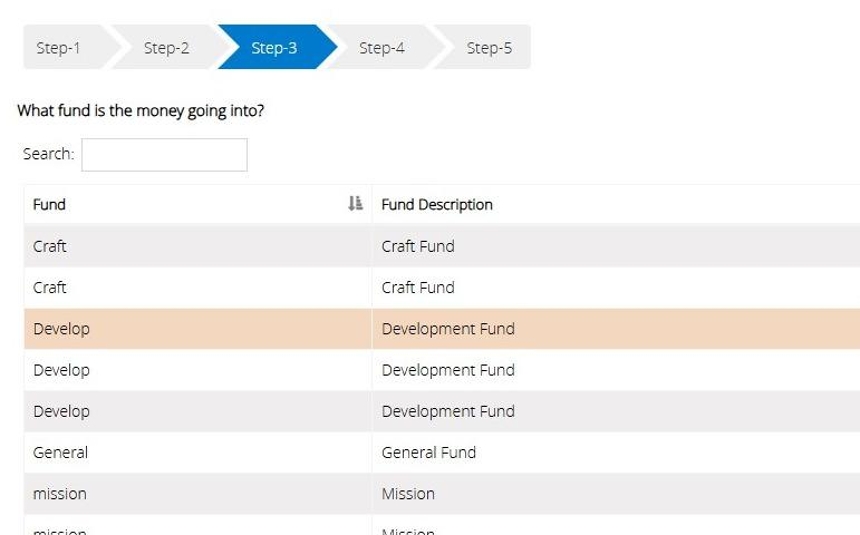
33. Step 4
"Select the account containing this money."
Then click "Next Step".
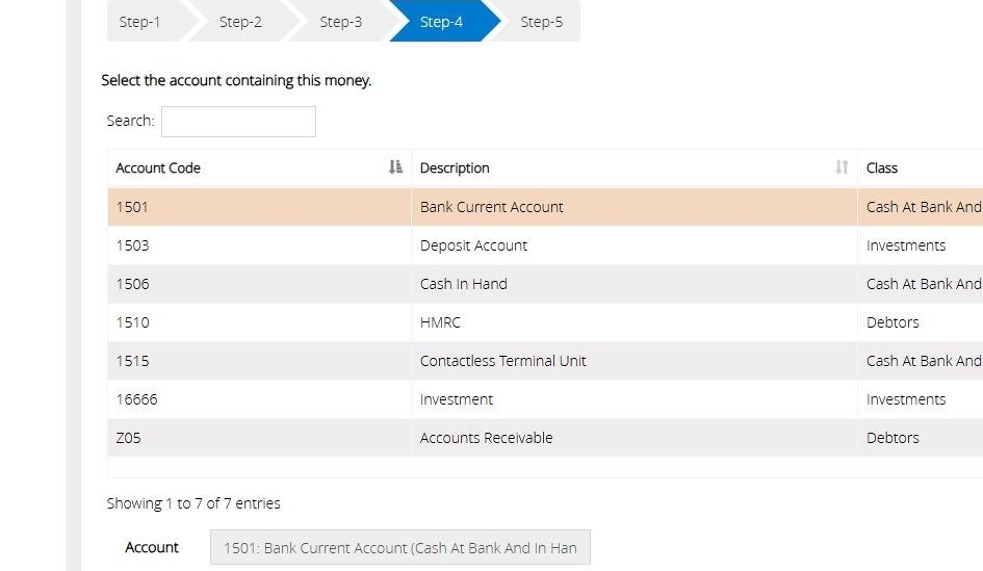
34. Step 5
Review all steps after click "Save & Post".
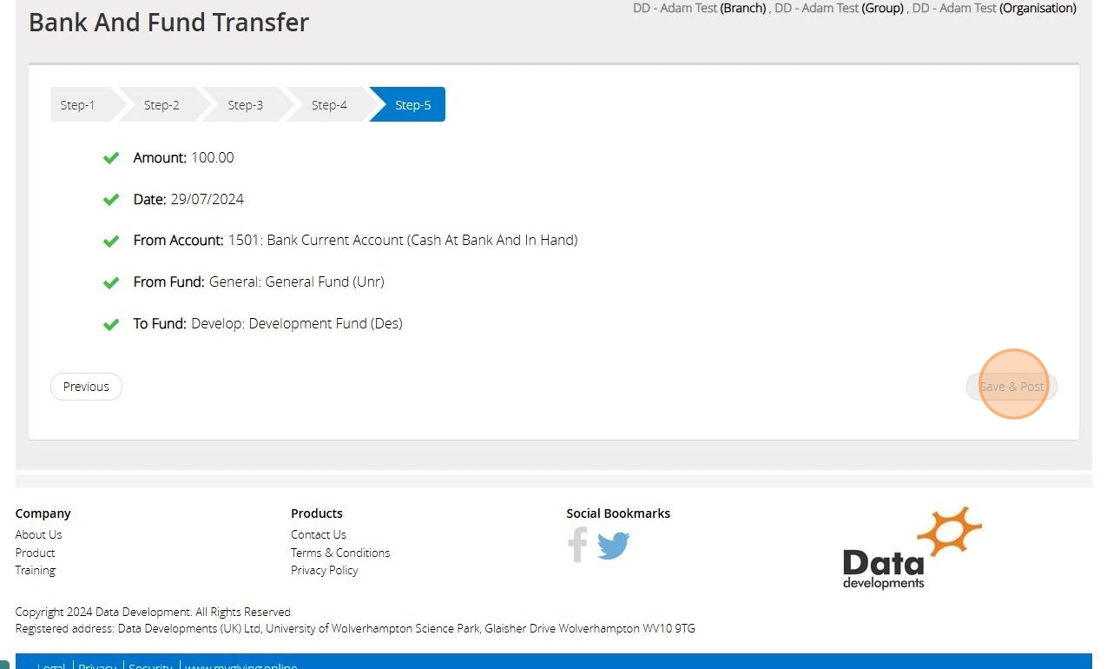
Transfer Type 4 - Transfer between 2 funds and 2 bank accounts in one process
35. The transfer is recommend for moving from one fund to the other but from one bank account to another.
36. Enter an Amount to be transferred, Date of Transfer and Reference if required.
Then click the "Transfer between 2 funds and 2 bank accounts in one process".
Afterwards, select "Next Step".

37. Step 2
"What account is the money coming out of?"
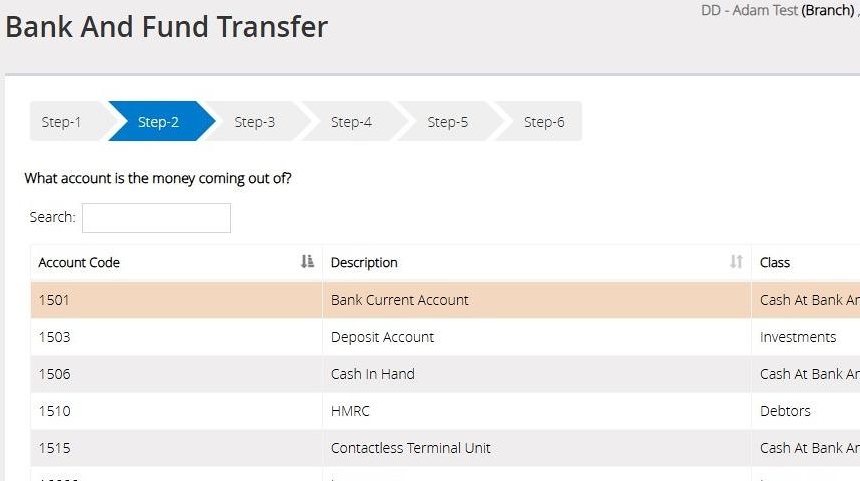
Tip: Tip: If the asset you are looking for is not visible, please note that there is a "Next" button available above the "Next step" button, as only 10 assets are displayed on the screen when entering this step. You can increase the displayed list by selecting the "Show entries" drop down.
38. Here you may add a "Description".
Then click "Next Step".
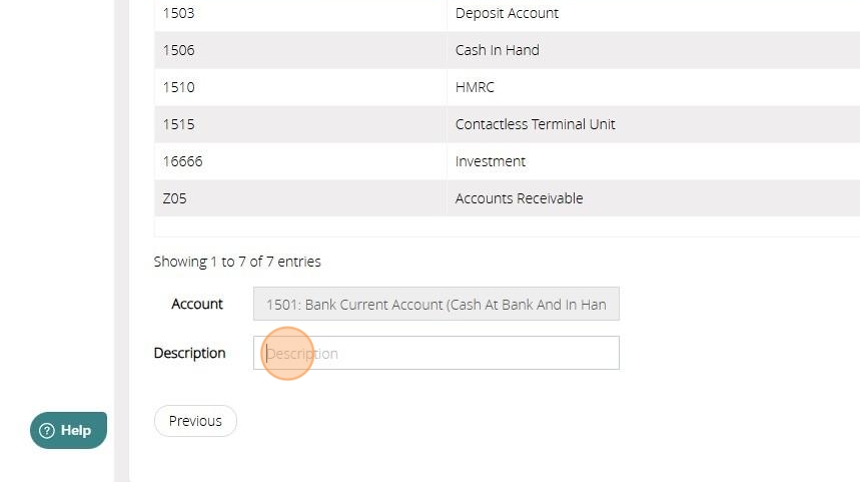
39. Step 3
"What account is the money going into?"
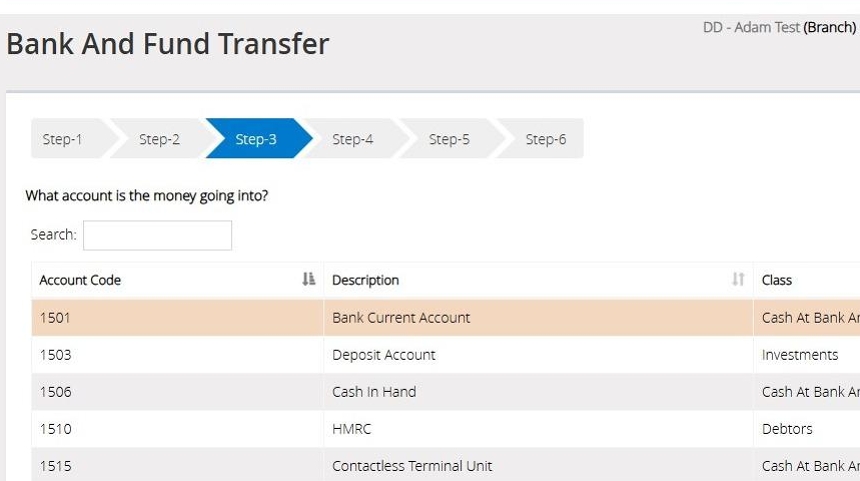
40. Here you may add a "Description".
Then click "Next Step".
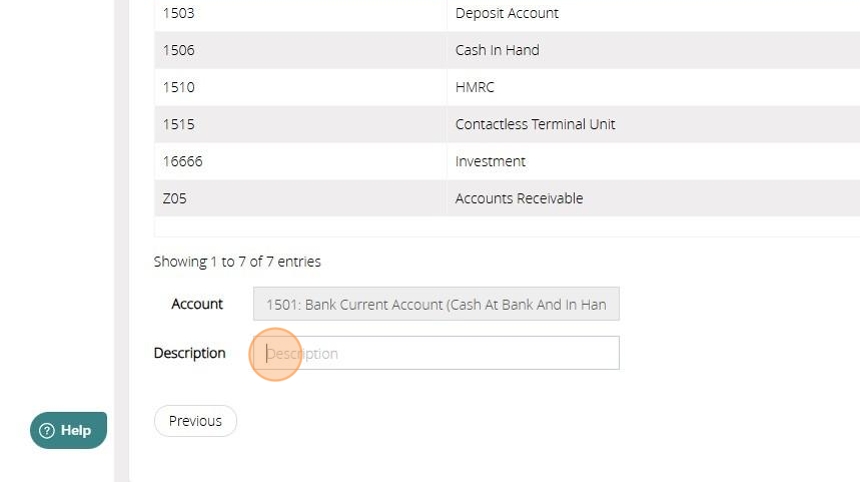
41. Step 4
"What fund is the money coming out of?"
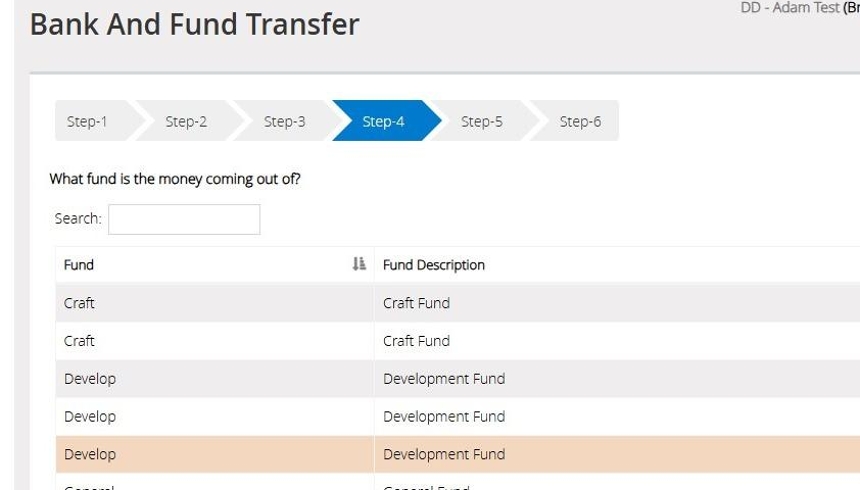
Tip: Tip: Please note that if the fund list as mentioned above if a fund is not visible, the list is limited to 10 funds. To view more funds, please click the "Next" button located above the "Next step."Or use the "Show Entries" drop down to increase the list.
42. Step 5
"What fund is the money going into?"
Then click "Next Step"
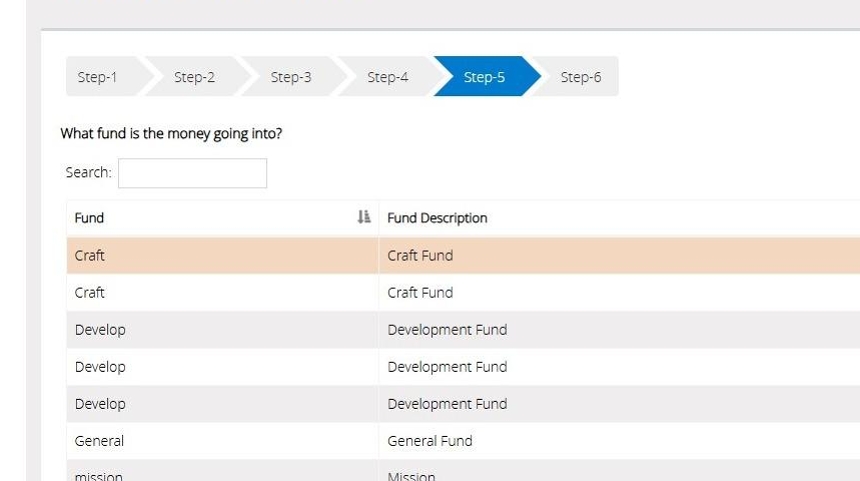
43. Step 6
Review all steps then click "Save & Post".

Transfer Type 5 - Transfer between 2 bank accounts for an agency/postbox.
44. Enter an Amount to be transferred, Date of Transfer and Reference if required.
Then select "Transfer between 2 bank accounts for an agency/postbox" field.
Click "Next Step".
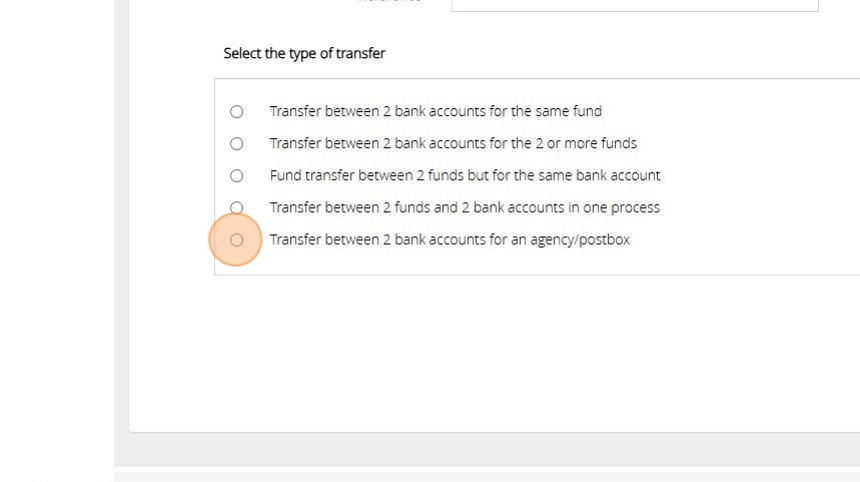
45. Step 2
"What account is the money coming out of?"
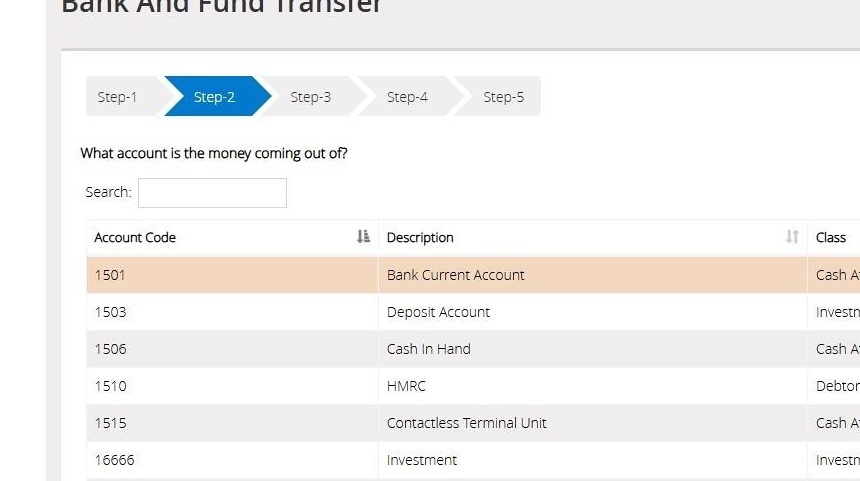
Tip: Tip: If the asset you are looking for is not visible, please note that there is a "Next" button available above the "Next step" button, as only 10 assets are displayed on the screen when entering this step. You can increase the displayed list by selecting the "Show entries" drop down.
46. Here you may add a "Description".
Then click "Next Step"
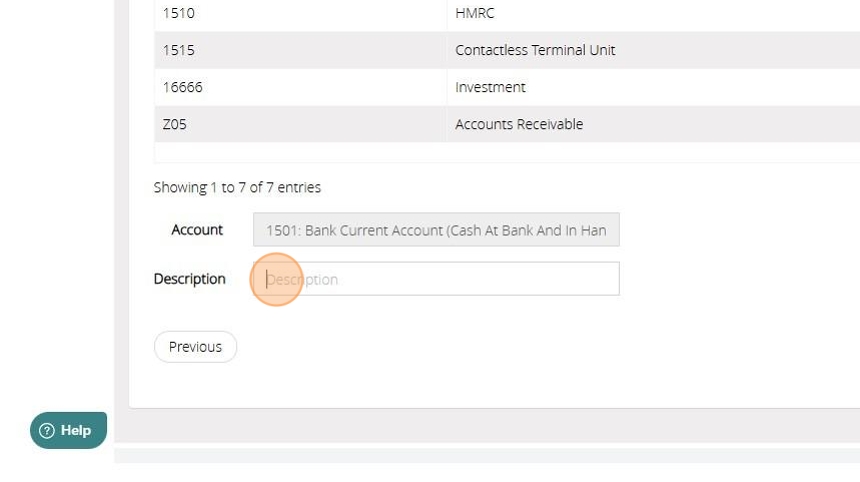
47. Step 3
"What account is the money going into?"
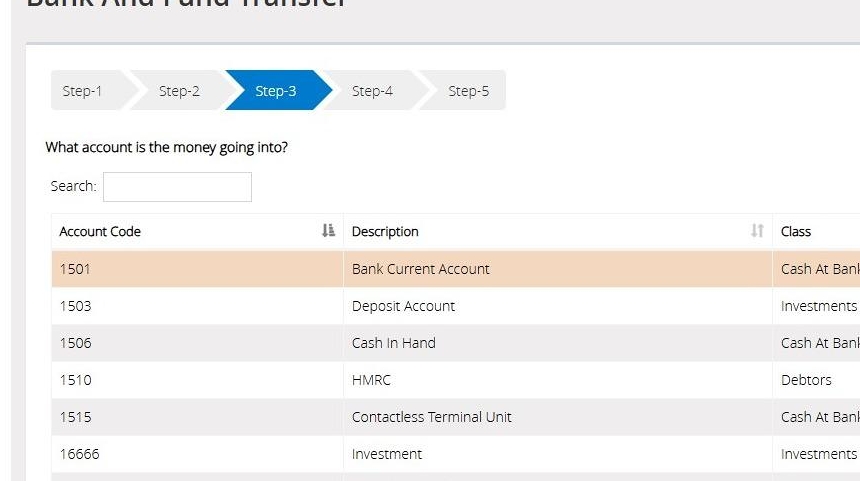
48. Here you may add a "Description".
Then click "Next Step"
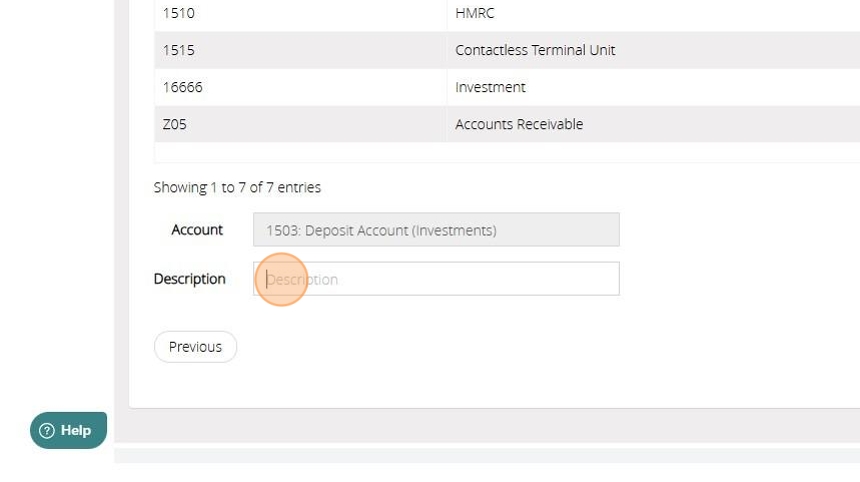
49. Step 4
"Select the fund that this money belongs to."
Then click "Next Step"
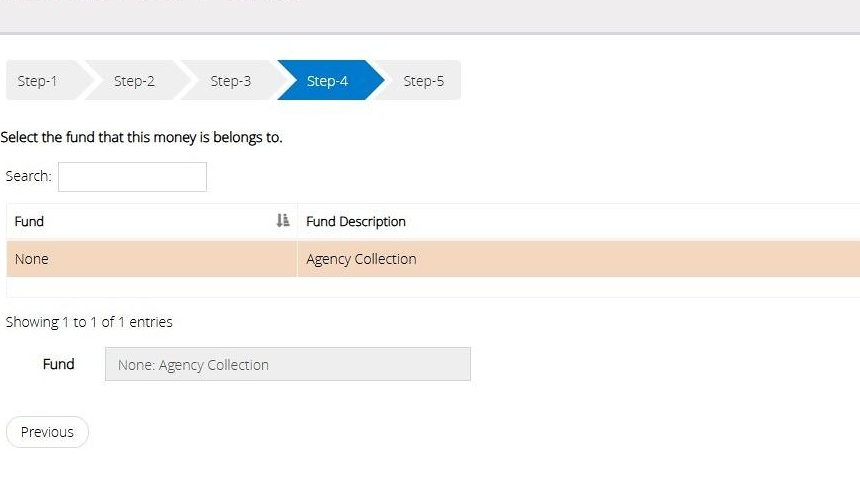
50. Step 5
Review all steps then "Save & Post".

51. This transfer will allow you to move an agency balance from one bank account to the other.
Fund Transfer Fixed assets
52. This type of transfers allows you to change the fund of a fixed asset from current to another.
53. Choose "Fund transfer (fixed assets)"

54. Step 1
Enter amount, date of transfer and a reference if required.

55. Step 2
"What fund is the money coming out of?"
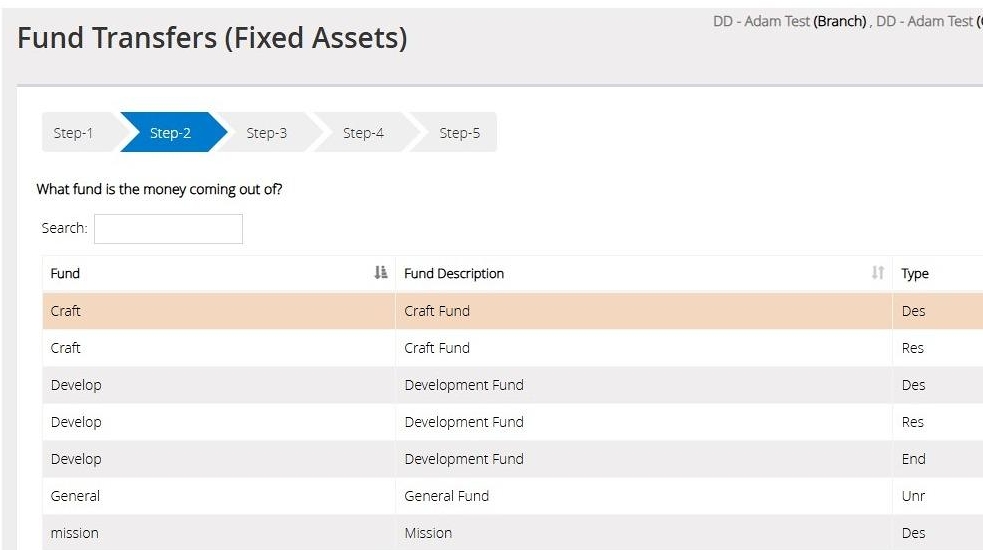
Tip: Tip: Please note that if the fund list as mentioned above if a fund is not visible, the list is limited to 10 funds. To view more funds, please click the "Next" button located above the "Next step."Or use the "Show Entries" drop down to increase the list.
56. Here you may add a "Description".
Then click "Next Step".
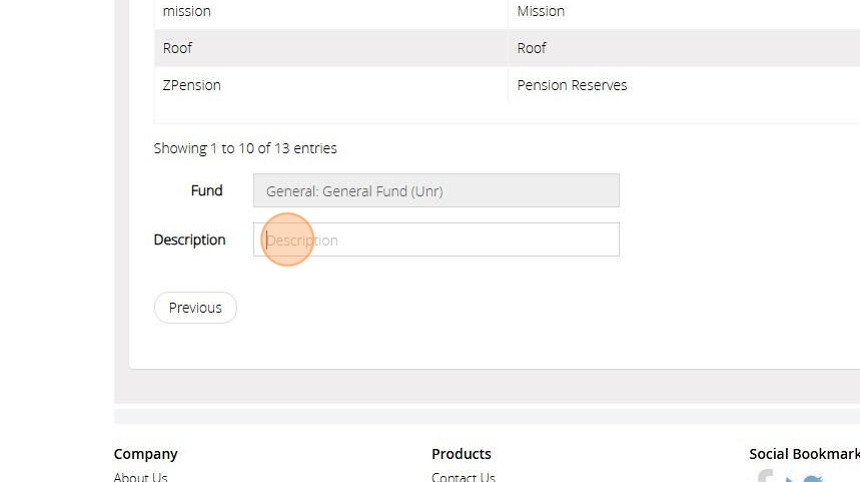
57. Step 3
Select "What fund is the money going into?"
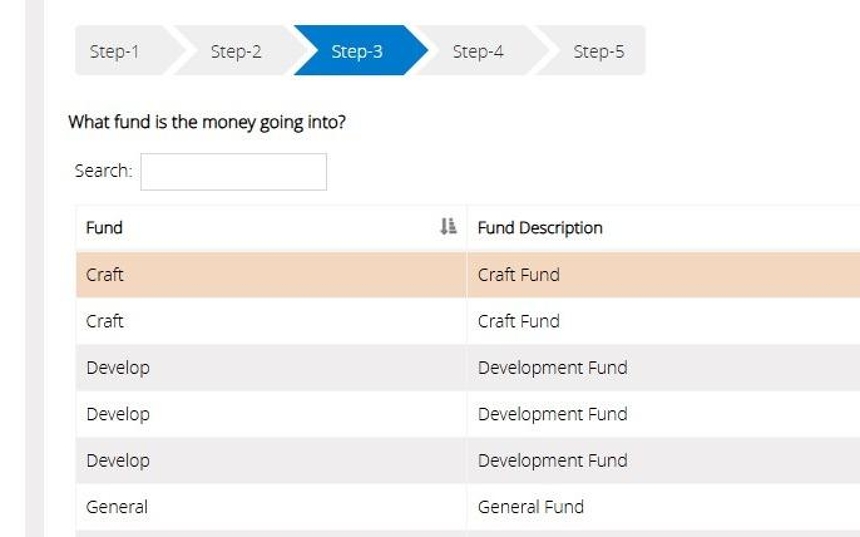
58. Here you may add a "Description".
Then click "Next Step".
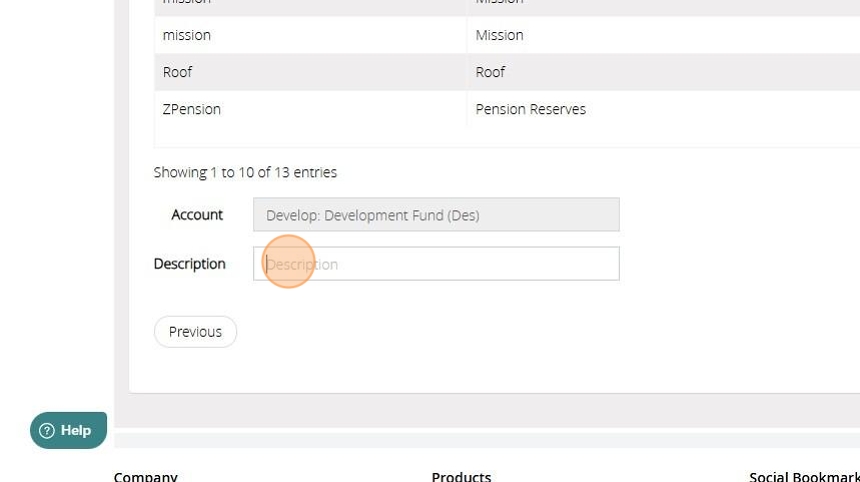
59. Step 4
"Select the account containing this money."
Then click "Next Step".
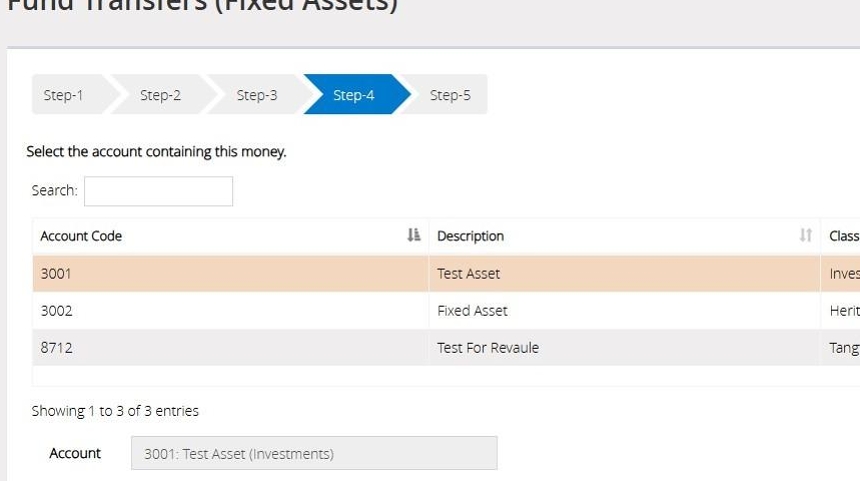
Tip: Tip: If the asset you are looking for is not visible, please note that there is a "Next" button available above the "Next step" button, as only 10 assets are displayed on the screen when entering this step. You can increase the displayed list by selecting the "Show entries" drop down.
60. Step 5
Review all steps then click "Save & Post"
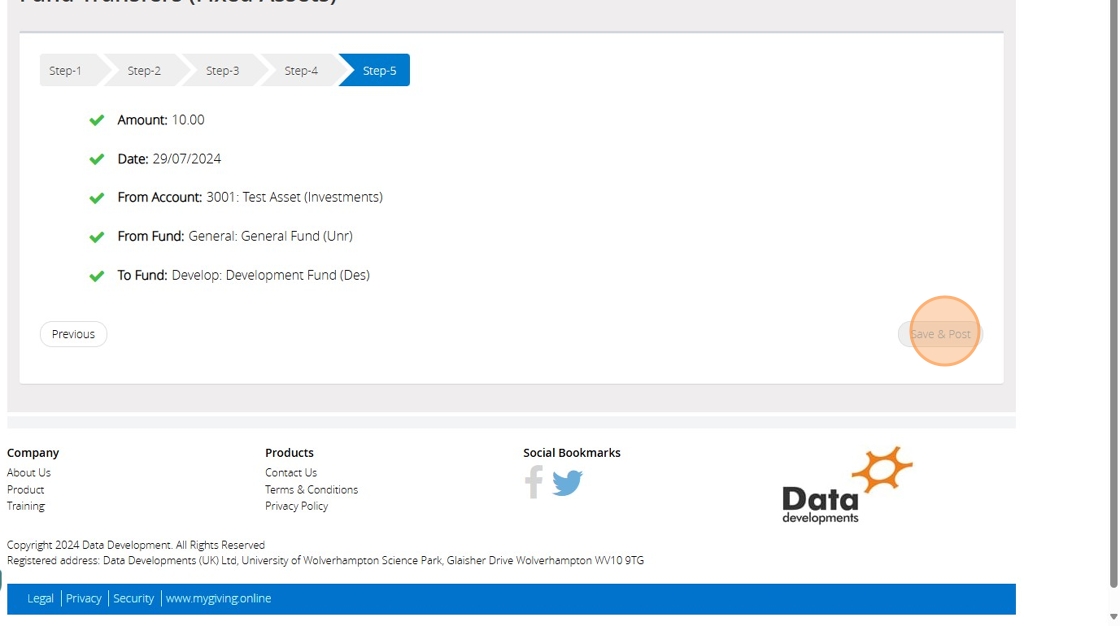
Fund Transfers Liabilities
61. Select "Fund transfer (liabilities)"

62. Enter an Amount to be transferred, Date of Transfer and Reference if required.
Then click Next step.

Tip: Tip:Because a liability is associated with money owed, when money is recorded into a liability, it actually reduces the amount owed rather than increasing it.
63. Step 2
"What fund is the liability going into?"
(Which fund are you using to reduce the amount you owe?)
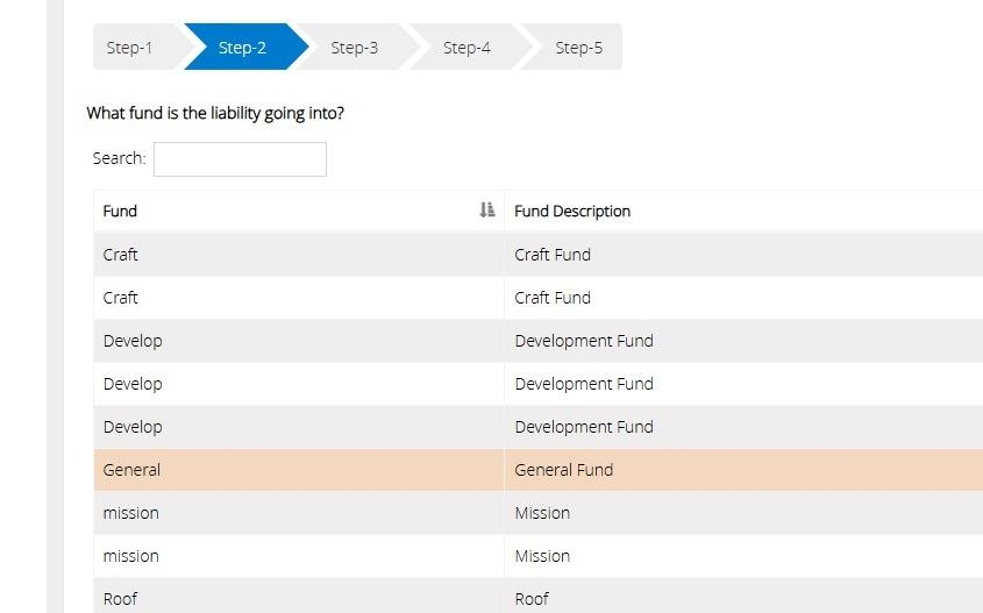
Tip: Tip: Please note that if the fund list as mentioned above if a fund is not visible, the list is limited to 10 funds. To view more funds, please click the "Next" button located above the "Next step."Or use the "Show Entries" drop down to increase the list.
64. Here you may add a "Description".
Then click "Next Step".
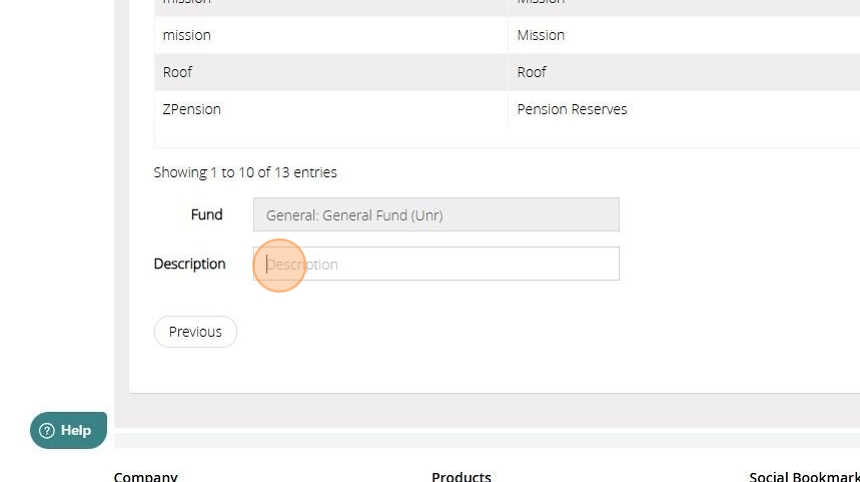
65. Step 3
"What fund is the liability coming out of?"
(Which fund are you using to increase the amount you owe?)
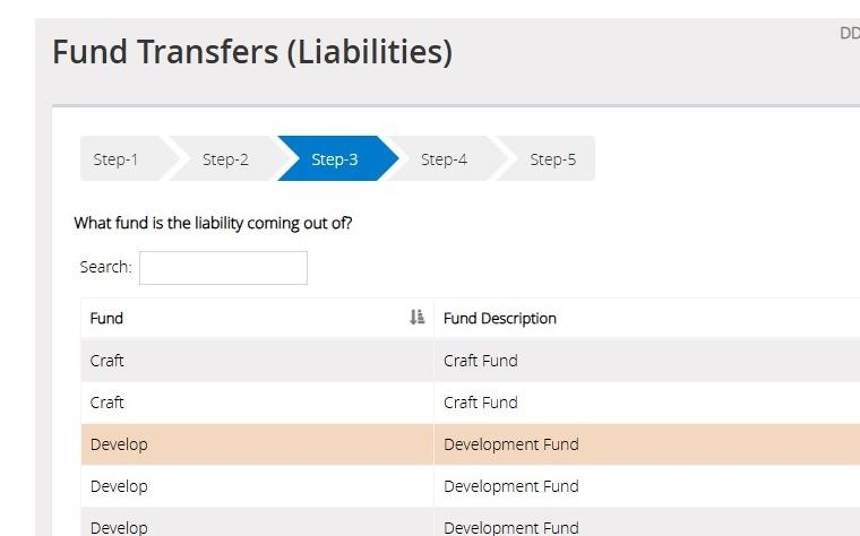
66. Here you may add a "Description".
Then click "Next Step".

67. Step 4
"Select the account containing this money."
Then click "Next Step"
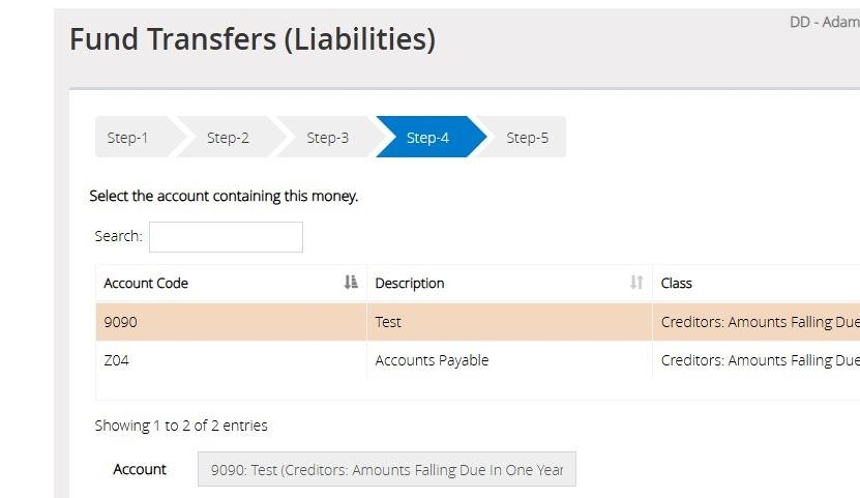
68. Step 5
Review all steps then click "Save & Post"
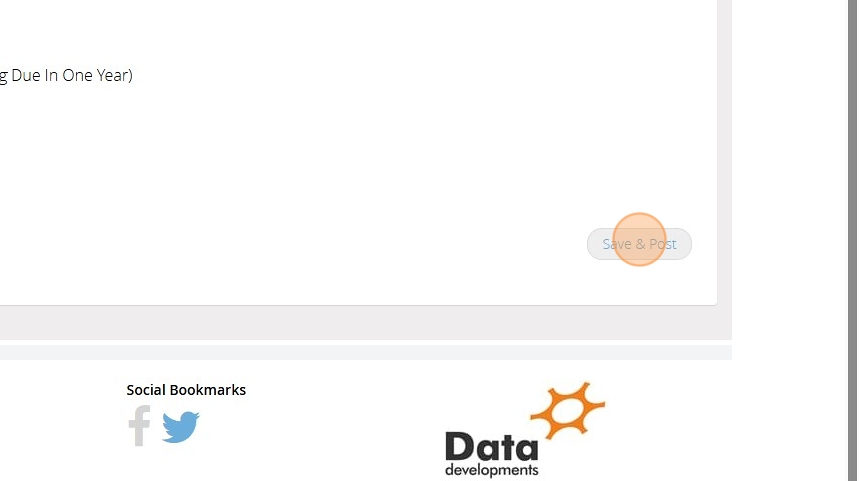
How to View/Edit/Delete a Fund in MyFundAccounting
Tip: The below steps will guide you on how to View the details for a fund you have created, Edit an existing fund and Delete a fund that is no longer required.
1. Navigate to https://www.myfundaccounting.online
2. Click "Create"

3. Click "Accounts Assistant"
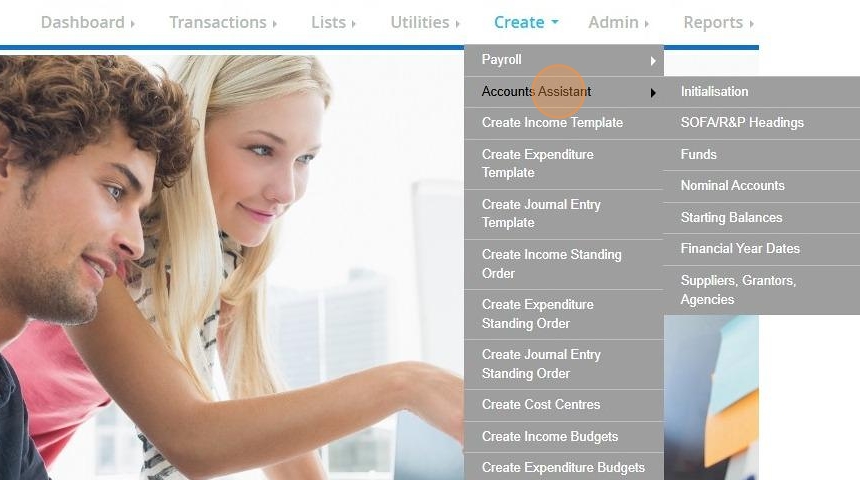
4. Click "Funds"
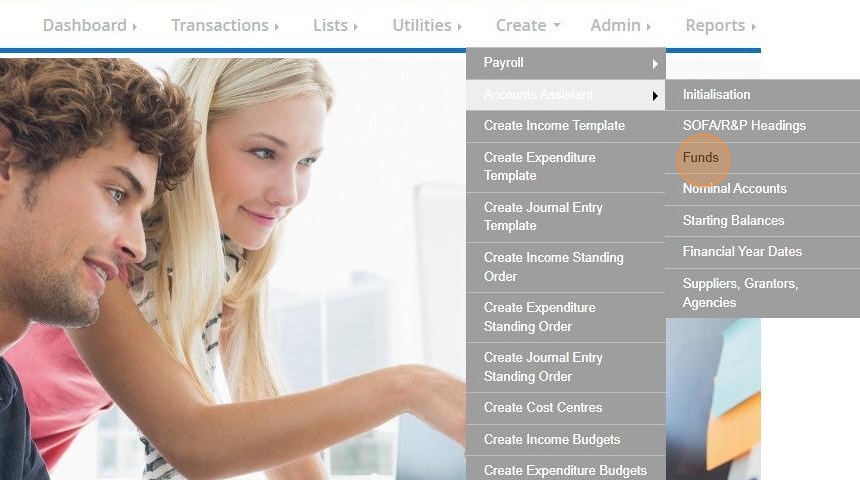
5. Click "Fund Details"
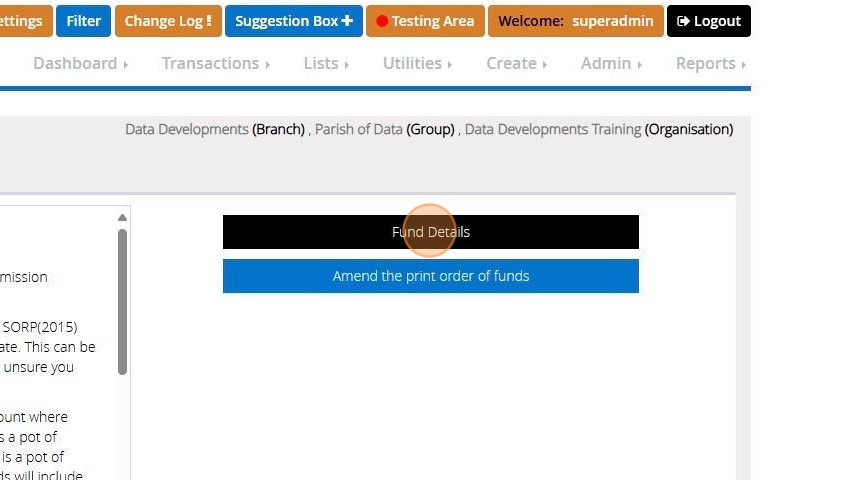
View a Fund
Tip: The below steps will guide you in viewing your fund details. Should you need to make any changes to the fund details please see "Edit a fund"
6. Click "View"

7. Here you can view your Fund Details such as the description, abbreviation, the type of fund and the active status.
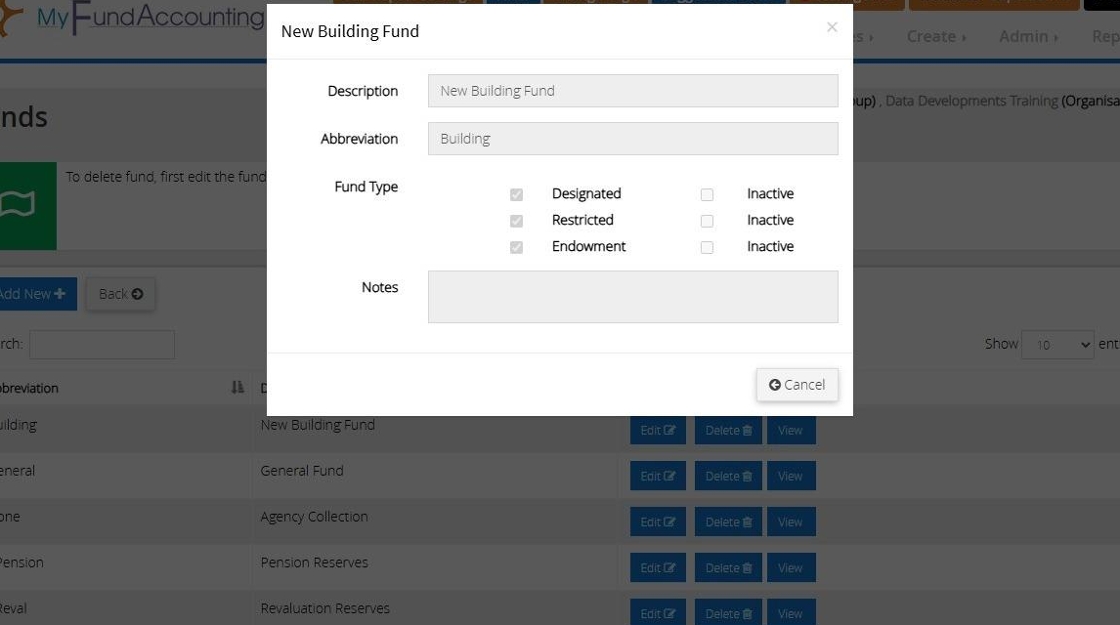
Tip: Tip! Click cancel to close the box and go back to your list of funds
Edit a Fund
Tip: The below steps will guide you in making changes to an existing fund
8. Click "Edit"

9. Make any necessary changes by over typing in the text boxes
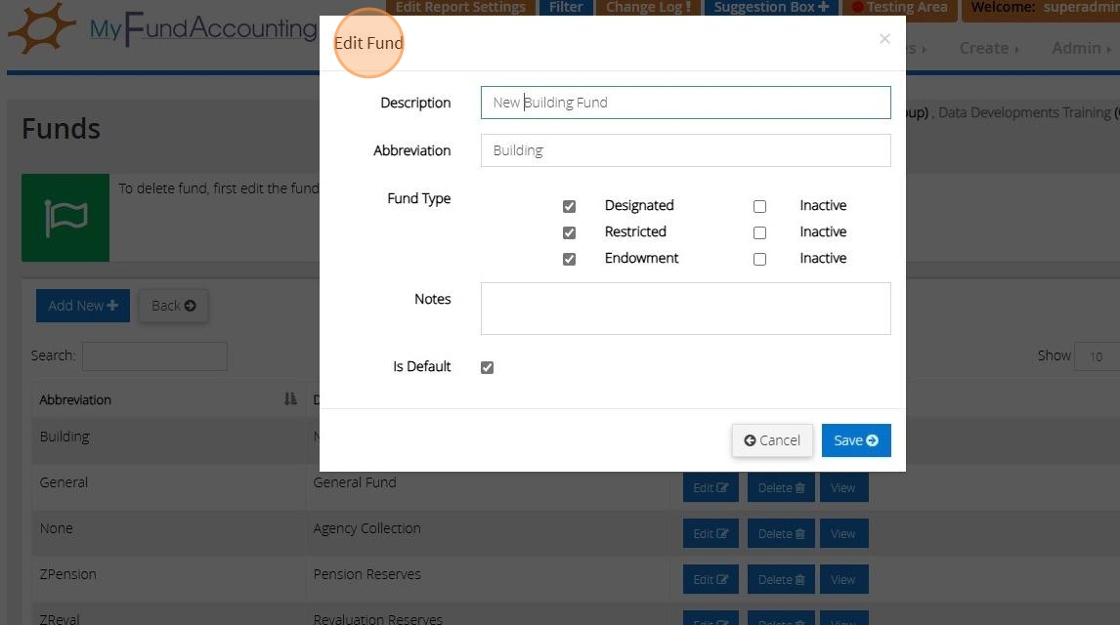
10. To make a fund inactive tick the check box next to the selected fund type.
The Fund Type will not appear in any dropdown lists when choosing a fund, but will appear on any reports that include transactions belonging to the fund.
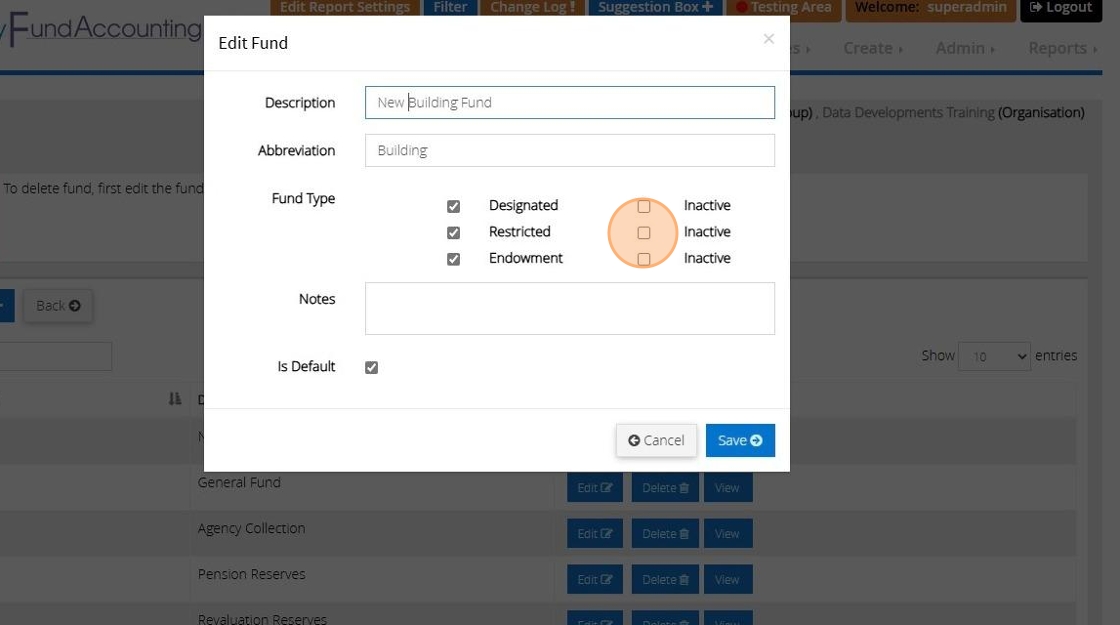
11. Click "Save"
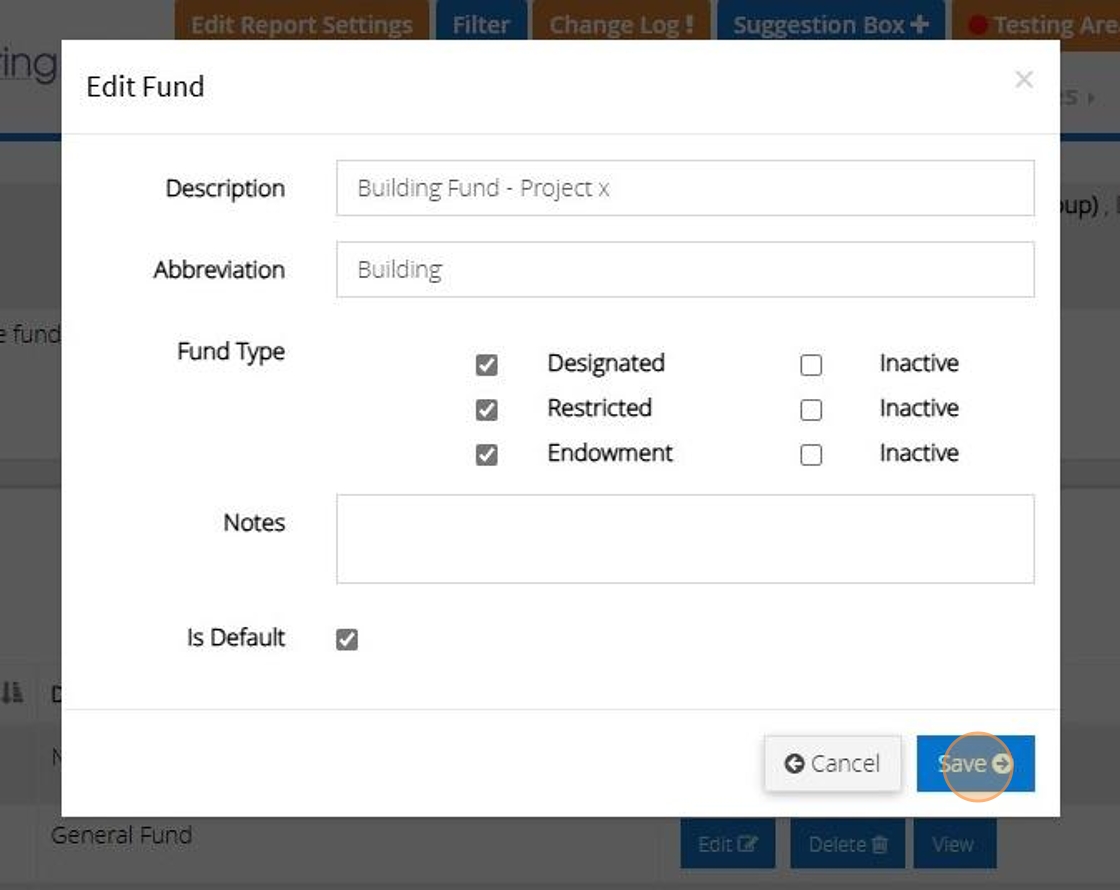
Delete a Fund
Tip: A fund that has transactions recorded against it cannot be deleted as this forms part of your financial history. See Edit a fund for guidance on marking the fund as inactive.
12. Click "Delete"

13. Click "Yes" to proceed with the deletion
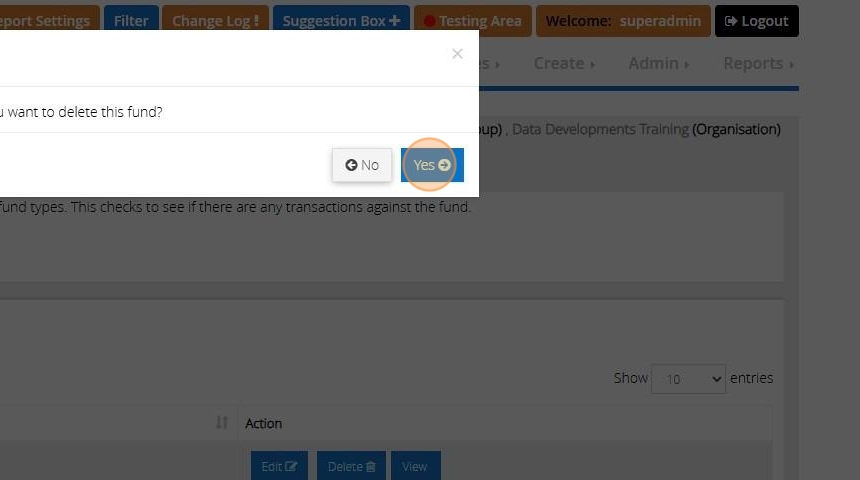
14. The below message will display to show the fund has been removed.
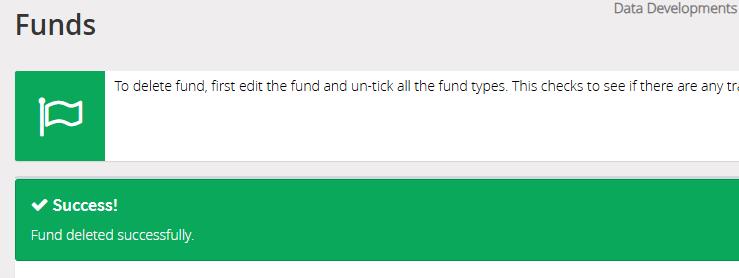
Tip: To create a new fund see our guide "Creating Funds"
How to View/Edit/Delete a Nominal Code in MyFundAccounting
Tip: The below steps will guide you on how to View the details for an nominal code you have created, Edit an existing code and Delete a code that is no longer required. We are going to be using an Income Nominal code for this example but the below steps are the same for all Nominal Code Headings.
1. Navigate to https://www.myfundaccounting.online
2. Click "Create"

3. Click "Accounts Assistant"
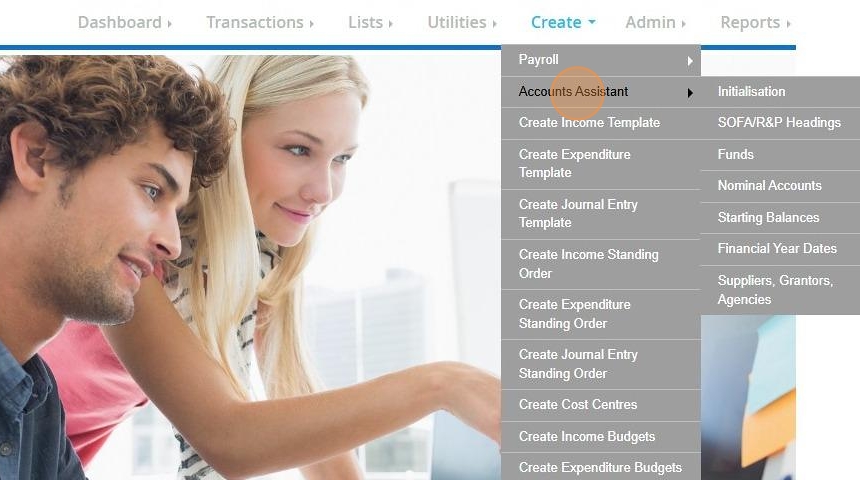
4. Click "Nominal Accounts"
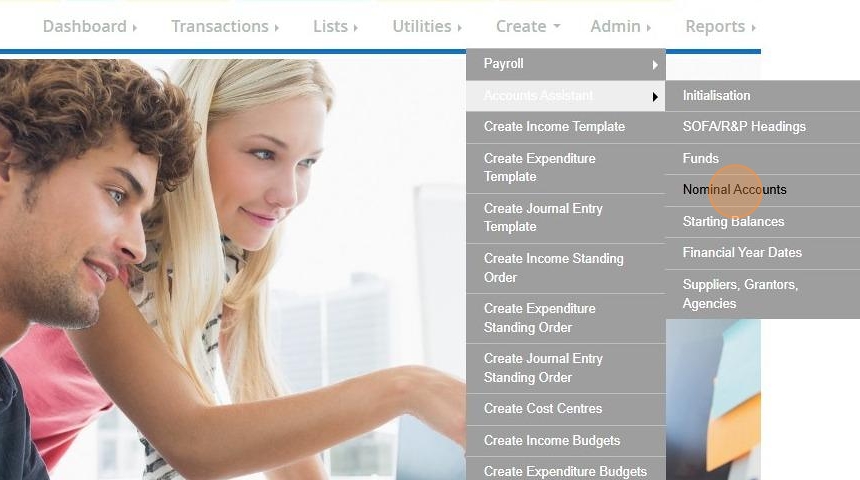
5. Select the nominal code heading. In this example we are using "Income"
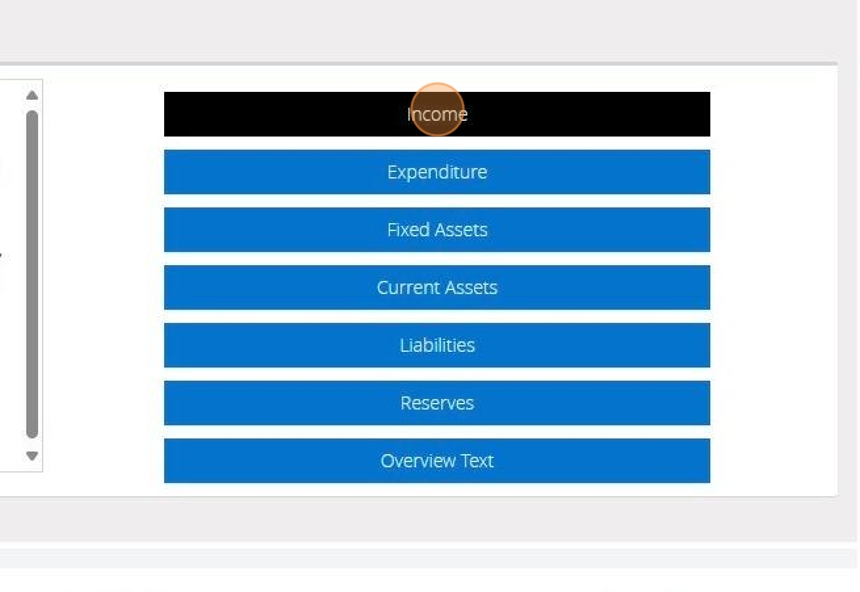
View a Nominal Code
Tip: The below steps will guide you in viewing your nominal code details. Should you need to make any changes to the code details please see "Edit a code"
6. Click "View"

7. Here you can view your code details as displayed below.
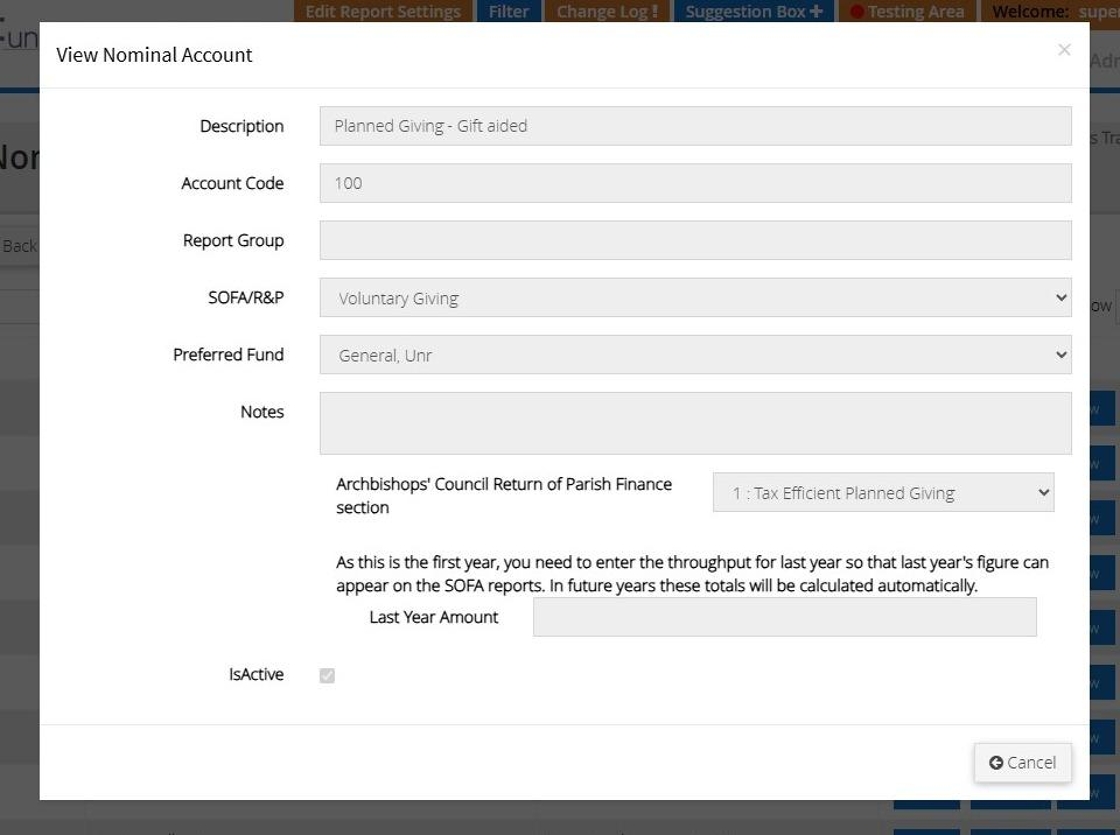
Tip: Tip! Click cancel to close the box and go back to your list of codes
Edit a Nominal Code
Tip: The below steps will guide you in making changes to an existing code
8. Click "Edit"
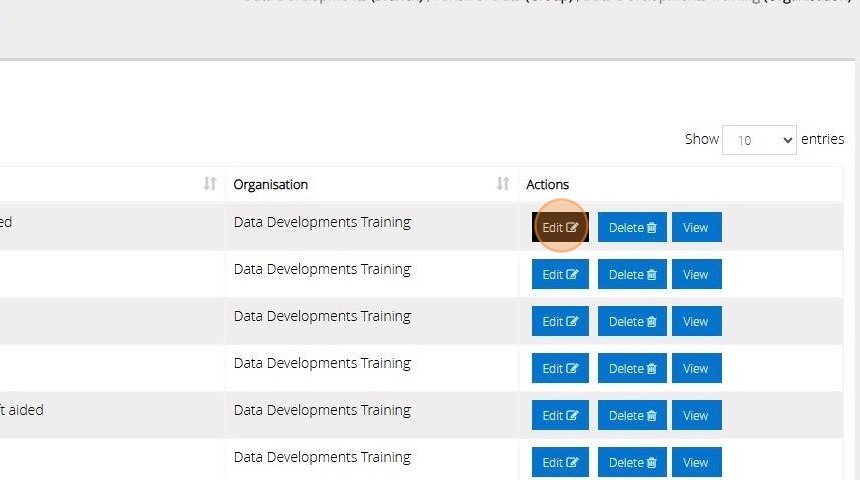
9. Make any changes by over typing in the text boxes or making your selection from the drop down menus
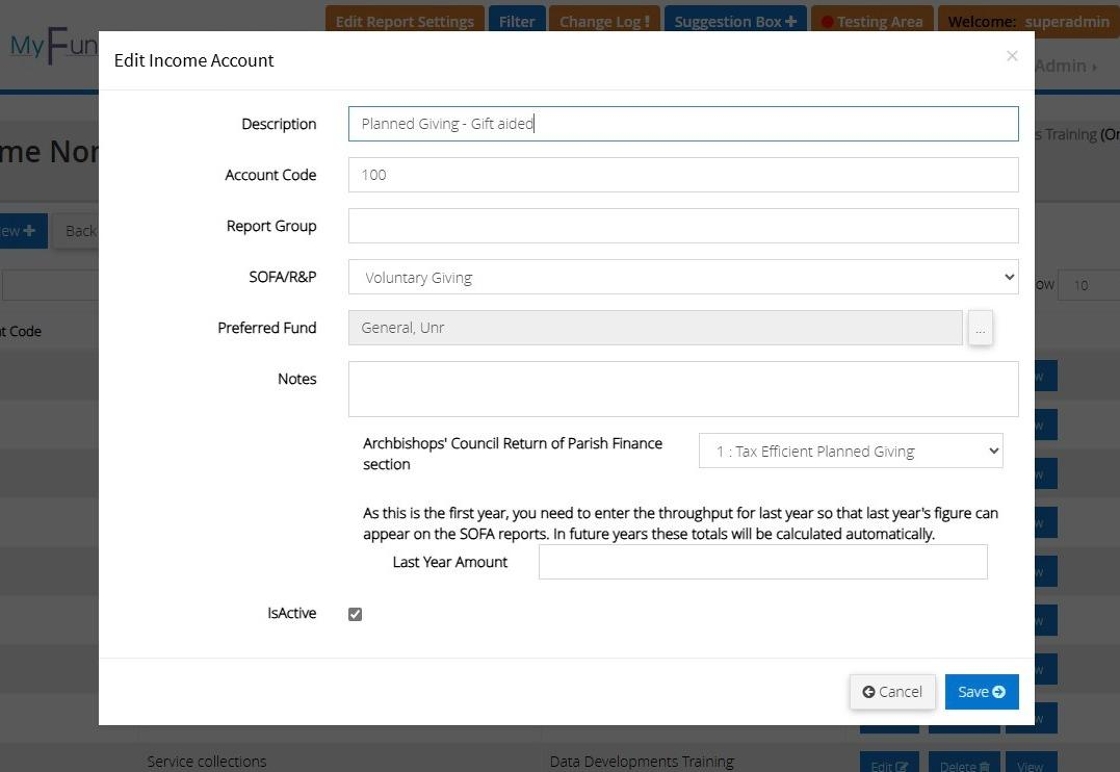
10. To make a code inactive tick the check box next to "IsActive"
The Income code will not appear in any dropdown lists but will appear on any reports that include transactions belonging to the code.
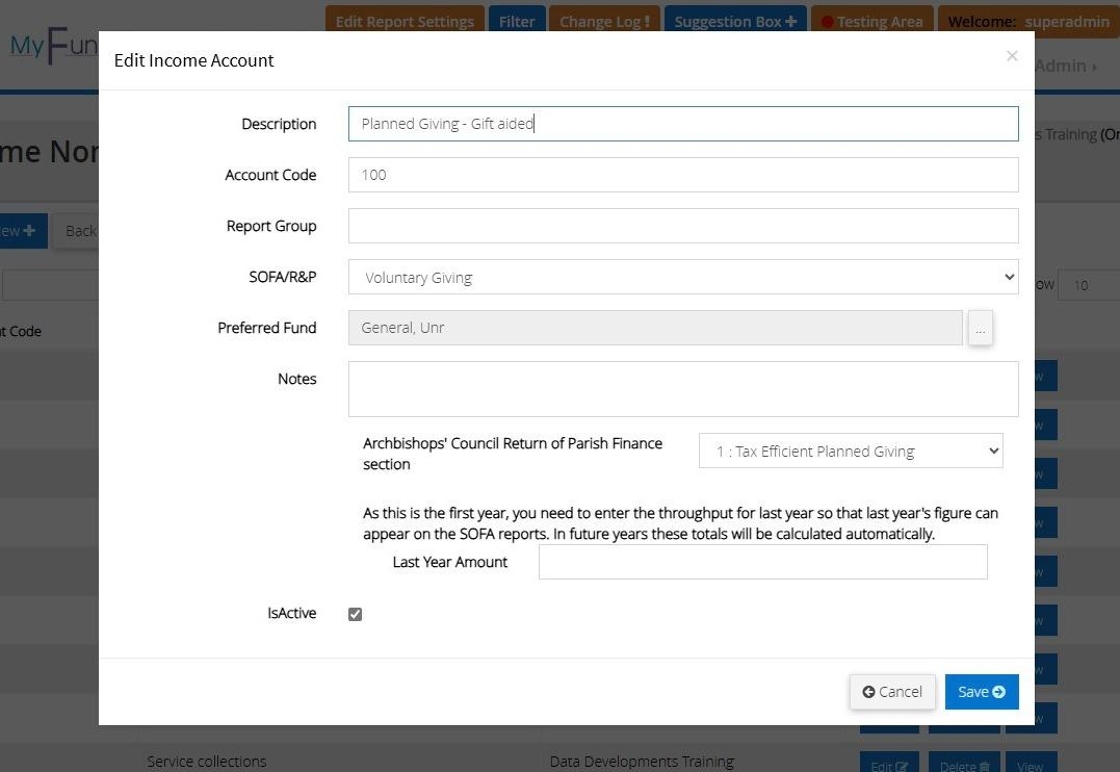
11. Click "Save"
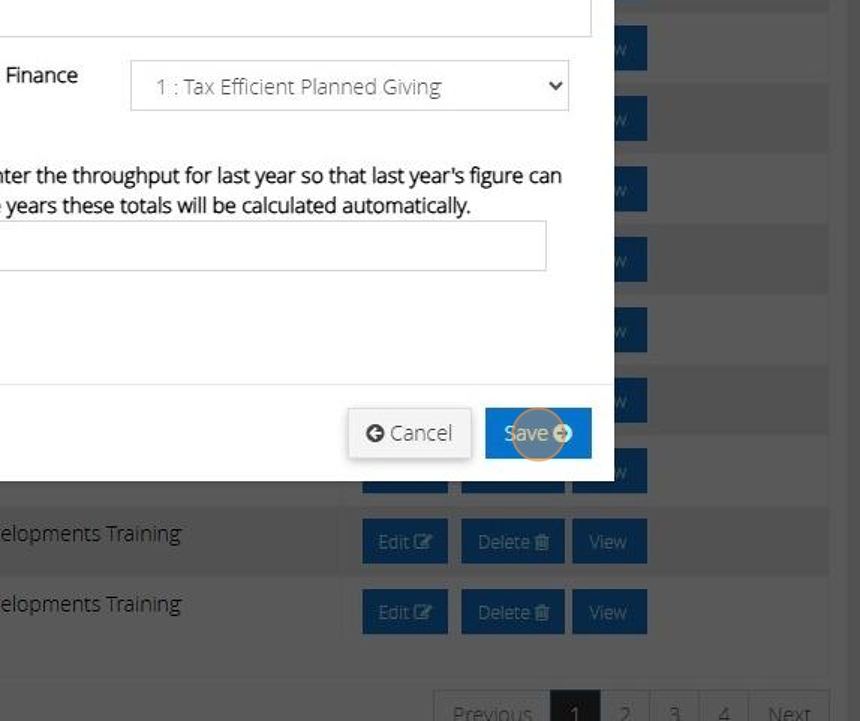
Delete a Nominal Code
Tip: A code that has transactions recorded against it cannot be deleted as this forms part of your financial history. See Edit a code for guidance on marking the fund as inactive.
12. Click "Delete"

13. Click "Yes" to proceed with the deletion

14. The below message will display to show the code has been removed.

15. To create a new Nominal Code see our guide "Creating Nominal Accounts"
Importing CSV file into MyFundAccounting
1. Navigate to https://www.myfundaccounting.online/user
2. Click "Import CSV"

3. Click this dropdown to select your template

4. Click "Choose File"

5. Click "Import"

6. Click this checkbox to individually select the transactions you wish to import
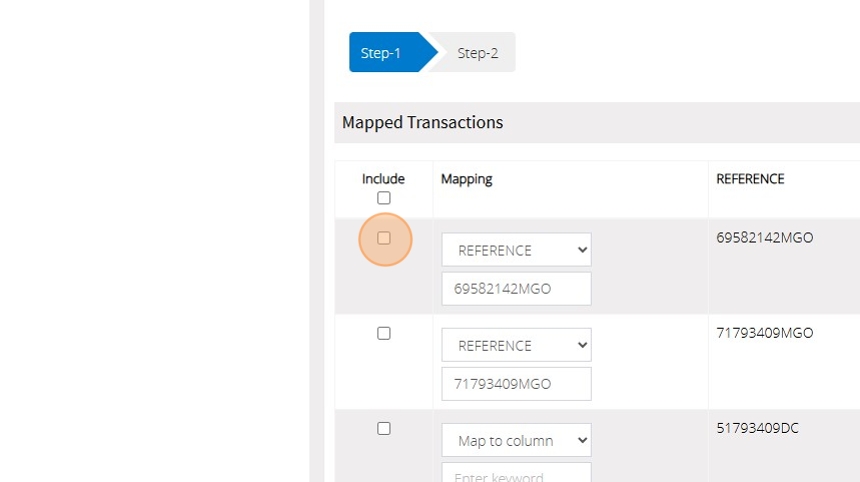
7. Or click this checkbox to select all transactions
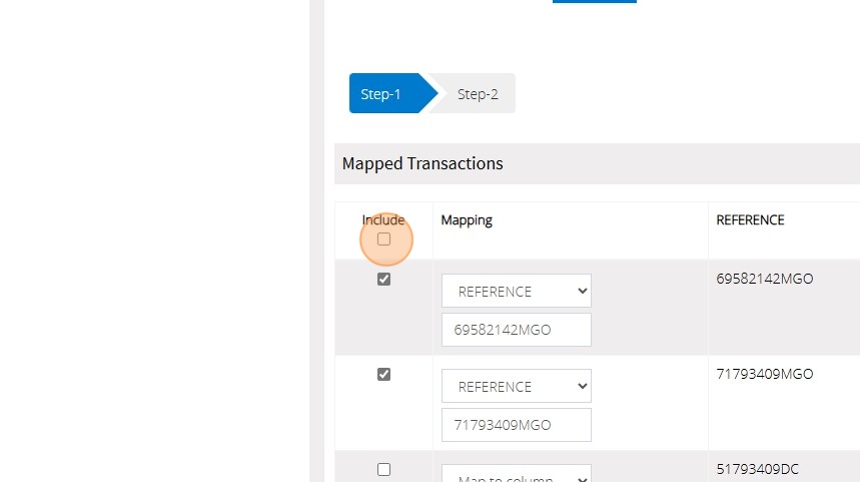
8. And then uncheck the transactions you do not wish to import
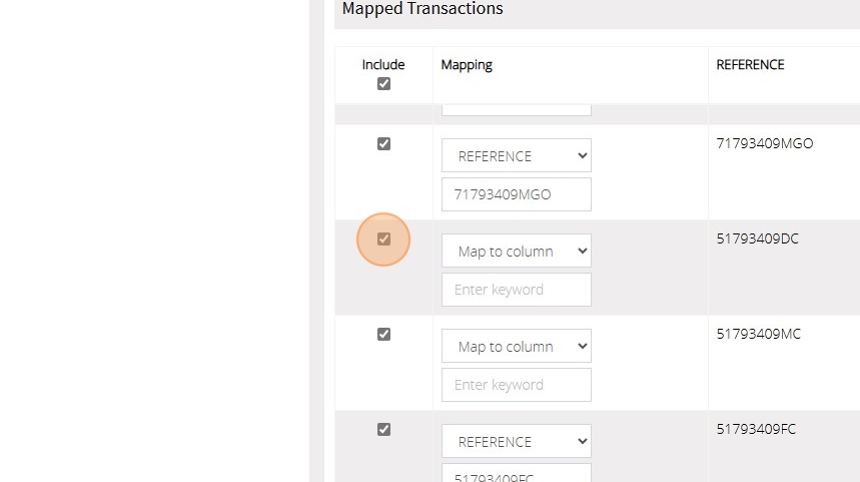
9. Click "Next"
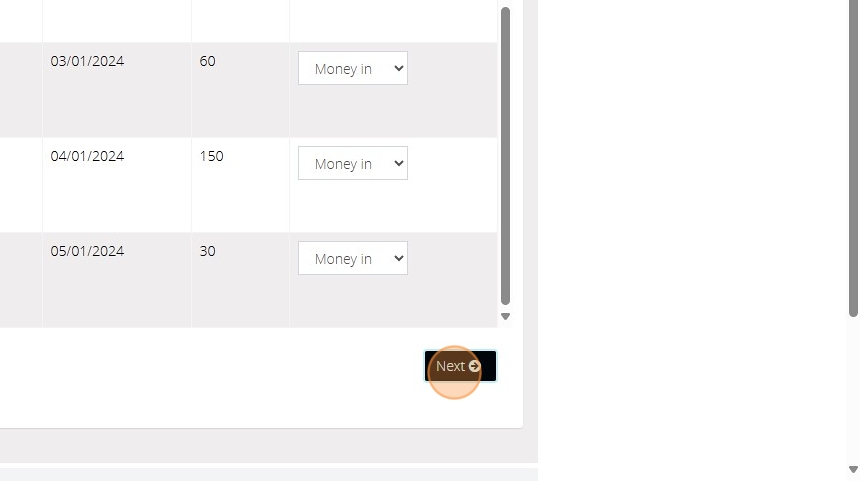
Tip: Any transactions where you have ticked the box but have not provided a keyword will be imported but will not be memorised for a future import
10. Click this button to add elements to a transaction
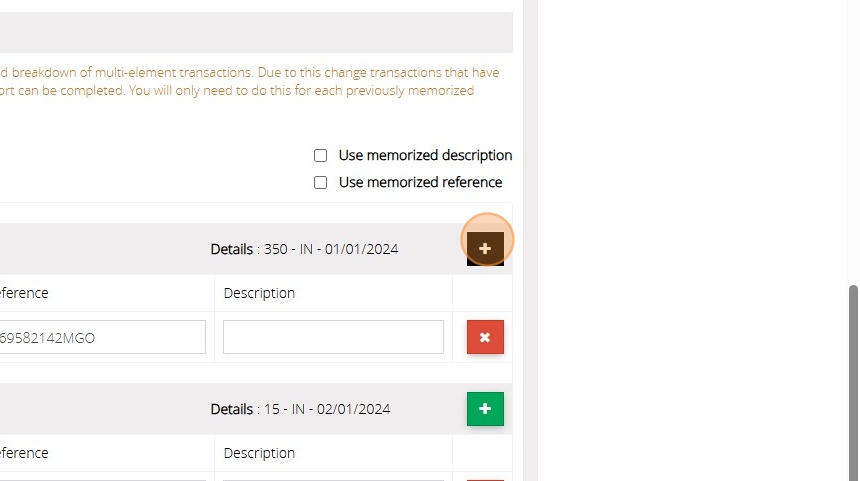
11. Click this button to remove elements from a transaction

12. You can update the amount but you would need to match the total of the transaction across all the elements for the transaction before you can complete the import

13. Click this text field to change the reference recorded against the transaction

14. Click this text field to update the description

Tip: By default the description and reference are pulled through the details in the importing fil if you mapped a "Transaction Description" and "Reference" field when you first set up the template.
15. Click this dropdown to choose the bank account the transactions will be imported under
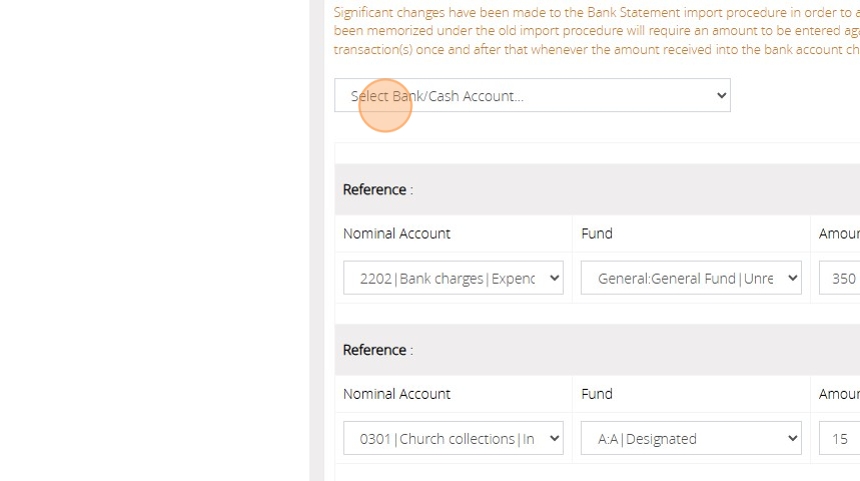
16. Click "Import Transactions" once you are happy with the details you have provided for each transaction you selected in step 1
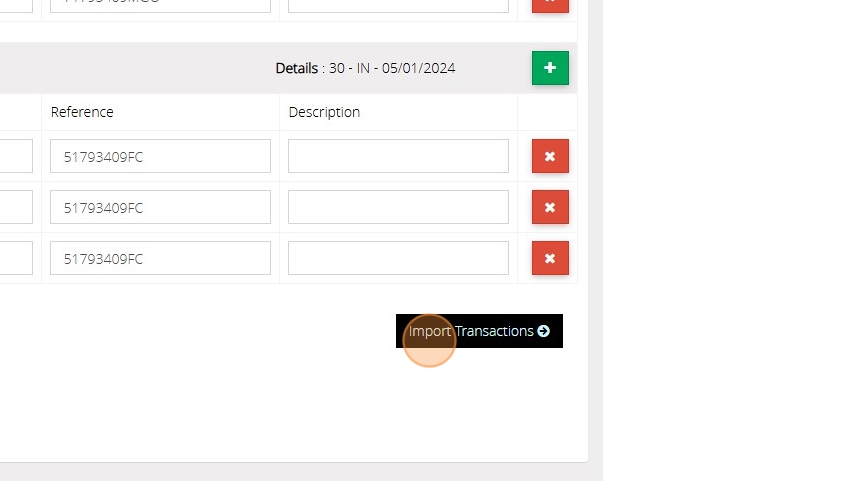
17. Click "YES" to obtain a report which will provide you a list of the transactions created as a result of the import

18. Click "Preview" to view the report created
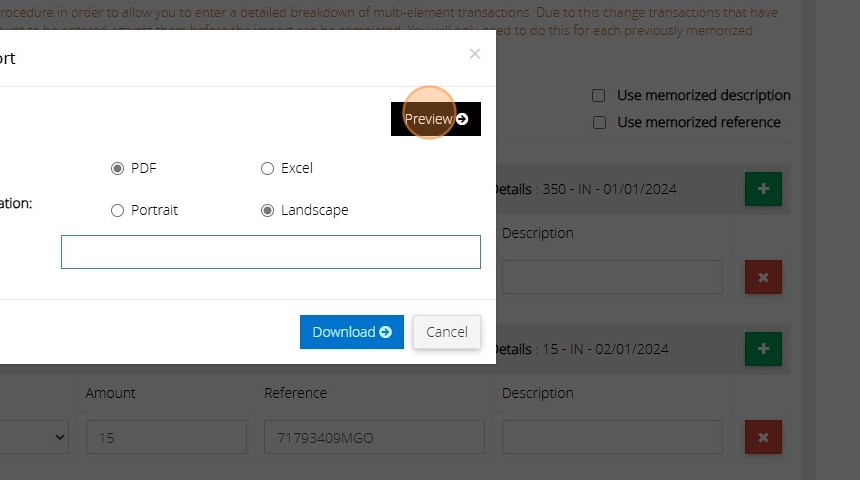
Tip: You can now repeat the process for other months using the same template
Invoice payment links
1. Navigate to https://www.myfundaccounting.online/dashboard
2. Click "Sales and Purchases"
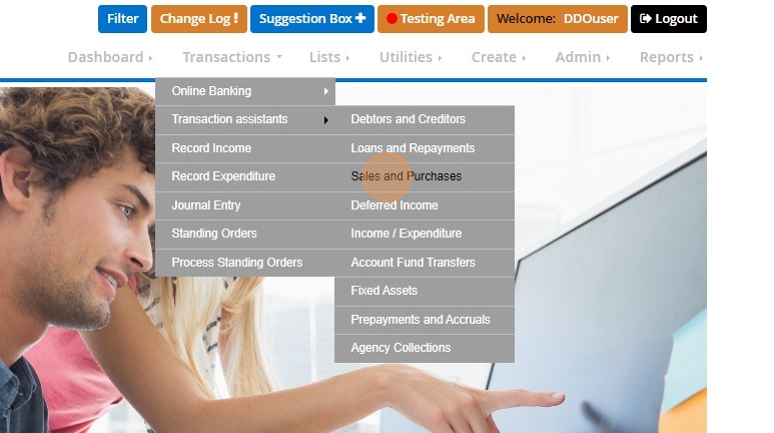
3. Click "Record a purchase"
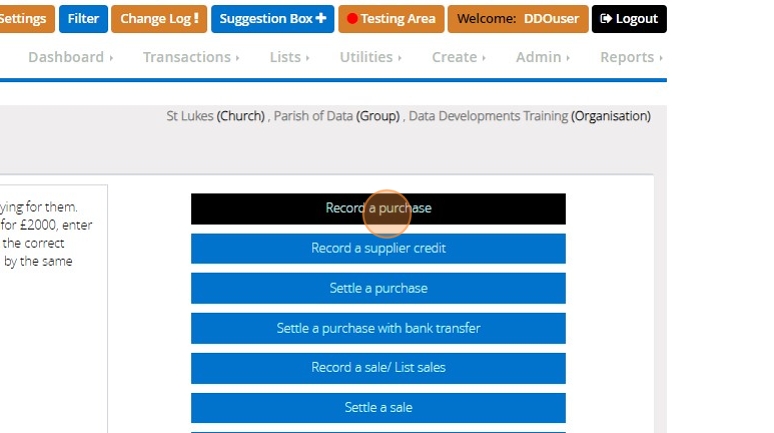
4. Enter the amount of the purchase as £100
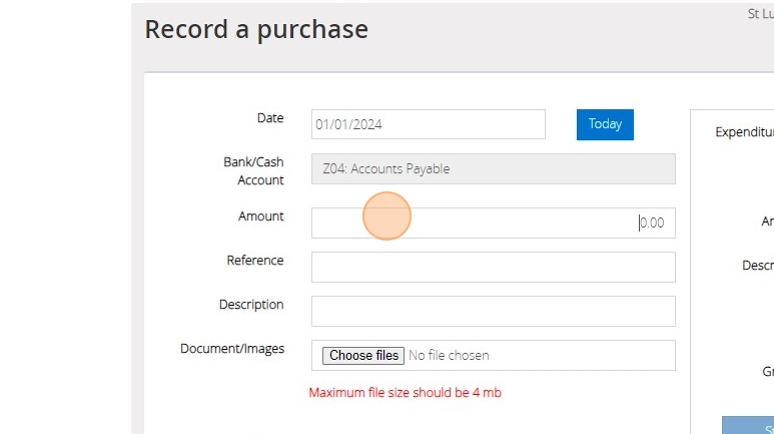
5. Enter the reference Purchase '01'

6. Enter the Description 'Purchase 01'

7. Select the supplier 'Viking Direct'

8. Select the terms 'Settlement within 14 days'

9. Select the Expenditure account 2360 - Administration

10. Click "Store"

11. Click "Post"
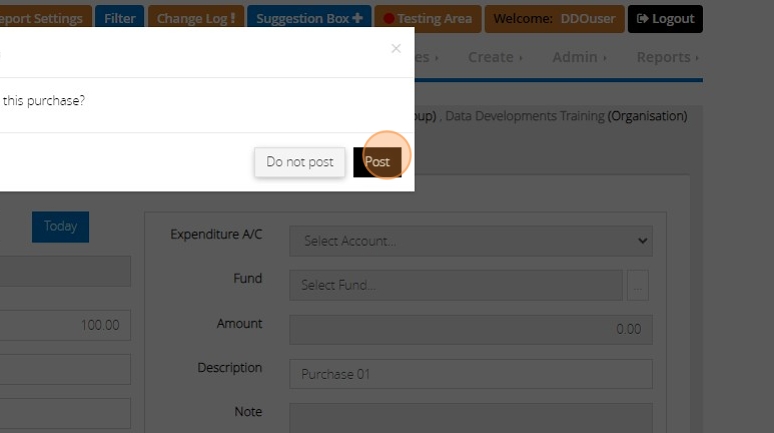
12. Click "Sales and Purchases"
13. Click "Settle a purchase"

14. Click "Bank Current Account"

15. Enter the description for the transaction 'Settlement of purchase 01'
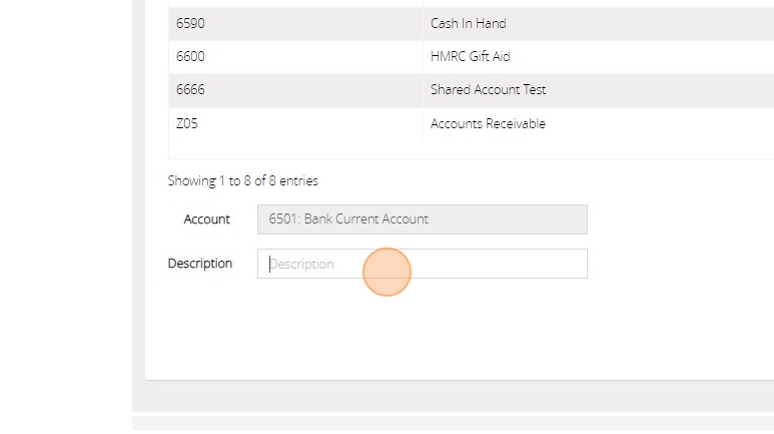
16. Click "Next Step"
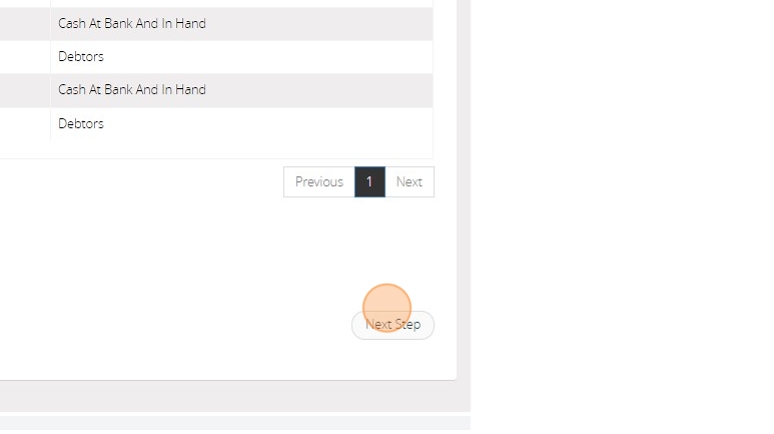
17. Enter the date of the settlement as 01/02/2024

18. Enter the reference as 'Settlement 01'

19. Select the supplier 'Viking Direct'

20. Tick the checkbox in the 'Settle' column next to the purchase that we entered earlier.

21. Enter the cheque number 0001
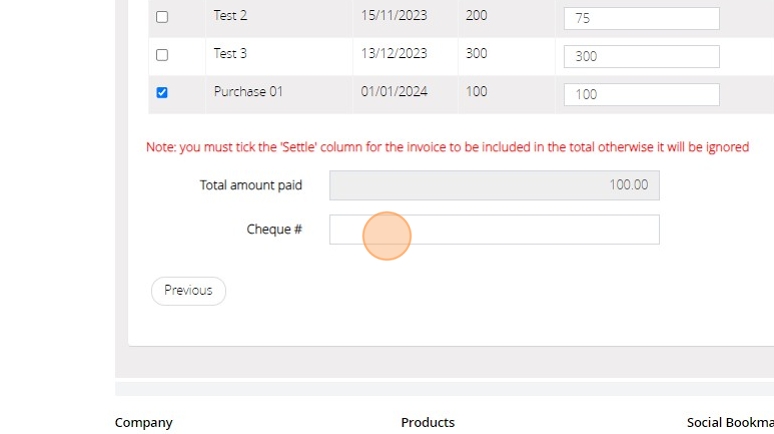
22. Click "Next Step"
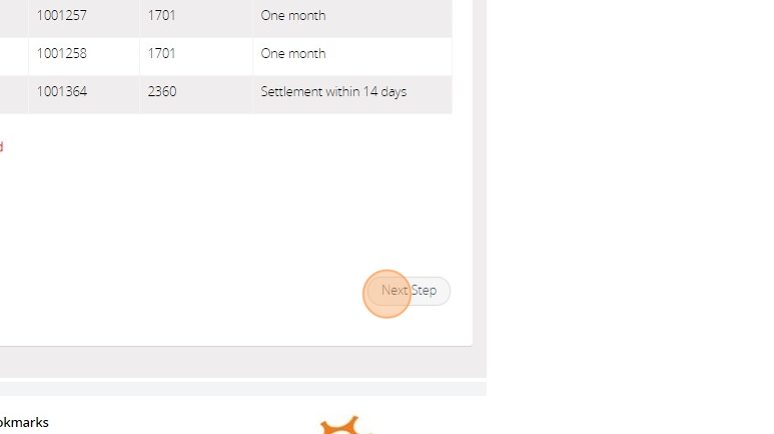
23. Check the details of the transaction and click "Save & Post"

24. Navigate to https://www.myfundaccounting.online/dashboard
25. Click "Transactions"
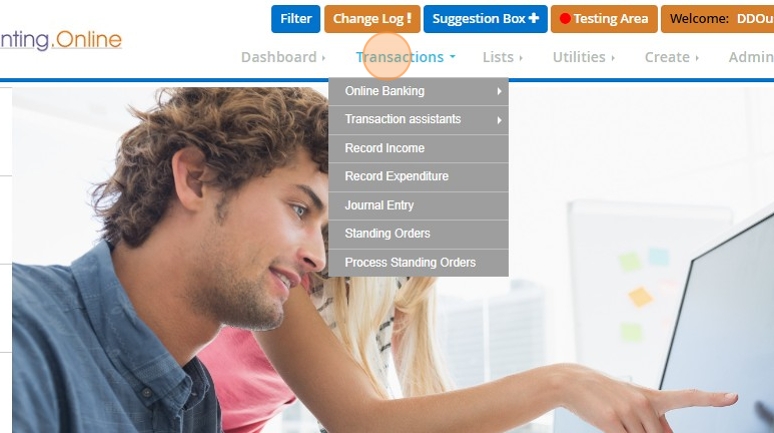
26. Click "Sales and Purchases"
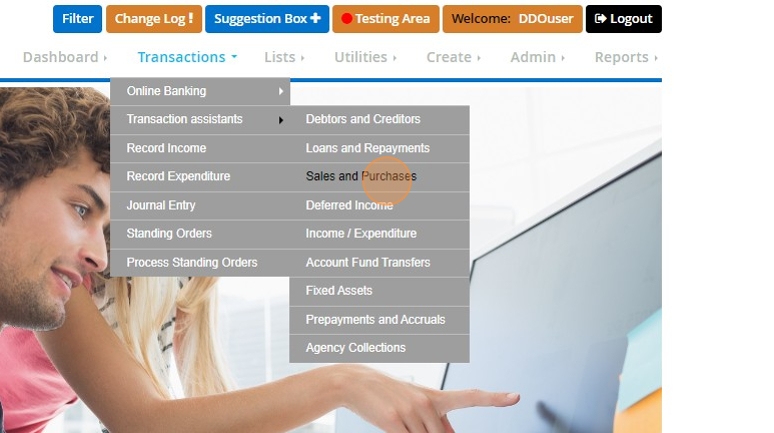
27. Click "Record a sale/ List sales"

28. Click "Add New"
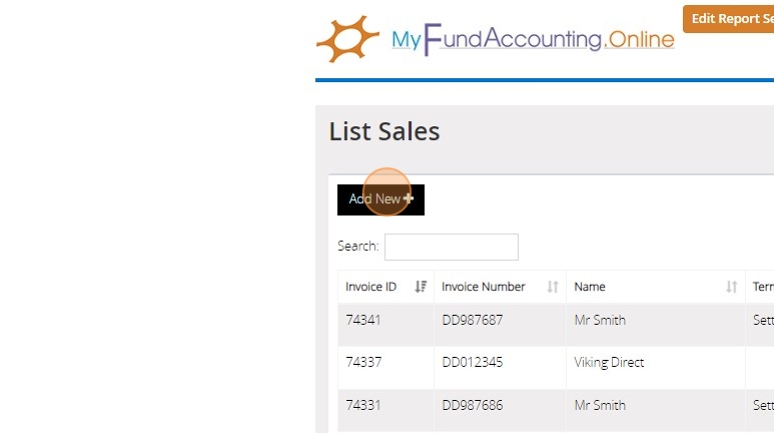
29. Fill in the information for your invoice, including the customer and product selection.

30. Click "Select Product"

31. Click this text field.
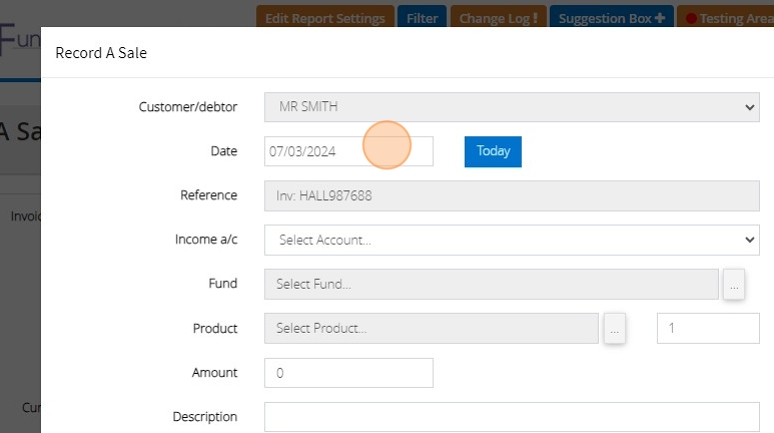
32. Click "..."

33. Click "Store" once you have filled in the date, product, relevant income code and descriptions.

34. Click "Post"
35. Select the bank account in your system that this transaction will be paid into. If you have set up the information for 'Account holder name', 'sort code' and 'account number' against the nominal account, they will automatically pop up. If not, you can fill them in at this point.
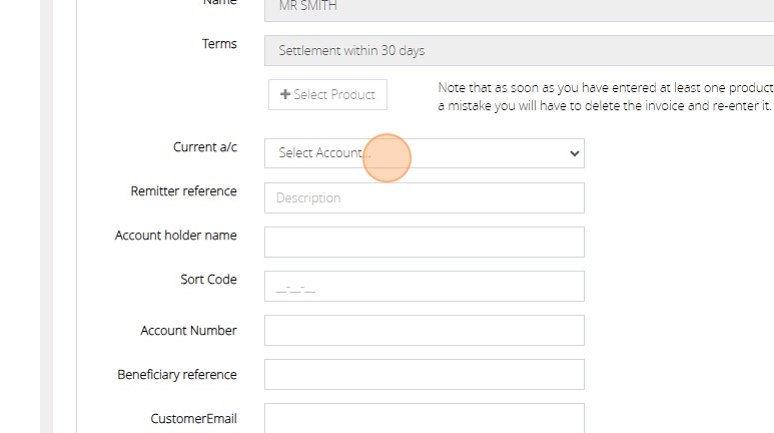
36. Enter a remitter reference and beneficiary reference that will appear on the transaction on the bank statement to help you recognise the transaction.

37. Click this text field.

38. Enter the email for the customer that you would like to send the invoice payment link to.

39. Click "Send Customer Email"
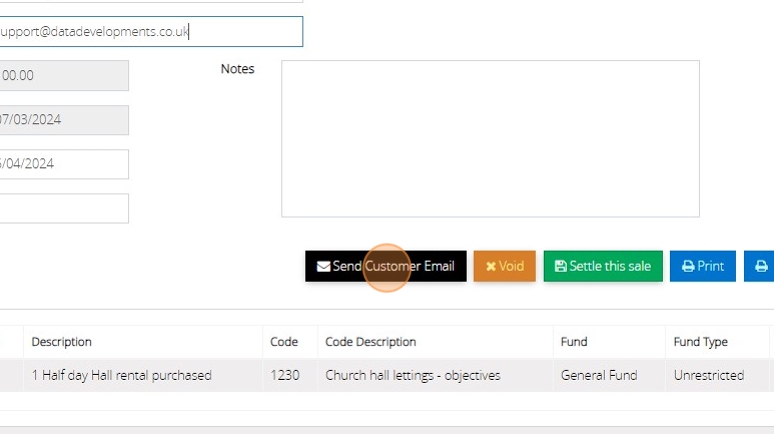
40. The customer will receive an email with a copy of the invoice and a link that they can click which will take them to where they can select their bank and sign into it securely to make the payment.

41. Once they have made this payment, they will be redirected to a thank you note which will give them the details of the audit number of the transaction in your system, as once the payment has been made it is automatically posted in MyFundAccounting.Online.

Limited the data on reports to specific date ranges
1. Navigate to https://www.myfundaccounting.online/dashboard
2. Click "4 Columns"
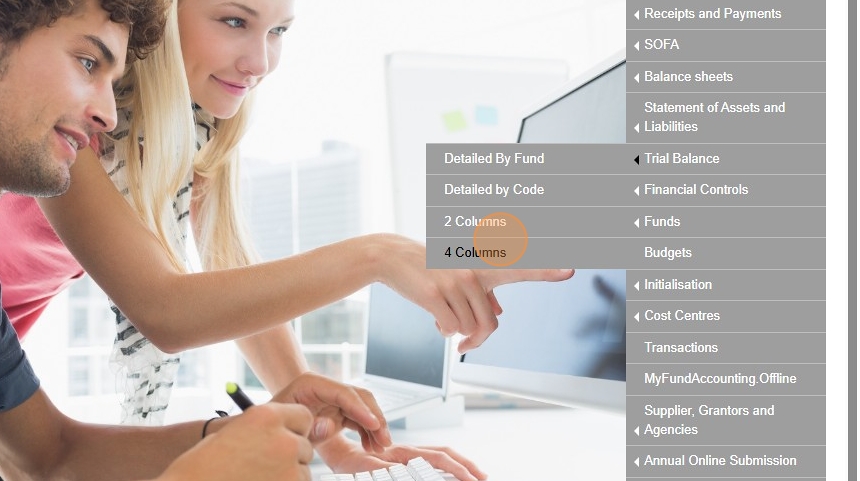
3. Click this dropdown.
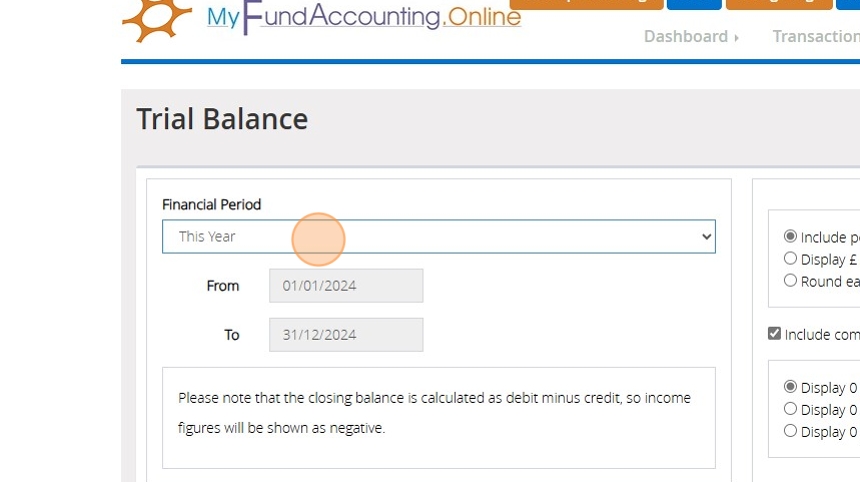
4. Click the From field
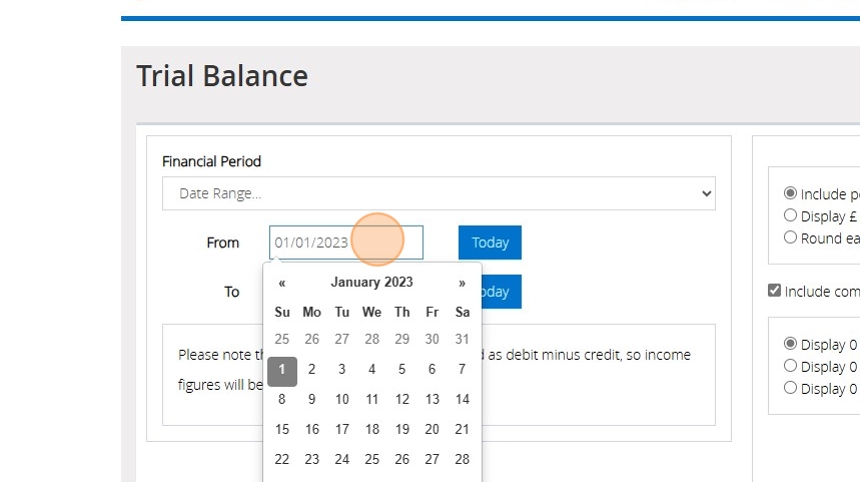
5. Change the date to 01/01/2024
6. Click the To field
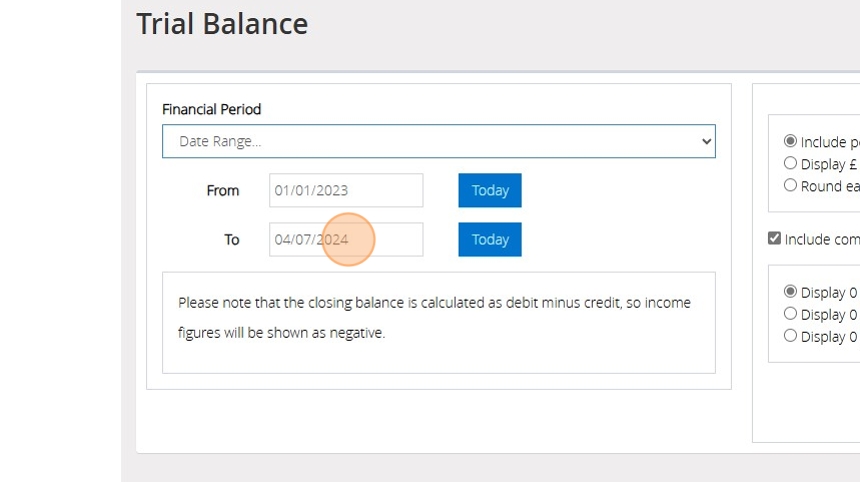
7. Change to 29/05/2024
8. Click "Refresh"

9. Click "Preview & Export"
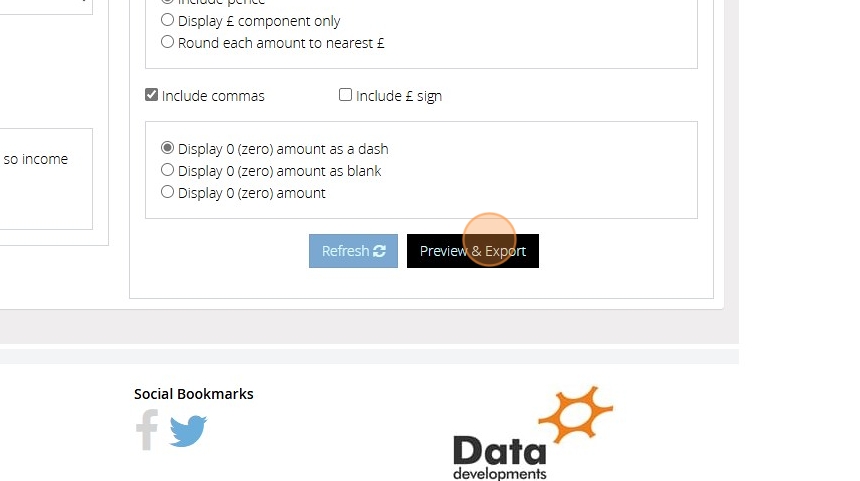
10. Click "Preview"
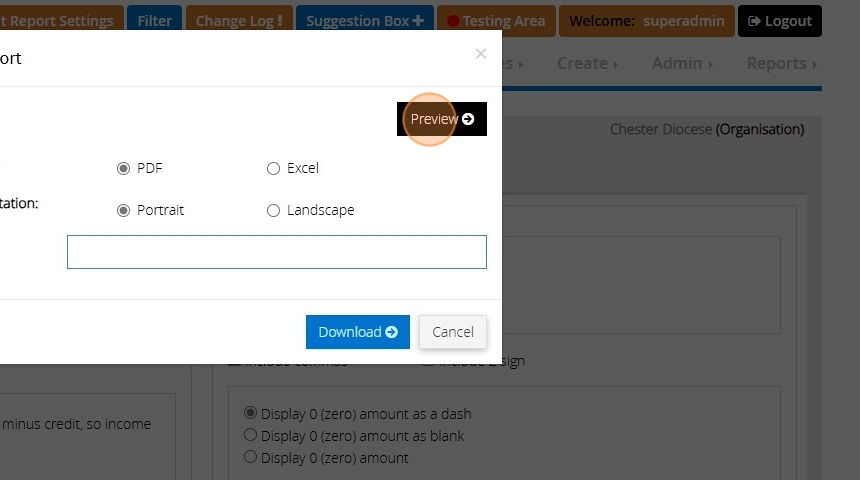
Loans and Repayments
Tip: The following steps will assist you in managing loans and repayments.
Tip: Loan from a third party - A from a third party such as the bank should be recorded using the below steps. The balance will be allocated to a liability account as you owe money to a third party.
1. Navigate to https://www.myfundaccounting.online
2. Click "Transactions"
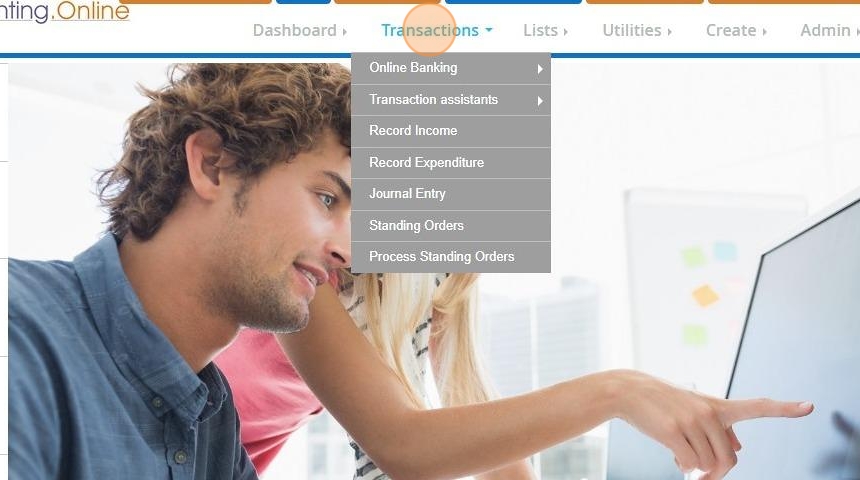
3. Click "Transaction assistants"
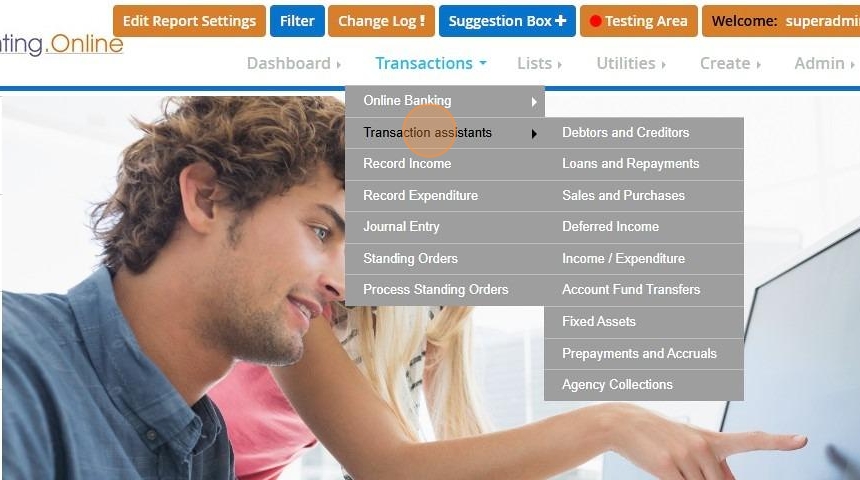
4. Click "Loans and repayments"

5. Click "Loan from a third party"
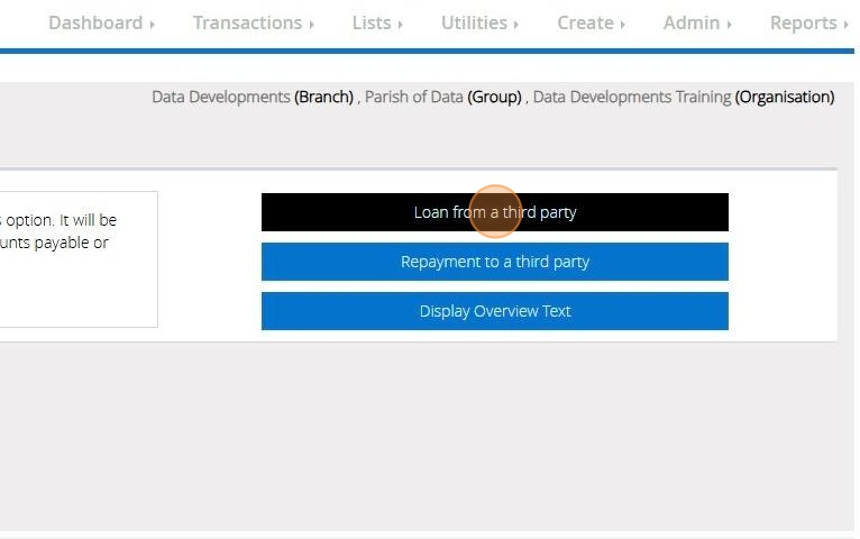
6. On Step 1 select the liability code

Tip: Tip! Accounts payable or Loans received are accounts that could be used.
7. Click "Next Step"
8. In Step 2, choose the current asset that you wish to use.
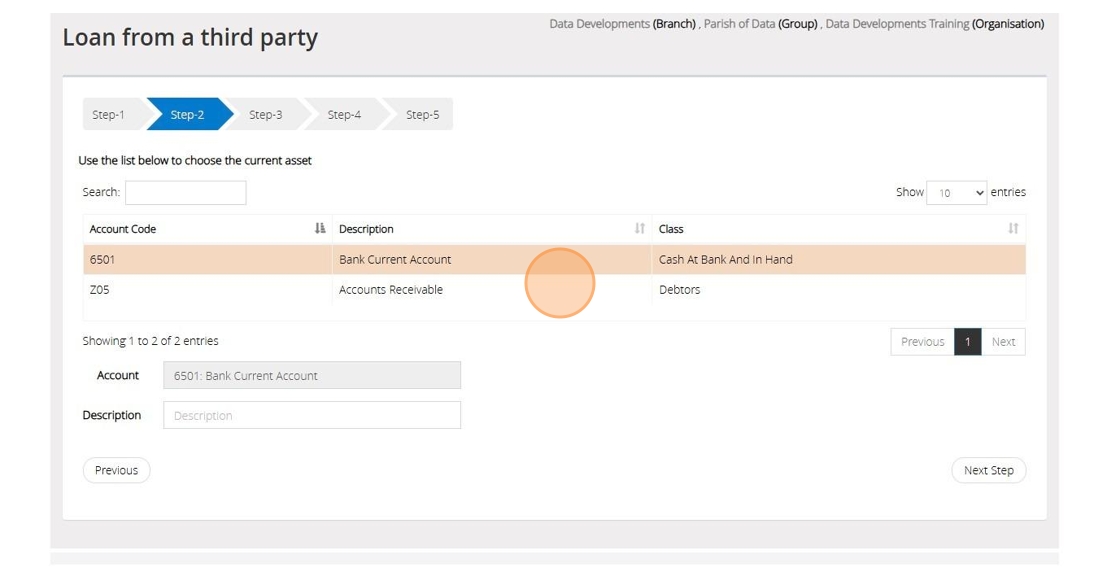
9. Click "Next Step"
10. In Step 3, input the date, provide a reference, and enter the amount of the loan
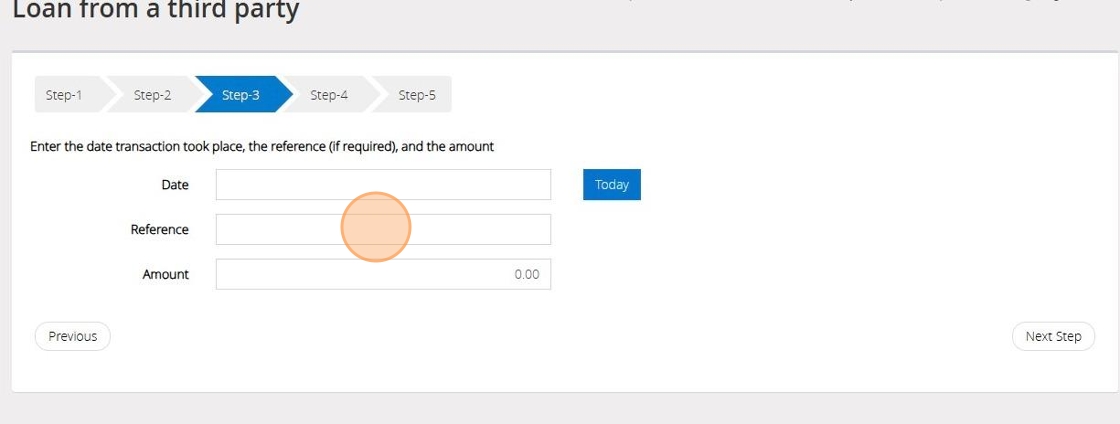
11. Click "Next Step"

12. On Step 4 select the fund that the transaction should affect

13. Click "Next Step"

14. On Step 5 confirm the selections that have been made > Once ready click "Save & Post"
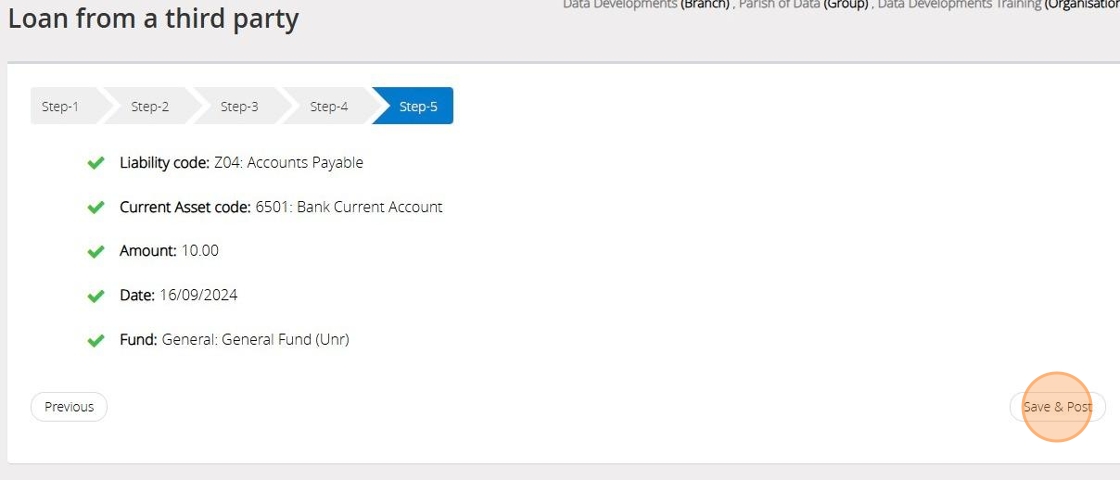
Repayment to a third party
Tip: Use the below steps when you need to record that a loan has been repaid partially or in full
15. Click "Loans and Repayments"

16. Click "Repayment to a third party"

17. On Step 1 select the current asset from your list that has been used to repay the loan

18. Click "Next Step"

19. On Step 2 in the upper section, select the liability code that should be used to record the capital amount

20. On Step 2 in the lower section select the expenditure code that should be used to record the interest

21. Click " Next Step"
22. On Step 3, Enter the date and a reference. Enter the amount of Capital and the amount of interest
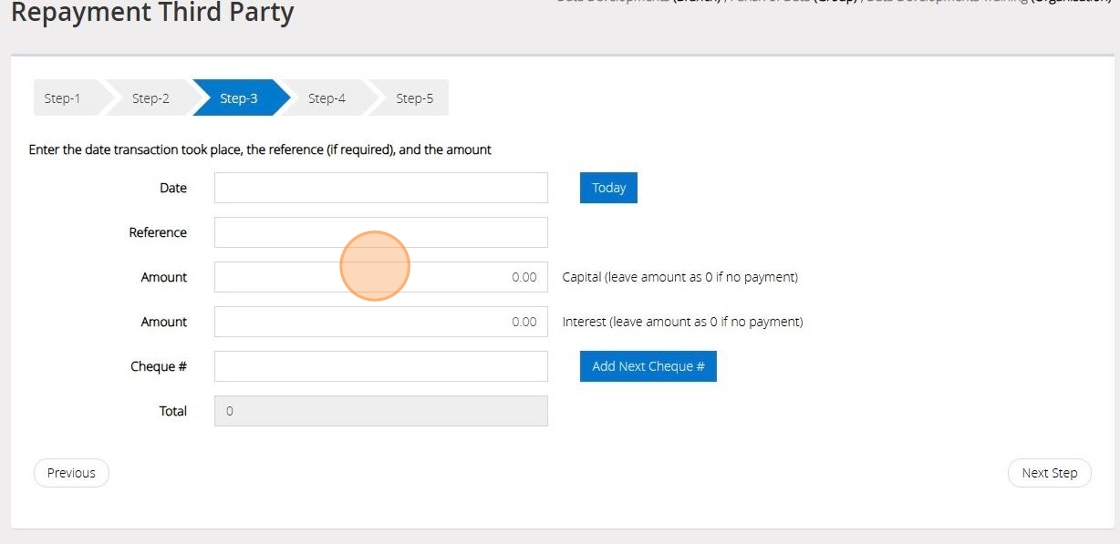
Tip: Tip! If no capital or interest is recorded then leave the amount as 0.00
23. If a cheque was issued click "Add Next Cheque" to auto- fil the subsequent cheque number
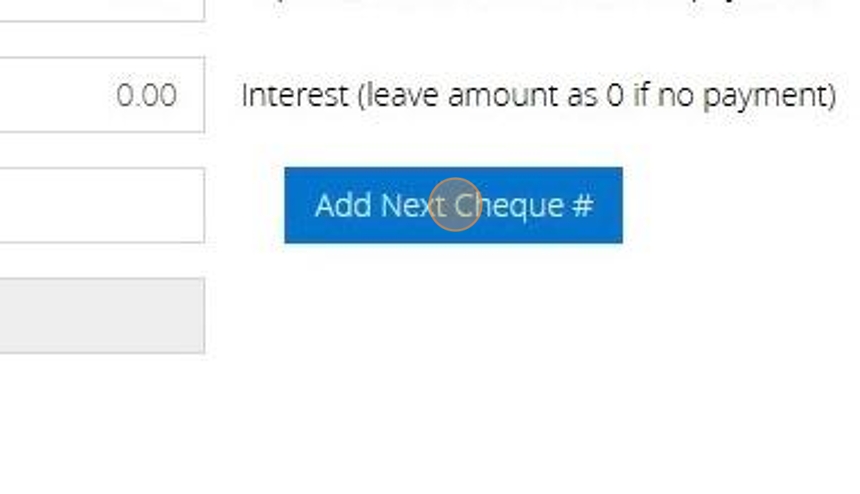
24. Click "Next Step"

25. On Step 4 select the fund that the repayment should affect
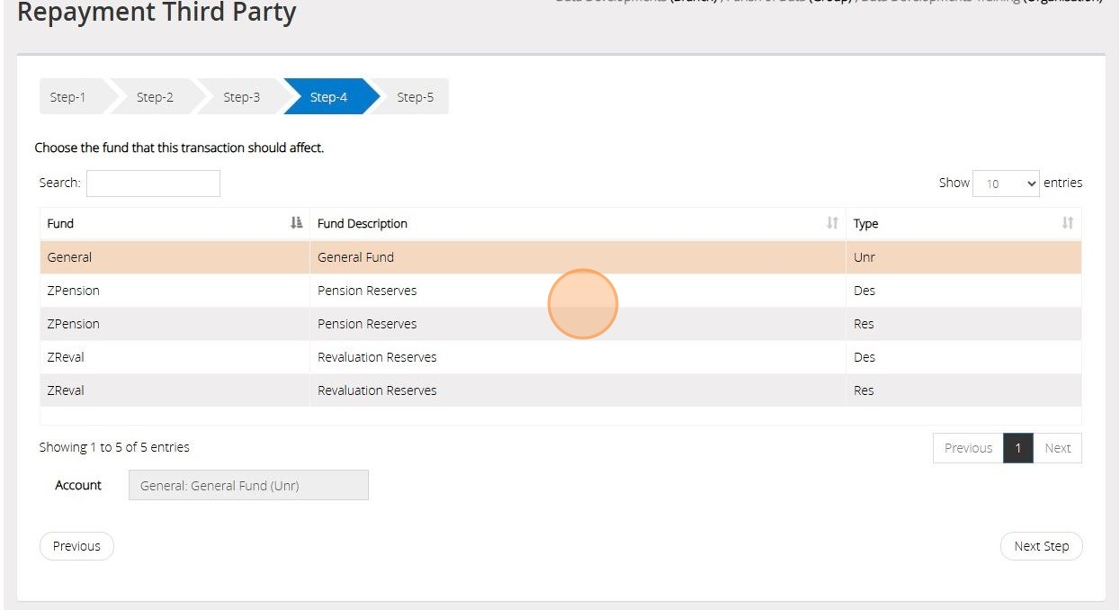
26. Click "Next Step"
27. On Step 5 confirm the selections that have been made > Once ready click "Save & Post"

28. Click "Save & Post"
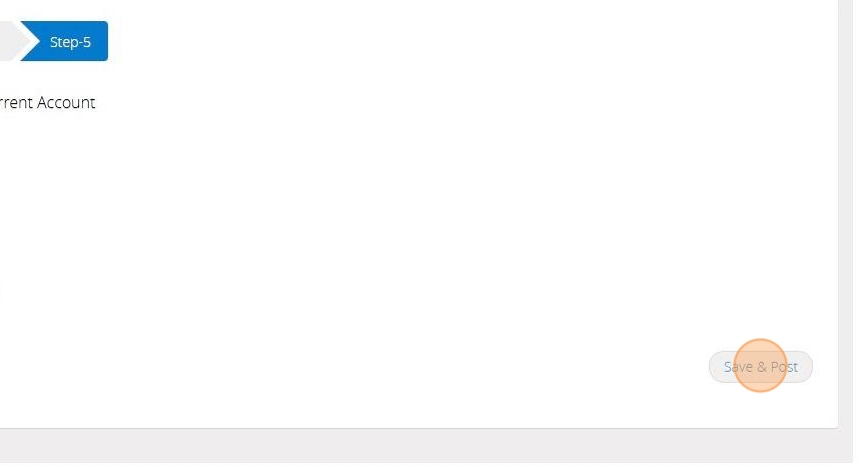
Managing Agency Transactions
Creating Agency Accounts
1. From the Dashboard
2. Click the "Create" menu, highlight the "Accounts Assistant" and click on "Suppliers, Grantors, Agencies"
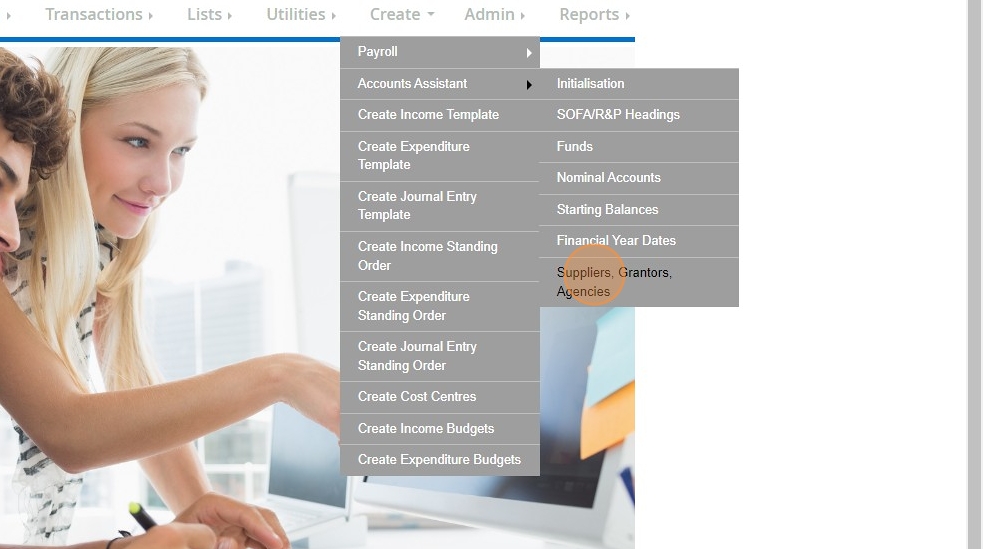
3. Click "Suppliers, grantor, contacts, agencies (postbox a/cs)"

4. Click "Add New"
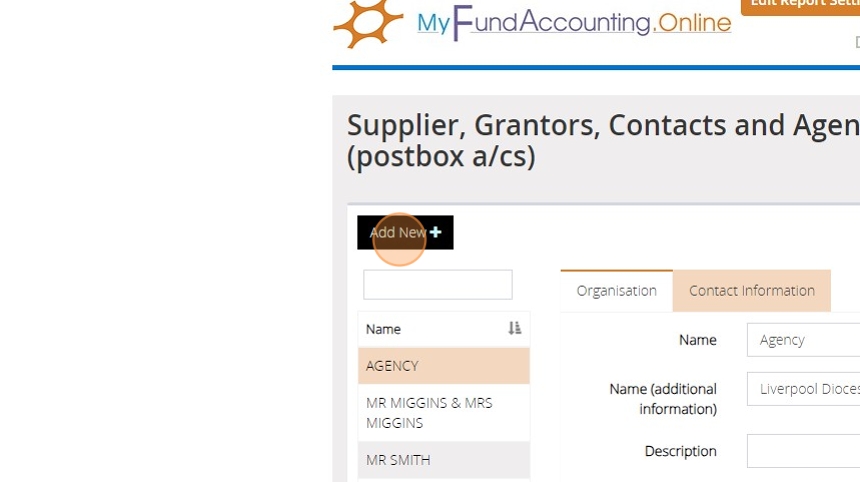
5. Click the "Name" field.

6. Enter the name of the Agency you are wanting to create for example "Children in Need".
You can also add in the name and address information if you wish to, as this could be useful to contact the organisation at a later date, however, it isn't required. to create the Agency. You could also come back and add this additional information at a later time if you wish to.

7. Click the "Agency" field.

8. Click "Save"

Recording Income and Expenditure for an Agency.
9. There are a couple of ways that you can record income and expenditure for an Agency Collection. The first is by using the "Assistant" which will guide you through the process step-by-step.
To access this click the "Transactions" menu, highlight "Transaction Assistants", and then click on "Agency Collections".

10. Click "Agency Transactions (postbox)"

11. Firstly you will need to specify whether you are recording the collection of the money, or recording its payment out of your bank account.

12.
Select the appropriate option and then click "Next Step"
13. Select the Agency this money belongs to from the dropdown box.

14. Click "Next Step"

15. Enter the "Amount", "Date" and "Reference" of the transaction you are recording.

16. Click "Next Step"

17. Select the Bank Account that the transaction relates to.
If you are recording a payment to the Agency, ensure that you select the same account that the money was paid into originally.

18. At the bottom of the window, you can enter a description for the transaction.
Descriptions are a quick and simple way of being able to identify the transaction at a later date.
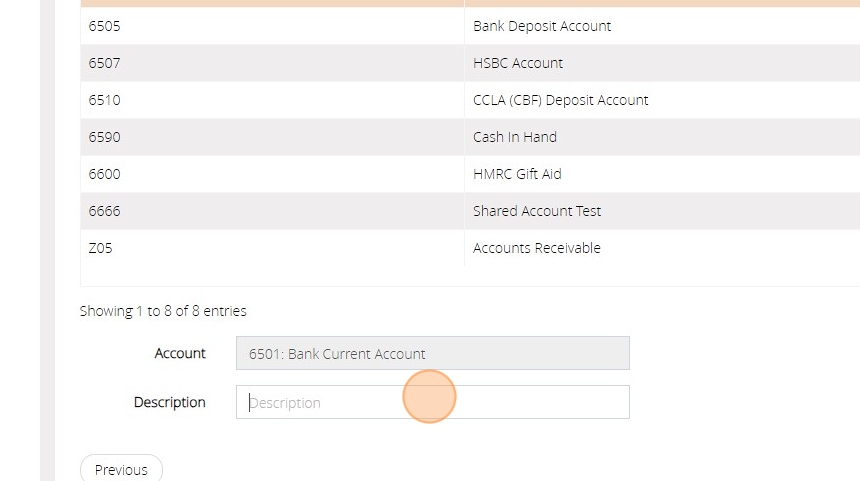
19. Click "Next Step"
20. The final page will display an overview of the information you have entered. If everything looks correct and you are happy to proceed click "Save & Post".
If any of the elements are incorrect you can return to the previous steps and make the changes as necessary using the "Previous" button.
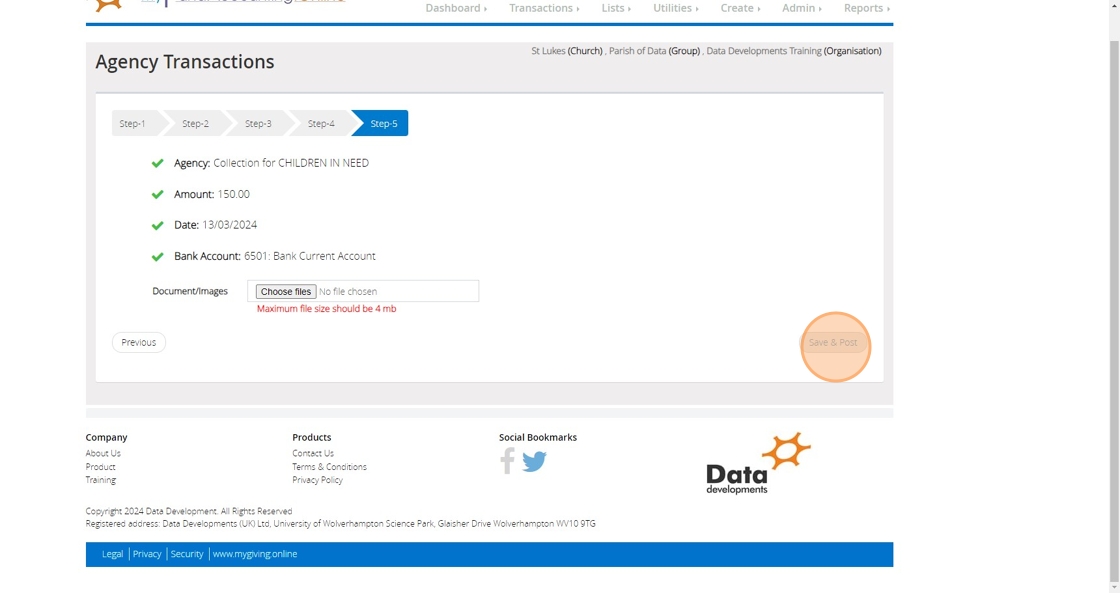
21. You will receive a confirmation message that the transaction has been posted successfully, along with an "Audit Number" reference for your records. Click "OK"

22. You can also record Agency Collections using the normal "Record Income" and "Record Expenditure" screen.
These screens provide you with a bit more flexibility, for instance recording Agency money received along with other monies banked at the same time. The overall process is the same for recording both money in a money out, so for this example will will demonstrate recording the income received.
Click "Record Income"
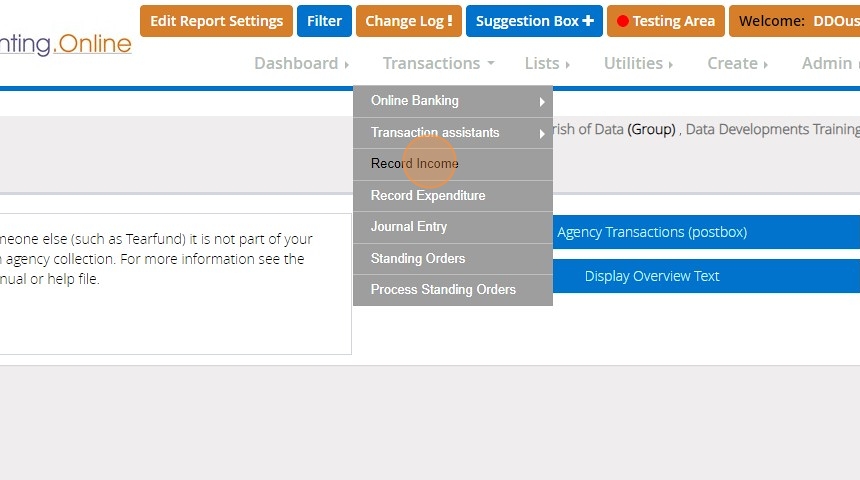
23. Select the "Bank Account" the money was paid into.

24. Enter the "Amount", "Date" and "Reference" of the transaction you are recording.

25. Under the Income A/C section. Click "Select Account..."

26. From the dropdown list select nominal account "6699 - Agency Collections"
27. Under the "Agency" dropdown select the agency account this transaction relates to.

28. Click "Store"

29. You will receive a confirmation message that the transaction has been posted successfully, along with an "Audit Number" reference for your records. Click "OK"

30. Click "OK"

Producing Agency Reports
31. To produce a report of the Agency Transactions you have recorded. Click "Reports"
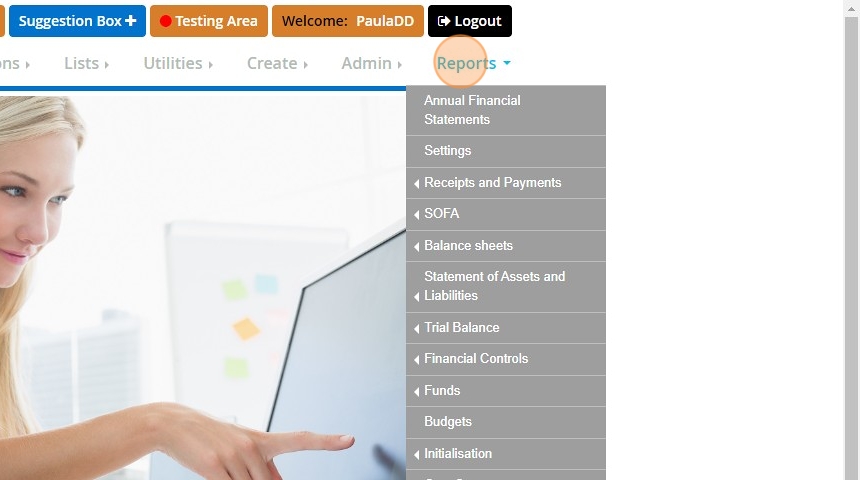
32. Click "Supplier, Grantors and Agencies"
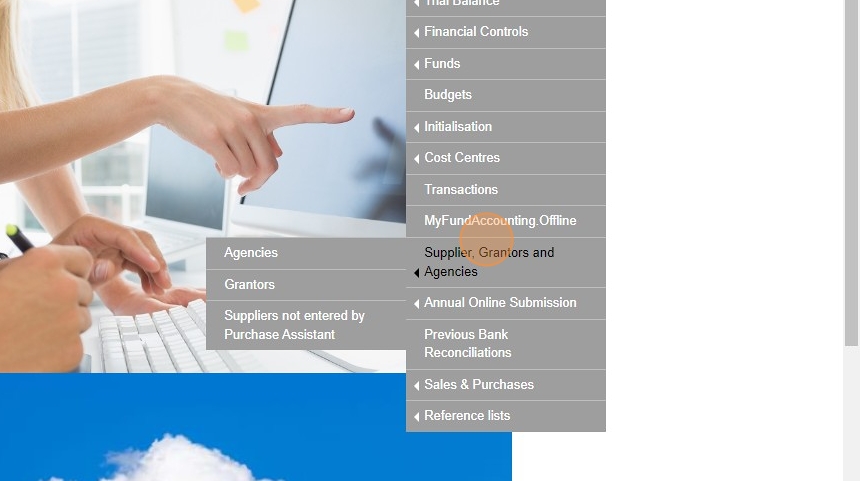
33. Click "Agencies"

34. Ensure that the correct Financial Period you wish to use is selected.

35. Select the Agency or Agencies you wish to produce the report for.

36. Click "Refresh"

37. Click "Preview & Export"

38. Click "Preview".
This will open the report on a new tab, and you will be able to see the transactions grouped by the 'Agency/Postbox' they are allocated to. It will also provide you with a balance so that you can easily see which Agencies still have amounts outstanding and are due to be paid to the relevant organisation.

Managing Payroll and Employee Information
Accessing the Payroll feature
Tip: Contact us either by email (support@datadevelopments.co.uk) or phone (01902 714030) to enable this feature on your account
1. Navigate to https://www.myfundaccounting.online/managepayroll#/
2. Click "Manage Payroll"
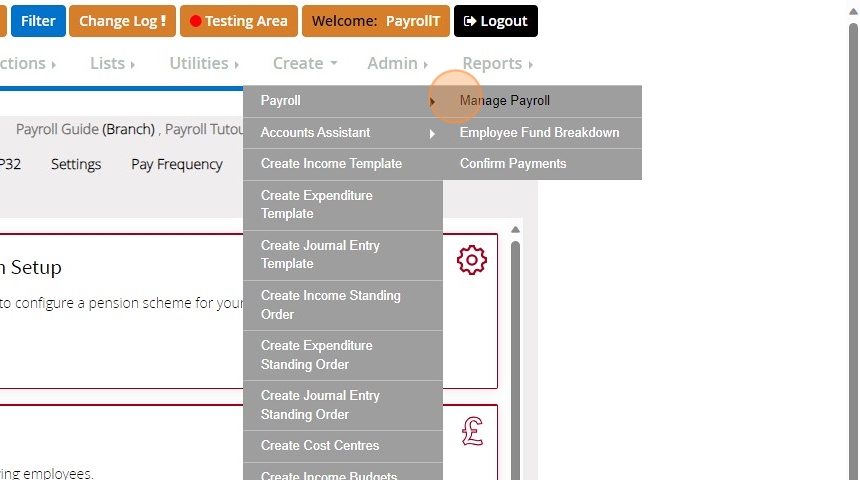
Update Company Information
3. Click "Settings"
4. Click "edit" on the "Tax Reference" panel

5. Enter in your HMRC assigned references for the as relevant. The Accounts Office and PAYE reference are required in order to submit information directly to the HMRC from MyFundAccounting

6. You can click the green "?" next to each label to get more information about what is being requested

7. Click "Save"

8. Click "edit" on the "Government Gateway Credentials"
9. Click "Save"

10. You can update any other section on this page by clicking the edit button if you wish to
Tell us how often you pay your Employess (Pay Frequency)
11. Click "Pay Frequency"

12. Click "Add Pay Frequency"
13. Click the "Pay frequency" dropdown and select the relevant option e.g. Monthly

14. Click the "Name" field and enter a description to distinctly identify these pay frequency e.g. "Monthly Month Beginning" for the frequency set up as being paid at the beginning of the month and "Monthly Month End" for the frequency set up as being paid at the month end. (Step 16)

15. Click on the pay day type to provide us with the date your employees are paid. If you choose the "Day of month" option you can then provide more information on the day

16. If you are using the "Day of Month" pay day type the first pay date must correspond with the entered day of month e.g. 14/01/2024 would be valid in the below example but 15/01/2024 would not

17. The reference period can be provided where applicable e.g. part time employees. Click "Save"

18. Click "Save"

Opening Figures
19. You can provide "Opening Figures" for
Employment Allowance Used
Statutory Payments Claimed
Apprenticeship Levy
20. Click "Add Opening Figures"

21. Click "2023 - 2024" or the provided tax year range appropriate to todays date
Tip: Tip! Abbreviations
Statutory Maternity Pay - SMP Recovered
Statutory Paternity Pay - SPP Recovered
Statutory Adoption Pay - SAP Recovered
Statutory Shared Parental Pay - SHPP Recovered
Statutory Parental Bereavement Pay - SPBP Recovered
22. Enter the figures against each field as appropriate and then click "Save"
23. If you have made any mistakes with the entered amounts you can click "edit" to bring the form back up
24. Click "Save" once you've made the necessary amendments
Tip: Tip! You can add multiple pay frequencies for employees paid more frequently, on different days of the month and/or work part time
Creating Employees
25. Click "Employees"
26. Click "New Employee"
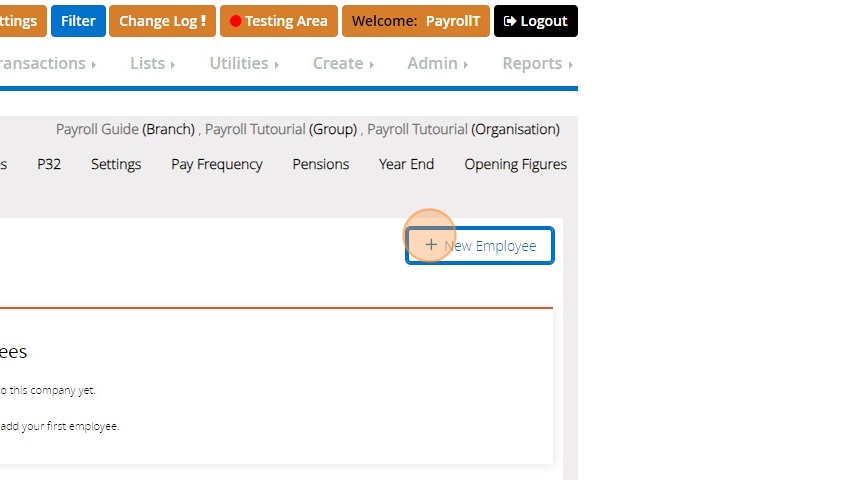
27. If you get a message about the lack of a "Pay Frequency" jump to Step 11 if you haven't created one or refresh the page.

28. Fill out the form with the requested information

29. Click "Next Step"

30. Provide the address of the employee and Click "Next Step"

31. Enter the employees date of birth and Click "Next Step"

32. Choose the gender and Click "Next Step"

33. Enter the "National Insurance Number" of the employee and Click "Next Step"

34. Provide details of any Government loan for higher education the employee might have and Click "Next Step"

35. Choose the relevant option to tell the system if the employee being added is a new or existing employee. Depending on your choice the subsequent steps will be different. In this example we are adding a new employee.

36. Provide the employee start date and indicate whether the employee is coming from a previous job or not by selecting if a P45 is available. In this example we do not have a P45. Click "Next Step"

37. Click the relevant option to describe why a P45 is not available for the employee. In this example we select "(B) This is their only job, but since 6 April 2023 they’ve had another job, or have received taxable Jobseeker’s Allowance, Employment and Support Allowance or Incapacity Benefit. They do not receive a State Pension or workplace pension"

38. Click "Next Step"

39. Click the "RTI Payroll ID" field and enter in a new Unique ID for the employee or copy over the same ID used in the previous payroll system you may have used. You may want to contact your old provider for assistance of where the ID would be retrievable on their software

40. Click "Save"

41. You can at this point skip creating a salary even if the employee is paid a fixed amount and add it in later but in this example we choose "Yes, create a salary for the employee".

42. Click "Next Step"

43. Choose the relevant hours and Click "Next Step"

44. Provide the information for the fixed salary and Click "Save"

Importing Employees
Alert: Alert! Only CSV file formats are accepted and all fields in the provided templates must be retained even if they are empty or not applicable
Tip: Tip! If you have existing employees in the system already the RTI Payroll ID will determine if a new employee will be create or the details of the existing employee record is overwritten
45. You can download the templates for employees and starting balances here:
Information on the fields in the employee import can be found here
46. Click "Employee Import"
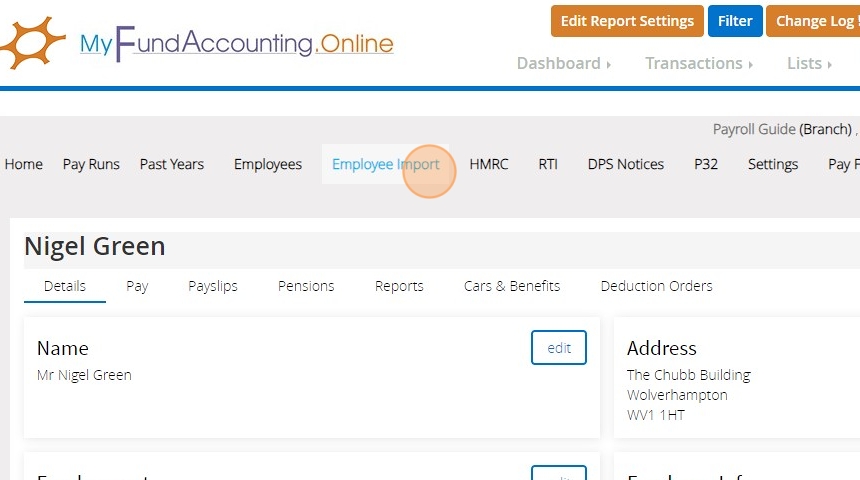
47. Click "New import"

48. Click the "Your reference (optional)" field and enter in a name for the import if you wish to

49. Click "Create"

50. Click the "Choose files" button and select your csv file

51. Click "Start import"

52. Click "Close"

53. Wait for the state of the task in the "Employee bulk import" list to change to complete. If there are any issues with the import you will be able to see the errors in the pop-up that appears by clicking on the task in the list. You may need to refresh the page for an update on the import.
Creating Pension Schemes
54. Click "Pensions"

55. Click "Add pension scheme"

56. Click the provider dropdown to select the provider. If you cannot see your provider in the list choose "Other"

57. After selecting the provider you will be asked for further information depending on your selection. In this example we are using NEST.

Tip: Tip! Remember you can click on the green ? next to each field for further guidance on what the requested information is and where you may find it
58. Click the "Is default scheme" field for the pension scheme if it is the one your employees are enrolled onto by default

59. Click "Save"

60. Once you have put in the details of the pension provider you can provide the details needed to calculate the pension on payslips. Click "Add Contribution Group"

61. Click the "Name" field and provide it a name descriptive of the calculation e.g. Pensionable Standard

62. "Is salary sacrifice", will mean that the amount is shown on the payslip as a deduction from the Employees salary and attributed to the Employers pension contribution as if the employer has made the full contribution themselves.

63. "Earning basis" changes the way the pension calculation is applied. Qualifying means that until the employee reaches a payment threshold. Pensionable is calculated without any other criteria on every payslip on the full salary.
More information available on the two options is available Pensionable earnings - Shape Payroll

64. The contribution type can be set to percent or fixed. Percent will make the contribution amount relative to the employees pay and fixed will simply use the amount given regardless of the pay being received by the employee. After providing the contribution breakdown. Click "Save"
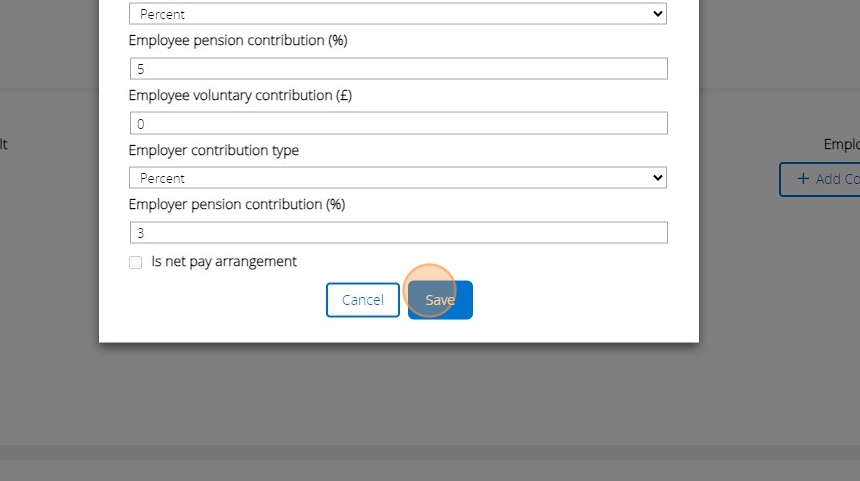
Alert: Alert! Most if not all employees are eligible for tax relief on their contribution which means 1% of the pension is paid for by the HMRC making the contribution on the payslip appear as 1% less than the percentage set on the above screen
Tip: Tip! You can create multiple contribution types for a single pension scheme if you provide employees various pension options
Editing employees and assigning pension schemes
65. Click "Employees"
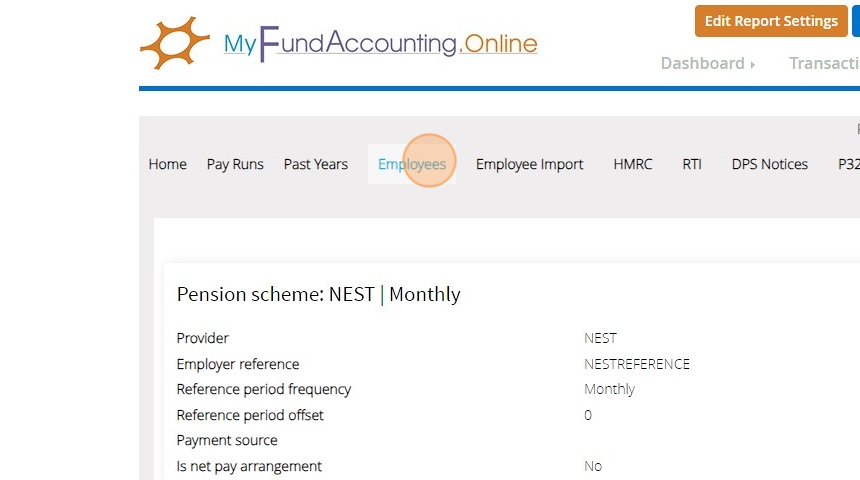
66. Click on the Employee you wish to edit.

67. You can update the employees personal details on the opening page by clicking "Edit" on any of the panels.
To enrol the employee onto a pension scheme click "Pensions"

68. Click "Enrol"

69. Click on the Pension dropdown.

70. Select the relevant Pension Scheme with the appropriate contribution setup

71. Enter the date the employee joined pension scheme and confirm the eligibility status of the enrolment e.g. Eligible being they are fully enrolled

72. Click "Enrol"

73. If the employee received any benefits or is provided an allowance for any expenses e.g. mileage, you can add them under the "Cars & Benefits"

74. Click "Create".

75. Click "E - Mileage allowance payments not taxed at source"

76. Fill in the details of the benefit and Click "Save"

77. If you have received instruction of any additional deductions to be made on the employees salary you can add them under the "Deduction Orders" tab

78. Click "Create".
79. Select the appropriate reason for the additional deduction. Fill out the subsequent details that are requested on the next step and then click "Save".

Generating Pay Slips (Pay Runs)
80. Click "Pay Runs"
81. Your first period for which you need to pay your employees will be automatically created based on the "Pay Frequencies" you have created. Click on the relevant period you wish to process the pay slips for.

82. Click on your employee to view their payslip on the right hand side

83. Once you have reviewed the payslips and made any necessary amendments to it you can click "Complete pay run"

84. Click "Complete".

Tip: Tip! Once you complete the pay run MyFundAccounting will automatically assign liabilities for amounts you've got to pay for PAYE, Pensions etc. You can view these on List Transactions and/or on a balance sheet report
85. Click "Payslips"

86. On this page you can email individual employees their payslip by clicking the mail icon against each name or click email all to send out the respective payslip to each employees listed

87. If you receive the following message you need to update the employee details and enter in their email address via the "Employee" menu option

88. If an email is available you can compose the message to be sent along with the payslip attached. When composing an email for the "Email all" option mail merged text will appear with <<>> surrounding the text. You can remove this text to make the email more generic or work around them to have your email personalised with the employees name.

89. To submit the details of the payments to the HMRC click on "RTI"

90. Review the details of what will be sent to the HMRC by clicking "View Detail" and then Click "Submit" if you are happy with it.

91. You can then go back to the "Pay Run" page and click "Start next pay run" when you are ready to generate the next periods pay slips.

92. You can adjust the dates as appropriate and then click "Start pay run" to begin

Recording a Journal Entry in MyFundAccounting Online
How to Locate the Journal Entry Screen
1. Choose "Transactions".

2. Then click "Journal Entry".
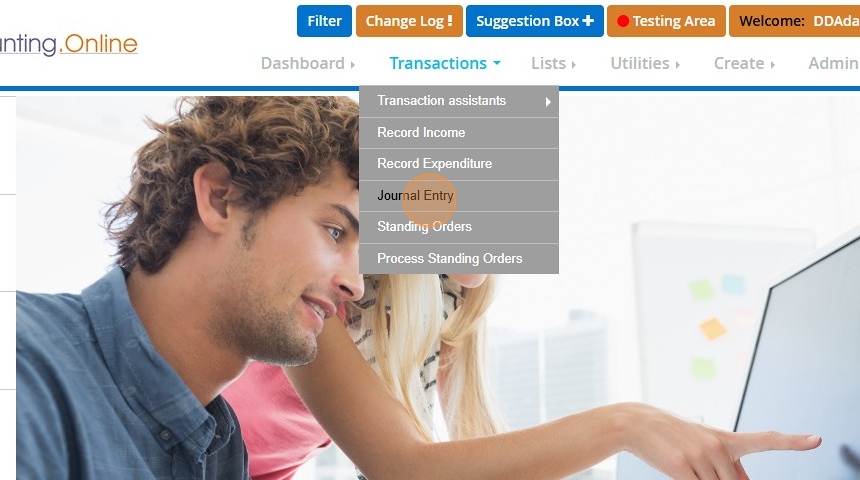
Recording a Journal Entry
Alert: Alert! Please be aware when recording a journal entry, not only do you require balancing debits and credit amounts, you will also require balancing funds before being able to post the journal.
3. First choose the date that the journal entry will be required.

4. Select Nominal account you wish to record the first part of the journal against.
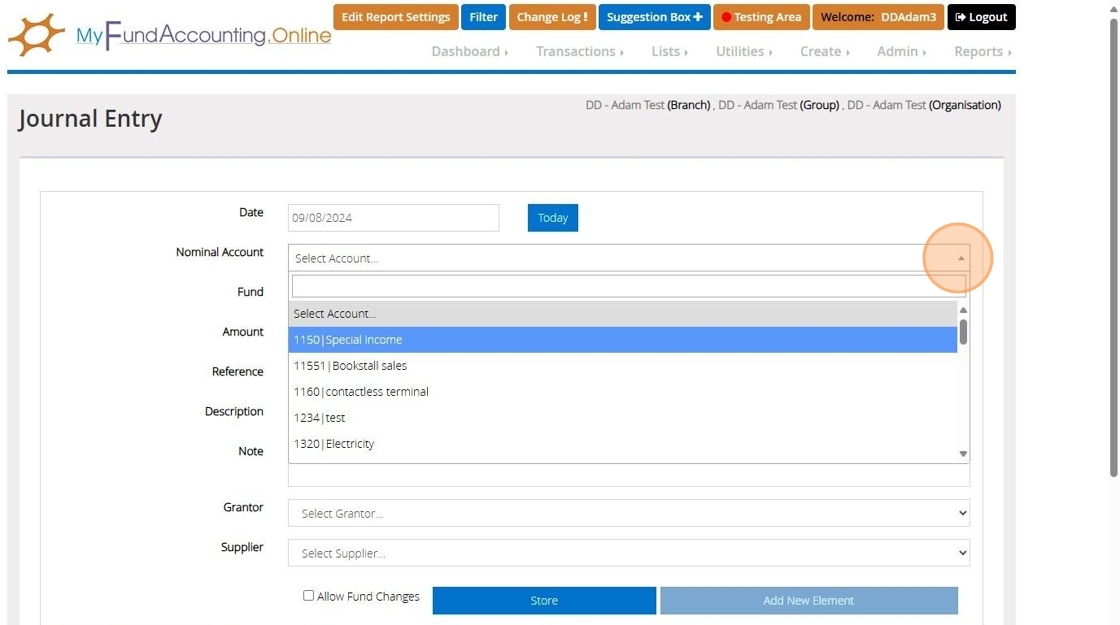
5. Should you need to change your fund click "...".
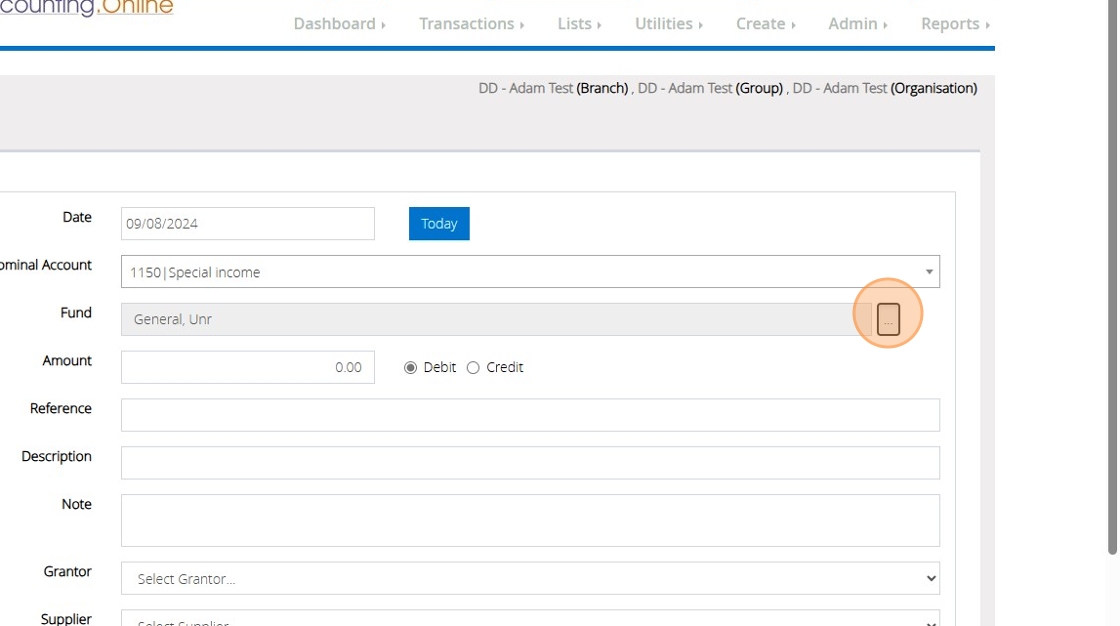
6. Then enter the amount for the first part of the journal.

7. Choose whether this element is a debit or a credit.

8. You will have an option to enter "Description", "Reference" "Note" Grantor or Supplier if required.
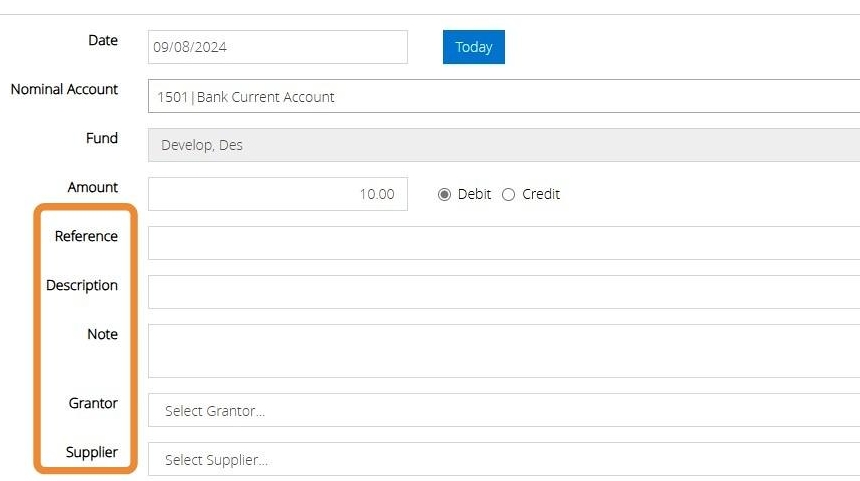
9. Click "Store" once you have completed your first part of your Journal entry.
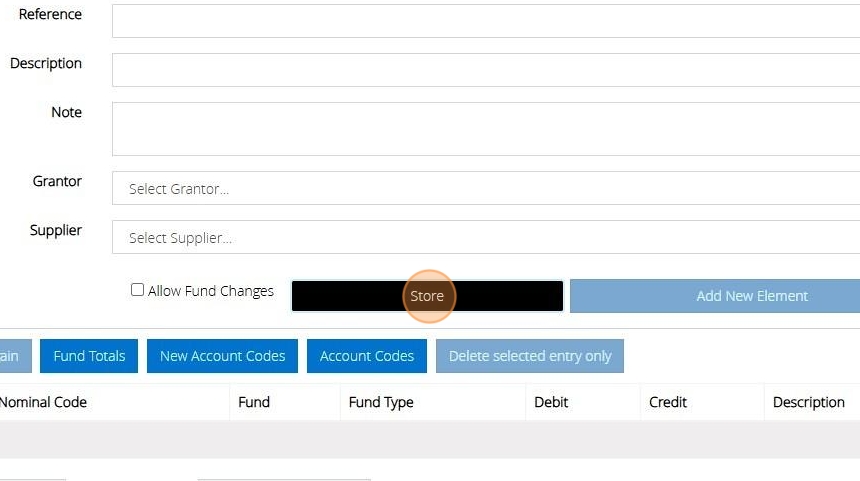
10. Then now to record an additional part for your journal entry click "Add New Element".

11. Click "Post"

Reference List Reports MyFundAccounting.Online
Nominal Accounts Reference List
1. Hover over "Reports".
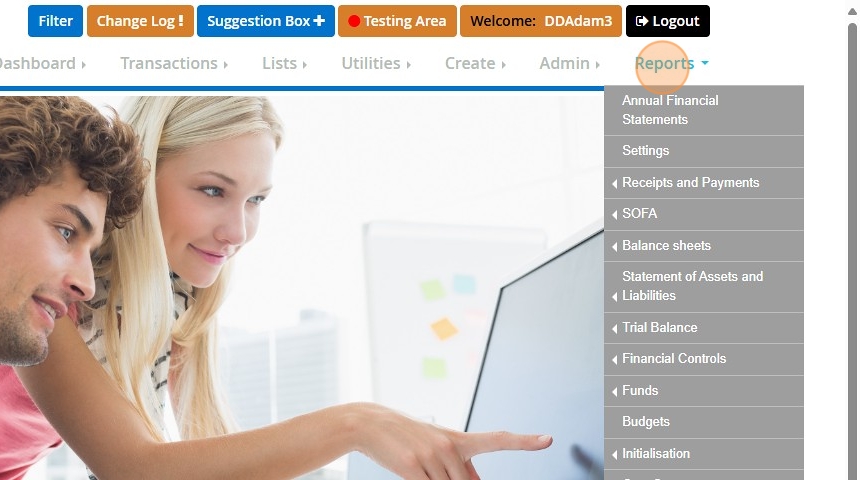
2. Choose "Reference lists" at the bottom.
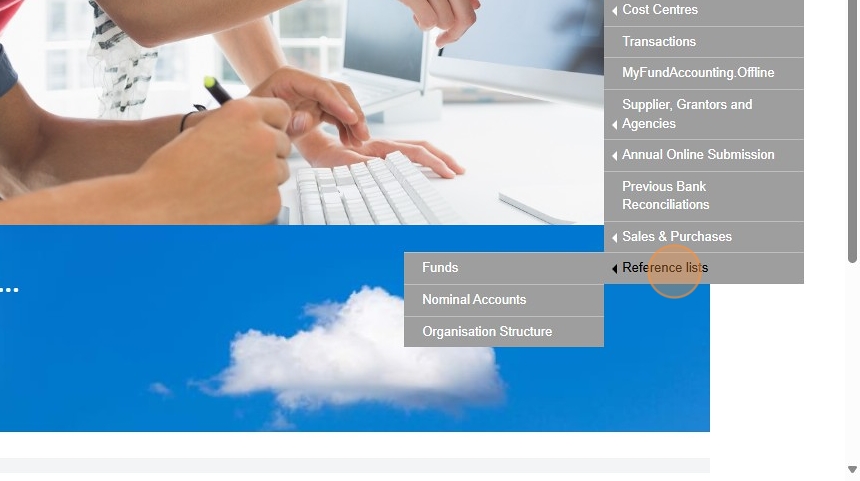
3. Select "Nominal Accounts".
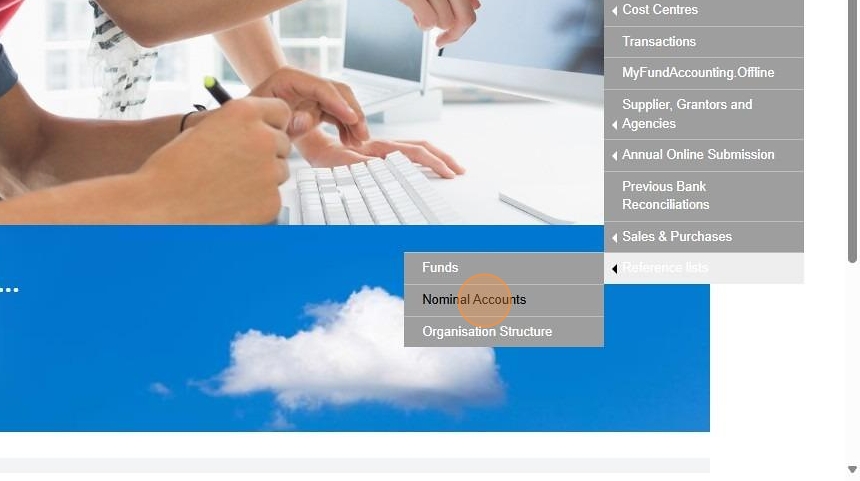
4. Afterwards click "Print".
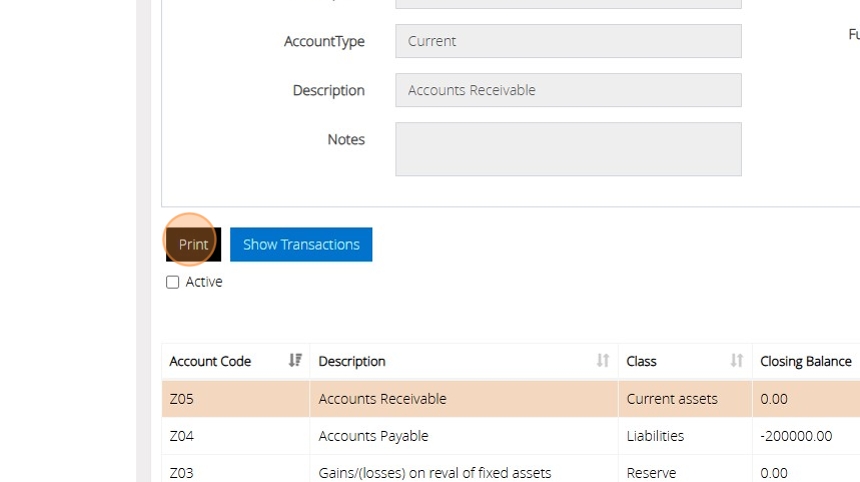
5. Then "Preview".

6. This will then produce a full list of the nominal account that you have created in the system. The report also provides the following information: Nominal account number, Nominal account description, SOFA headings and Report group.
Fund Reference List
7. Hover over "Reports".
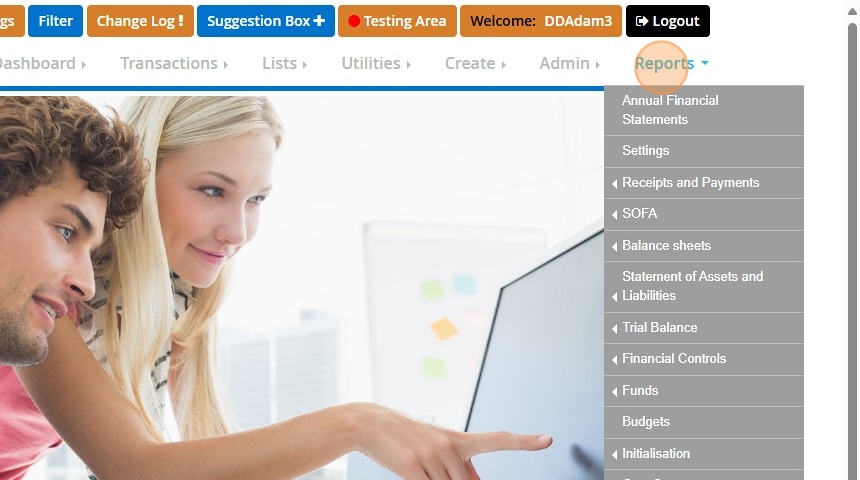
8. Choose "Reference lists" at the bottom.
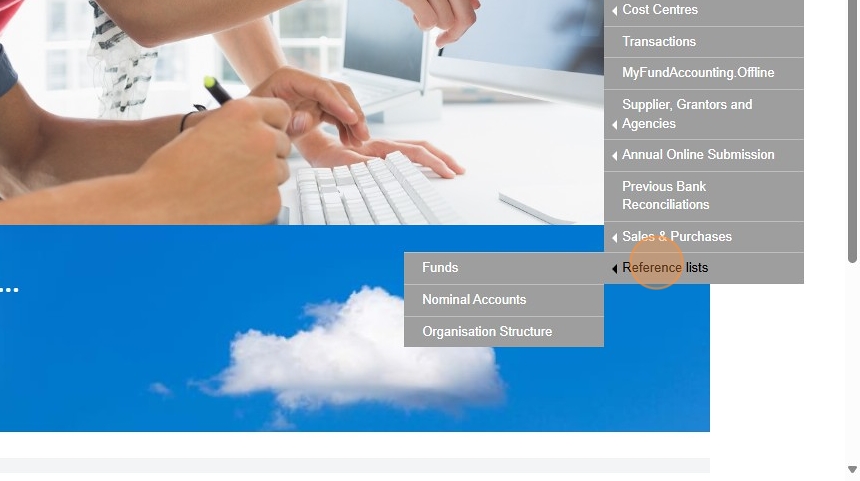
9. Select "Funds".
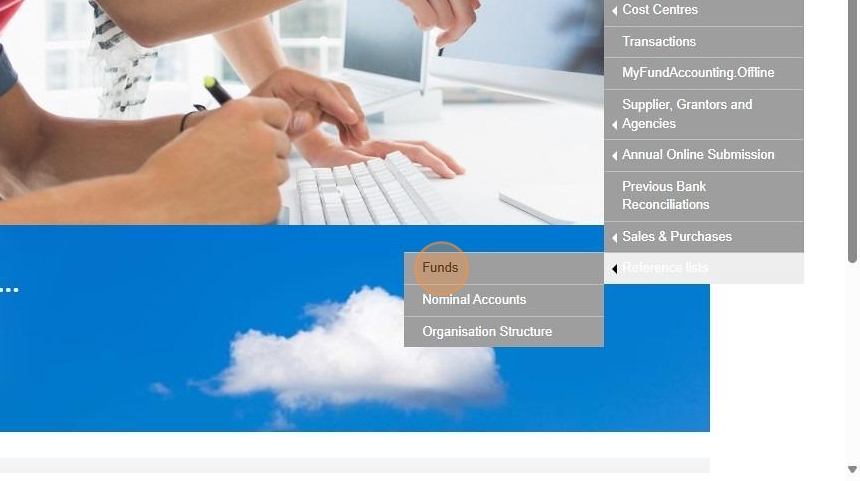
10. Click "Print".
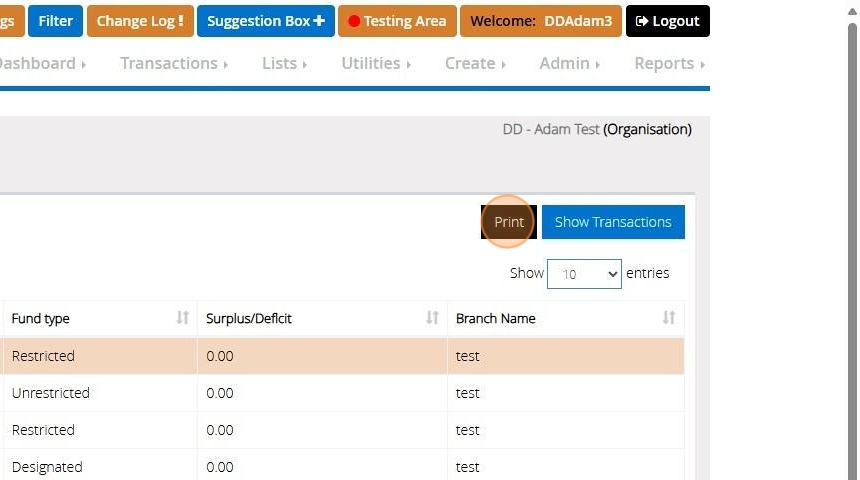
11. Then "Preview".
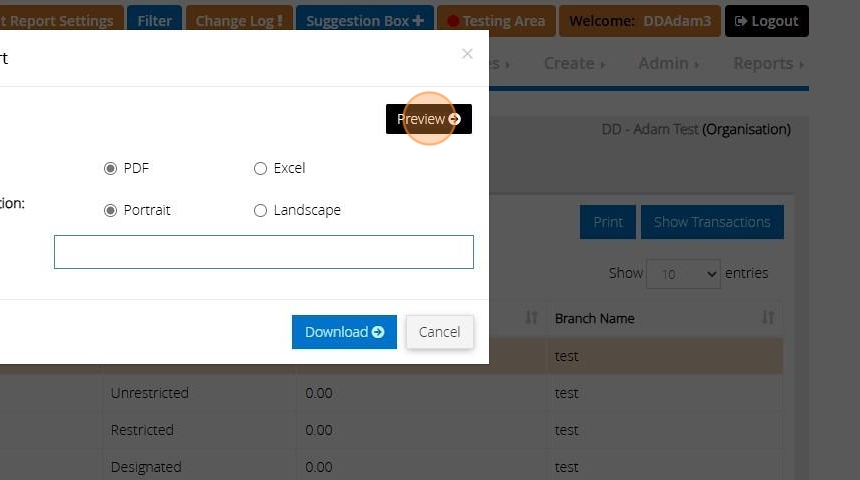
12. This will show the list of all fund create in your accounts. The report provide the following information: Fund name, Fund Description, Fund Type, if the fund if marked as inactive
Repaying a Liability with Interest
Tip: If you have a liability that accumulates interest payments, MyFundAccounting has a simple assistant that guides you through the process of recording the payment; to reduce the liability owed and allocate the interest, as expenditure.
1. Navigate to https://www.myfundaccounting.online
2. Click "Transactions"
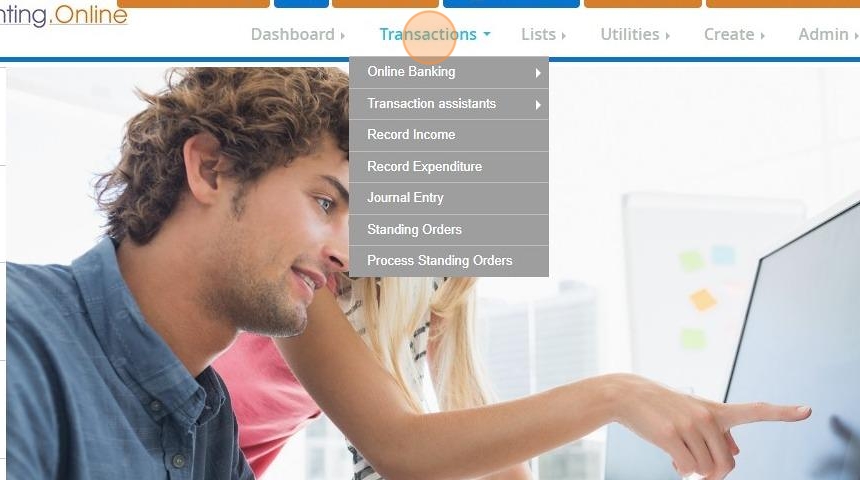
3. Click "Transaction assistants"

4. Click "Loans and repayments"
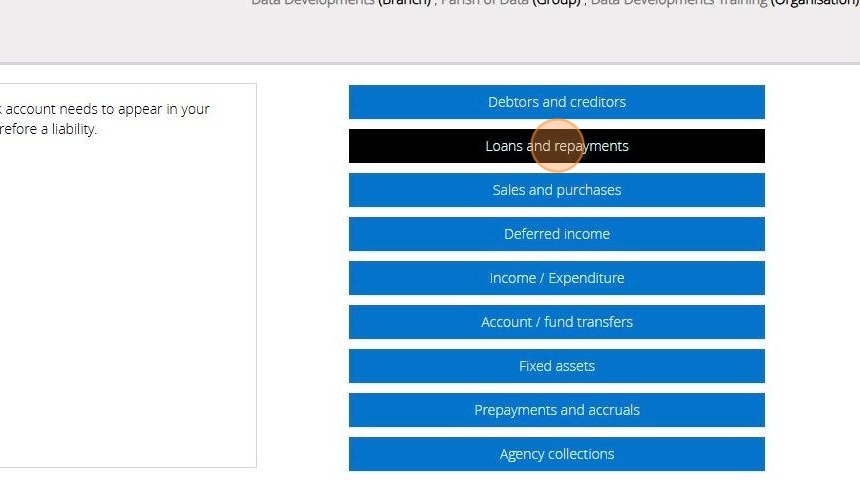
5. Click "Repayment to a third party"
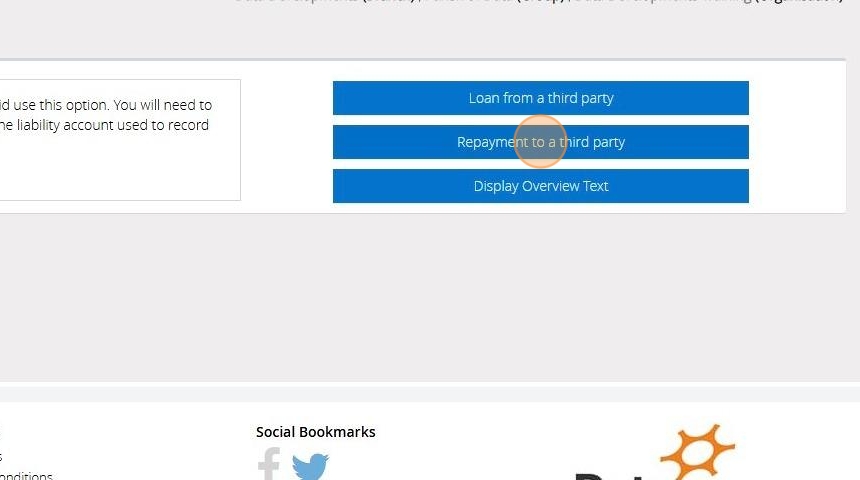
6. On Step 1 select the bank account the payment is being made from.[[ ]]
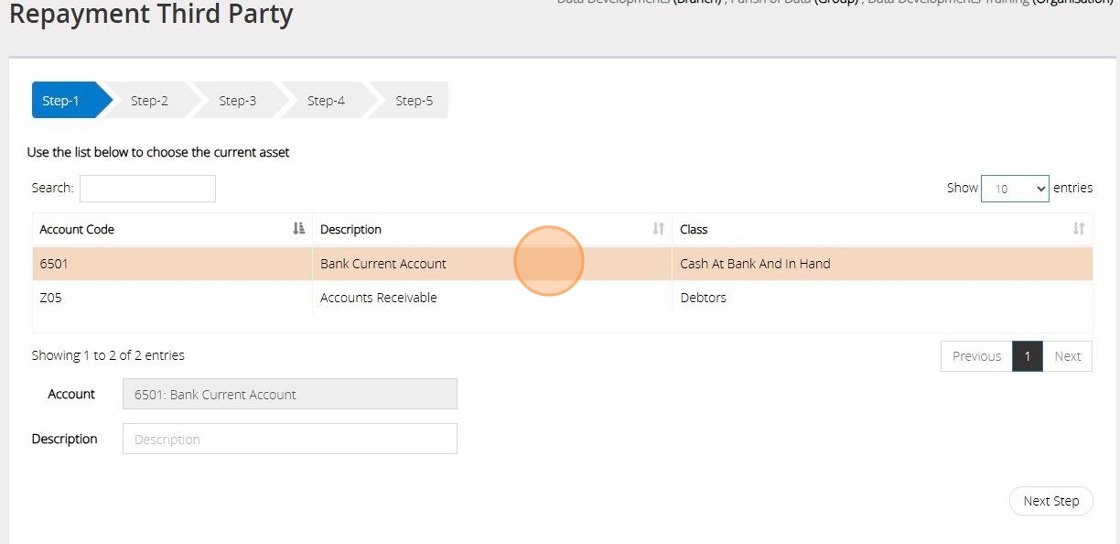
7. Enter a "description"
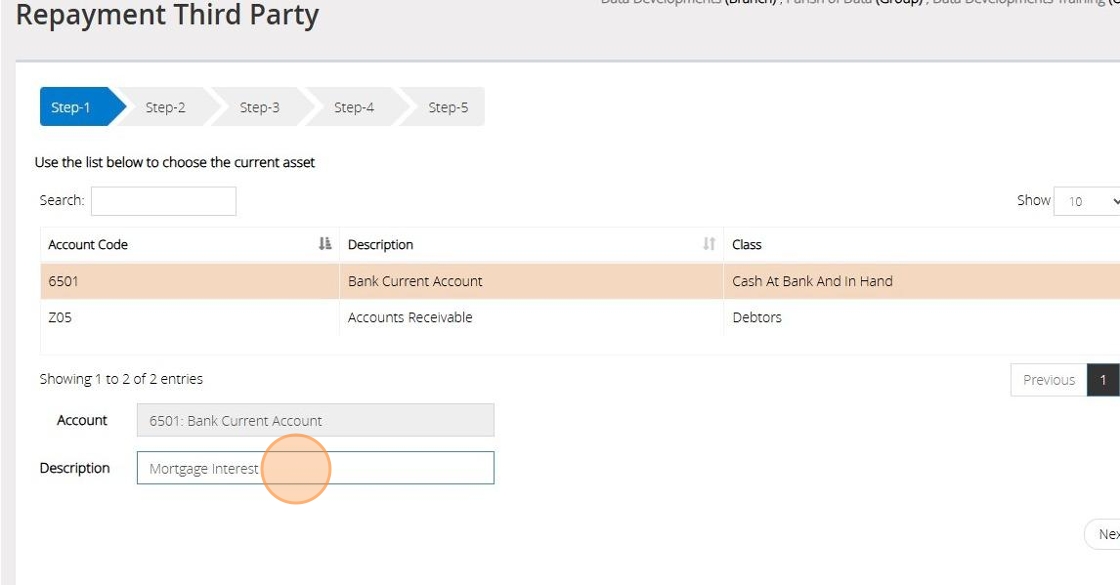
8. Click "Next Step"
9. From the first table presented in Step 2, select the liability code from the list
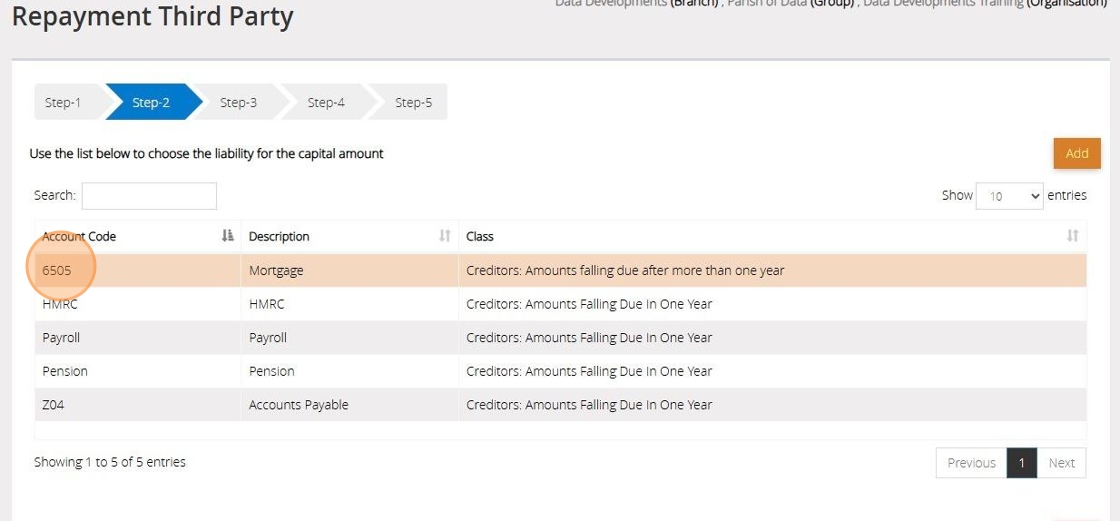
10. From the second table presented in Step 2, select the expenditure code from the list
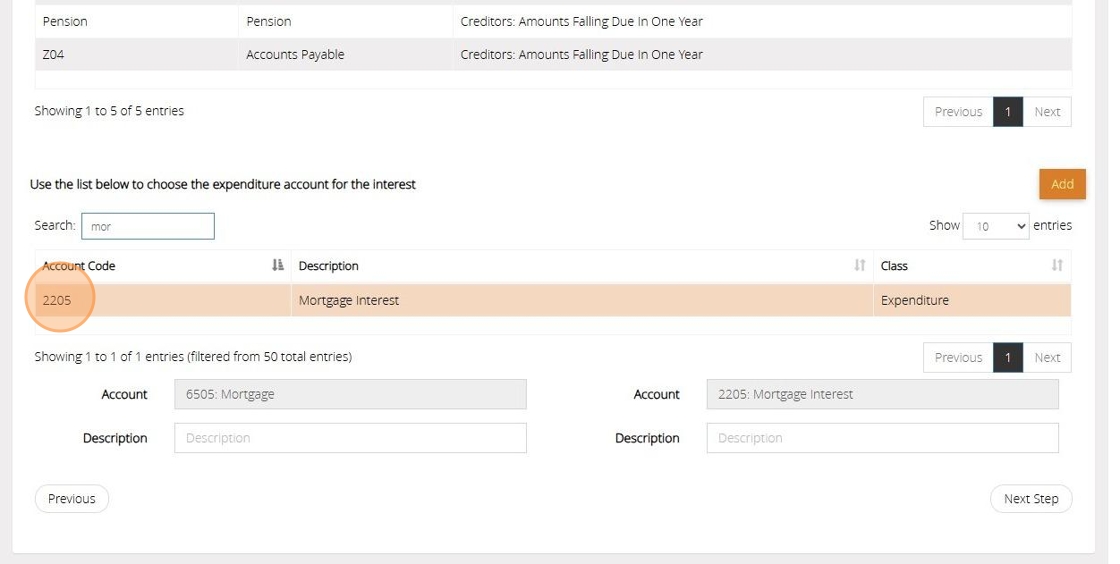
11. Click "Next Step"
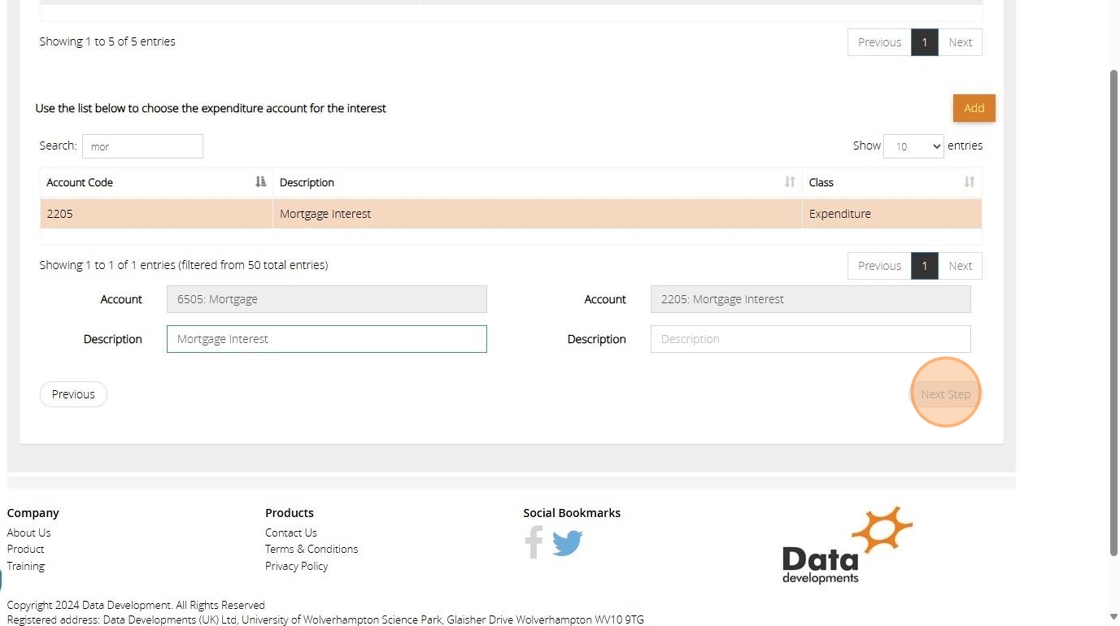
12. On Step 3 enter the details of the payment.
The capital amount is the amount that relates to the liability code, and the amount that the Liability should be reduced by.
The interest is the amount that needs to be allocated to the expenditure code.
If either one of the amounts isn't required, for instance you’re making an interest only payment, you can simply leave the value as zero.

Tip: Tip! If a cheque was issued click "Add Next Cheque" to auto- fil the subsequent cheque number
Tip: The figure at the bottom of Step 3 should reflect the total amount that was paid out of the bank account.
13. Click "Next Step"
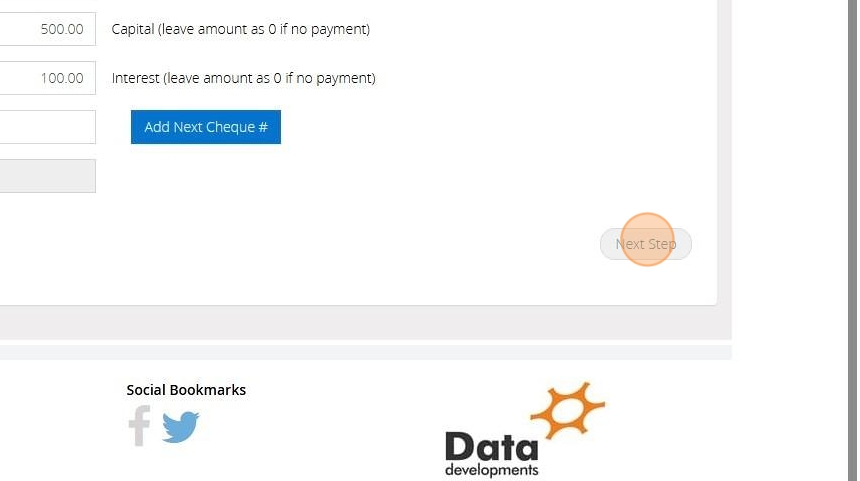
14. On Step 4 select the fund the transaction should be allocated to
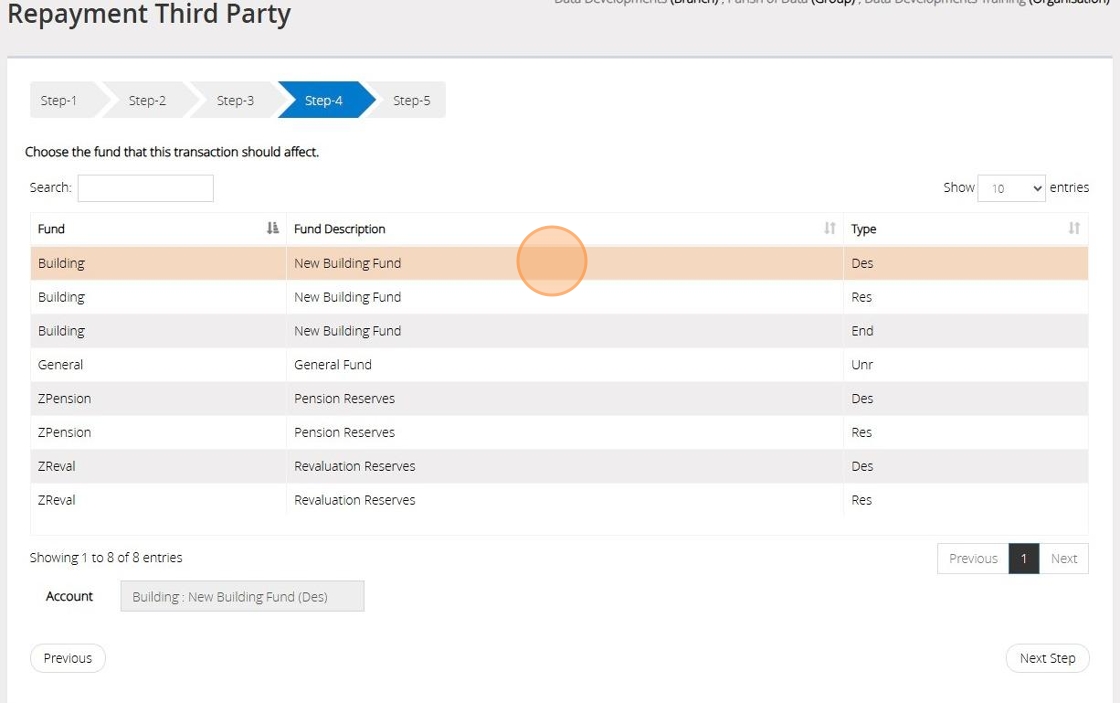
15. Click "Next Step"

16. Step 5 will provide an overview of the elements you've entered.
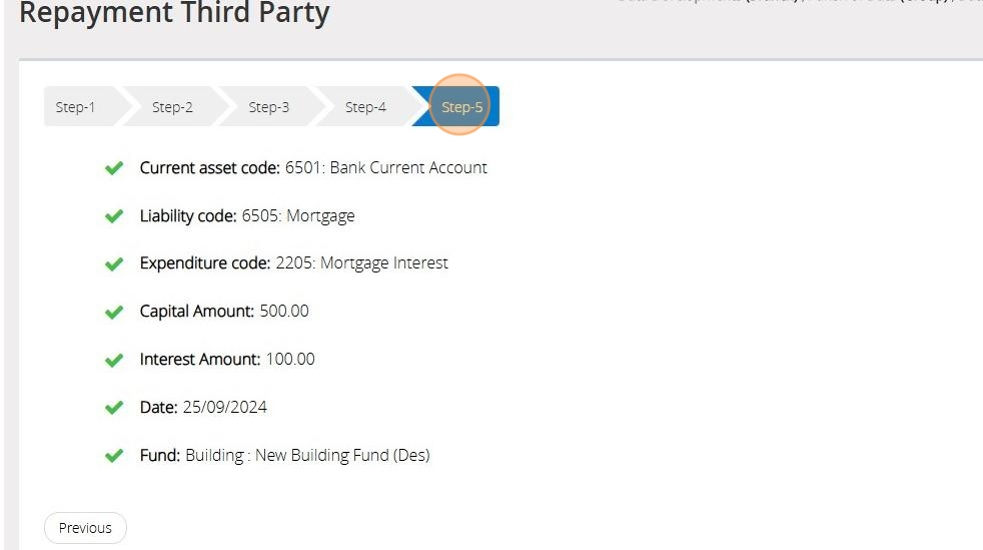
17. If everything looks correct and you're happy to proceed click "Save & Post"

Rollback
Tip: Rollback is a feature that lets you revert your financial accounts to a previous date and time within a 3-month window.
This means you can remove any transactions, bank reconciliations, standing orders, and starting balances that have been entered, effectively restoring your financial accounts to an earlier point in time.
Tip: The rollback function is useful if you wish to remove a bulk set of data that has just been entered that may be causing a balance issue within your account
Tip: The below steps will guide you through preforming a rollback of data
Alert: Alert! If you have multiple branches only the branch you are filtered to will be affected.
1. Navigate to https://www.myfundaccounting.online
2. Click "Admin"

3. Click "Rollback"

4. Click here to open a calendar to select the chosen date and time to rollback the accounts to.
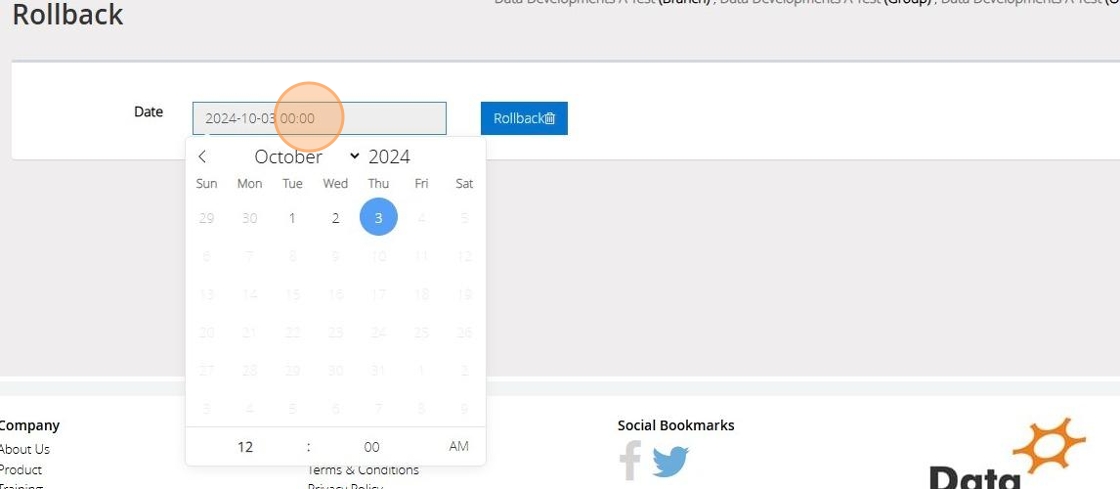
5. The time is set at the bottom of the calendar and is by default set to the beginning of the day 12:00 AM

Alert: Alert! Be sure to check the time you are rolling back to and that AM/PM is set correctly otherwise you may unintentionally rollback to 3:00AM instead of 3:00PM
6. Click "Rollback"

Tip: You can rollback up to 5 times per day
7. Read through the statement and Click "Yes" if you wish to continue.

8. Once completed the below message will appear in the bottom right hand corner to advise the rollback has been successful.
Why can I not Rollback?
Tip: You cannot select a date that is older than 3 months from todays date
9. The below warning will display if a date and time over 3 months has been selected.
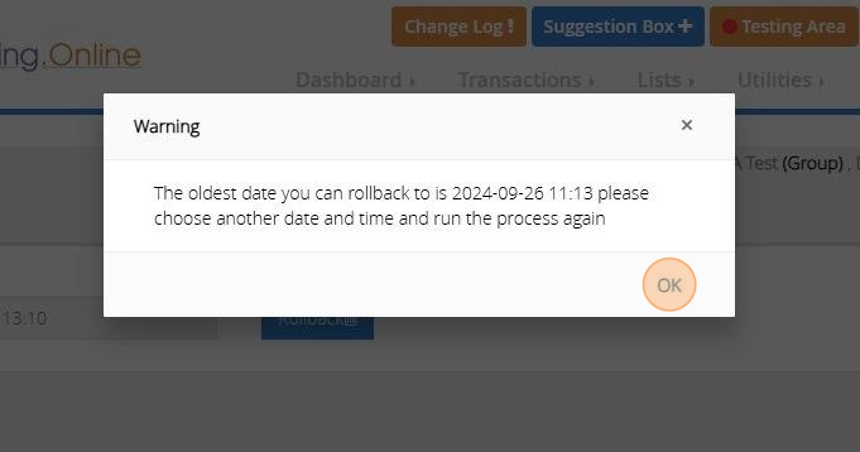
10. If no data has been entered after the point you are trying to rollback to, you will receive the below message.
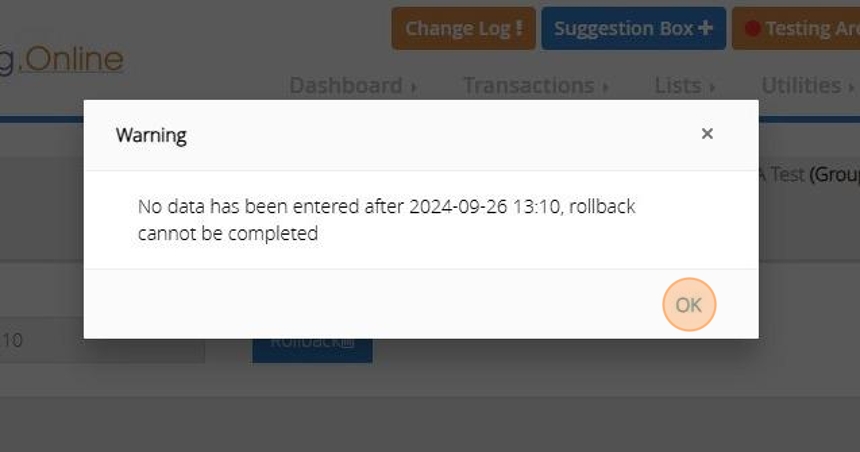
11. [[The Rollback feature does not : ]]
[[Rollback a year end procedure ]]
[[Remove any budgets created ]]
[[Restore to a date older than 3 months]]
[[Restore any deleted budgets, nominal accounts, funds, standing orders and cost centres. ]]
Alert: Alert! Please take extra caution when using this function. Once you have performed a rollback of the accounts you are unable to retrieve any data that has been removed!
Submitting Annual Report for Church of England
1. Hover over "Reports".
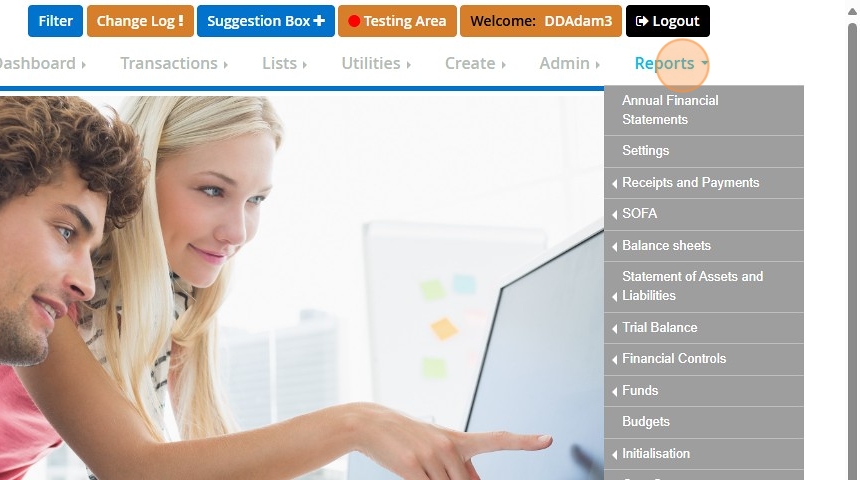
2. Go to "Annual Online Submission".

3. Choose "Church of England".

4. First of all, fill out the Supplementary questions. Select "RPF Supplementary questions".

5. Enter your "Diocese", "Deanery" and "Parish" afterwards you will have the option of choosing a church.
You will to also fill in the "Number of Tax-Efficient Planned Givers", "Number of Other Planned Givers", "Number Of New Legacies Received", Your "Name" "Position", "Enter the date of submission" And Email/ Telephone.
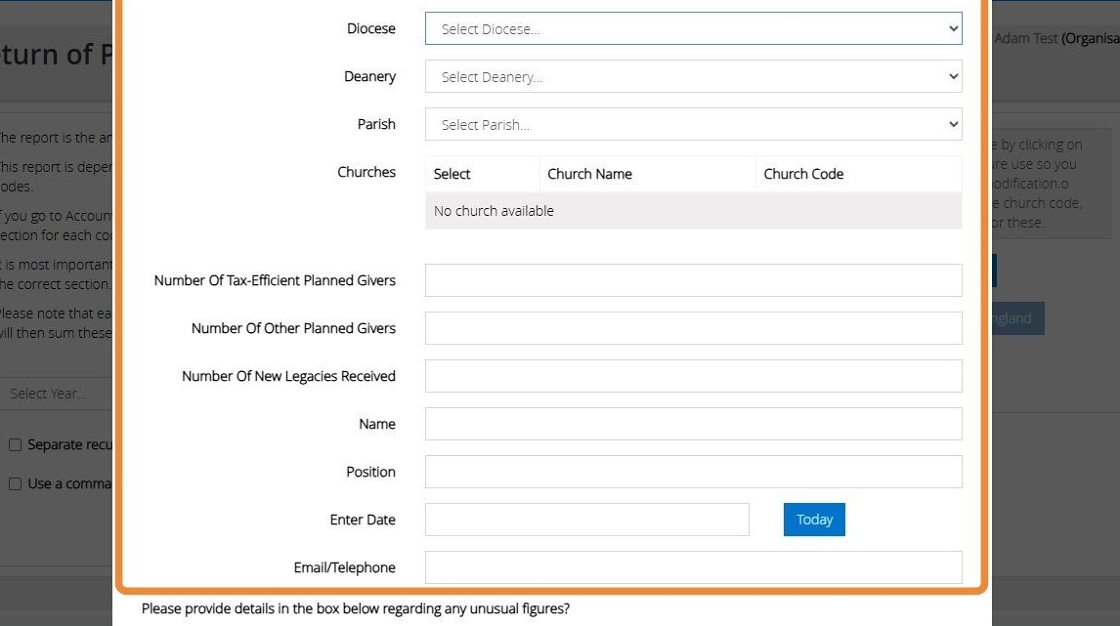
6. You will also need to provide any details if there are any unusual figures.

7. You can opt for "Accrual Accounting" if it aligns with your accounting.

8. You have the option to say if you part of "Is part of the Liverpool Diocese".
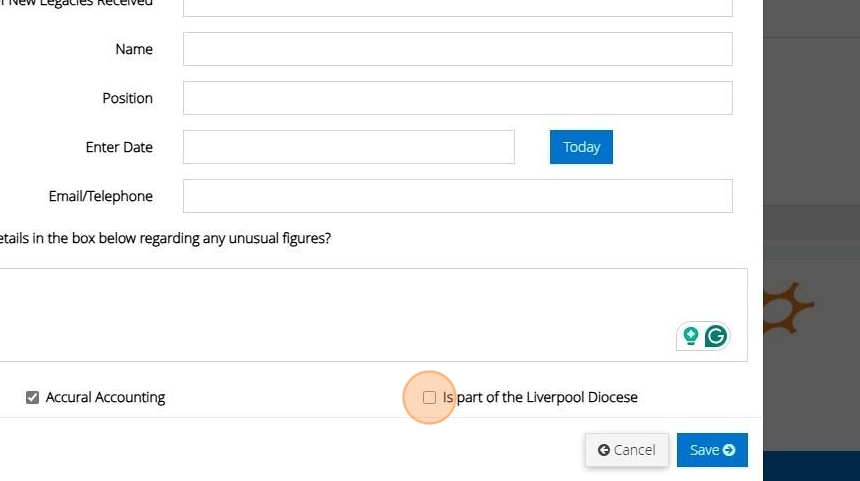
9. Once complete click "Save".
10. You will have the option to " Sperate recurring & non- recurring ( Newcastle Diocese)".
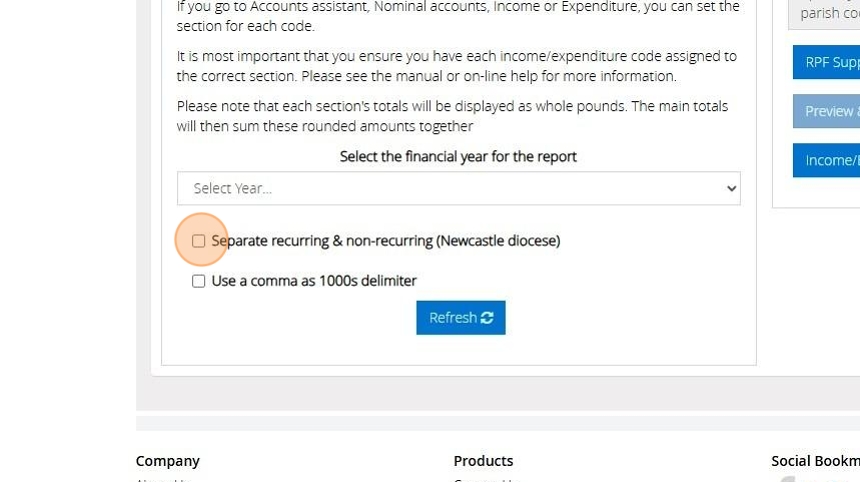
11. Choose the year you wish to produce the report for.

12. Afterwards click "Refresh".

13. Then select "Preview & Export".

14. Click "Preview"
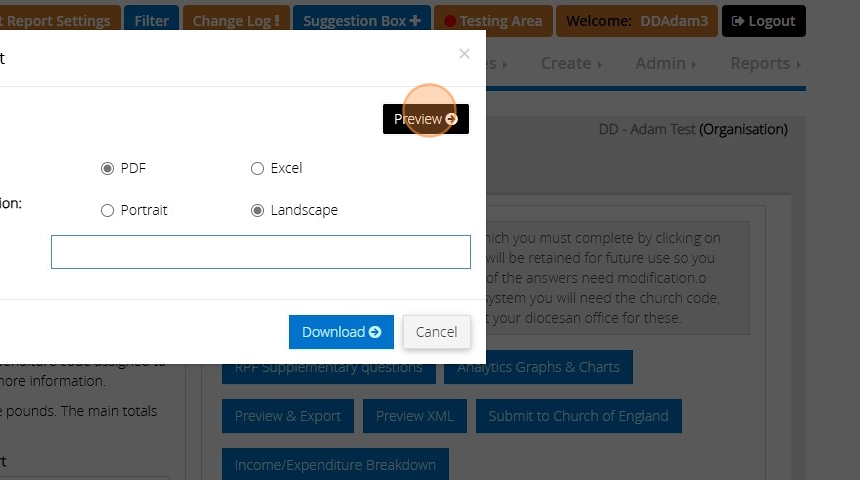
15. You can also view the nominal accounts comprising the income and expenditure, along with their assigned note numbers, by clicking on "Income/Expenditure Breakdown."

16. Click "Refresh"

17. Click "Preview & Export".

18. Click "Preview".
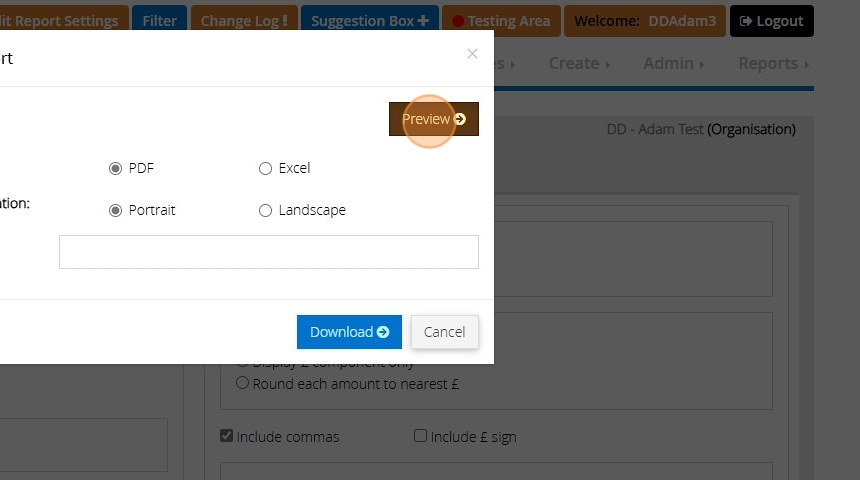
19. Once you are happy with all the information you may now choose "Submit to church of England".
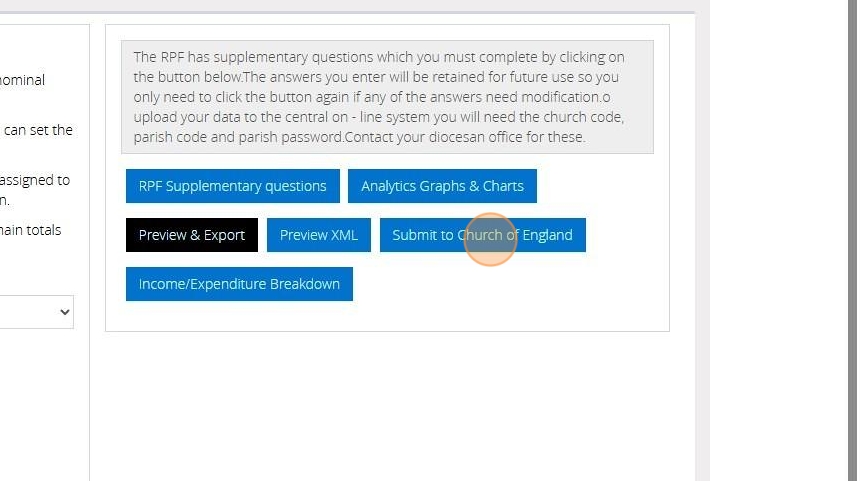
The Return Of Parish Finance Submission
1. Navigate to MyFundAccounting.Online
2. Login using your User ID and Password

3. Navigate to https://www.myfundaccounting.online/dashboard/userfilter?filter=Organisation&returnurl=Report%2Freturnofparish
4. Click "Reports"
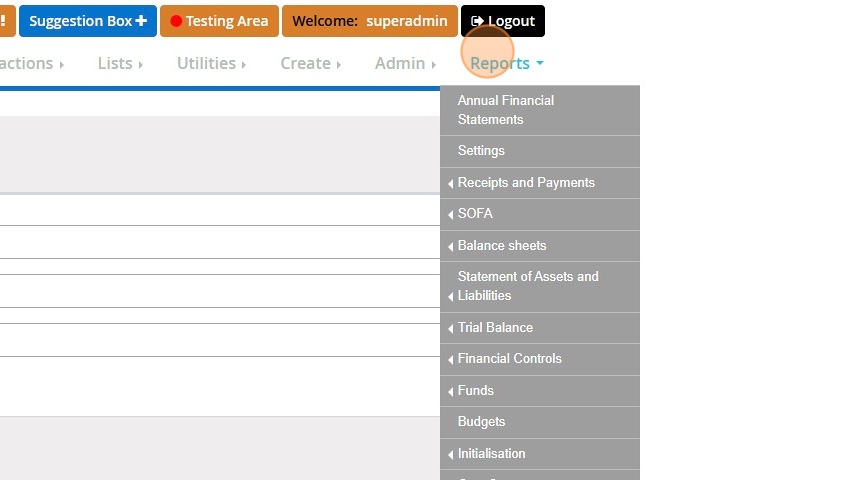
5. Click "Annual Online Submission"
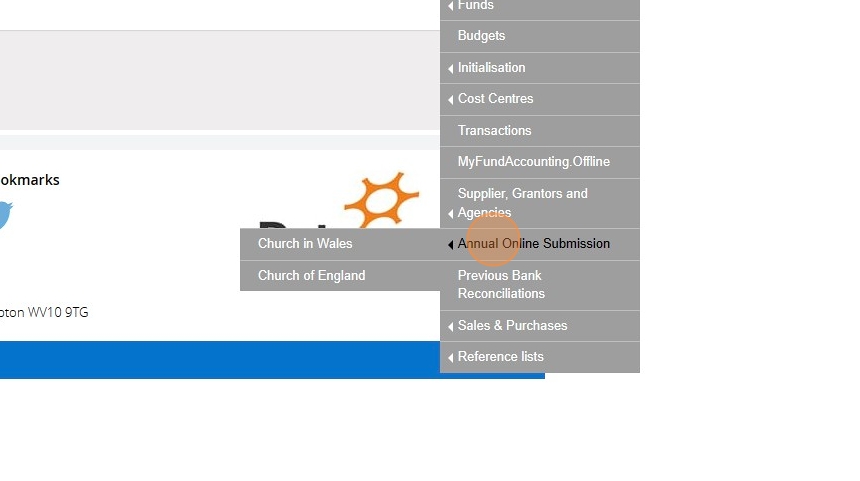
6. Double-click "Annual Online Submission"

7. Step
8. Navigate to https://www.myfundaccounting.online/account/Login
9. Click "Continue"

10. Click this text field.
11. Click "Continue"

12. Click "Reports"
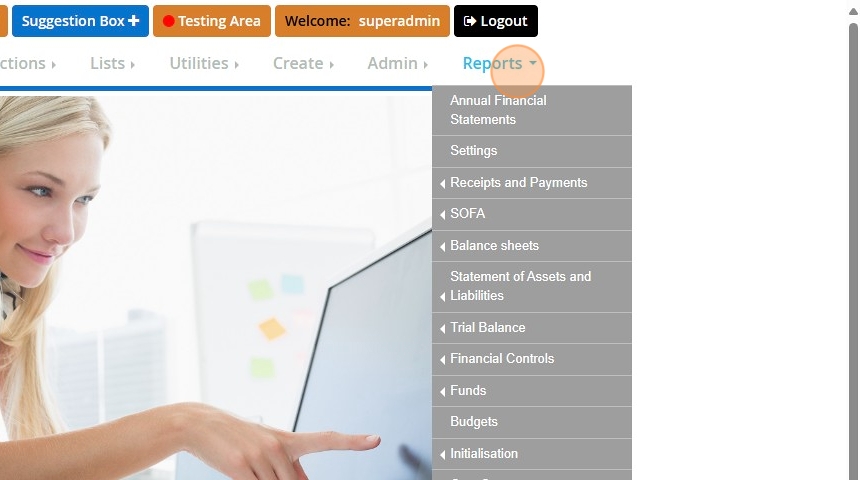
13. Click "Annual Online Submission"
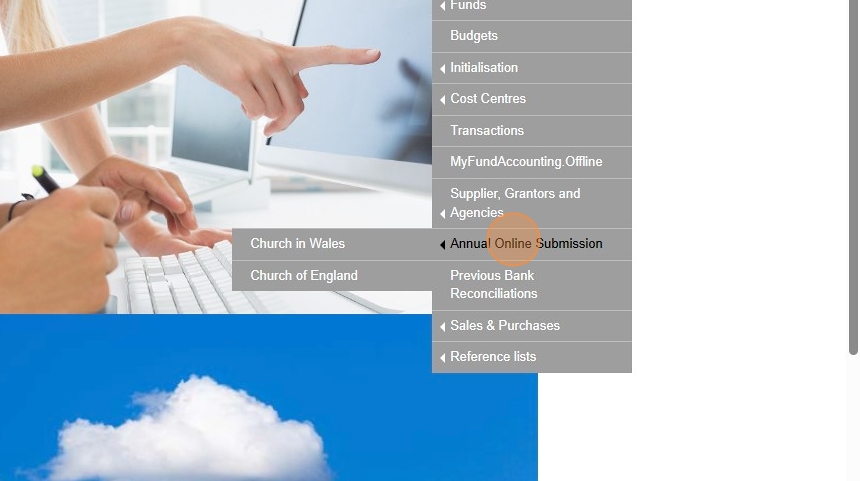
14. Click "Church of England"

15. Navigate to https://www.myfundaccounting.online/dashboard/userfilter?filter=Organisation&returnurl=Report%2Freturnofparish
16. Click "Reports"
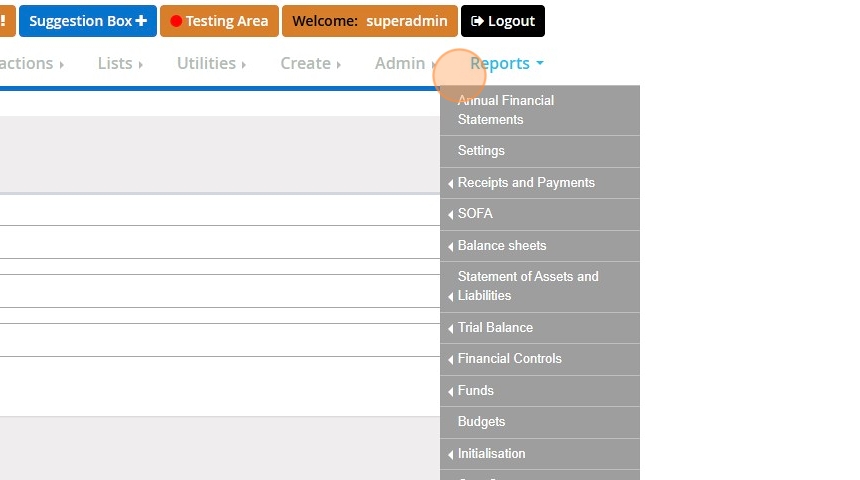
17. Click "Church of England"

18. Navigate to https://www.myfundaccounting.online/dashboard/userfilter?filter=Organisation&returnurl=Report%2Freturnofparish
19. Click "Reports"
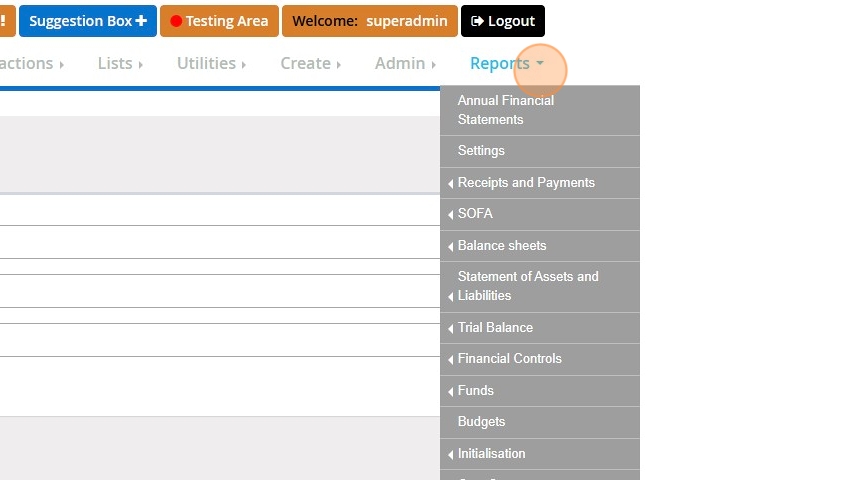
20. Click "Annual Online Submission"
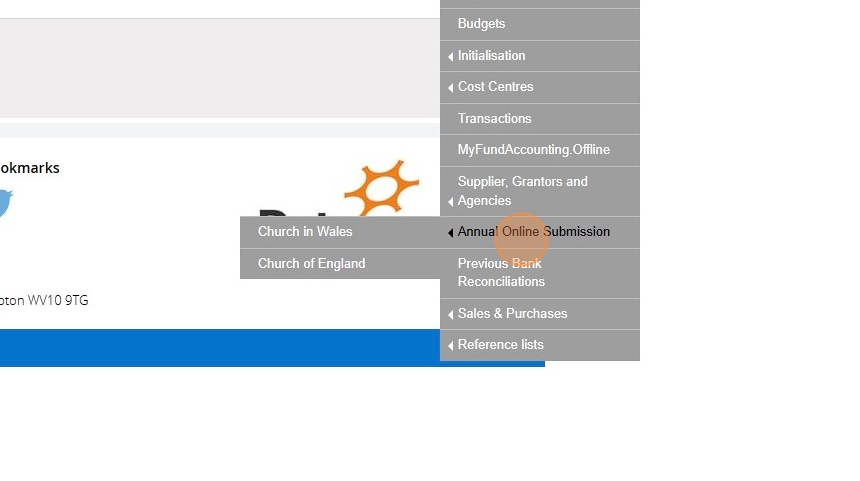
21. Click "Church of England"

22. Click this dropdown.

23. Click "Refresh"

24. Click "RPF Supplementary questions"

25. Click this dropdown.

26. Click this dropdown.

27. Click "Deanery"
28. Click "Parish"
29. Click the "Number Of Tax-Efficient Planned Givers" field.

30. Type "5"
31. Click the "Number Of Other Planned Givers" field.

32. Type "10"
33. Click the "Number Of New Legacies Received" field.

34. Type "1"
35. Double-click the "Name" field.

36. Click the "Name" field.

37. Click "Name"

38. Click the "Name" field.
39. Type "Data Developments [[tab]]"
40. Click the "Position" field.

41. Click the "Enter Date" field.

42. Click here.

43. Click here.

44. Click the "Position" field.
45. Type "Treasurer [[tab]]"
46. Click the "Enter Date" field.

47. Click "Enter Date"

48. Click "Please provide details in the box below regarding any unusual figures?"

49. Click "Cancel"
50. Click here.

51. Click "Refresh"

52. Click "RPF Supplementary questions"

53. Click "Save"
54. Click this dropdown.
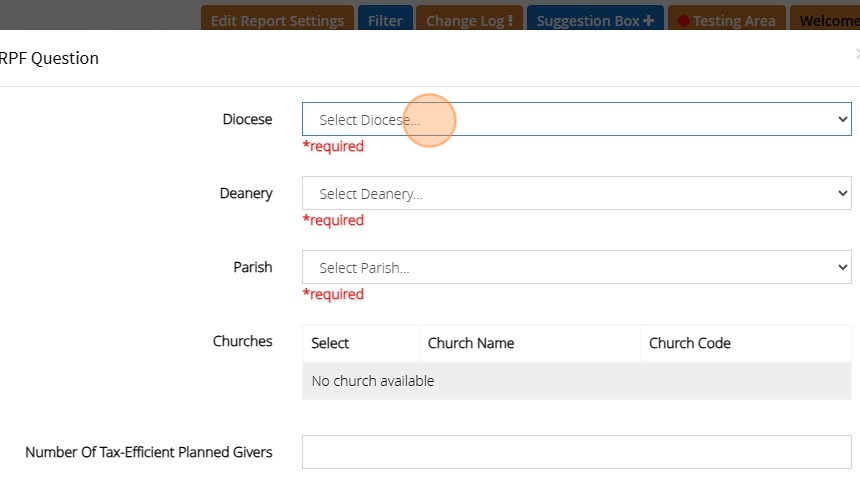
55. Click "RPF Question"
56. Click "RPF Question"
57. Click "×"
58. Click here.
59. Click here.

60. Click here.

61. Click here.

62. Click here.

63. Click here.

64. Click "Analytics Graphs & Charts"

Year-End Procedure- Group Level
Tip: MyFundAccounting.Online can have two financial years open at a time.
When performing the year end procedure you are moving these forward by one year and locking any previous years transactions. For example you may be working on the accounts for 2022 and 2023. When completing the year end you will close year 2022 and open year 2024.
Alert: This process is not reversable! We would strongly advise to ensure all entries have been made and the accounts have been signed off by the Independent Examiner/Auditor before proceeding.
Alert: Alert! Once your first year end procedure has been completed you will not be able to amend any starting balances that have been entered.
Tip: Tip! Reports for previous years can be produced after the year end procedure has been completed but new transactions cannot be posted and existing transactions cannot be edited or voided.
1. Navigate to https://www.myfundaccounting.online
2. Click "Utilities"
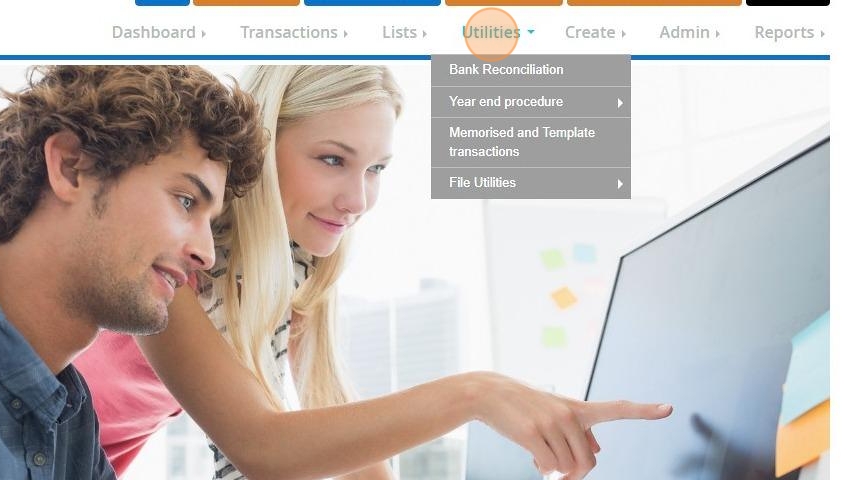
3. Click "Year end procedure"
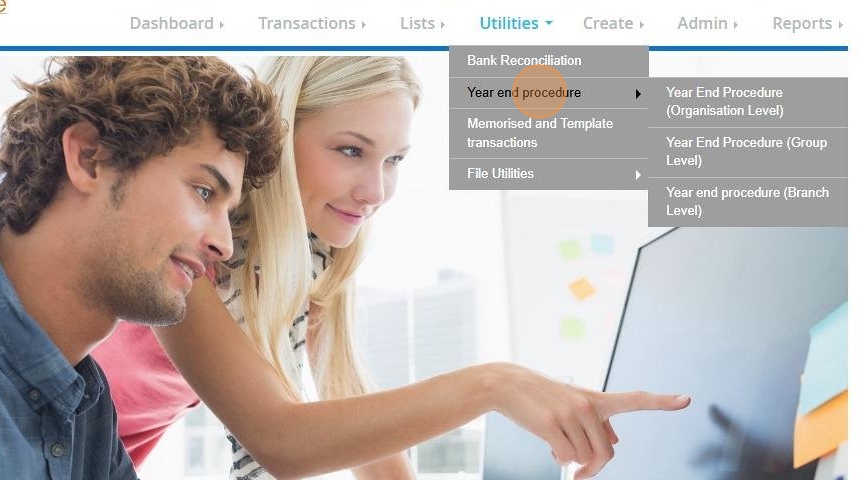
4. Click "Year End Procedure (Organisation Level)"
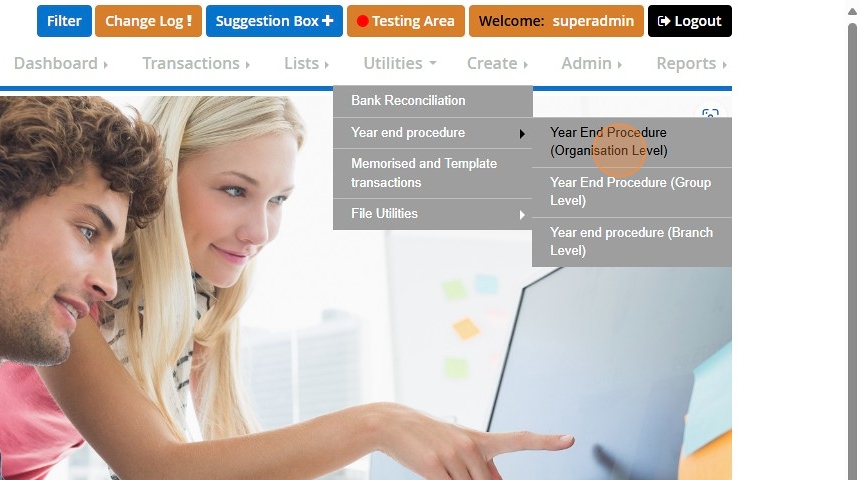
5. The branches that require the Year end Procedure will display here. Information such as the last accounting year locked and accounting year to be processed will also be displayed.
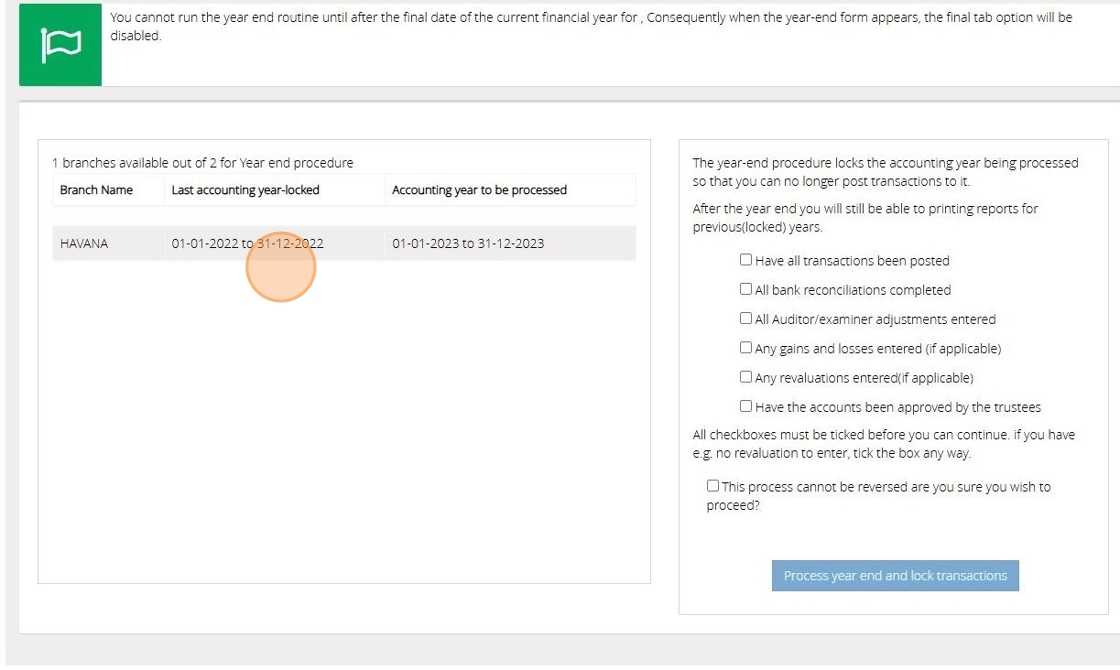
Alert: Alert! The year end procedure will affect all Branches under all groups that are listed
6. Tick each box to confirm that the task is complete.

7. Tick here to confirm you wish to proceed.
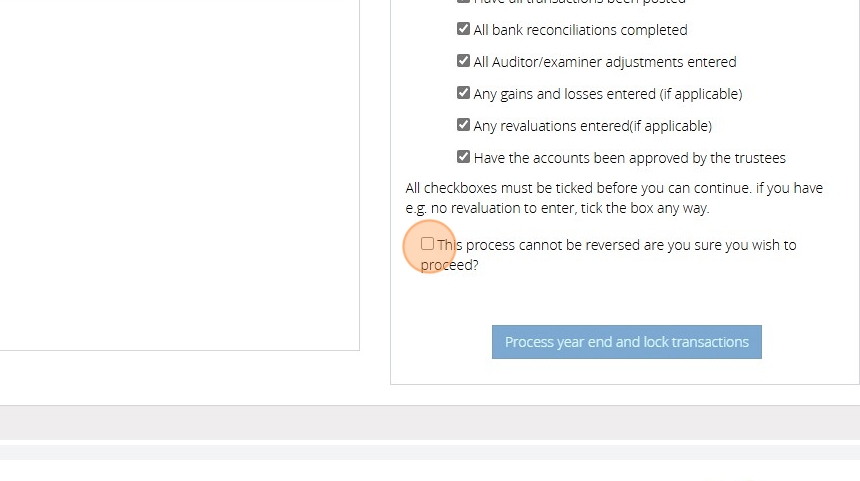
Alert: Alert! This process cannot be reversed
8. When all boxes are ticked the 'Process Year-End and Lock Transactions' button will highlight.
Click to continue
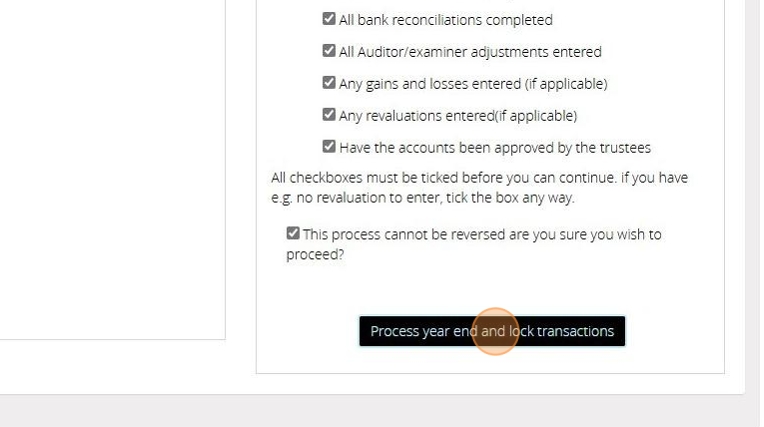
9. Read the warning message Click "Continue" to proceed
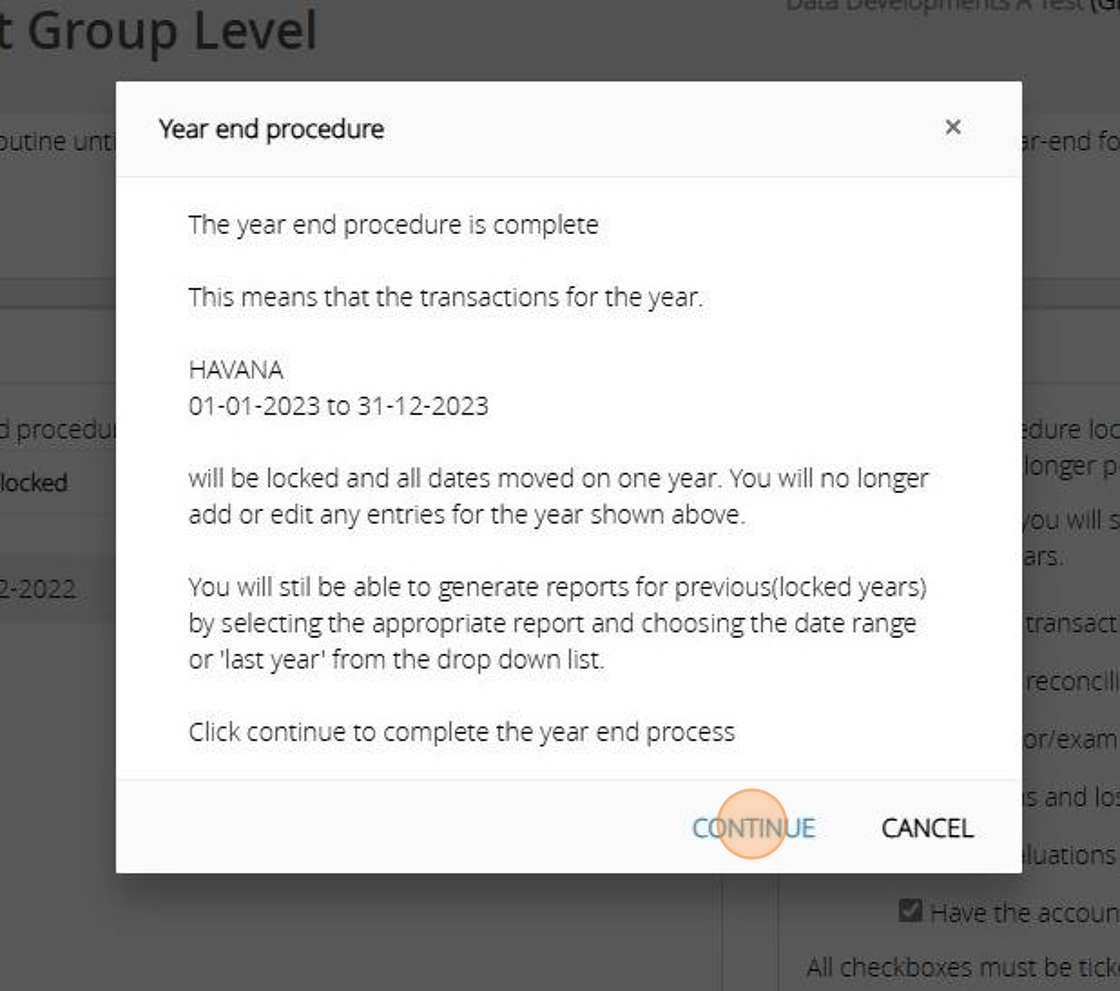
Alert: Alert! This process cannot be reversed
10. Click "OK"
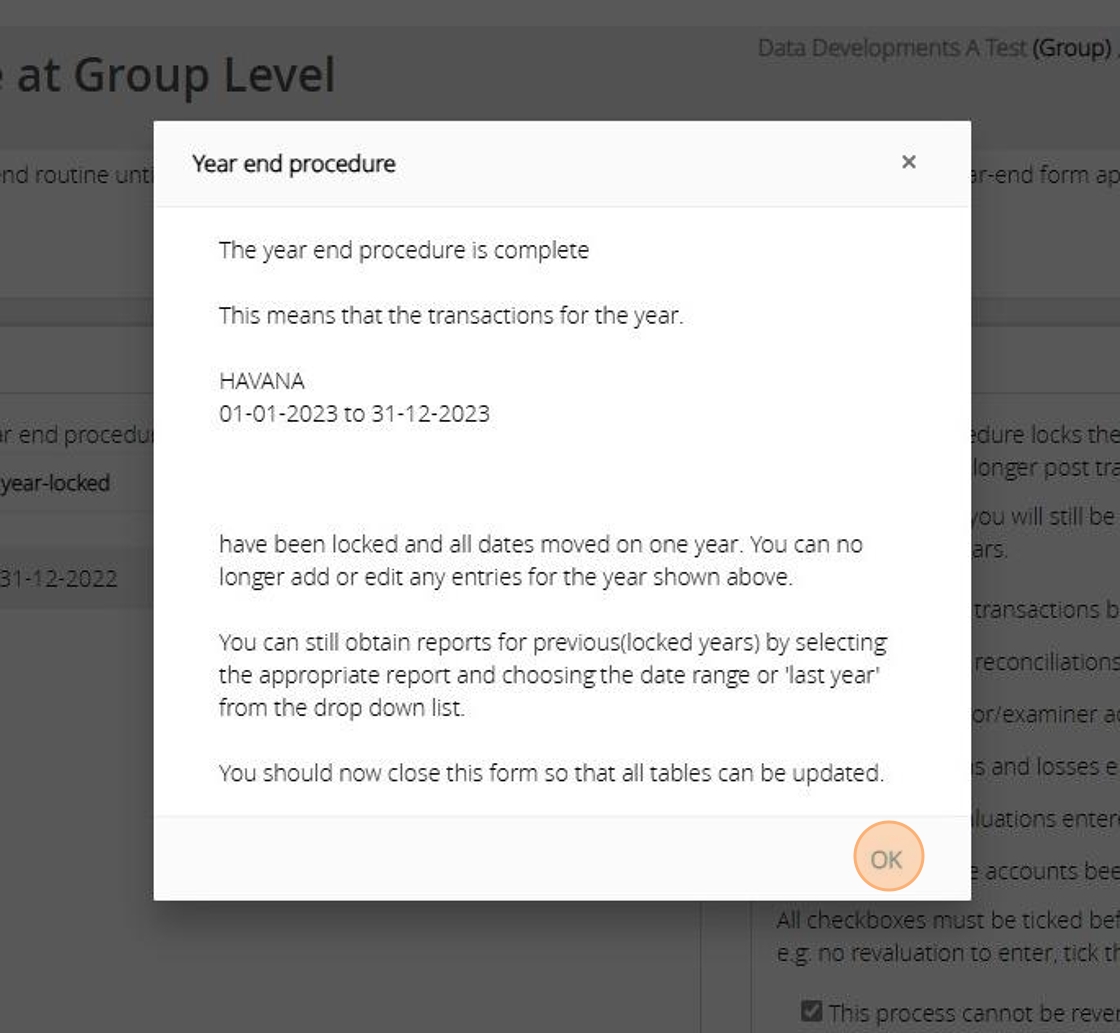
Year End Procedure in MyFundAccounting.Online - Branch
Tip: MyFundAccounting. Online can have two financial years open at a time.
When performing the year end procedure you are moving these forward by one year and locking any previous years transactions. For example you may be working on the accounts for 2022 and 2023. When completing the year end you will close year 2022 and open year 2024.
Alert: This process is not reversable! We would strongly advise to ensure all entries have been made and the accounts have been signed off by the Independent Examiner/Auditor before proceeding.
Alert: Alert! Once your first year end procedure has been completed you will not be able to amend any starting balances that have been entered.
Tip: Tip! Reports for previous years can be produced after the year end procedure has been completed but new transactions cannot be posted and existing transactions cannot be edited or voided.
1. Navigate to https://www.myfundaccounting.online
2. Click "Utilities"

3. Click "Year end procedure"

4. Click "Year end procedure (Branch Level)"

5. Here you can see the last accounting year that was locked

6. Here you can see the accounting year that will be locked if you continue with the procedure
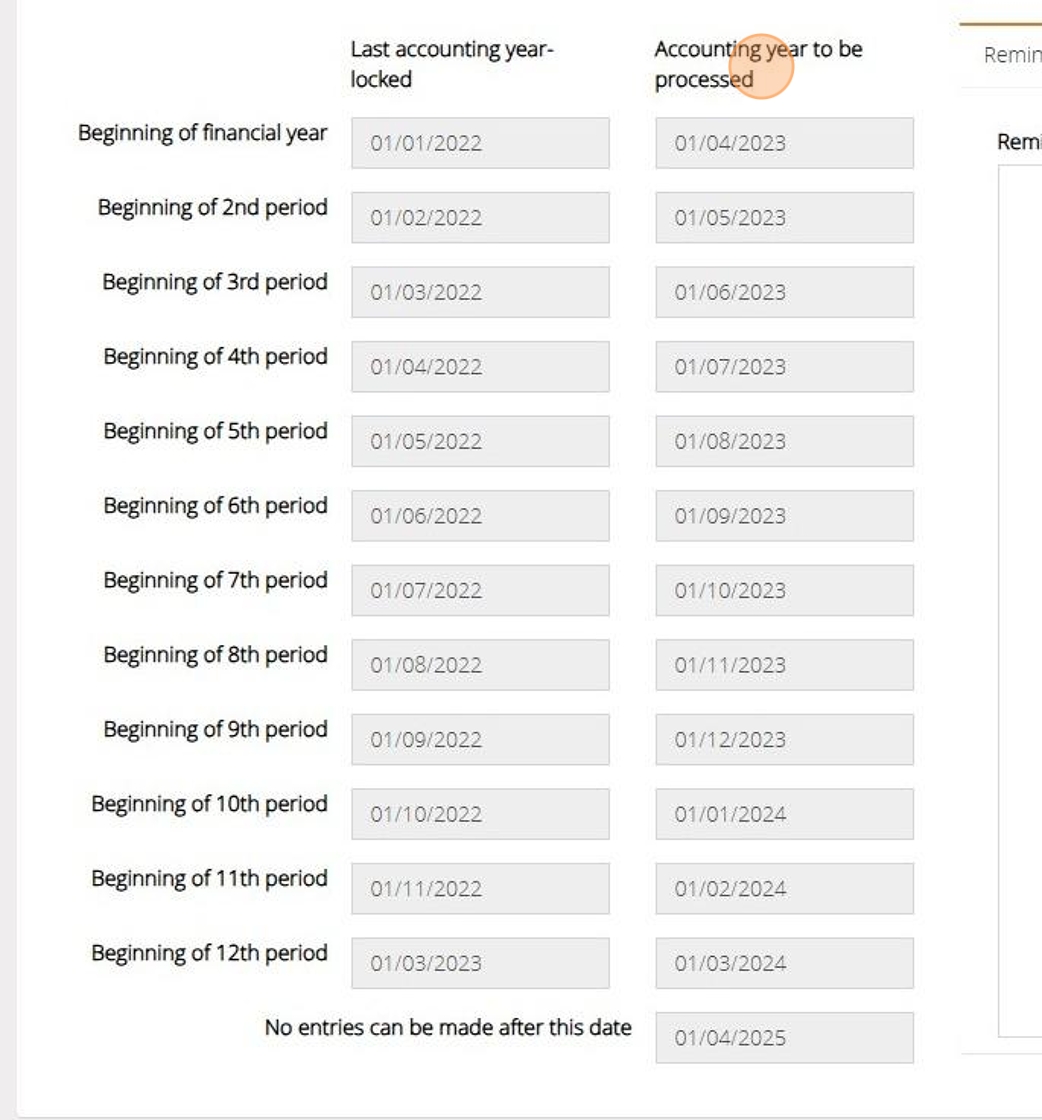
7. This box will display the last date you are currently able to make entries for
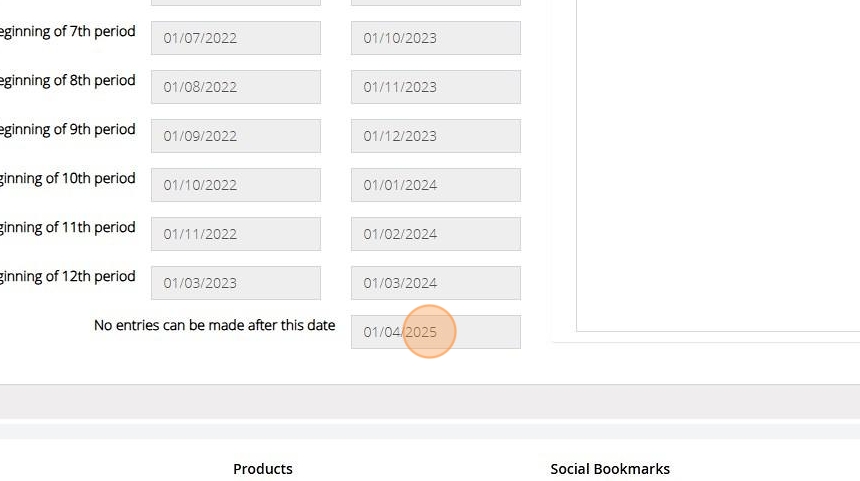
8. The tabbed section on the right of the form allows you to record your own reminder notes. These can be entered at any time throughout the financial year.
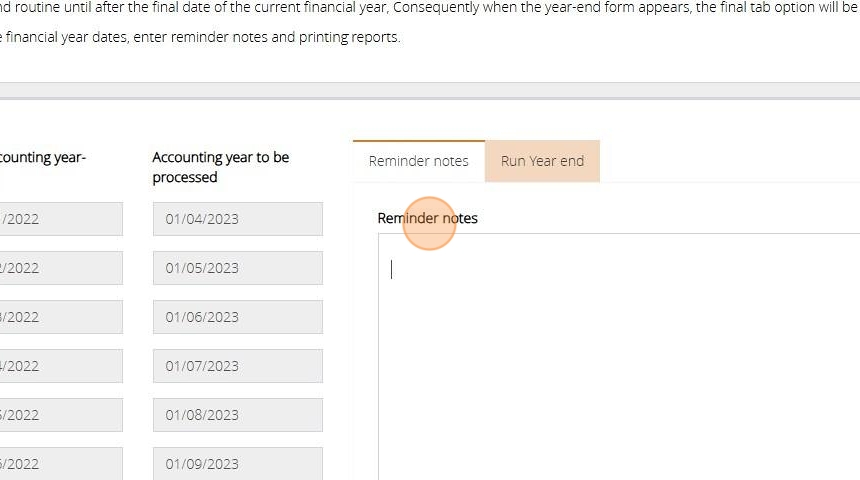
9. Click "Run Year end"

10. Tick each box to confirm that the task is complete.

11. Tick here to confirm you wish to proceed.

12. When all boxes are ticked the 'Process Year-End and Lock Transactions' button will highlight.
Click to continue

Alert: Alert! This process cannot be reversed
13. Click "OK"
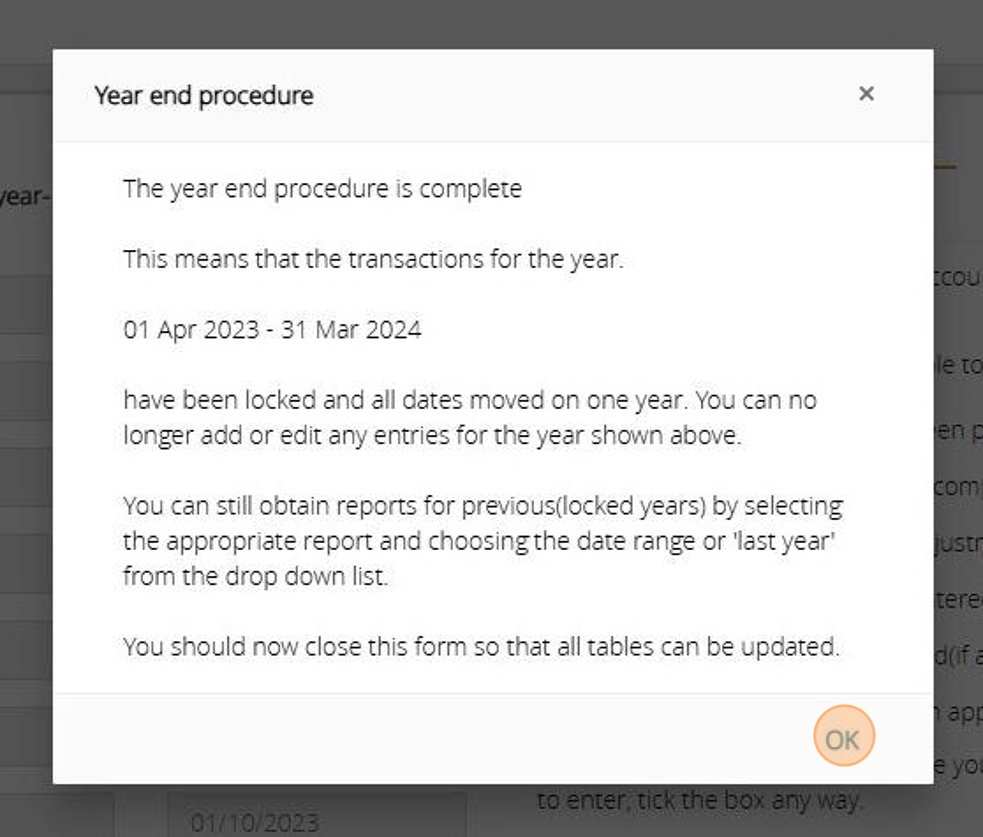
Create a new Fund
Create a new Fund
Tip: The below steps will guide you in creating a new Fund.
1. Navigate to https://www.myfundaccounting.online
2. Click "Create"

3. Click "Accounts Assistant"
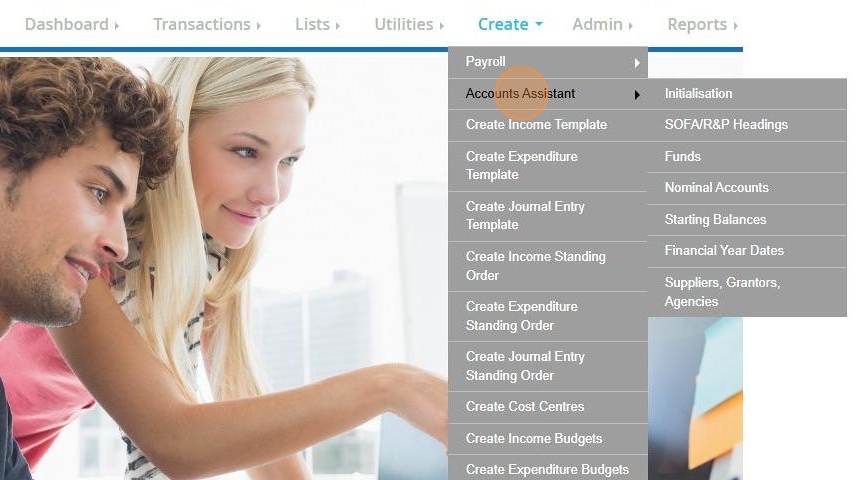
4. Click "Funds"
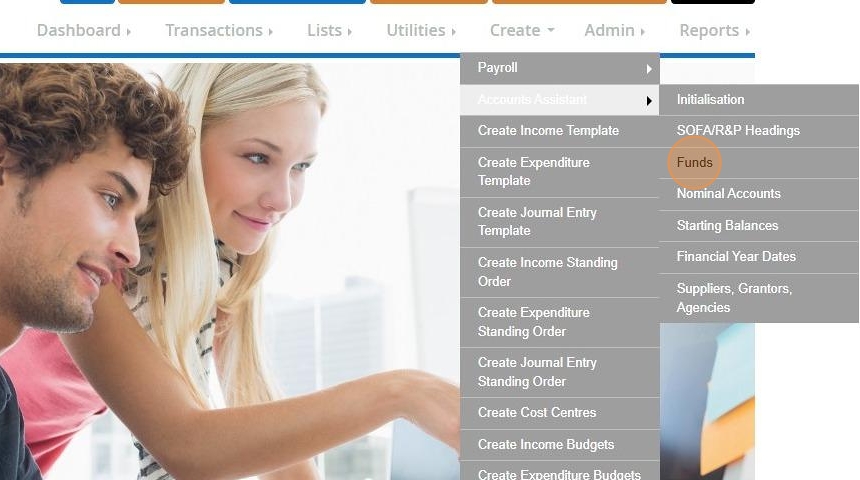
5. Click "Fund Details"
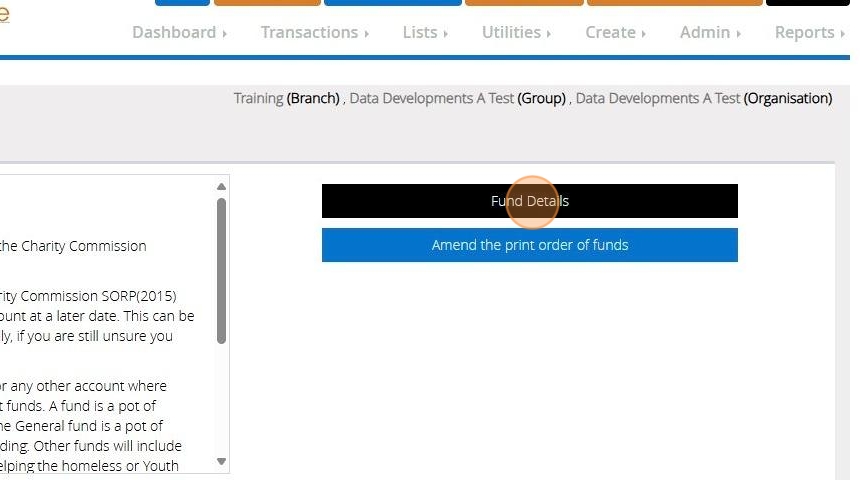
6. Here you can view all funds. The ones shown in the below image are all default funds that are available.
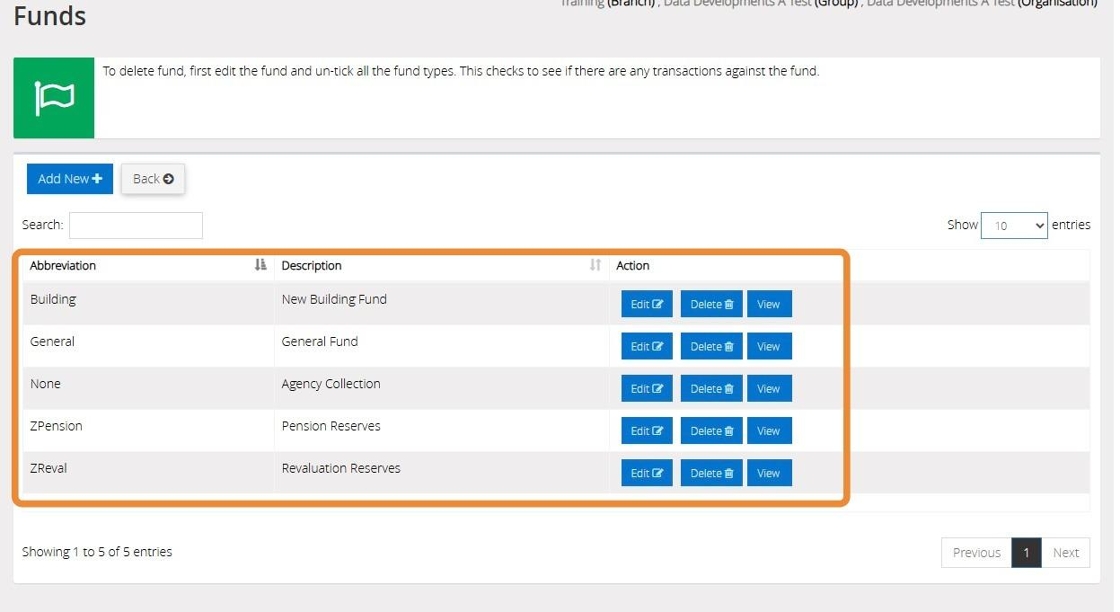
Tip: Tip! Agency Collections are used when you collect money on behalf of someone else (for example you may have a collection at a particular service that is for Christian Aid).
In this case neither your church/charity or its finance committee have any control over the way that the money is used. It is described as an Agency Collection (or sometimes a ‘post box’ account). You are acting as an agent, collecting on behalf of someone else.
Please note the above information is not definitive and you should always obtain clarification from the SORP and/or Charity Commission when deciding what constitutes an agency collection and what is normal income and expenditure.
7. To create a new Fund click "Add New"
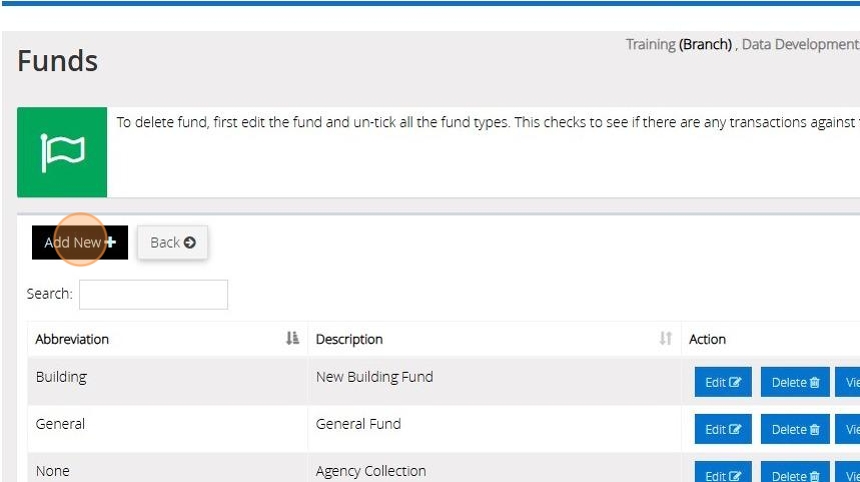
8. Enter the description of the new fund in the top white box e.g., Building Fund.
Enter a short name for the fund in the box marked 'Abbreviation', following the above example we could enter Building.
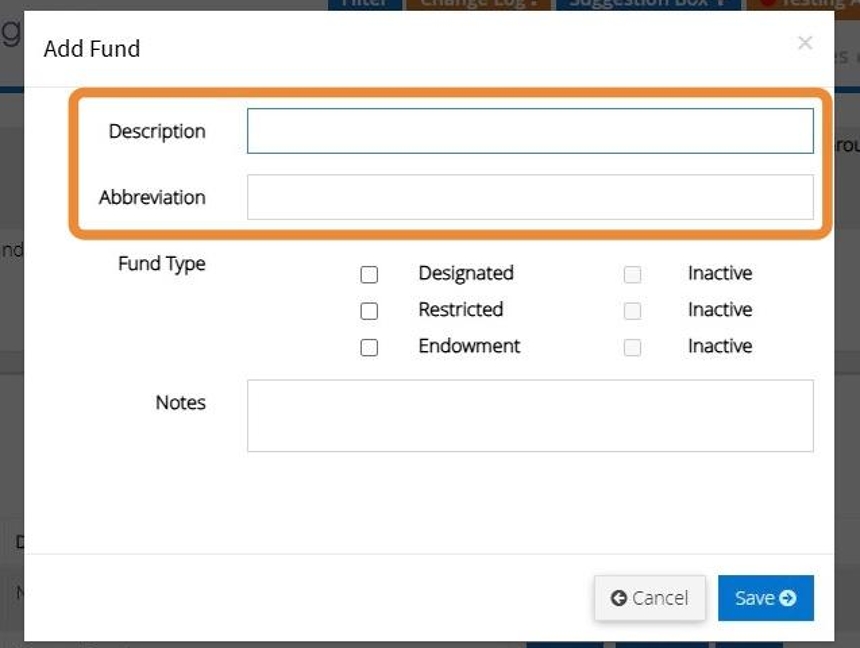
9. "Tick" the Fund Type boxes to show what type of money is being given to the fund:
Unrestricted – The donor has not limited the use of the money - General Fund.
Designated – The charity has allocated unrestricted money (General Fund) to another fund – it is still unrestricted.
Restricted – The donor has limited how the money can be used, for example for building work only.
Endowment – The donor has given money to be invested and the charity is only able to use the interest on this money.
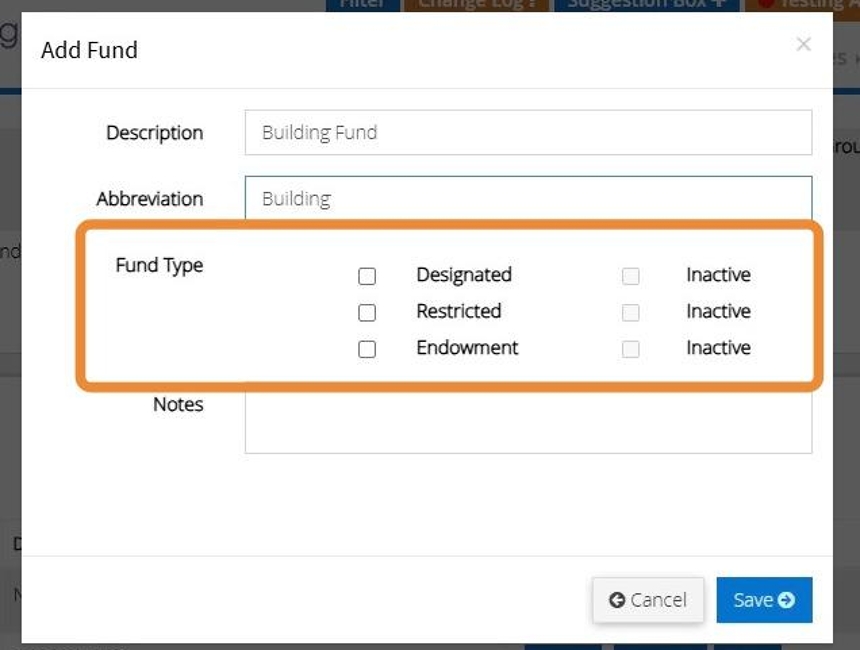
10. Click the "Notes" field to store any notes about the fund.
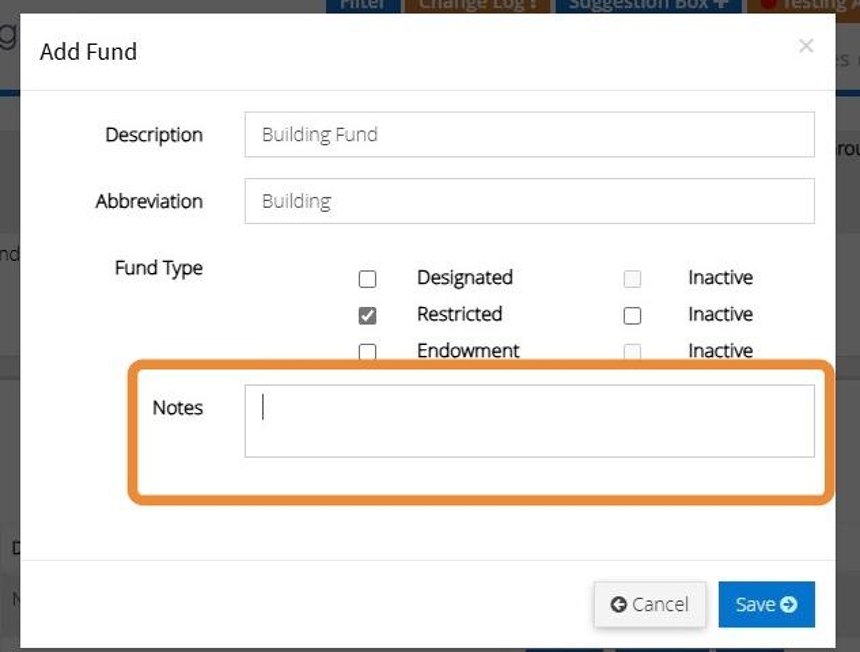
11. Click "Save"
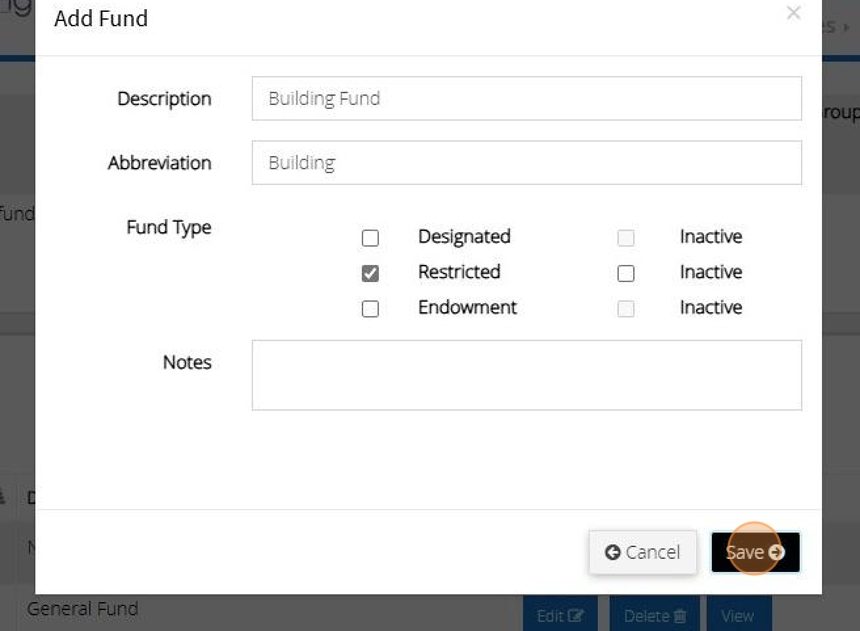
Amend the print order of Funds.
12. Click "Amend the print order of funds"
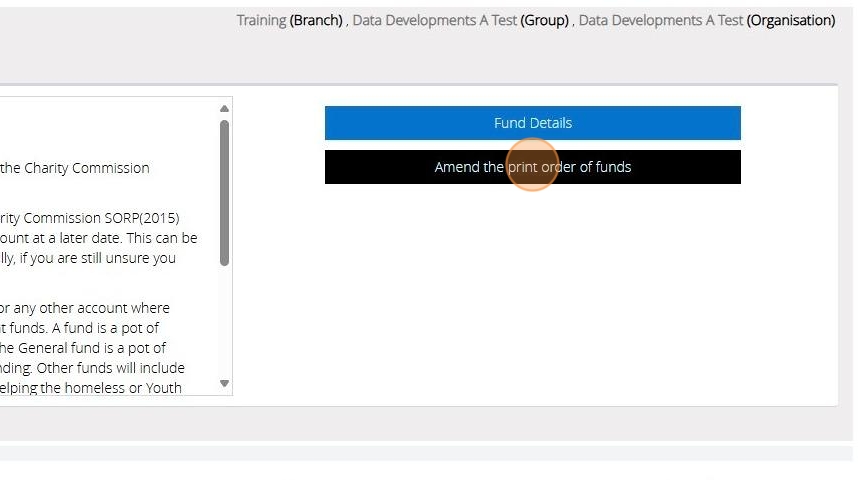
13. Your list of funds will appear here.
"Move" the mouse over the small square next to the fund.
"Click" and hold down the left mouse button. Then 'drag' the fund to the position you require.
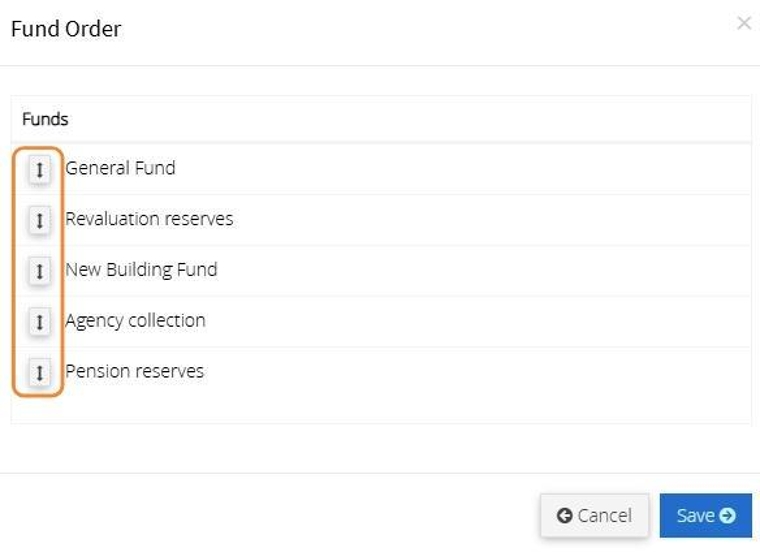
14. "Click" Save when you have finished. You will receive a message to say the change of funds was successful.
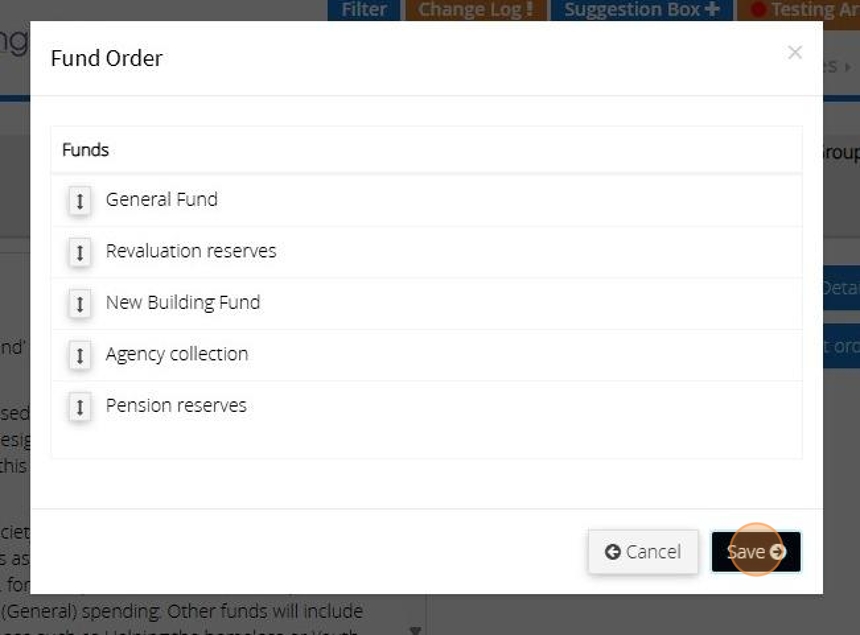
Alert: Now when you generate fund based reports this will be the order in which you have selected.
Creating a new User Account in MyFundAccounting.Online
Tip: You can create user accounts with specific permissions so that users can only access specific pages only. The below instructions will guide you in creating a new user account with permissions.
1. Navigate to https://www.myfundaccounting.online
Create a User Account
2. Click "Admin"

3. Click "User & Security"
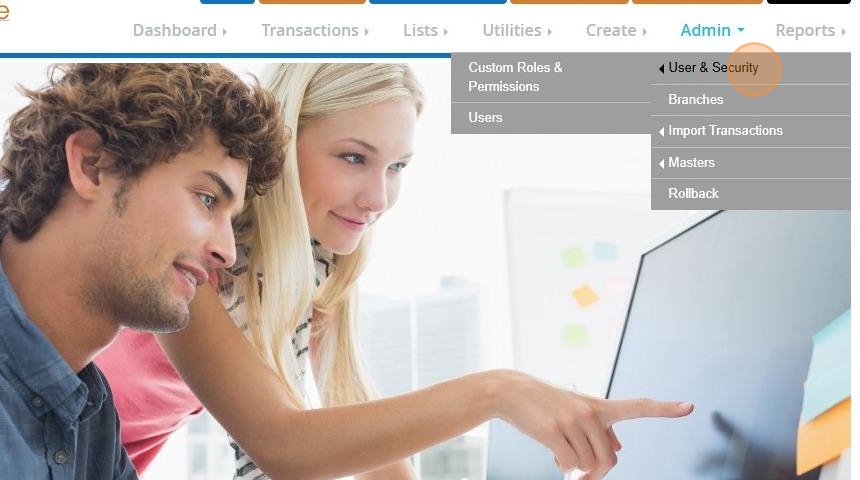
4. Click "Users"
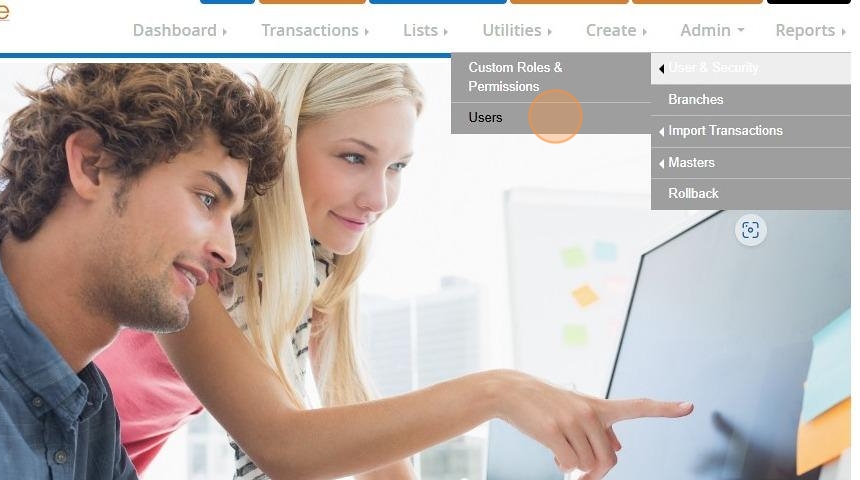
5. Click "Add New"
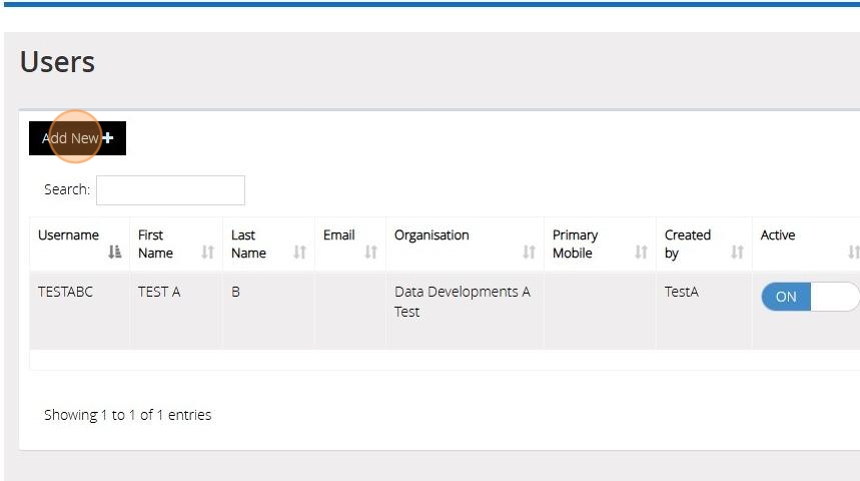
6. Select either Group or Branch from the 'User Roles' and select the Group/Branch the user should have access to from the drop down menus that appear
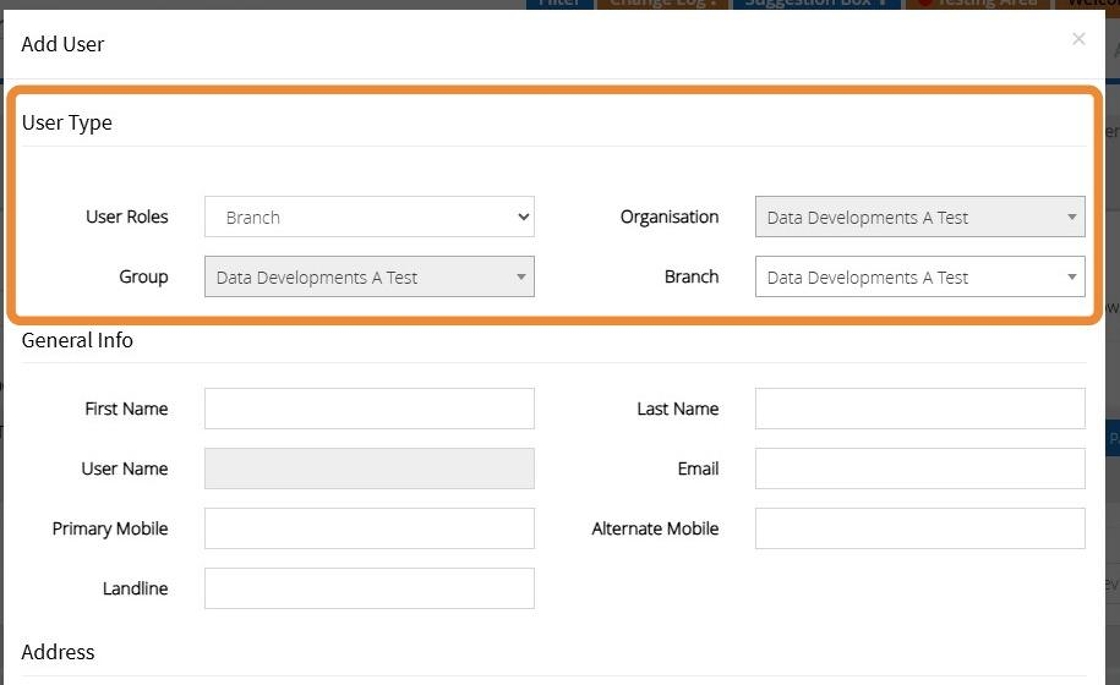
7. Enter a Name, Username, Email and contact number (optional).
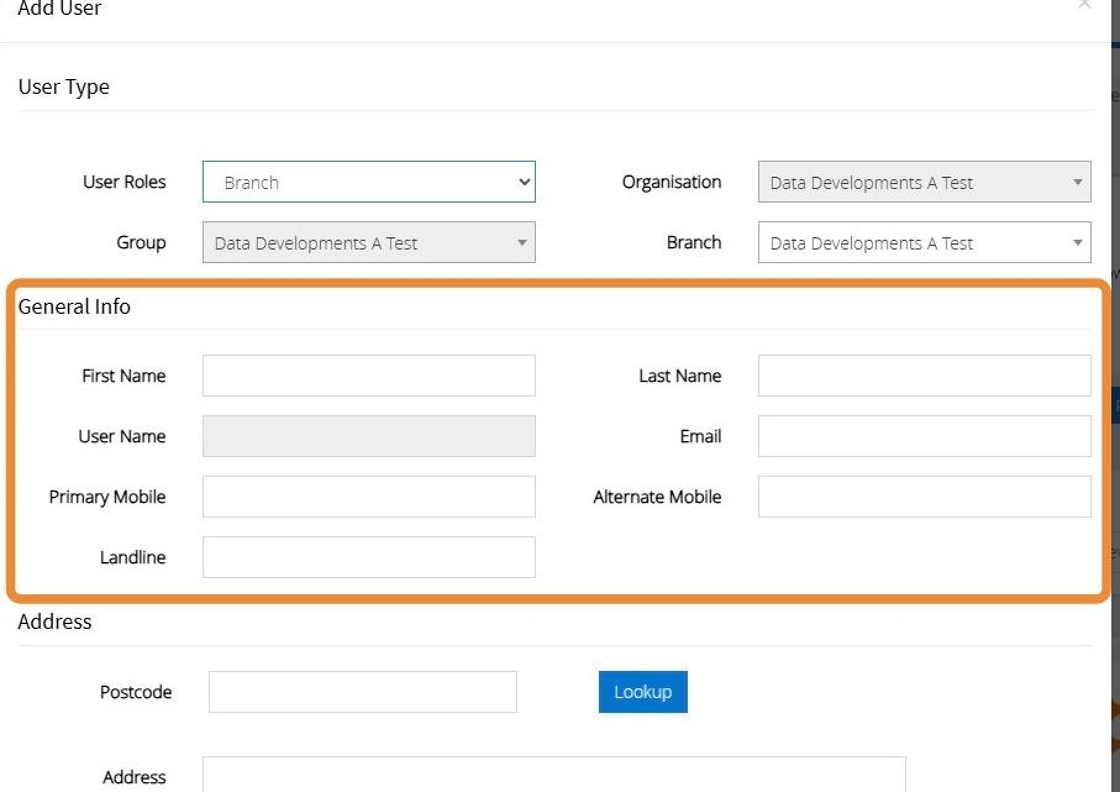
8. Enter a postcode and click "Lookup"
Select the address from the dropdown bar provided
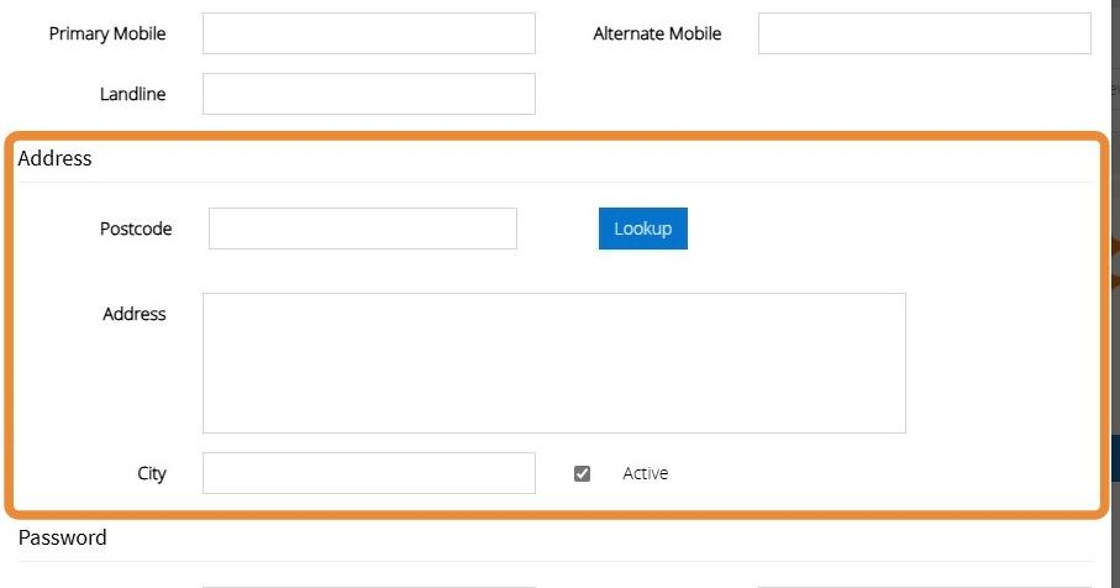
9. Enter a Password, please note the password must have at least one number, one upper case, one lower case and a special character (@#$%&+=!_)
Enter a Password Question and Password Answer

10. Click "Save"

Edit Data Access
Tip: The below steps will guide you in providing data access to your branches/groups for a user account
11. Click "Admin"

12. Click "User & Security"
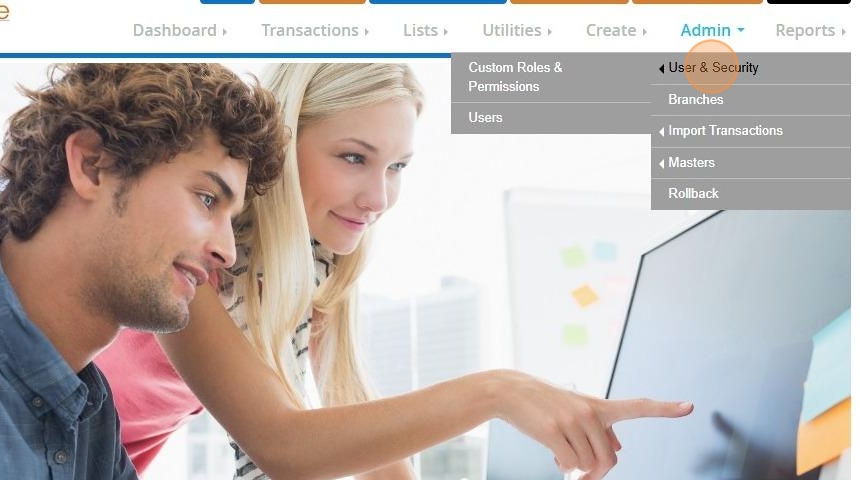
13. Click "Users"

14. Click "Edit Data Access"
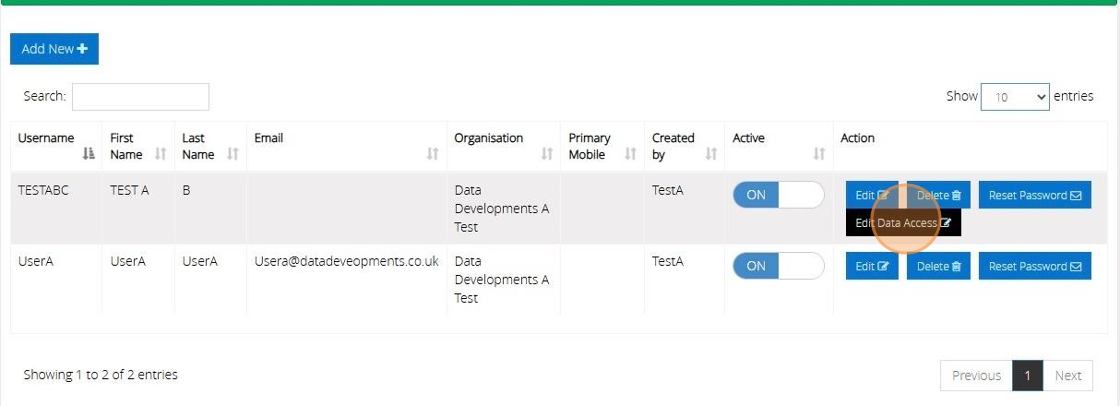
Tip: Tip! If the user is set up using the "Branch" role the "Edit Data Access" option with not be available, instead you would click "Edit" to change which branch they are assigned to.
15. Select from the ‘Grant Access to’ drop down the specific branches you wish the user to be able to access.
The drop down bar for "Current Access" will show the specific branches the user currently has access to.
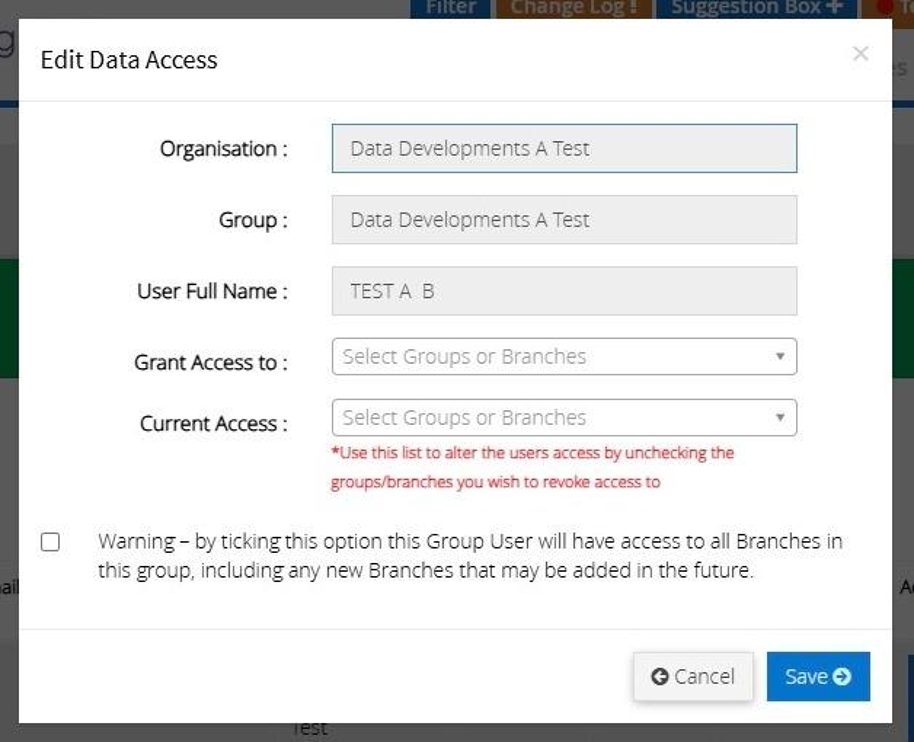
Alert: Alert! Be aware that if you tick the checkbox next to the 'Warning - by ticking this option...'you will give the user access to all current and future branches in this group.
16. Click "Save"
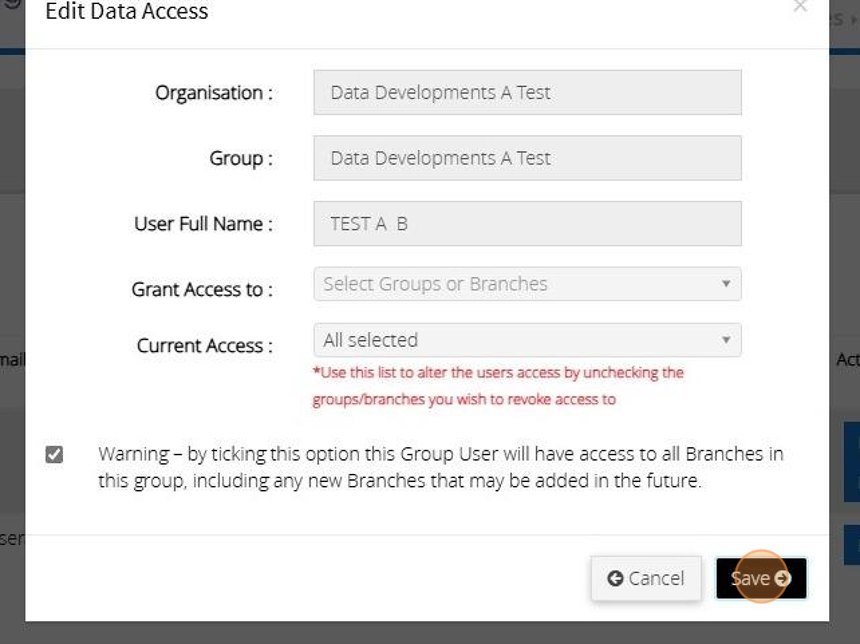
Tip: Once the account has been created you can now send the Username ad Password to the user to enable them to log into the accounts.
Create a Custom Role
17. Click "Admin"

18. Click "User & Security"

19. Click "Custom Roles & Permissions"
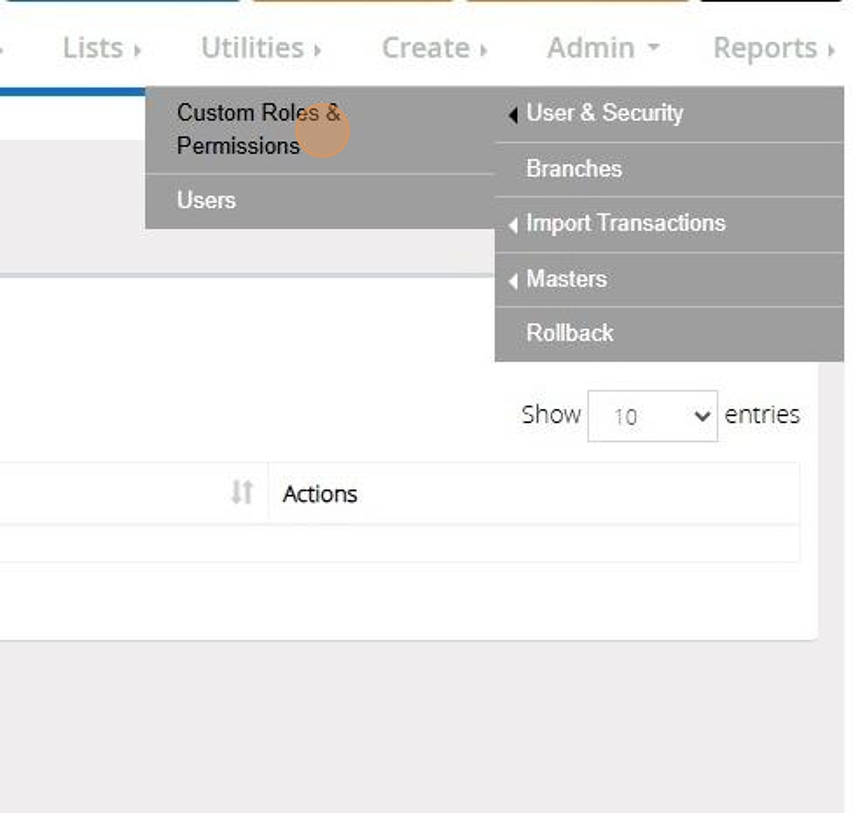
20. Click "Add New"

21. Enter and Name and Description
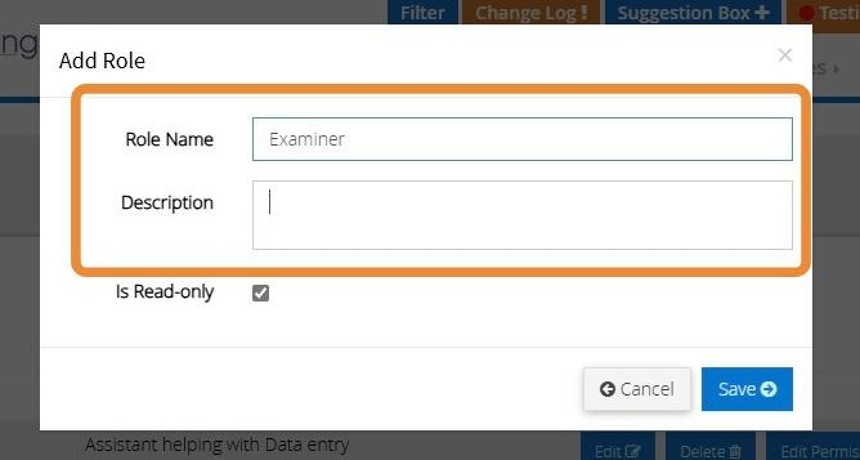
22. Untick the 'Read Only' Checkbox if you would like users to be able enter and amend the data. If Read-Only remains ticked the User will only be able to view the data and make no input or amendments
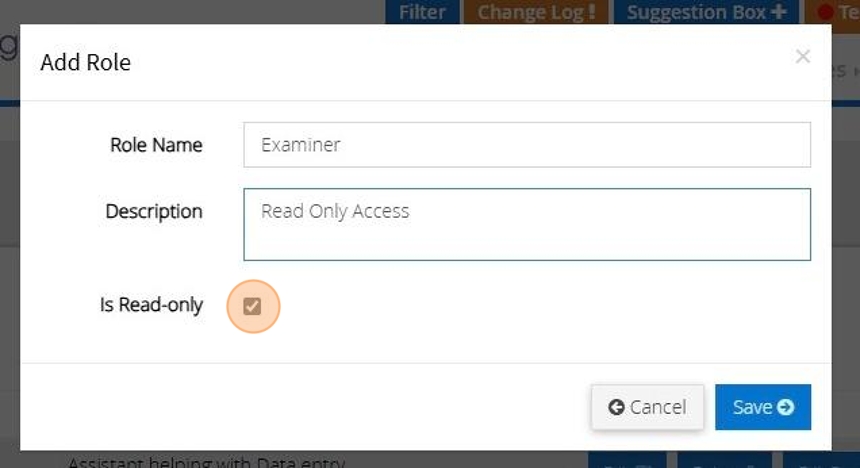
23. Click "Save"
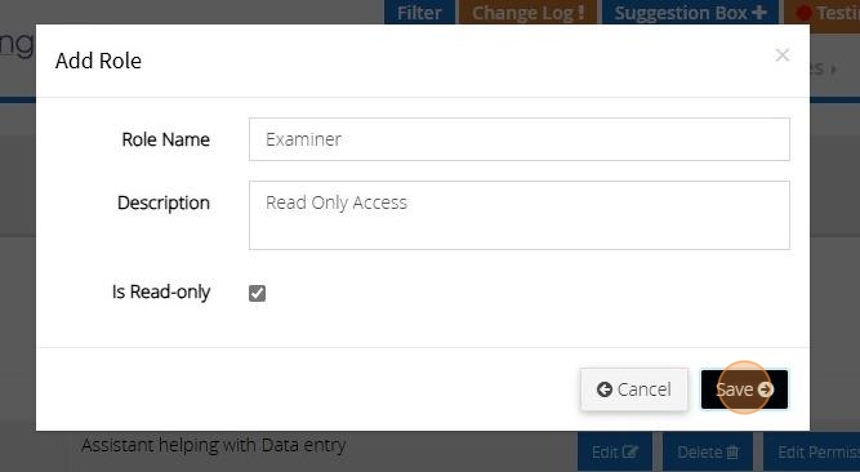
24. The below message will appear once the role has been saved successfully
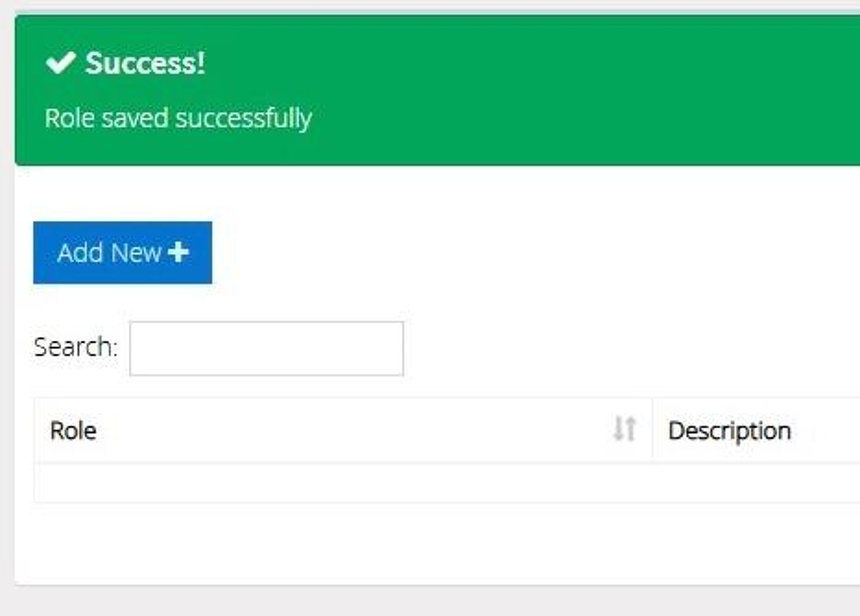
Custom Role Permissions
Tip: The below steps will guide you in selecting the permissions for a Custom Role
25. Click "Admin"

26. Click "User & Security"
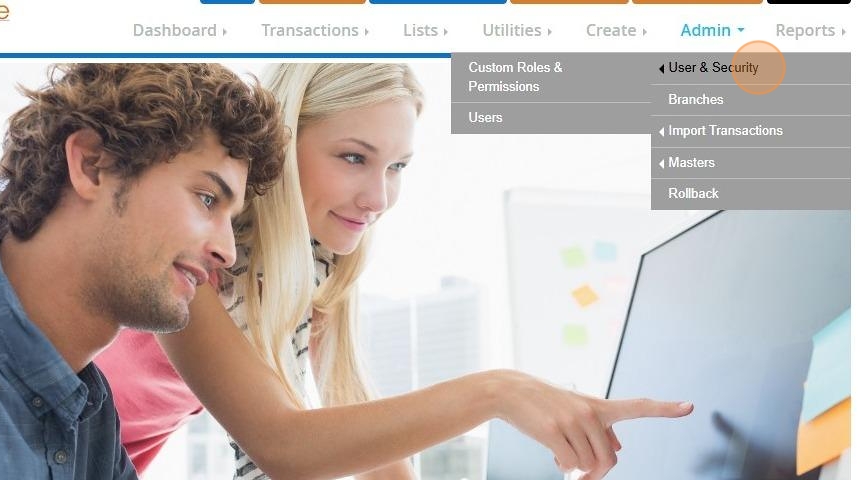
27. Click "Custom Roles & Permissions"
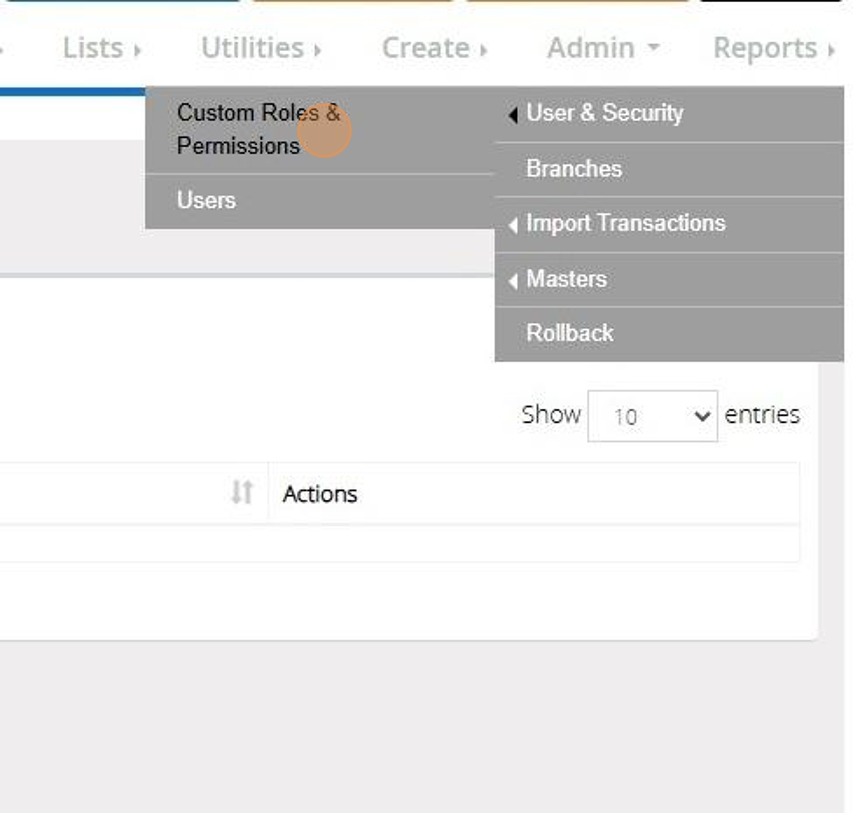
28. All Custom Roles that have been created will be listed here

29. Click "Edit Permission"
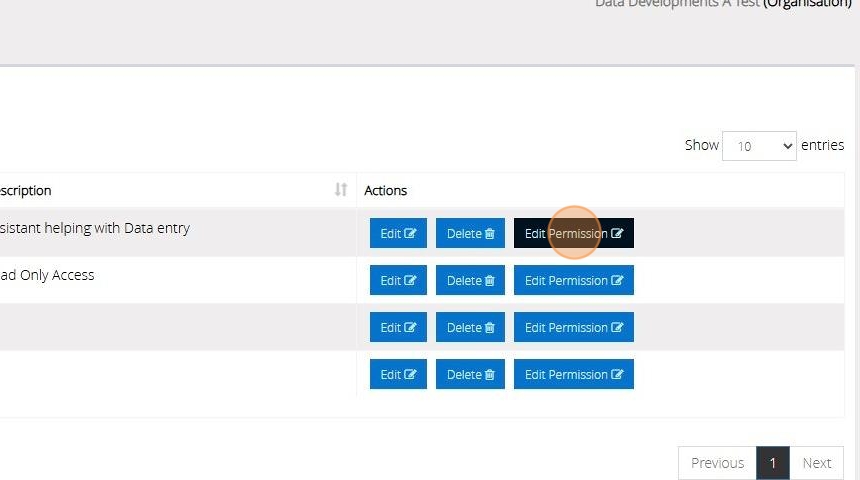
30. Tick the box next to each function you want the user to be able to access
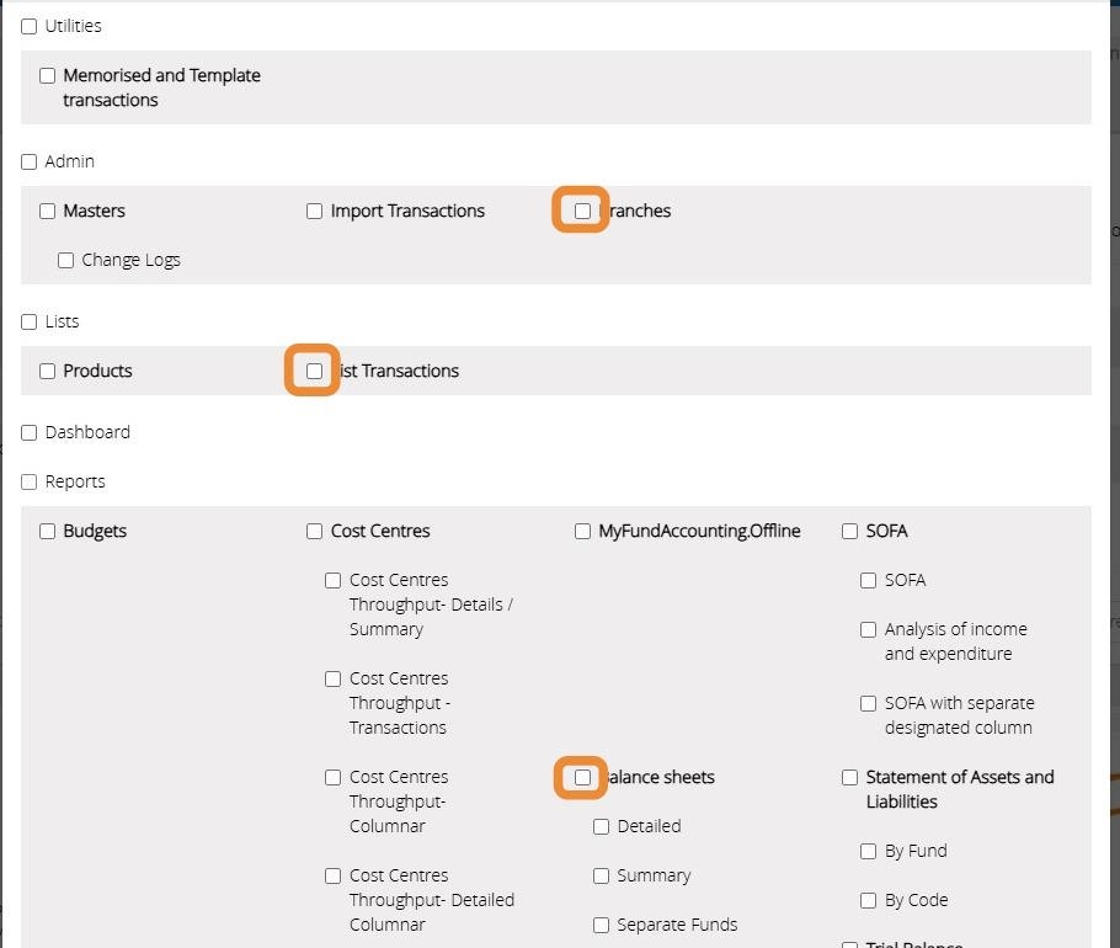
31. Click "Save"
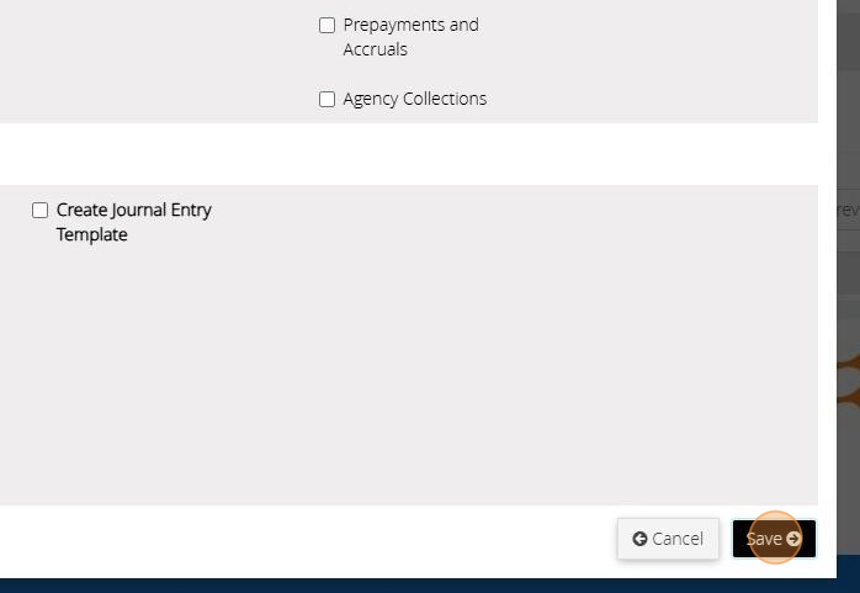
Assign a Custom Role to a User Account
Tip: The below steps will guide you in assigning a custom role you have created to a user account
32. Click "Admin"
33. Click "User & Security"
34. Click "Users"
35. Click "Edit" next to the user account

36. From the User Roles Drop down bar select your Custom Role
37. Click "Save"

Tip: Tip! After assigning a custom role you will need to assign the data access to limit the Groups and Branches they have access to
How to Edit a Transaction
Tip: The below steps will guide you on how to edit a transaction from your list of transactions
1. Navigate to https://www.myfundaccounting.online
2. Click "Lists"

3. Click "List Transactions"
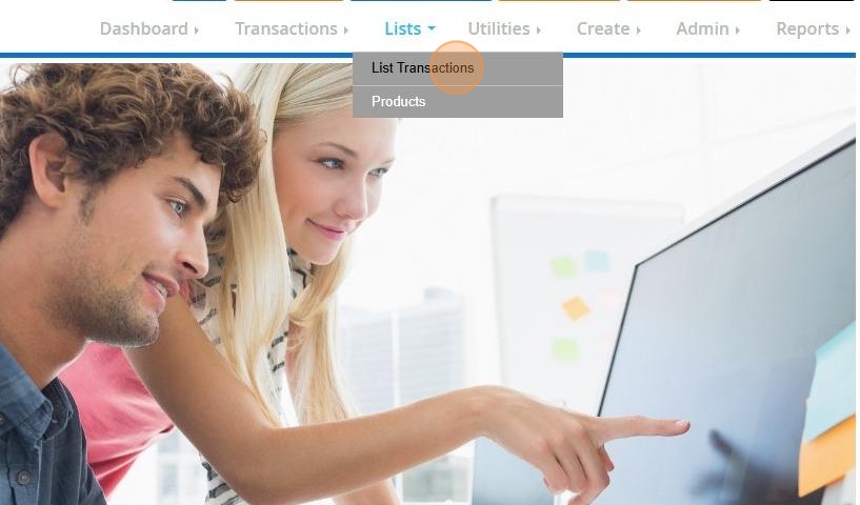
4. Click to highlight the transaction you need to Edit
Click "Edit"
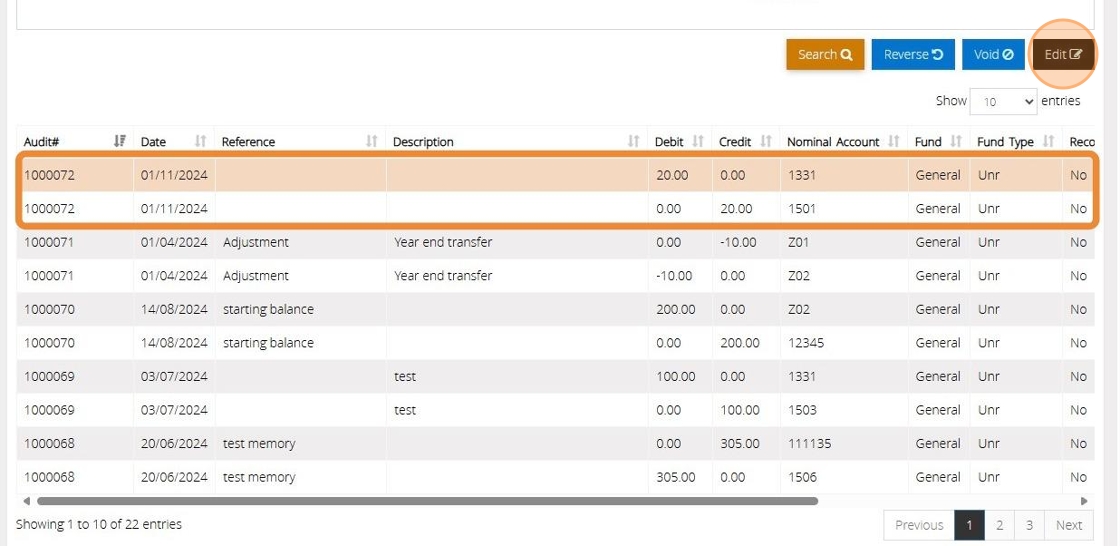
Alert: Alert! You are only able to edit transactions that have been entered via the Record Income/Expenditure form or unreconciled Journal Entries
Alert: Alert! If a transaction has been reconciled you will only be able to edit the Income/Expenditure side of the transaction.
5. Make the necessary amendments to the transaction
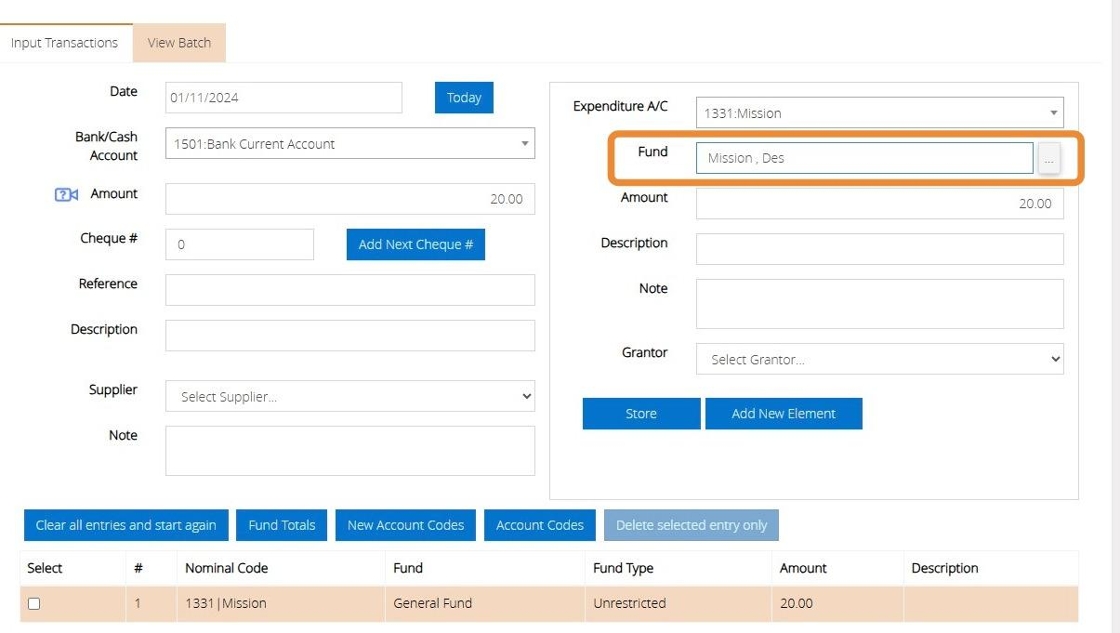
6. Click "Store"
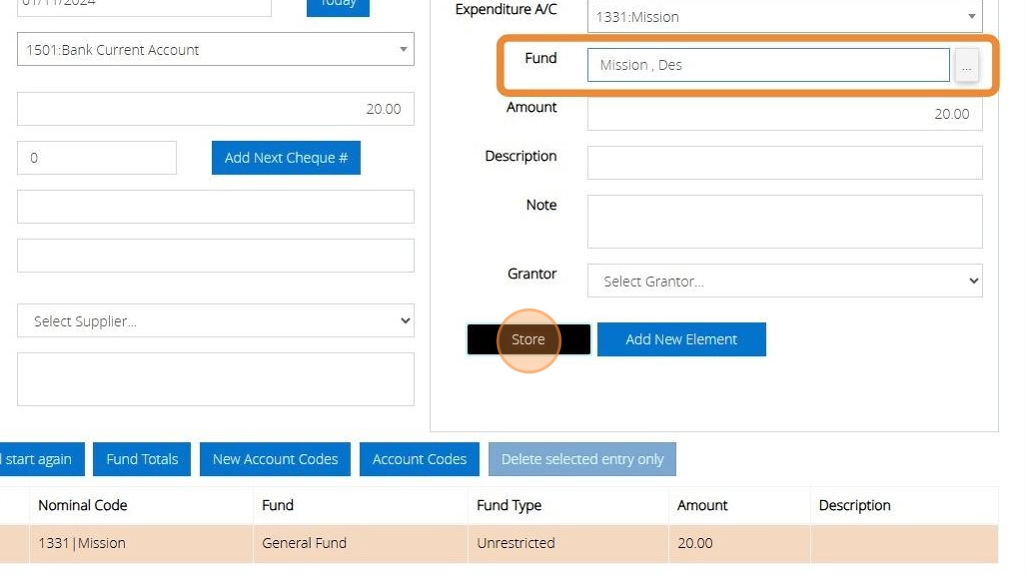
7. Click "Post"
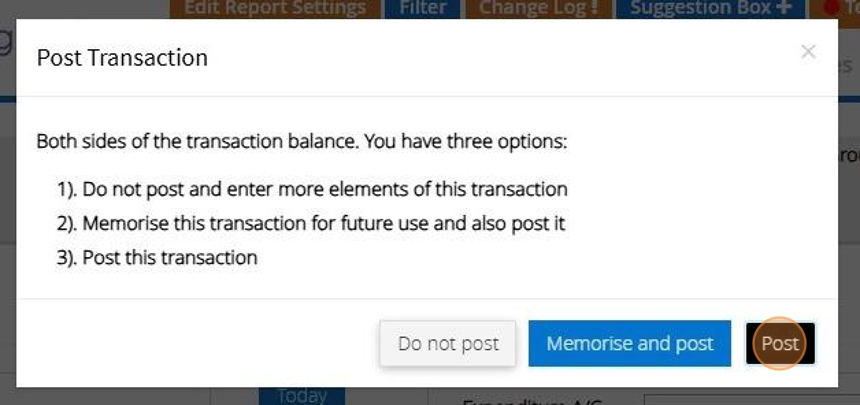
8. A new Audit number will be issued once the transaction has been saved successfully
Click "OK"
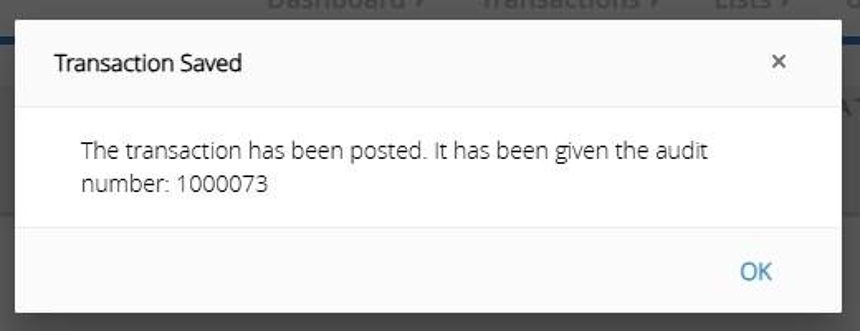
Tip: Please see our guides void a transaction or reverse a transaction for further guidance.
How To Void a Transaction
Tip: The below steps will guide you on how to Void a transaction from your list
1. Navigate to https://www.myfundaccounting.online
2. Click "Lists"
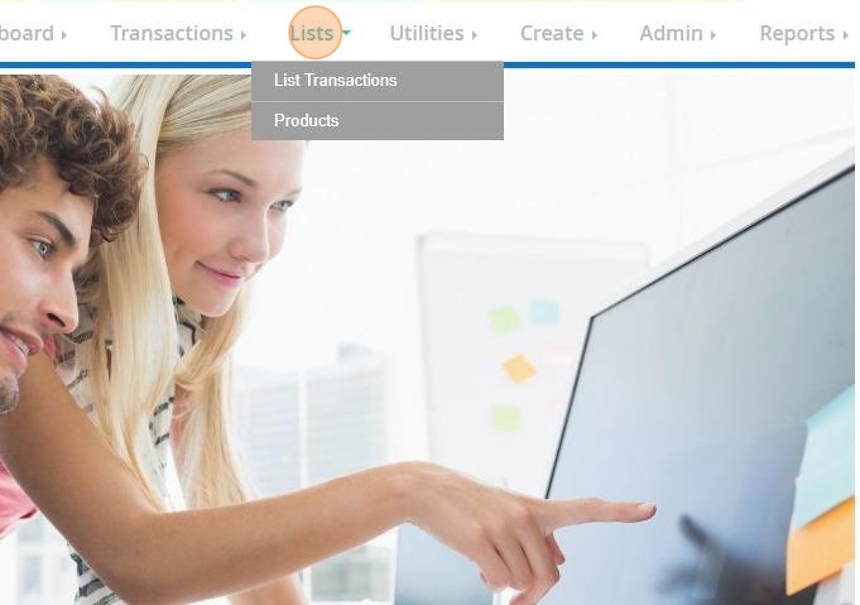
3. Click "List Transactions"
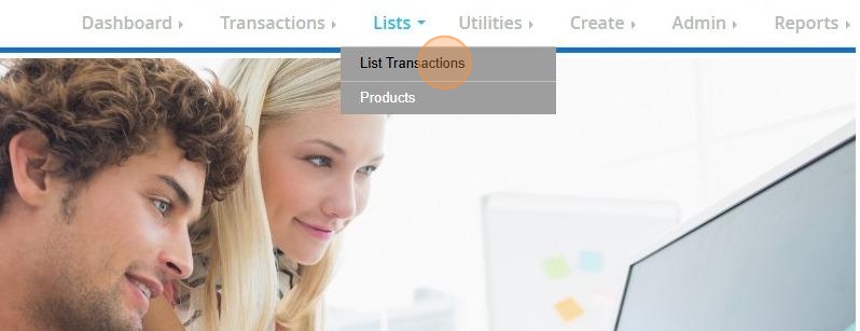
4. Click to highlight the transaction you need to Void
Click "Void"
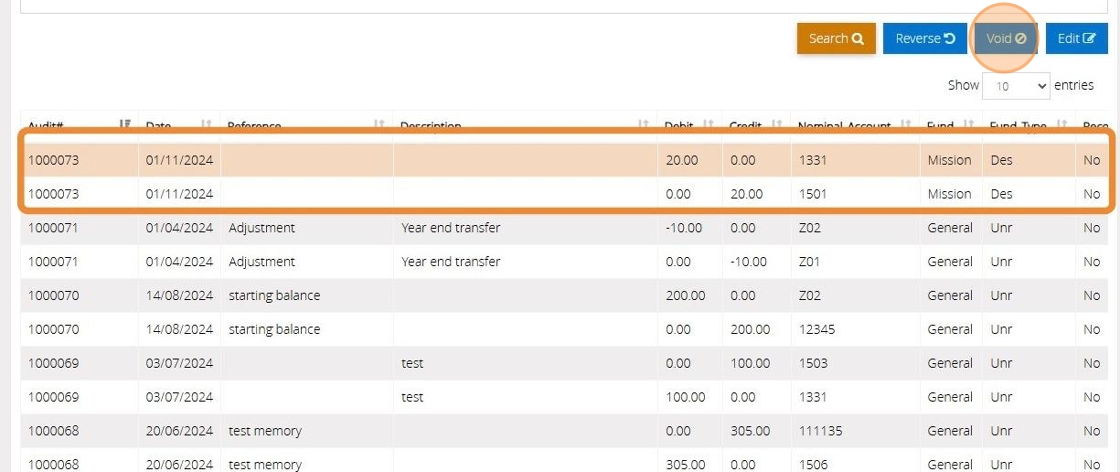
Alert: Alert! You are not able to void a transaction that has been reconcilled.
5. Enter a note against the transaction to record why this has been voided and click "Yes"
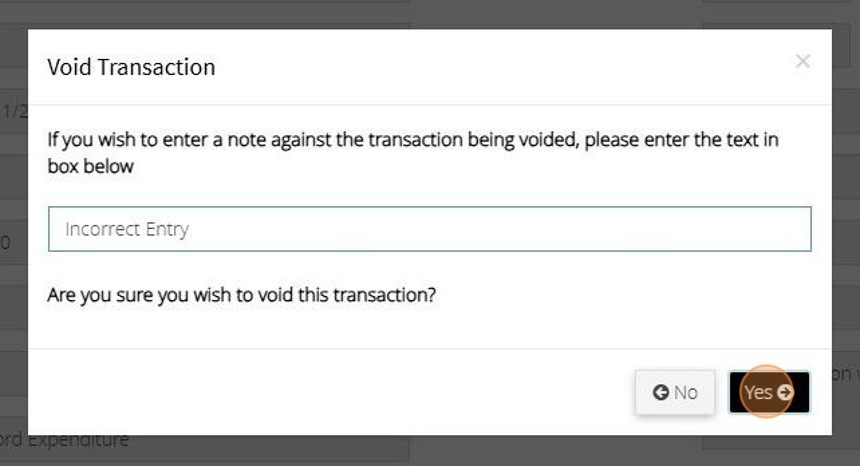
6. The below message will appear once the transaction has been voided successfully
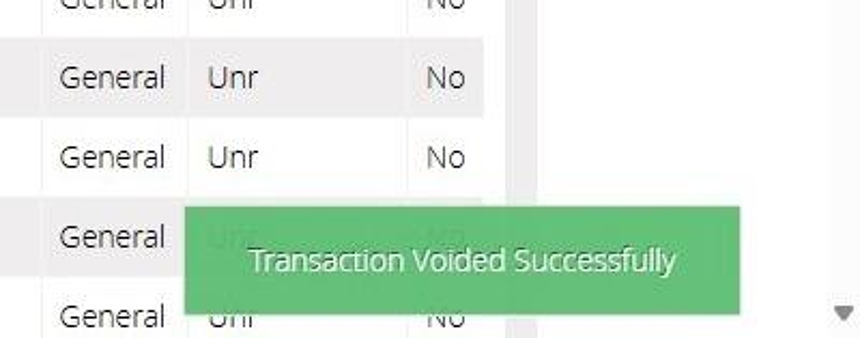
View Voided Transactions
Tip: All voided transactions are retained to ensure there is a complete audit trail. The below steps will show you how to easily view transactions that have been voided.
7. Click "Lists"

8. Click "List Transactions"

9. Tick the box next to "Voided" to filter all transactions within your selected financial period to voided transactions
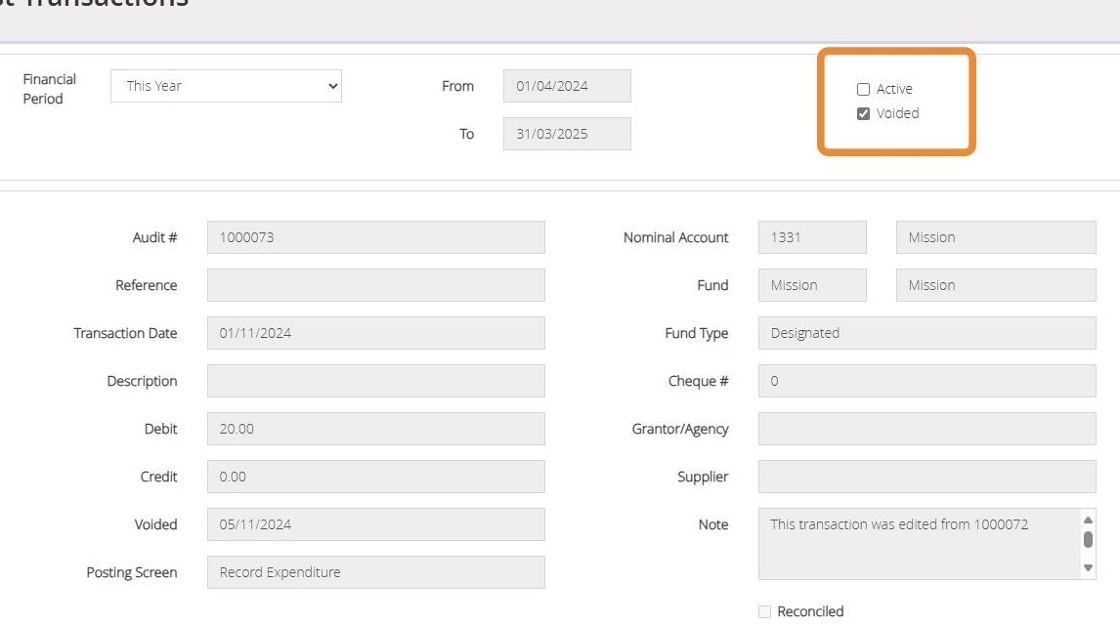
10. Only transactions that have been "Voided" will now appear on your list of transactions.

How to Reverse a Transaction in MyFundAccounting
Tip: The below steps will guide you on how to Reverse a transaction.
You may need this if you are unable to void a transaction, as it will reverse all elements of the transaction, all debits becoming minus debits and all credits will become minus credits.
This effectively cancels out the original transaction while retaining the accounts audit trail.
1. Navigate to https://www.myfundaccounting.online
2. Click "Lists"

3. Click "List Transactions"
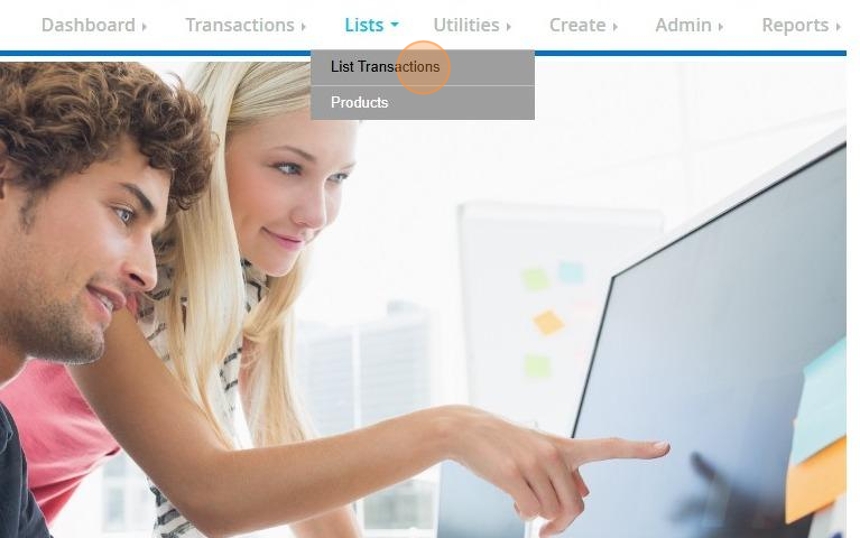
4. Click to highlight the transaction you need to Reverse
Click "Reverse"
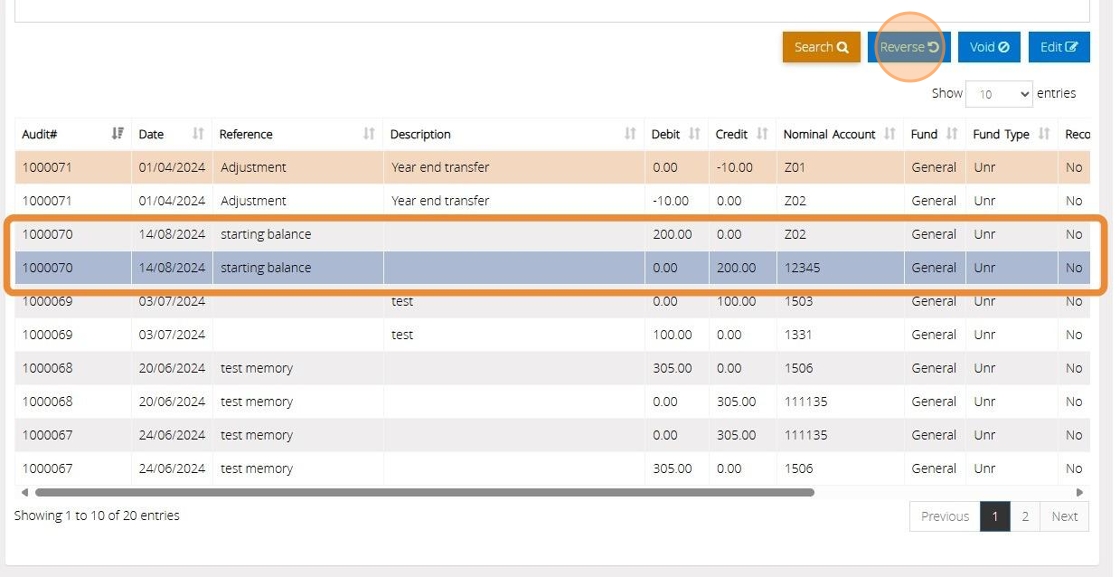
5. The below warning message will appear.
Once ready to continue click "OK"
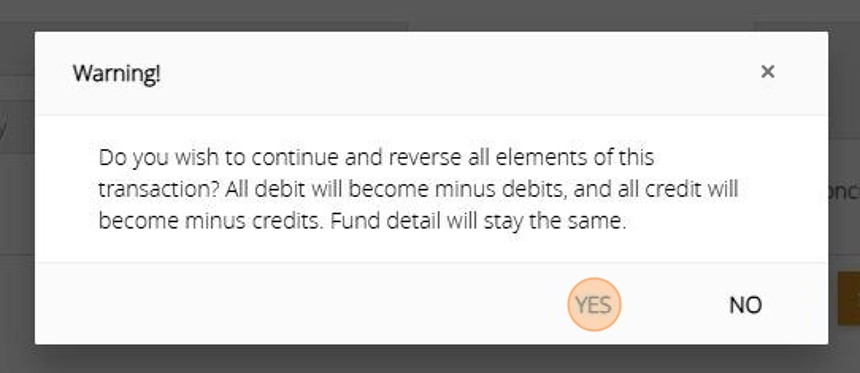
6. The below message will appear once the transaction has been reversed successfully
7. You will see the reversed transaction at the top of the list of transactions

Creating Nominal Accounts
Tip: The below steps will guide you in creating Nominal Codes such as Income, Expenditure and Current Assets.
1. Navigate to https://www.myfundaccounting.online
Nominal Accounts
2. Click "Create"
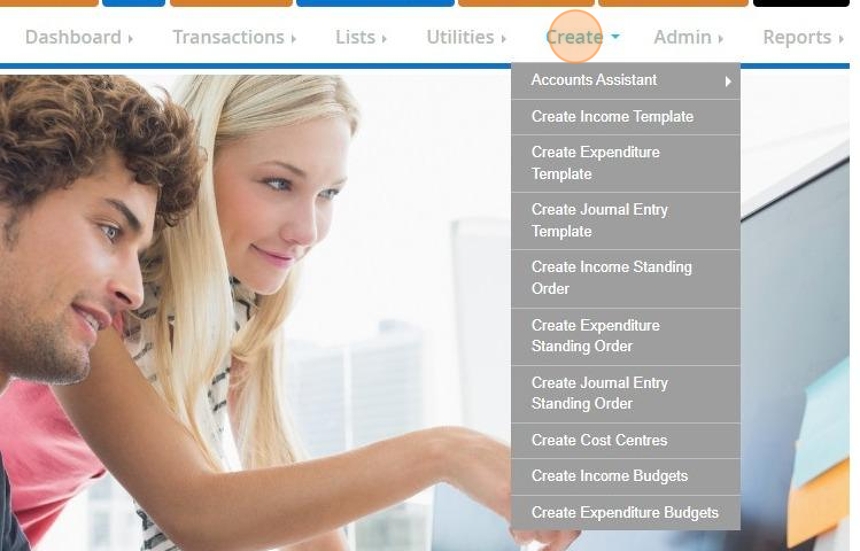
3. Click "Accounts Assistant"

4. Click "Nominal Accounts"
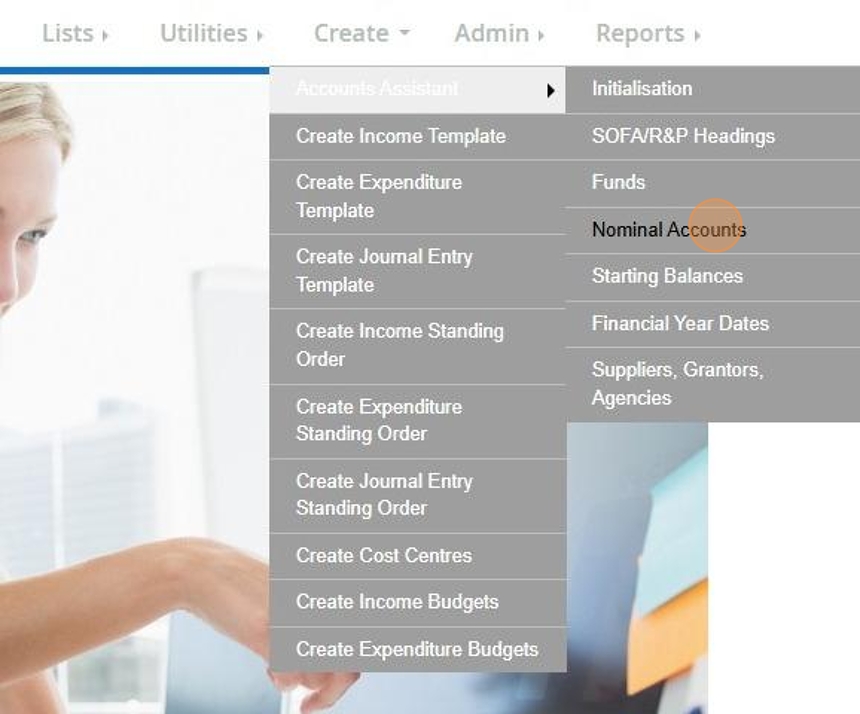
Alert: Alert! Reserve codes are used to manage your accounts. It is not necessary to add to or edit these codes
5. There are six types of account headings. As you move the pointer over an option the text on the left of the screen will explain that option:
Type -Example
Income - Donations
Expenditure - Electricity
Fixed assets - Mini bus
Current assets - Bank account
Liabilities - Loan (from the bank)
Reserves - Double entry accounting term
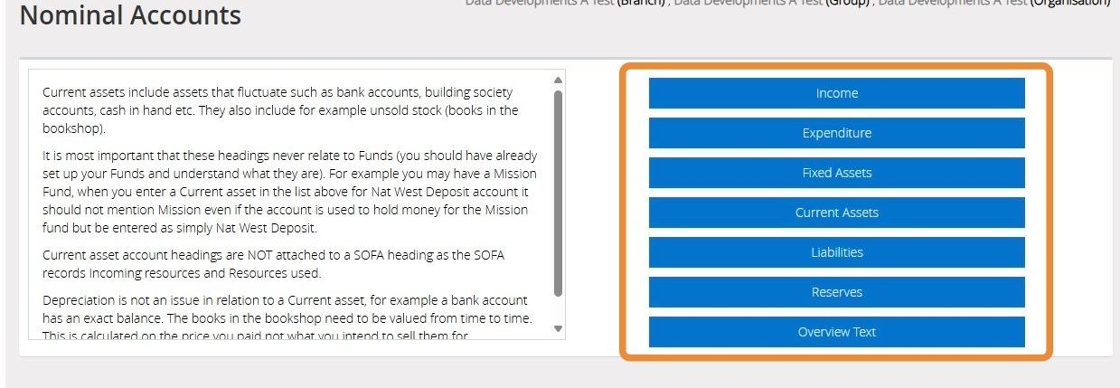
Tip: You can use the ‘reference list’ report from the reports menu to print a list of all your nominal accounts to check whether the account you are about to create already exists
Income and Expenditure Accounts
6. Click "Income"
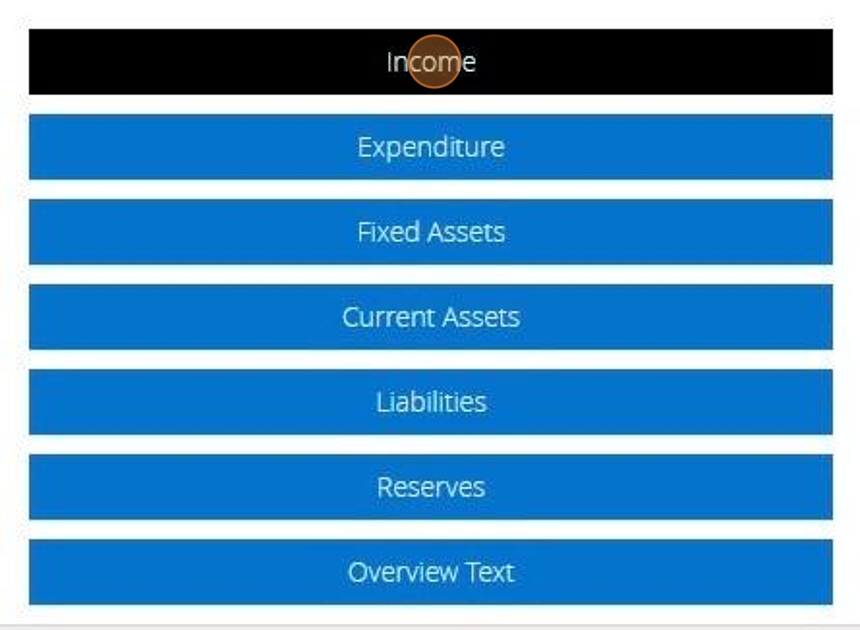
7. Click "Add New"
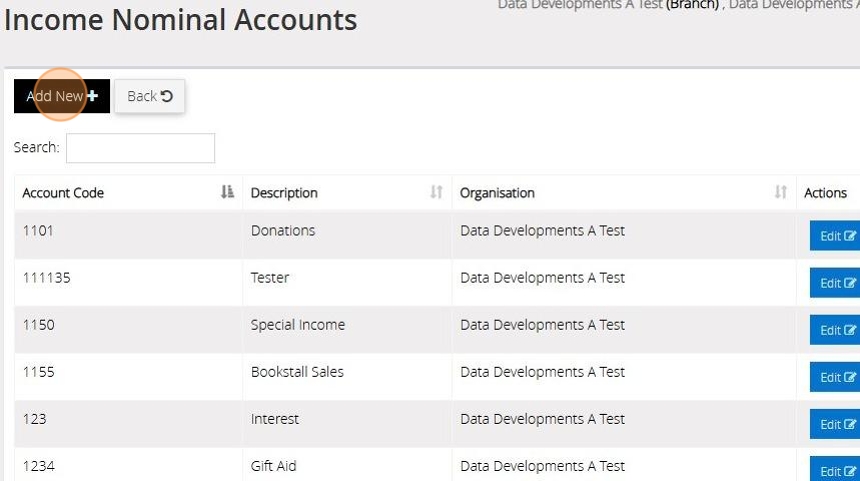
8. Enter the description of your income heading and a code for example ‘Donations' as the description and ‘0101’ as the account code.
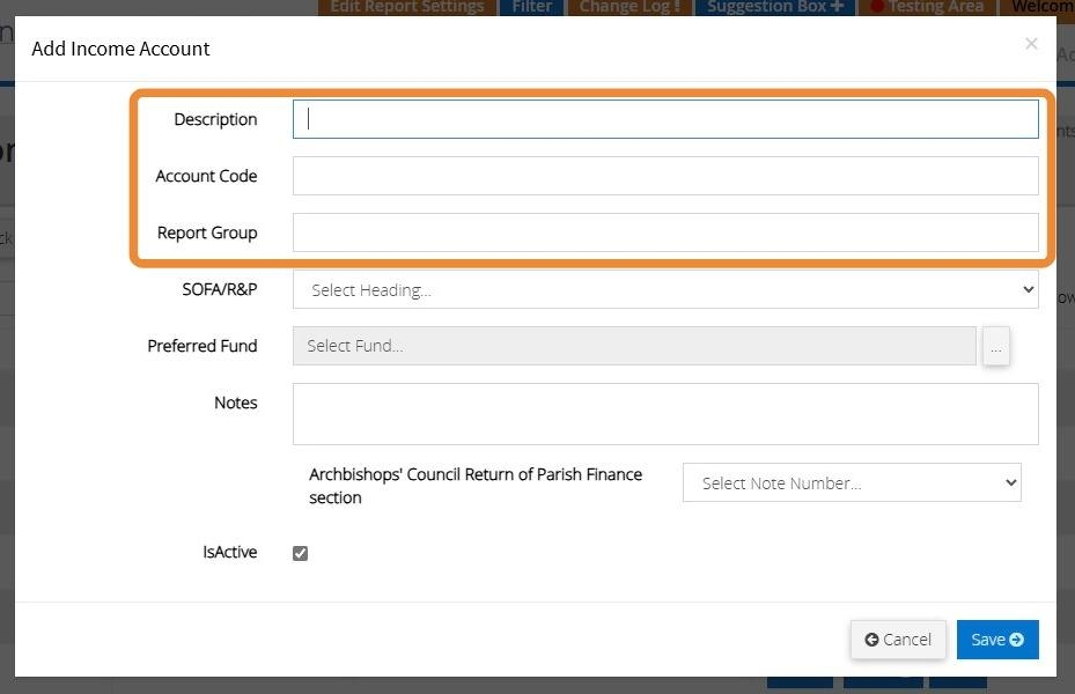
9. Click the appropriate heading and click OK. You can find guidance on the SORP and relevant headings by going to www.charitysorp.org
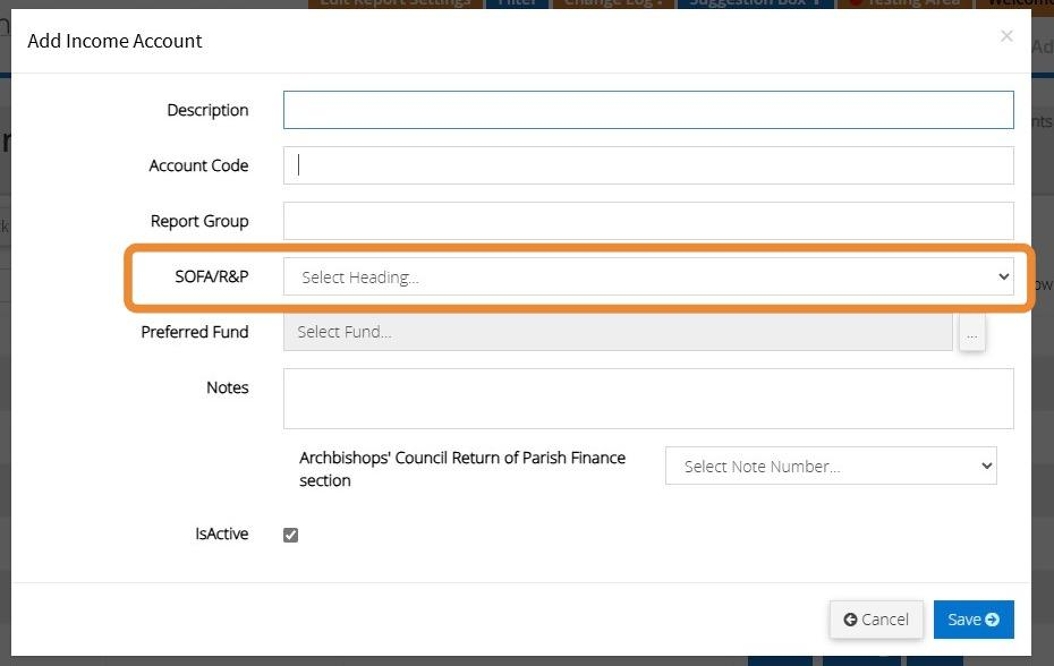
10. You can ignore the ‘Preferred fund’ box unless you want a particular fund to appear automatically when you use this income code - in our example we may want ‘Donations’ to normally go to the Building Restricted Fund so that would be the preferred fund. You can change this preferred fund at any time.
When you enter a transaction against this account, you can always select a different fund if required.
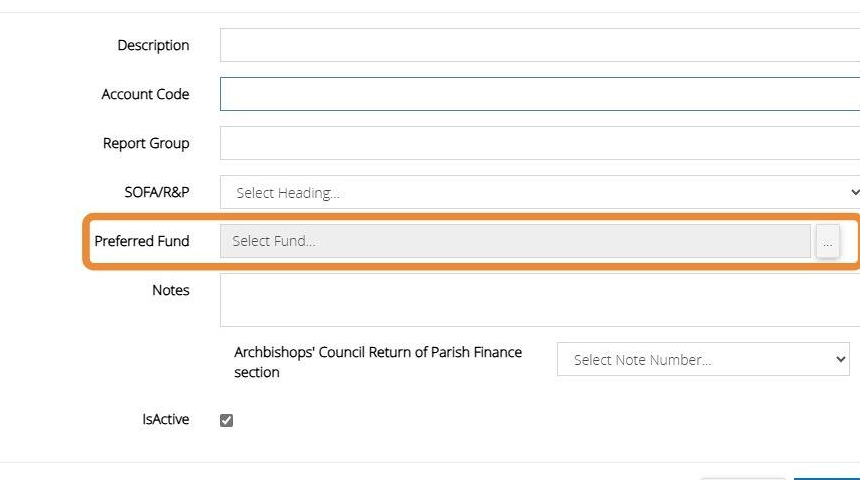
11. You can enter any notes about the account here.
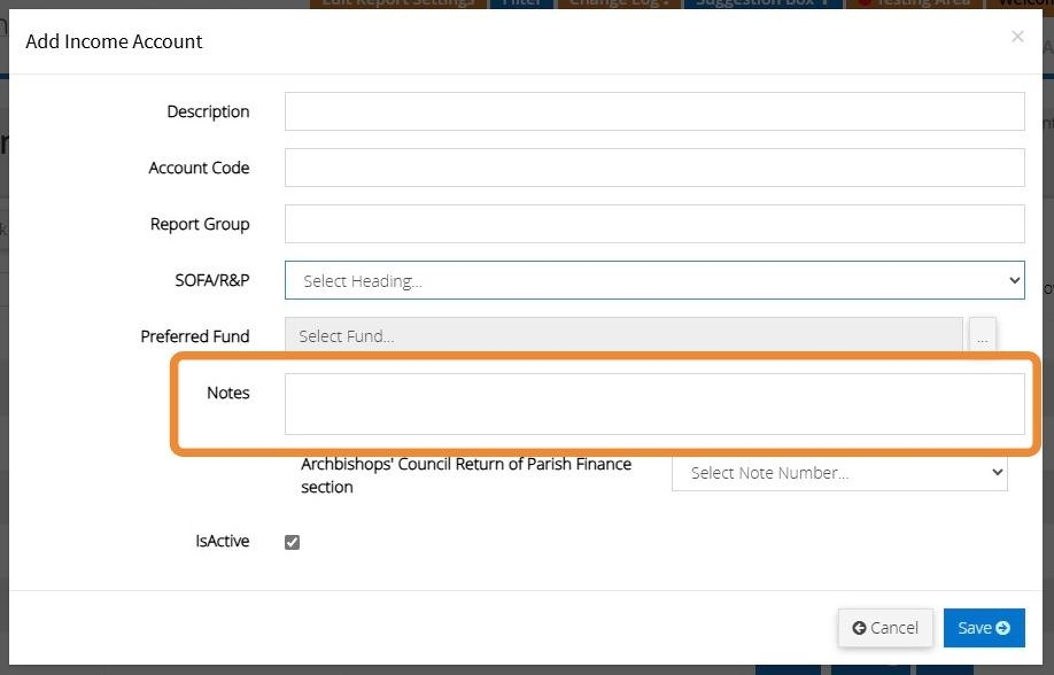
12. If you are part of Church of England you can submit your end of year return directly from MyFundAccounting. In order for the income to be included in the calculation of your return select the Note number for the Archbishops Council Return of Parish Finance Section here.
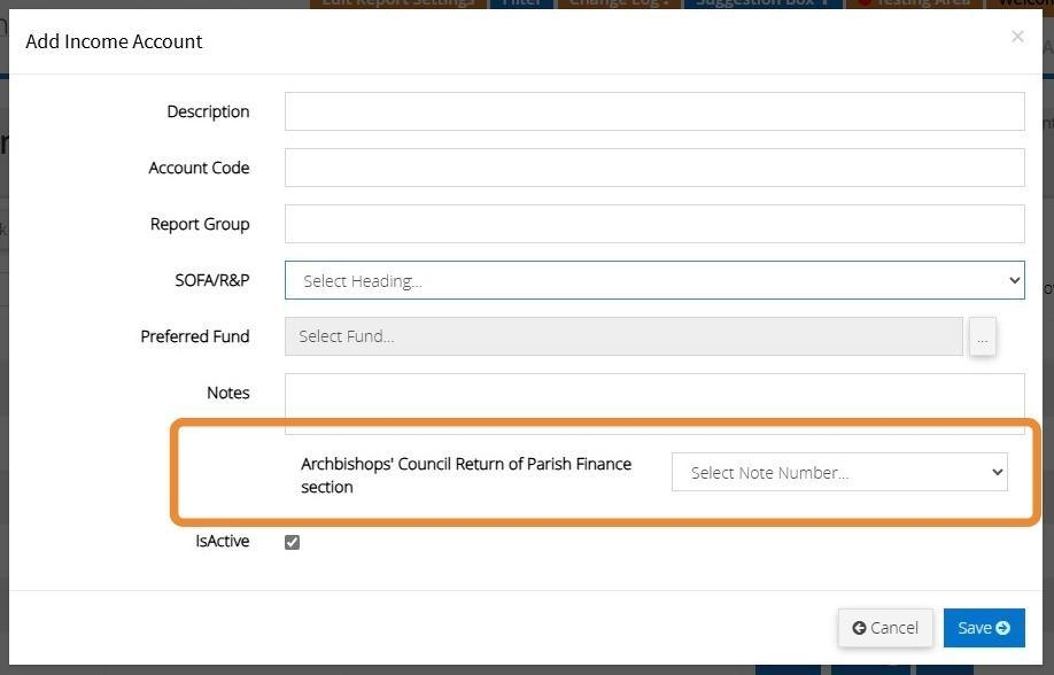
13. Click "Save"
Adding Fixed Assets, Current Assets and Liabilities
Tip: In the below steps we are using creating a Current Asset as an example. The process is the same for Fixed Assets and Liabilities.
14. Click "Current Assets"

15. Click "Add New"
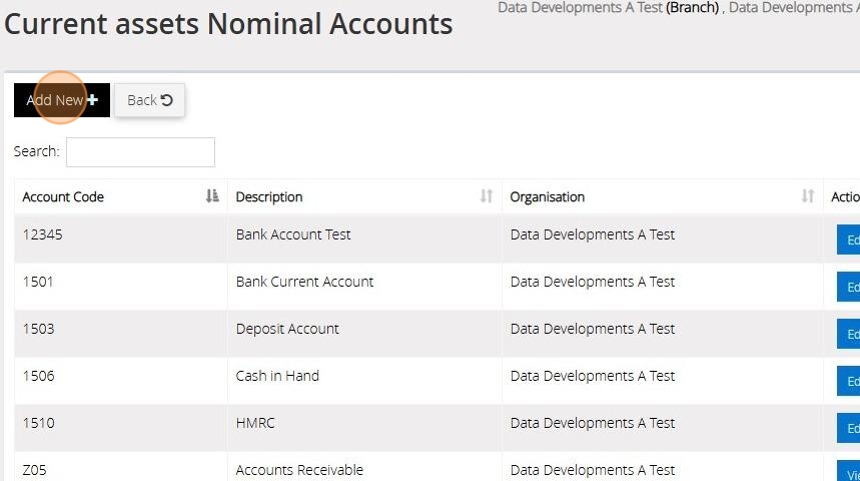
16. Enter a description and an account code for your current asset. You can also enter a report group name should you require a report of a group of nominal codes.
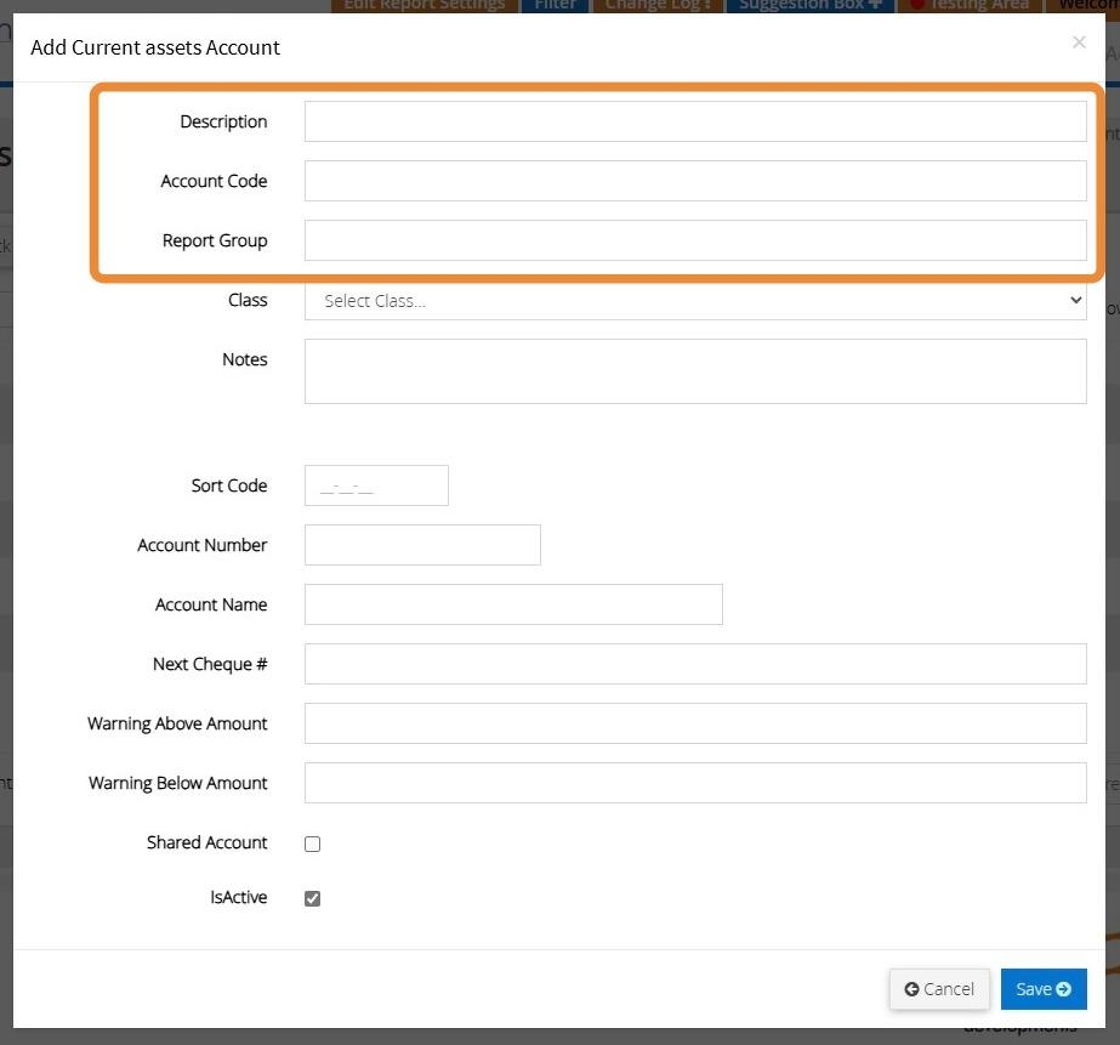
17. Select the class from the options provided in the drop down bar
If you are unsure, which class to choose you can find guidance by going to www.charitysorp.org
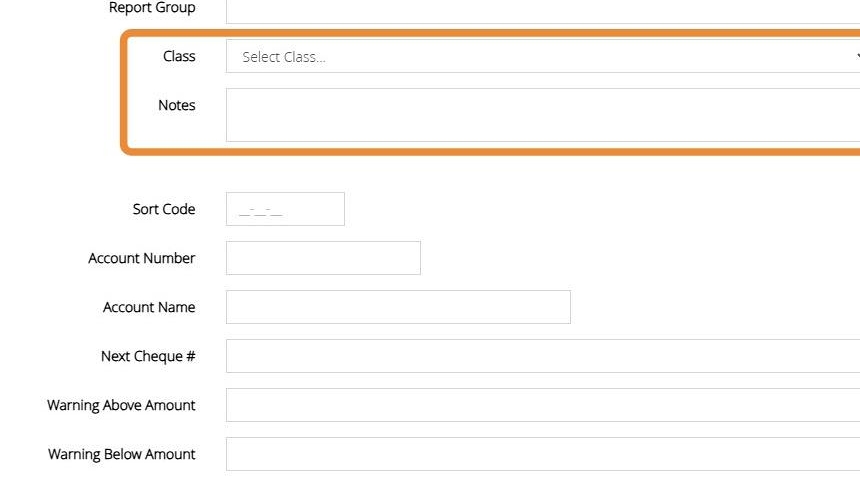
18. You can enter the information for the bank account however this is not necessary and is only used to store the information.
There is also a Next cheque number box which enables you to insert the cheque number you are using for that account should you wish.
The ‘Warnings’ boxes simply enable an alert if the bank balance goes over or under the amounts that you have set here.
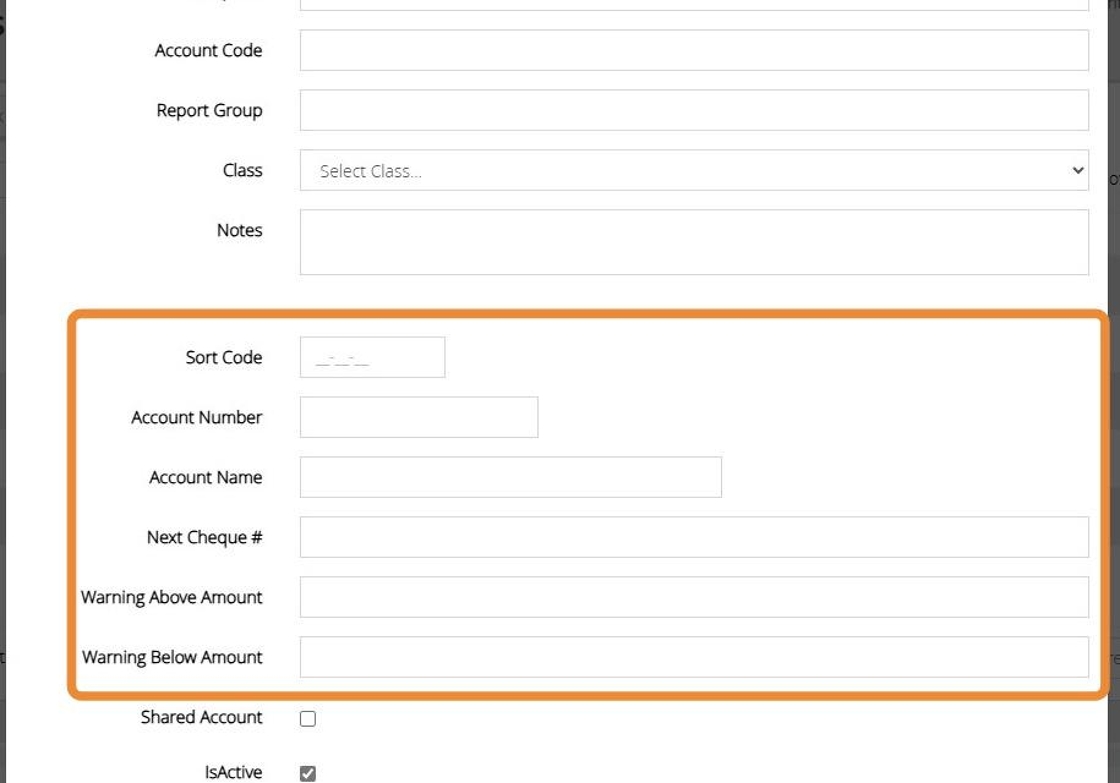
Alert: Alert! You will see that Fixed asset and Liability codes do not require cheque numbers or Warning boxes.
19. If a bank account is being used across more than one branch tick next to "Shared Account" For further guidance please see our guide on Shared Accounts.
Ensure their is a tick next to "IsActive" to mark the code as active and in use.
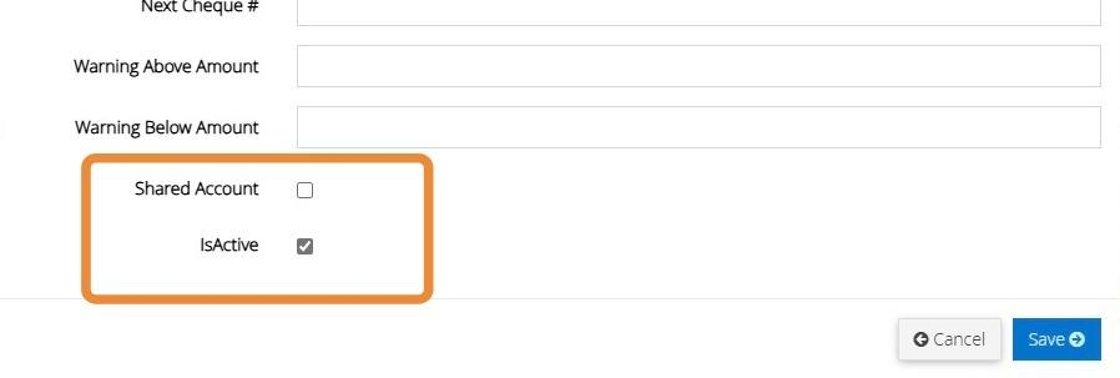
20. Click "Save"
21. The below message will appear once your Nominal Account has been created successfully

How To Log In To MyFundAccounting.Online
1. Navigate to https://www.myfundaccounting.online
2. Click here to type your User ID and Password
These will have either been sent to you via email when registering your free 30-day trial or by the person who has created your user account and granted access.
3. Click "Forgotten your password" to receive an email to reset your password
Click " Forgotten your User ID" for an email reminder
4. Click "Continue" to log in
Delete Sample Data
Tip: If after your 30-day free trial, you wish to subscribe to MyFundAccounting.Online and you have used the sample data during this time you must remove the sample data before you start entering your own records. Please use these steps below to remove the sample data
1. Navigate to https://www.myfundaccounting.online
2. Click "Create"

3. Click "Accounts Assistant"

4. Click "Initialisation"

5. Click:
"First time set up (clear existing data)" - removes all transactions, nominal accounts and funds. Use this if you haven't got any meaningful data on the account.
"Start again remove all transactions but retain account structure" - removes all transactions but leaves the nominal accounts and funds you created during your trial. Use this if you have created nominal codes and funds that you would use in your live accounts
Alternatively, there are set structures available for specific organisations given as an option in this list. Picking one of these will give you a predefined list of nominal codes and funds to use as a basis for your account.

6. Click "Click to Initialise"

7. Confirm you wish to continue if you are sure you want to reinitialise the selected branch
Alert: Alert! All data under the selected branch will be removed from MyFundAccounting.Online
Searching for a Transaction
Tip: The below steps will guide you in searching for a transaction/s within your list of transactions.
1. Navigate to https://www.myfundaccounting.online/dashboard
2. Click "Lists"

3. Click "List Transactions"

4. Click "Search"
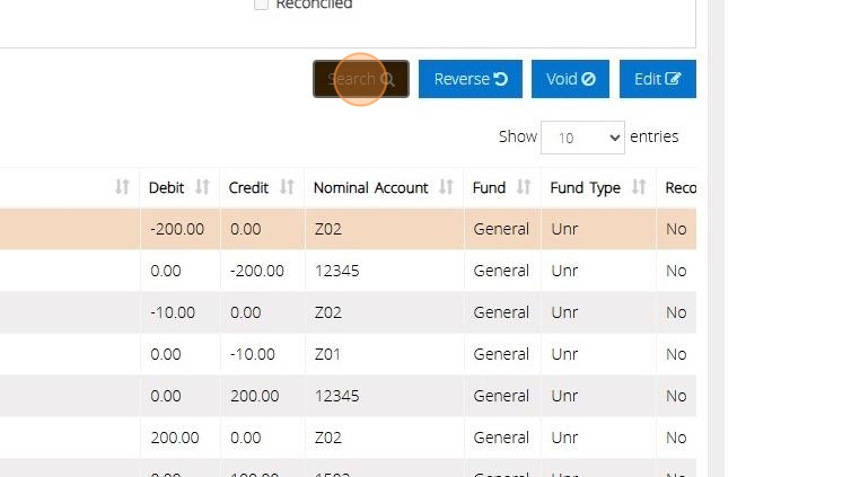
5. Here you can enter or select the information you wish to filter to in order to locate your transaction
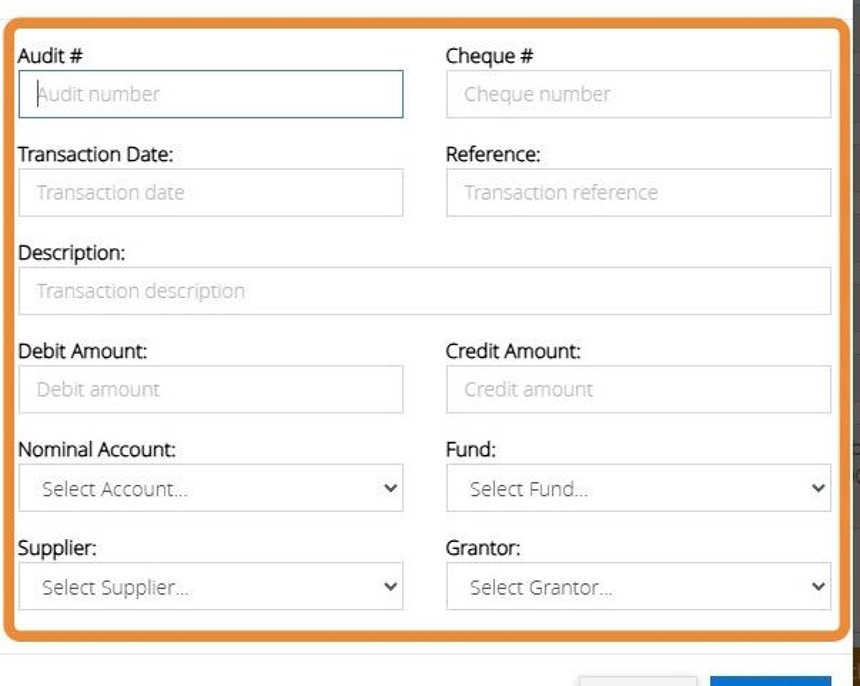
6. When ready Click "Search"

7. All transactions that meet the criteria will be displayed here
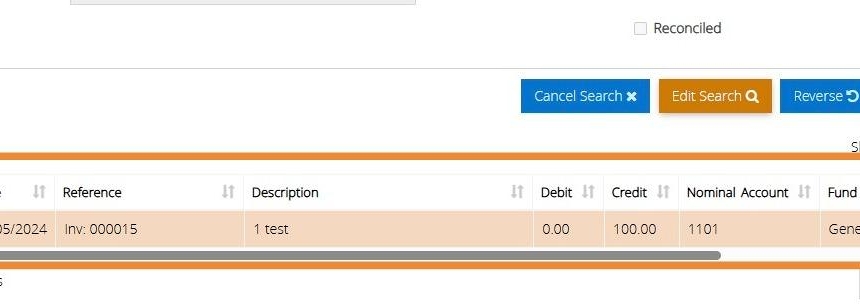
8. Click "Edit Search" to make any amendments to your search
9. Click "Cancel Search" if you wish to reset your transaction list

Alert: Alert! Ensure that you have selected the Financial Period in which the transaction you are searching for will fall under
Recording Income
Tip: The below steps will guide you in recording an Income Transaction
1. Navigate to https://www.myfundaccounting.online
2. Click "Transactions"
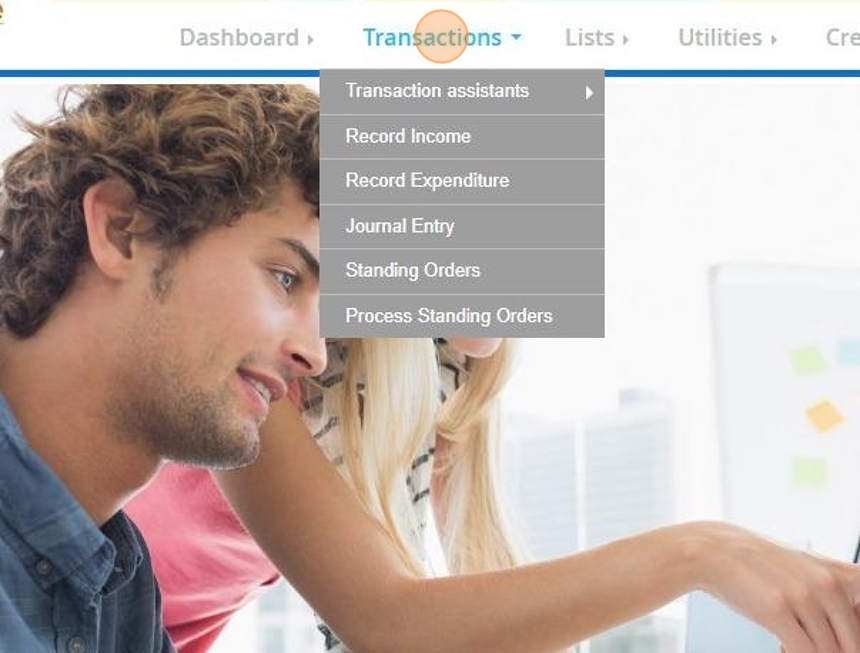
Record Income
3. Click "Record Income"
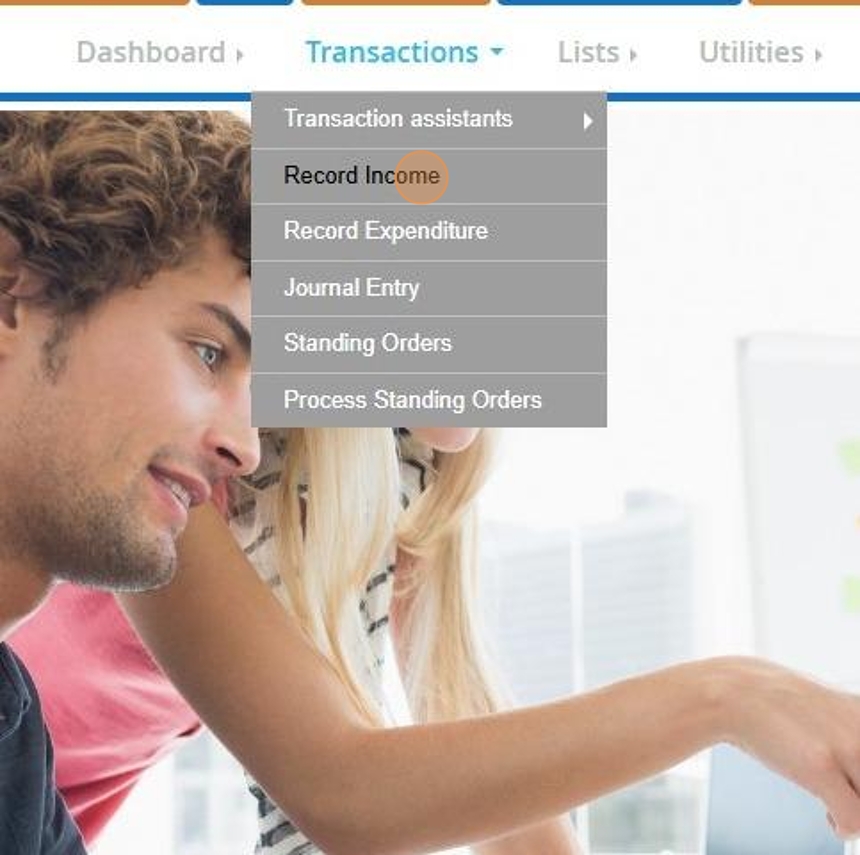
Tip: Tip! You can also access this screen by selecting "Record Income" directly from your dashboard.
4. Today’s date will be automatically be set as the transaction date but you can change it by typing the new date in or selecting it on the calendar that appears when you click on the date box
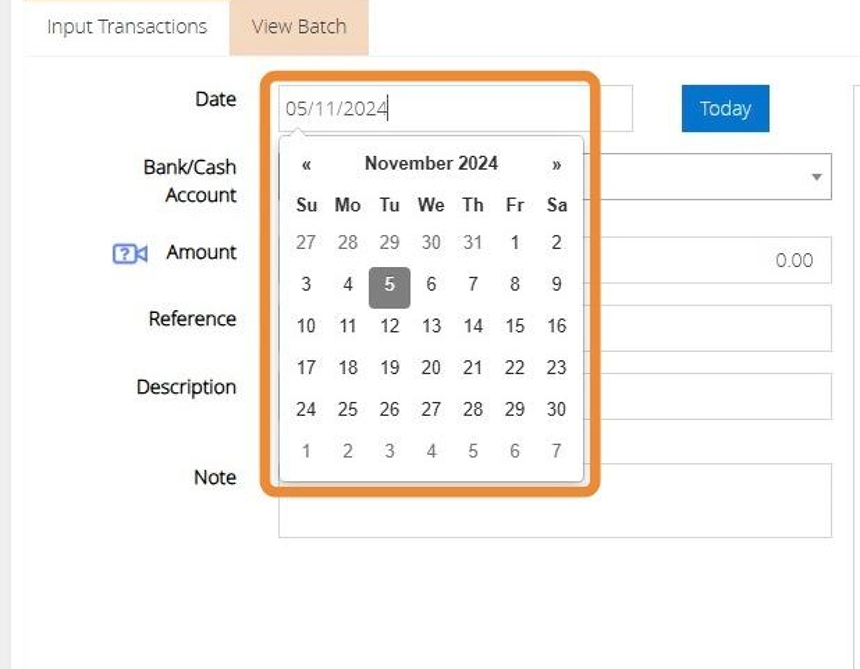
5. Click the Bank/Cash account dropdown menu and a list of bank accounts will appear.
Click the bank account you want to use.
Type the amount of money to be paid into the bank for example: £50
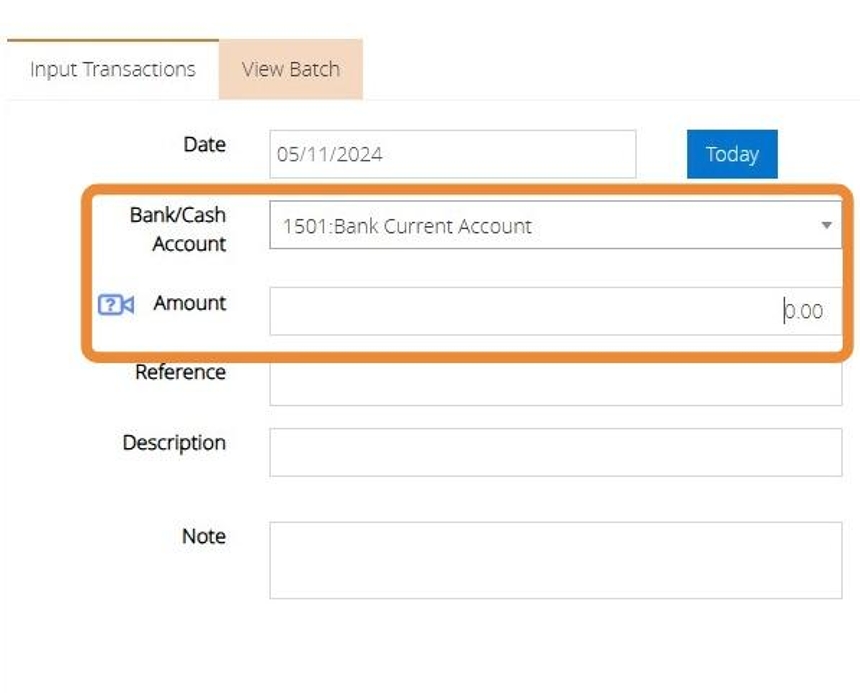
6. Click in the Reference box and type a reference of your choice – this will be seen in the bank reconciliation screen and reports.
Click in the Description box and type a description of your choice.
Enter any notes that relate to the transaction.
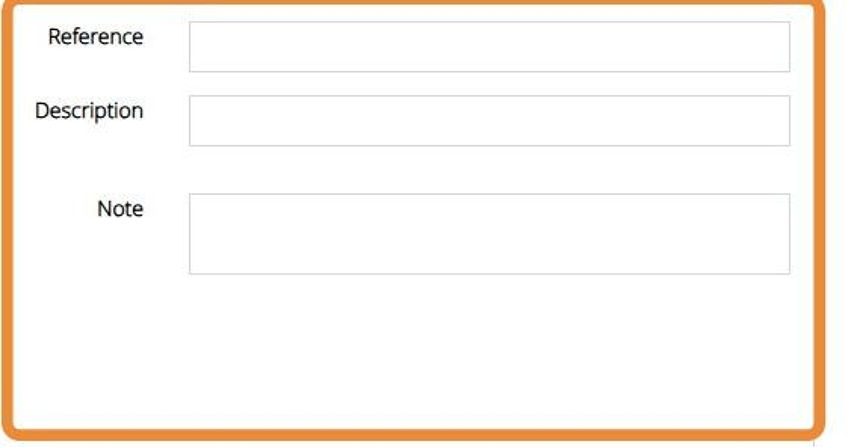
7. Click the Income a/c dropdown menu on the right of the screen and a list of income accounts will appear.
Click the Income account you want to use
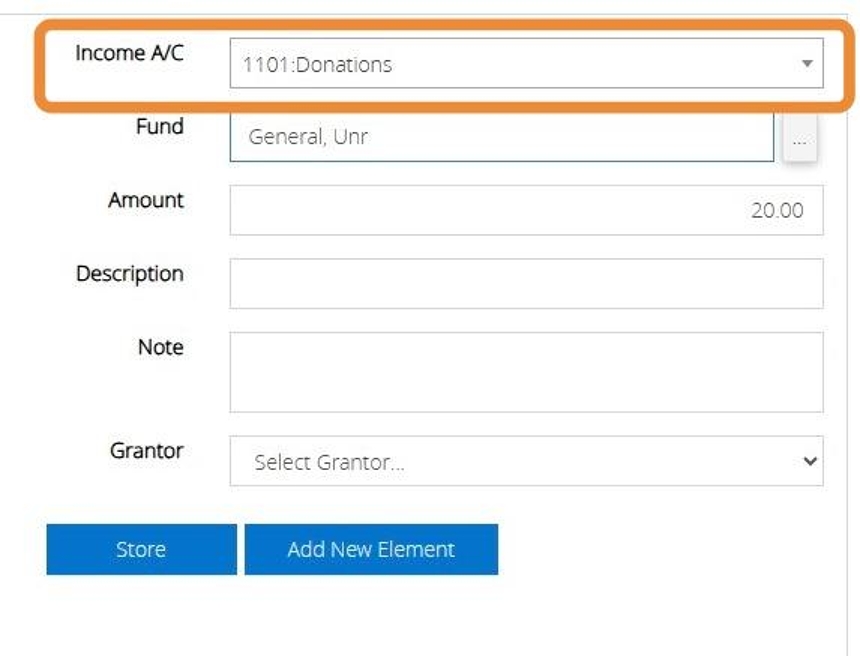
8. Click the small box to the right of the Fund box to show a list of all funds. Click on the fund you wish to use.
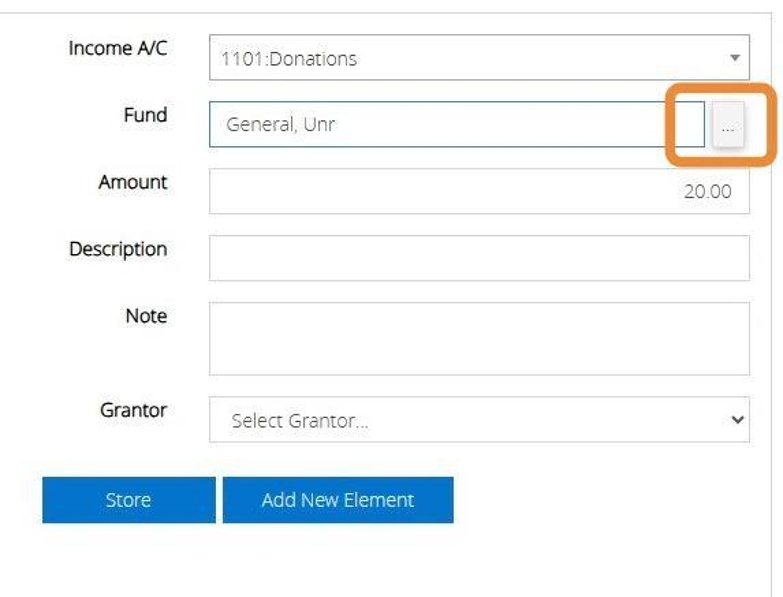
9. The amount and description will automatically be entered from the bank side of the transaction. You can overtype this should you need to.

10. Select a Grantor record from the drop down menu should you wish to assign a grantor record to the transaction.

11. When you are ready to post the transaction Click "Store"
12. Click "Post"
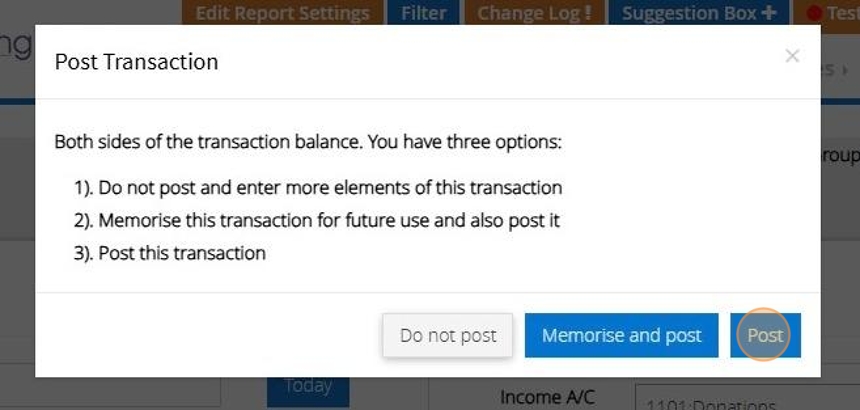
Memorise Transaction
13. If the transaction is an income that you enter frequently you can select "Memorise and Post" to save the transaction as a template.
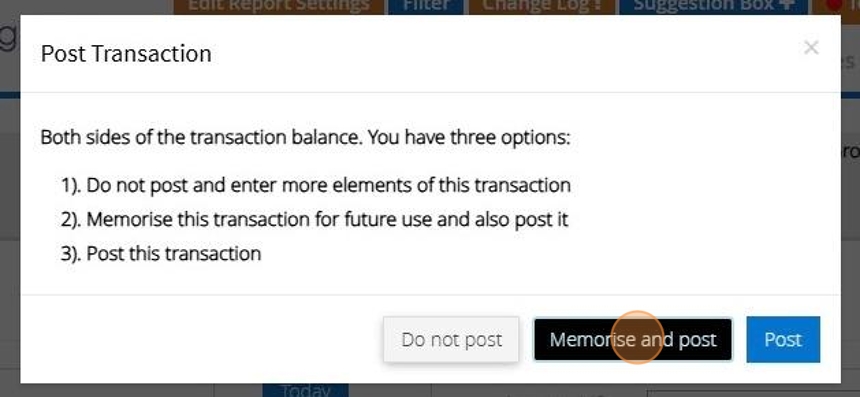
14. Enter a name for the transaction
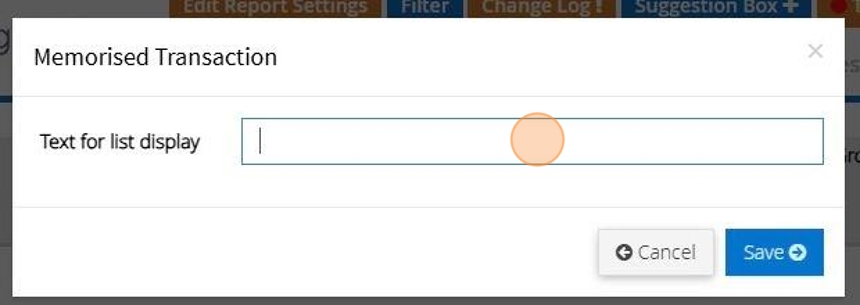
15. Click "Save"
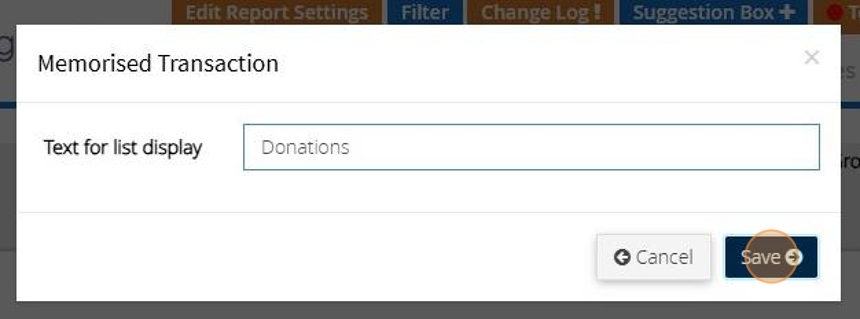
Recall a memorised transaction
16. Click "Transactions"
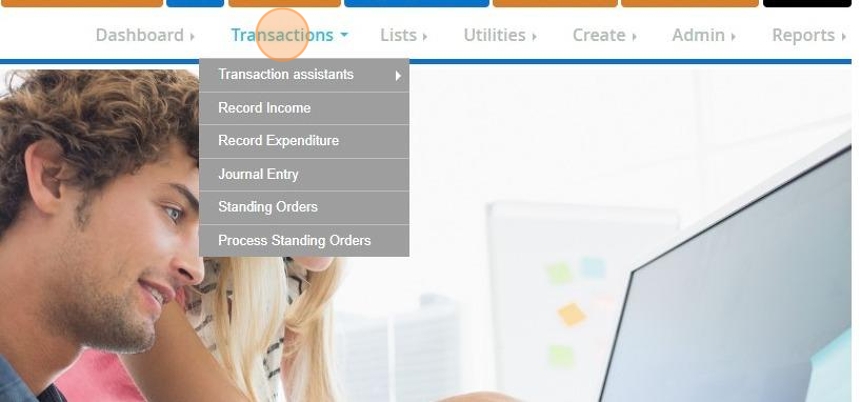
17. Click "Record Income"

18. Click "Recall template / memorised"
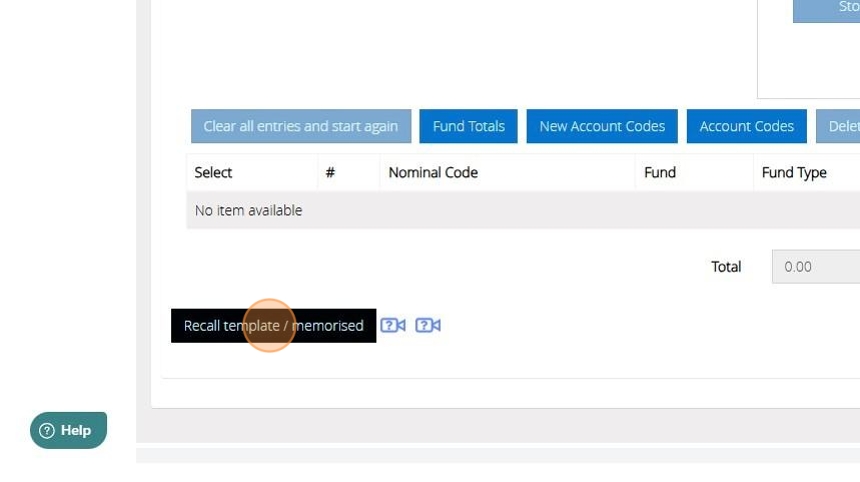
19. All transactions that have been memorised will display here. Click "Show Details" next to a transaction to show further information

20. The transaction will open as per the below image.
Click "Cancel"

21. Click "Select" next to the template you wish to use
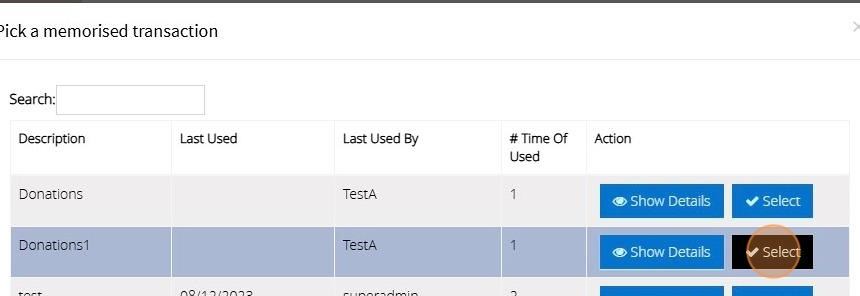
22. Make any changes that are needed to the transaction such as the date or amount
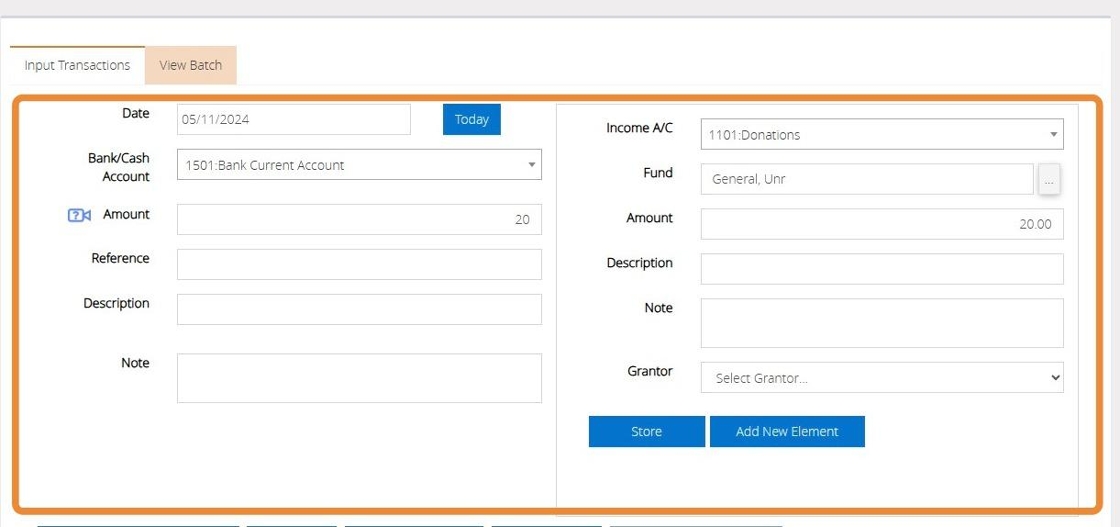
23. To update the template with the changes made click "Update Template and Post"
To memorise a new template click on "Memorise and Post"

24. Alternatively, Click "Post"

Multiple Elements
Tip: There may be instances where you have paid in a sum of money but this affects more than one code and fund. In this instance we would enter an Income transaction with multi elements. The below steps will guide you through this process.
25. Enter the date, select the bank account and enter the total amount that was paid into the account.
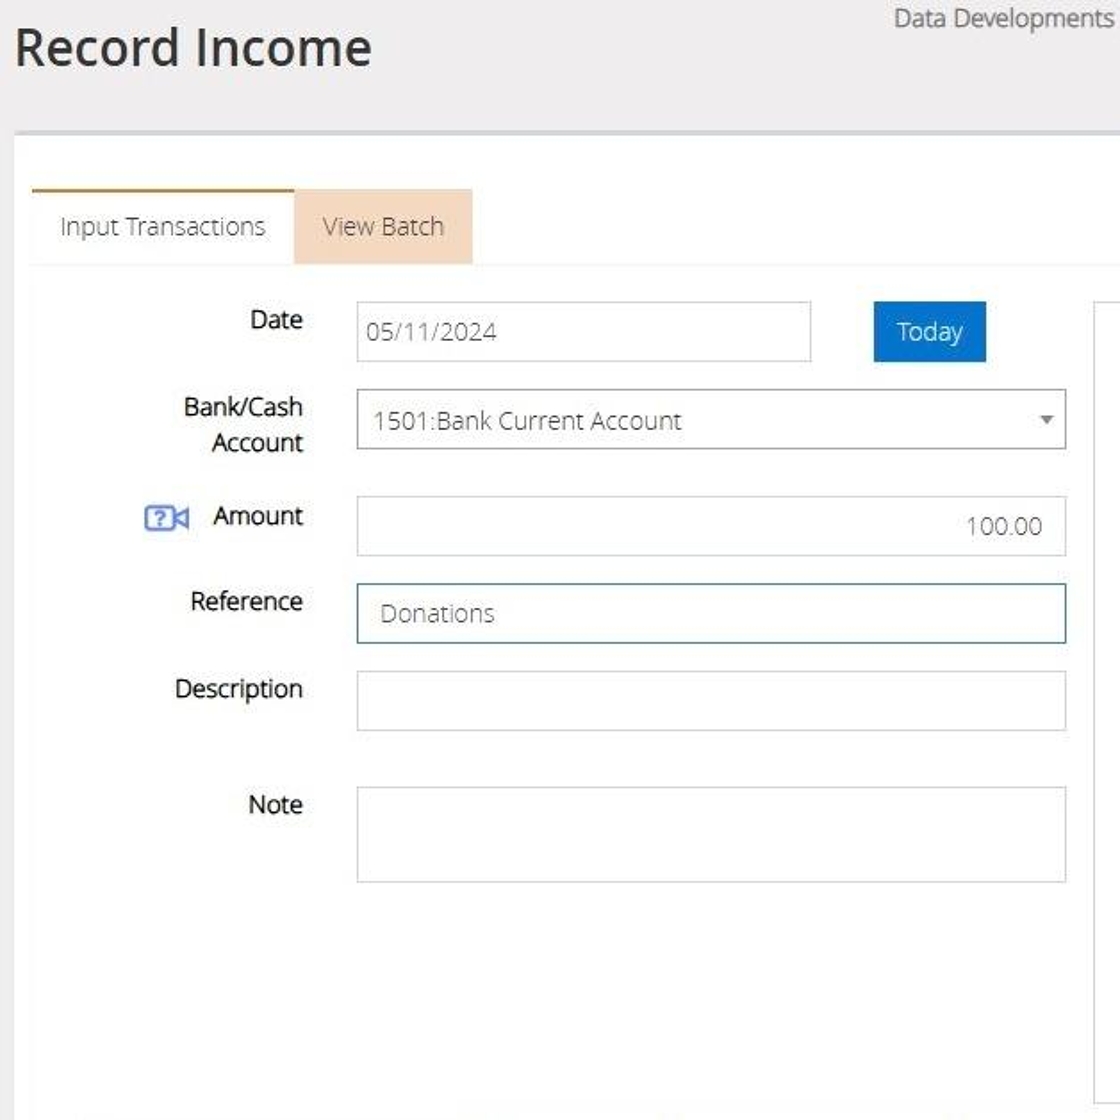
26. Select the Income code and Fund from the drop down menus provided.
The description and the amount will automatically fill from the bank side balance entered on the left hand side of the screen.
Enter a Description relating to this element.
Click "Store"
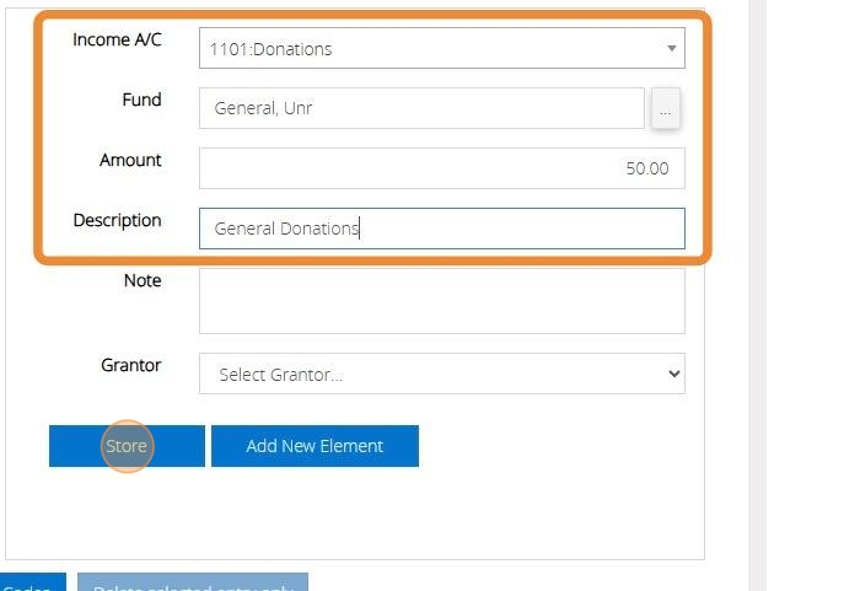
27. The elements will display on the bottom of your transaction and the Total box will keep a tally of the amounts that have been entered. You will not be able to post the transaction until the total box balances with the amount entered on the top left bank side of the transaction.

28. Click "Add New Element"
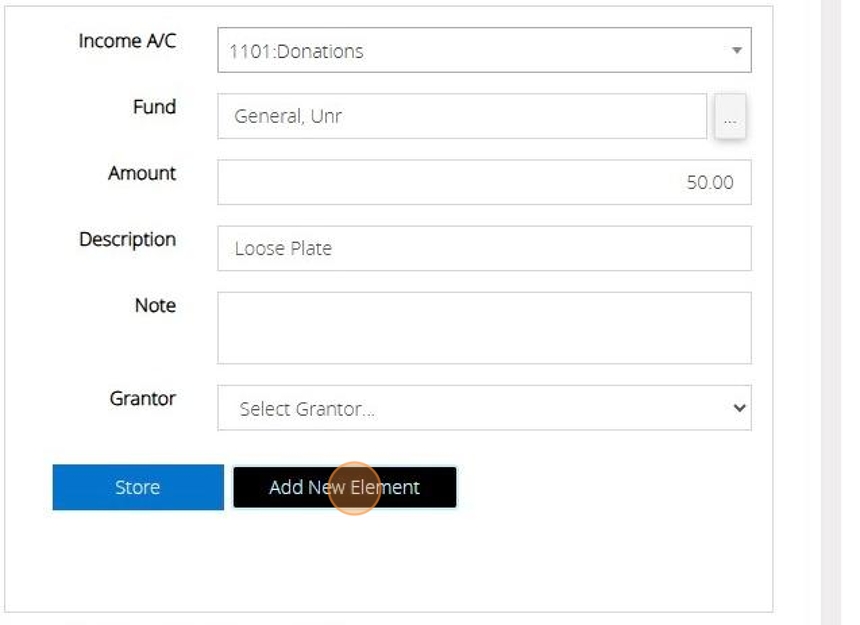
29. Select the next code and fund and confirm the amount to be allocated.
Click "Store"
Repeat this step until the full balance has been allocated.
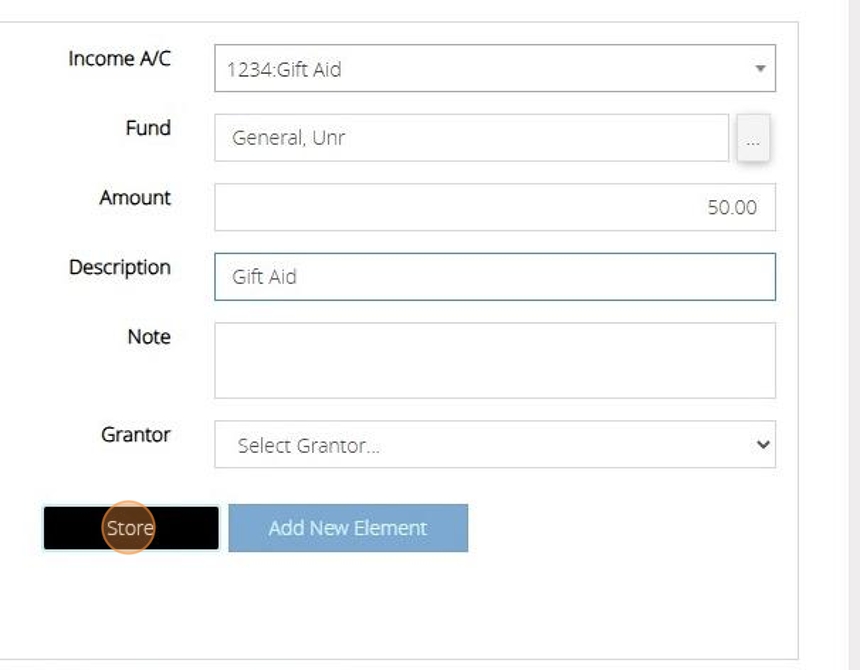
30. As all the elements balances now total £100 and matches the bank amount entered the "Post" button has become available.

31. Click "Post"

Record Expenditure
Tip: The below steps will guide you in recording an Expenditure Transaction
1. Navigate to https://www.myfundaccounting.online
2. Click "Transactions"

Record Expenditure
3. Click "Record Expenditure"
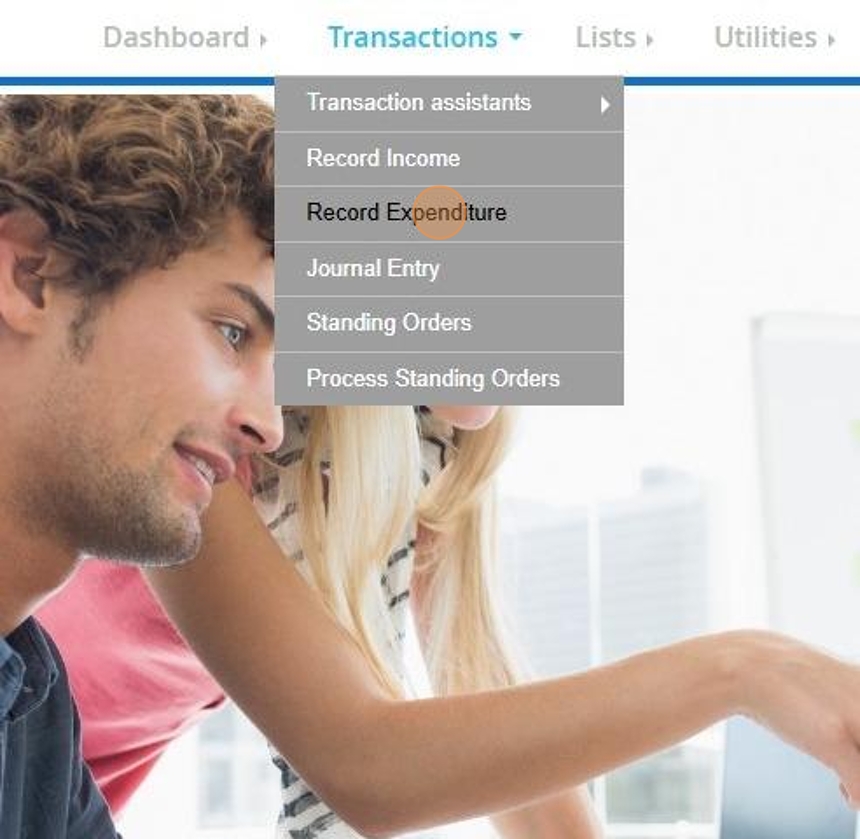
Tip: Tip! You can also access this screen by selecting "Record Expenditure" directly from your dashboard.
4. Today’s date will be automatically added but you can change it by typing the new date in or enter the date by using the calendar that appears when you click on the date box
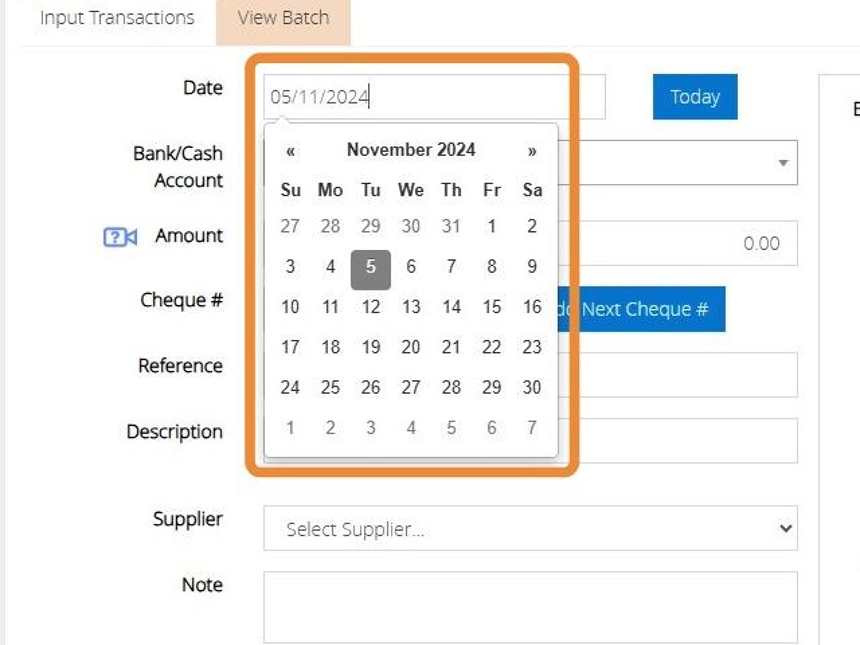
5. Click the Bank/Cash account dropdown menu and a list of bank accounts will appear.
Click the bank account you want to use.
Type the amount of money to be paid out of the bank for example: £50
Enter the Cheque number or click "Add Next Cheque" to autofill the next subsequent cheque number if a cheque was used
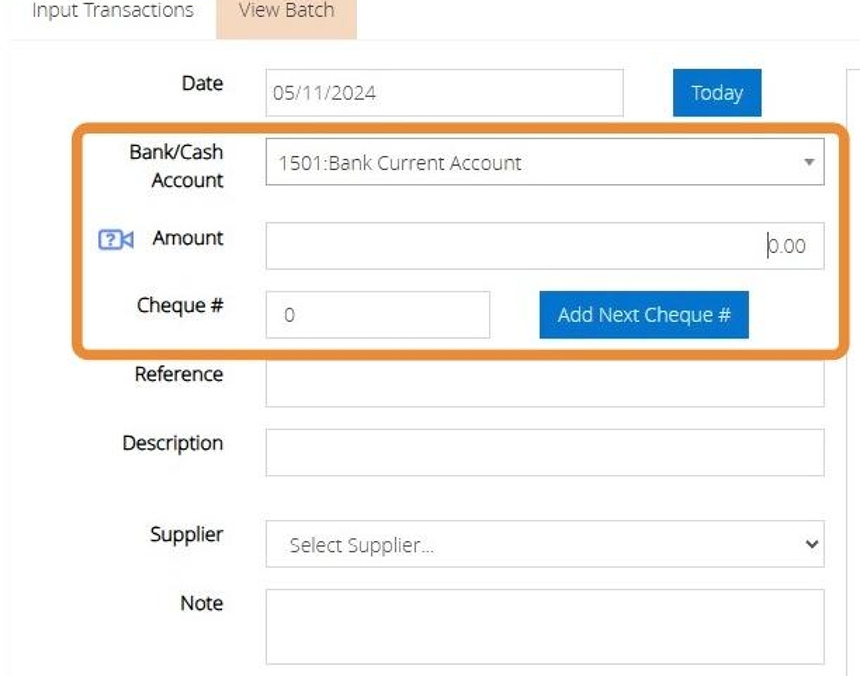
6. Click in the Reference box and type a reference of your choice – this will be seen in the bank reconciliation screen and reports
Click in the Description box and type a description of your choice.
You can assign a supplier to the expense by clicking the "Select Supplier" option
Enter any notes that relate to the transaction
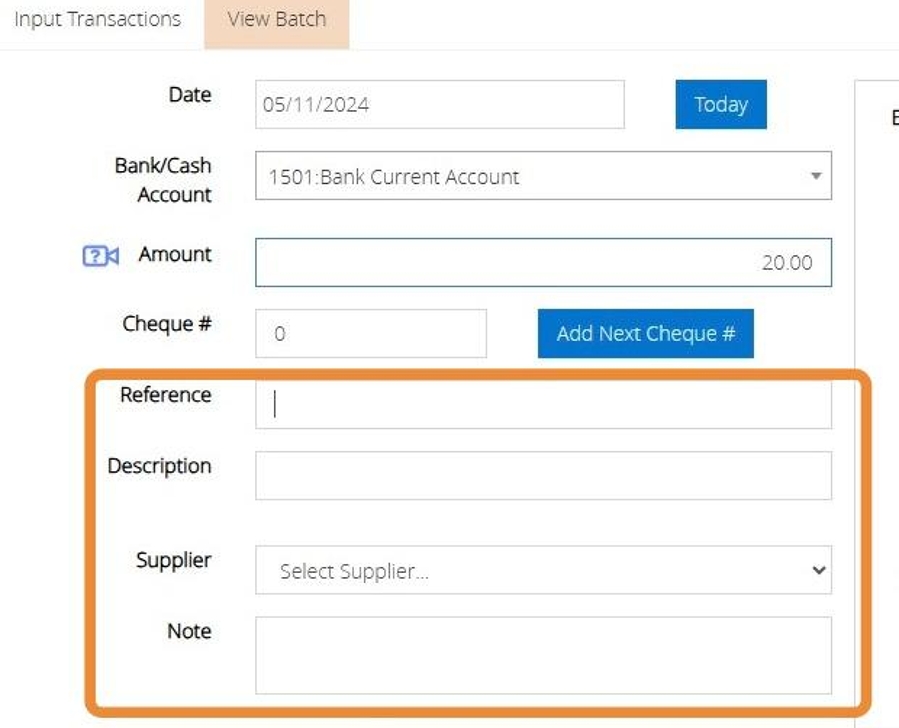
7. Click the Expenditure a/c dropdown menu on the right of the screen and a list of income accounts will appear.
Click the Expenditure account you want to use
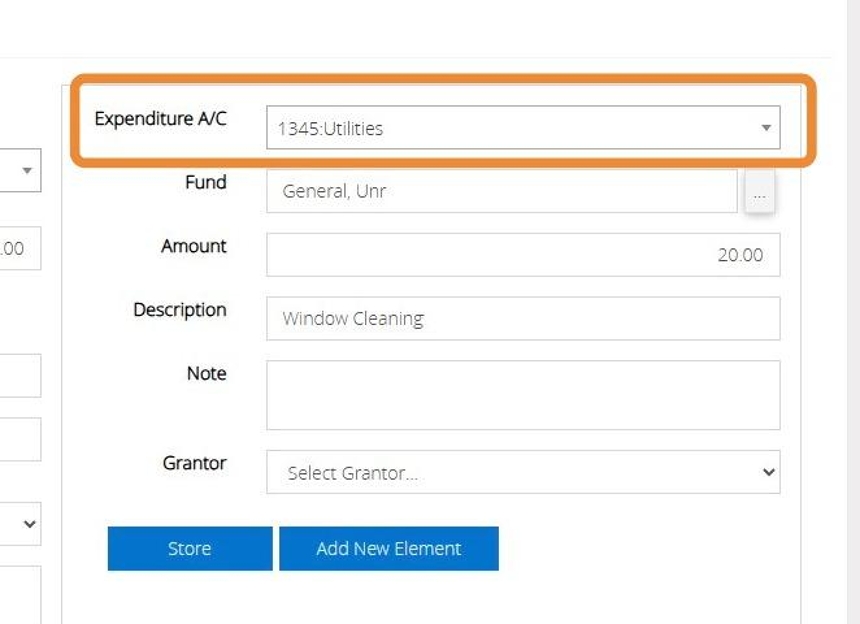
8. Click the small box to the right of the Fund box to show a list of all funds. Click on the fund you wish to use.
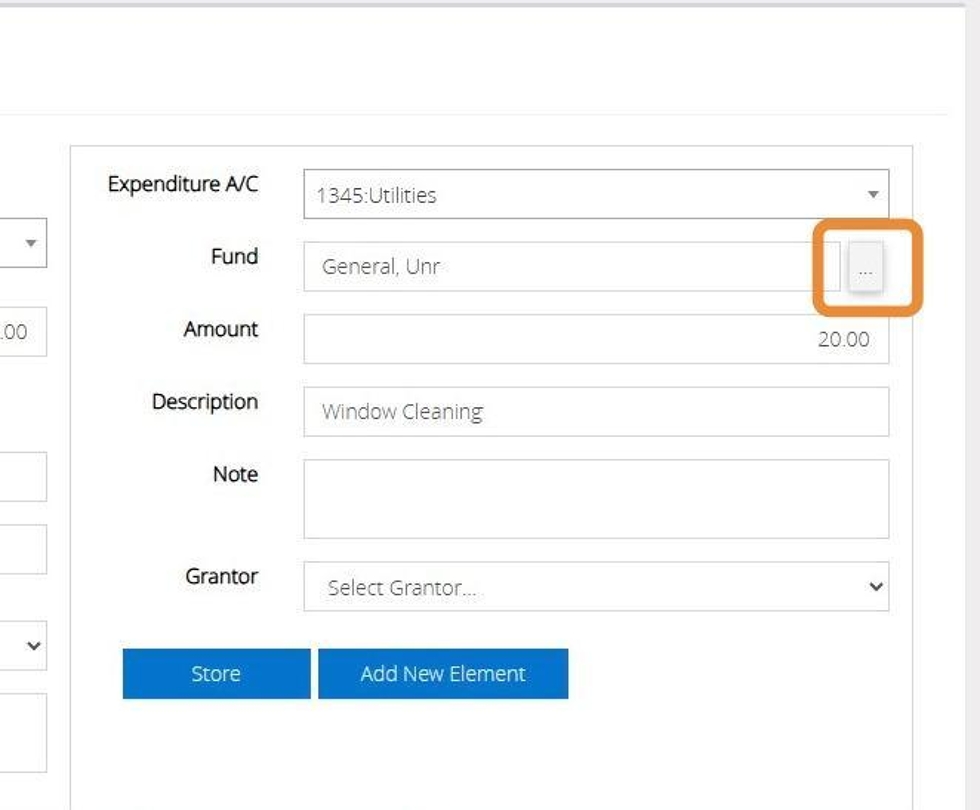
9. The amount and description will automatically be entered from the bank side of the transaction. You can overtype this should you need to.

10. Select a Grantor record from the drop down menu should you wish to assign a grantor record to the transaction.

11. When you are ready to post the transaction Click "Store"
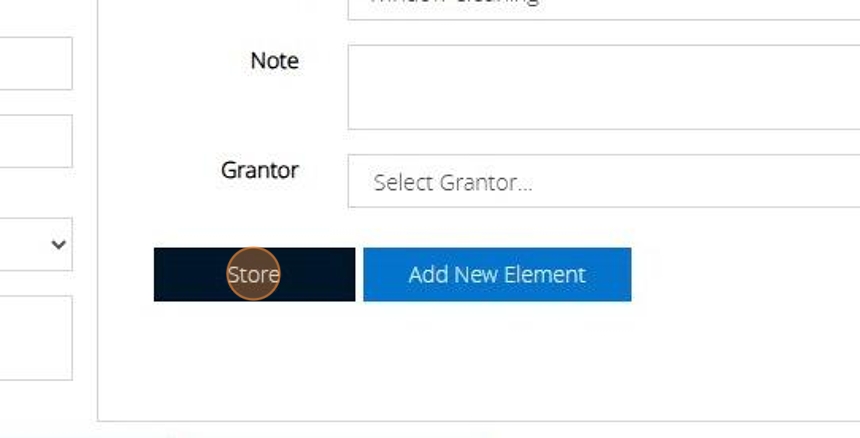
12. Click "Post"

Memorise Transaction
13. If the transaction is an expense that you enter frequently you can select "Memorise and Post" to save the transaction as a template.
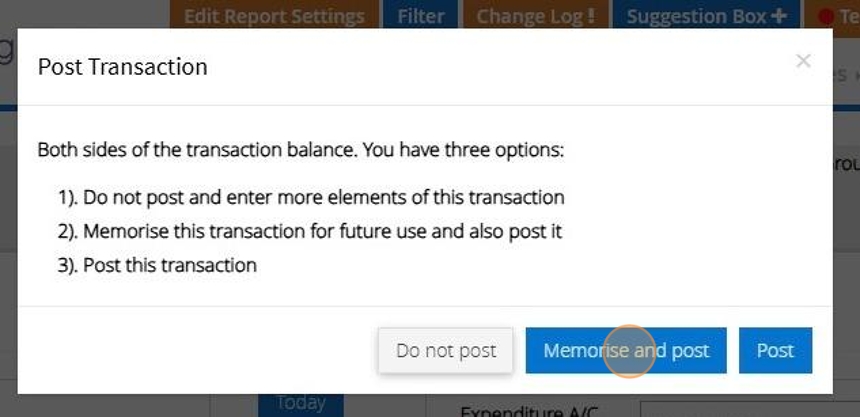
14. Enter a name for the transaction
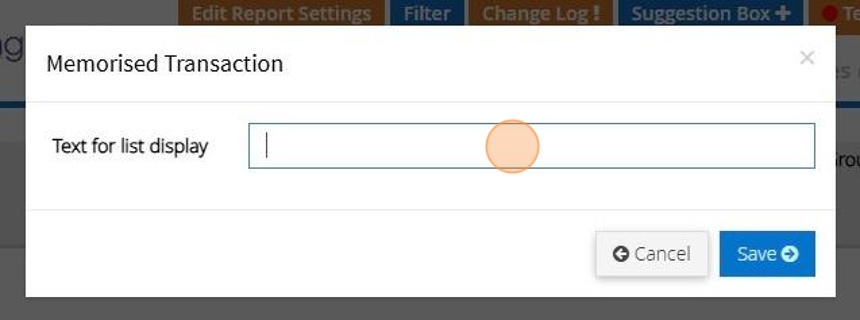
15. Click "Save"
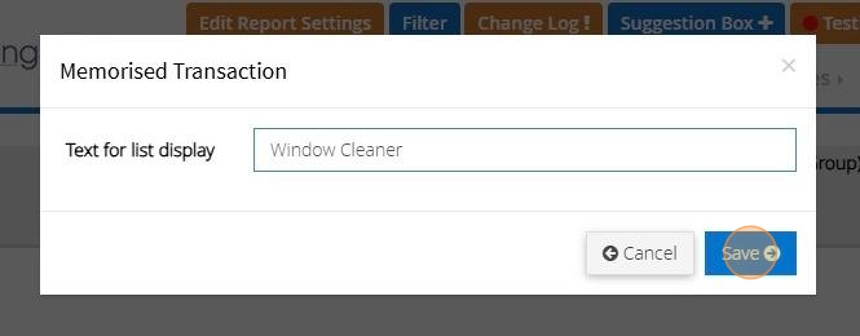
Recall a memorised transaction
16. Click "Record Expenditure"
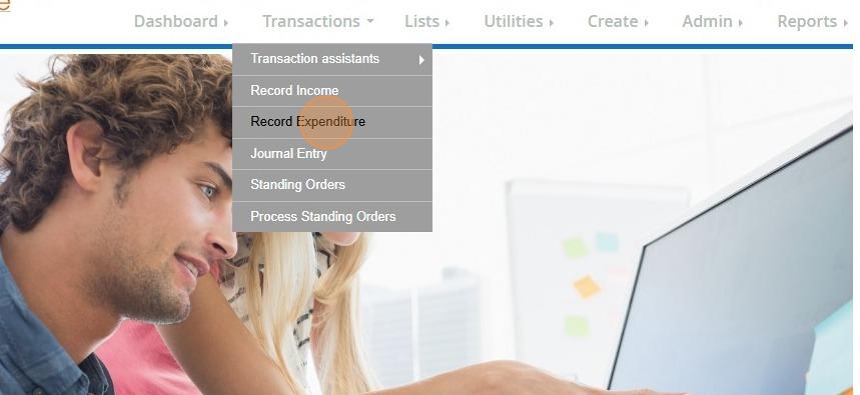
17. Click "Recall template / memorised"
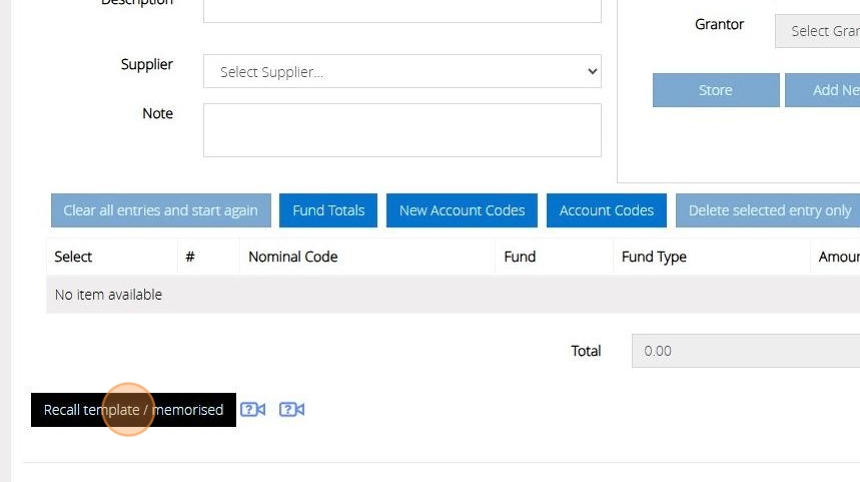
18. All transactions that have been memorised will display here. Click "Show Details" next to a transaction to show further information
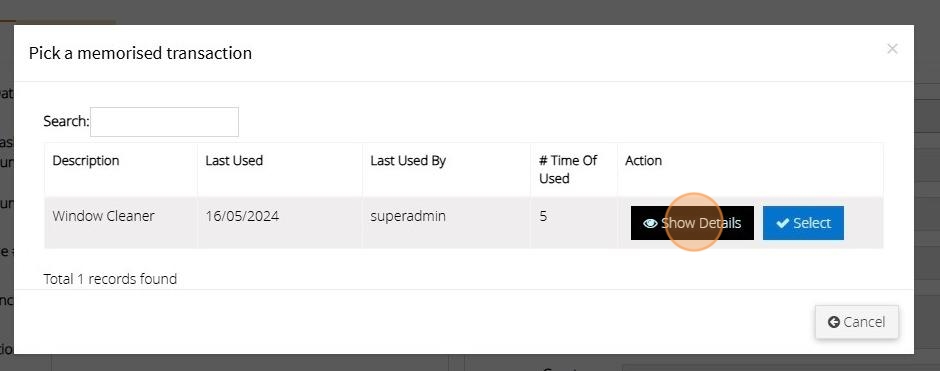
19. The transaction will open as per the below image.
Click "Cancel"

20. Click "Select" next to the template you wish to use

21. Make any changes that are needed to the transaction such as the date or amount
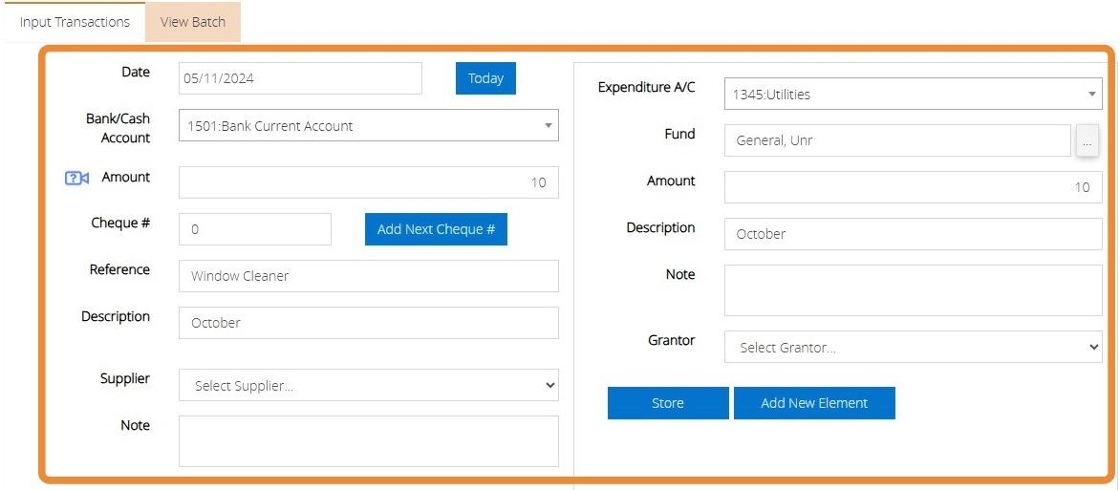
22. To update the template with the changes made click "Update Template and Post"
To create a new template while keeping the original unchanged click on "Memorise and Post"

23. Alternatively, Click "Post"
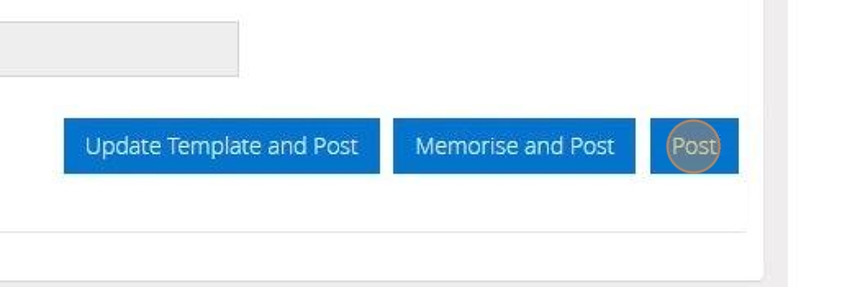
Multiple Elements
Tip: There may be instances where you have paid out a sum of money but this affects more than one Expenditure code and fund. In this instance we would enter an expenditure transaction with multi elements. The below steps will guide you through this process.
24. Enter the date, select the bank account and enter the total amount that was paid out of the account.
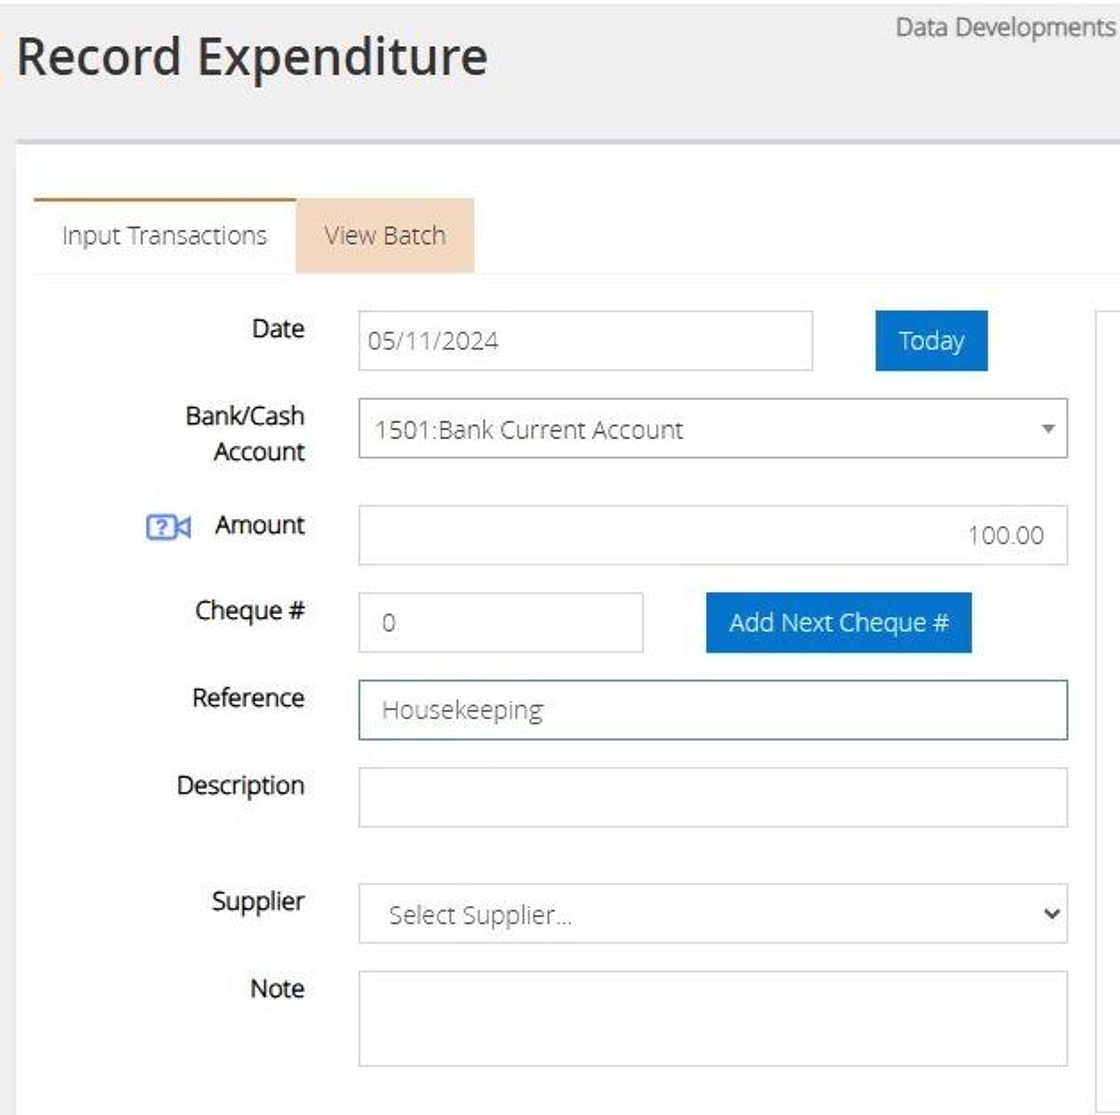
25. Select the Expenditure code and Fund from the drop down menus provided.
The description and the amount will automatically fill from the bank side balance entered on the left hand side of the screen. Adjust the amount as needed for the selected expenditure code and fund
Enter a Description relating to this element
Click "Store"
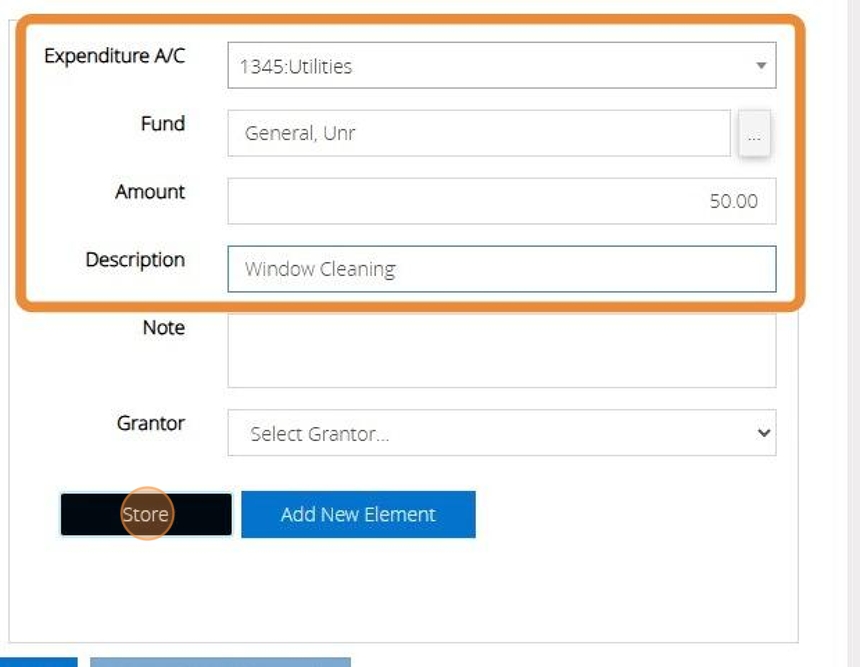
26. The elements will display on the bottom of your transaction and the Total box will keep a tally of the amounts that have been entered. You will not be able to post the transaction until the total box balances with the amount entered on the top left bank side of the transaction.

27. Click "Add New Element"
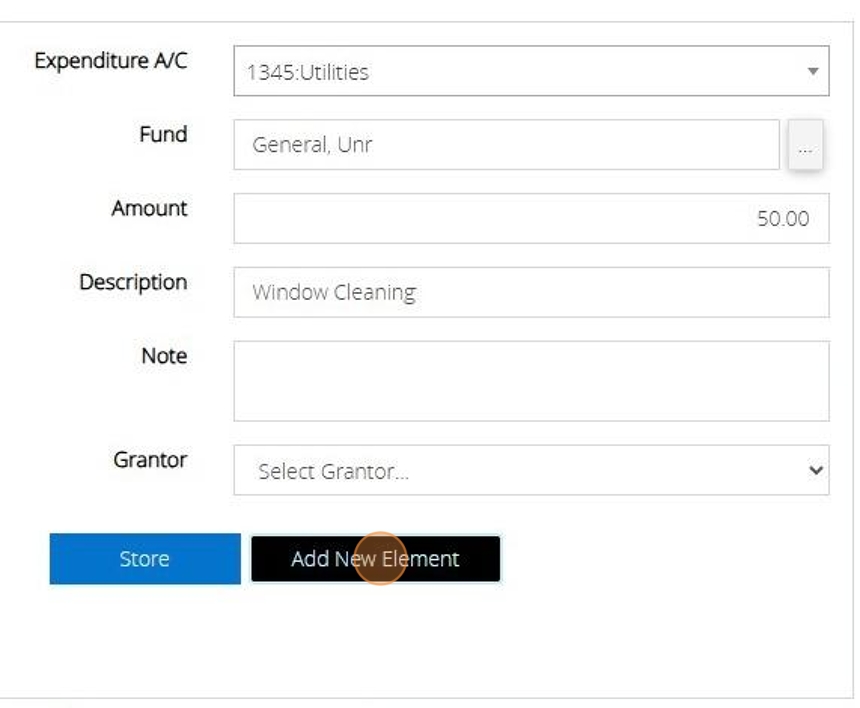
28. Select the next code and fund and confirm the amount to be allocated.
Click "Store"
Repeat this step until the full balance has been allocated.
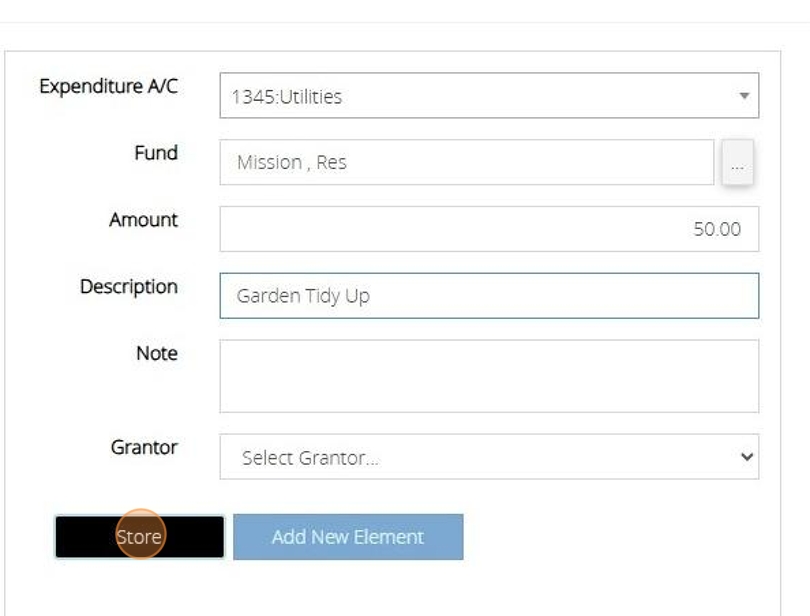
29. As all the elements balances now total £100 and matches the bank amount entered the "Post" button has become available.

30. Click "Post"

Managing Grantors
Tip: The below steps will guide you in managing your Grantor records, assigning them to transactions and generating a report on how a grant has been handled
1. Navigate to https://www.myfundaccounting.online
Create a Grantor Record
2. Click "Create"
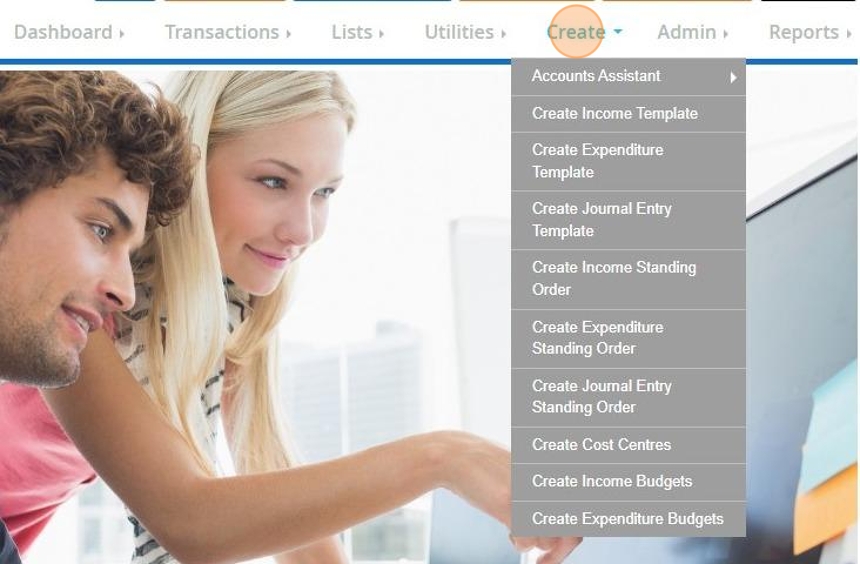
3. Click "Accounts Assistant"
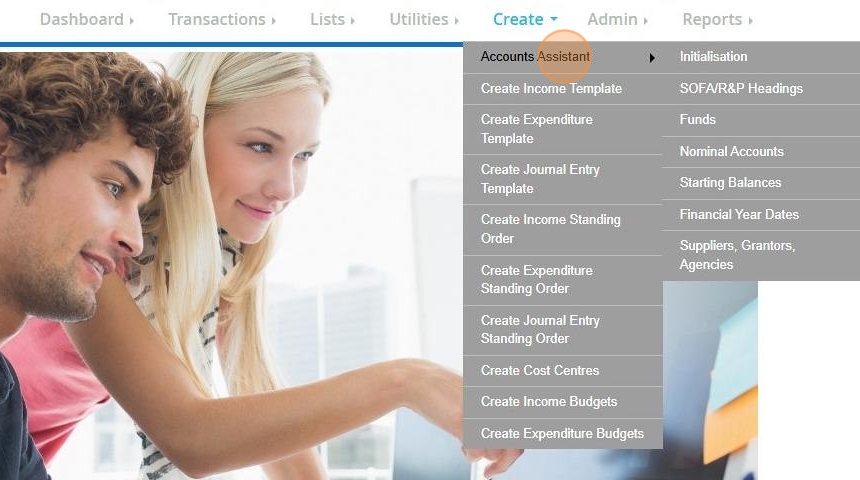
4. Click "Suppliers, Grantors, Agencies"
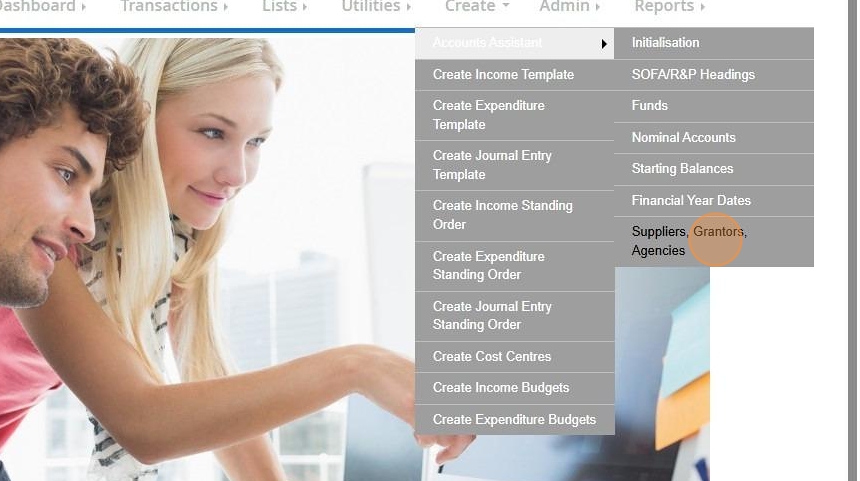
5. Click "Suppliers, grantor, contacts, agencies (postbox a/cs)"
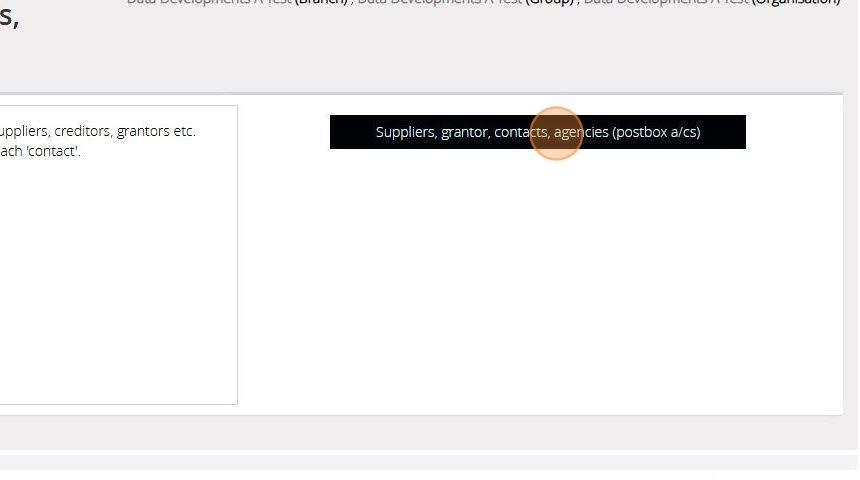
6. Click "Add New"
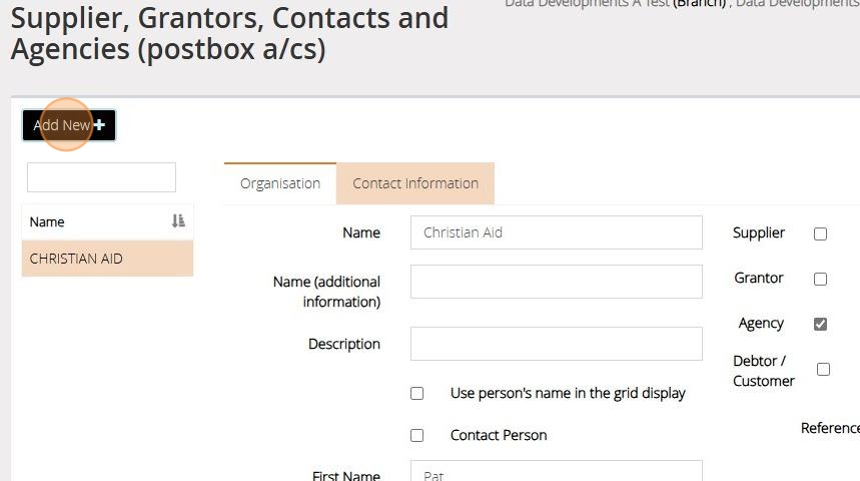
7. Enter the Grantor information into the boxes provided
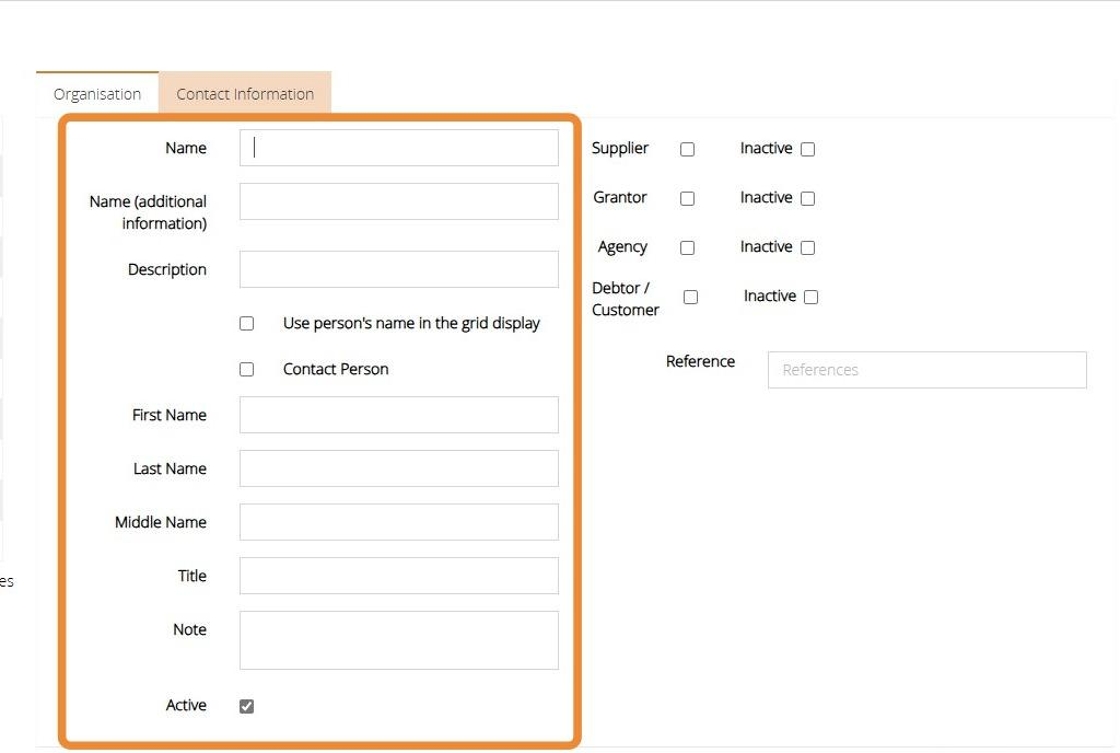
8. Tick the check box next to "Grantor"
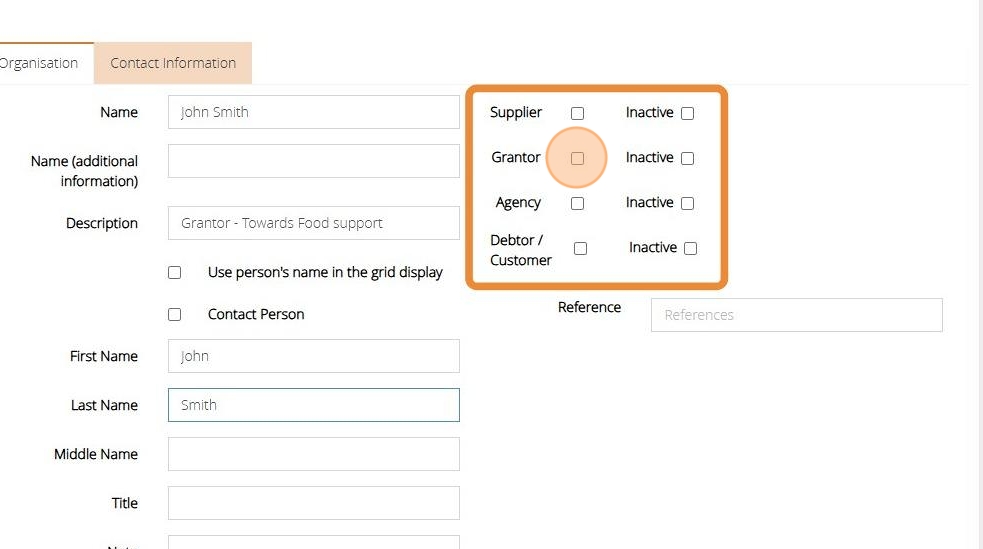
9. Ensure the box is ticked next to "Active" to mark your Grantor Record as active.
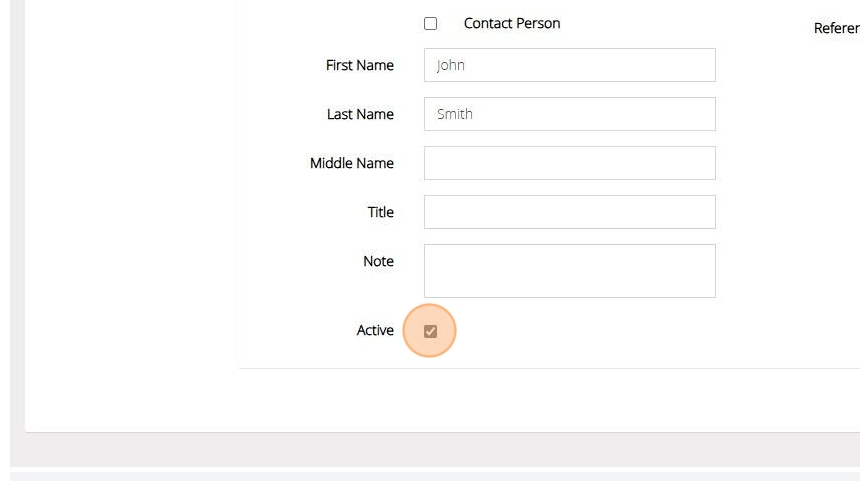
10. Should you need to mark this record as Inactive in the future you can do so by ticking the box next to "Inactive"

11. You can enter a starting balance for your Grantor by entering the amount here
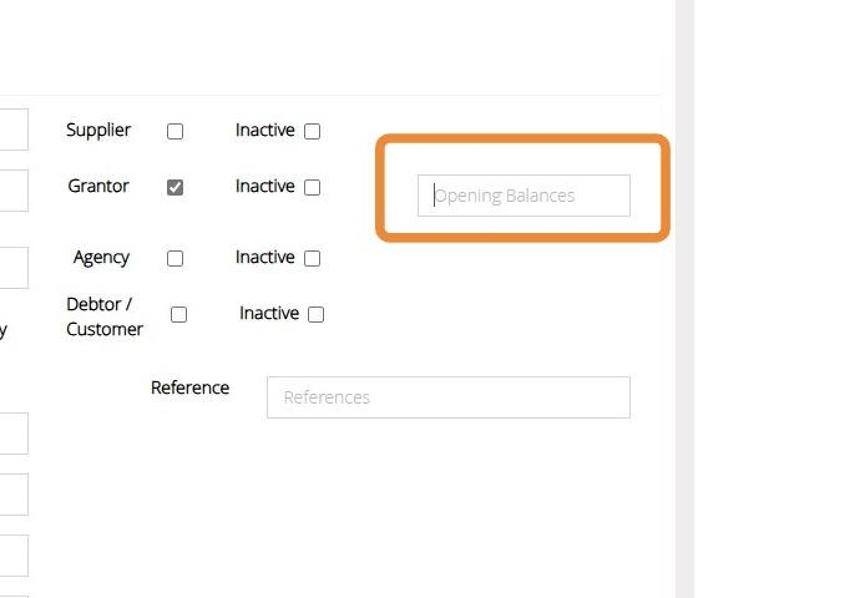
12. Click "Save"
Assign a Grantor to a Transaction
Tip: In the below example we will guide you in assigning a Grantor record to an Income transaction. The process is the same using the record Expenditure screen.
13. Click "Transactions"
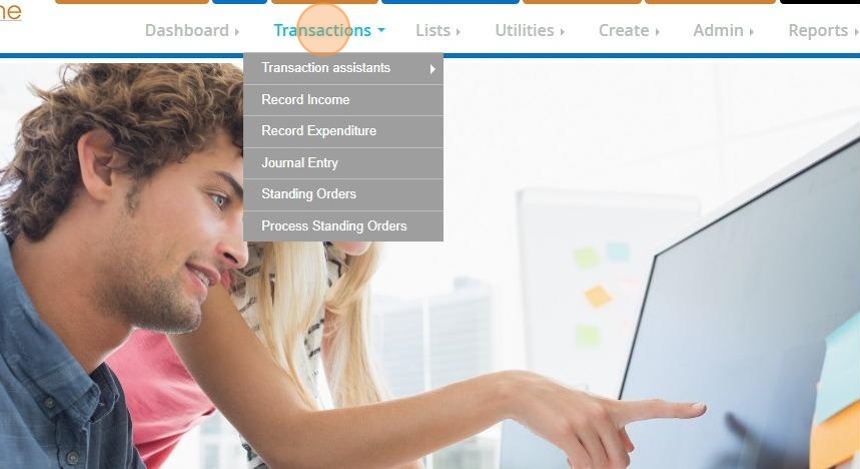
14. Click "Record Income"
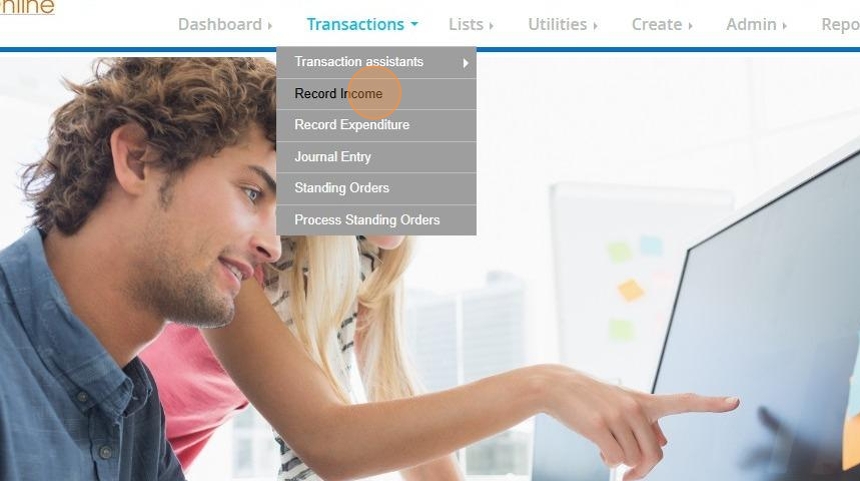
15. Click "Select Account..."
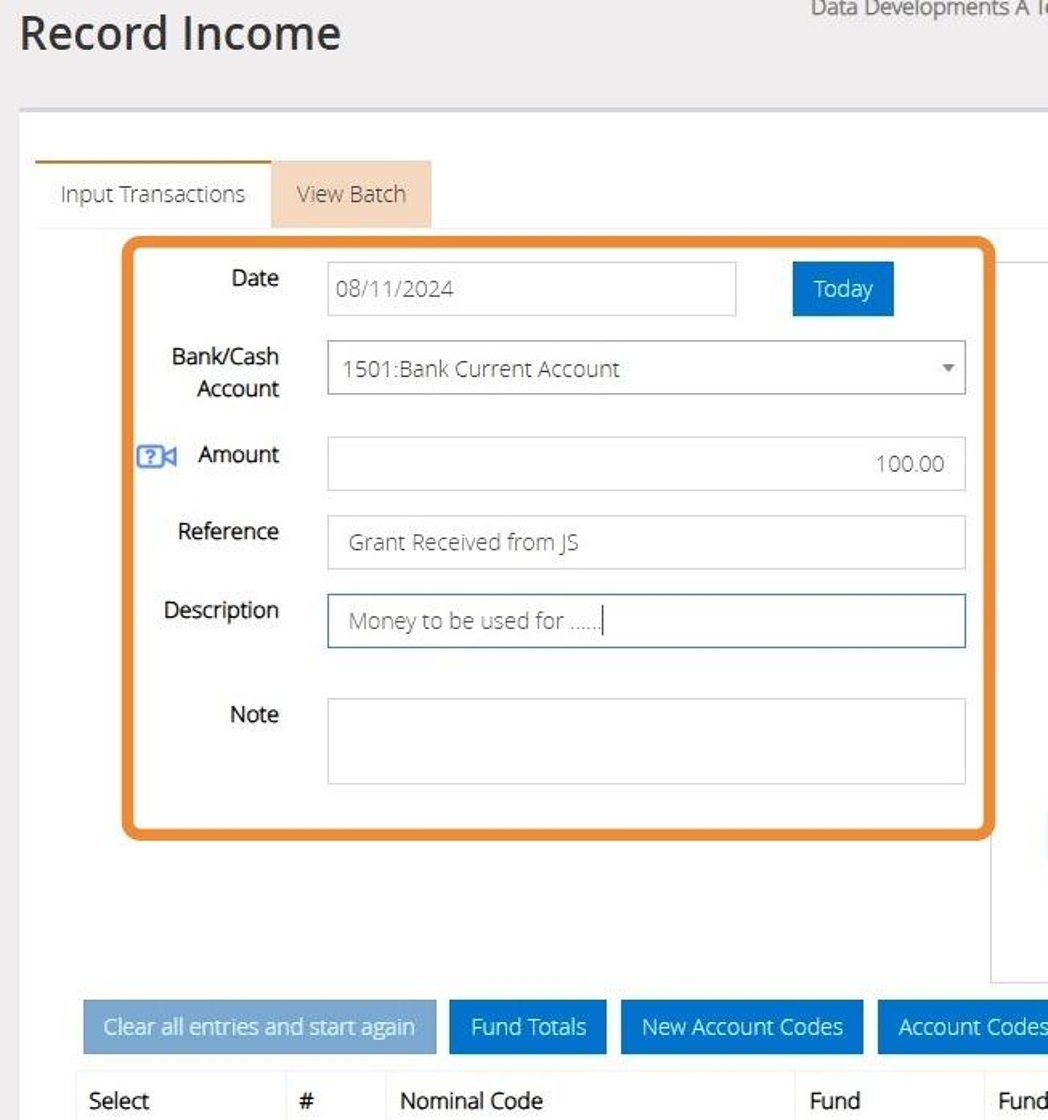
16. Select the Income code and Fund from your lists provided.
Confirm the amount and enter a description.
Notes can also be added that relate to the transaction.
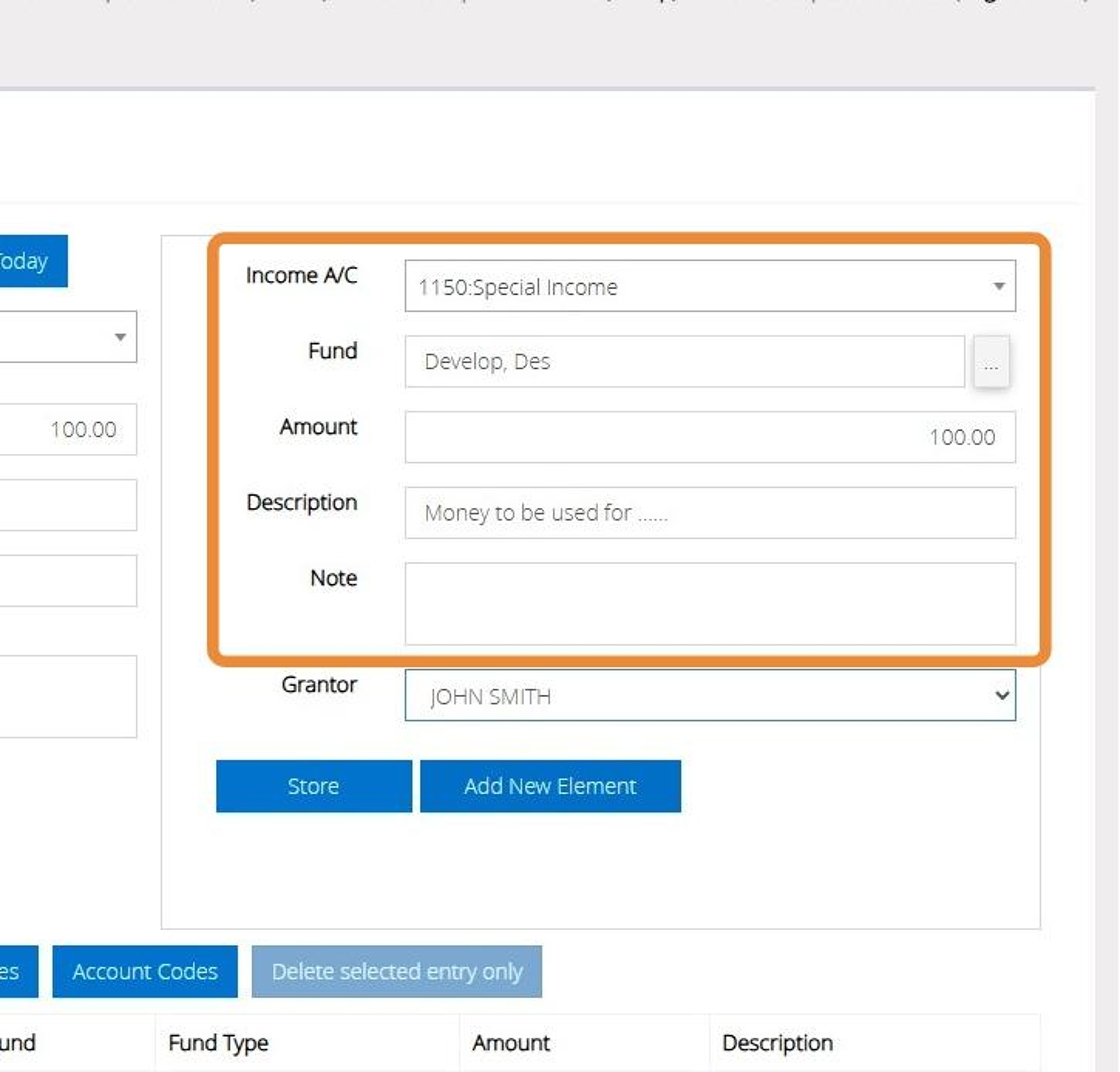
17. Select the Grantor record from the drop down menu provided
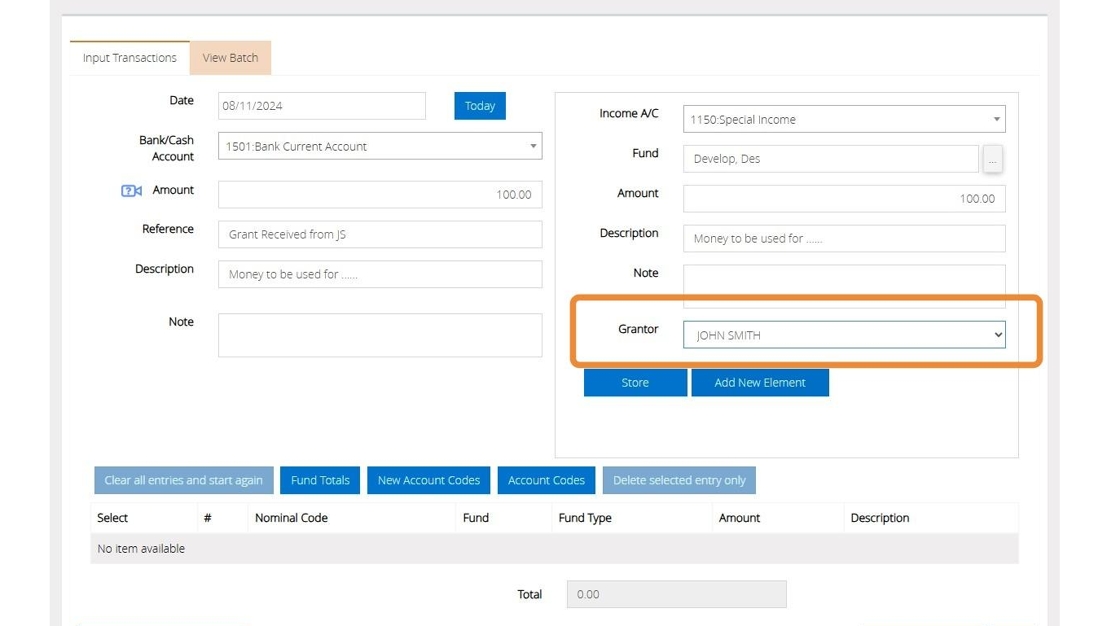
18. Click "Store"
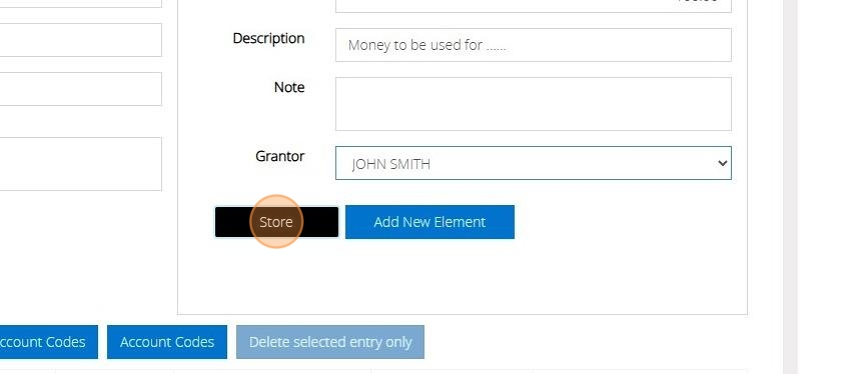
19. Click "Post"
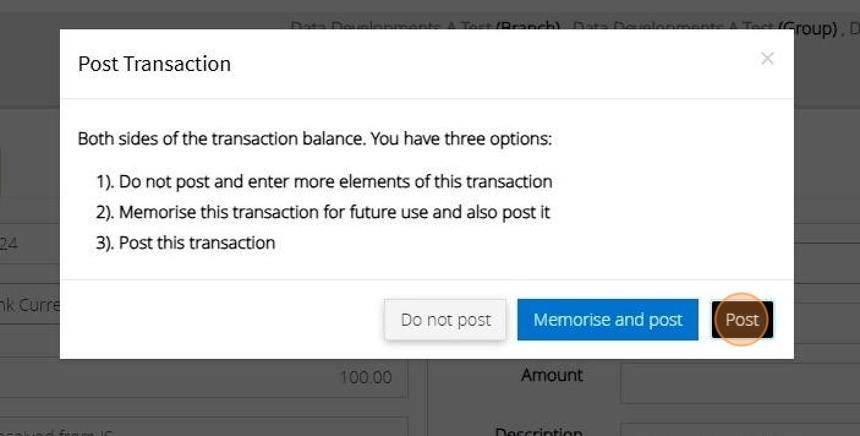
20. An Audit number will be issued once the transaction has been posted successfully.
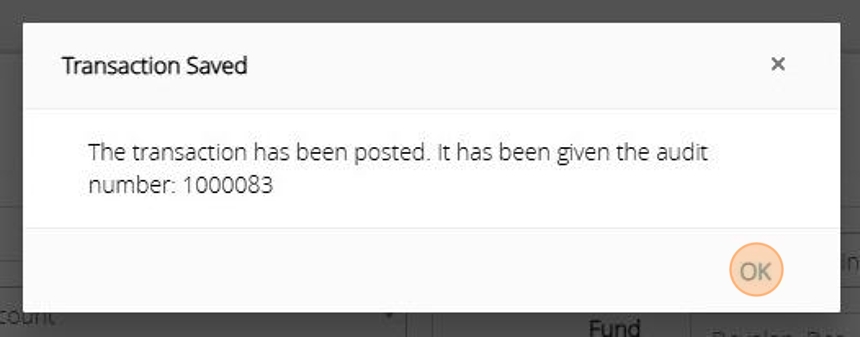
Produce a Grantor Report
21. Click "Reports"

22. Click "Supplier, Grantors and Agencies"

23. Click "Grantors"

24. Select the Financial period you wish to report on.
To enter manual dates please click the "Data Range" option and type you to and from dates in the boxes provided.
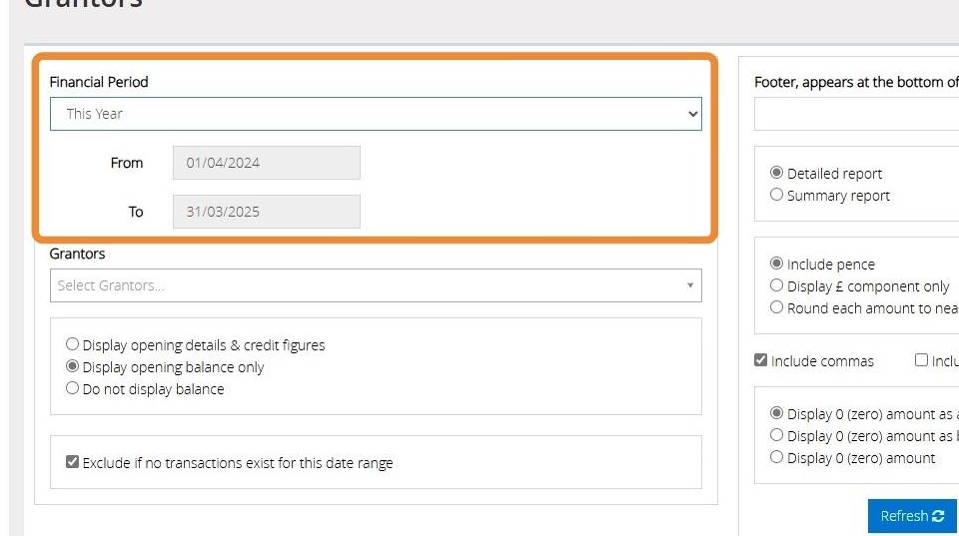
25. Select the "Grantor" record from the drop down menu provided.
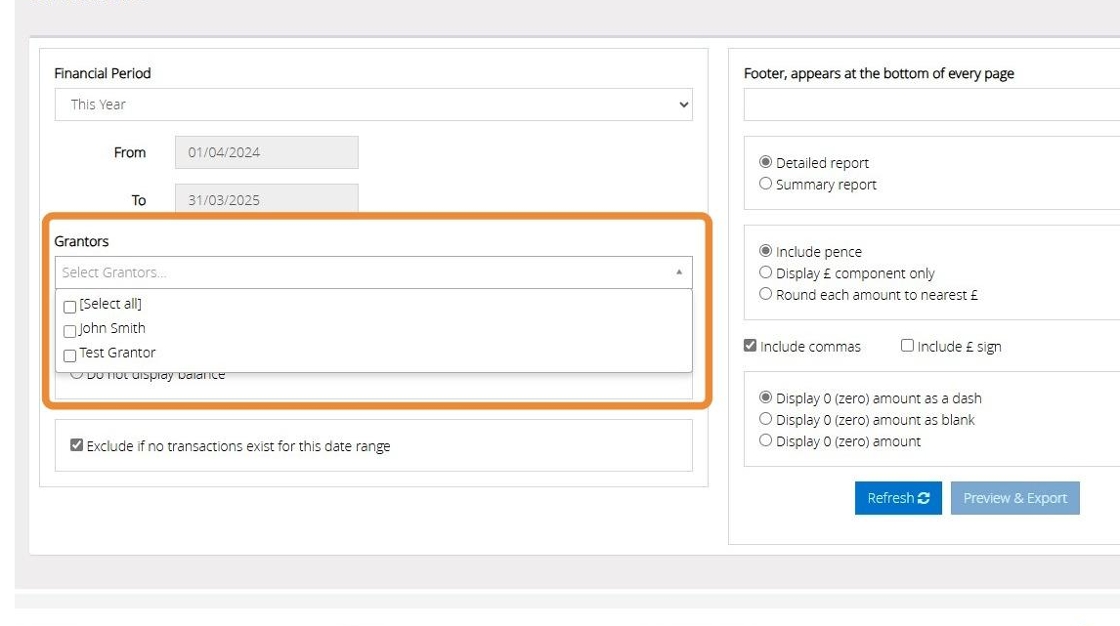
26. Here you have options to filter the data included within the report
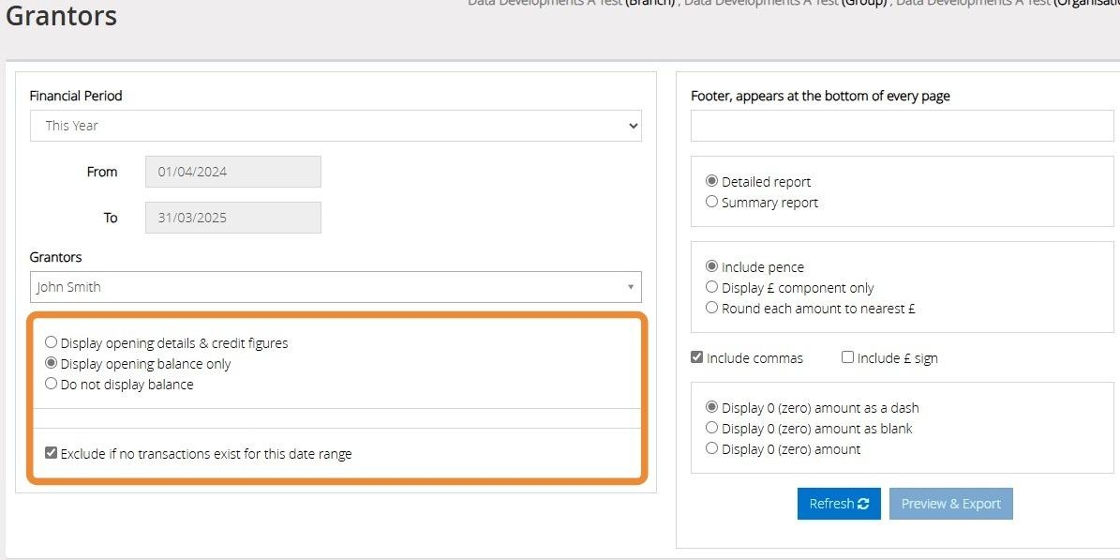
27. You can enter a footer to appear at the bottom of every page on the report
The "Detailed" version of the report with subtotals will give you a list of transactions and a total and the "Summary" option will give you just the total without the list of individual transactions
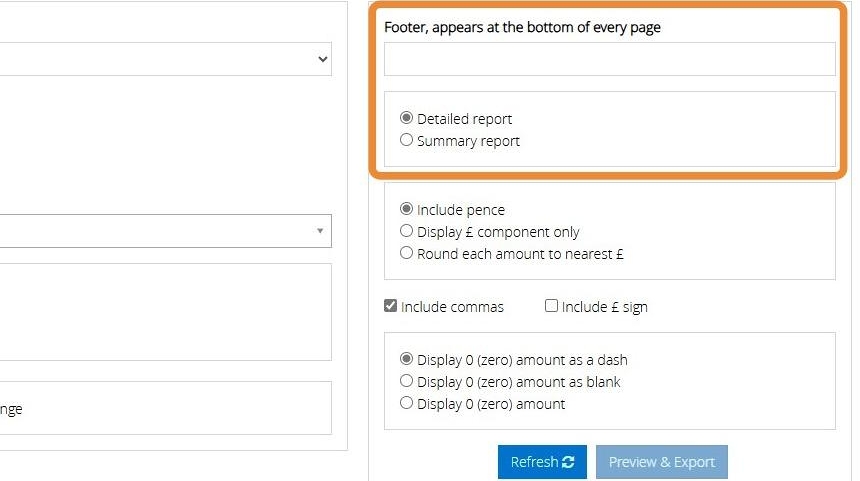
28. The section below lets you control the way the amounts are displayed in the report.

29. To then generate the report click "Refresh"
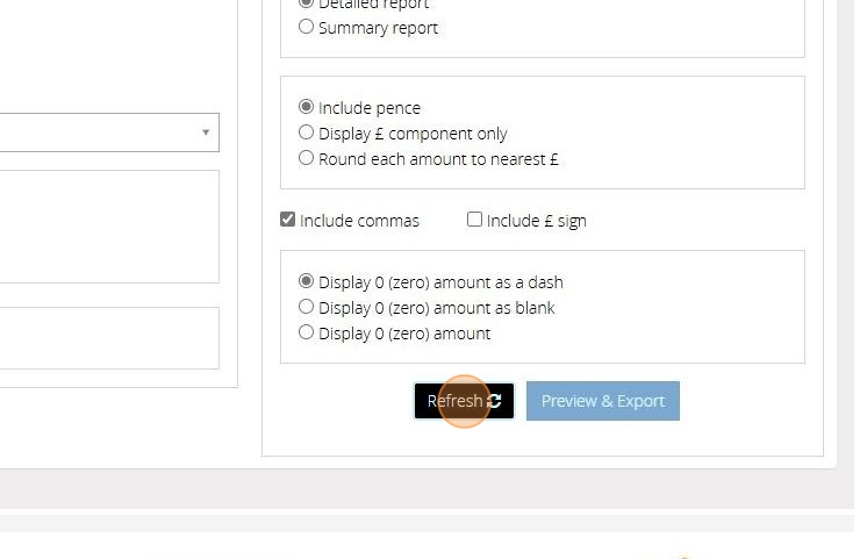
30. Click "Preview & Export"
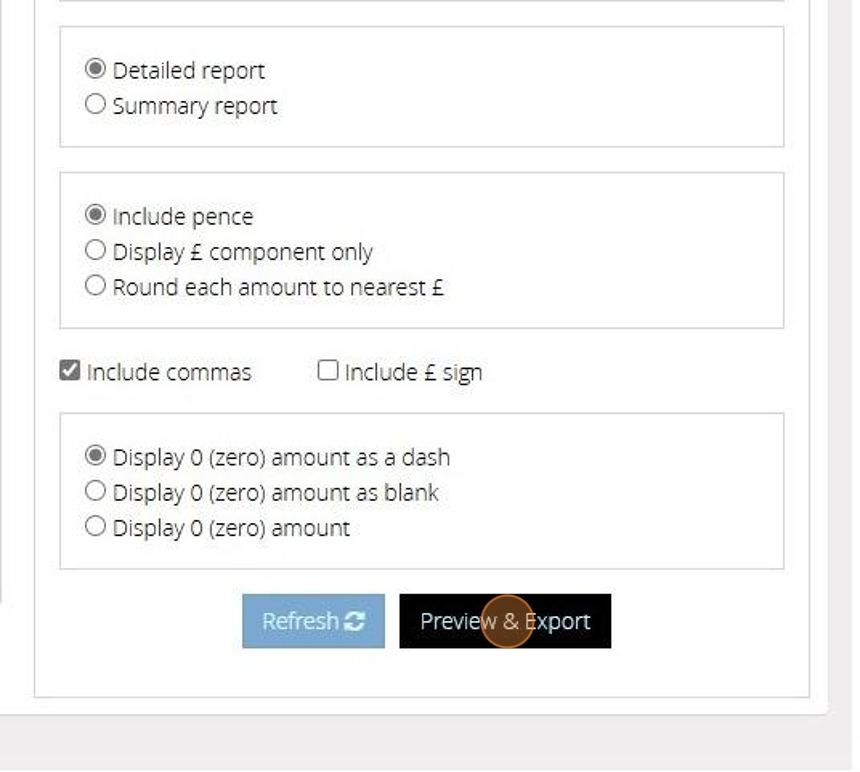
31. You can generate the report as a PDF or Excel file. By default "PDF" is selected
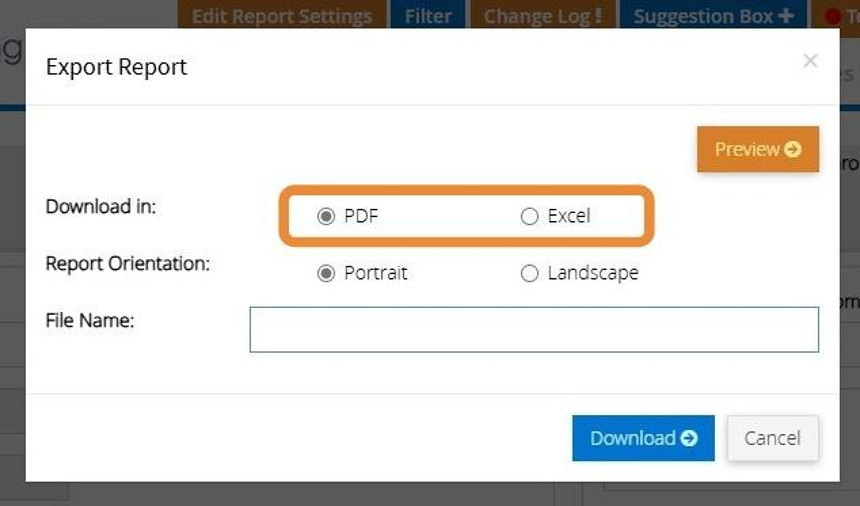
32. You can choose to have the report in portrait or landscape mode. Depending on the report this may be set to landscape or portrait. You can change this, however, it may result in a report that doesn't look right.

33. Click "Preview" to see the report in the browser. (Only works with PDF)
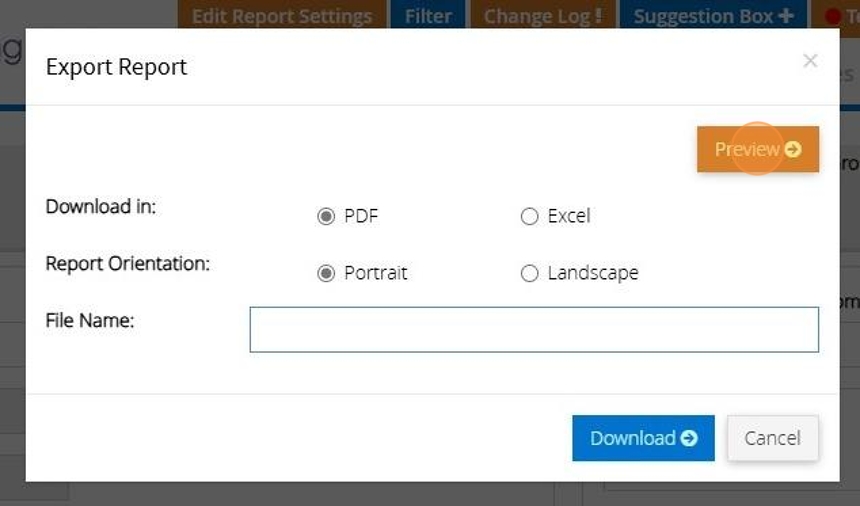
34. Click this text field and enter in a name for the file that will be created

35. And click "Download"
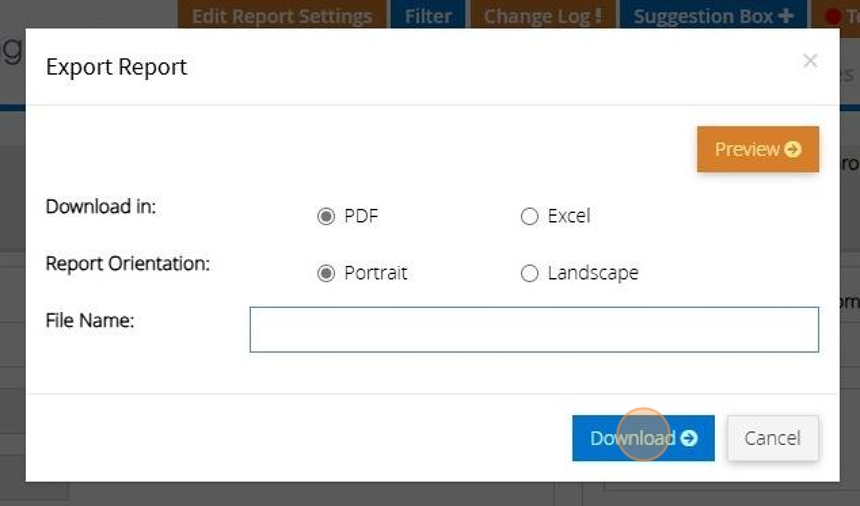
Managing Fixed Assets
Tip: The below steps will guide you in creating a Fixed Assets and managing this within MyFundAccounting.online ( Assets whose nature is not transient, e.g vehicles, office equipment etc)
Tip: For specific information on how to handle the fixed asset we advise to see SORP 2005 para 253 and 254
1. Navigate to https://www.myfundaccounting.online
Create a Fixed Asset
2. Click "Create"
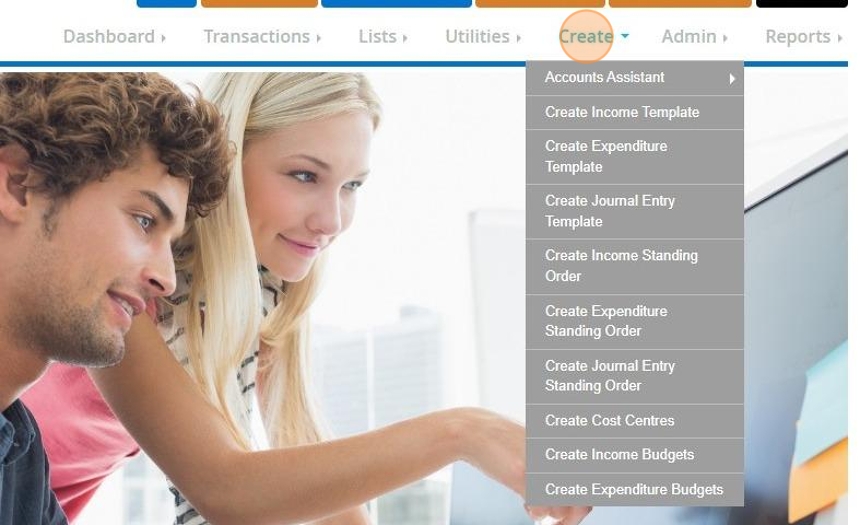
3. Click "Accounts Assistant"
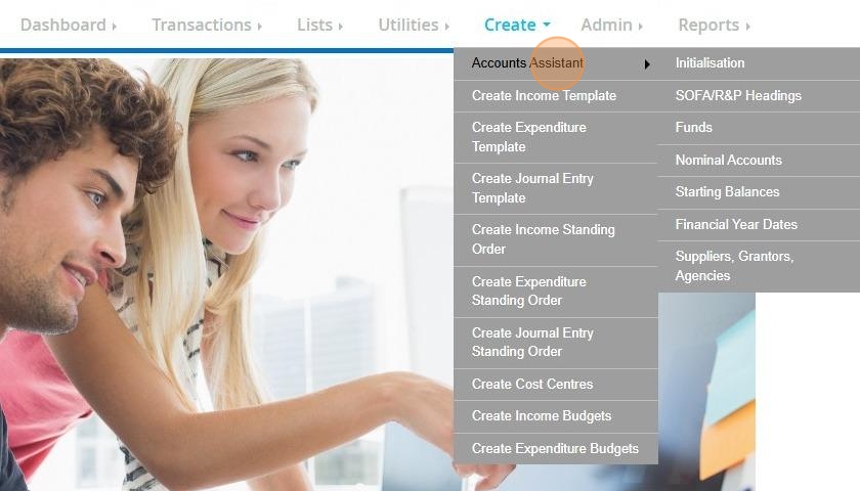
4. Click "Nominal Accounts"
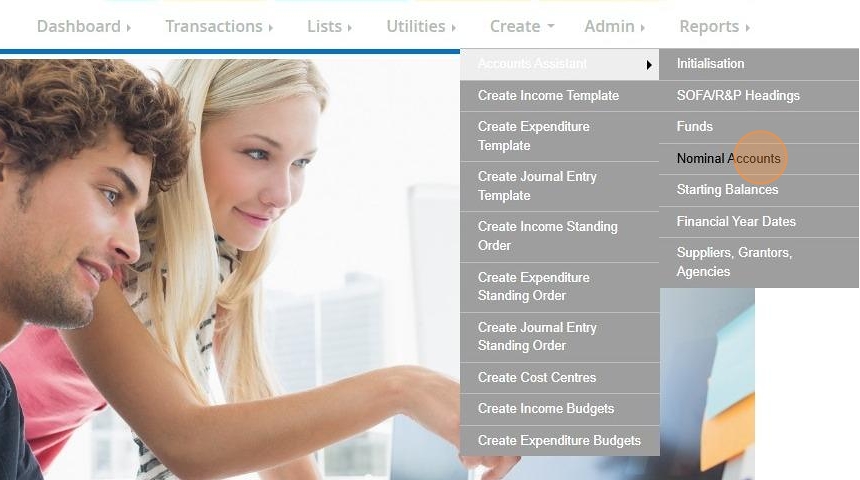
5. Click "Fixed Assets"

6. All existing Fixed Assets will be displayed below.
To create a new Fixed Asset click "Add new"

7. Enter a description and account code
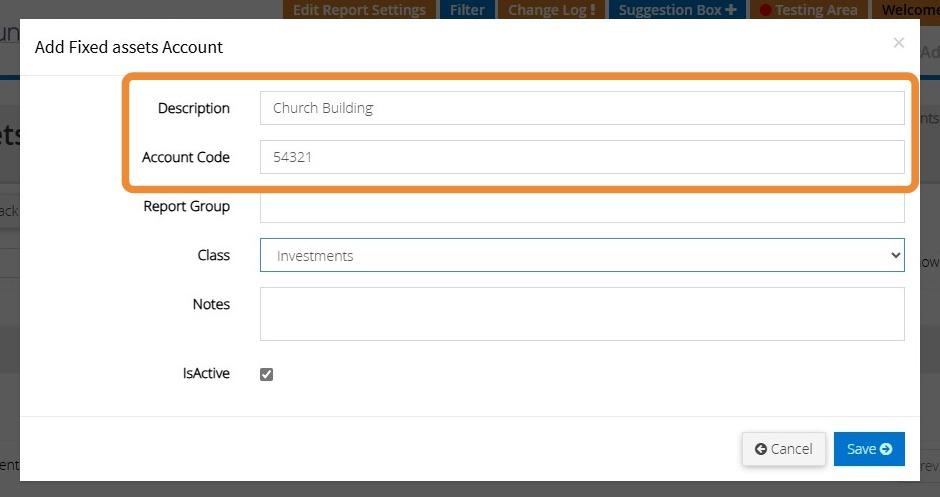
8. You can enter a report group name if you wish to generate a report on a group of Fixed Asset Codes.
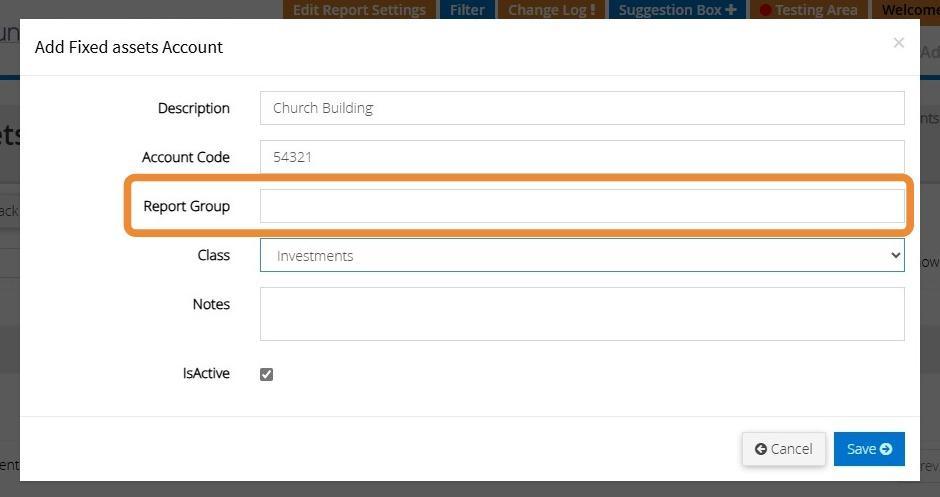
9. Select the class from the drop down menu provided

10. You can enter any notes that relate to the Fixed Asset

11. To mark the code as Active ensure there is a tick in the check box provided.
Should you need to mark this as inactive you can simply uncheck the box

12. Click "Save" once you have finished entering all the details for the new Fixed Asset
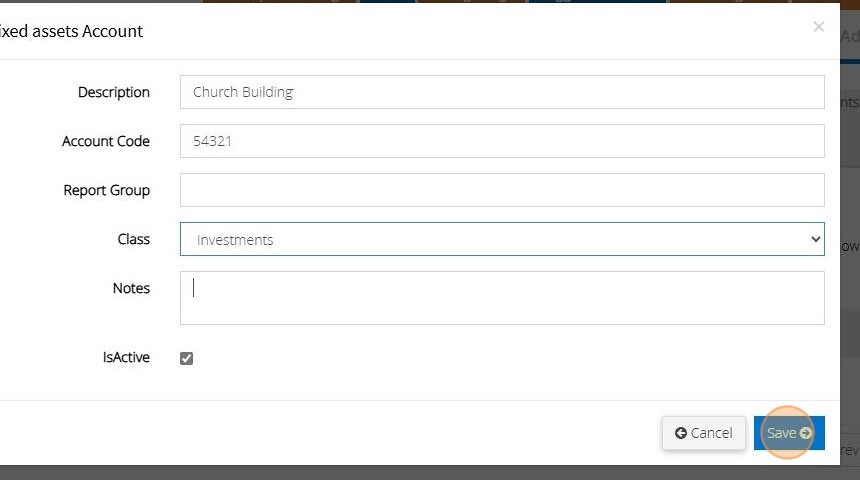
13. The below message will appear once the code has been saved successfully.

Transaction Assistant
Tip: Once your code has been created you can now manage your Fixed Asset through the Transaction Assistant
14. Click "Transactions"
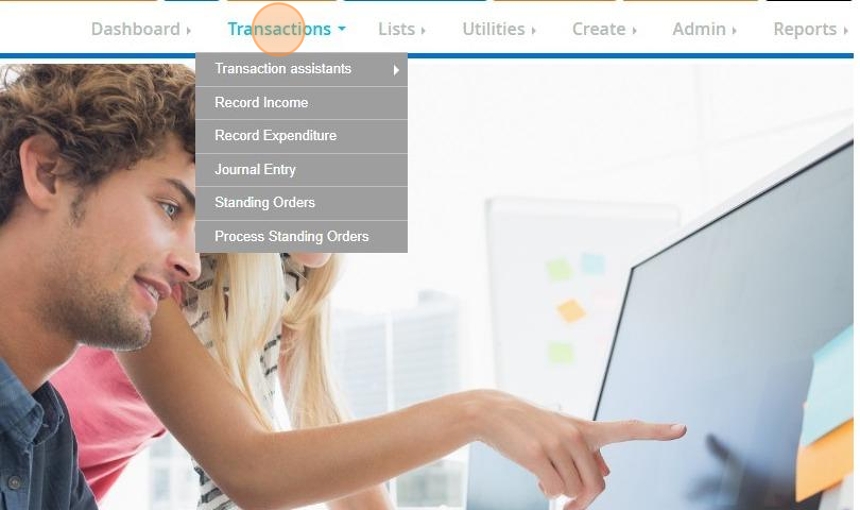
15. Click "Transaction assistants"
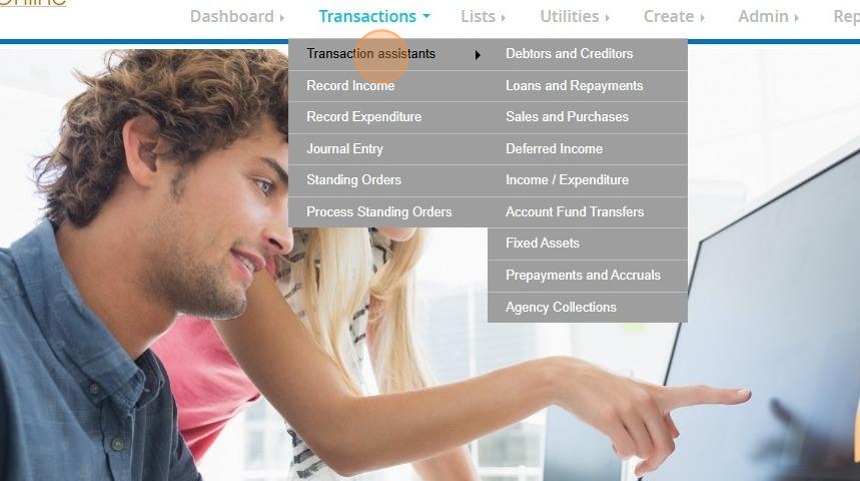
16. Click "Fixed assets"
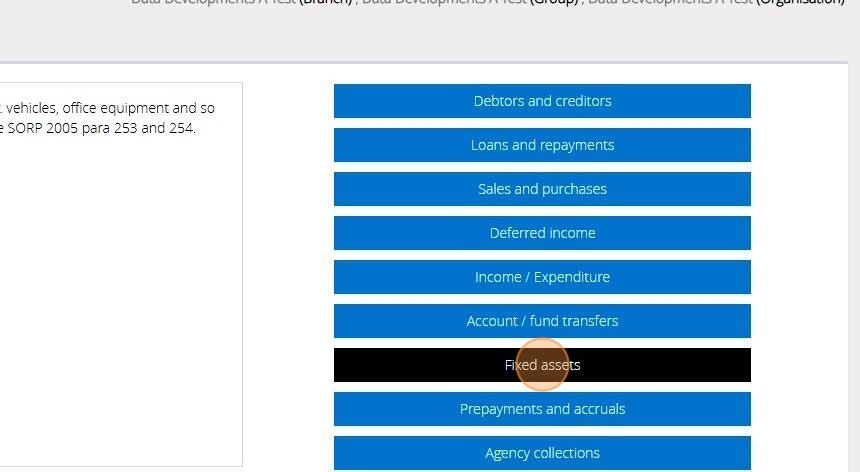
17. Here you have a menu with option on how to handle your Fixed Asset
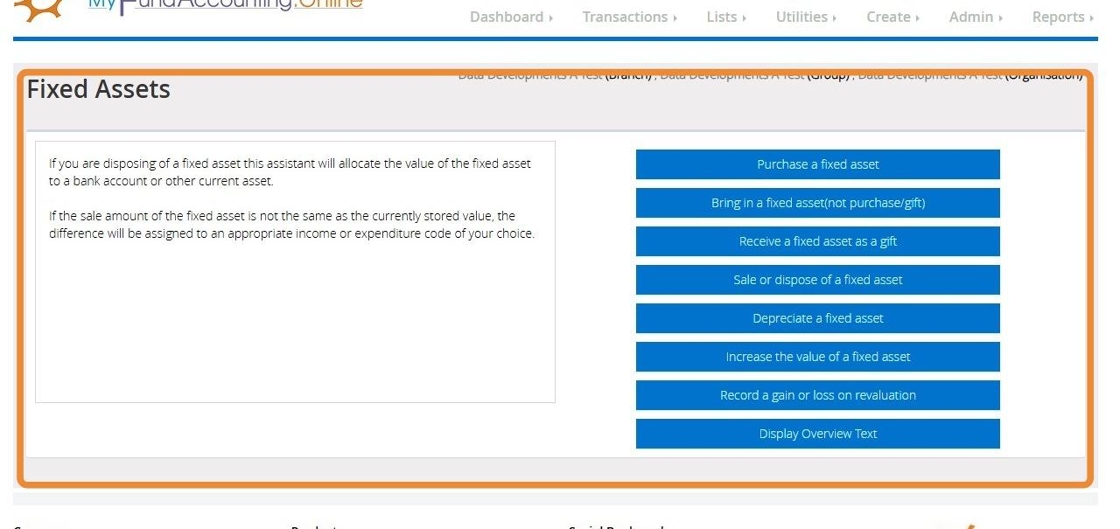
Purchase a Fixed Asset
18. Click "Purchase a fixed asset"

19. On Step 1 select the bank account that has been used to purchase the fixed asset
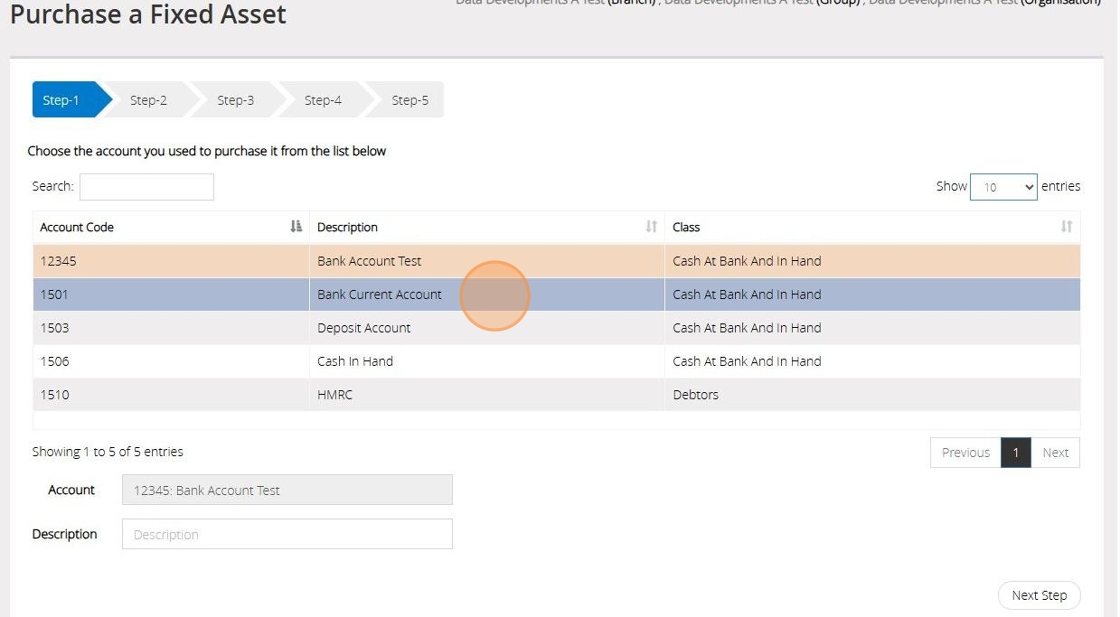
20. Click "Next Step"
21. On Step 2 select the Fixed Asset code you have created in your Accounts Assistant
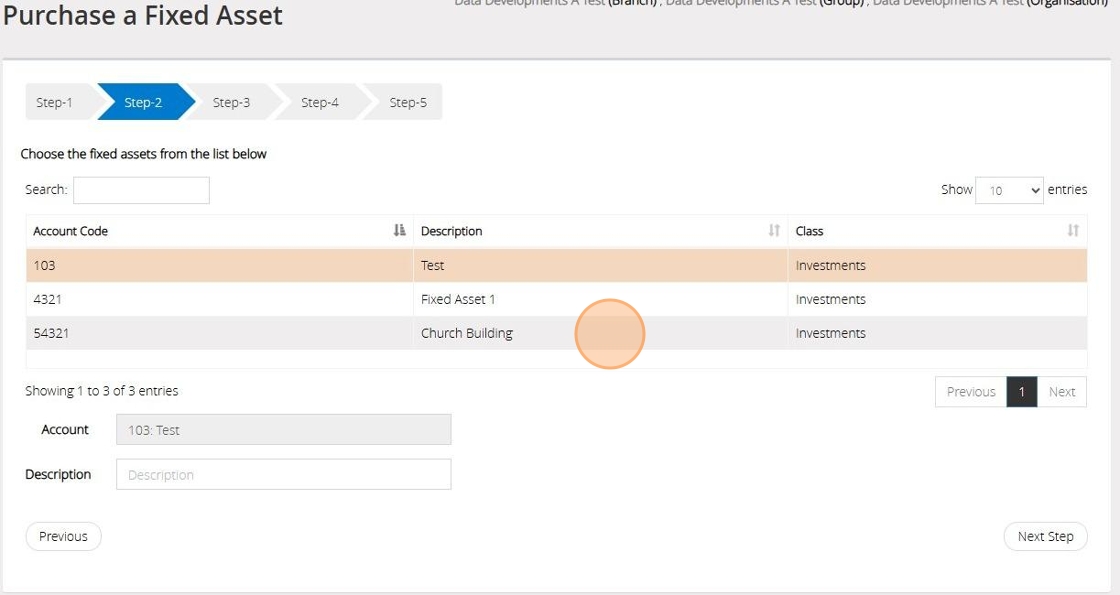
22. Click "Next Step"

23. On Step 3 enter the amount that was paid and the date the payment left the bank account.
You can also enter a reference against the transaction.
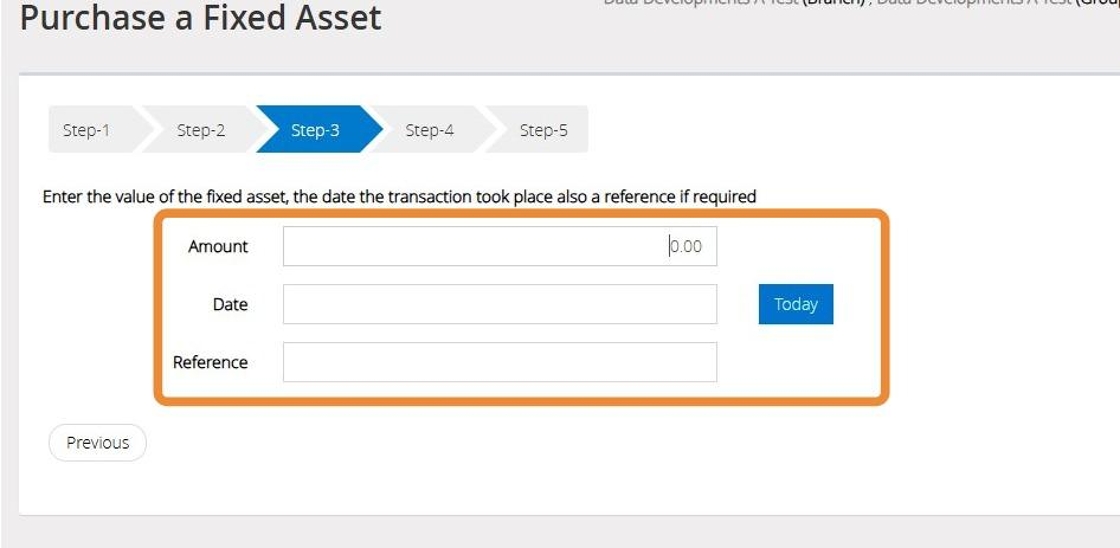
24. Click "Next Step"

25. On Step 4 select the "Fund" that has been used for the purchase.
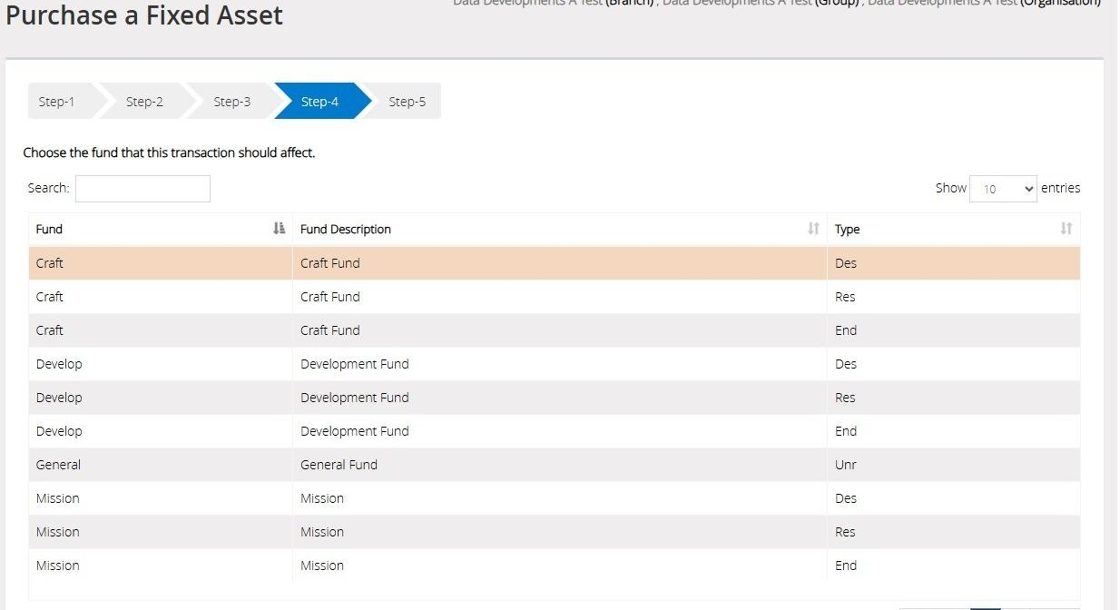
26. Click "Next Step"
27. On Step 5 confirm the selections that have been made on the previous steps

Tip: Tip! Should you need to go back to an earlier step please click "previous"
28. Once happy with the selections made click "Save & Post"

29. You will then be given an Audit number once the transaction has been posted successfully.
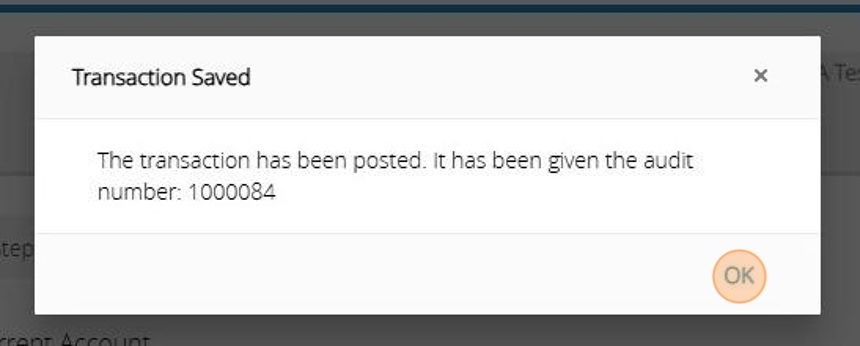
Bring in a Fixed Asset( Not purchase/gift)
Tip: The below steps will guide you in introducing a fixed asset without affecting your bank accounts or your income. Use this option to introduce a fixed asset that has not been recorded in the accounts but has belonged to the organisation for some time. This may be an asset that the organisation realises has significant value.
Tip: An alternative situation could be that the organisation has decided to sell the fixed asset but it is unlikely that this has been itemised in the accounts as a fixed asset. Before this can be sold the asset will need to be brought into the accounts as a capitalisation (faculty) and then sold through a normal income.
30. Click "Receive a fixed asset as a gift"
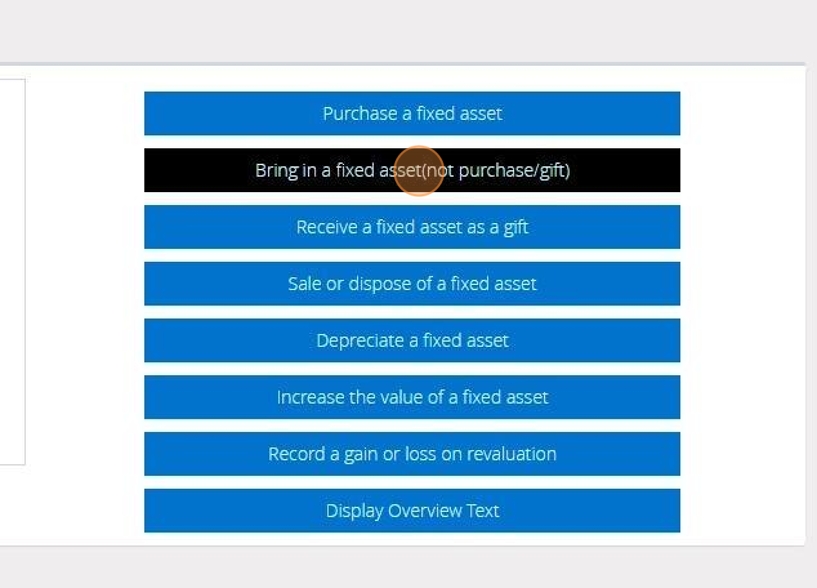
31. On Step once select the reserve account to be used.
Should you want to create a new reserve code you can do so by going to your "Accounts Assistant" and clicking on "Nominal Codes"
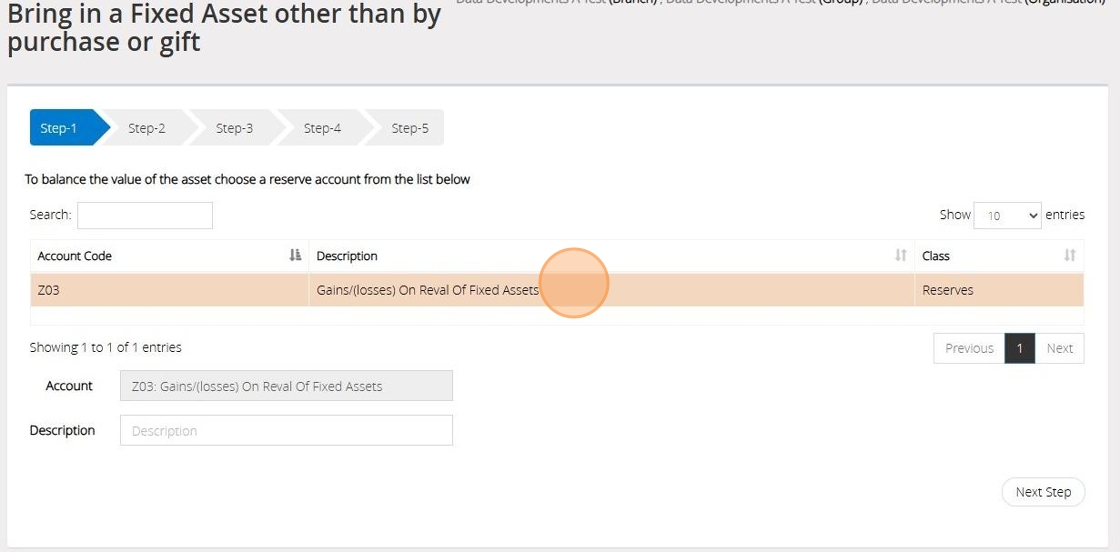
32. Click "Next Step"

33. On Step 2 select the Fixed Asset code
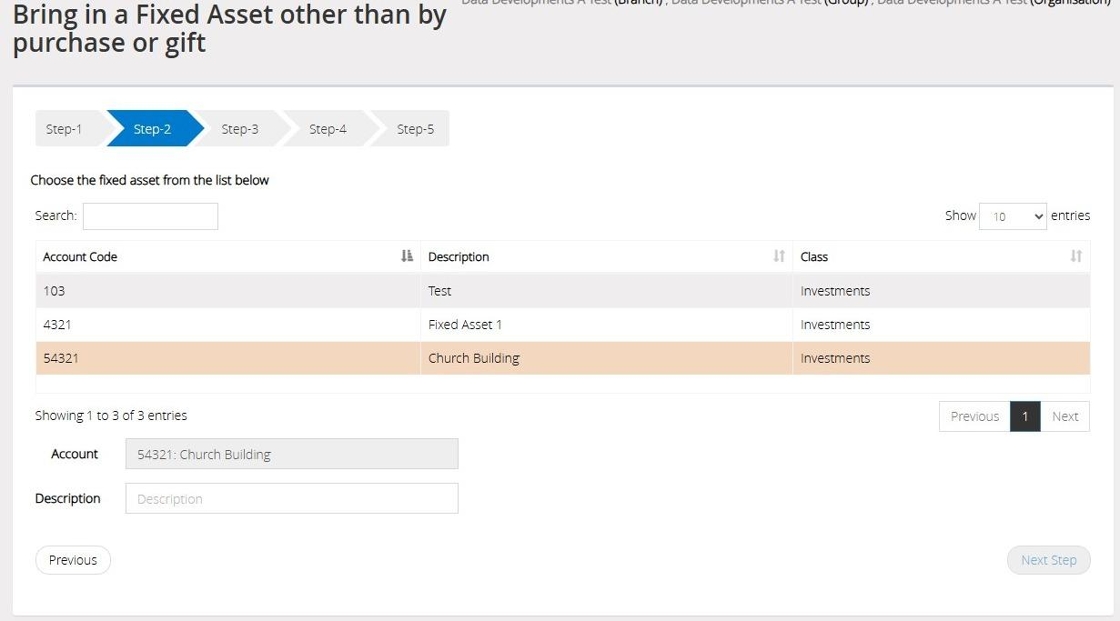
34. Click "Next Step"
35. On step 3 enter the value of the fixed asset and the date you wish to introduce this into the accounts.
You can also enter a reference to go against the transaction.
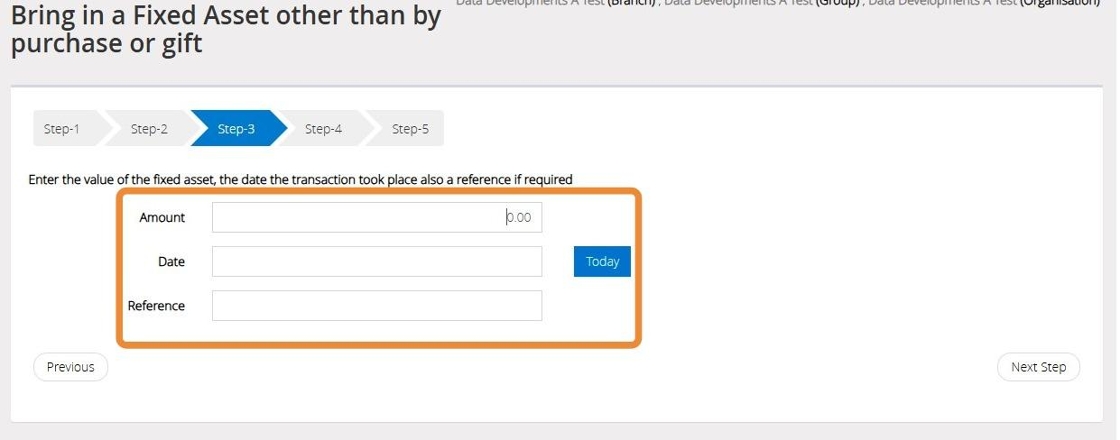
36. Click "Next Step"

37. Select the fund that the transaction should affect.
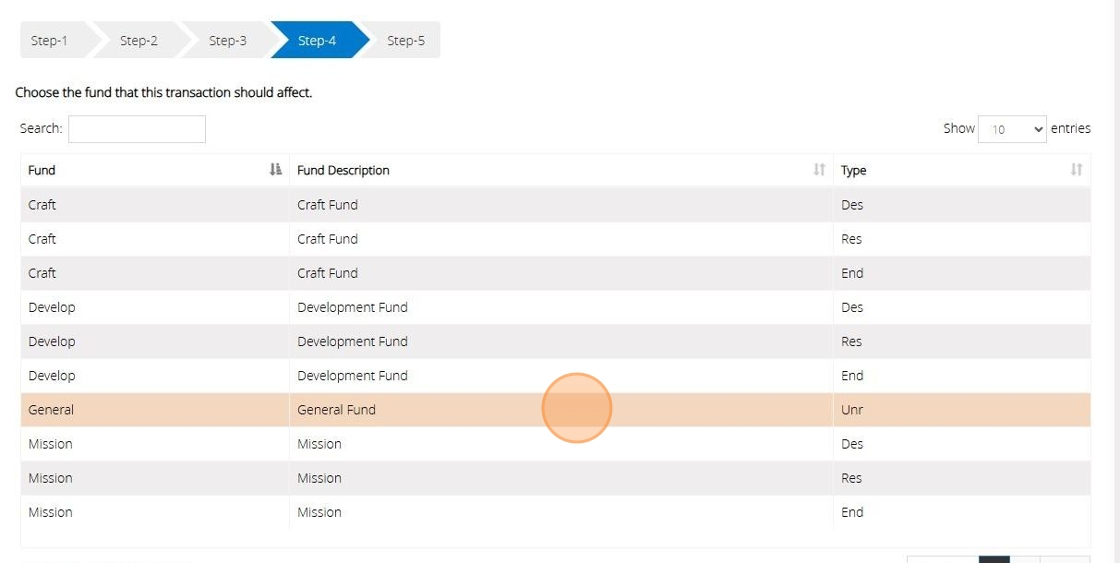
Tip: Tip! Click Previous or Next to move through the list of your Fund
38. Click "Next Step"
39. On Step 5 confirm the selections that have been made on previous steps.

40. Click "Save & Post"

41. An audit number will be given once the transaction has been saved successfully.
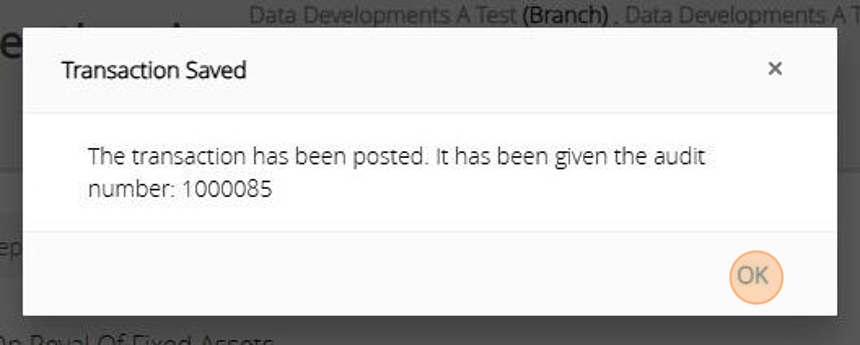
Receive a Fixed Asset as a gift
Tip: The below steps will guide you in introducing a Fixed Asset and recording this against an Income account.
42. Click "Receive a fixed asset as a gift"

43. Click "Next Step"
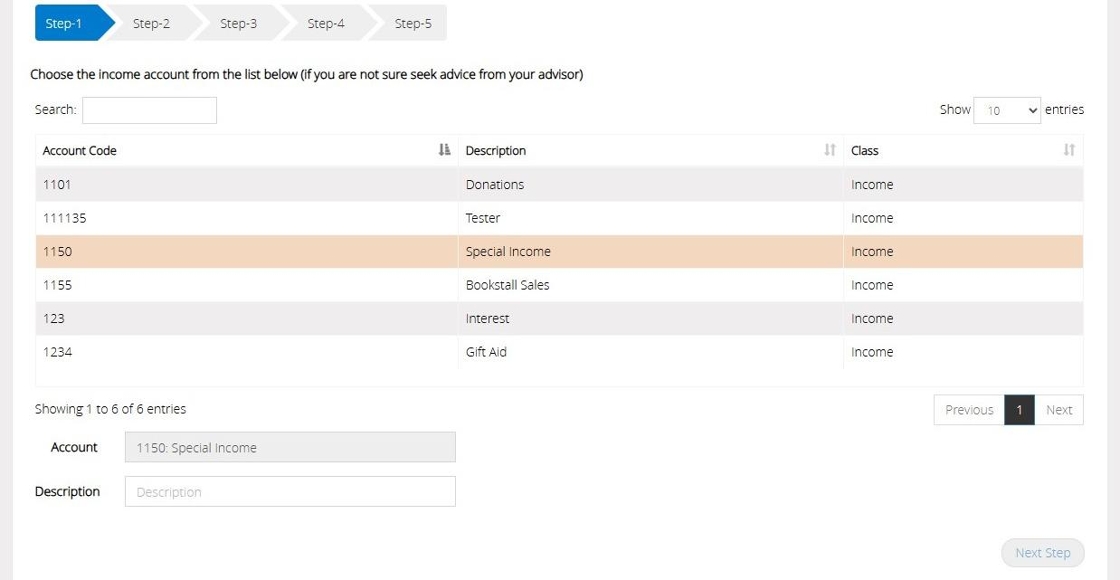
44. Click "Next Step"

45. Select the Fixed Asset code from your list
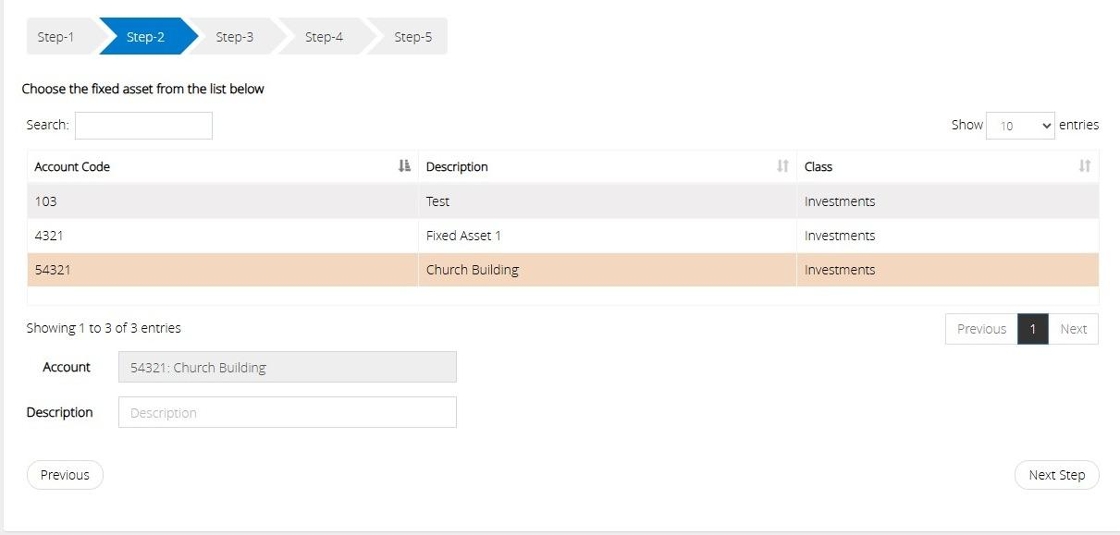
46. Click "Next Step"
47. On Step 3 enter the value of the fixed asset and the date you wish for this to take affect in the accounts.
You can also enter a reference against the transaction,
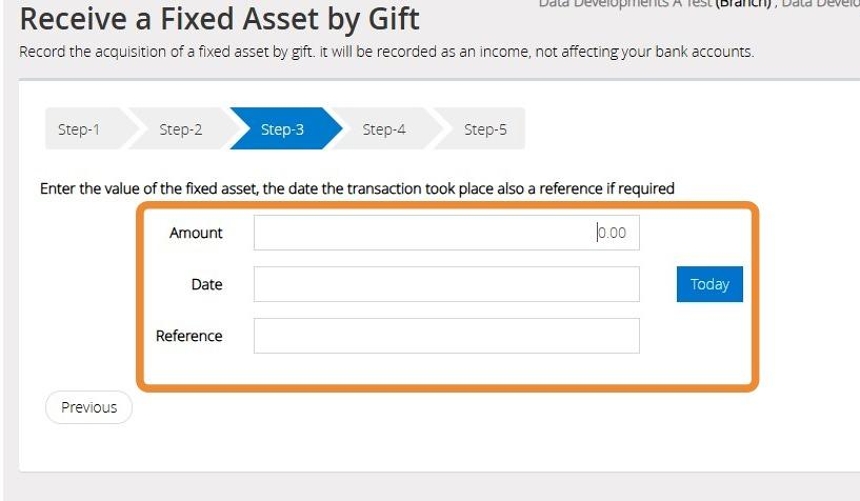
48. Click "Next Step"

49. On Step 4 select the Fund that the transaction should affect
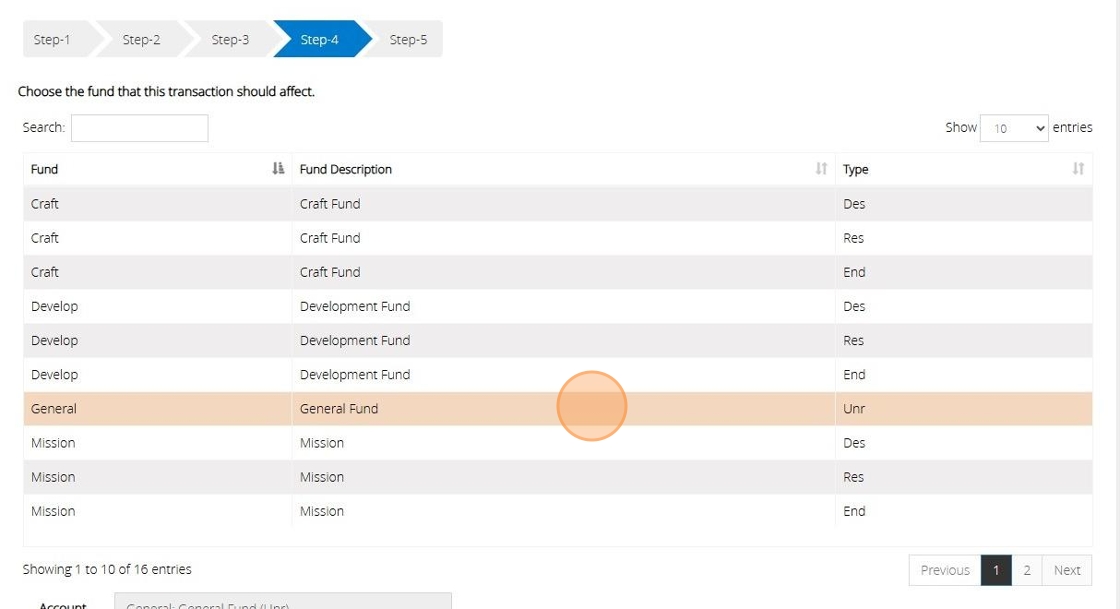
Tip: Tip! Click Previous or Next to move through your list of Funds.
50. Click "Next Step"
51. On Step 5 confirm the selections that have made in the previous steps.
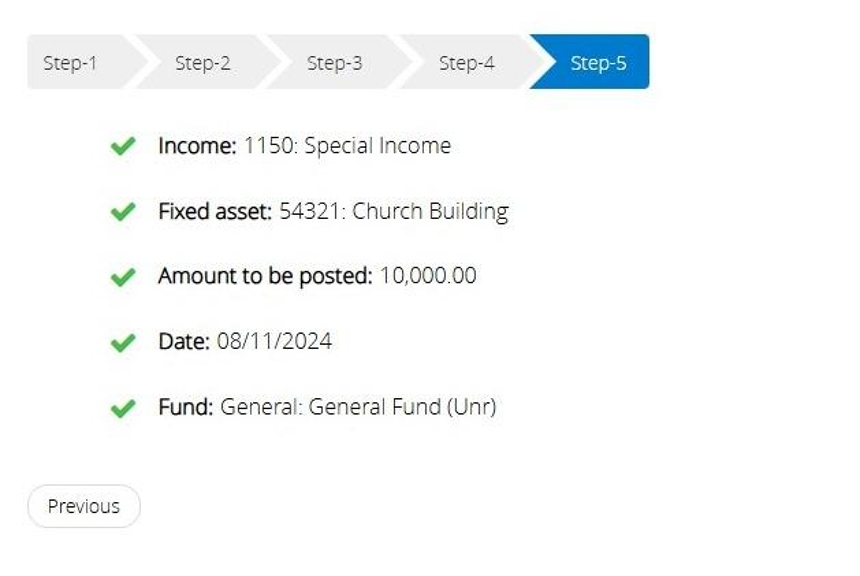
52. Click "Save & Post"

53. An Audit number will be given once the transaction has been saved successfully.
Sale or dispose of a Fixed Asset
Tip: The below steps will guide you in processing a sale or disposal of a Fixed Asset.
The value of the asset will be allocated to a bank account or other current asset.
Tip: If the sale amount of the fixed asset is not the same as the currently stored value, the difference will be assigned to an appropriate Income or Expenditure code of your choice.
54. Click "Sale or dispose of a fixed asset"

55. On Step 1 select the Fixed Asset code
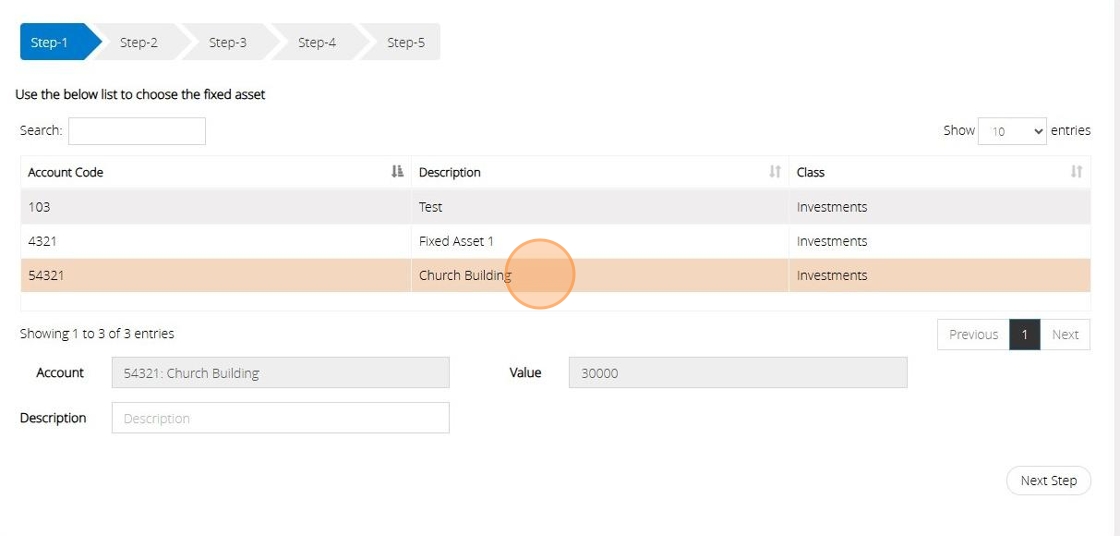
56. Click "Next Step"
57. On Step 2 select the bank account that the balance should be moved to
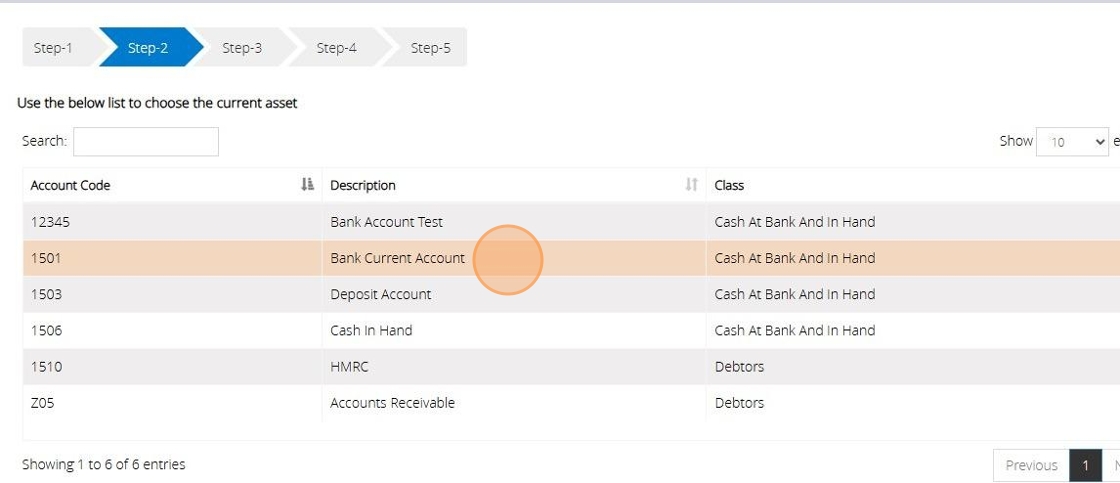
58. Click "Next Step"

59. On Step 3 you will need to enter the value of the Asset that you have either sold or disposed of.
The current value is displayed for reference.
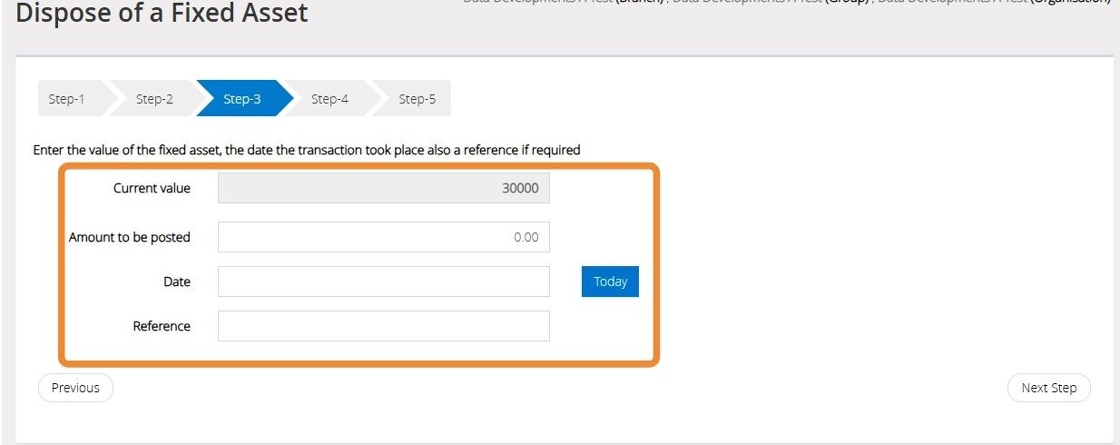
60. Click "Next Step"
61. On Step 4 select the Fund that the transaction should affect.
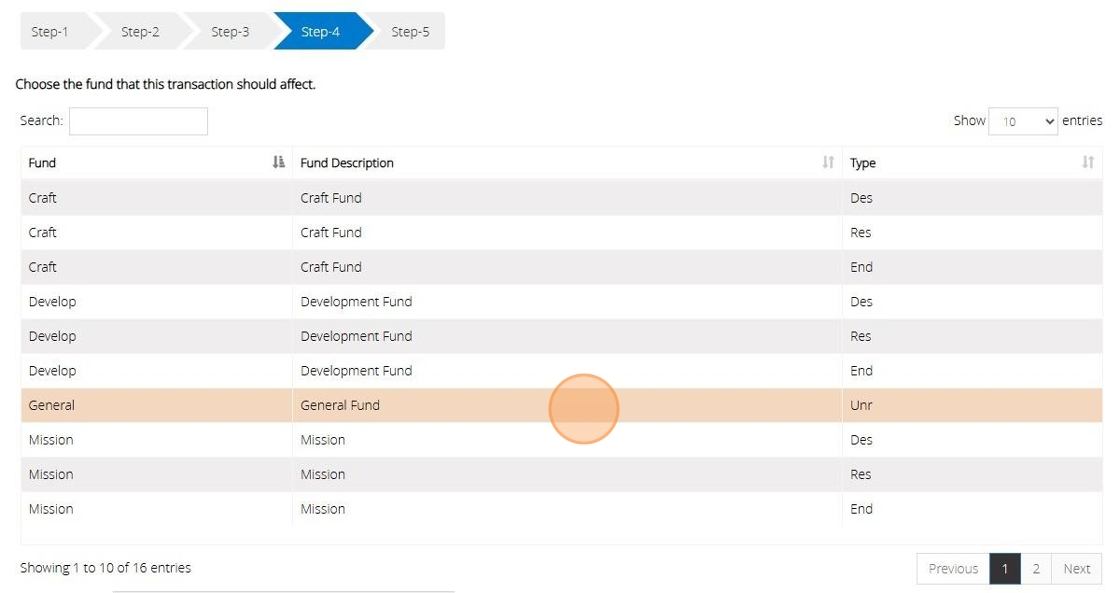
62. Click "Next Step"
63. On Step 5 confirm the selections that you have made in previous steps.
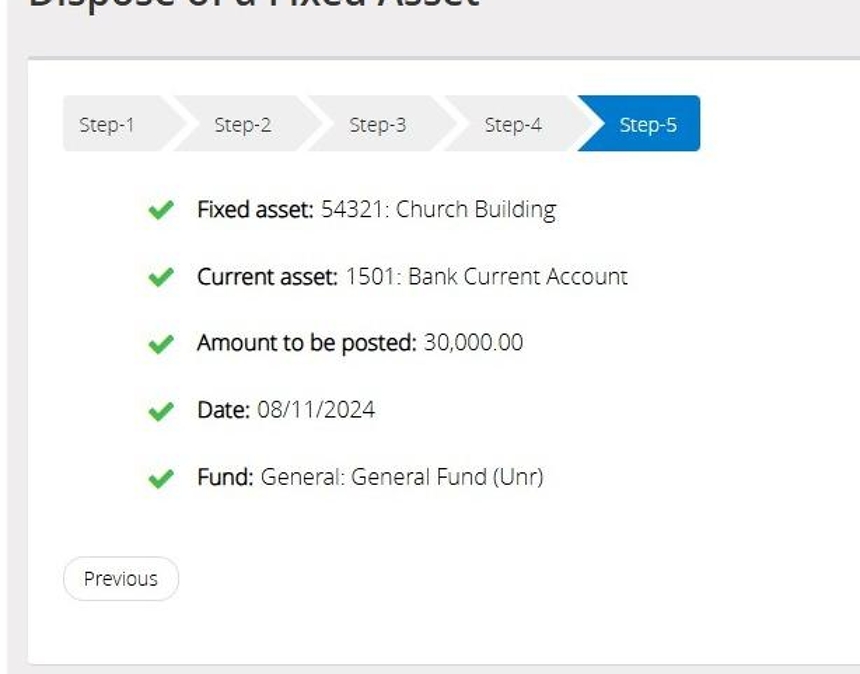
64. Click "Save & Post"

65. You will be given an Audit number once the transaction has been posted successfully.
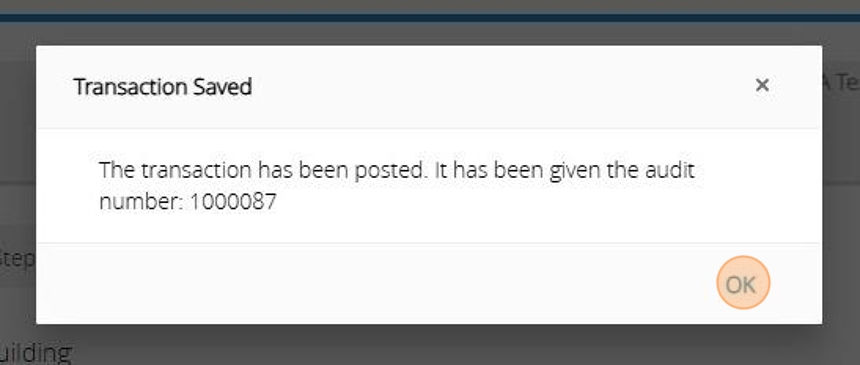
Depreciate a Fixed Asset
Tip: This assistant will depreciate a fixed asset and allocate the depreciation to an expenditure account.
66. Click "Depreciate a fixed asset"

67. On step 1 select a Fixed Asset code that you wish to depreciate.

68. Click "Next Step"
69. On Step 2 select the expenditure code that you wish to use.
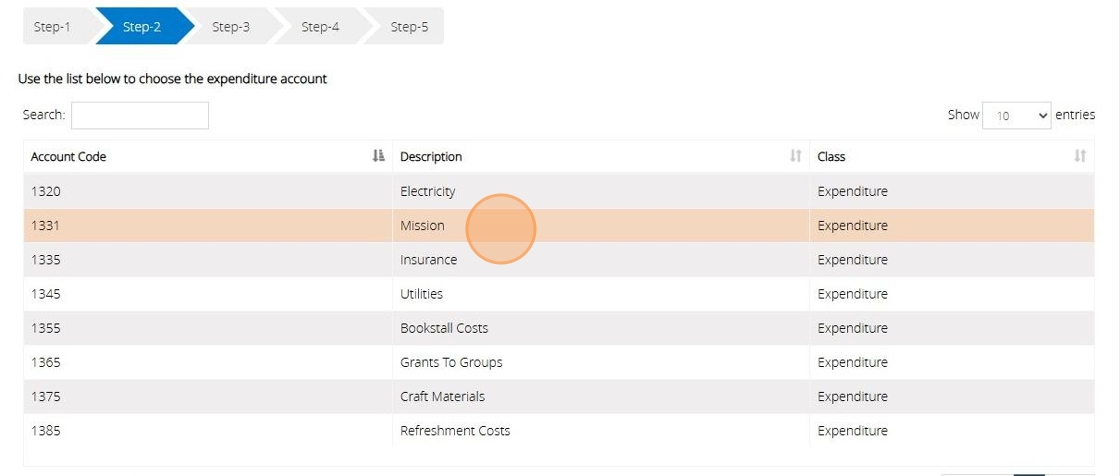
70. Click "Next Step"

71. On Step 3 you can view the current value of the Fixed Asset. This box is greyed out so that the balance cannot be amended.
Enter the date below that the transaction took place.
In the below example we have selecting the depreciation type as amount.
Type in the amount you wish to depreciate the asset value by.
The new value will be displayed below this.
You can also enter a reference against the transaction.
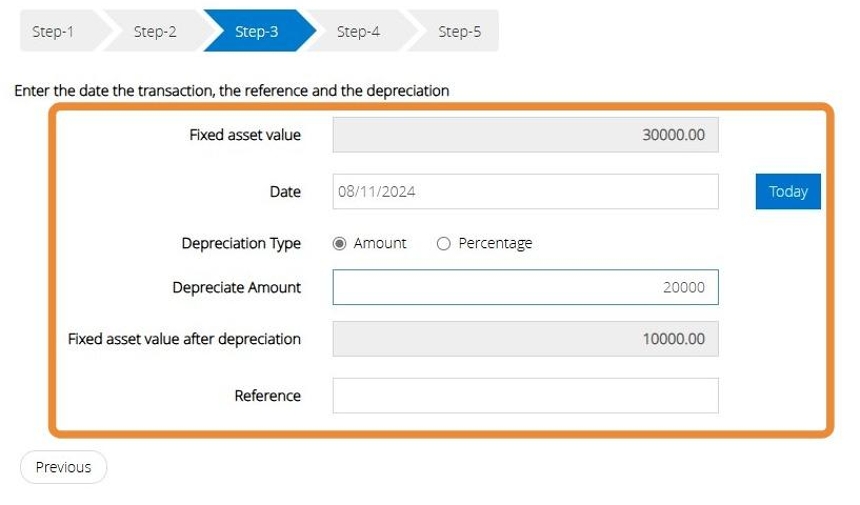
72. Alternatively, you can use the percentage option to enter the depreciation percentage amount.
The new value of the amount will then be displayed below.
You can also enter a reference against the transaction.
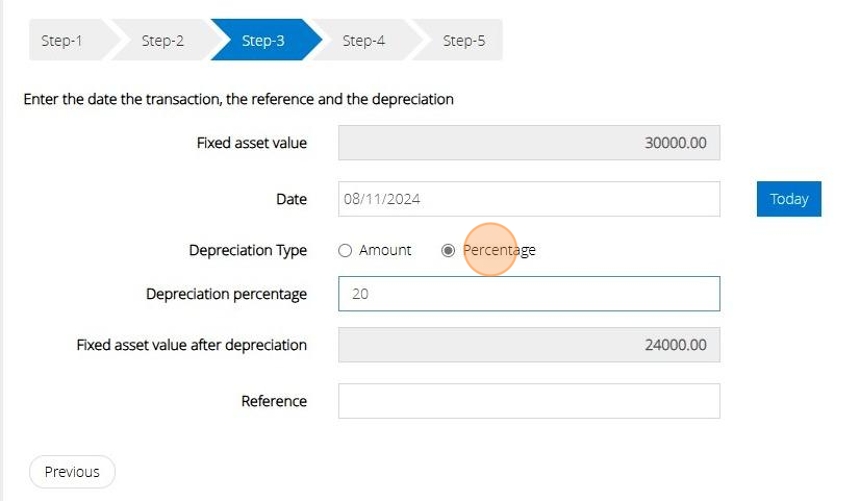
73. Click "Next Step"

74. On Step 4 select the Fund that the transaction should affect.

75. Click "Next Step"
76. On Step 5 confirm the selections you have made in previous steps
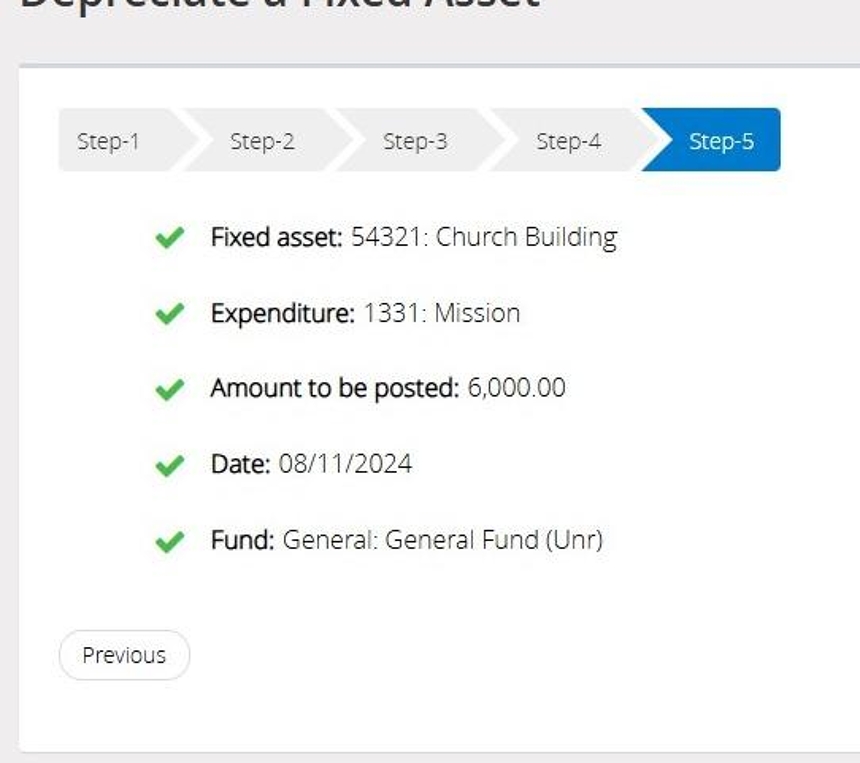
77. Click "Save & Post"

78. An Audit number will be issued once the transaction has been saved successfully.

Increase the value of a Fixed Asset
Tip: The below steps will guide you in increasing the value of a Fixed Asset and record the difference against an Income account.
79. Click "Increase the value of a fixed asset"
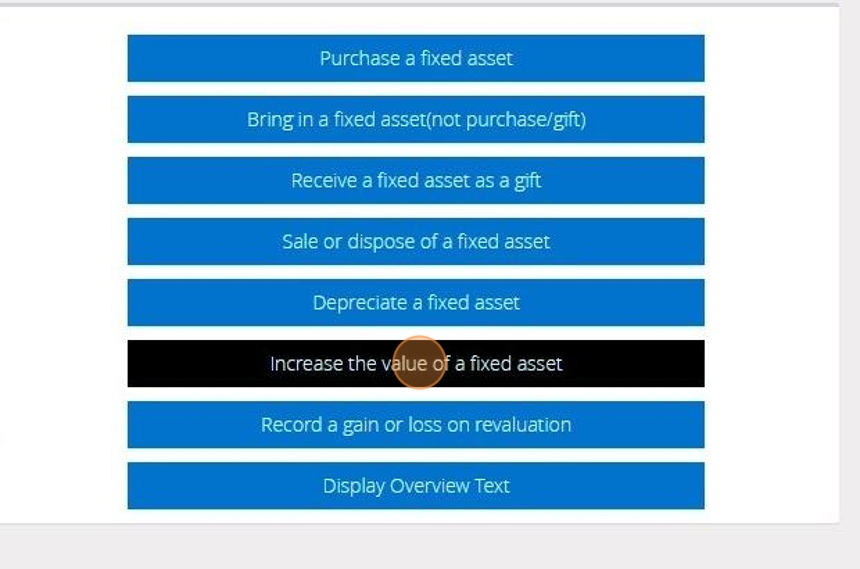
80. Choose the income account that you wish to use the increase the value
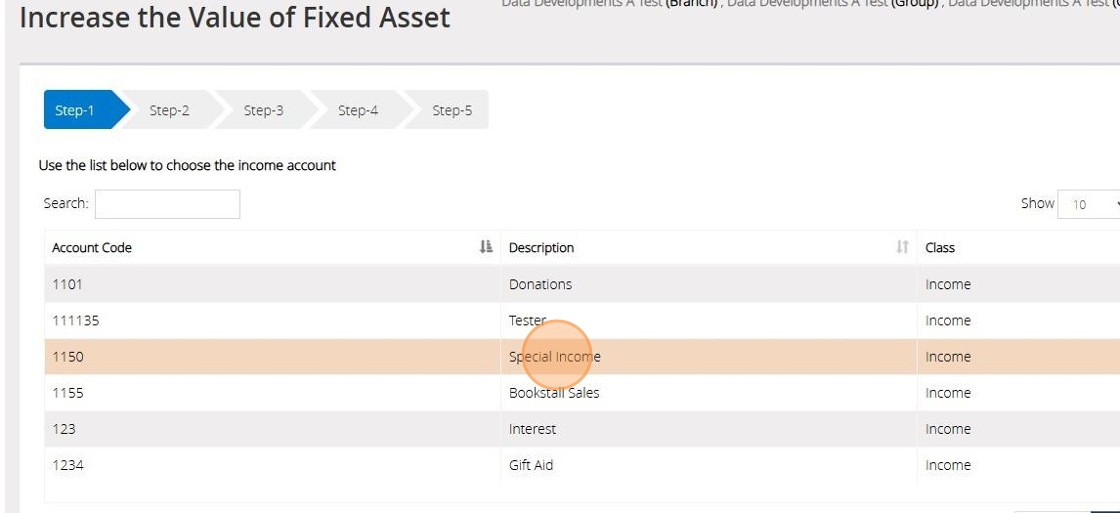
81. Click "Next Step"
82. On Step 2 select the Fixed Asset code you wish to increase the value of
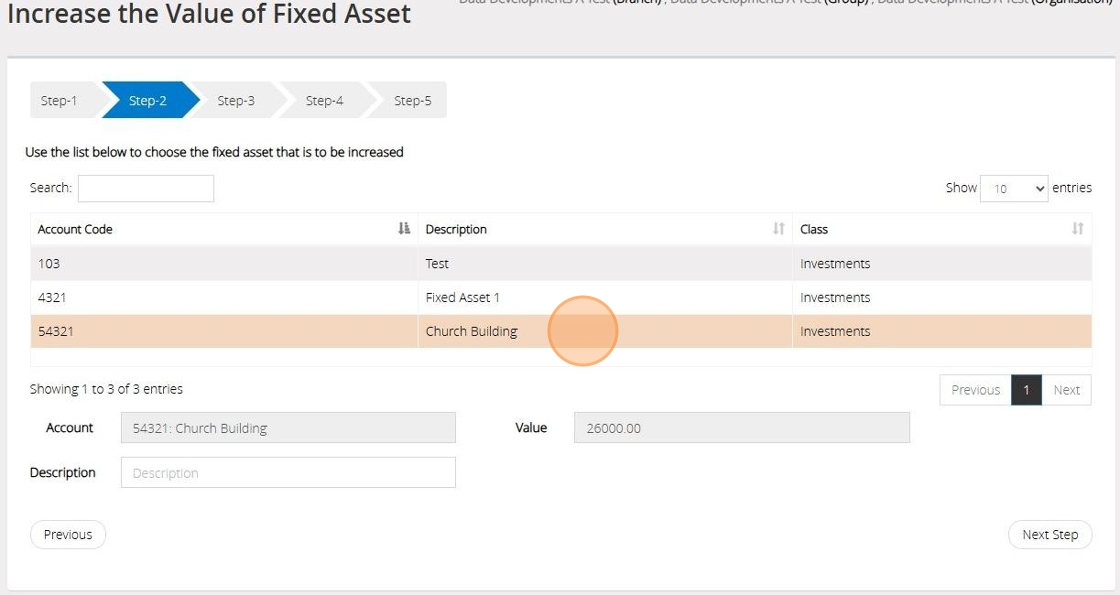
83. Click "Next Step"

84. On Step 3 you can view the current value of the Fixed Asset. This box is greyed out so that the balance cannot be amended.
Enter the date below that the transaction took place.
In the below example we have selecting the Increase type as amount.
Type in the amount you wish to Increase the asset value by.
The new value will be displayed below this.
You can also enter a reference against the transaction.
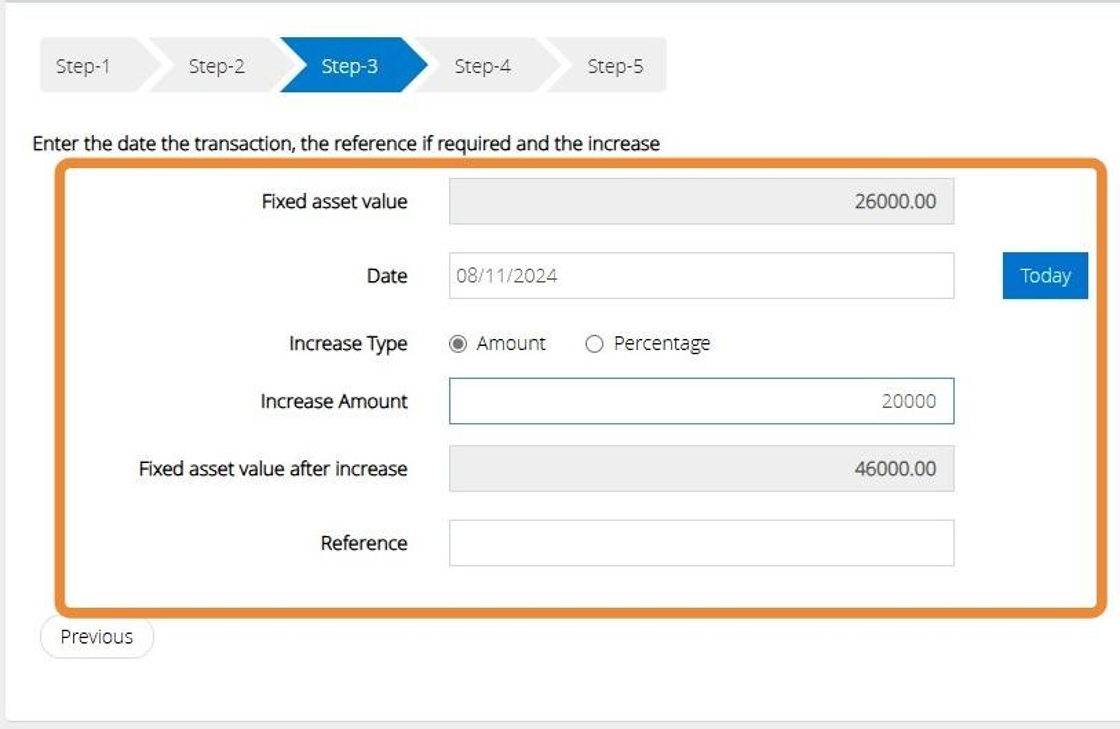
85. Alternatively, you can use the percentage option to enter the Increase percentage amount.
The new value of the amount will then be displayed below.
You can also enter a reference against the transaction.
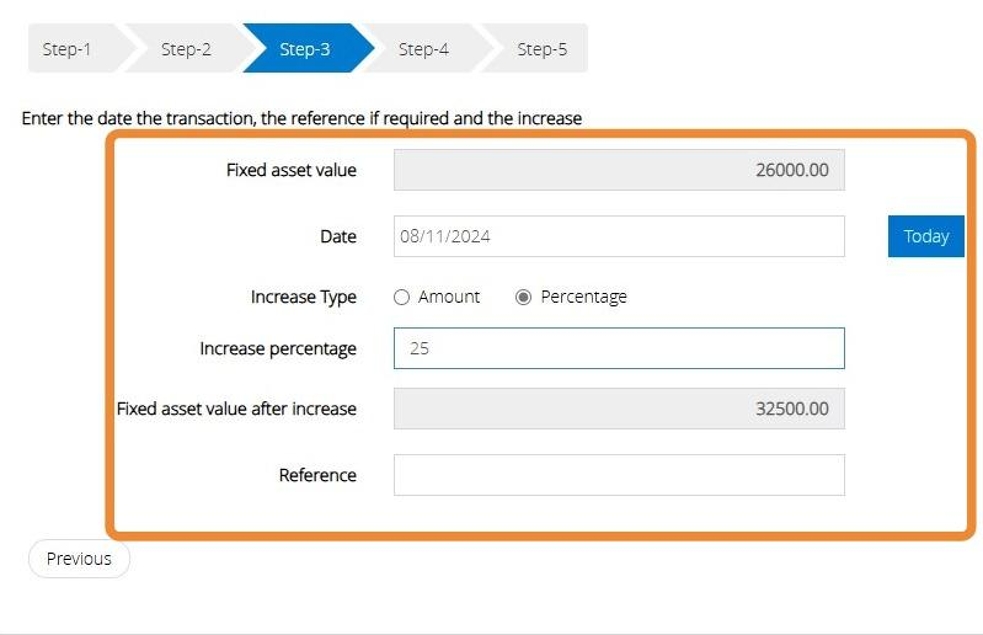
86. Click "Next Step"

87. On Step 4 Select the Fund that the transaction should affect.

88. Click "Next Step"
89. On Step 5 confirm the selections you have made in previous steps
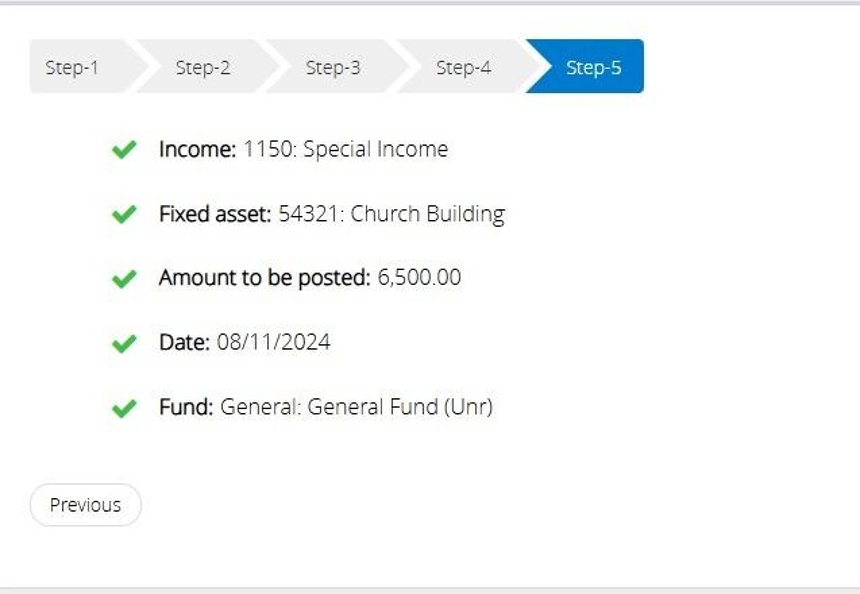
90. Click "Save & Post"

91. An Audit number will be issued once the transaction has been saved successfully.
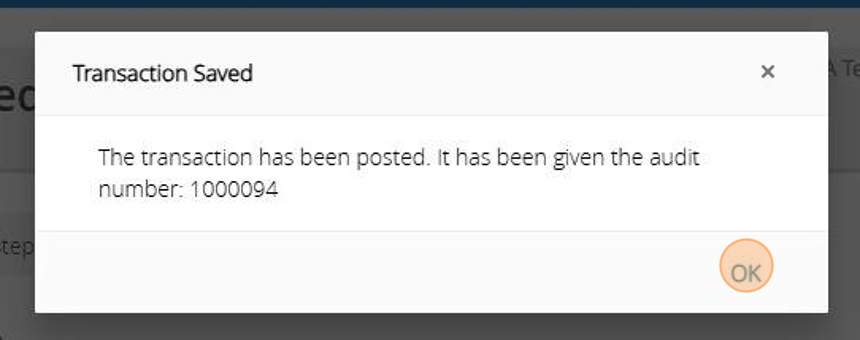
Record a gain or loss on revaluation
Tip: This option will record a gain in the value of a Fixed Asset and allocate it to the Gains and Losses account.
92. Click "Record a gain or loss on revaluation"
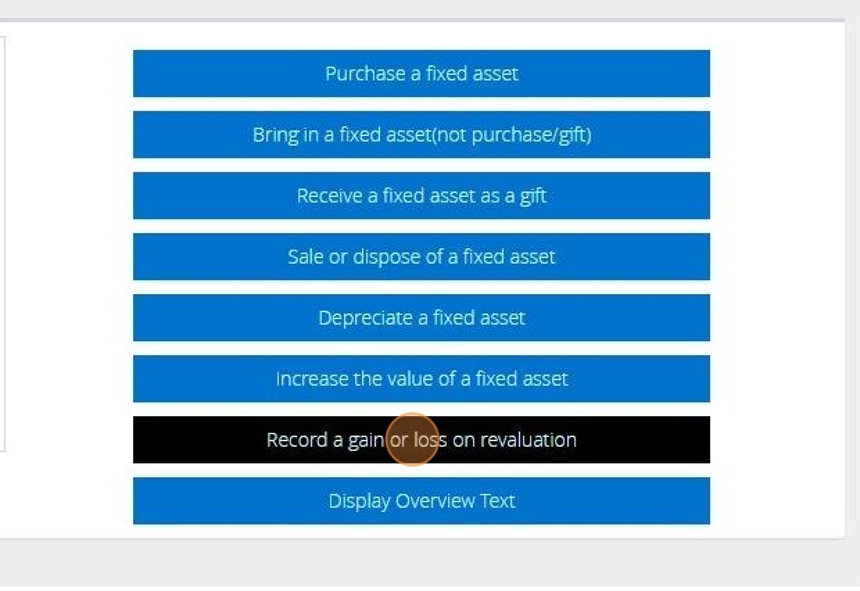
93. Select the Fixed Asset code you need to revalue from the list of Codes.
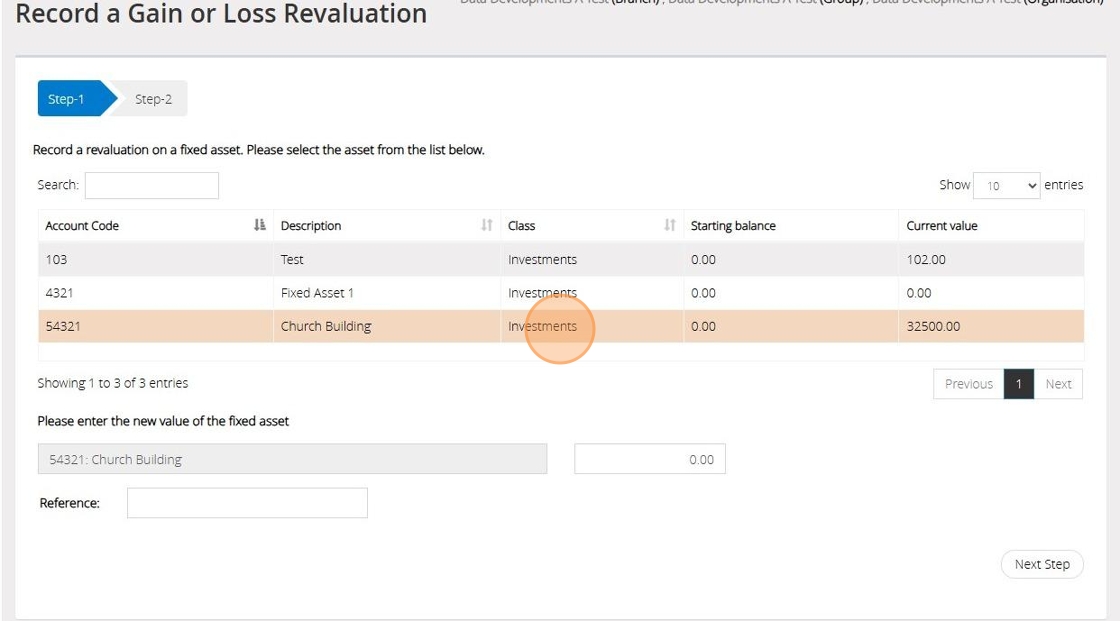
94. Click "Next Step"

95. Click "OK"
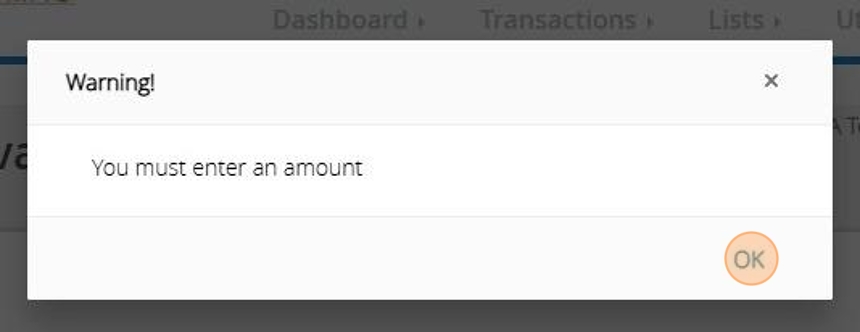
96. Enter the new value of the asset here.
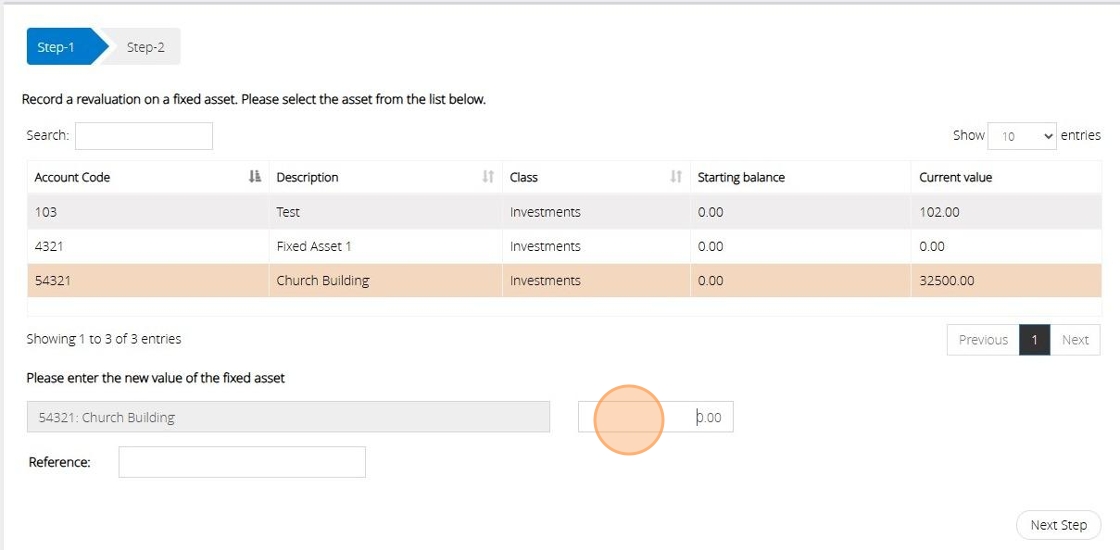
97. Click "Next Step"
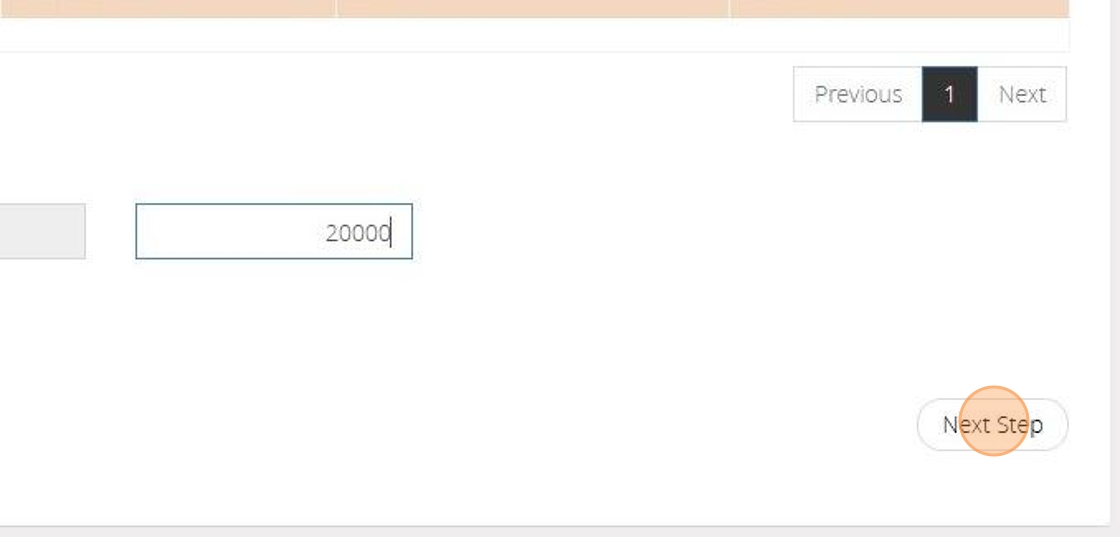
98. The Fixed Asset code and current value will be displayed here.
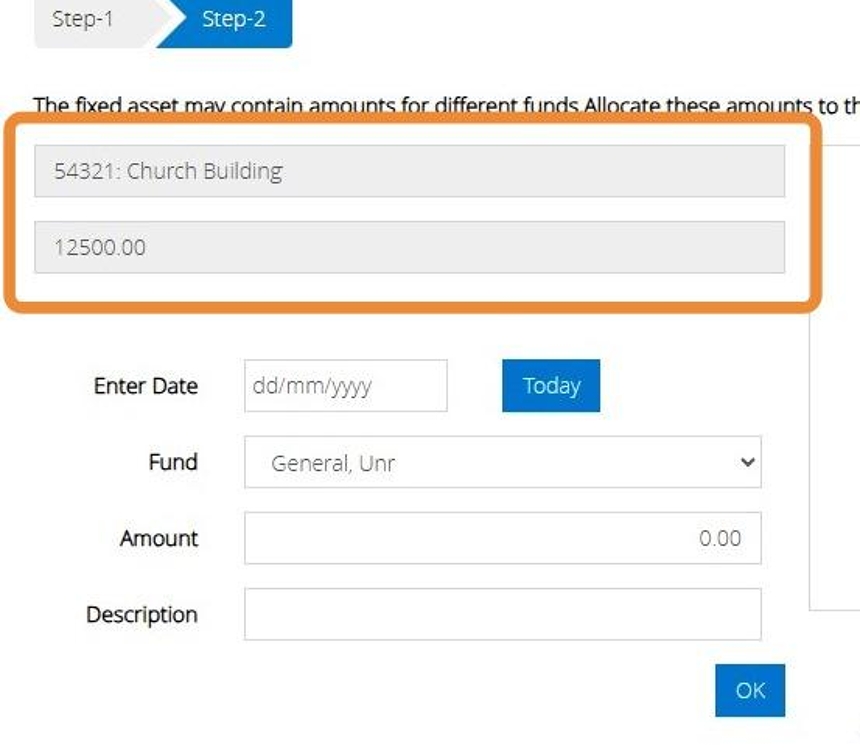
99. On Step 2 we will need to allocate the value of the asset to the funds that this should affect.
Enter the date on the revaluation and select the fund from the drop down menu provided.
Enter the amount that belongs to this fund and a description if you require.
Click "Ok"
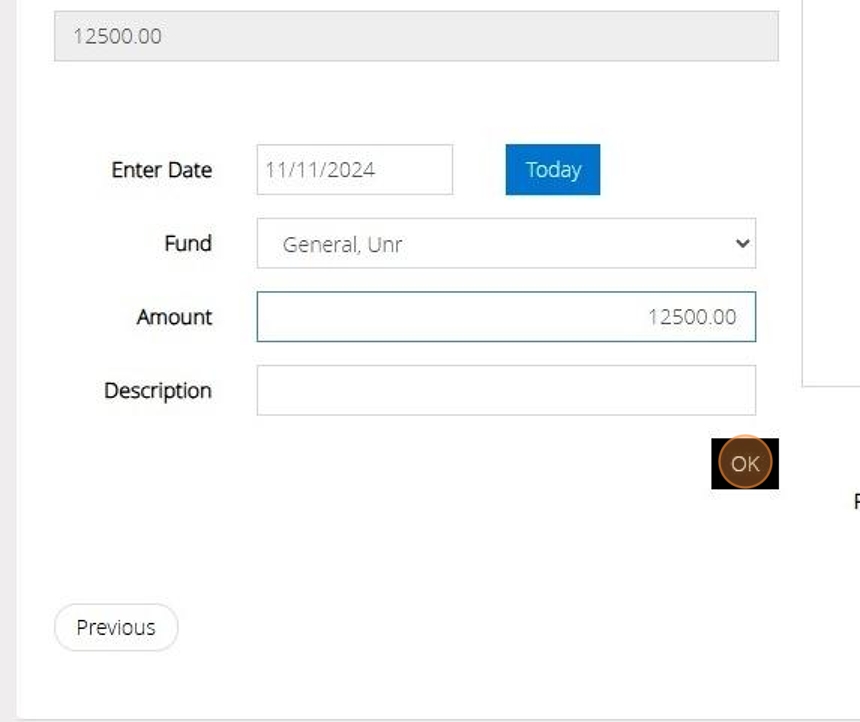
100. On the right hand side we can now see that the full amount has been allocated.
Click "Save & Post"
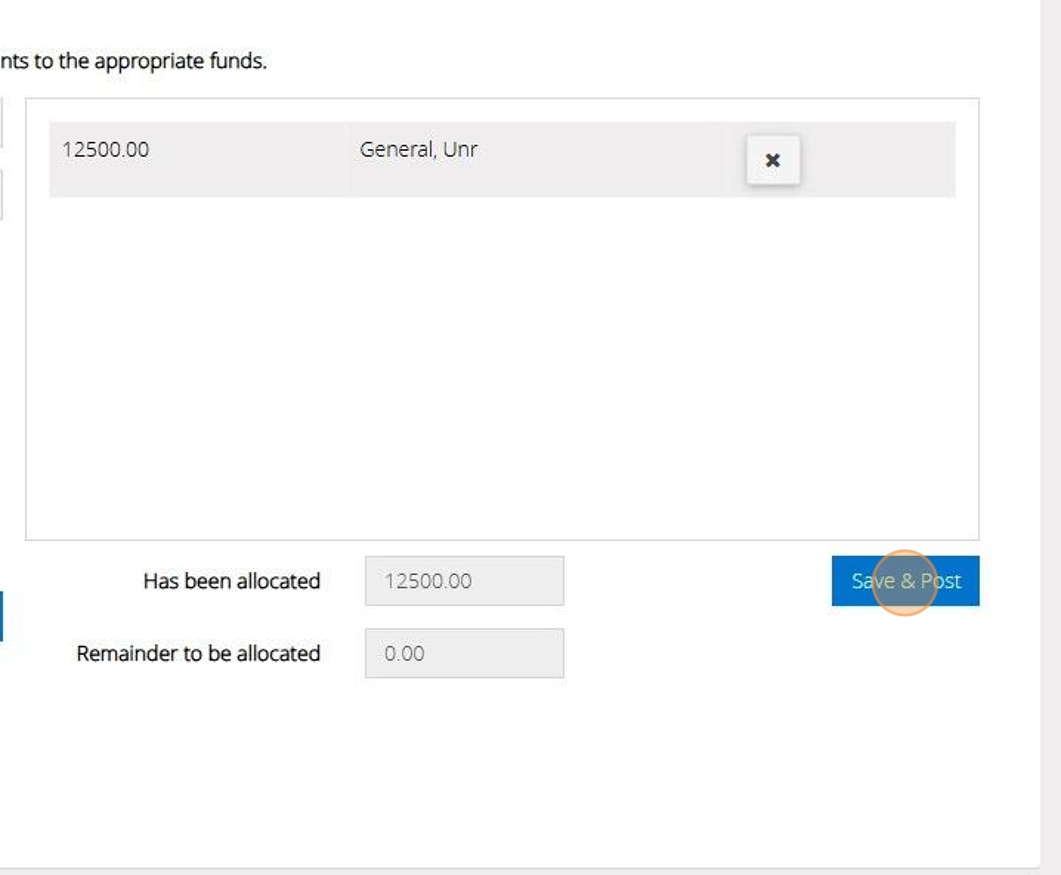
101. The current value of the asset may belong to more than one fund.
In this instance you would enter the amount that belongs to the fund and click ok.
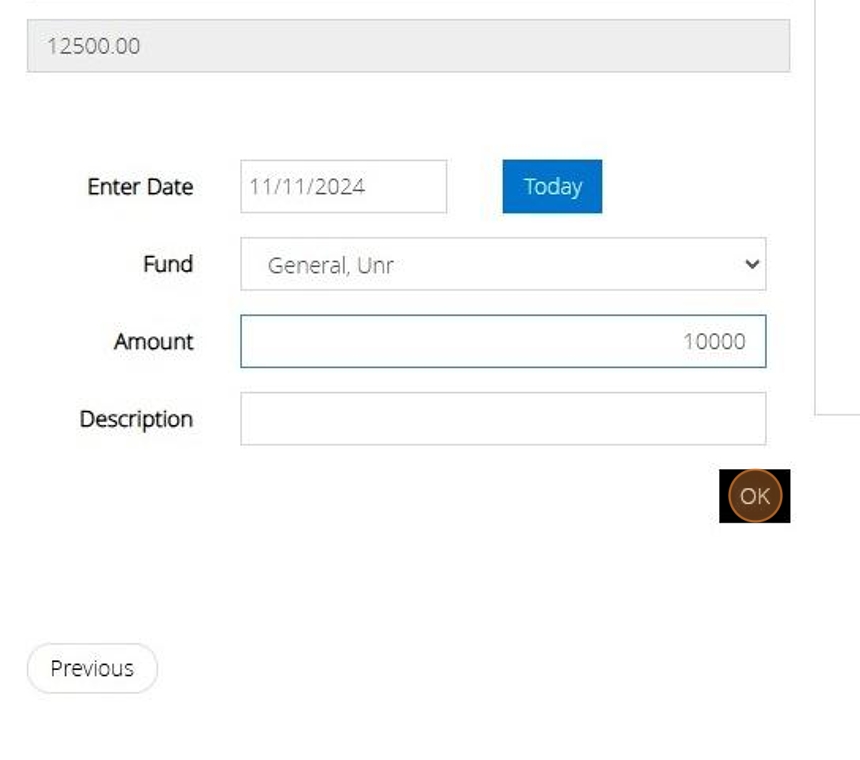
102. Here we can see the amount that has been allocated to our funds and the remainder that is still waiting to be allocated. We will need to continue building the elements until all of the Asset Value has been allocated to the funds.
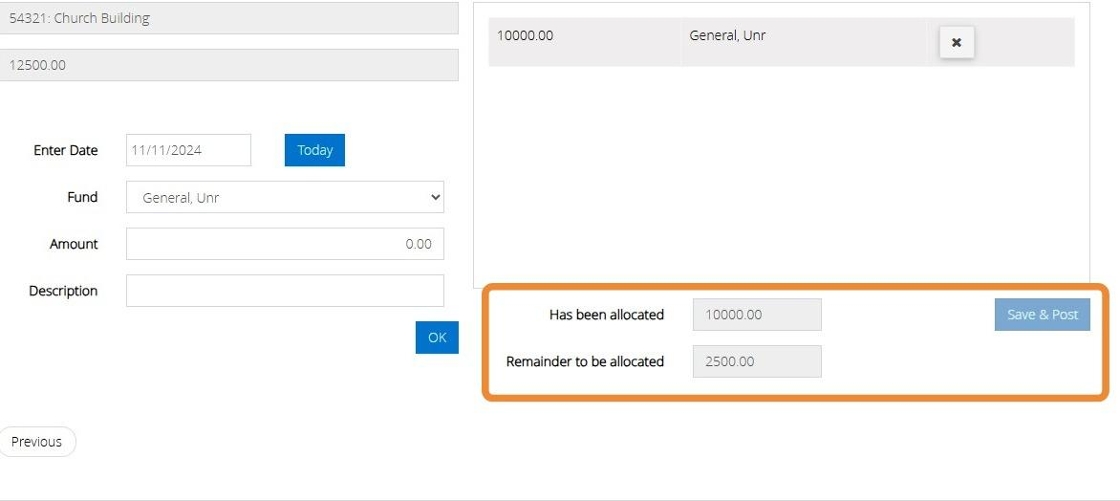
Tip: Tip! The Save & Post button will remain greyed out until the full balance has been allocated.
103. Allocate the remaining Balance to your fund/s.
Click "OK"
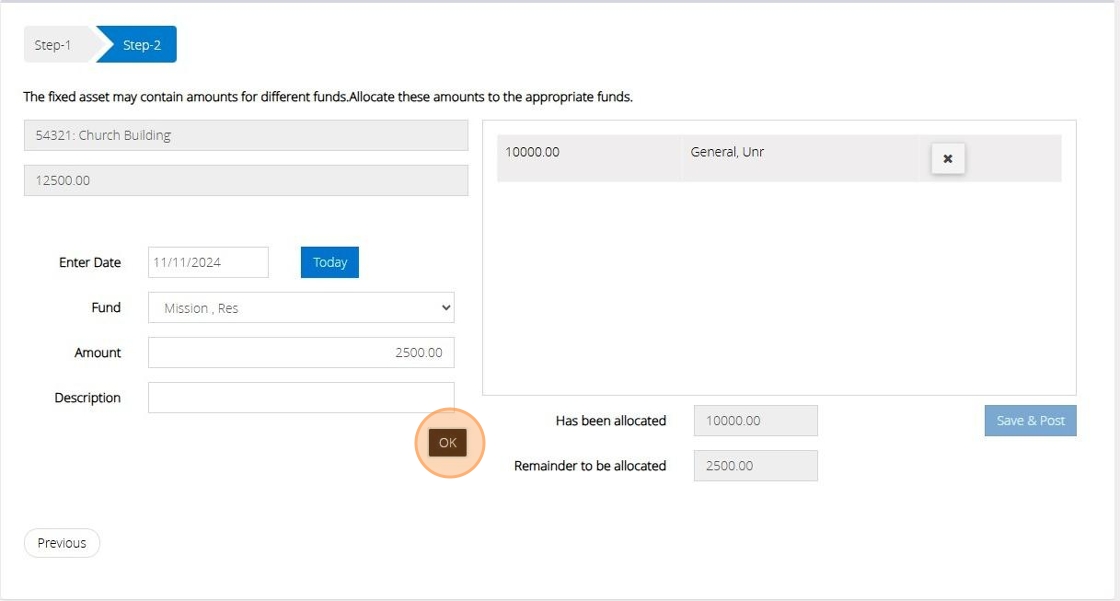
104. As all the full value of the asset has been allocated the "Save & Post" button has become available.
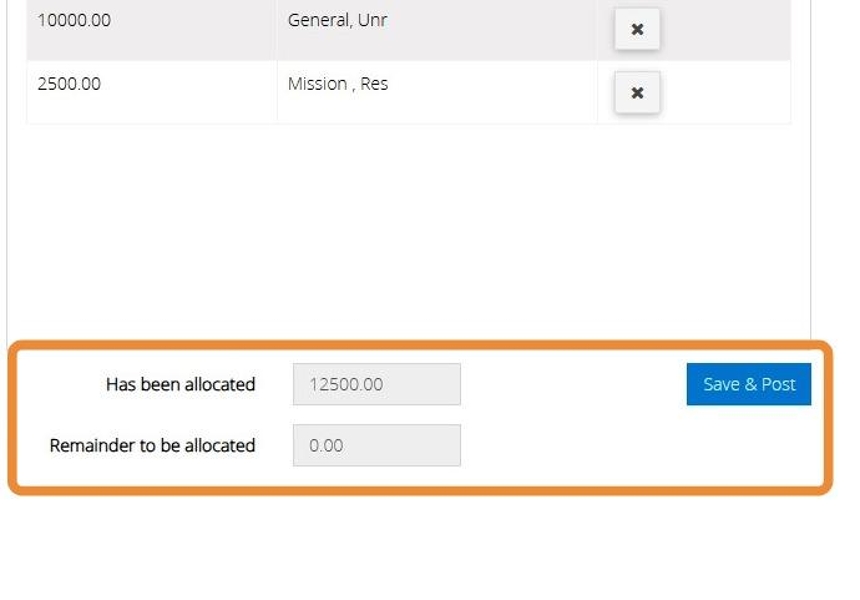
105. Click "Save & Post"
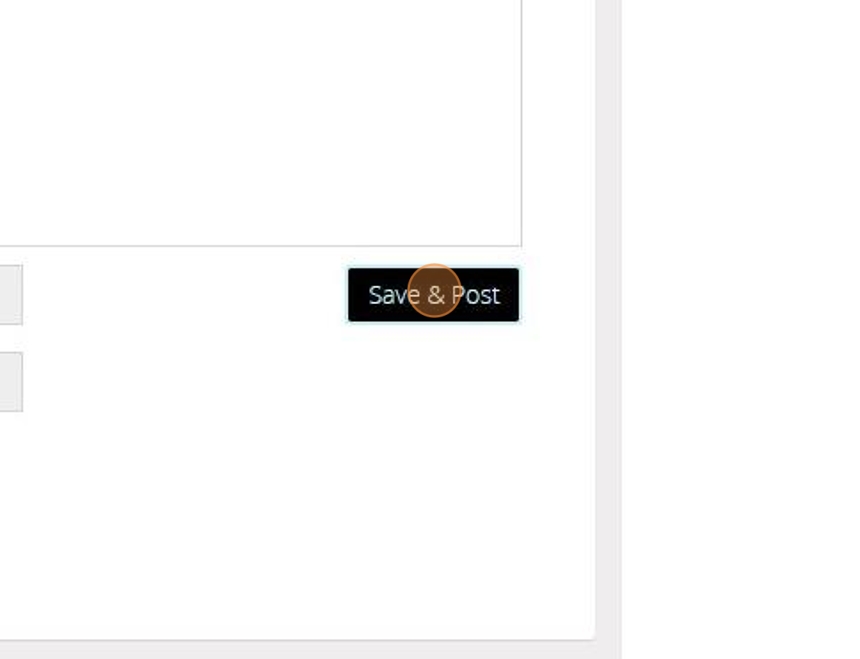
106. You will be given an audit number once the transaction has been saved successfully.
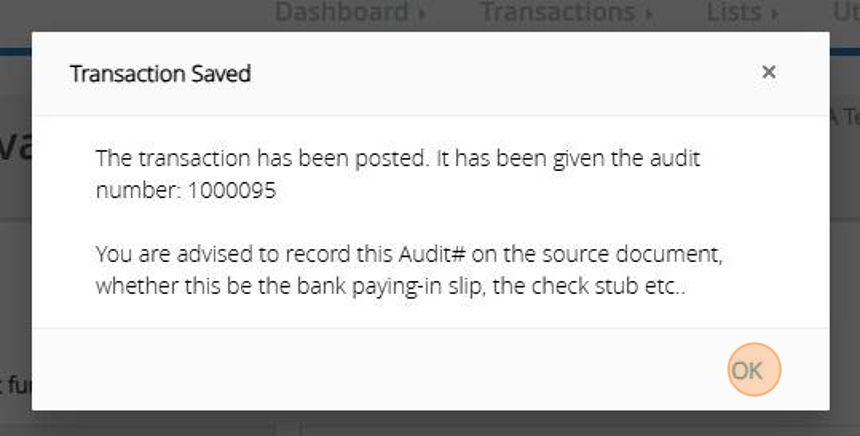
Tip: Tip! We strongly advise to record the Audit number directly on the source document you have used to enter the transaction.
Generate a Fixed Asset Report
Tip: The below steps will guide you in generating a report of your Fixed Asset and all activity entered against this.
107. Click "Reports"

108. Click "Transactions"

109. Click "Fixed assets"
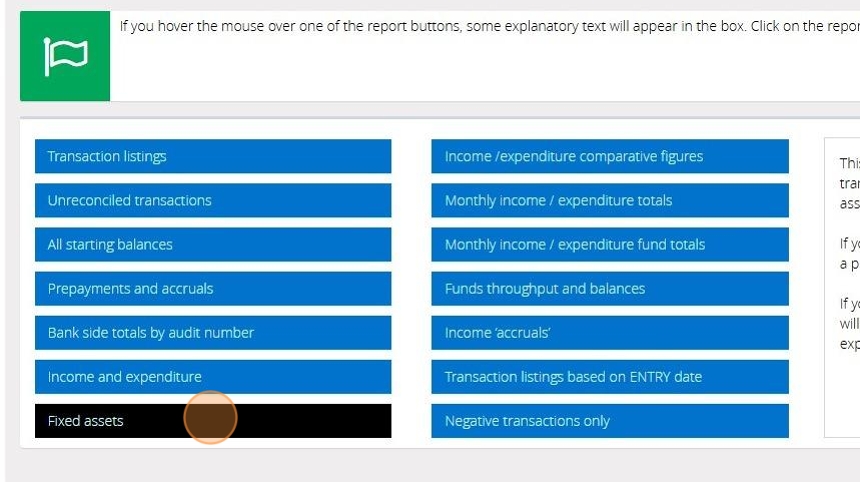
110. Select your financial period from the drop down bar provided.
Click Date Range if you wish to enter manual dates.
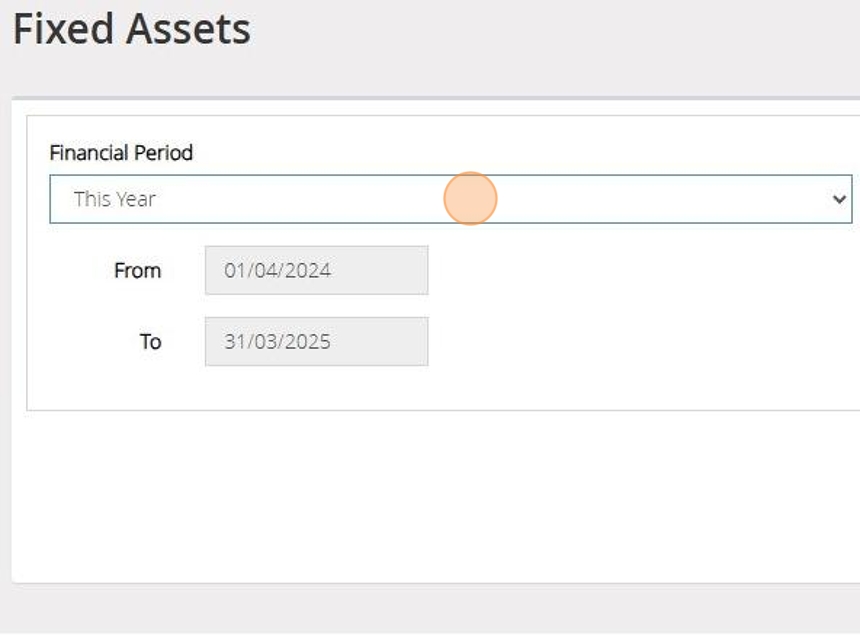
111. Click "Refresh"

112. Click "Preview & Export"
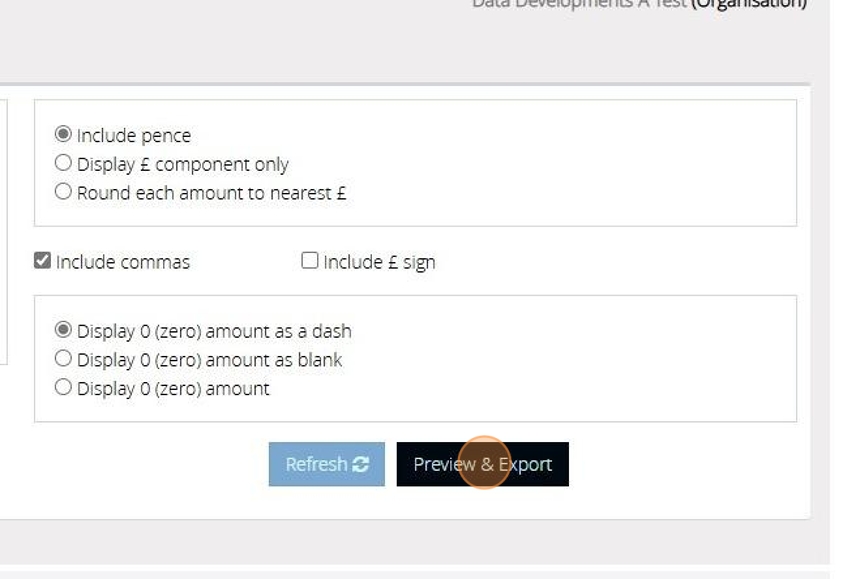
113. You can generate the report as a PDF or Excel file. By default "PDF" is selected
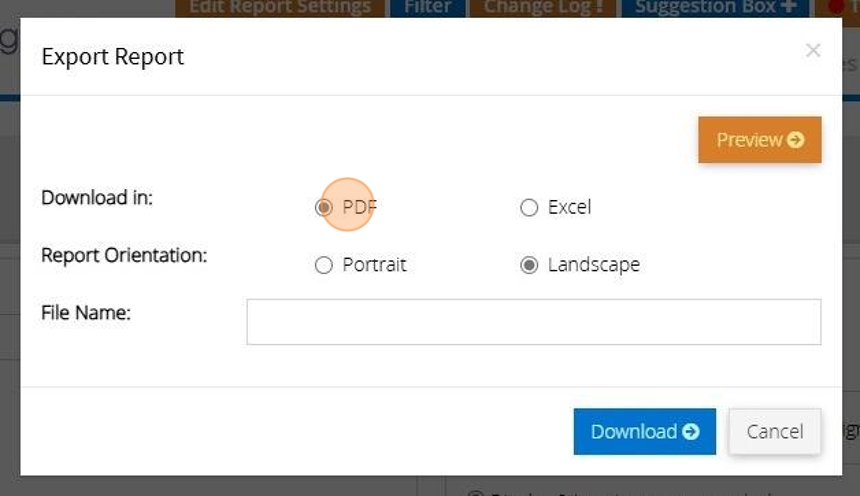
114. You can choose to have the report in portrait or landscape mode. Depending on the report this may be set to landscape or portrait. You can change this, however, it may result in a report that doesn't look right.
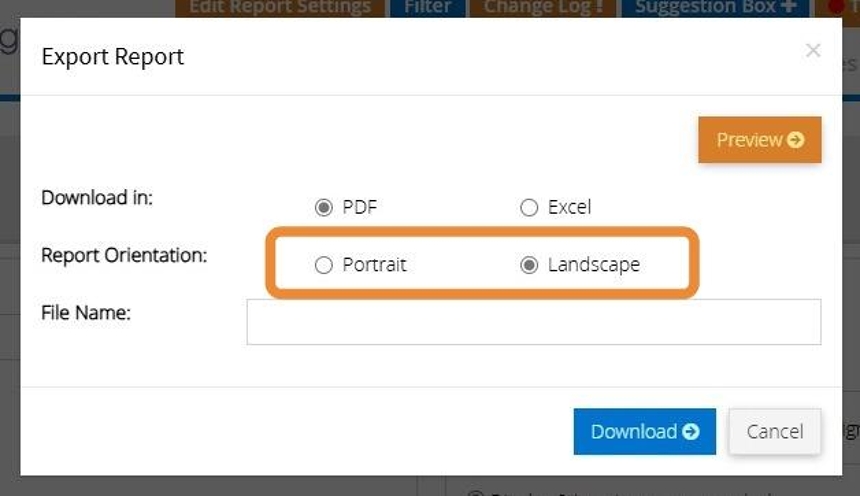
115. Click "Preview" to see the report in the browser. (Only works with PDF)
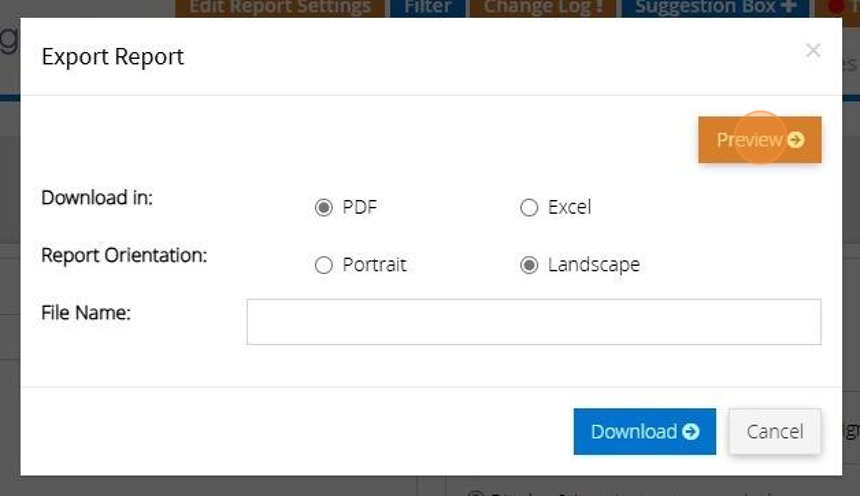
116. If you want to download a copy of the report click this text field and enter in a name for the file that will be created
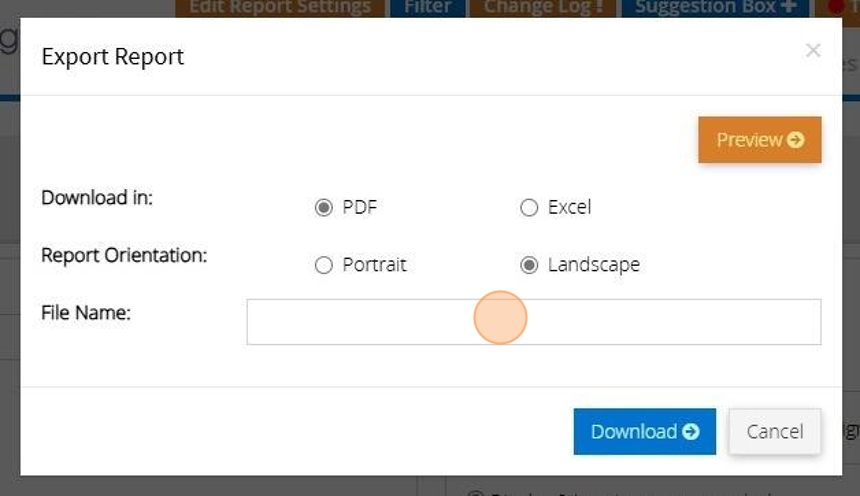
117. Then click "Download"
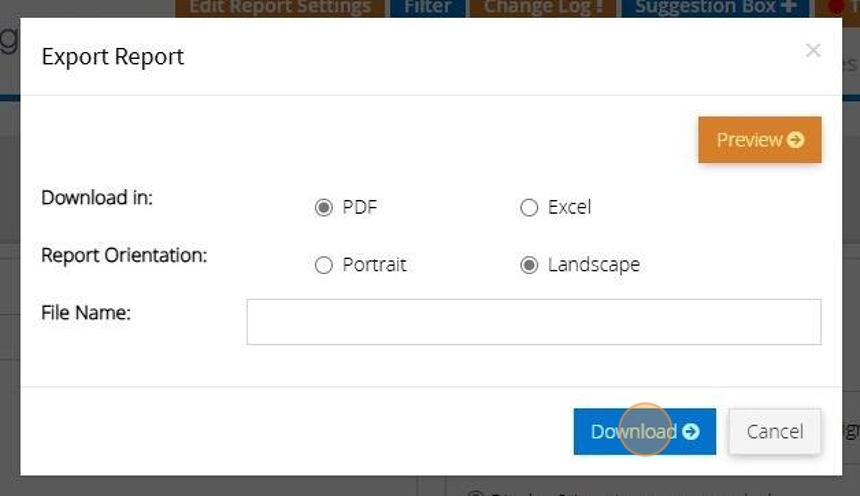
Balance Sheet Adjustment
Tip: The below steps will guide you in adjusting your balance sheet balance to the correct amount.
Alert: Alert! You will need to decide where the balancing entry should be posted, it may be the Starting balances heading or an income / expenditure.
If you are not sure you must discuss the posting with your independent examiner / accountant / auditor.
1. Navigate to https://www.myfundaccounting.online
2. Click "Transactions"
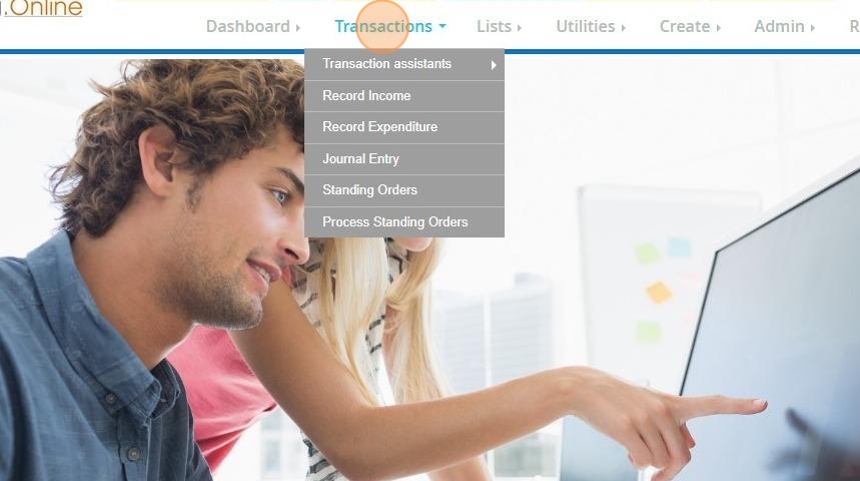
3. Click "Journal Entry"
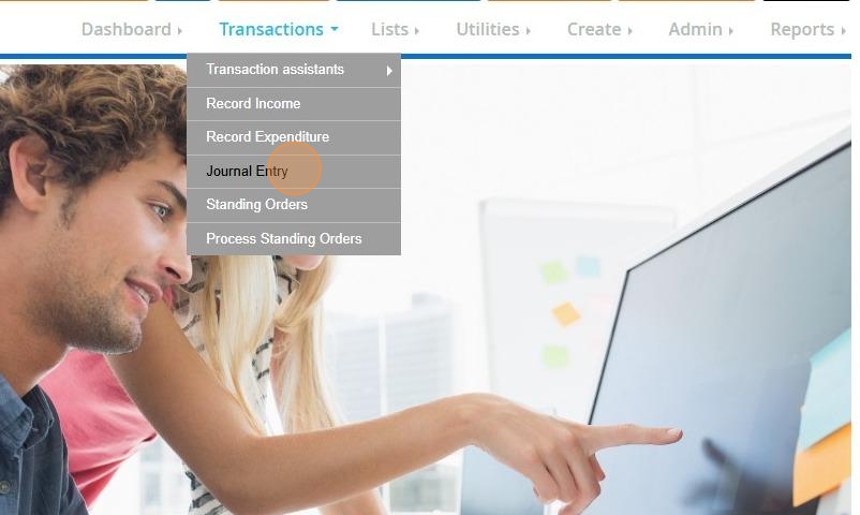
Reduce the bank balance on the Balance Sheet
Tip: The below steps will assume that your bank balance is too high and this needs to be reduced
4. Enter the date and select the bank account and fund that is too high.
Enter the amount you need to reduce this by and select Credit.
You can type a reference and description should you wish and a note to go against the transaction.
Click "Store"
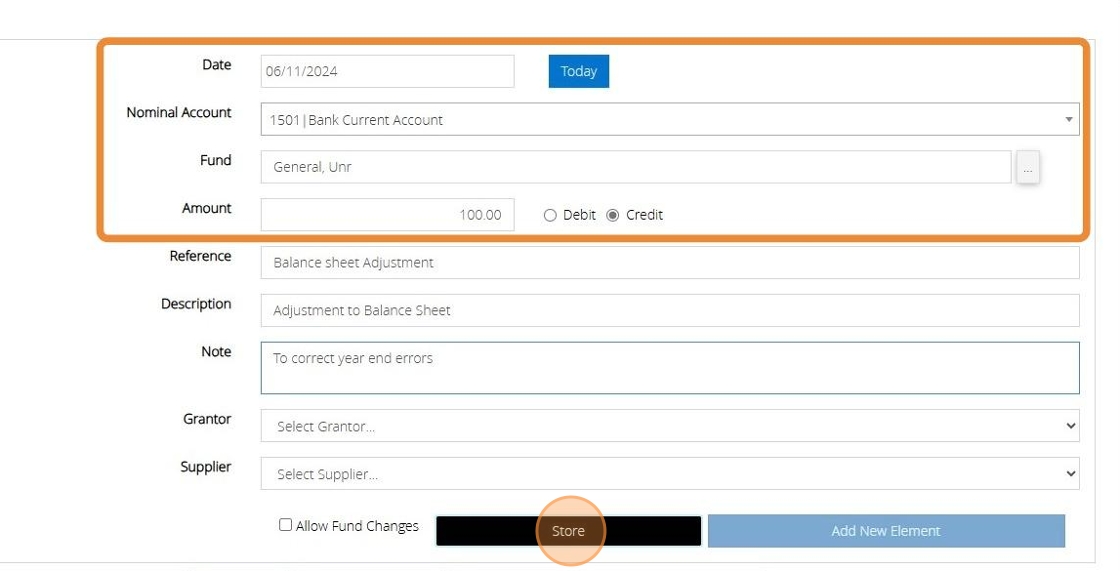
5. The element has been stored towards the bottom of the screen.
To post the transaction we now need to enter the Debit side.

6. Click "Add new Element"
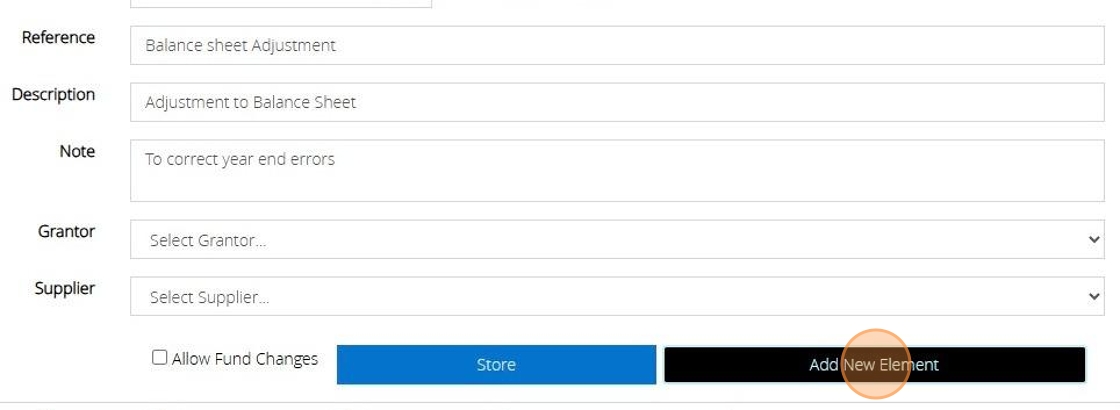
7. Select the account where the balancing entry should be posted from your Nominal Account Drop down bar. In this Example we have selected Z02 Gains and Losses code.
Enter the amount you need to decrease this by and select Debit.
You can type a reference and description should you wish and a note to go against the transaction.
Click "Store"
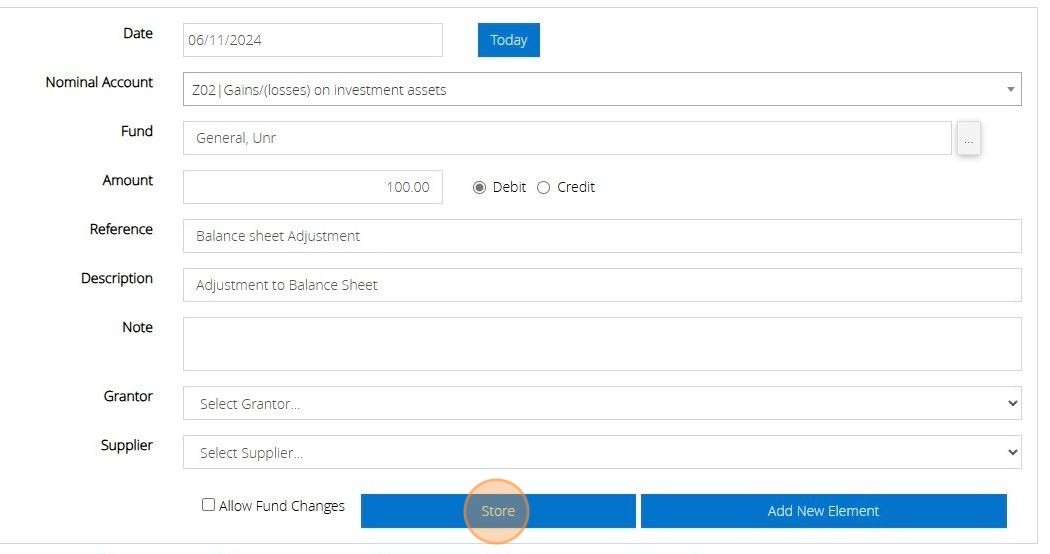
8. Click "Post"
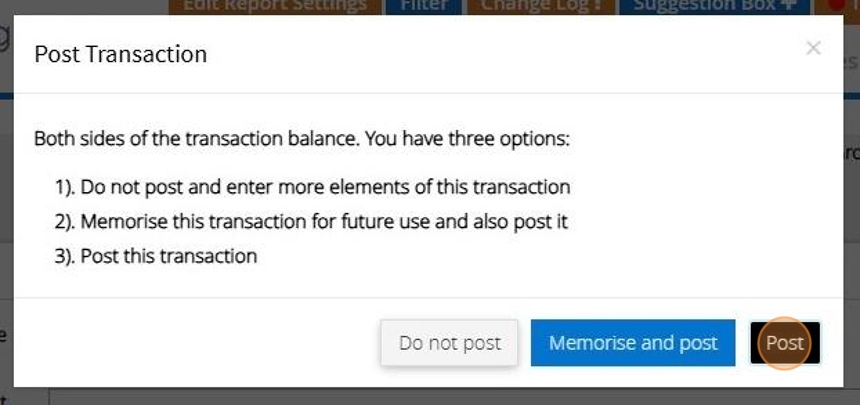
9. A transaction number will be issued
Click "OK"
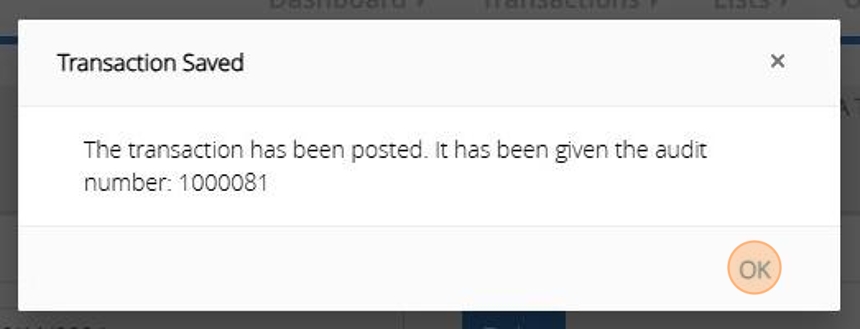
Increase the Bank Balance on the Balance sheet
10. Enter the date and select the bank account and fund that is too low.
Enter the amount you need to Increase this by and select Debit.
You can type a reference and description should you wish and a note to go against the transaction.
Click "Store"
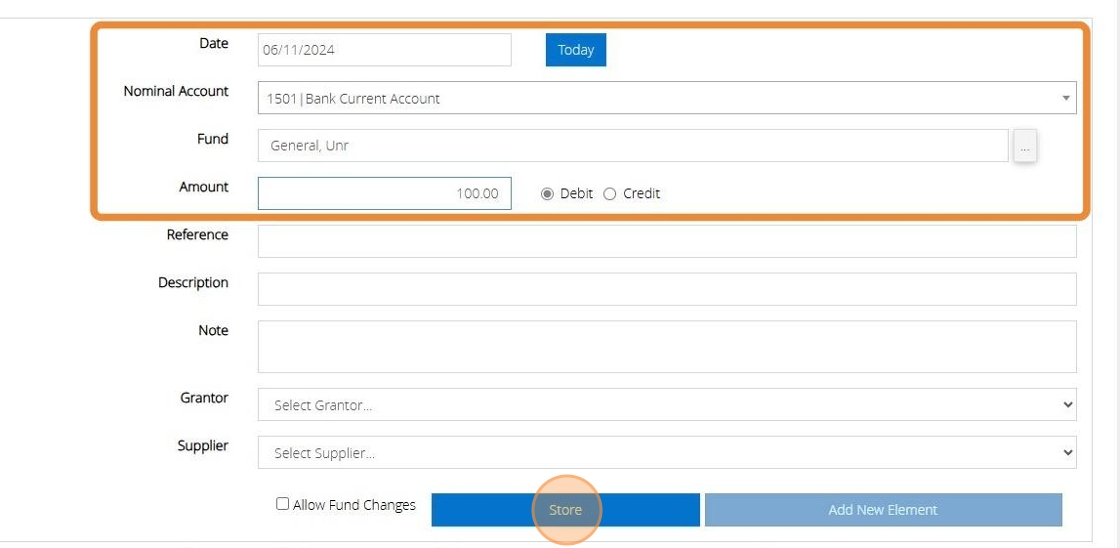
11. The element has been stored towards the bottom of the screen.
To post the transaction we now need to enter the Credit side.

12. Click "Add new Element"
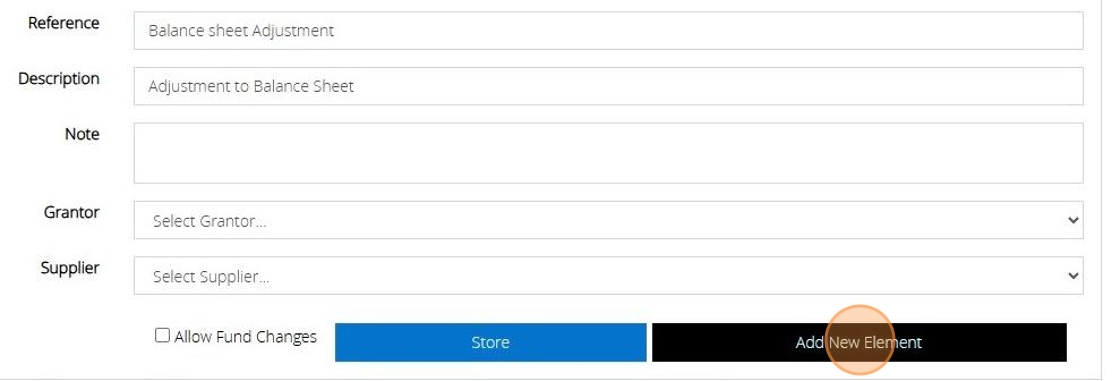
13. Select the account where the balancing entry should be posted from your Nominal Account Drop down bar. In this Example we have selected Z02 Gains and Losses code.
Enter the amount you need to Increase this by and select Credit.
You can type a reference and description should you wish and a note to go against the transaction.
Click "Store"
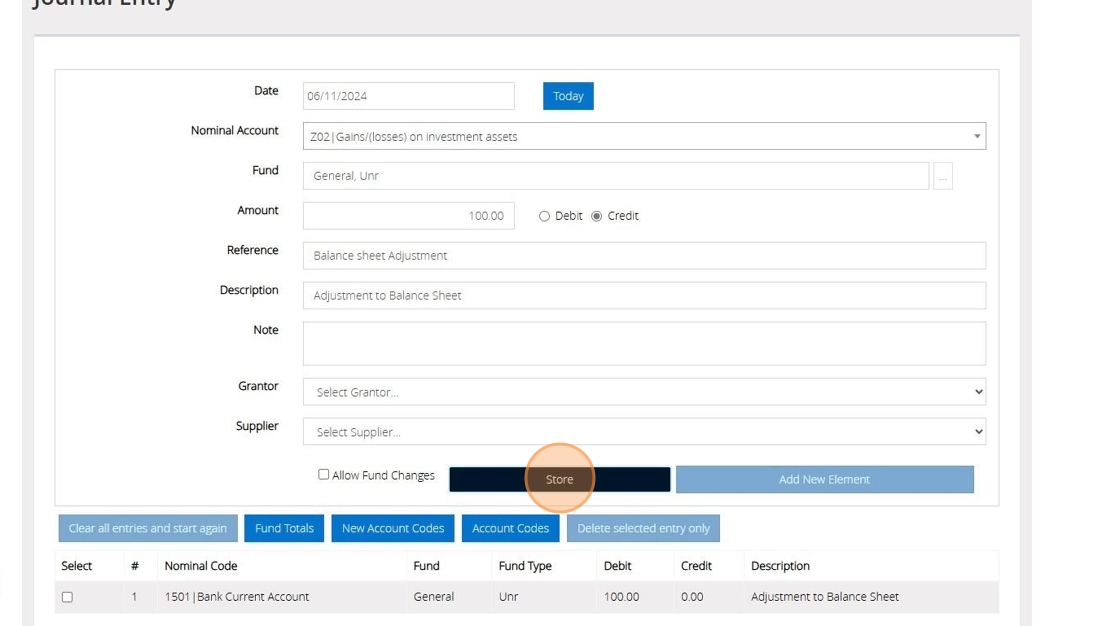
14. Click "Post"
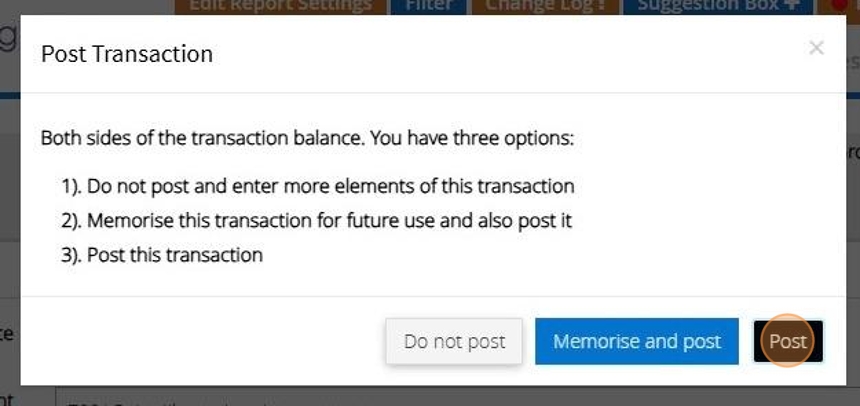
15. An audit number will be issues once the transaction has been posted
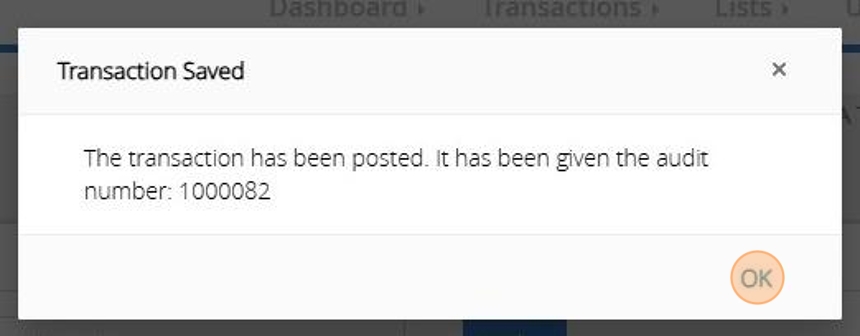
SOFA/ R&P Headings
Tip: The default Sofa Headings in MyFundAccounting.Online correspond with the SORP 2015 and it should not normally be necessary to amend them.
The same form is used for R&P headings and these may of course be edited to suit your own requirements.
Tip: The below steps will guide you in creating a new SOFA/R&P Heading
1. Navigate to https://www.myfundaccounting.online
2. Click "Create"

3. Click "Accounts Assistant"
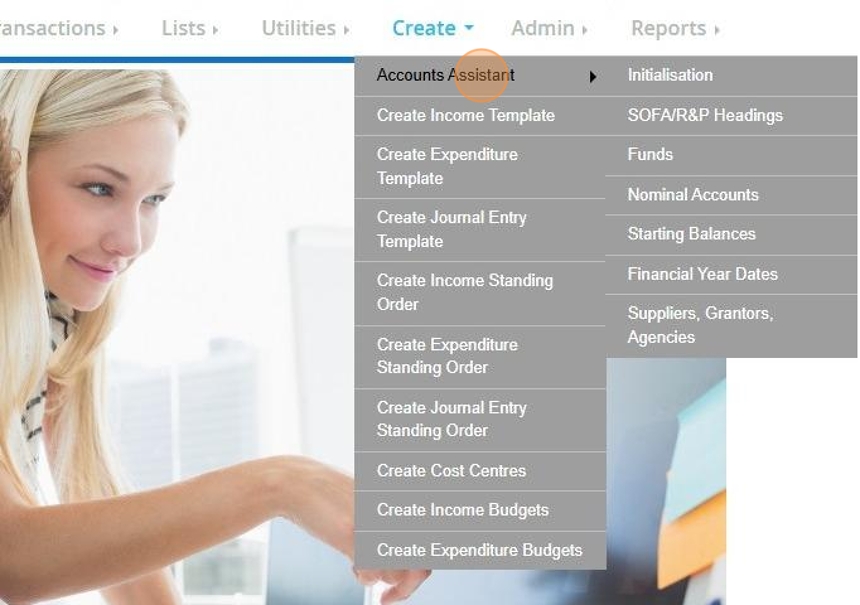
4. Click "SOFA/R&P Headings"
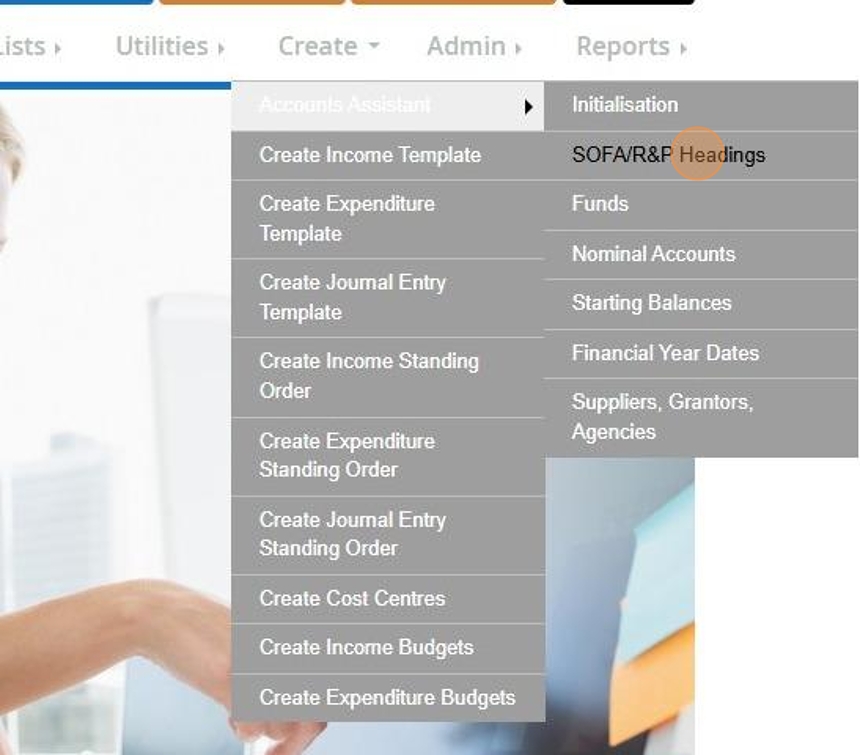
5. Here you can see the current default codes that have been created to match exactly the SORP 2015
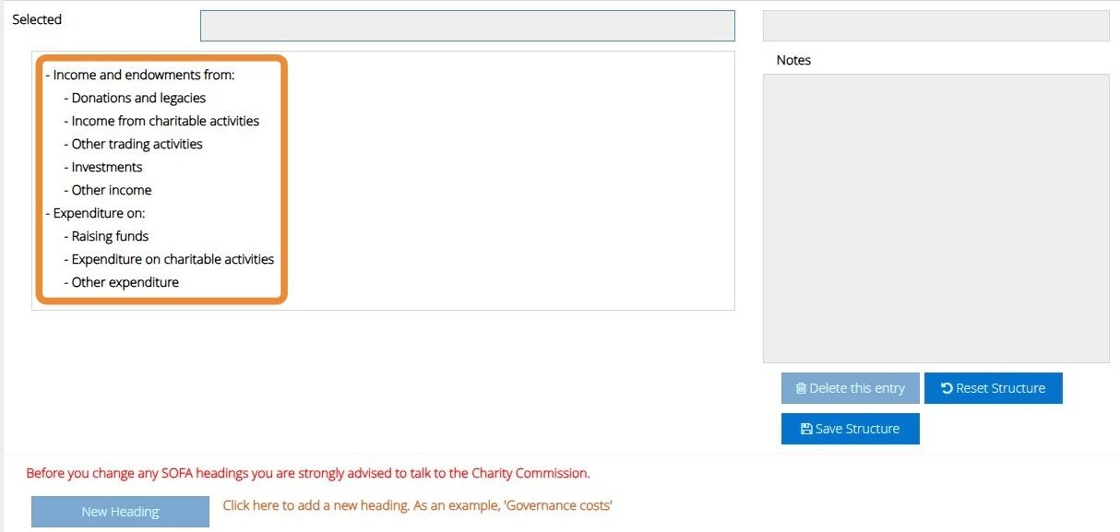
Create an Income Heading
6. Click the heading "Income and endowments from:"
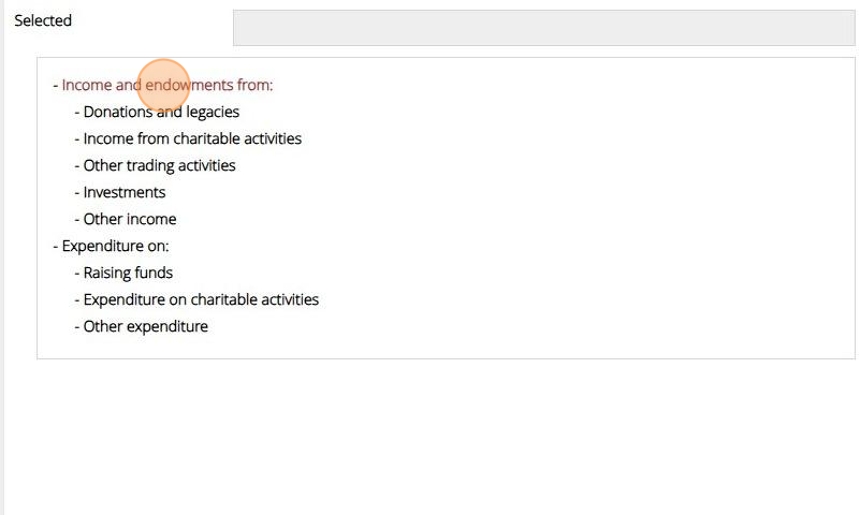
7. Click "New Heading"

8. Enter your new heading name and click "Ok"
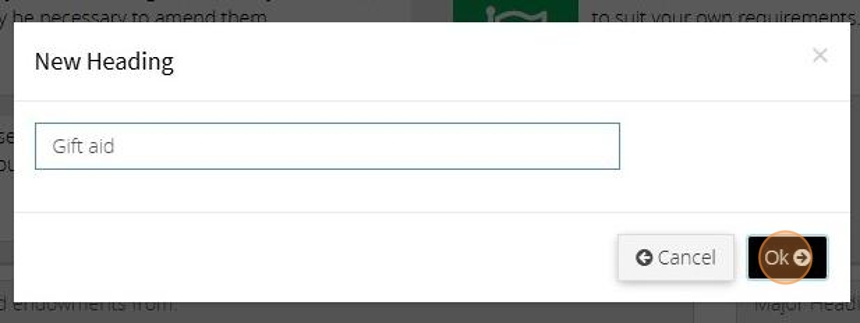
9. To save the changes you have made click "Save Structure"

10. The below message will appear once saved successfully
Create an Expenditure Heading
11. Click on the heading "Expenditure on:"
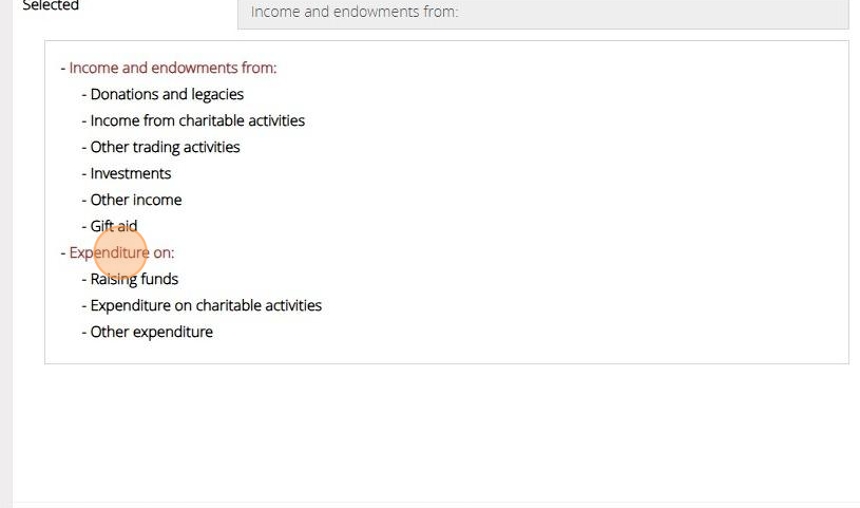
12. Click "New Heading"

13. Enter your heading name and click "Ok"
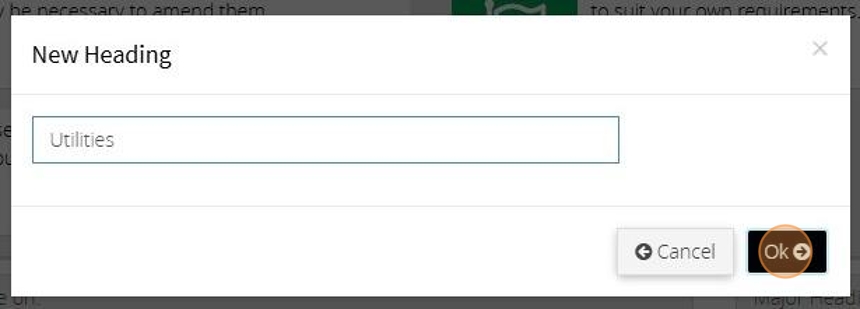
14. To save the changes you have made click "Save Structure"
15. The below message will appear once saved successfully
Delete a Heading
16. Click on the heading you wish to remove
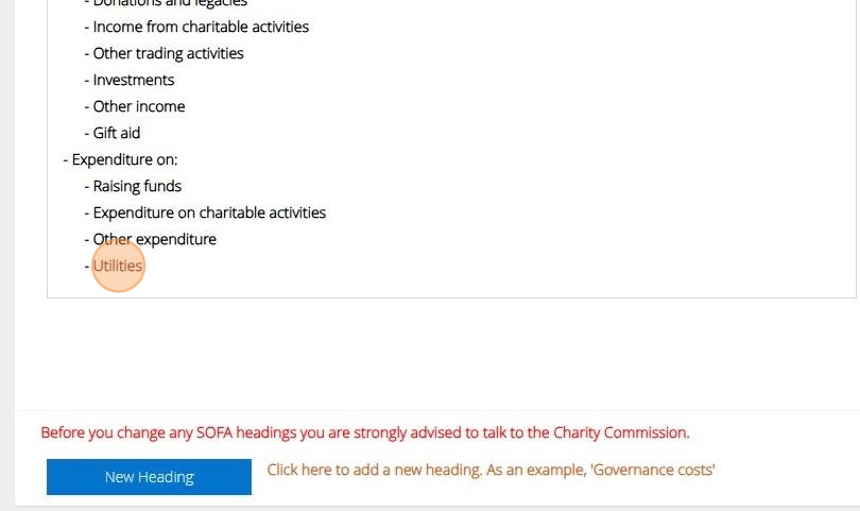
17. Click "Delete this entry"

18. Click "Ok"
Reset the Structure
Tip: If you have made changes to the headings but wish to go back to the default structure you can do this by using the reset option on the page
19. Click "Reset Structure"
20. Click "Ok"

Tip: To see how you can assign your SOFA/R & P headings to nominal codes see the How to View/Edit/Delete Nominal Accounts guide
