TABLE OF CONTENTS
You may have a customer with an invoice that you need to send out regularly. You can now create a recurring invoice to generate at regular intervals, and can even automatically send them out to the customer via email for them to pay through a payment link.
Creating a recurring invoice
1. Navigate to https://www.myfundaccounting.online/dashboard
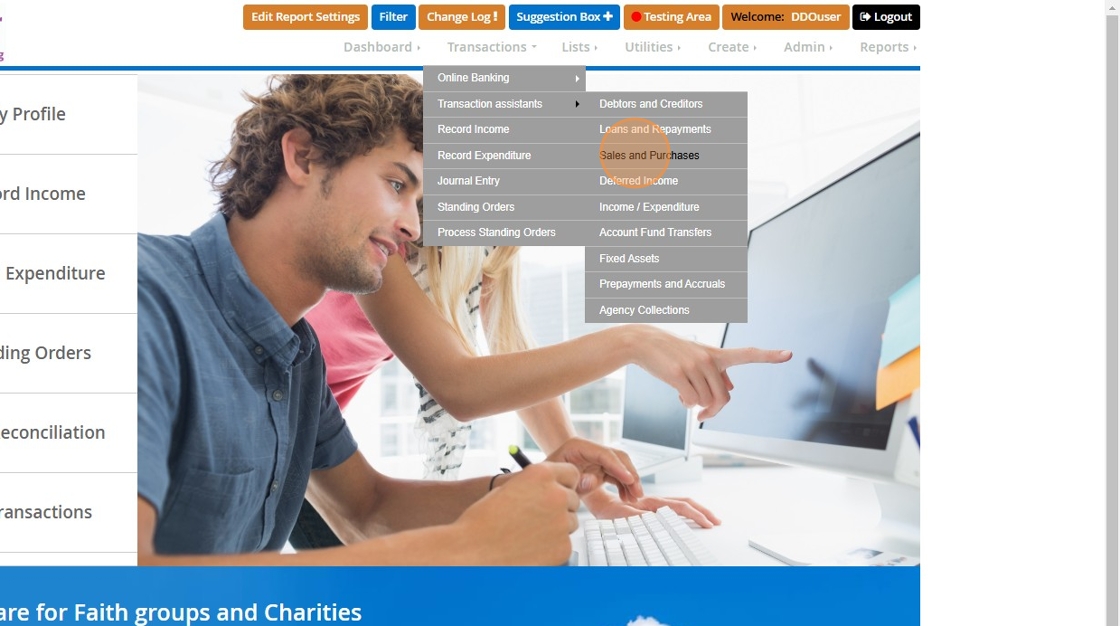
2. Go to the "Transactions" menu

3. Go to "Transaction assistants"

4. Click "Sales and Purchases"
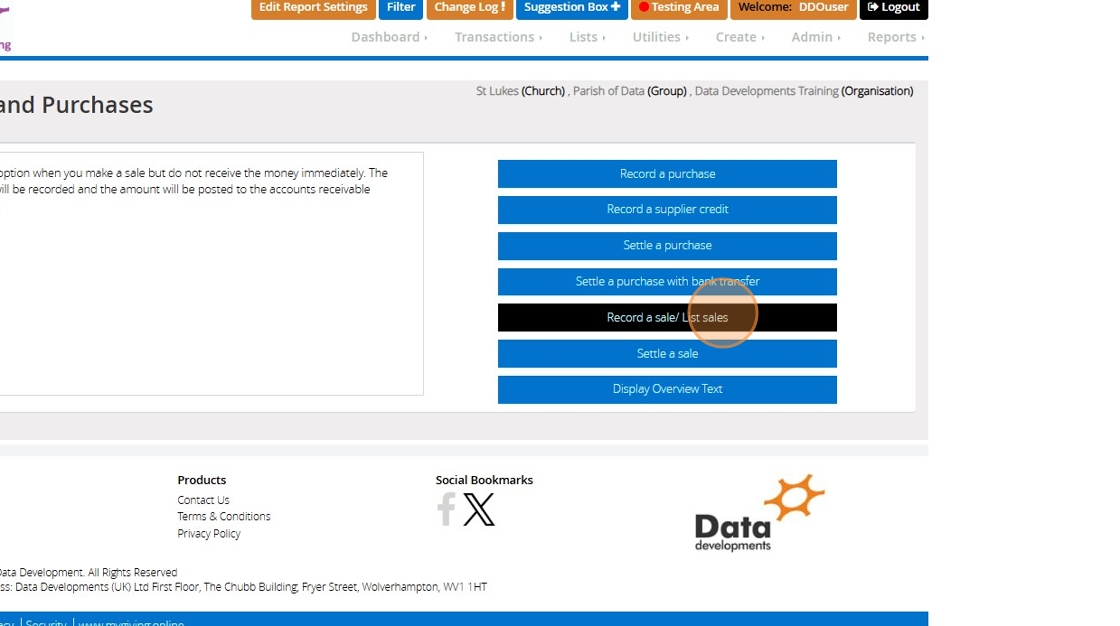
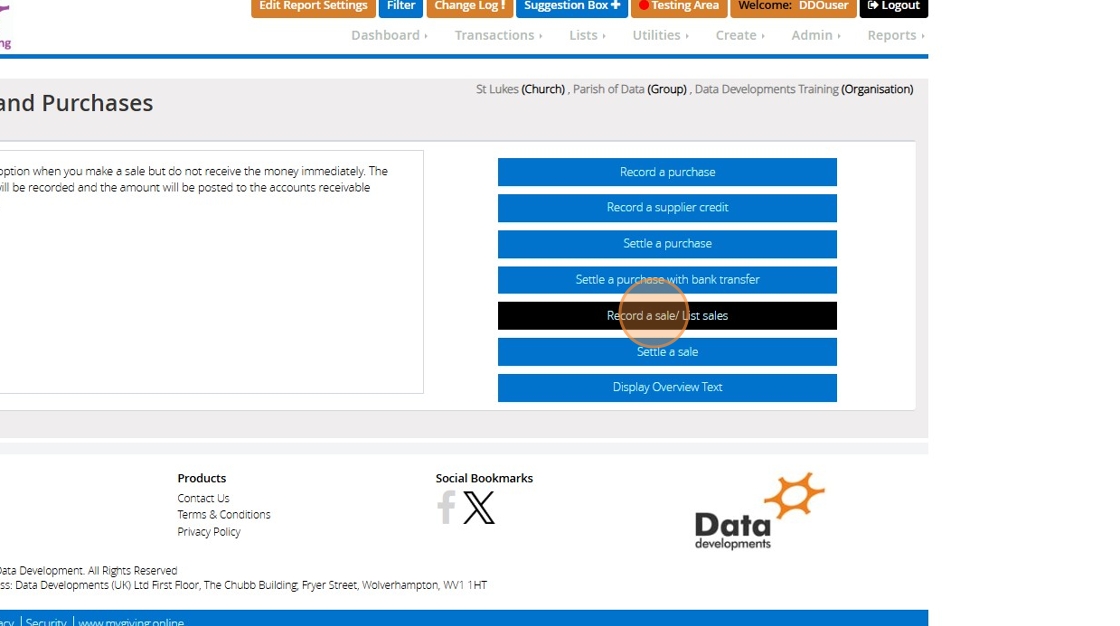
5. Click "Record a sale/ List sales"
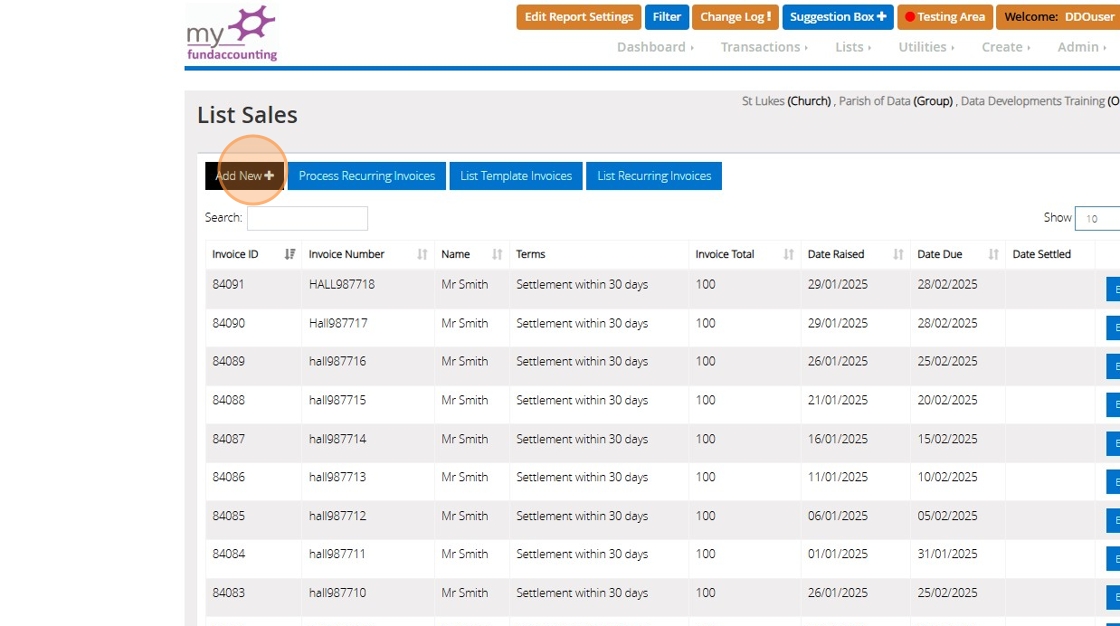
6. Click "Add New"
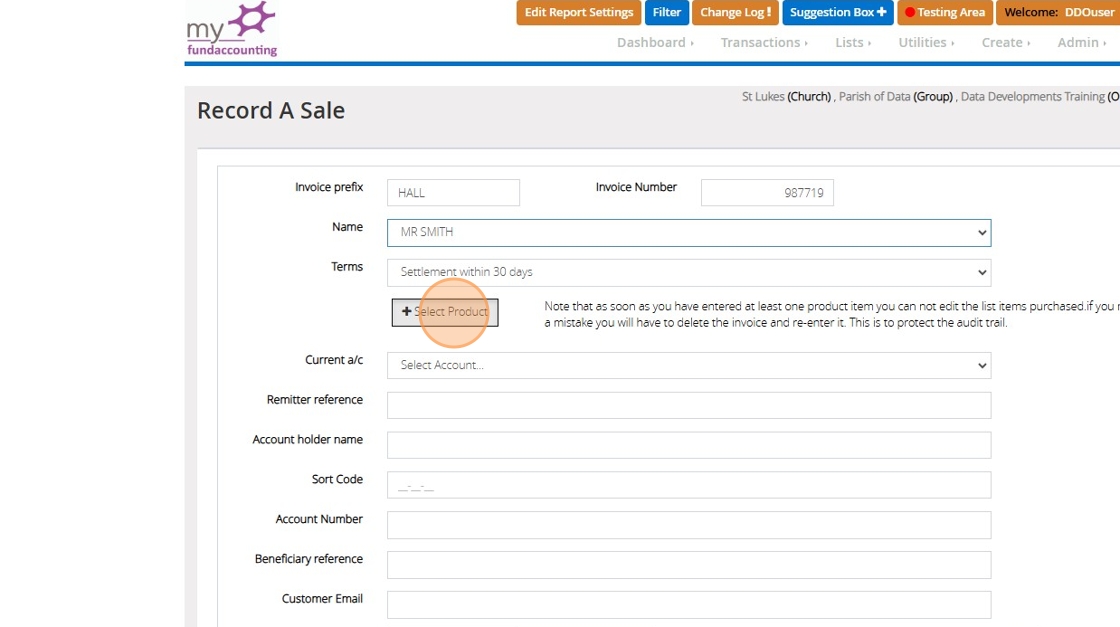
7. Fill in the invoice prefix, number and customer name for the invoice.
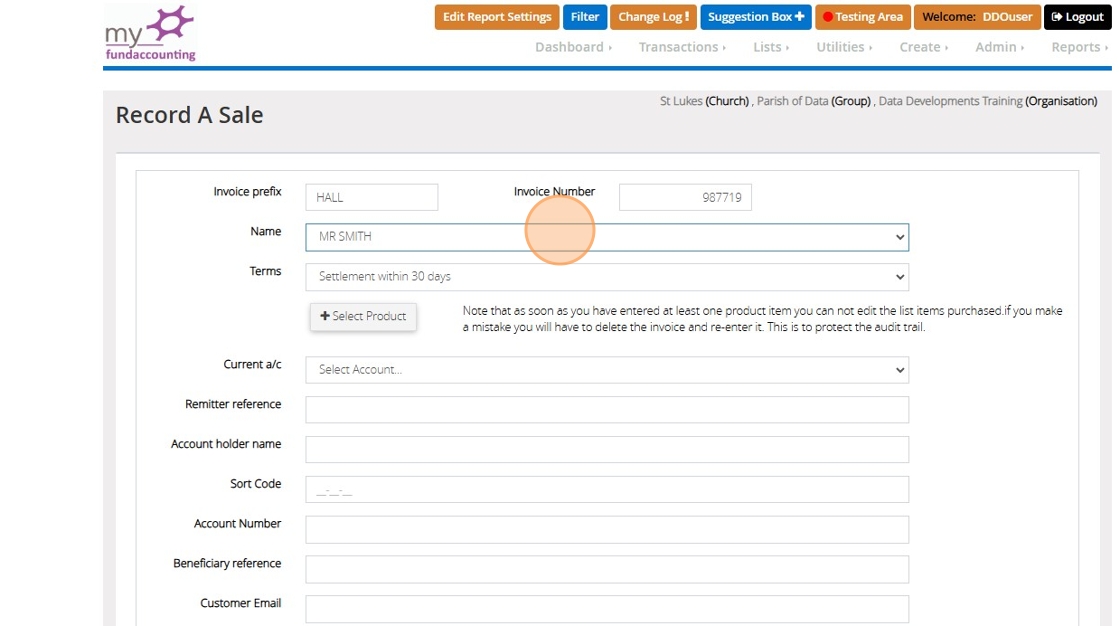
8. Click "Select Product"
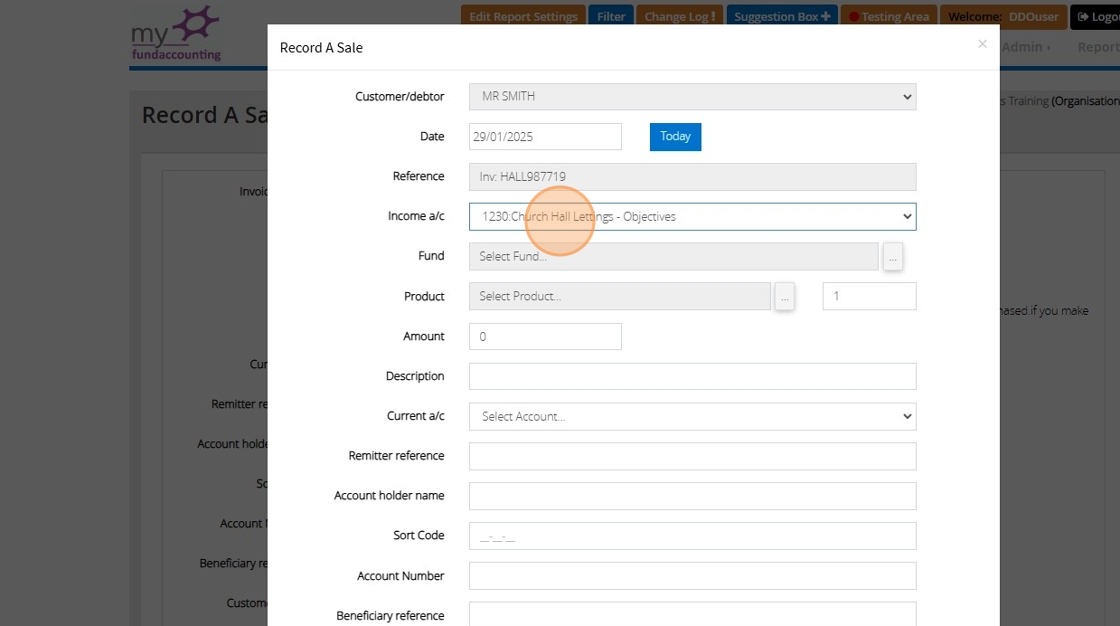
9. Fill in the rest of the details of the invoice.
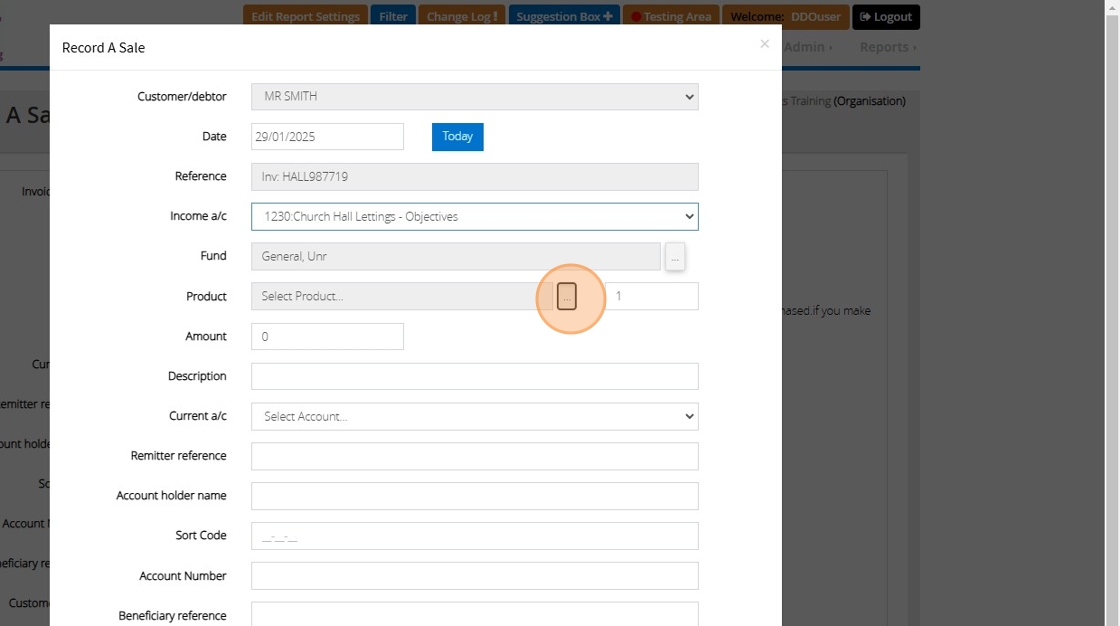
10. Click "..." to select a product for the invoice.
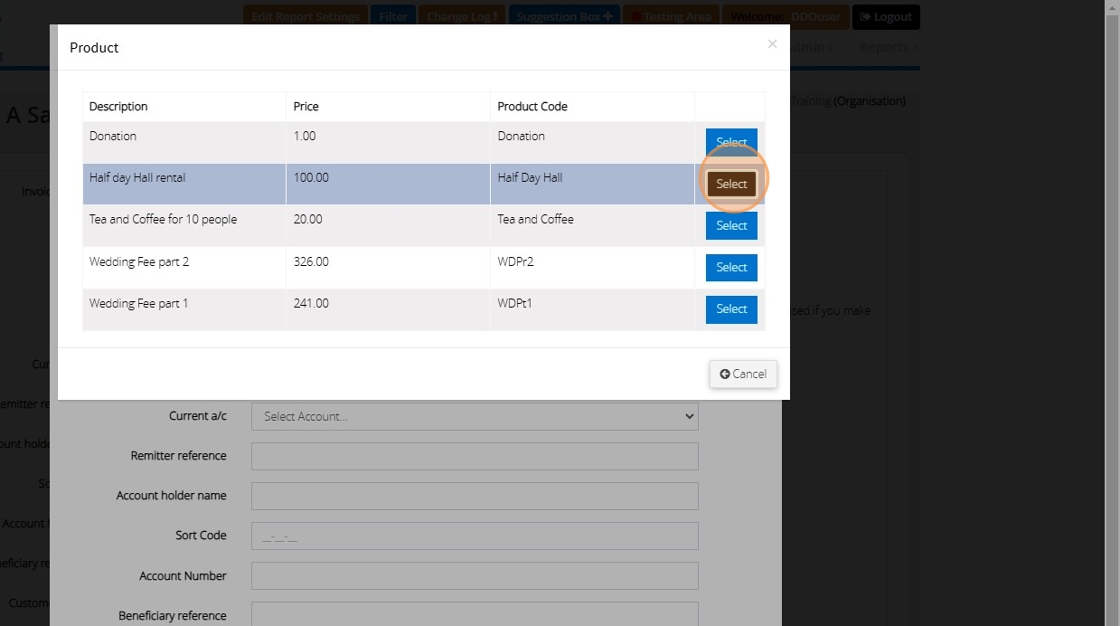
11. Click "Select" on the product you would like to be included on the invoice.
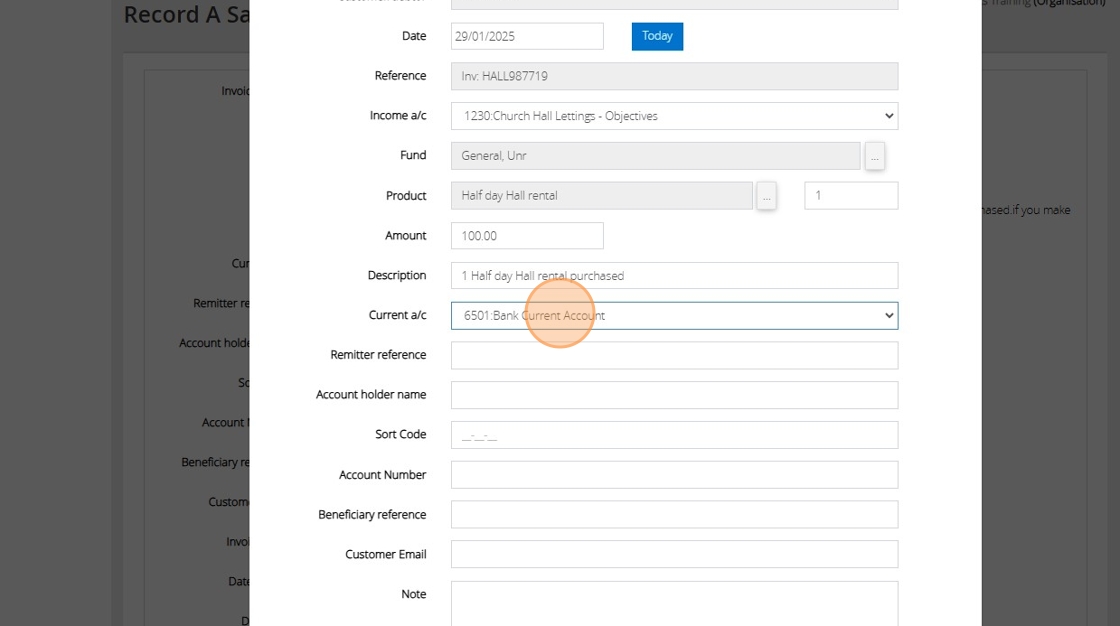
12. Select the bank account.
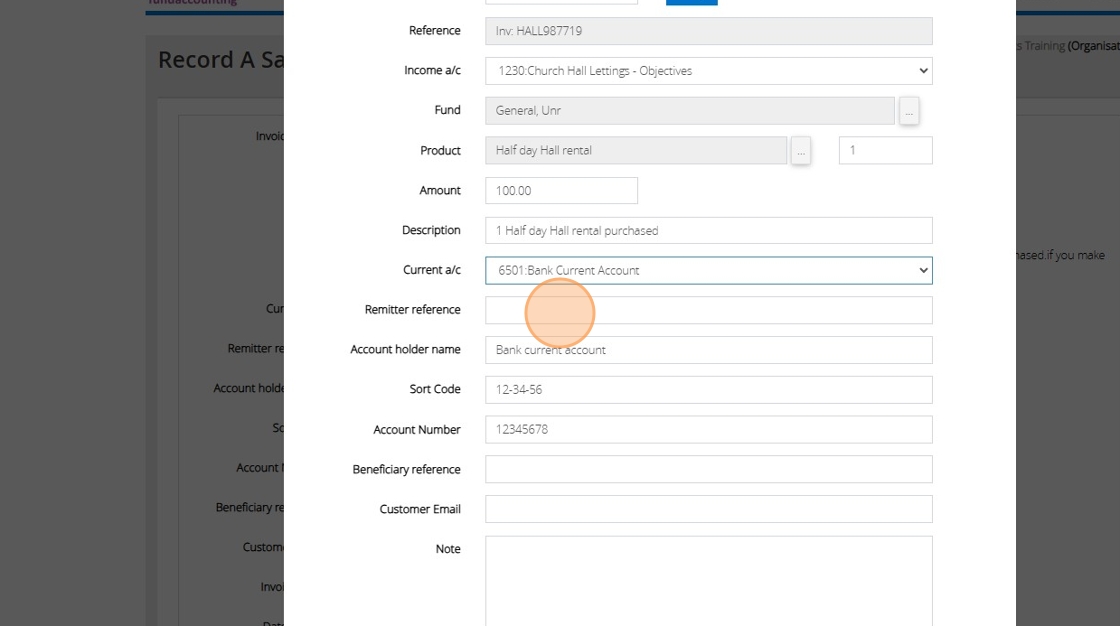
13. If you are going to be sending this invoice to a customer in an email, fill in the remitter reference, account details, beneficiary reference and customer email.
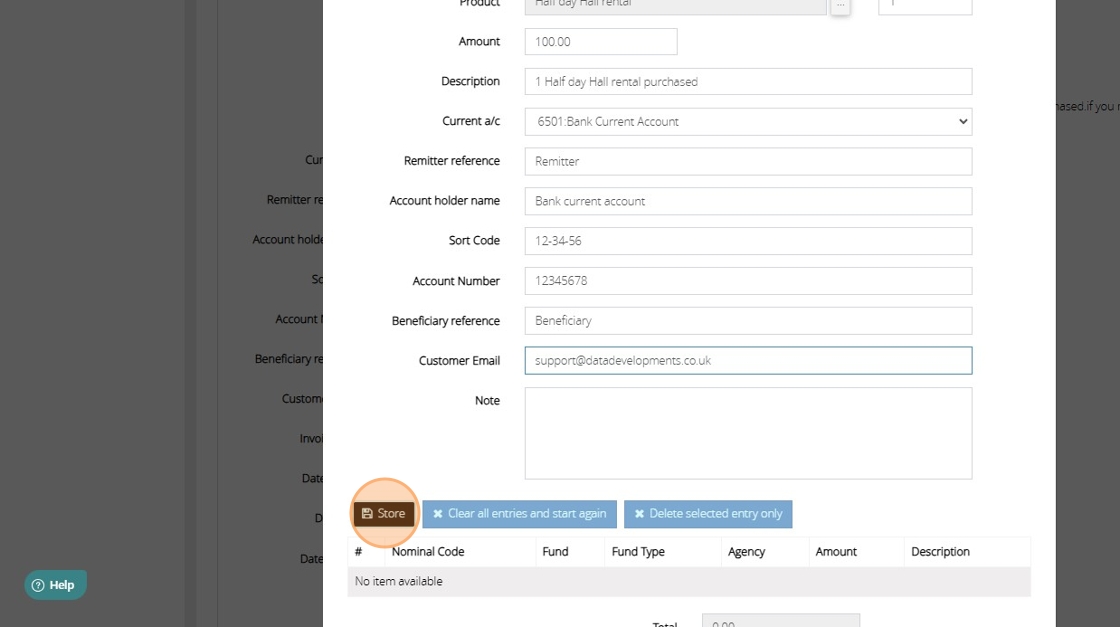
14. When you are ready to post the invoice, click "Store"
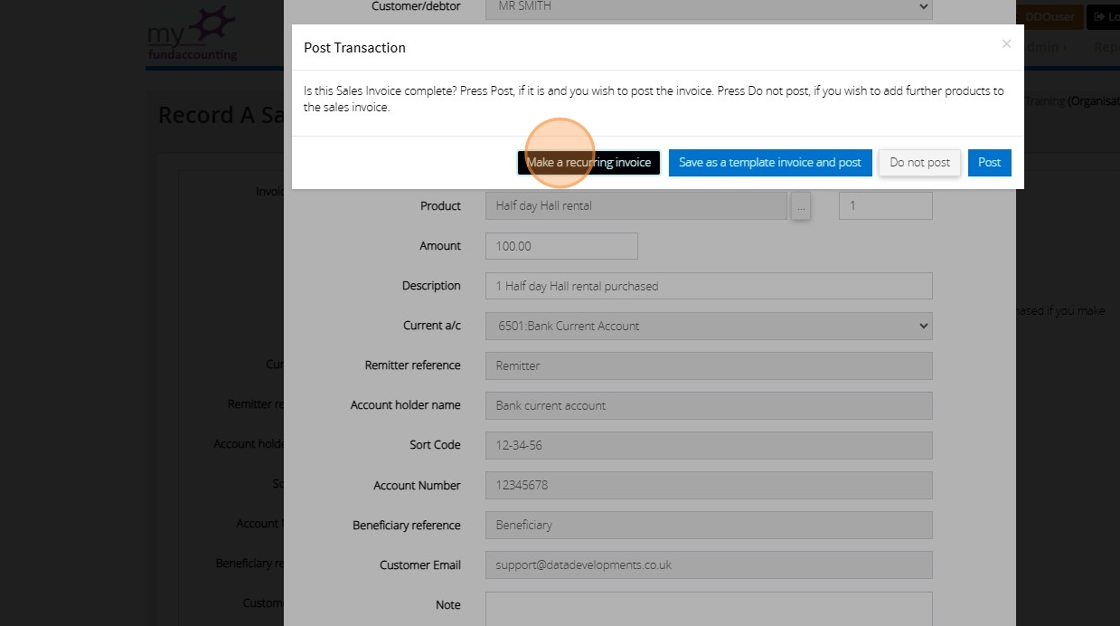
15. To make a recurring invoice , click "Make a recurring invoice"
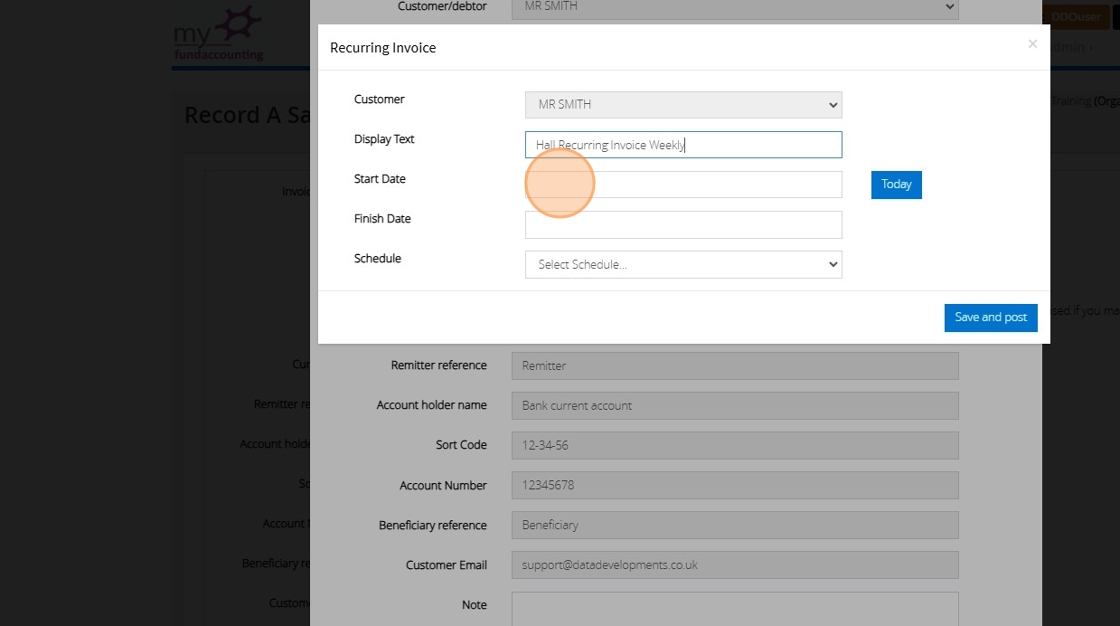
16. Fill in the name of this recurring invoice that will help you recognise it in the list in the 'Display text' box.

17. Enter the date from which you would like this invoice to begin generating from in the 'Start Date' box. You can also fill in the 'Finish Date' if the invoice is only going to be generating for a short date range.
18. Click the 'Schedule' drop down menu and select the rate at which you would like the invoice to regularly generate.
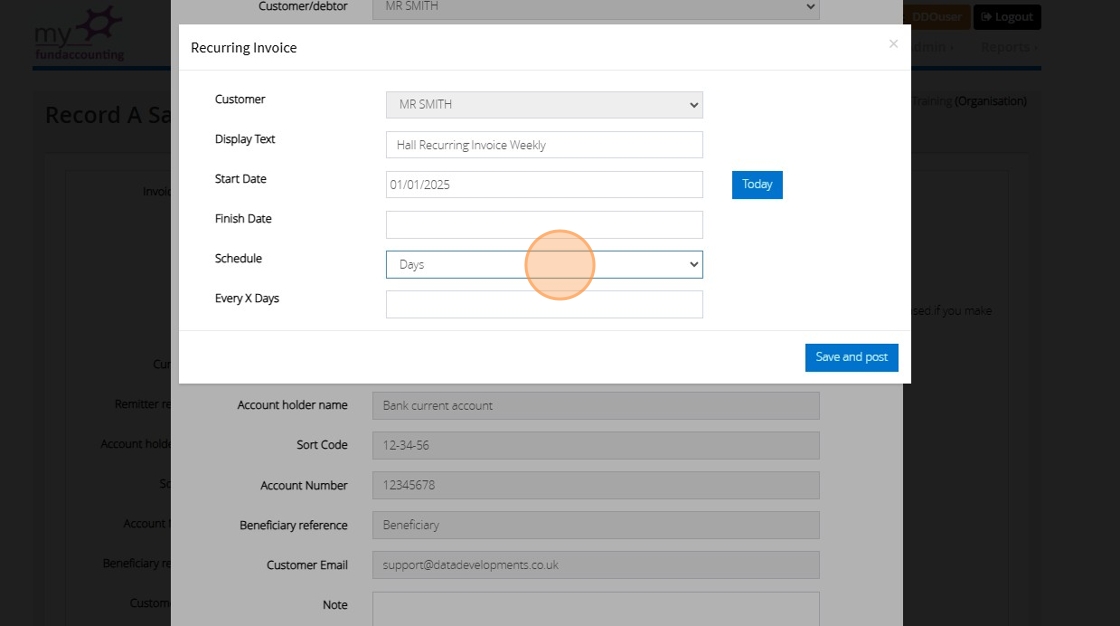
19. If you have selected the 'Days' option, you can then enter the number of days between each invoice that will generate.
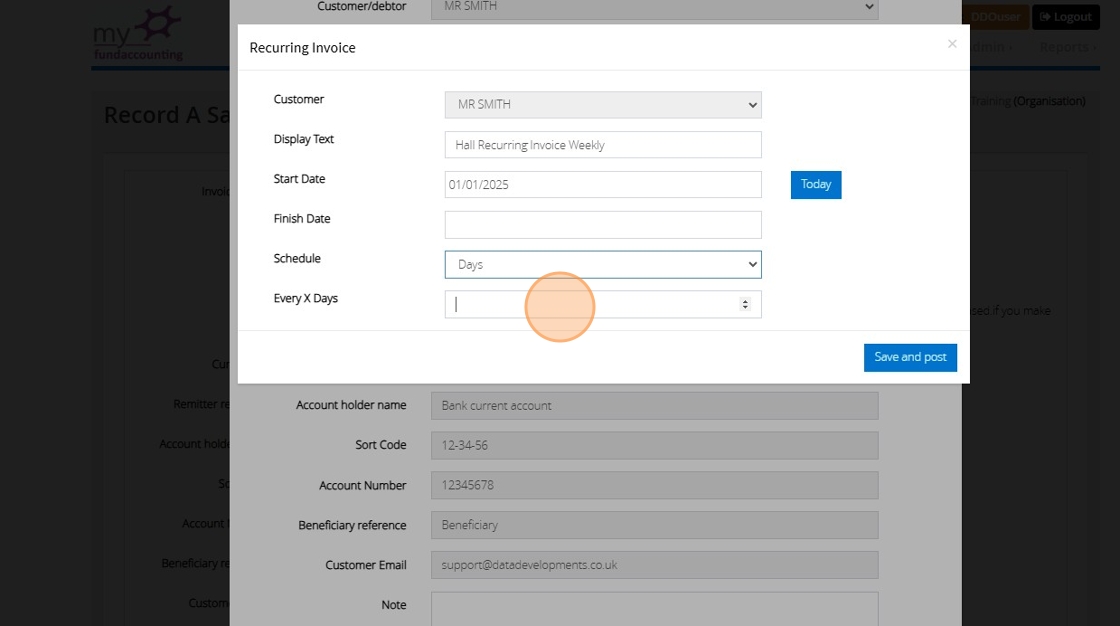
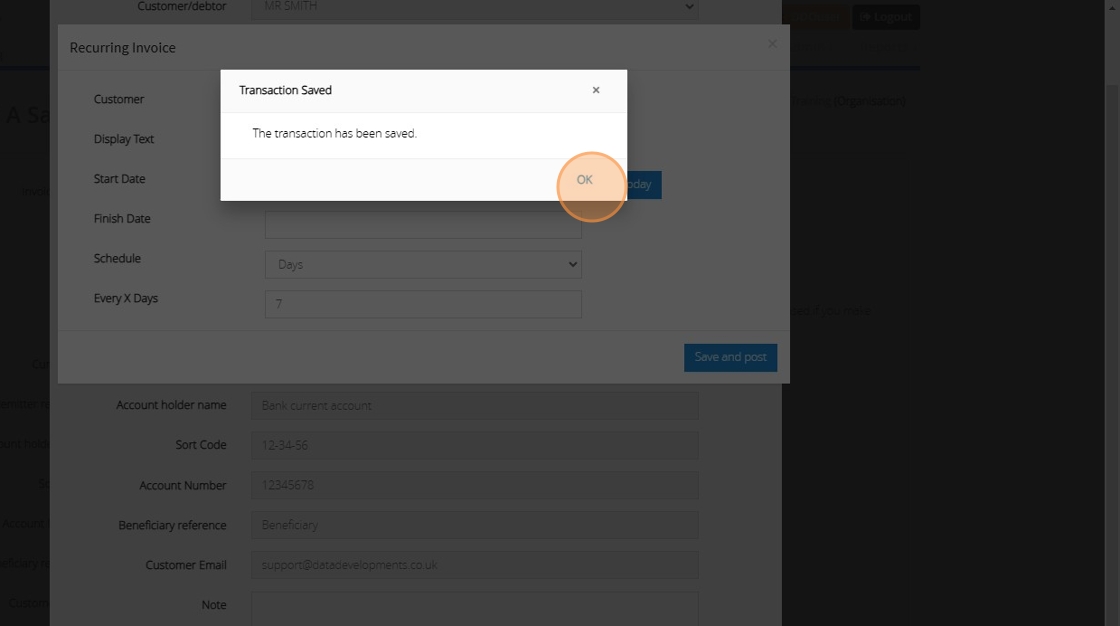
20. When you are ready to create the recurring invoice, click "Save and post"

21. Click "OK"
Processing a recurring invoice
22. To process your recurring invoice, on the List Sales screen click "Process Recurring Invoices"

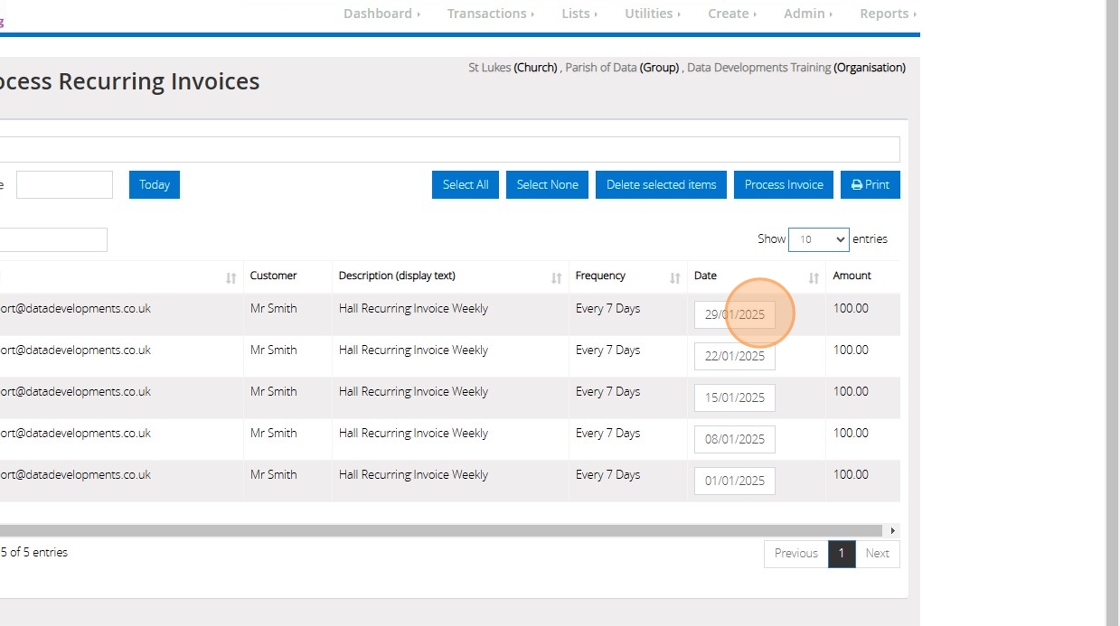
23. If you need to change the date of an invoice you can do so here.
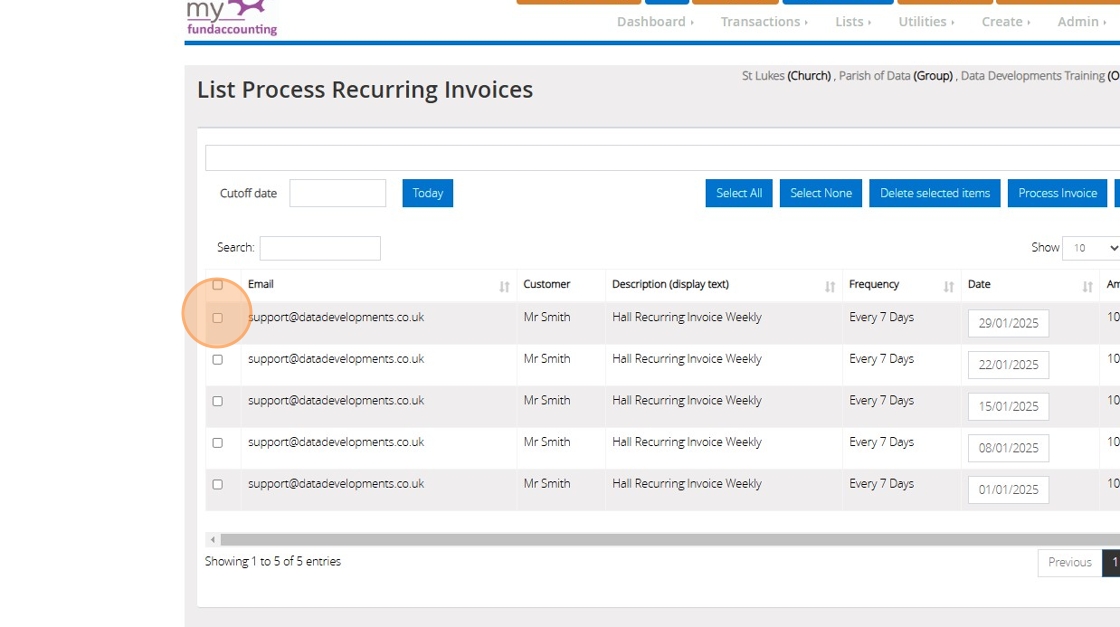
24. Click this checkbox to select an invoice ready to be deleted or processed.
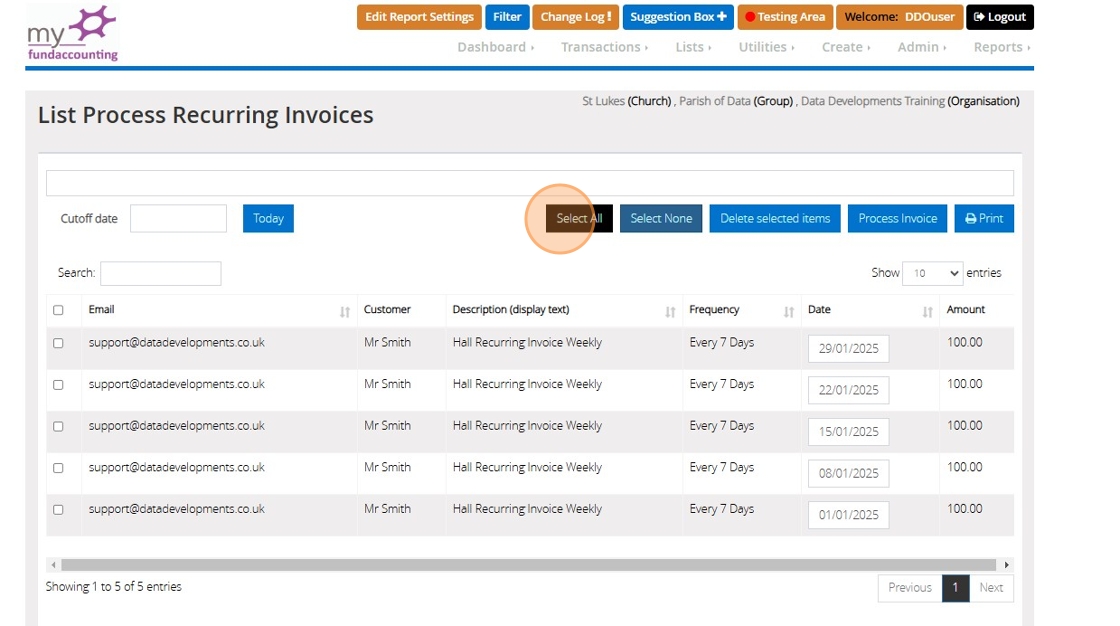
25. Or click the 'select all' button to select all of the invoices.
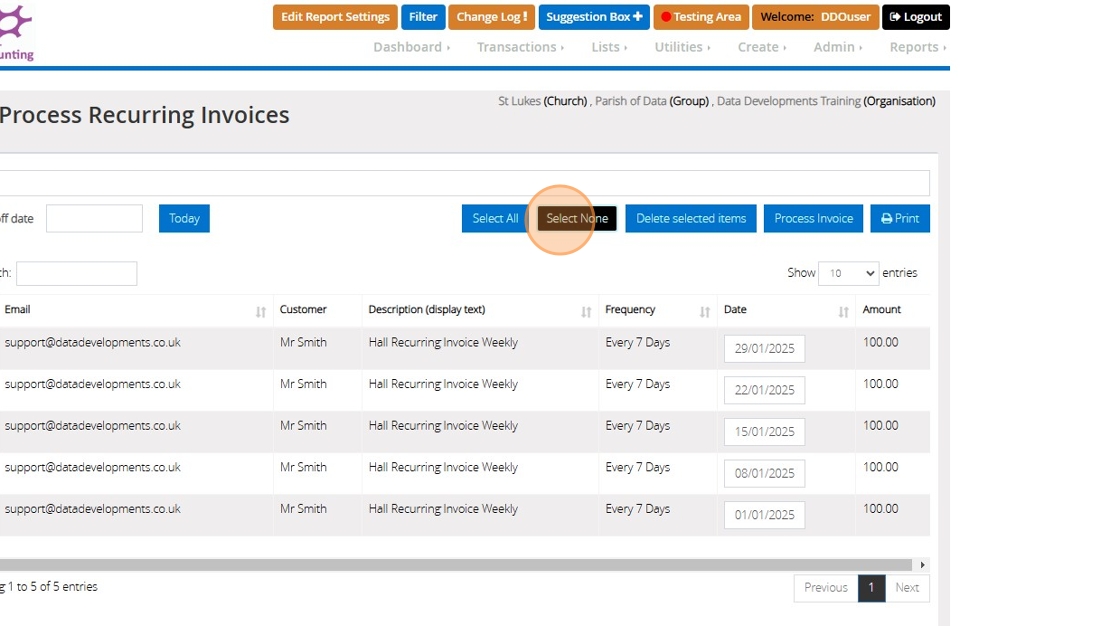
26. Click 'Select none' if you want to deselect all of the invoices.
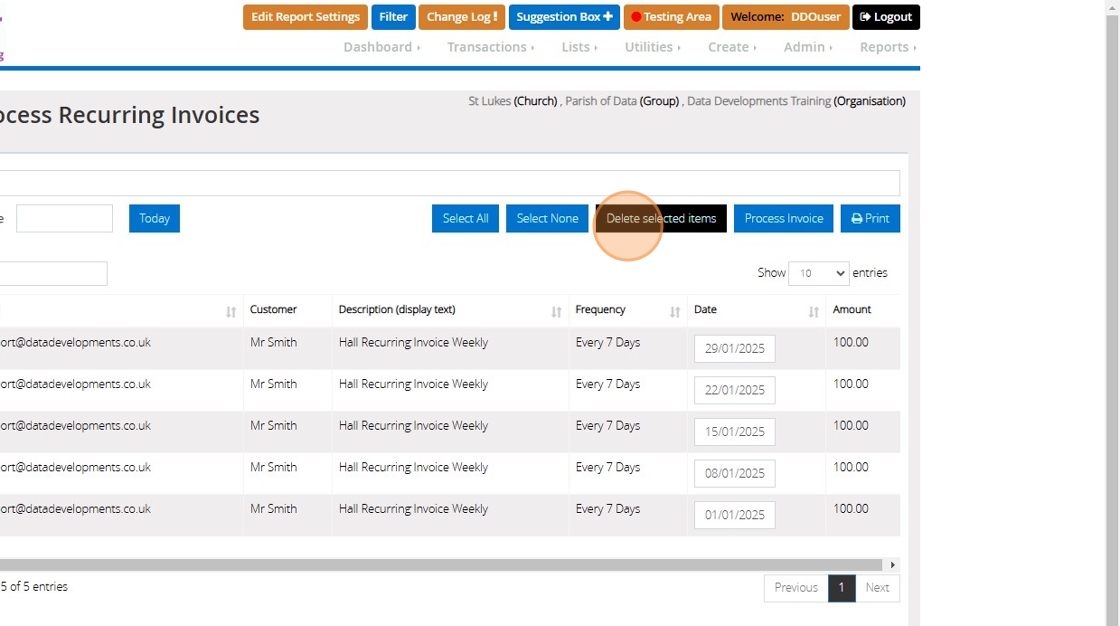
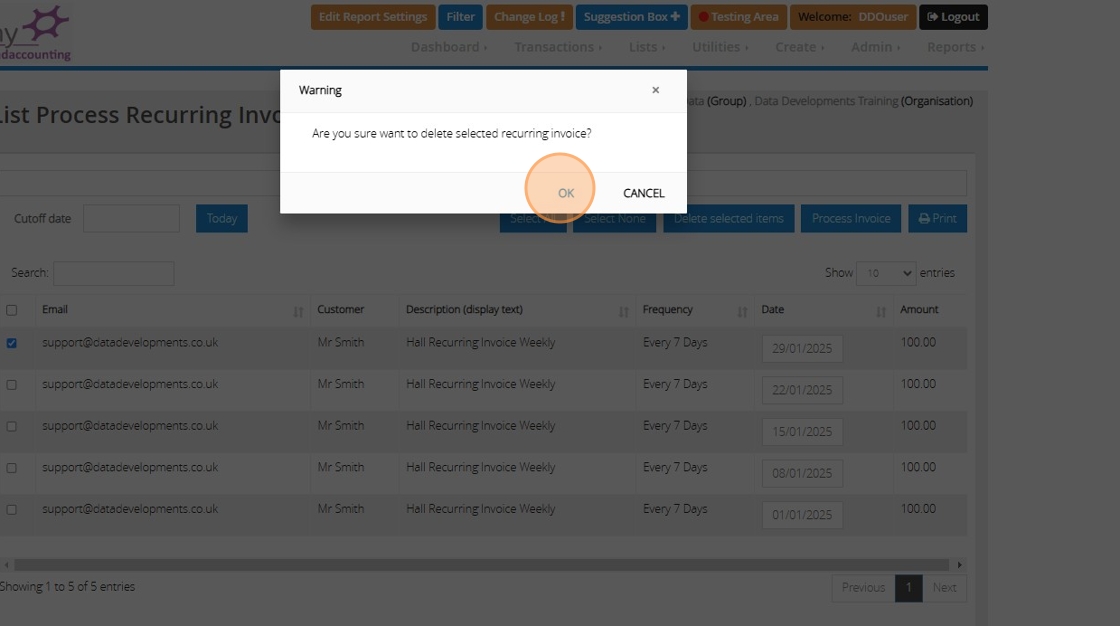
27. If you want to delete any of the invoices, once you have selected the invoices you wish to delete, click the 'Delete selected items'
28. Click "OK"
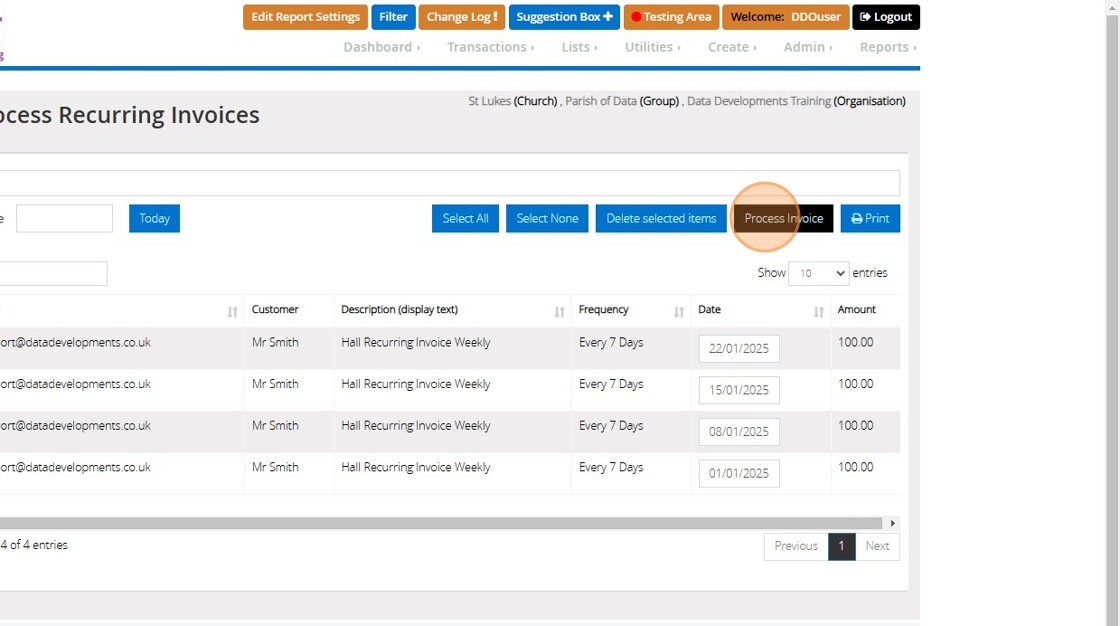
29. When you have selected the invoices you wish to process, click "Process Invoice"
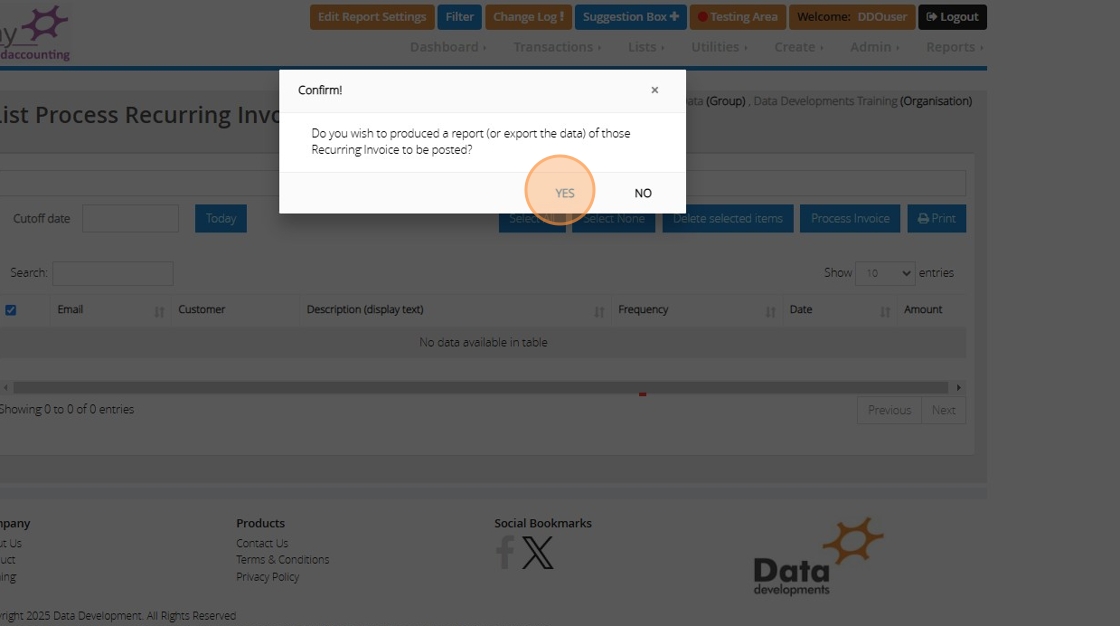
30. Click "Yes"
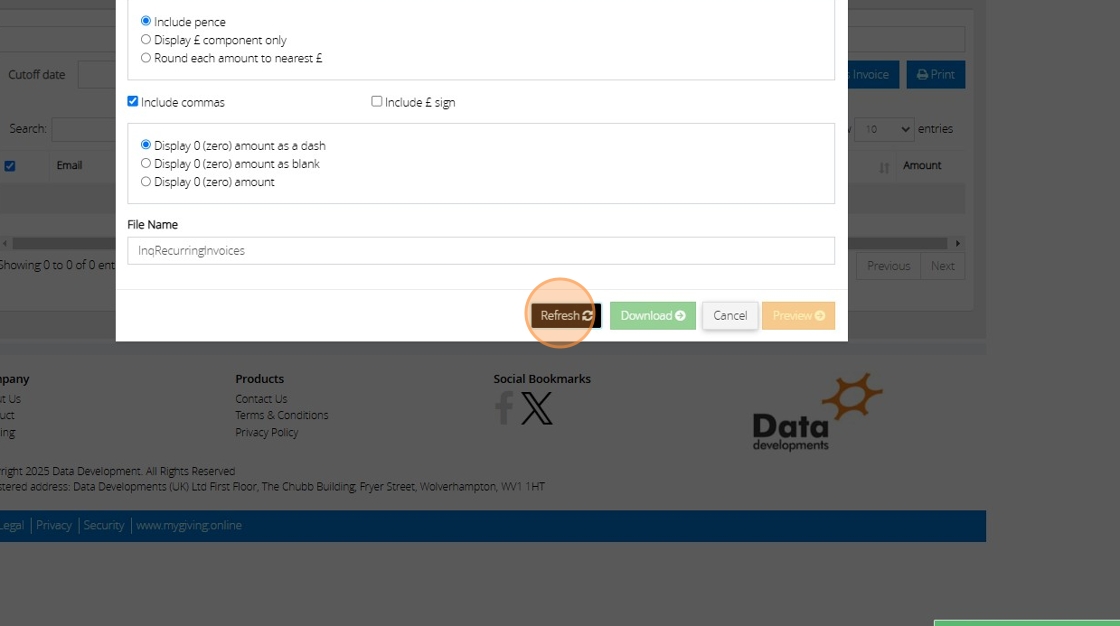
31. If you wish to produce a transactions report of the invoices you have just processed, Click "Refresh"
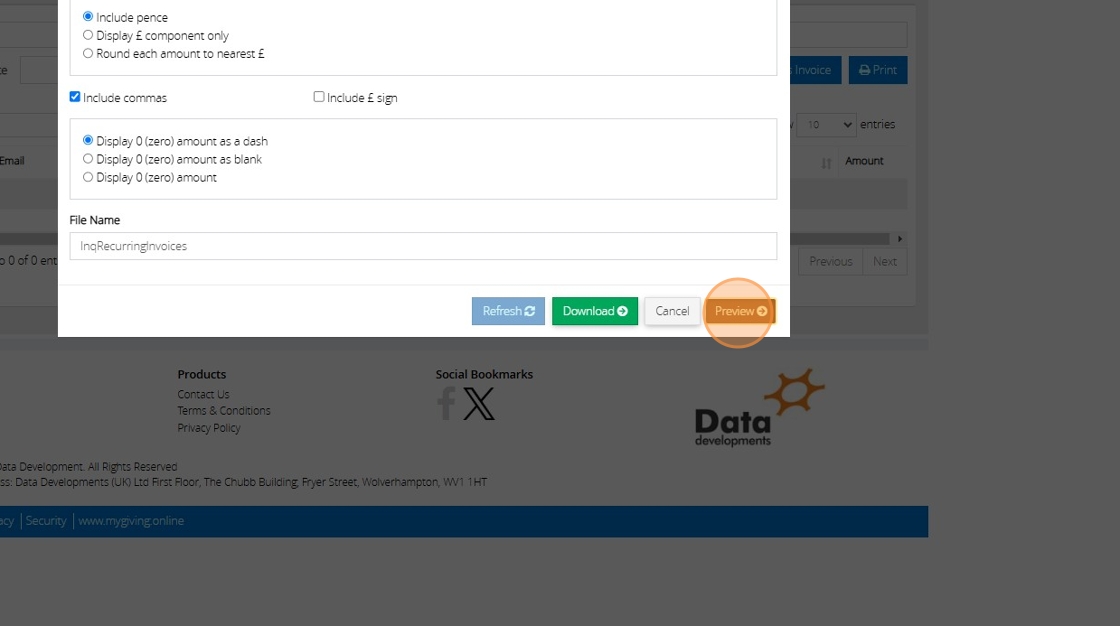
32. Then click "Preview"
Tip: Any invoices that you process with an email attached to them will be sent out to the customer in email format along with a payment link for the invoice at the time of processing.
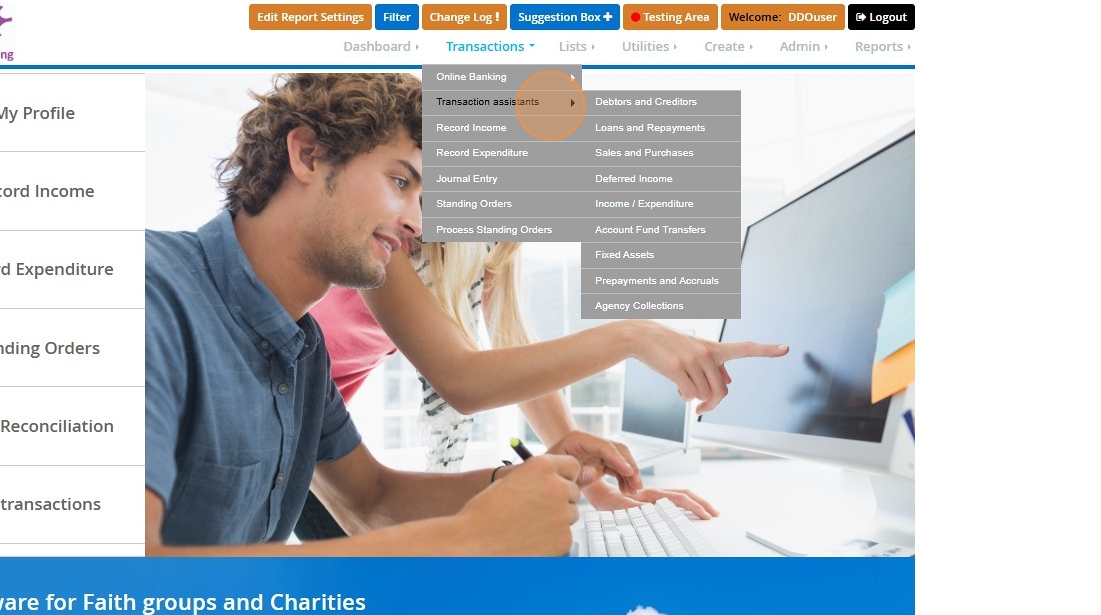
33. To view the invoices in the List Sales screen, go to the "Transactions" menu

34. Go to "Transaction assistants"
35. Click "Sales and Purchases"
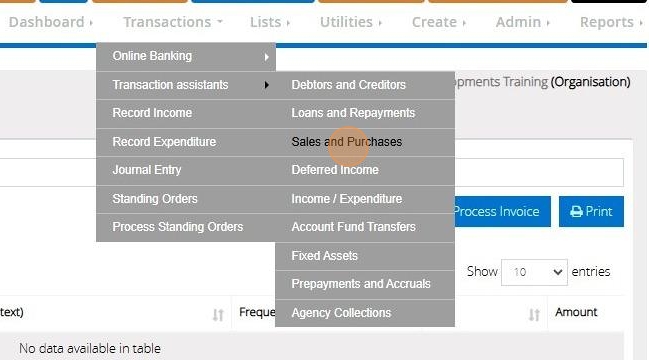
36. Click "Record a sale/ List sales"
37. You can then view the invoices in the list sales screen.