Reconnecting your Microsoft 365 Account to MyFundAccounting.Online
Tip: Due to recent changes to Microsoft Office 365, if you have previously been utilising the connection between MyFundAccounting.Online and Office 365, you will need to reconnect your account to be able to access and upload documents to your transactions.
To do this, you can follow the steps below.
1. Navigate to https://www.myfundaccounting.online/dashboard

2. Click "My Profile"

3. Click the "MS 365 Permission" tab.

4. You will see the following screen.
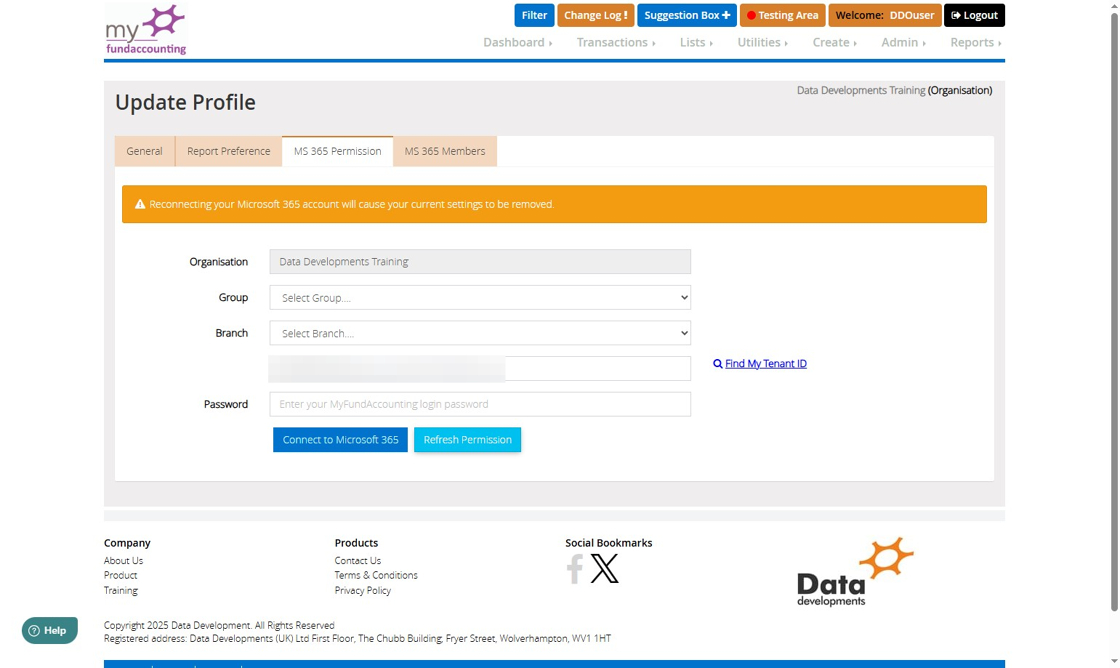
5. You can then choose which level you would like to connect Office 365 at. If you would like to keep it across the whole organisation, you can leave the 'Group' and 'Branch' dropdowns blank. If you would like to set it up for a specific Group or Branch, you can click this dropdown.

6. You can enter your tenant ID in the "Enter Your Tenant Id..." field here.

7. If you do not already have your Tenant ID to hand, you can Click "Find My Tenant ID" and it will link to the page in your Office 365 admin account where you can find your Tenant ID.

8. Enter the password to the MyFundAccounting.Online user account you are currently logged into in the "Password" box.

9. Click "Connect to Microsoft 365" when you have completed the steps above. This will then take you through to Microsoft Office 365, where you will need to log in to your Office 365 account.

Alert: The Microsoft 365 account that you need to sign in with here must be the Admin member of your Microsoft 365 business team.
10. When you have completed the steps above, you will need to link your MyFundAccounting.Online account with your Microsoft 365 account, and link any other users within the organisation .
To do this, click the "MS 365 Members" tab.

11. If you set up the link at a group or branch level, you can filter down to the group or branch by using the dropdown menus here.

12. You will then see a screen with a list of all of the users under your MyFundAccounting.Online organisation. You will also see your own user account within the list.

13. To set up the link between the two user accounts, click on the dropdown menu under 'Assign existing member'. Then, select the email address associated with the Microsoft 365 account you want to link this user to.

14. Click "Assign Member" to link the two accounts.

15. If a user in the list doesn't already have a Microsoft 365 account and needs one, click the "New" button and it will create a new Microsoft 365 account and automatically assign it to this user.

16. If you would like to disconnect a user account, click the "Disconnect" button.

Tip: Once you have followed these steps, your user accounts will be reconnected and you will be able to upload documents to transactions again.