Tip: The below steps will guide you in creating a fixed assets and managing this within MyFundAccounting.online (Assets whose nature is not transient, e.g vehicles, office equipment, etc).
Tip: For specific information on how to handle the fixed asset, see SORP 2005 para 253 and 254
1. Navigate to https://www.myfundaccounting.online
Create a Fixed Asset
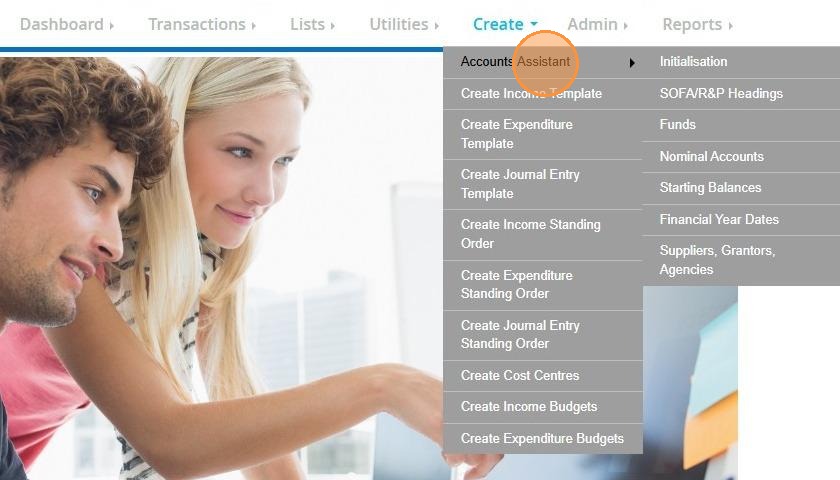
2. Click "Create"

3. Click "Accounts Assistant"
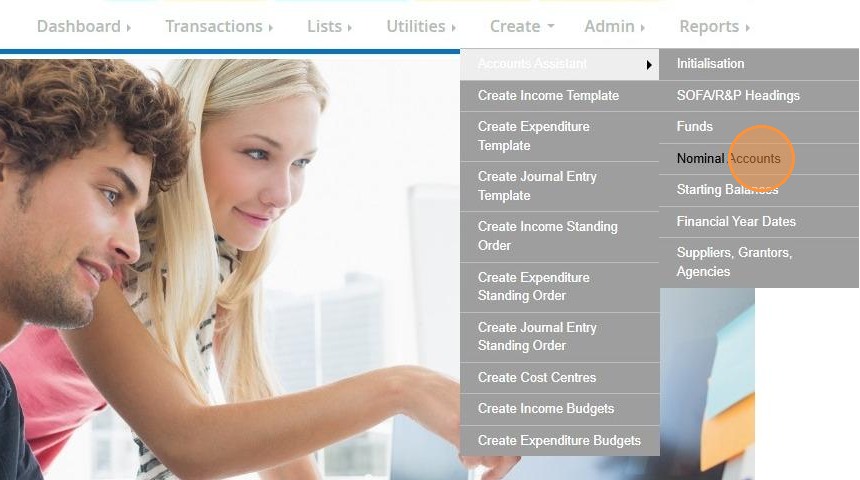
4. Click "Nominal Accounts"
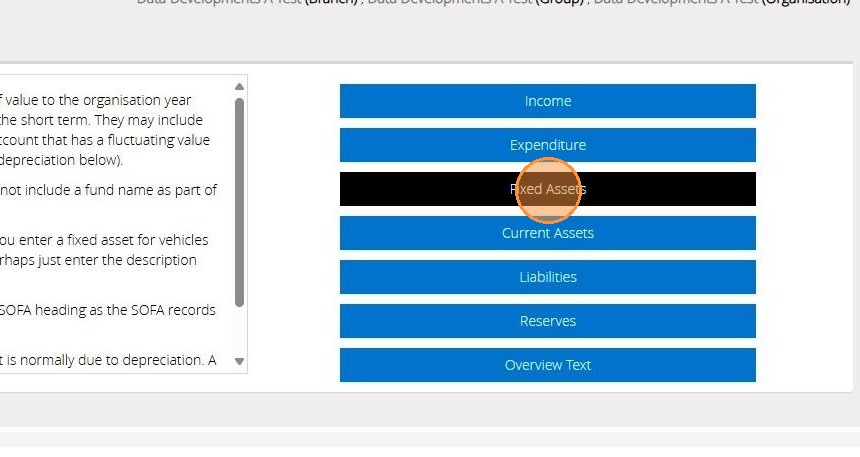
5. Click "Fixed Assets"
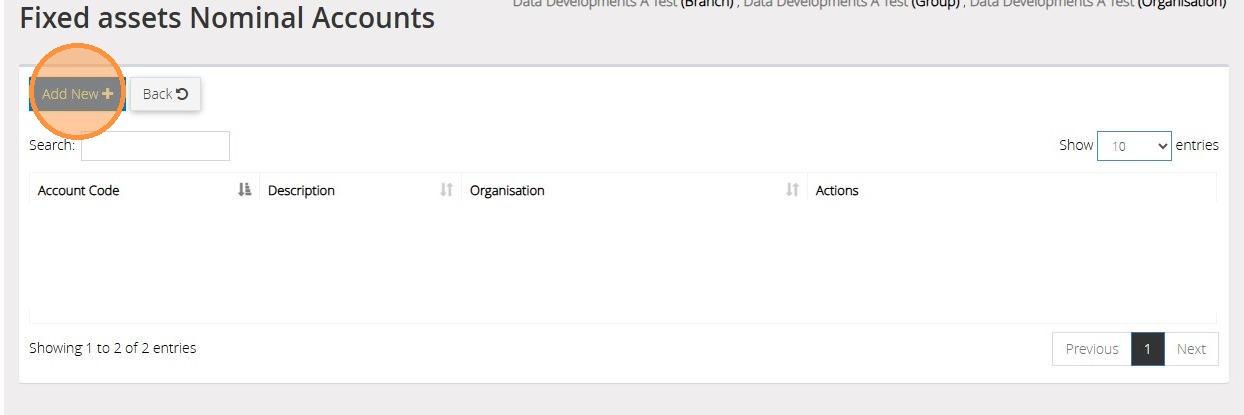
6. All existing Fixed Assets will be displayed below.
To create a new Fixed Asset click "Add new"
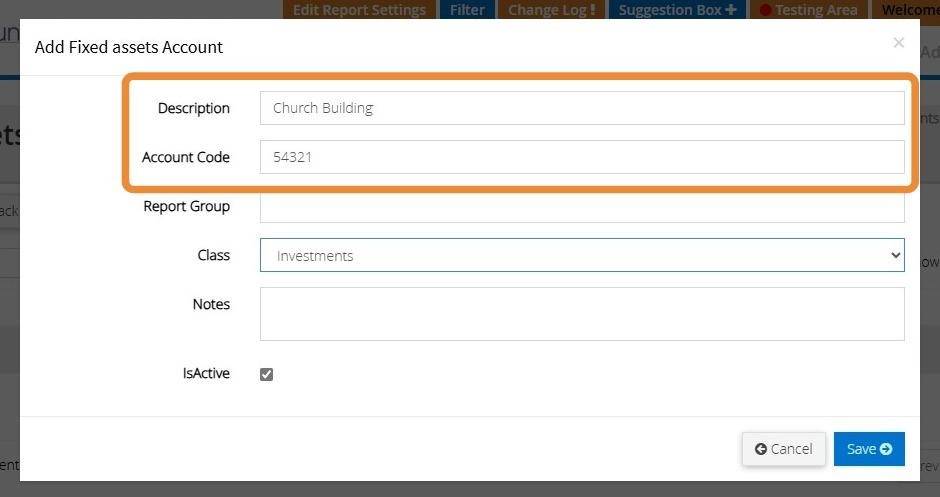
7. Enter a description and account code
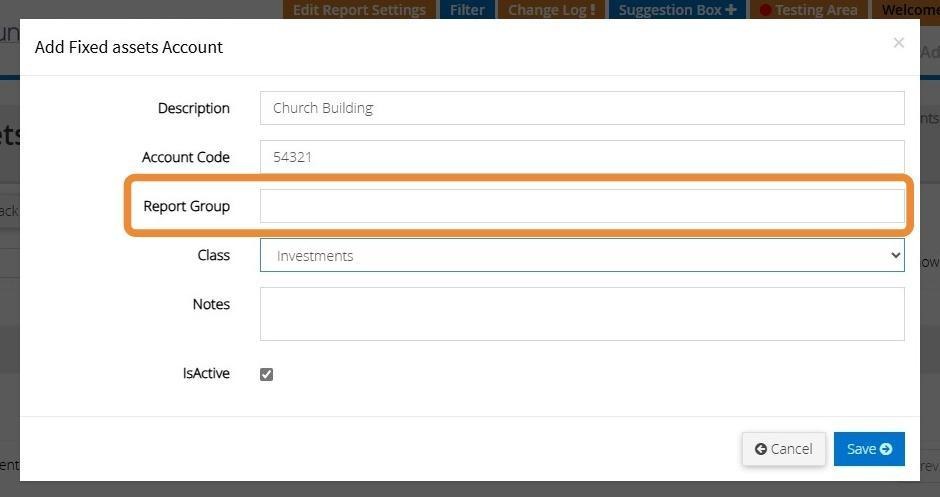
8. You can enter a report group name if you wish to generate a report on a group of Fixed Asset Codes.
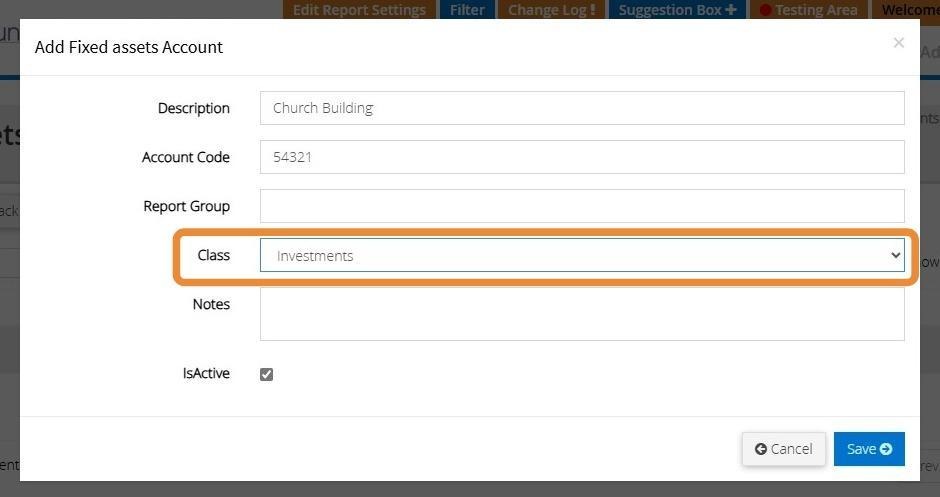
9. Select the class from the drop down menu provided
10. You can enter any notes that relate to the Fixed Asset
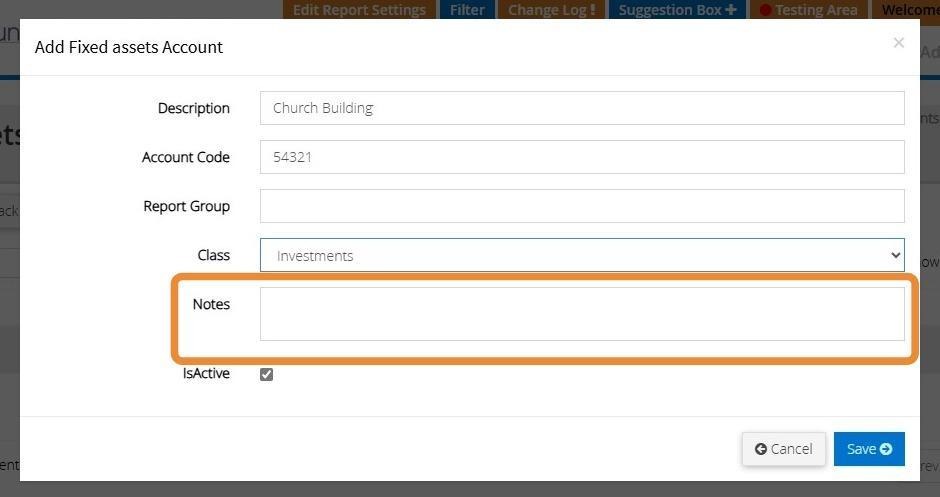
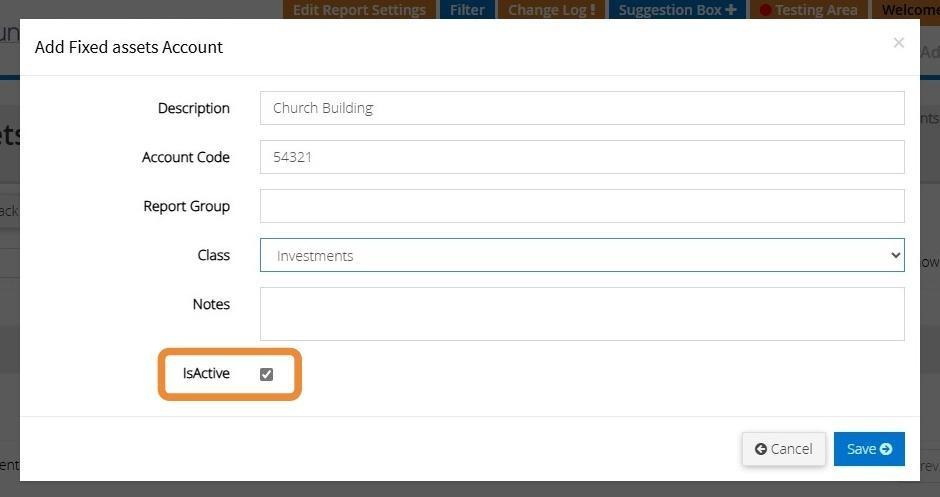
11. To mark the code as Active ensure there is a tick in the check box provided.
Should you need to mark this as inactive you can simply uncheck the box
12. Click "Save" once you have finished entering all the details for the new Fixed Asset

13. The below message will appear once the code has been saved successfully.

Transaction Assistant
Tip: Once your code has been created you can now manage your Fixed Asset through the Transaction Assistant
14. Click "Transactions"

15. Click "Transaction assistants"

16. Click "Fixed assets"
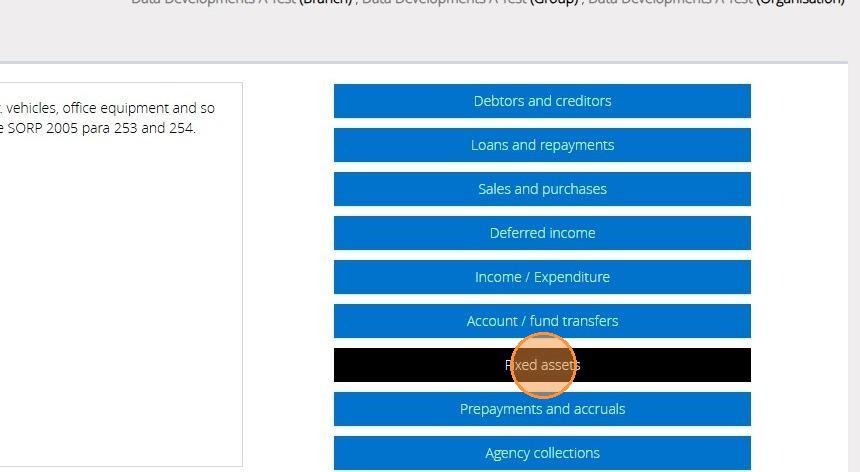
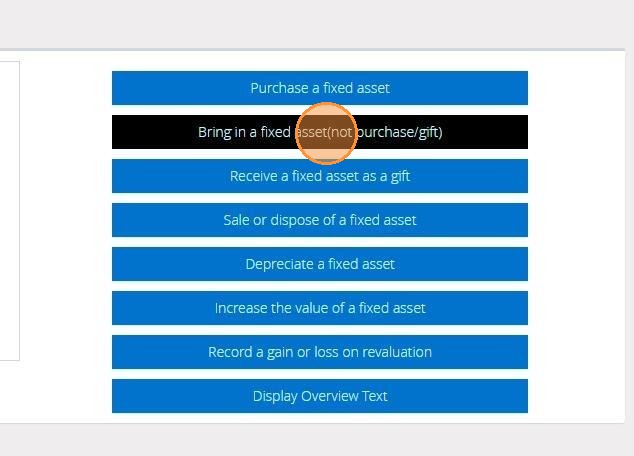
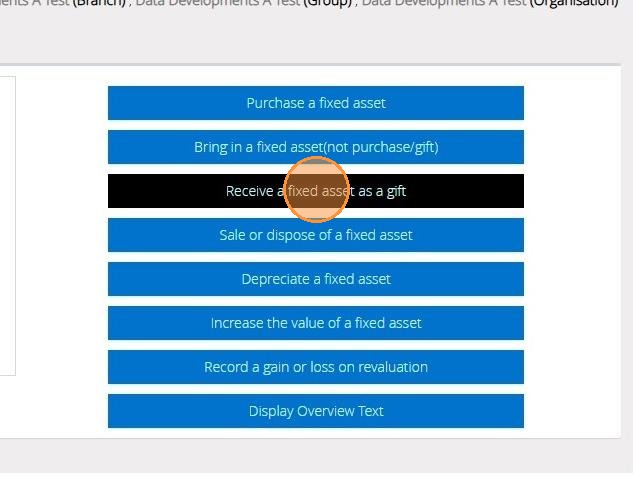
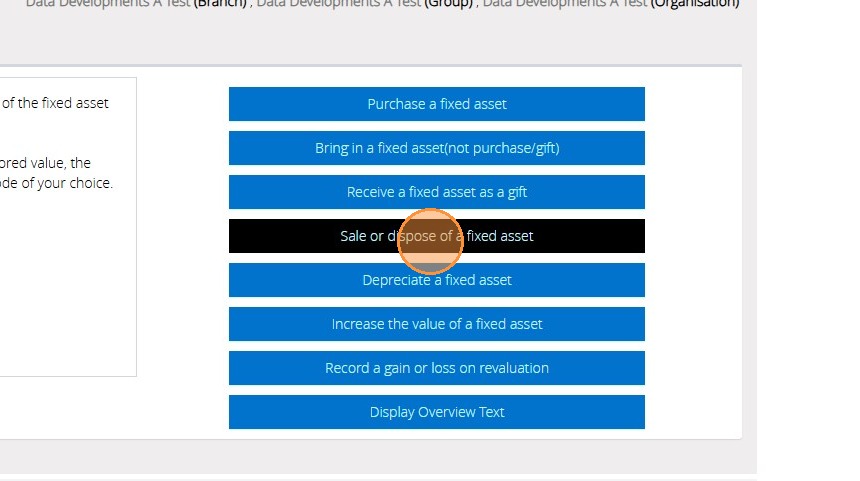
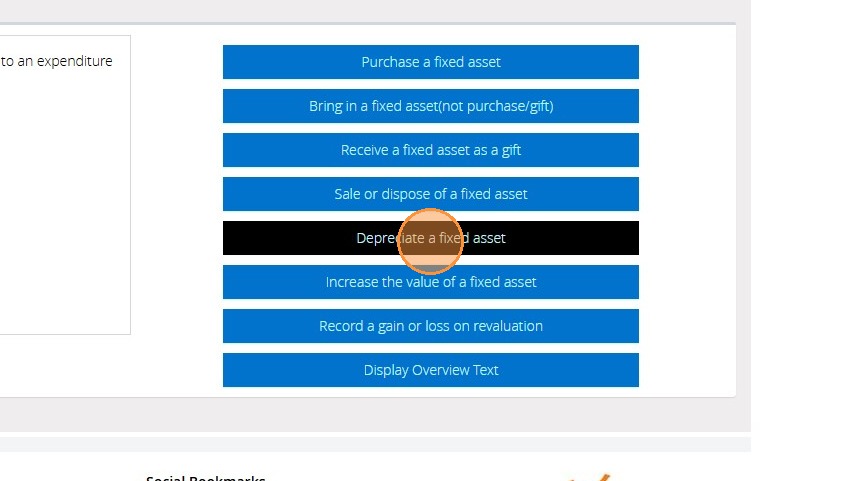
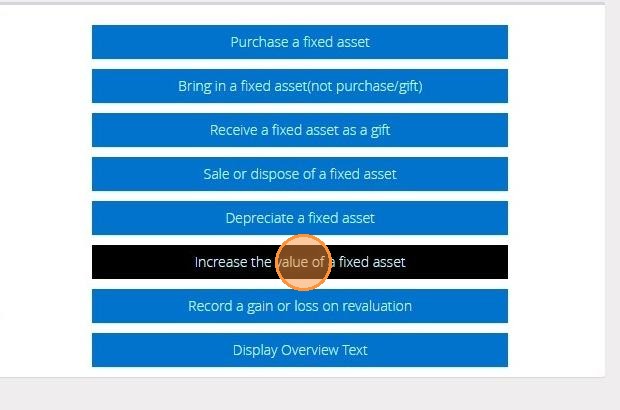
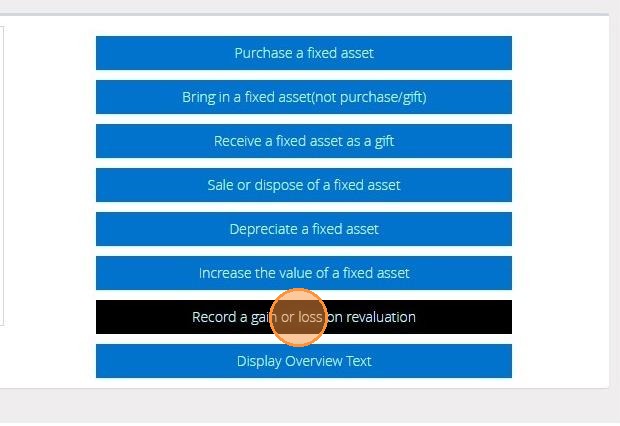
17. Here, you'll have different menu options on how to handle your fixed asset. Hover our mouse icon over each item to read an explanation on the left.

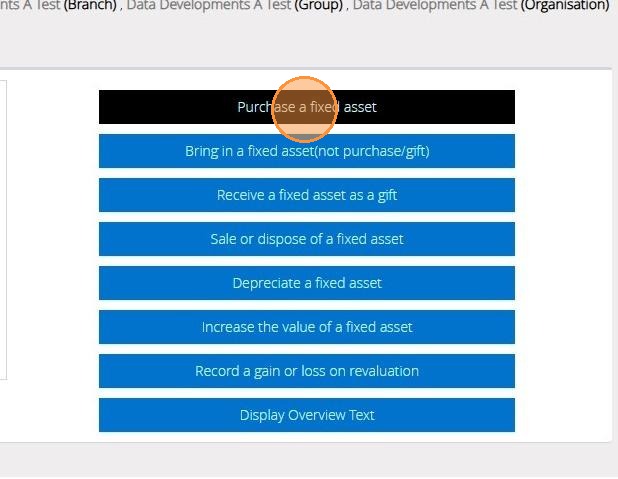
Purchase a Fixed Asset
Tip: This option lets you record the purchase of a fixed asset directly from one of your bank accounts.
18. Click "Purchase a fixed asset"
19. On Step 1 select the bank account that has been used to purchase the fixed asset
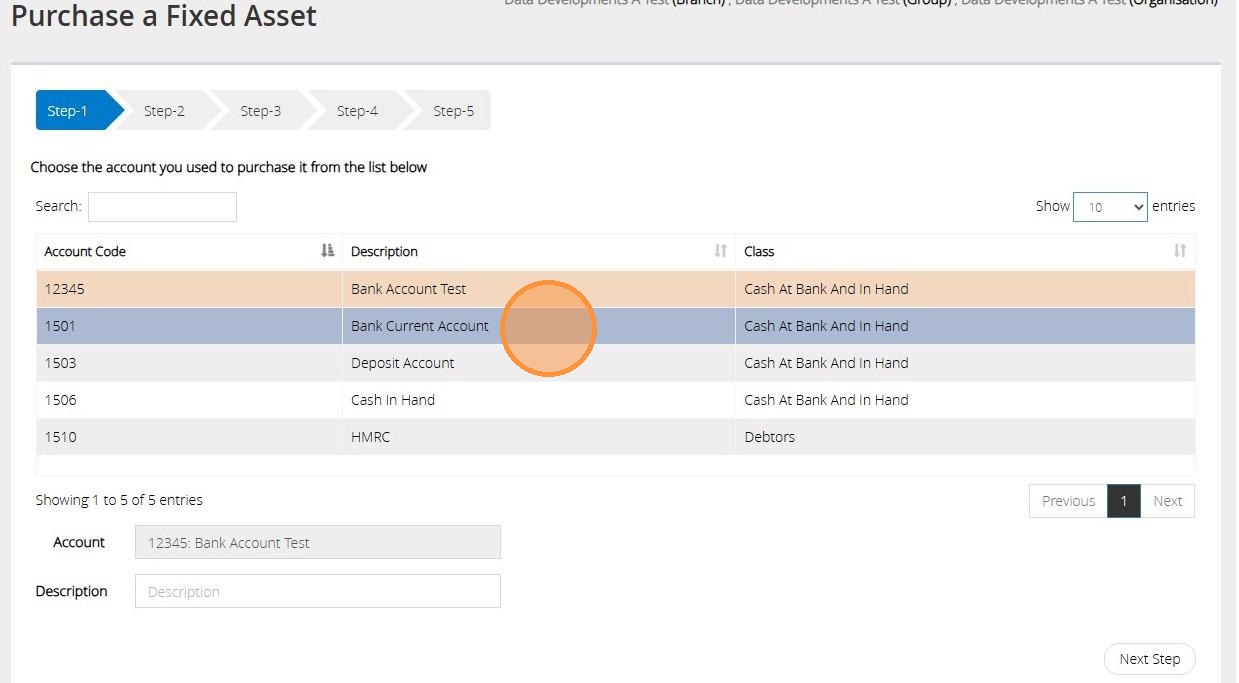
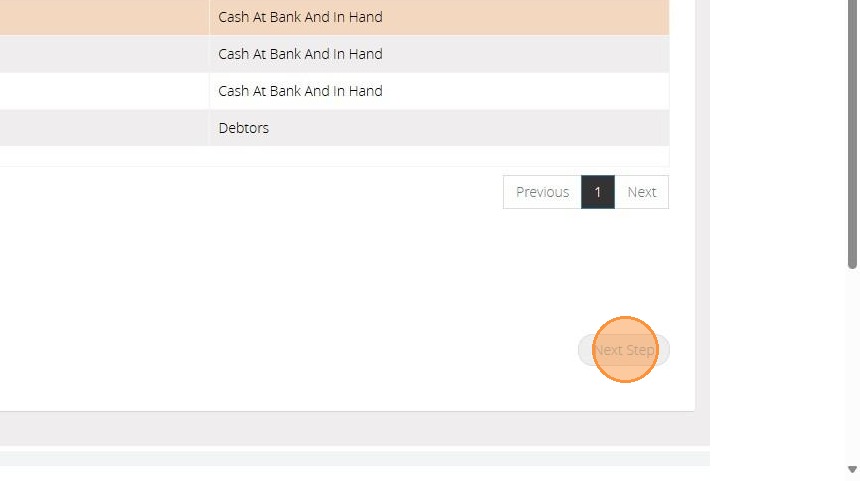
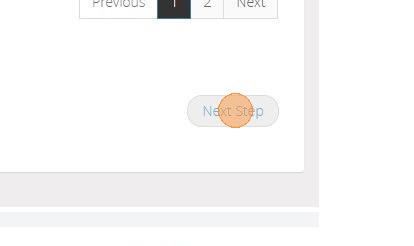
20. Click "Next Step"
21. On Step 2 select the Fixed Asset code you have created in your Accounts Assistant
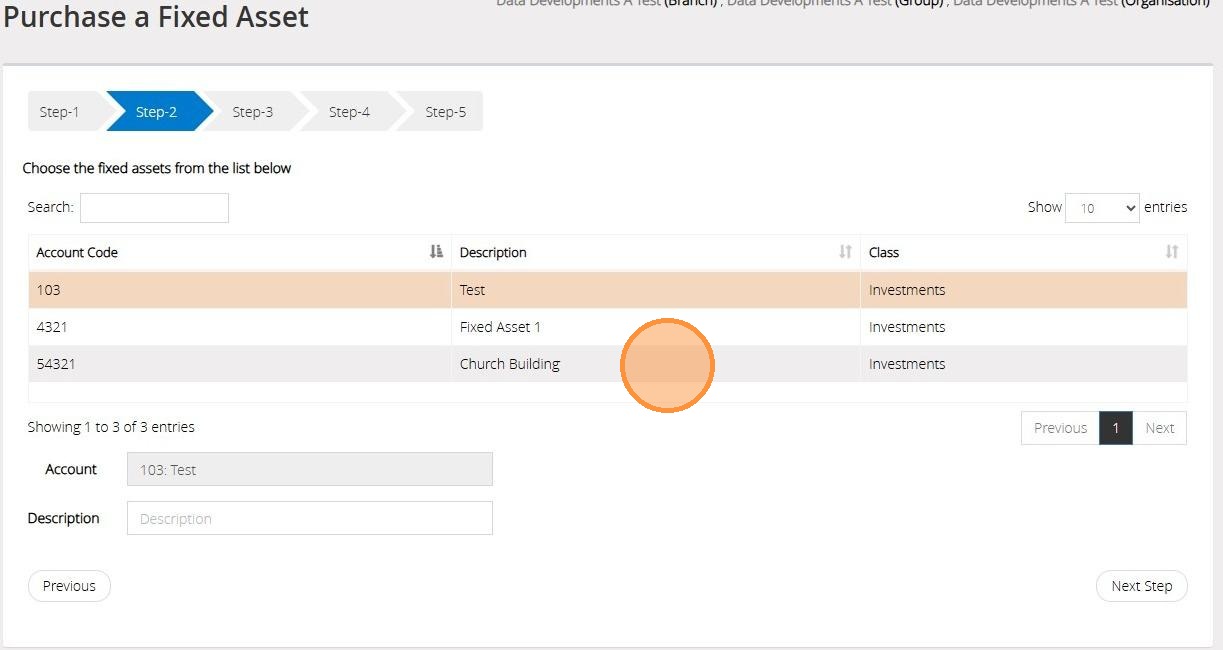
22. Click "Next Step"
23. On Step 3 enter the amount that was paid and the date the payment left the bank account.
You can also enter a reference against the transaction.
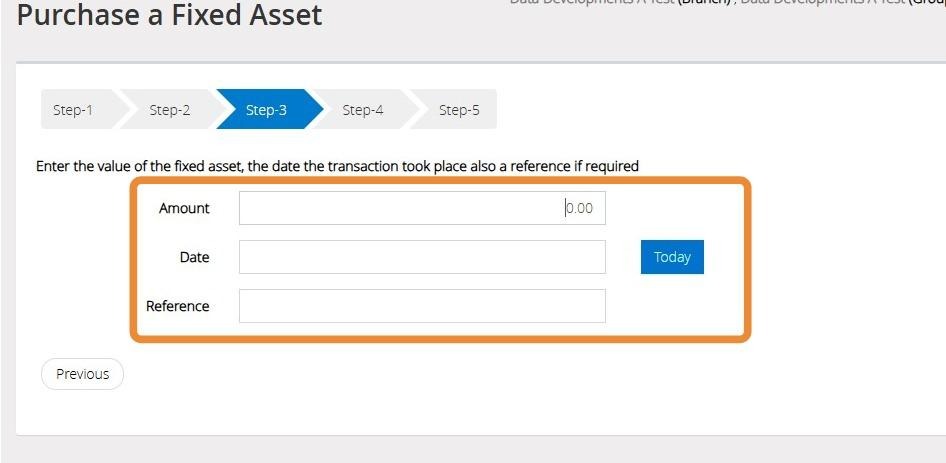
24. Click "Next Step"

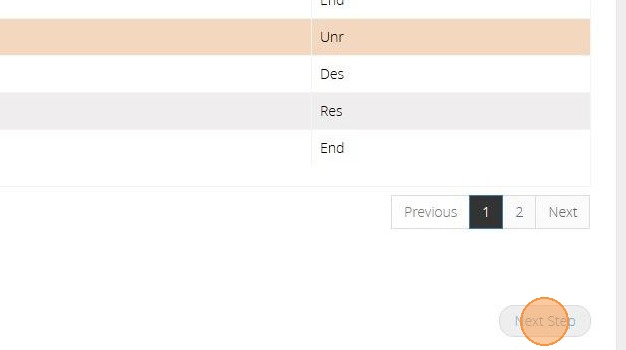
25. On Step 4 select the "Fund" that has been used for the purchase.
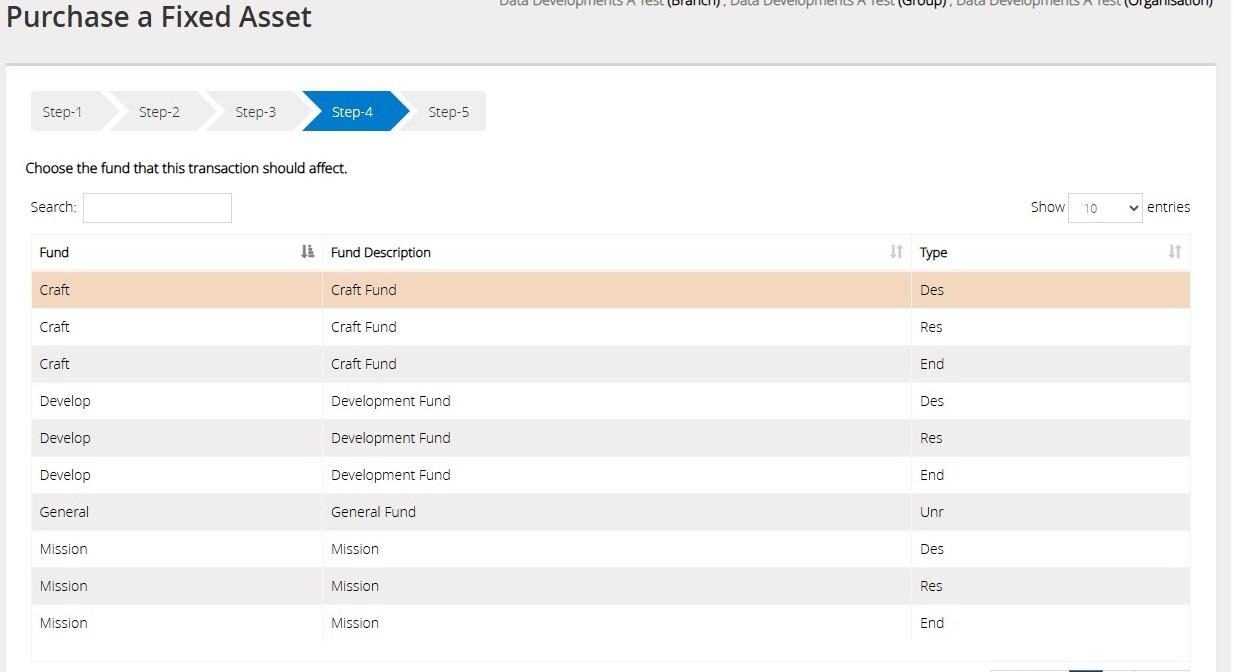
26. Click "Next Step"
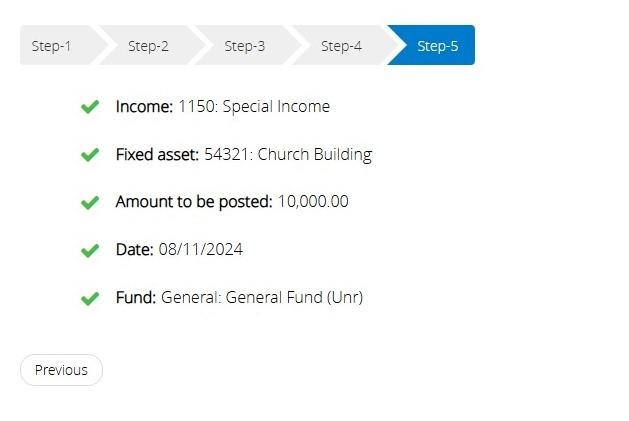
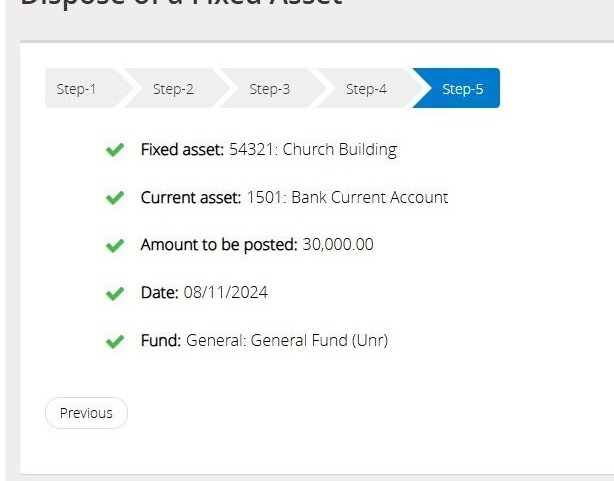
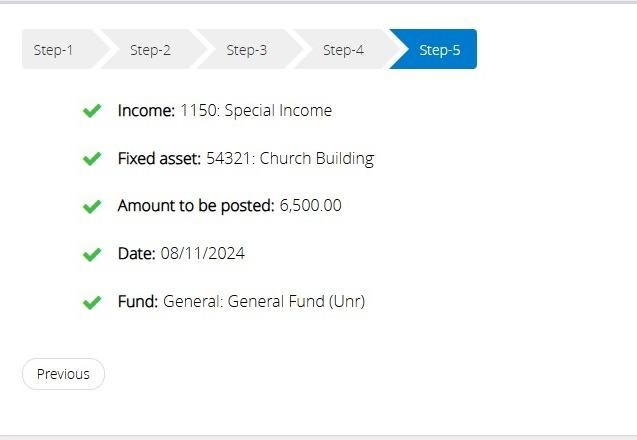
27. On Step 5 confirm the selections that have been made on the previous steps
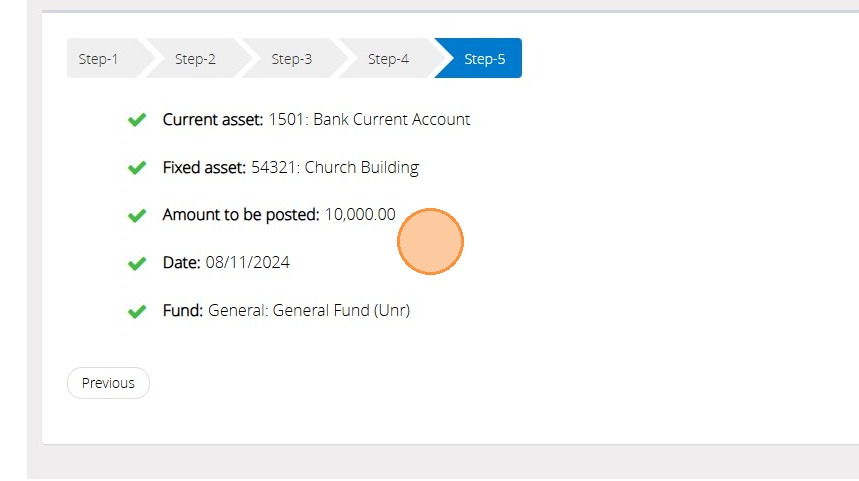
Tip: Tip! Should you need to go back to an earlier step please click "previous"
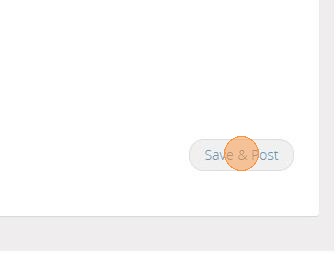
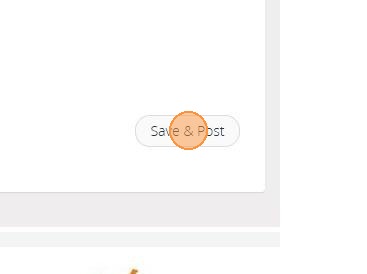
28. Once happy with the selections made click "Save & Post"
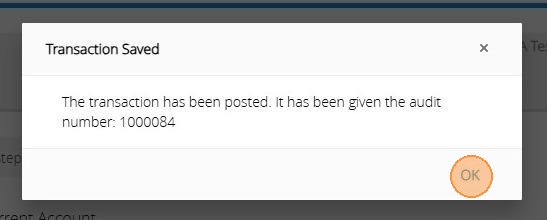
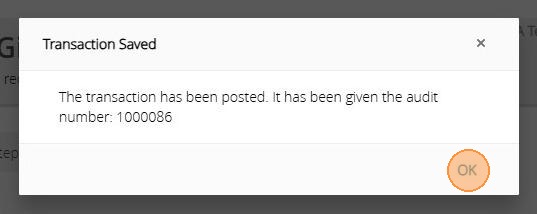
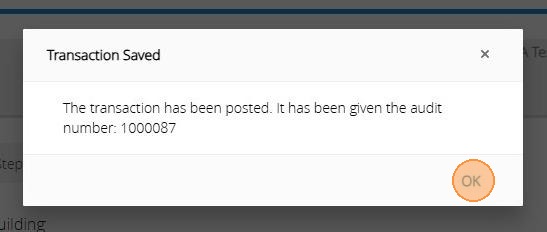
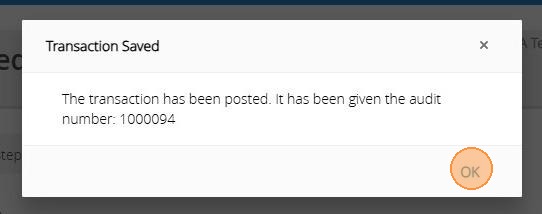
29. You will then be given an Audit number once the transaction has been posted successfully.
Bring in a Fixed Asset( Not purchase/gift)
Tip: The below steps will guide you in introducing a fixed asset without affecting your bank accounts or your income. Use this option to introduce a fixed asset that has not been recorded in the accounts but has belonged to the organisation for some time. This may be an asset that the organisation realises has significant value.
Tip: An alternative situation could be that the organisation has decided to sell the fixed asset but it is unlikely that this has been itemised in the accounts as a fixed asset. Before this can be sold the asset will need to be brought into the accounts as a capitalisation (faculty) and then sold through a normal income.
30. Click "Receive a fixed asset as a gift"
31. On Step 1 once select the reserve account to be used.
Should you want to create a new reserve code you can do so by going to your "Accounts Assistant" and clicking on "Nominal Codes"
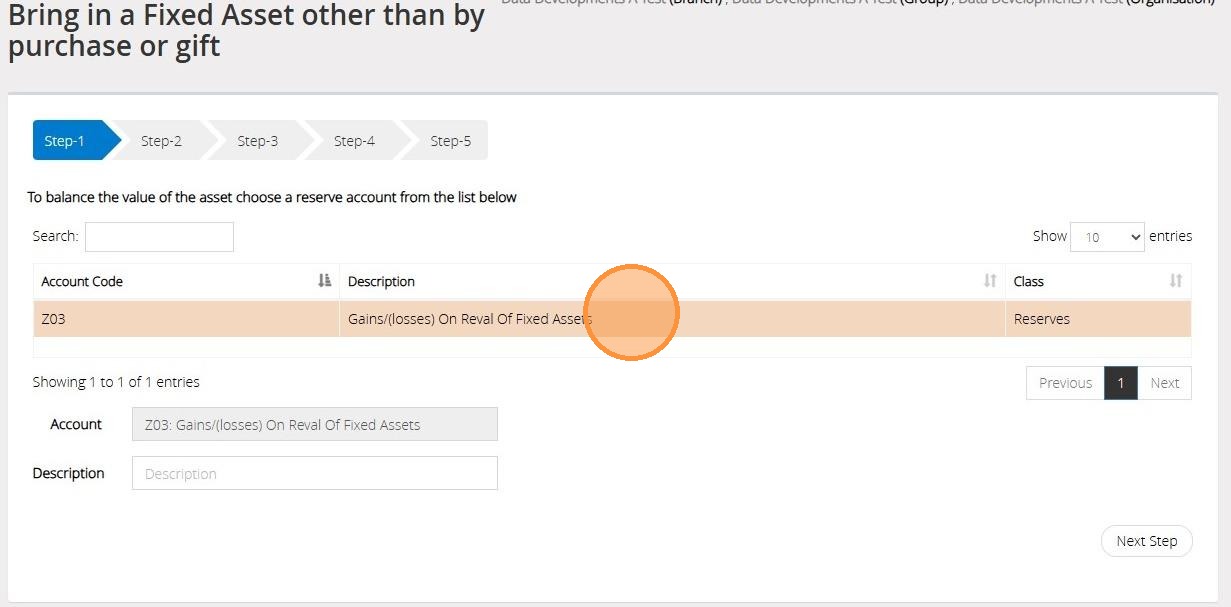
32. Click "Next Step"
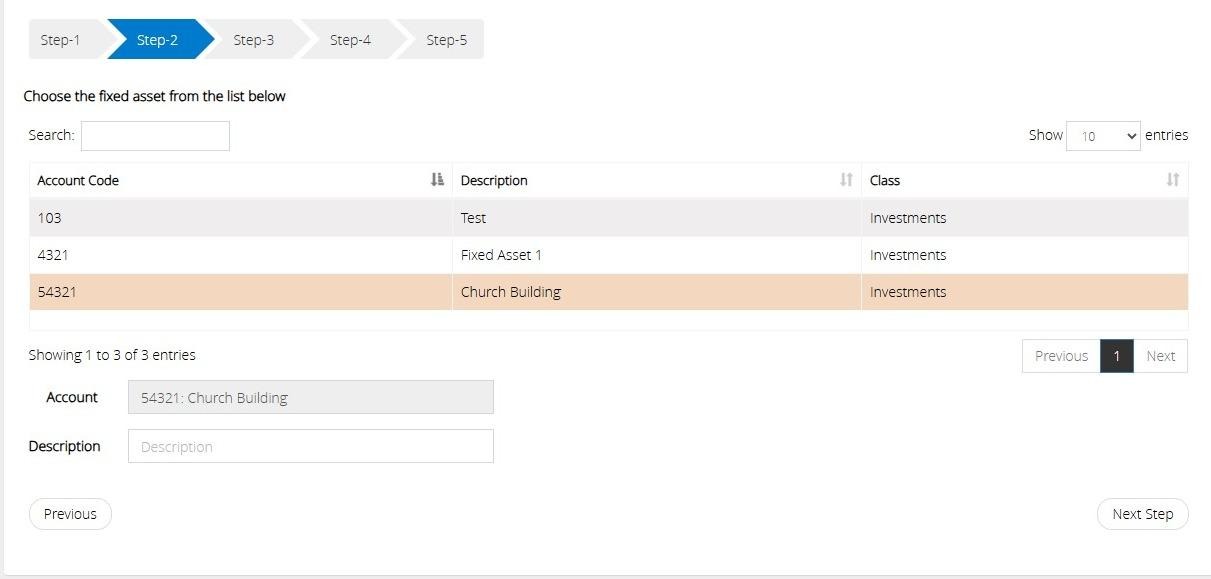
33. On Step 2 select the Fixed Asset code
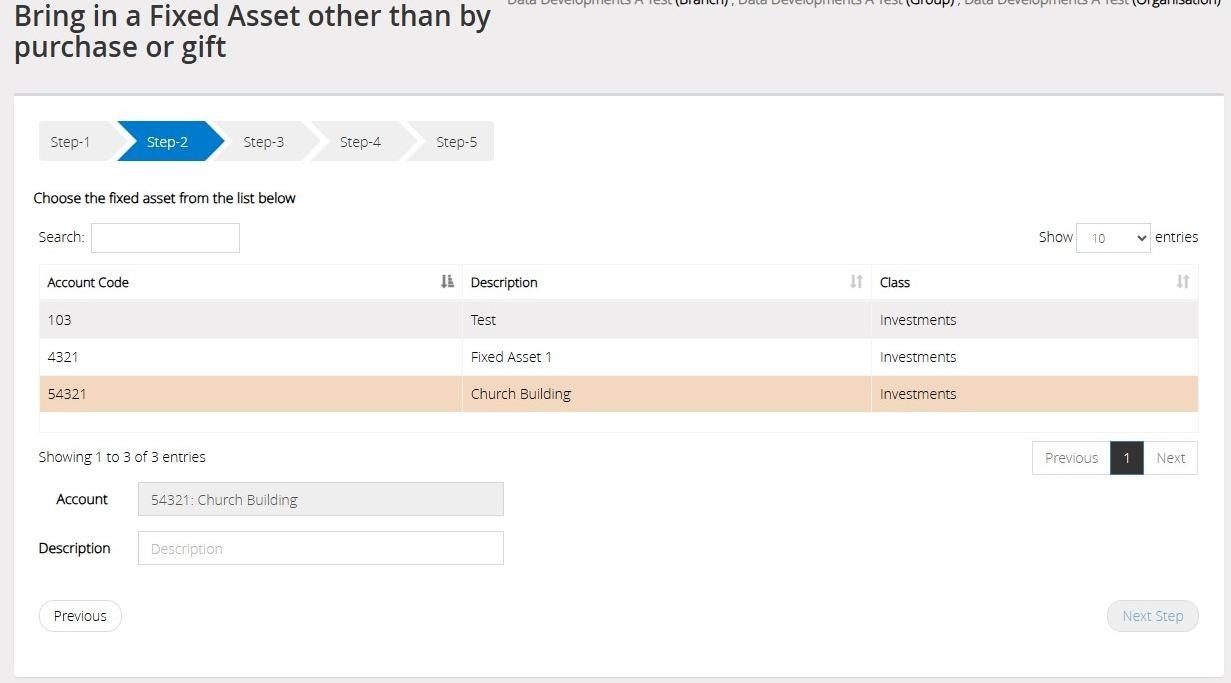
34. Click "Next Step"
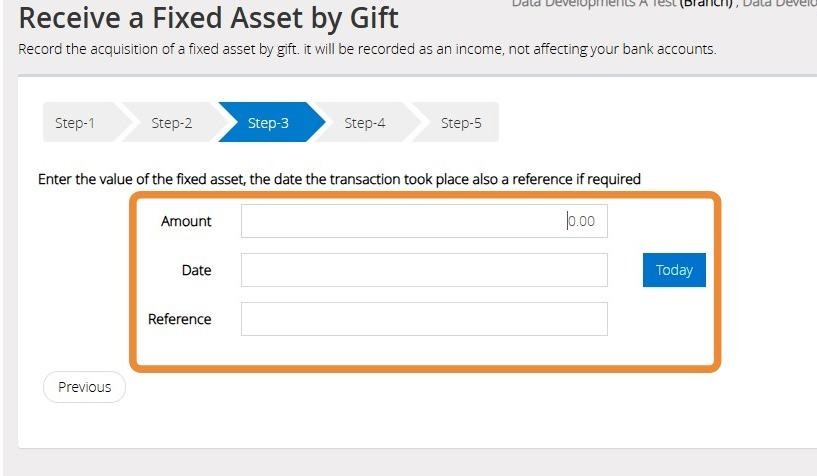
35. On step 3 enter the value of the fixed asset and the date you wish to introduce this into the accounts.
You can also enter a reference to go against the transaction.
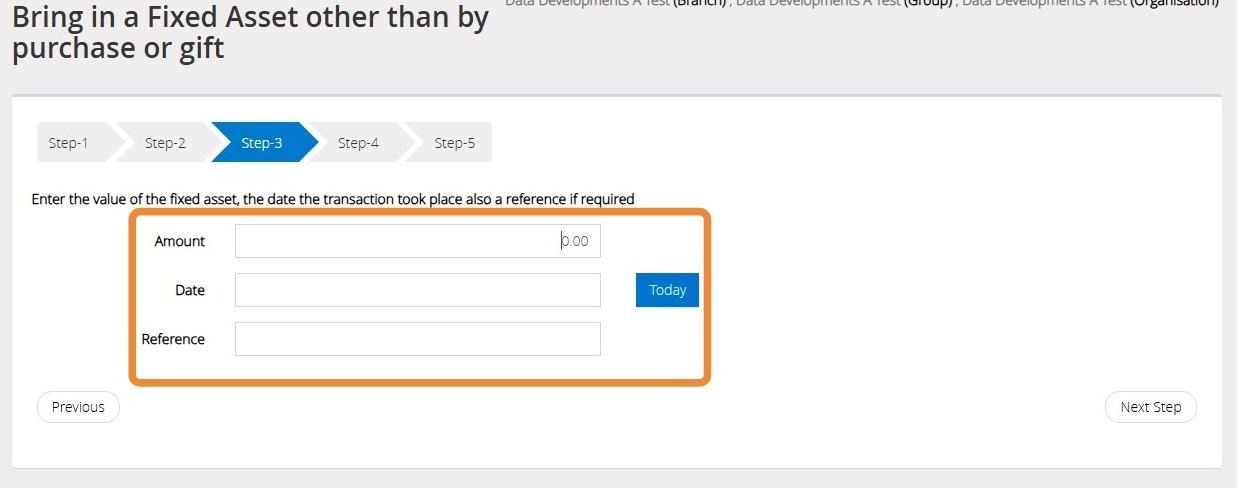
36. Click "Next Step"
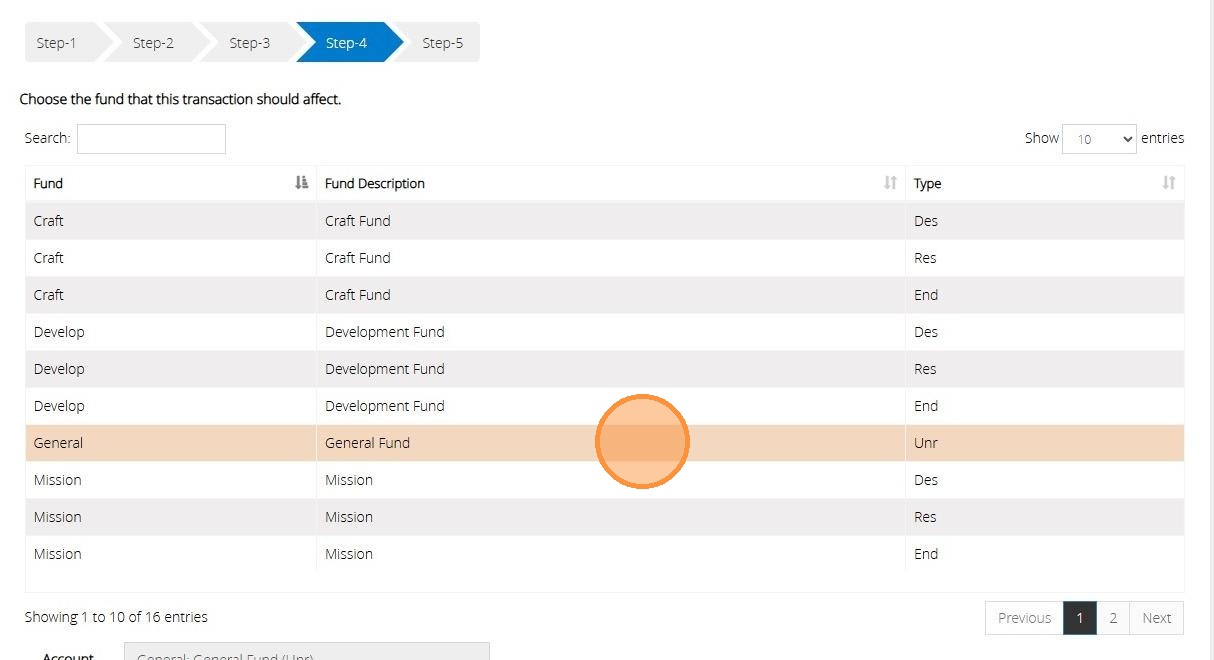
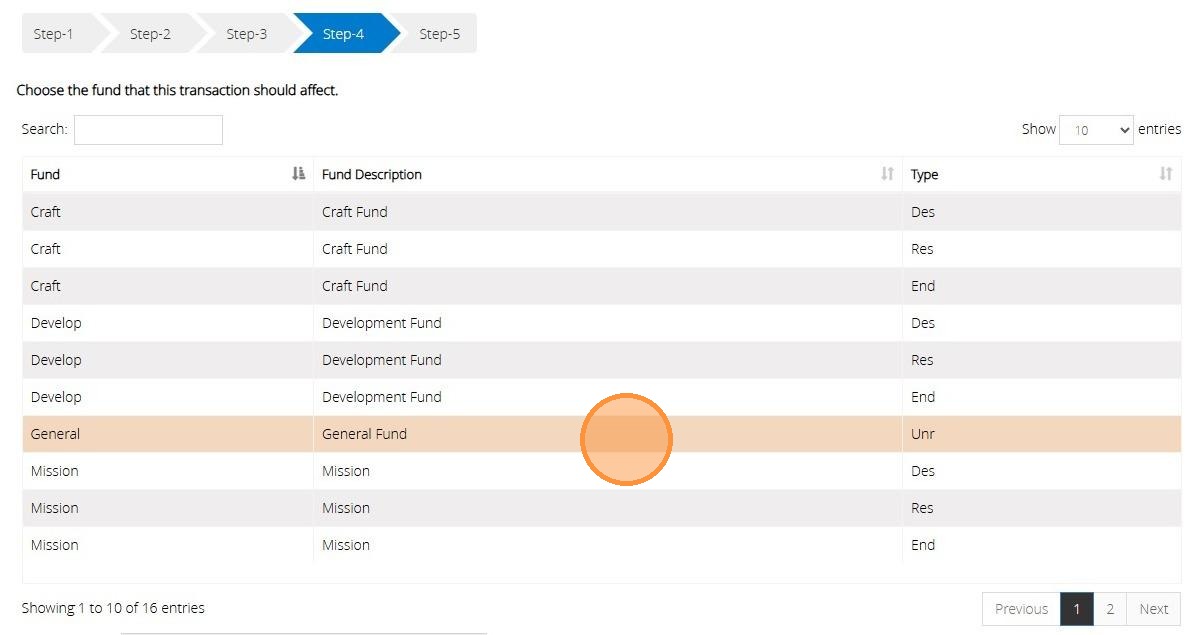
37. On Step 4 select the fund that the transaction should affect.
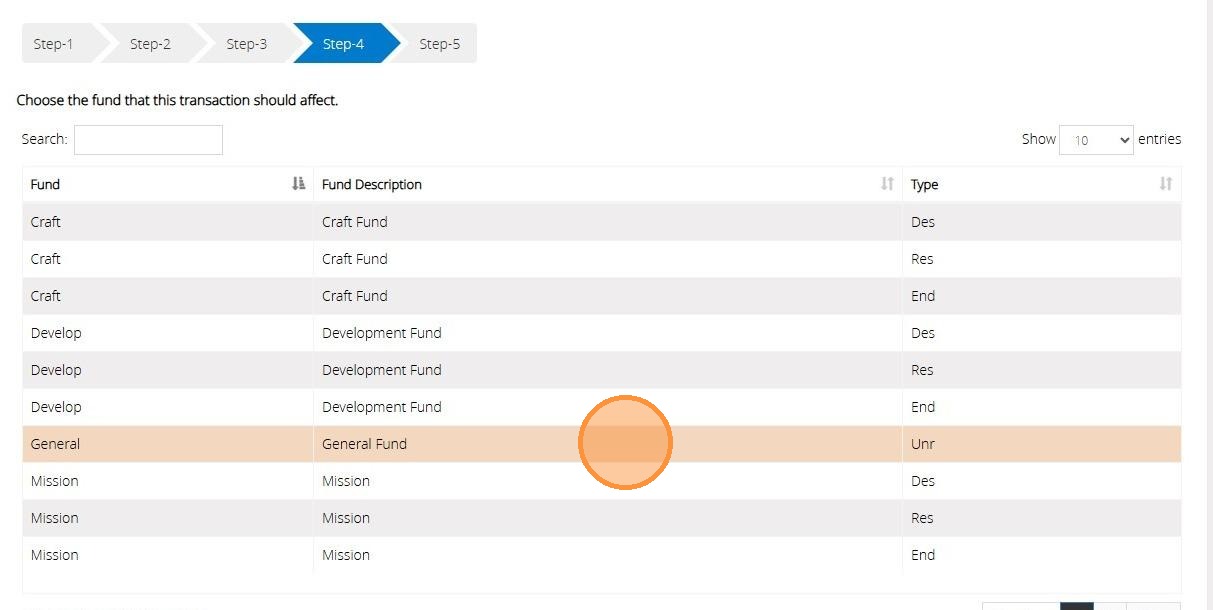
Tip: Tip! Click "Previous" or "Next" to move through the list of funds
38. Click "Next Step"
39. On Step 5 confirm the selections that have been made on previous steps.
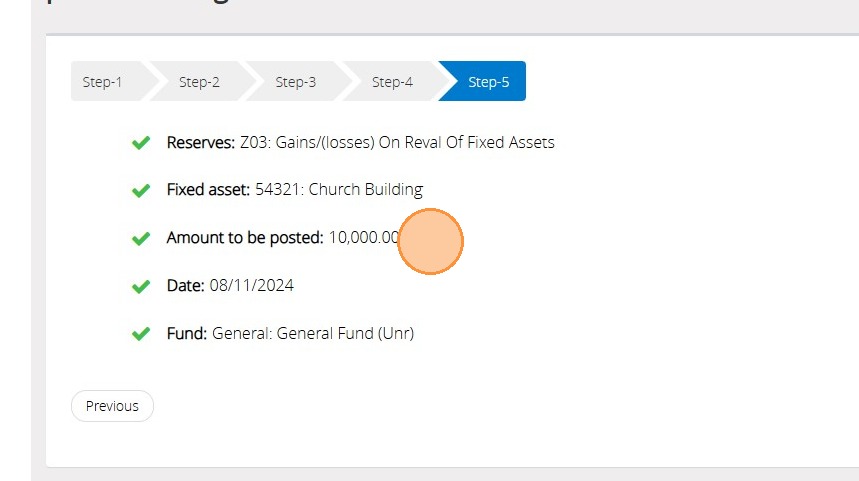
40. Click "Save & Post"

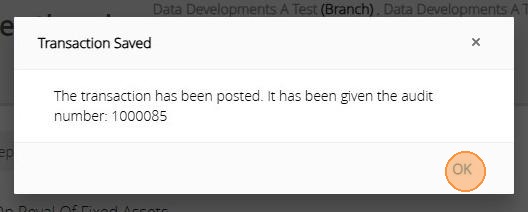
41. An audit number will be given once the transaction has been saved successfully.
Receive a Fixed Asset as a gift
Tip: The below steps will guide you in introducing a Fixed Asset and recording this against an Income account.
42. Click "Receive a fixed asset as a gift"
43. On Step one select the income account the gift will affect then Click "Next Step"
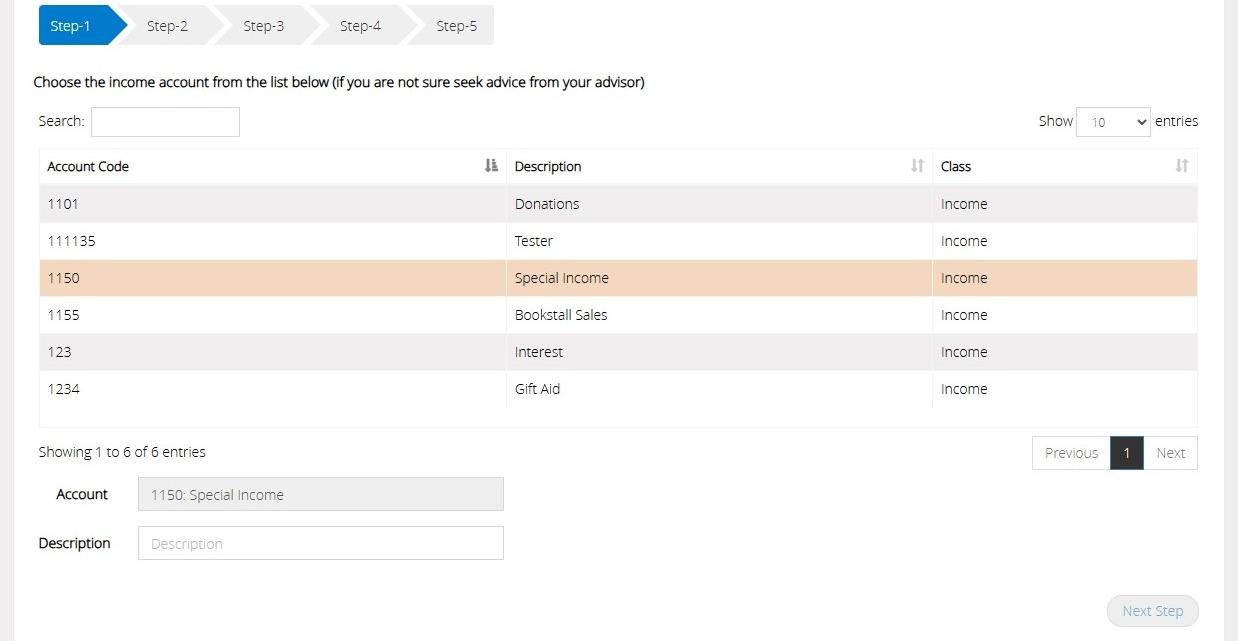
44. Click "Next Step"
45. On step 2 select the Fixed Asset code from your list
46. Click "Next Step"
47. On Step 3 enter the value of the fixed asset and the date you wish for this to effect in the accounts.
You can also enter a reference against the transaction,
48. Click "Next Step"

49. On Step 4 select the Fund that the transaction should affect
Tip: Tip! Click Previous or Next to move through your list of Funds.
50. Click "Next Step"
51. On Step 5 confirm the selections that have made in the previous steps. If any of the information is incorrect click previous to go back to a previous step and amend.
52. Click "Save & Post"
53. An Audit number will be given once the transaction has been saved successfully.
Sale or dispose of a Fixed Asset
Tip: The below steps will guide you in processing a sale or disposal of a Fixed Asset.
The value of the asset will be allocated to a bank account or other current asset.
Tip: If the sale amount of the fixed asset is not the same as the currently stored value, the difference will be assigned to an appropriate Income or Expenditure code of your choice.
54. Click "Sale or dispose of a fixed asset"
55. On Step 1 select the Fixed Asset code
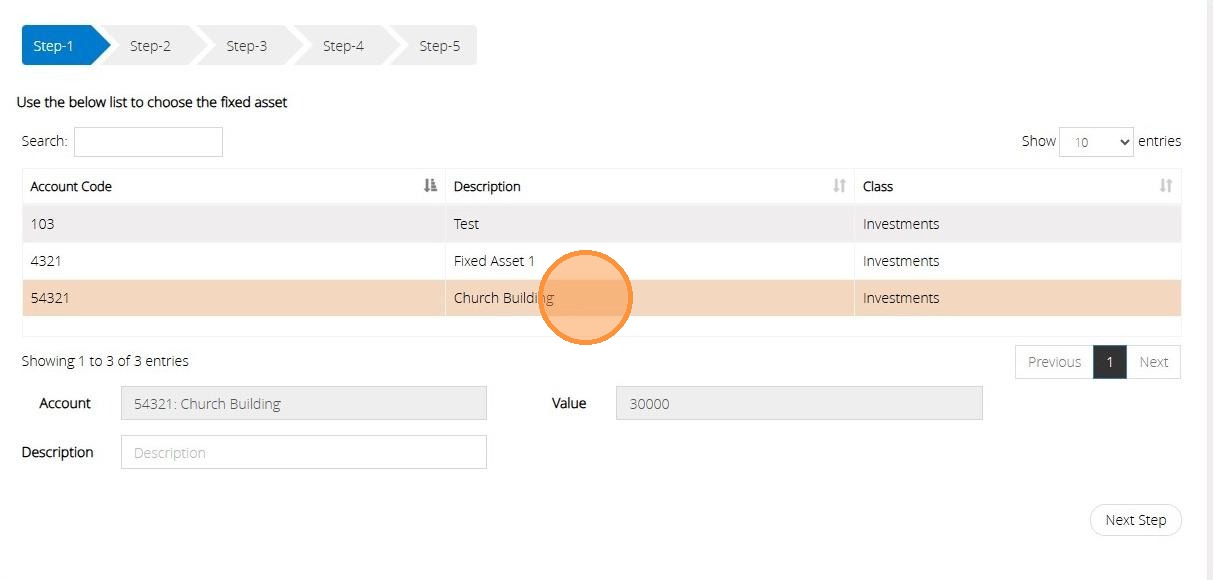
56. Click "Next Step"
57. On Step 2 select the bank account that the balance should be moved to
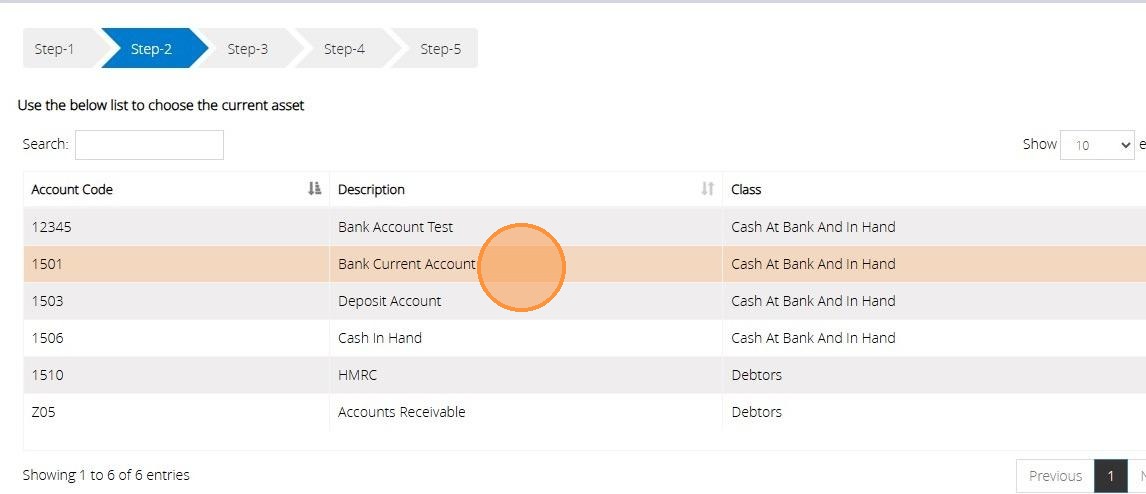
58. Click "Next Step"
59. On Step 3 you will need to enter the value of the Asset that you have either sold or disposed of.
The current value is displayed for reference.

60. Click "Next Step"
61. On Step 4 select the Fund that the transaction should affect.
62. Click "Next Step"
63. On Step 5 confirm the selections that you have made in previous steps. If any of the information is incorrect click previous to go back to a previous step and amend.
64. Click "Save & Post"
65. You will be given an Audit number once the transaction has been posted successfully.
Depreciate a Fixed Asset
Tip: This assistant will depreciate a fixed asset and allocate the depreciation to an expenditure account.
66. Click "Depreciate a fixed asset"
67. On step 1 select a Fixed Asset code that you wish to depreciate.
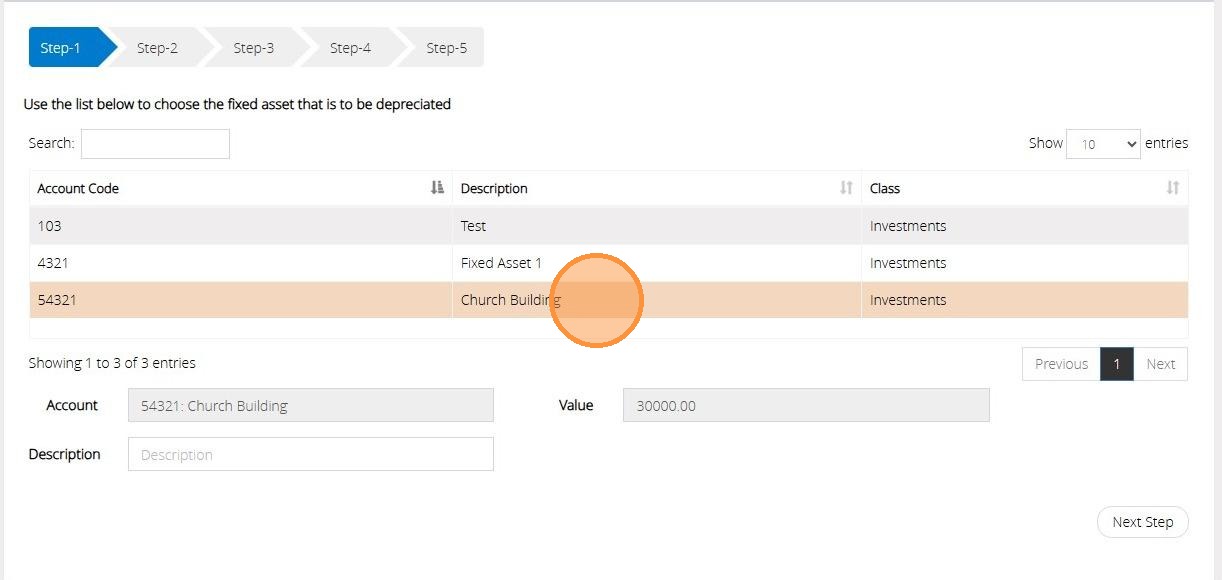
68. Click "Next Step"

69. On Step 2 select the expenditure code that you wish to use.
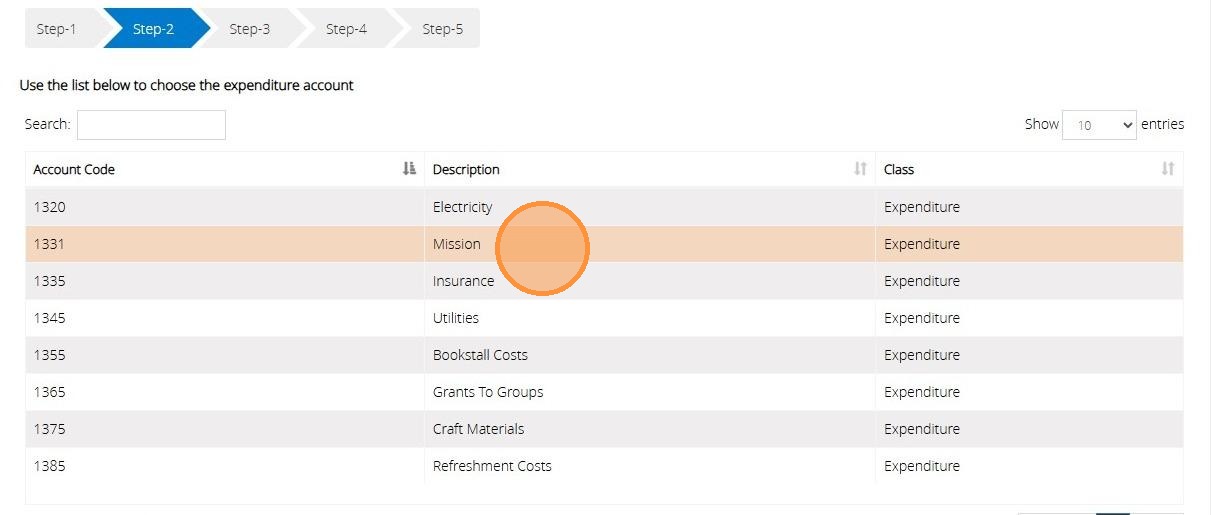
70. Click "Next Step"
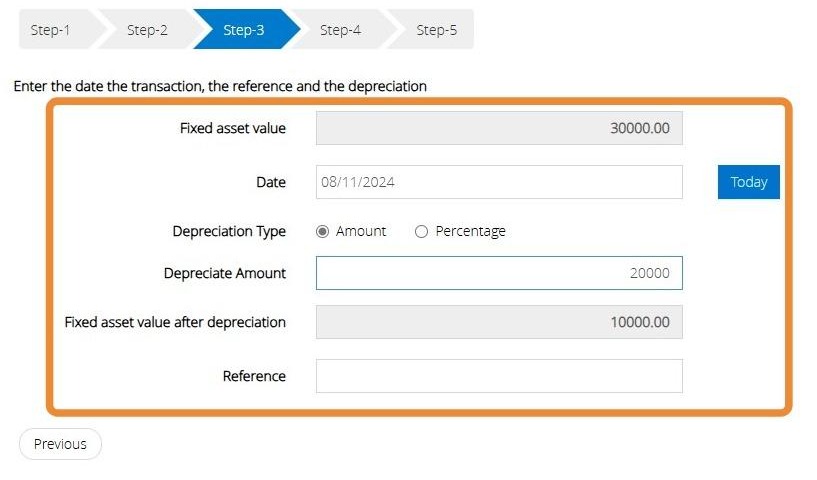
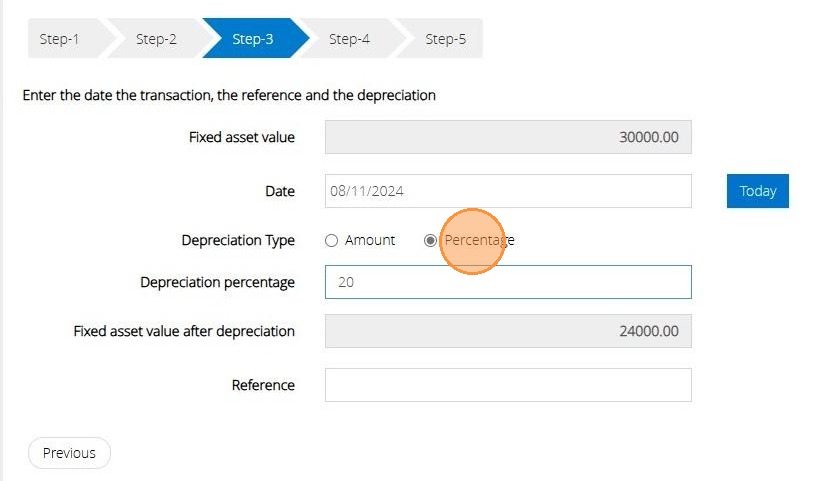
71. On Step 3 you can view the current value of the Fixed Asset. This box is greyed out so that the balance cannot be amended.
Enter the date below that the transaction took place.
In the below example we have selected the depreciation type as amount.
Type in the amount you wish to depreciate the asset value by.
The new value will be displayed below this.
You can also enter a reference against the transaction.
72. Alternatively, you can use the percentage option to enter the depreciation percentage amount.
The new value of the amount will then be displayed below.
You can also enter a reference against the transaction.
73. Click "Next Step"

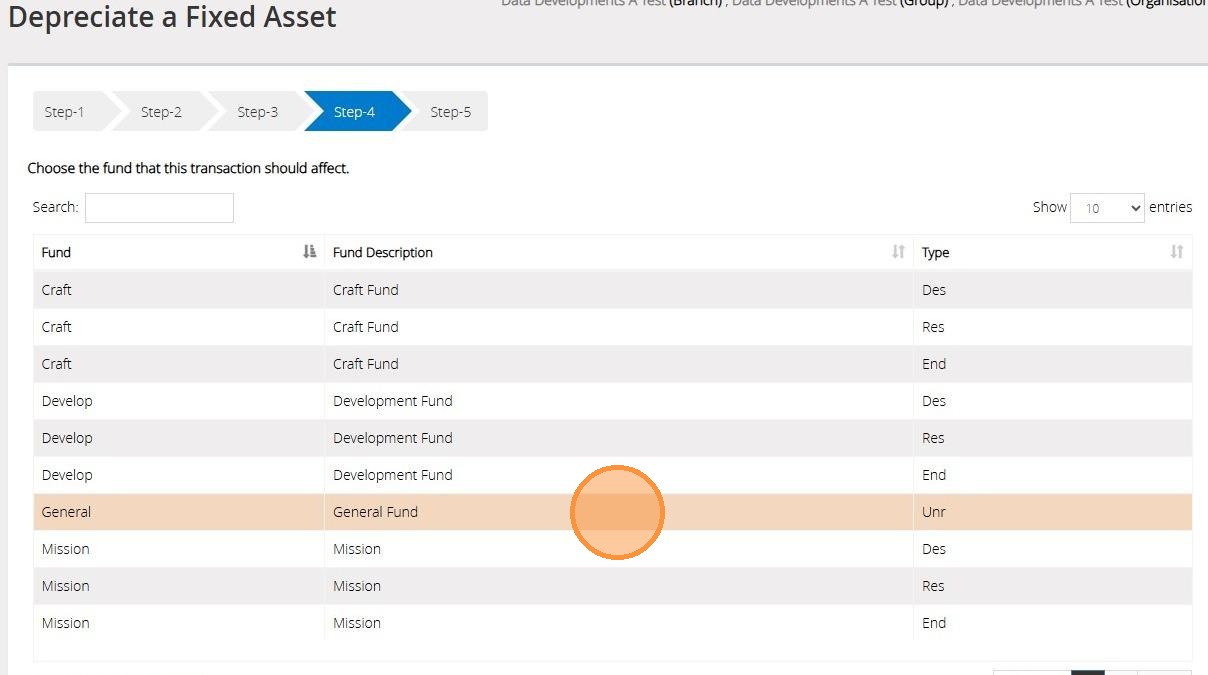
74. On Step 4 select the Fund that the transaction should affect.
75. Click "Next Step"
76. On Step 5 confirm the selections you have made in previous steps
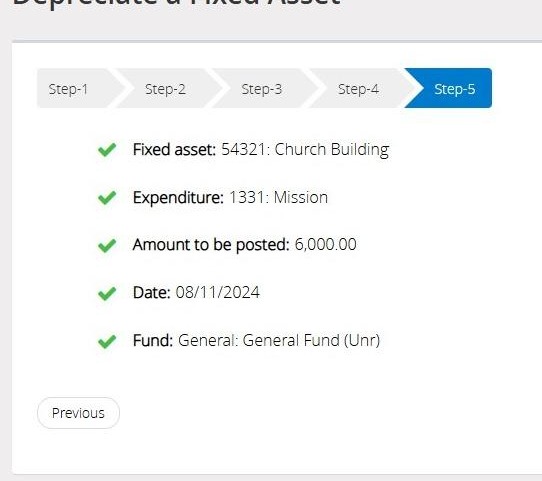
77. Click "Save & Post"

78. An Audit number will be issued once the transaction has been saved successfully.
Increase the value of a Fixed Asset
Tip: The below steps will guide you in increasing the value of a Fixed Asset and record the difference against an Income account.
79. Click "Increase the value of a fixed asset"
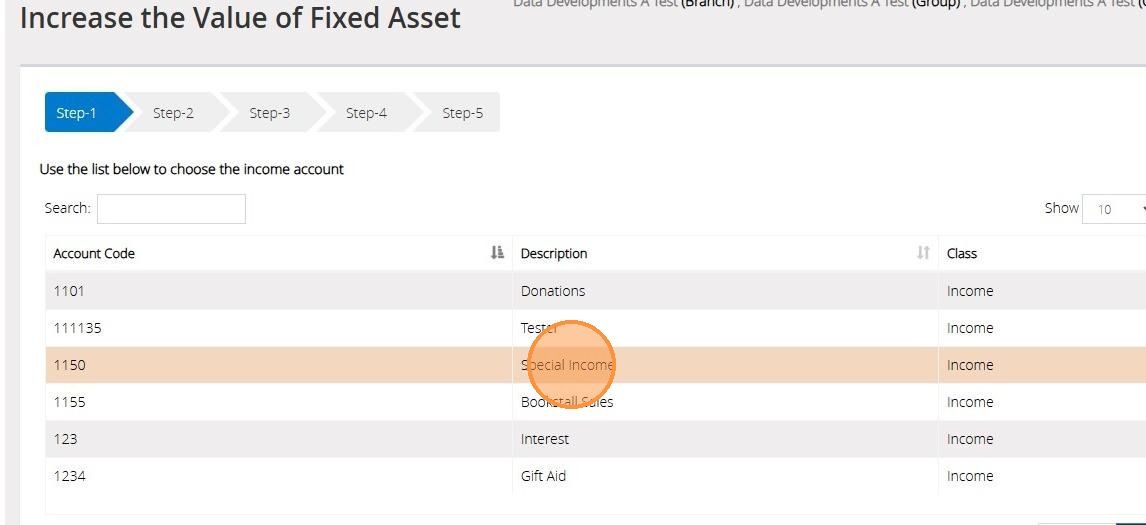
80. On step 1 choose the income account that you wish to increase the value
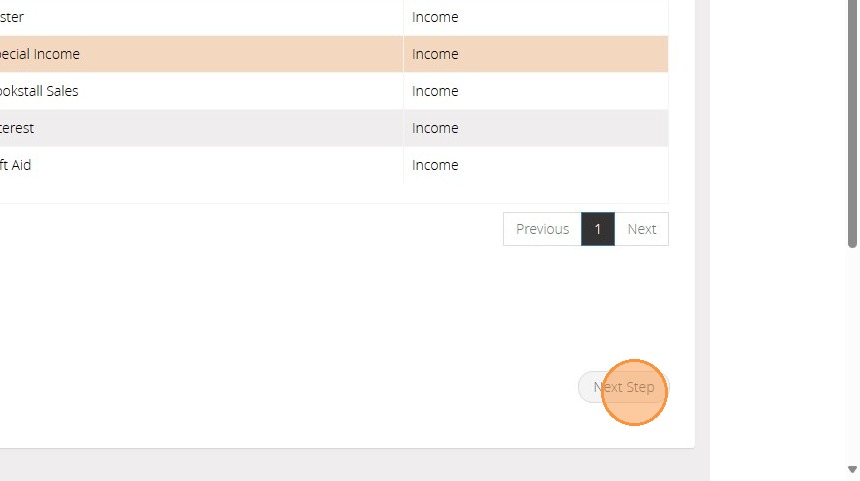
81. Click "Next Step"
82. On Step 2 select the Fixed Asset code you wish to increase the value of

83. Click "Next Step"
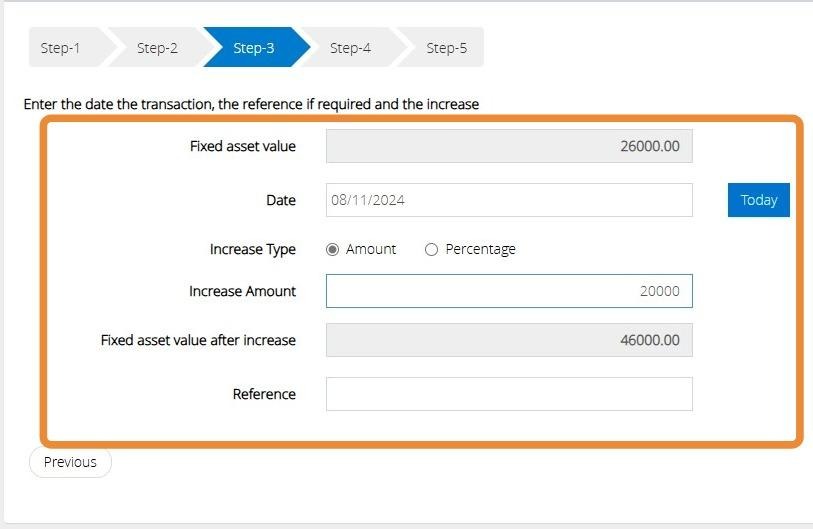
84. On Step 3 you can view the current value of the Fixed Asset. This box is greyed out so that the balance cannot be amended.
Enter the date below that the transaction took place.
In the below example we have selecting the Increase type as amount.
Type in the amount you wish to Increase the asset value by.
The new value will be displayed below this.
You can also enter a reference against the transaction.
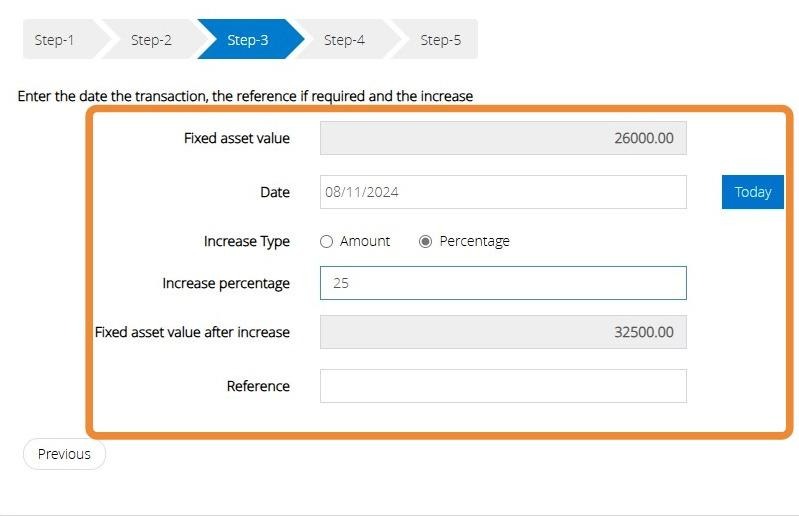
85. Alternatively, you can use the percentage option to enter the Increase percentage amount.
The new value of the amount will then be displayed below.
You can also enter a reference against the transaction.
86. Click "Next Step"

87. On Step 4 Select the Fund that the transaction should affect.
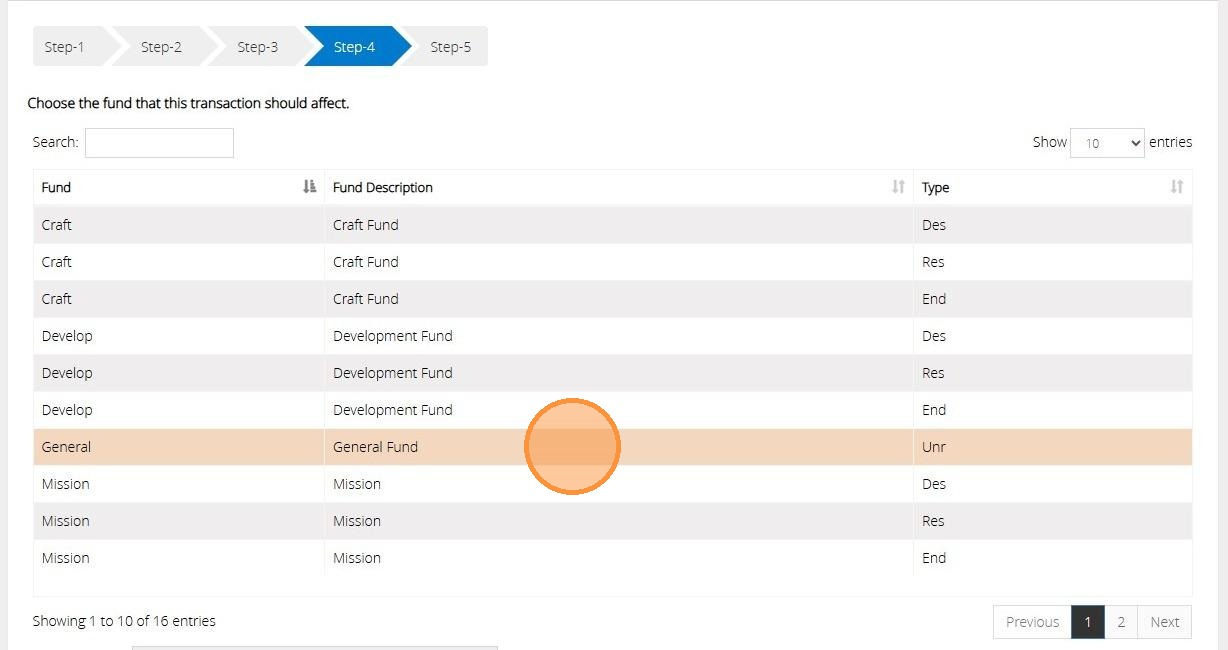
88. Click "Next Step"

89. On Step 5 confirm the selections you have made in previous steps
90. Click "Save & Post"
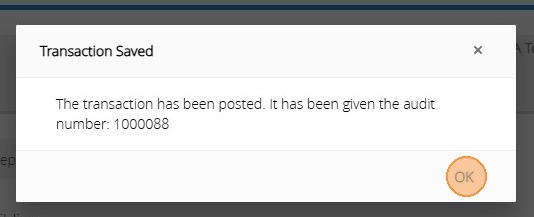
91. An Audit number will be issued once the transaction has been saved successfully.
Record a gain or loss on revaluation
Tip: This option will record a gain in the value of a Fixed Asset and allocate it to the Gains and Losses account.
92. Click "Record a gain or loss on revaluation"
93. On step 1 select the Fixed Asset code you need to revalue from the list of Codes.
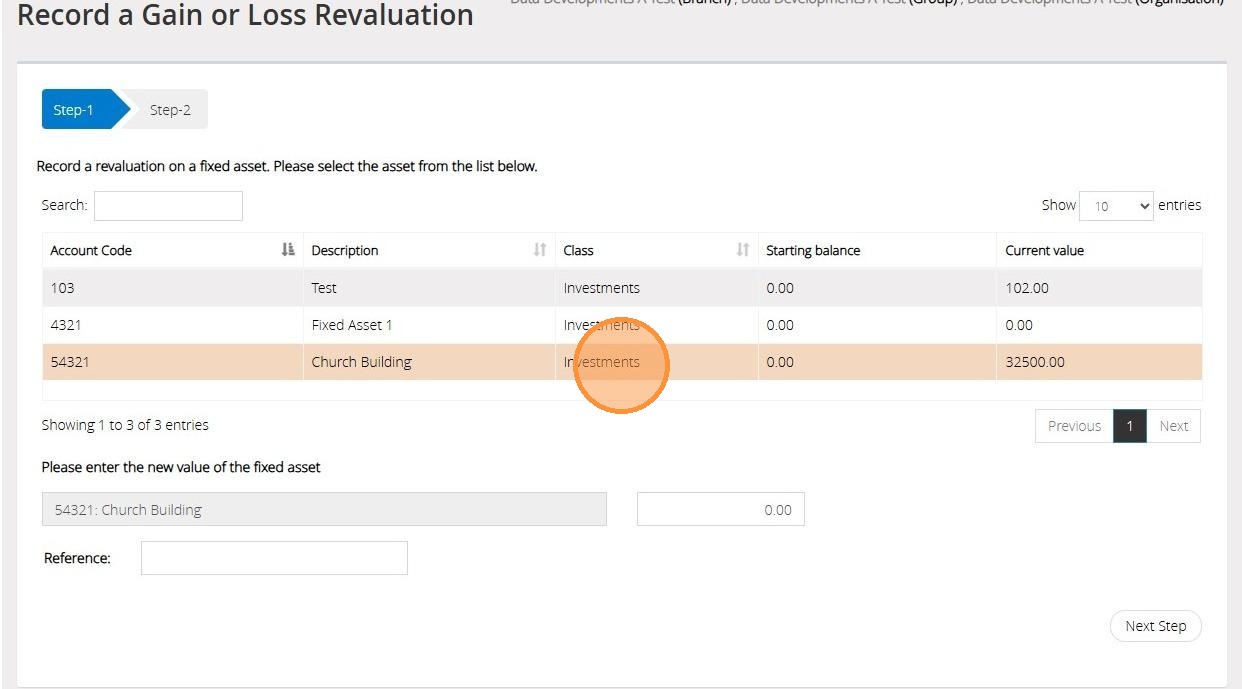
94. Click "Next Step"

95. Click "OK"

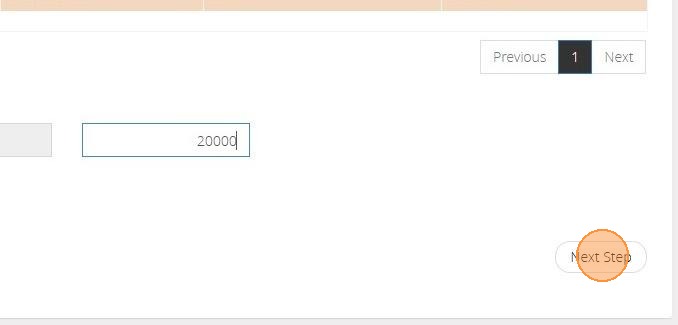
96. Enter the new value of the asset here.
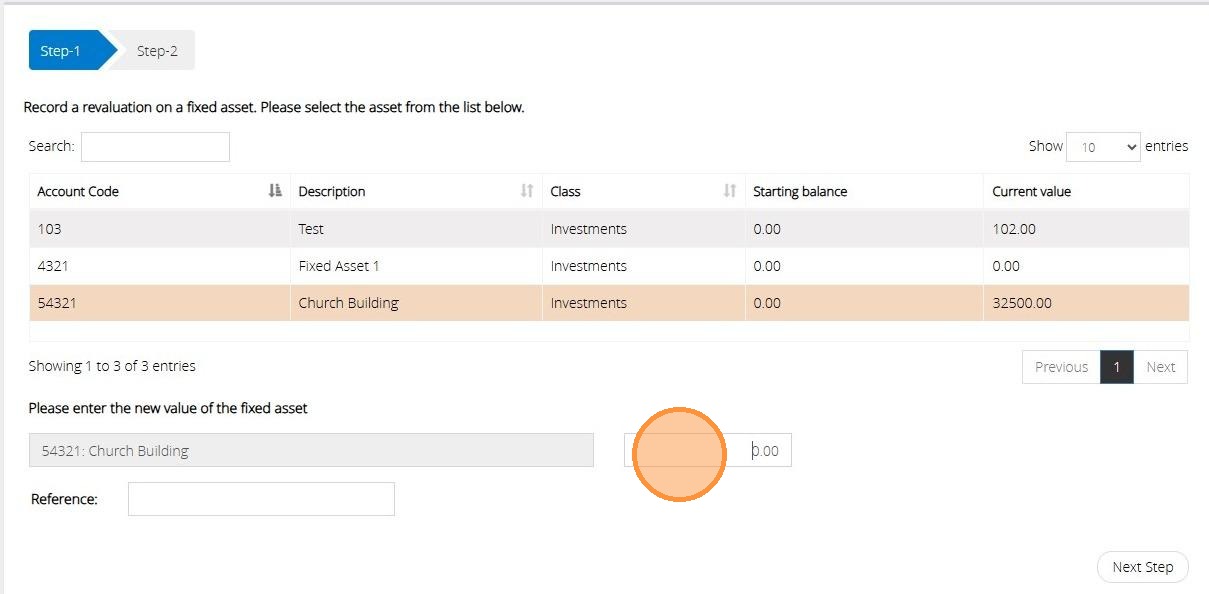
97. Click "Next Step"
98. The Fixed Asset code and current value will be displayed here.
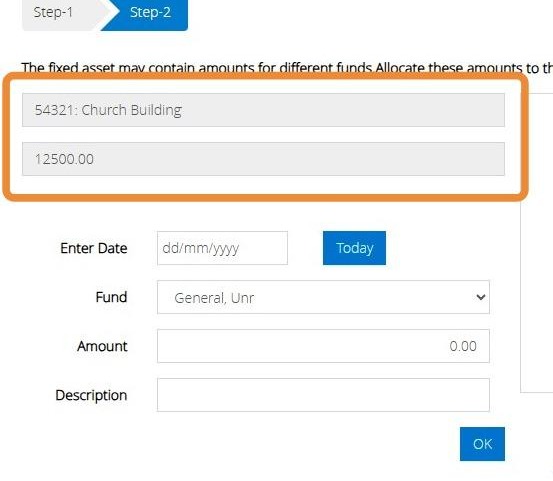
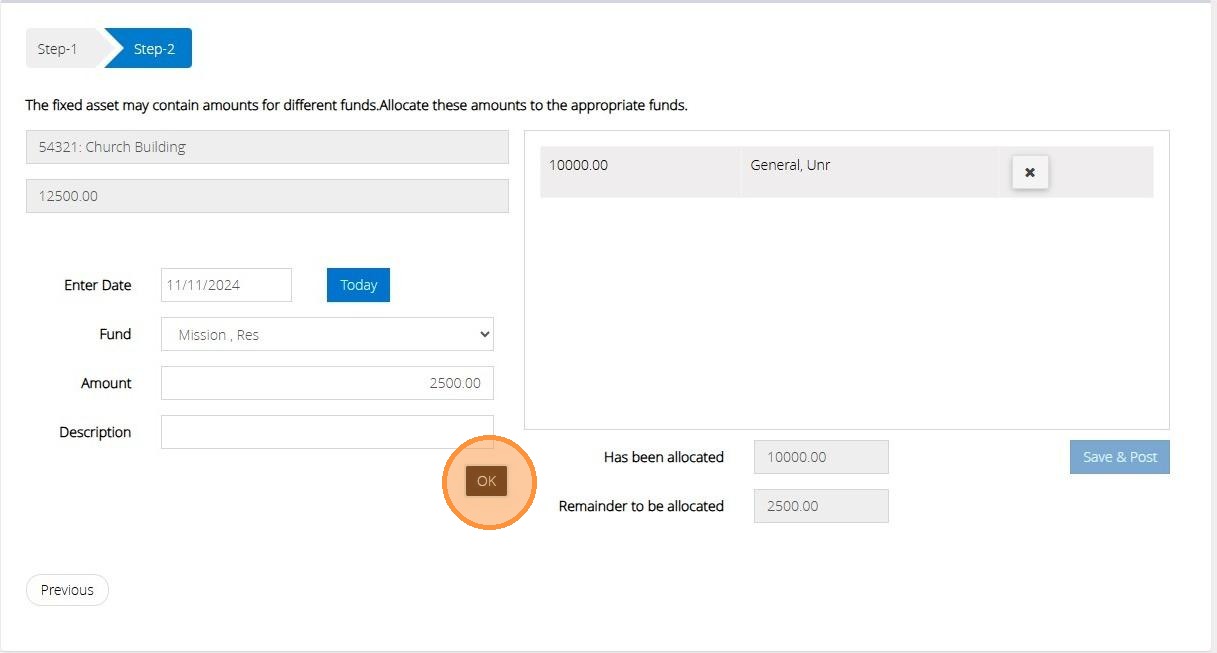
99. On Step 2 we will need to allocate the value of the asset to the funds that this should affect.
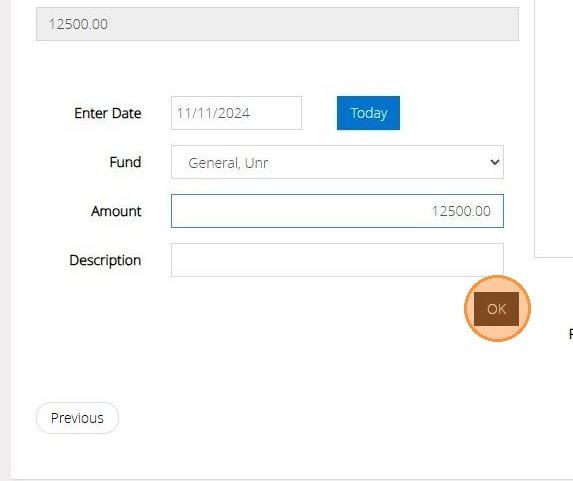
Enter the date on the revaluation and select the fund from the drop down menu provided.
Enter the amount that belongs to this fund and a description if required.
Click "Ok"
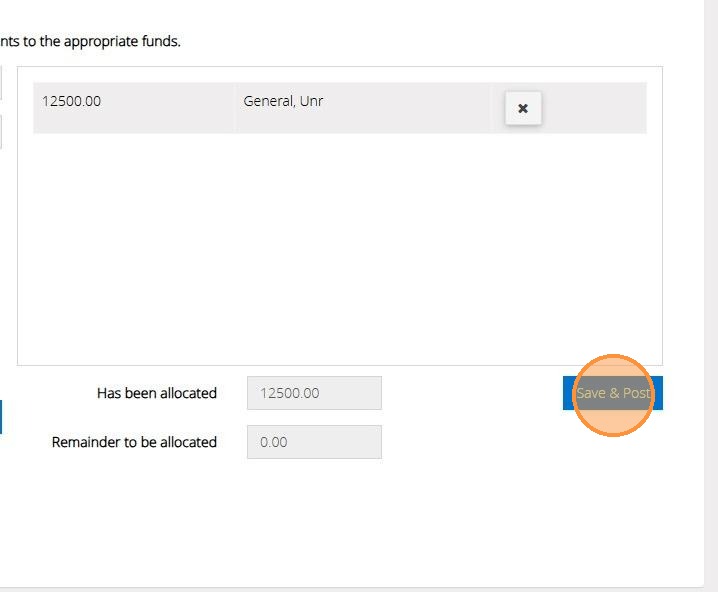
100. On the right hand side we can now see that the full amount has been allocated.
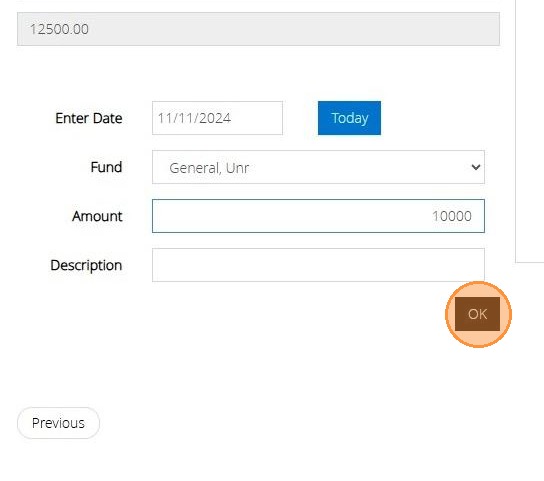
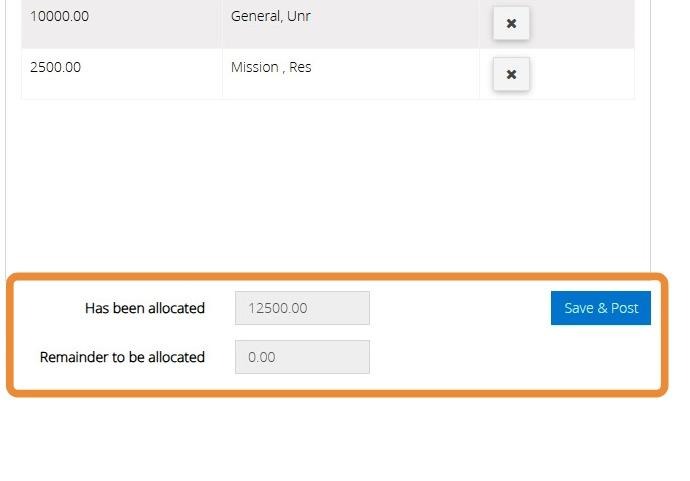
101. The current value of the asset may belong to more than one fund.
In this instance you would enter the amount that belongs to the fund and click ok.
102. Here we can see the amount that has been allocated to our funds and the remainder that is still waiting to be allocated. We will need to continue building the elements until all of the Asset Value has been allocated to the funds.
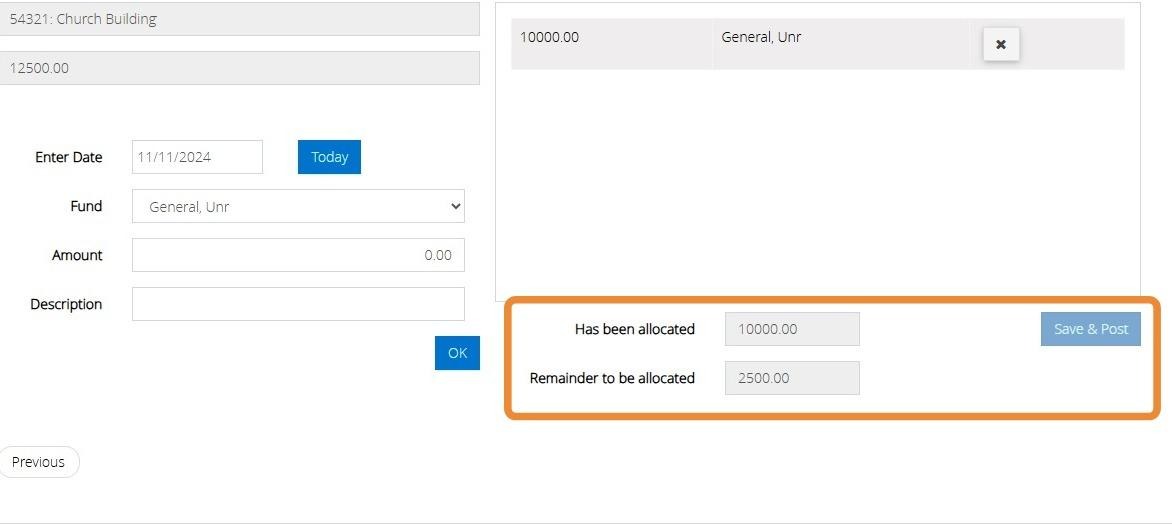
Tip: Tip! The Save & Post button will remain greyed out until the full balance has been allocated.
103. Allocate the remaining Balance to your fund/s.
Click "OK"
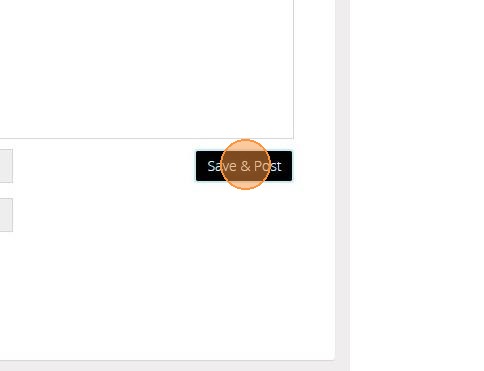
104. As all the full value of the asset has been allocated the "Save & Post" button has become available.
105. Click "Save & Post"
106. You will be given an audit number once the transaction has been saved successfully.
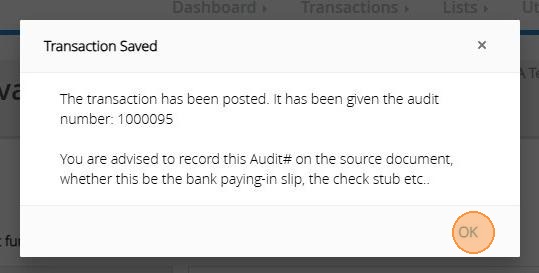
Tip: Tip! We strongly advise to record the Audit number directly on the source document you have used to enter the transaction.
Generate a Fixed Asset Report
Tip: The below steps will guide you in generating a report of your Fixed Asset and all activity entered against this.
107. Click "Reports"

108. Click "Transactions"

109. Click "Fixed assets"

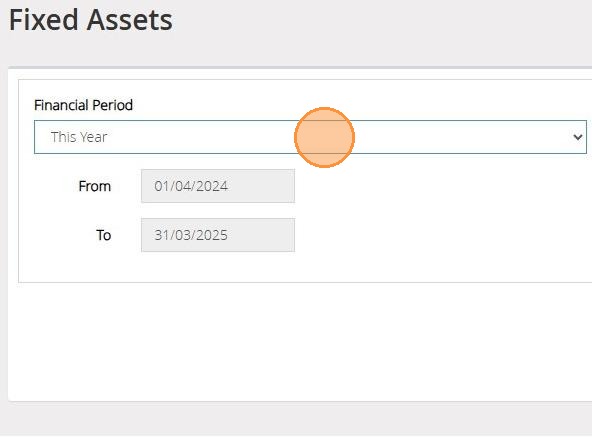
110. Select your financial period from the drop down bar provided.
Click Date Range if you wish to enter manual dates.
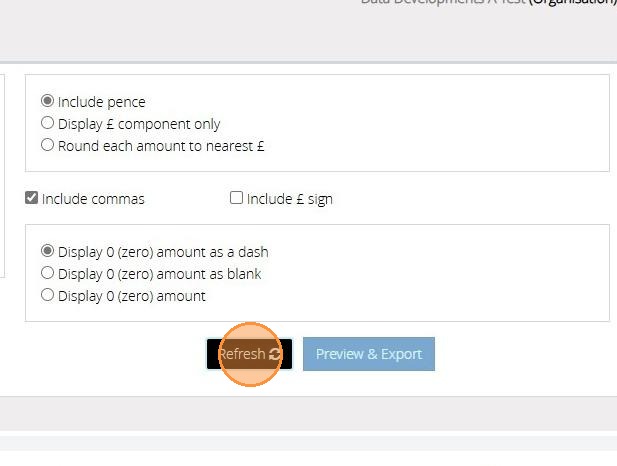
111. Click "Refresh"
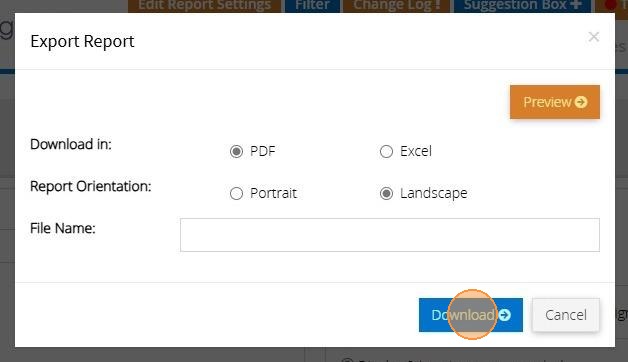
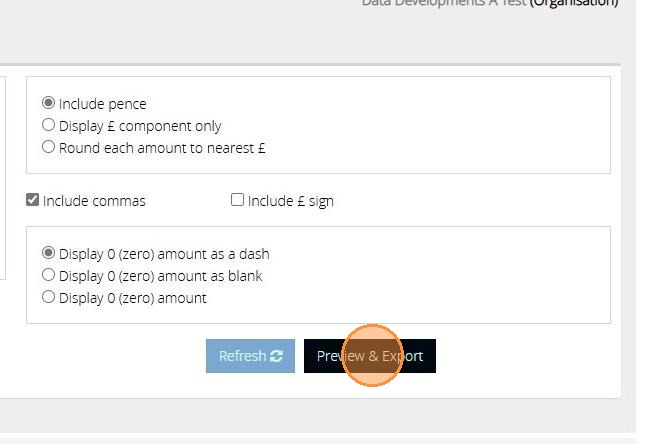
112. Click "Preview & Export"
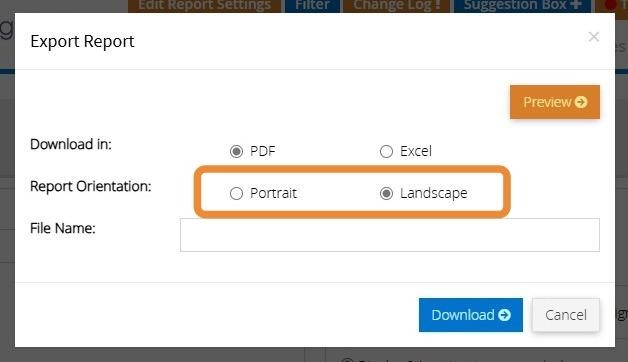
113. You can generate the report as a PDF or Excel file. By default "PDF" is selected
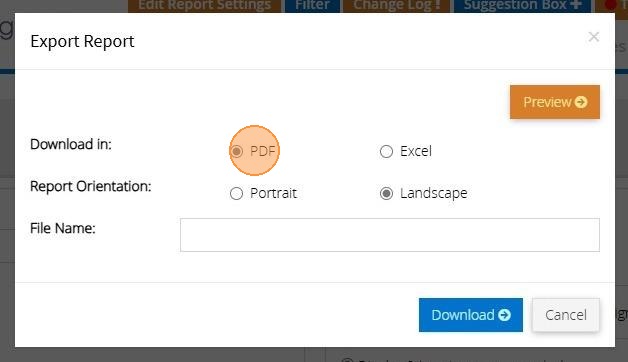
114. You can choose to have the report in portrait or landscape mode. Depending on the report this may be set to landscape or portrait. You can change this; however, it may result in a report that doesn't look right.
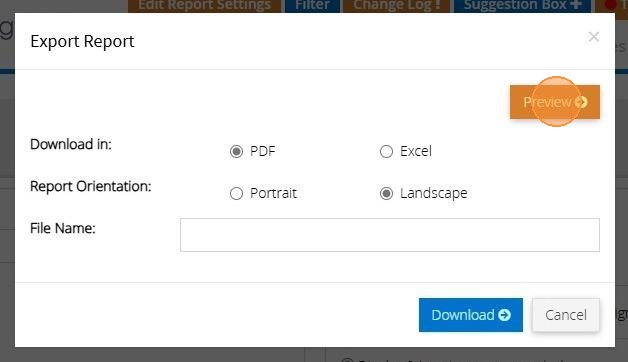
115. Click "Preview" to see the report in the browser. (Only works with PDF)
116. If you want to download a copy of the report click this text field and enter in a name for the file that will be created
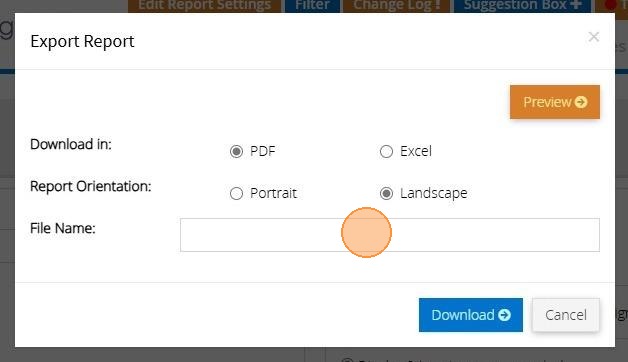
117. Then click "Download"