Where is the cost centre assistant?
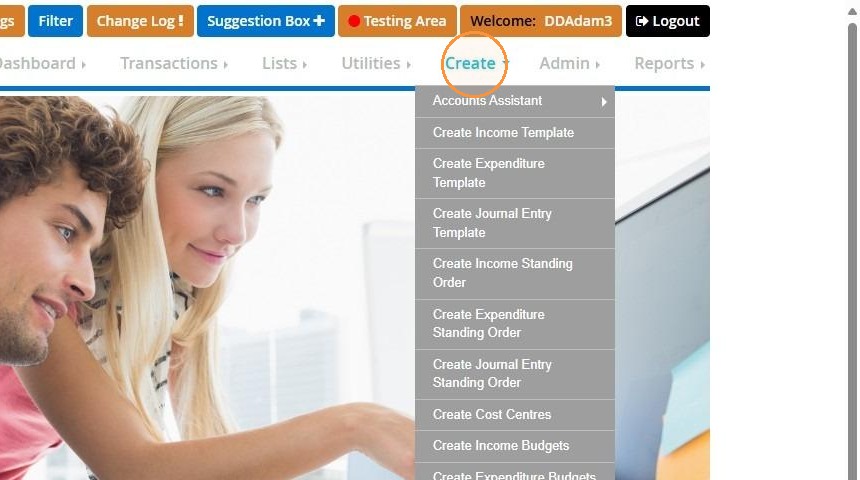
1. Choose "Create".
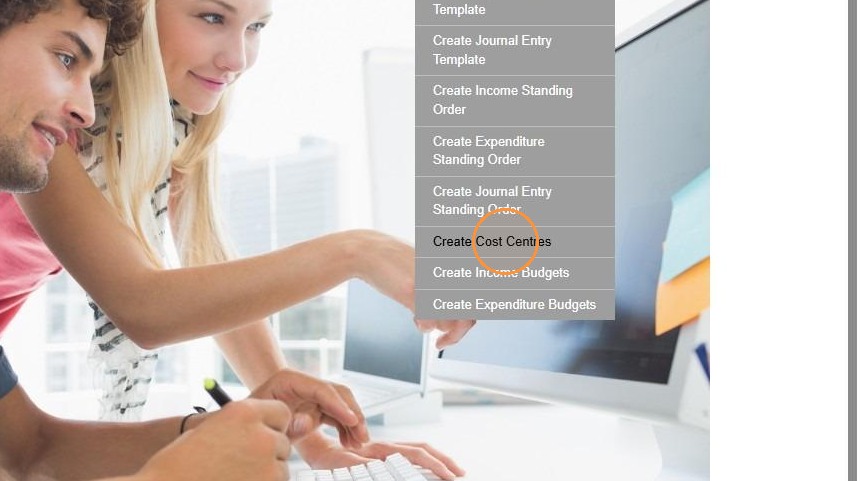
2. Select "Create Cost Centres".
How set up your cost centre
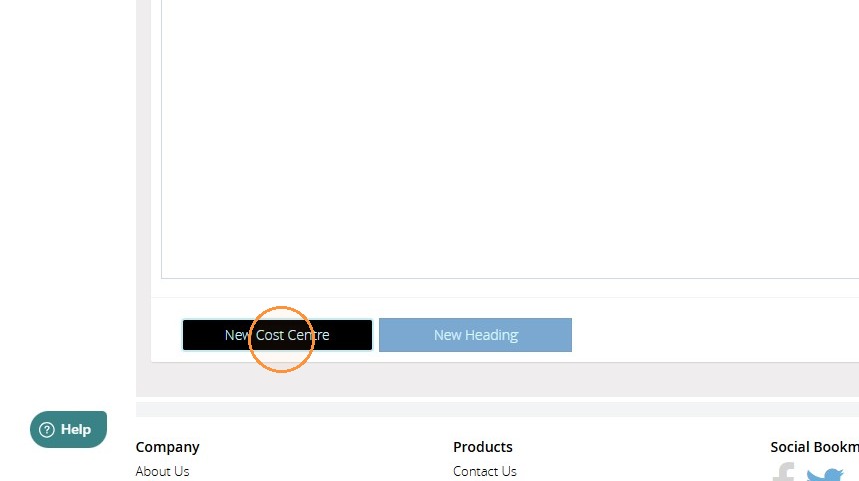
3. Select "New Cost Centre".
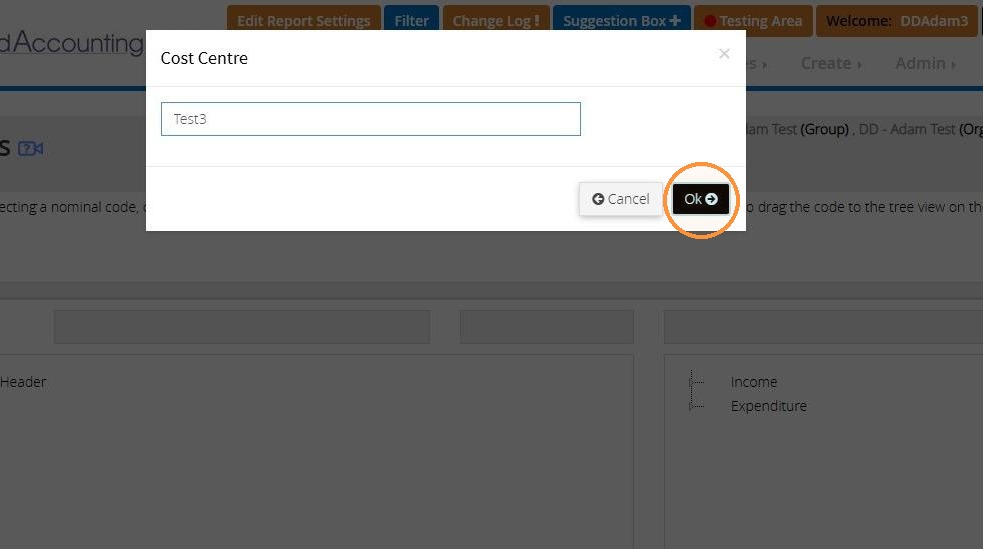
4. Enter a name for your cost centre here. In the example below, we've called the cost centre “test3.” If you wish, you could create a cost centre specifically for something like organisation utilities, which would help you focus on those elements and give the organisation better insight. Once you’ve entered the name, click "OK".
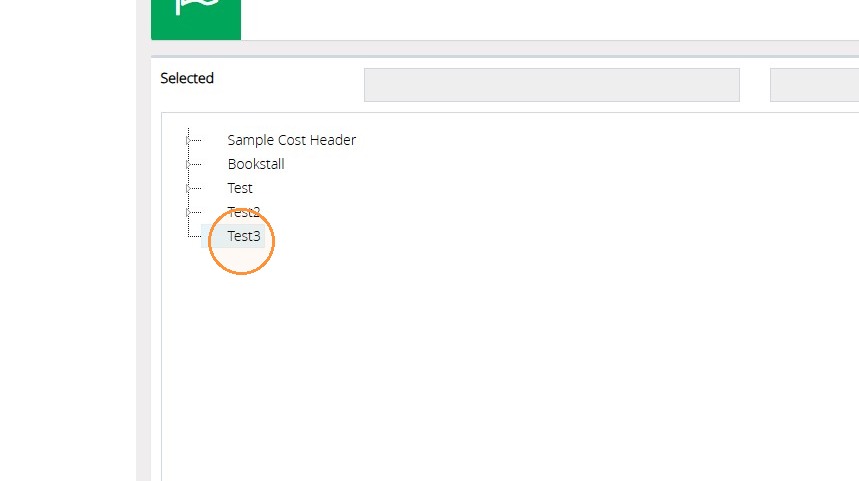
5. Click on your new cost centre that you have created.
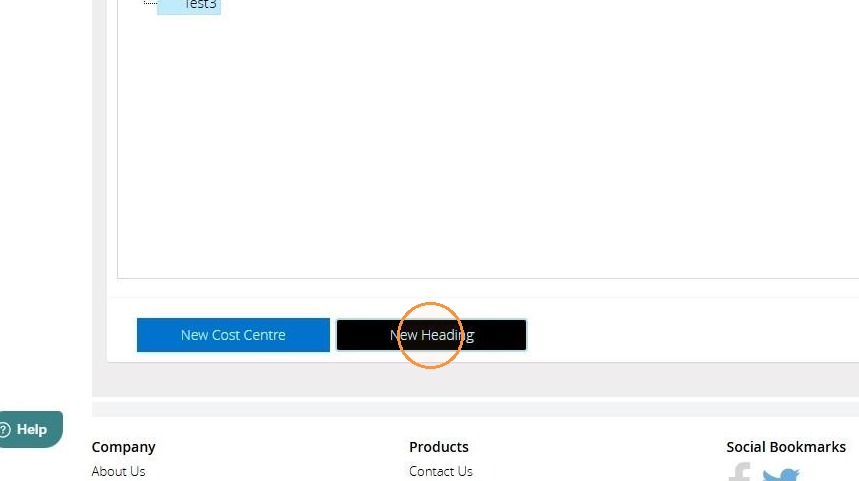
6. To add a new heading within the cost centre, click "New Heading" This heading will be where you can assign income and expenditure codes to populate your cost centre.
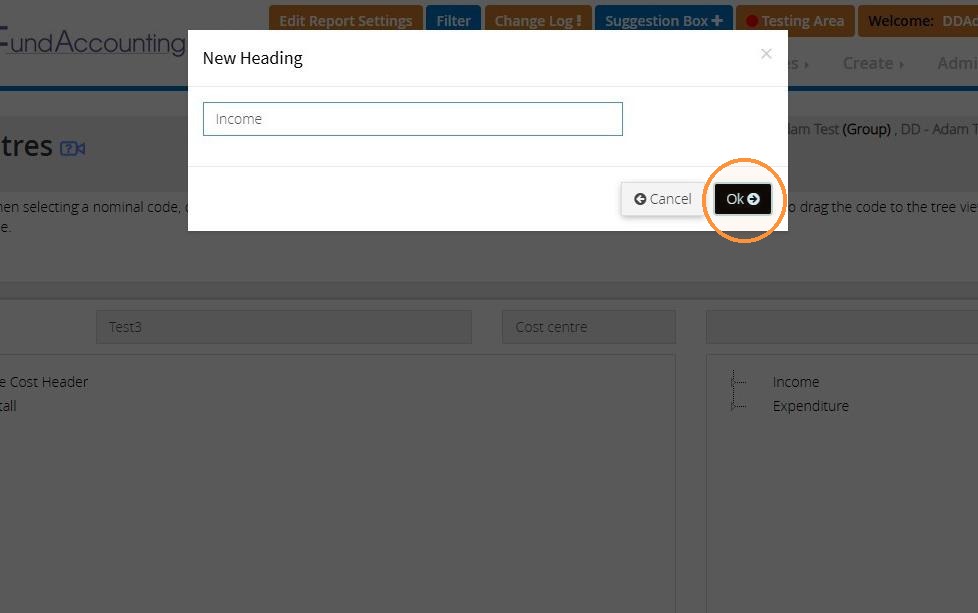
7. You can enter a description for the new heading in the text box. Then click 'OK' to continue. You will need to repeat steps 6 and 7 to add another heading to the cost centre. In our example cost centre, we've added main headings for 'Income' and 'Expenditure'. So we can track the financial activity for both income and expenditure
8. Once you have set up your headings for your cost centre, you can click the down arrow to see them.
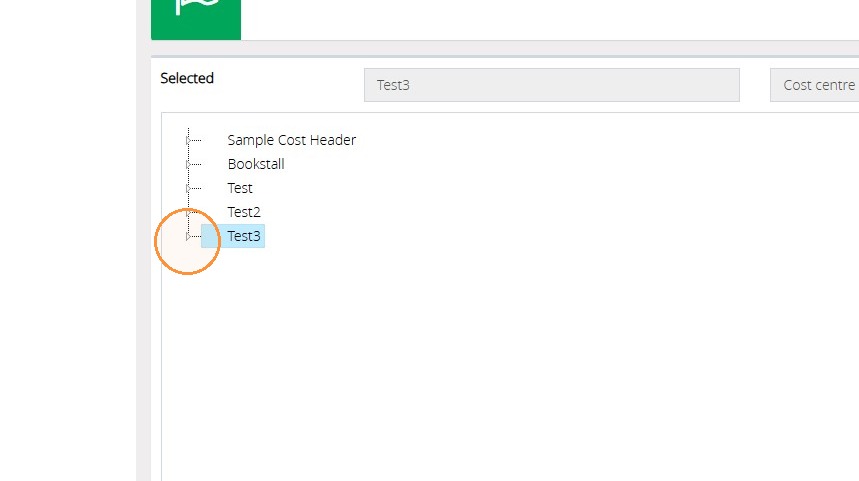
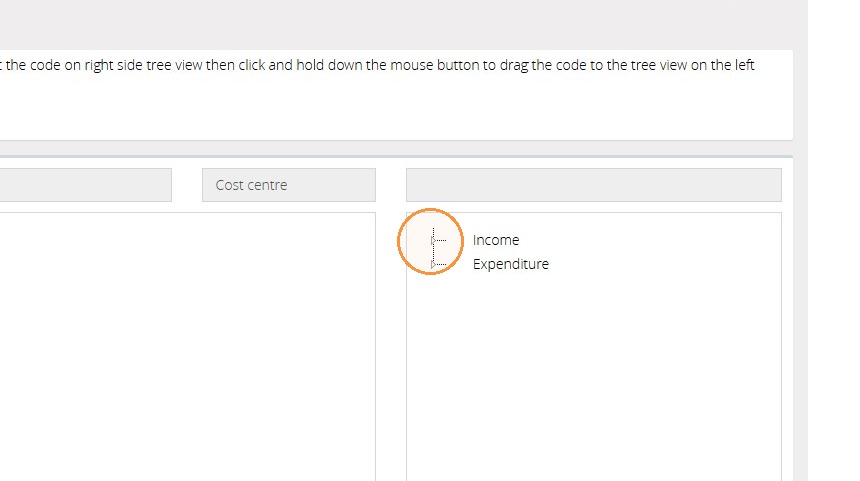
9. Now you are ready to choose the income and expenditure codes you want to include in your cost centre. On the right hand side, as shown in the example below, you will see the income and expenditure drop down menus. Click the arrows to reveal the list of income and expenditure codes.
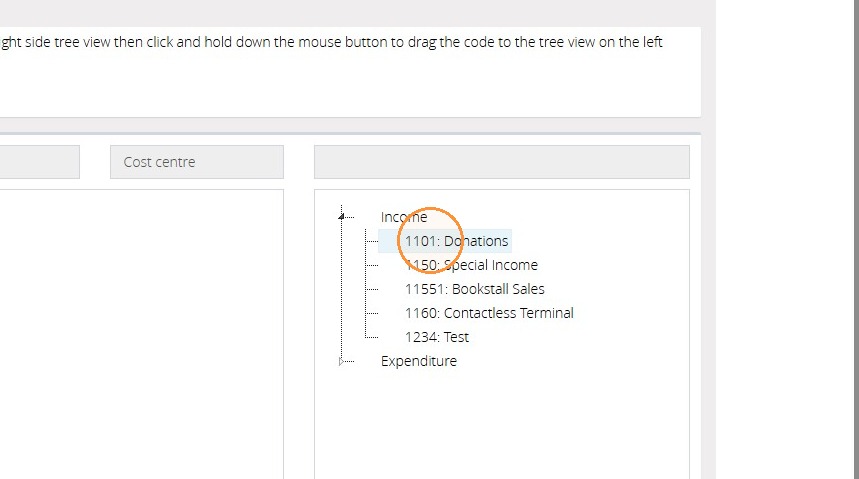
10. To add an income or expenditure code to your cost centre, hold down the left clicker of your mouse and then drag it across to the main heading you wish to put it under. You will need to repeat this step for each nominal code you wish to add. In the example below, we will be adding the income codes underneath the Income heading and the expenditure codes underneath the Expenditure heading. Before processing, please make sure that the headings of your cost centre are visible using the arrows. Also, when dragging nominal codes across, ensure they are aligned with the main headings of the cost centre.
11. As you can see from this example, I have moved "Bookstall sales", "Special income" and "donations", which will then show under the heading within the cost centre.
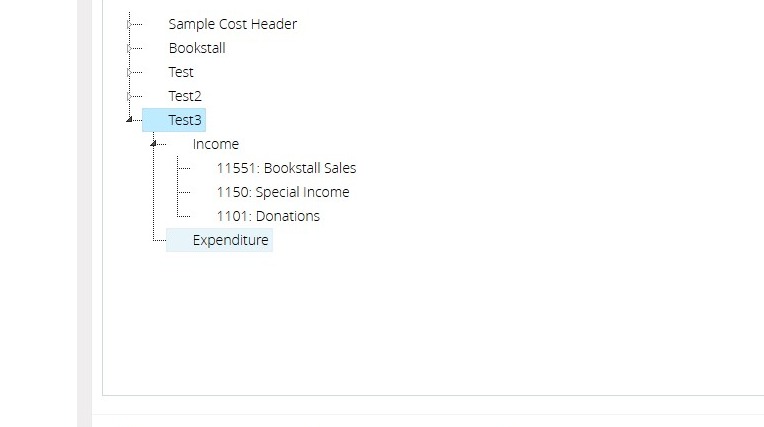
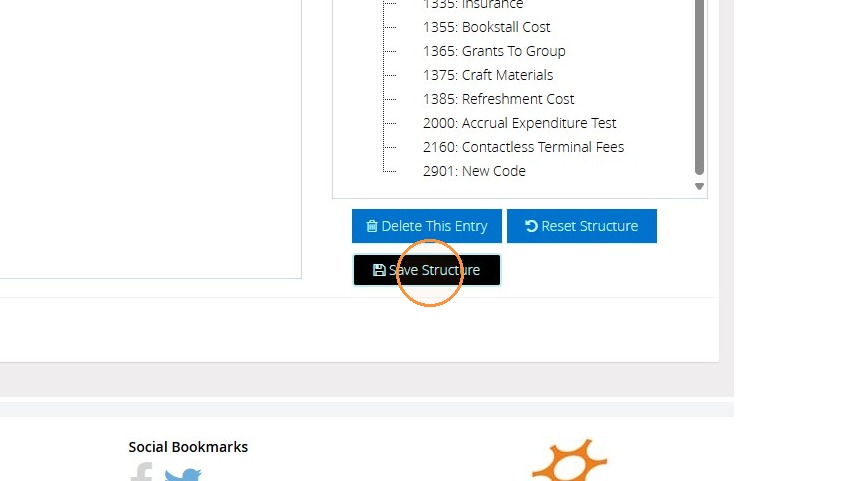
12. Once you're happy with the layout of your cost centre, click 'Save Structure' to save the cost centre into the system.
How to Generate a Cost centre Reports
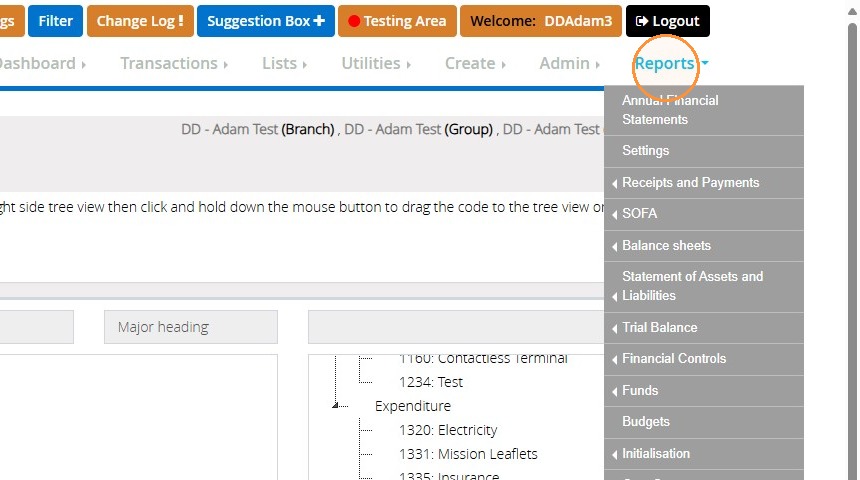
13. Go to "Reports"
14. Select "Cost Centres"
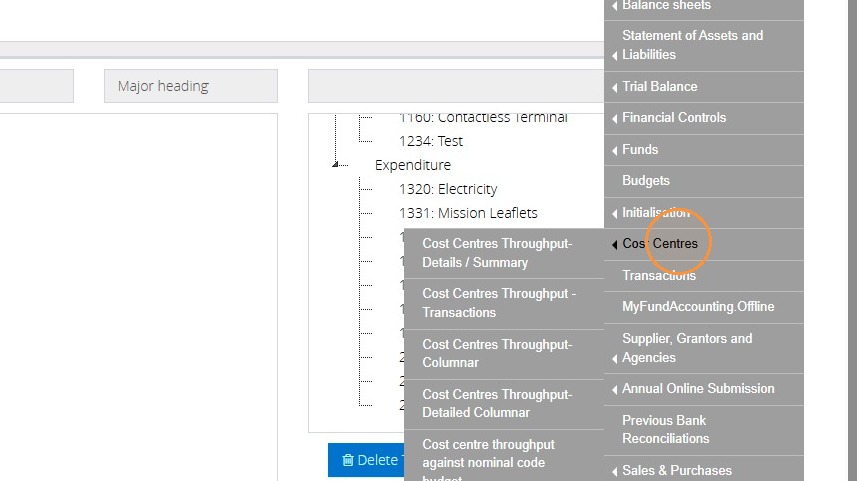
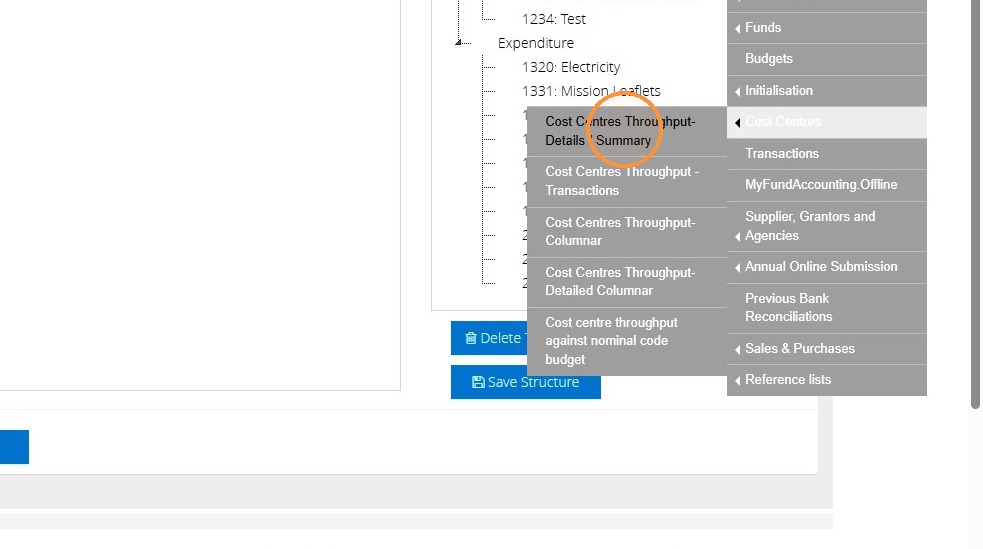
15. Here you will have a list of reports to choose from
- "Cost Centres Throughput- Details / Summary"
A display of income and expenditure contained within the cost centre with a net amount total.
- "Cost centre Throughput transactions"
A list of recorded transactions is reflected within the cost centre.
- Cost Centres Throughput Columnar
A report that splits the cost centre into unrestricted, designated, restricted, and endowment. That will provide a summary of totals regardless of how many headings are used within the cost centre.
- Cost centre throughput detailed Columnar
This is a more detailed version of the above report and will allow you to see the individual transactions if more than one level of subheadings is used under the same cost centre main heading. An example would be:
Test3 (Name of costcentre)-- >Income(main heading) -- >bookstall (subheading.)
and having the income code 1151 Bookstall sales underneath the bookstall subheading.
In this example, the "Cost Centres Throughput- Details / Summary" was chosen to review the income and expenditure to get the net amount.
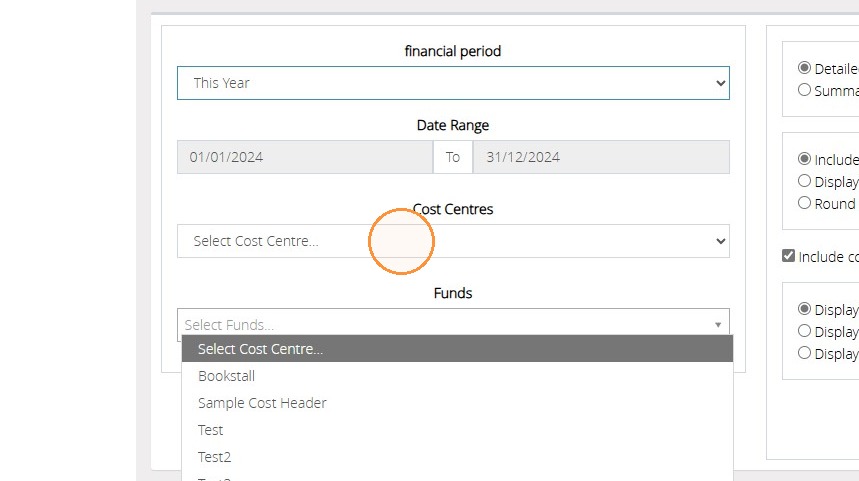
16. Once you are on the report screen, you can select the "date range" you wish to report on. This is done from the "Financial period" dropdown. After you are able to choose your "cost centre" from the list, the final step will be to choose the funds you wish to include in the report.
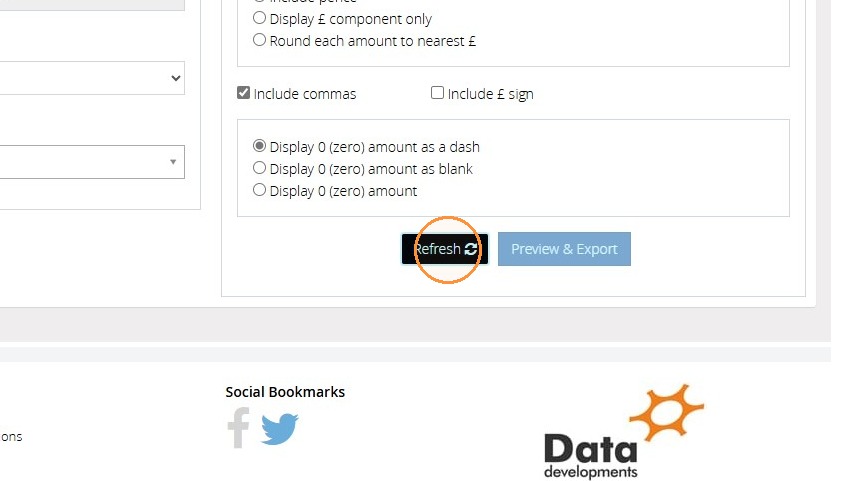
17. Click "Refresh"
18. Then "Preview & Export"
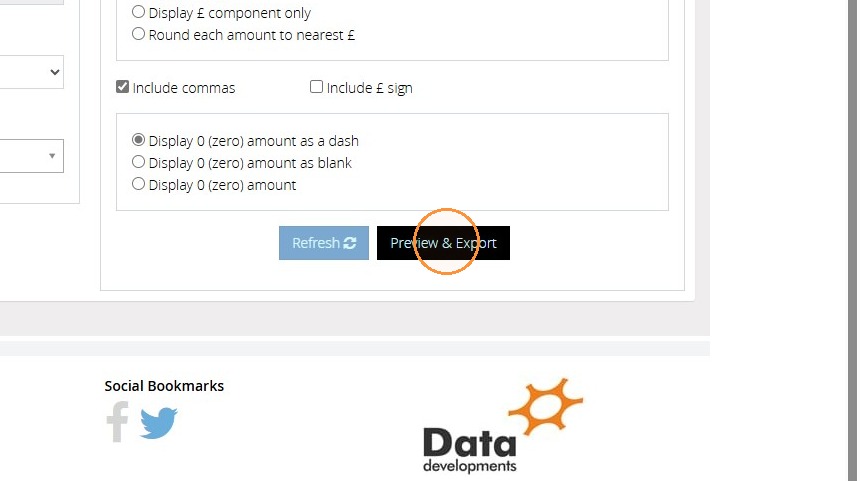
19. After clicking "Preview", this will then show the income and expenditure you have chosen for your cost centre, giving a net overall total.