
In this guide, we will demonstrate how to create a new members record in MyRollCall.Online. This guide walks you through inputting personal details, setting up contact information, and much more.
Getting Started
1. Start by going to the MyRollCall.Online dashboard and logging in to your accounthttps://www.myrollcall.online/dashboard
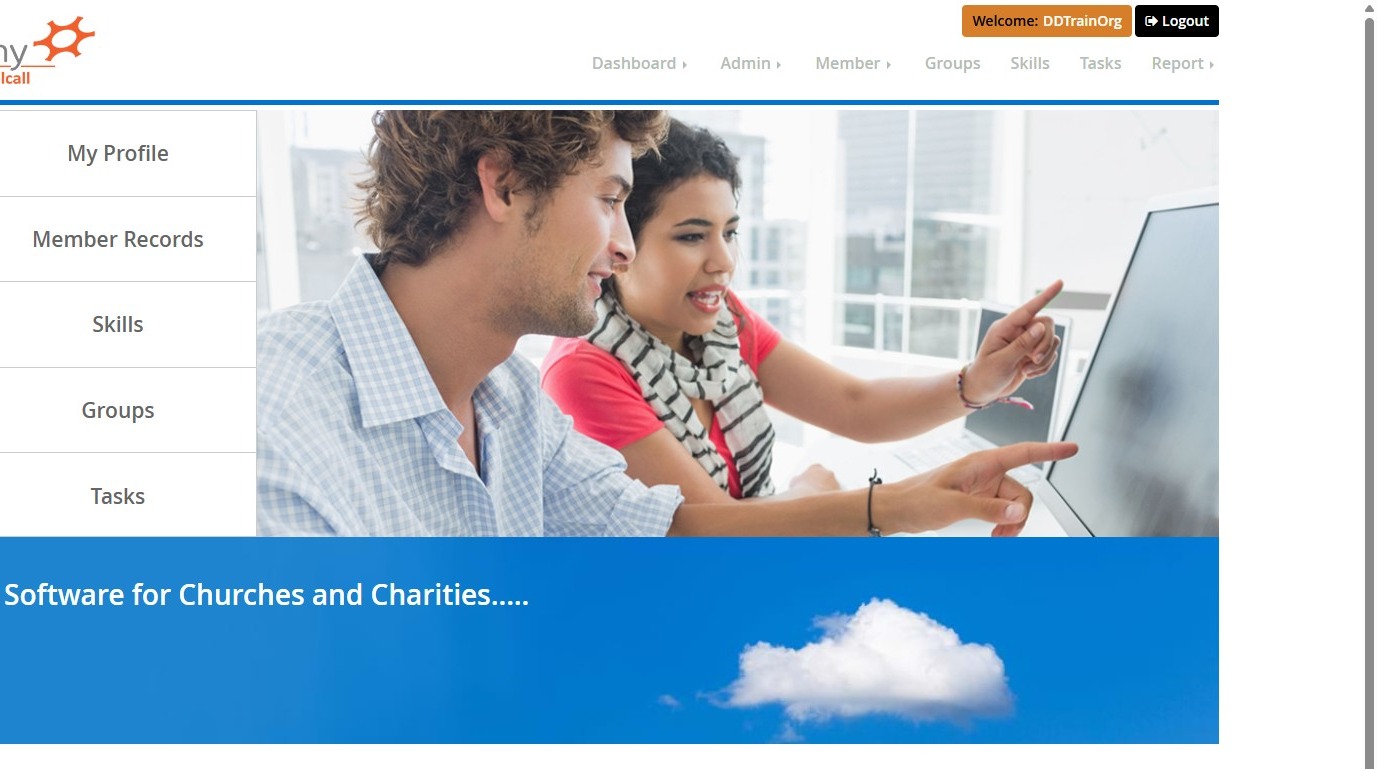
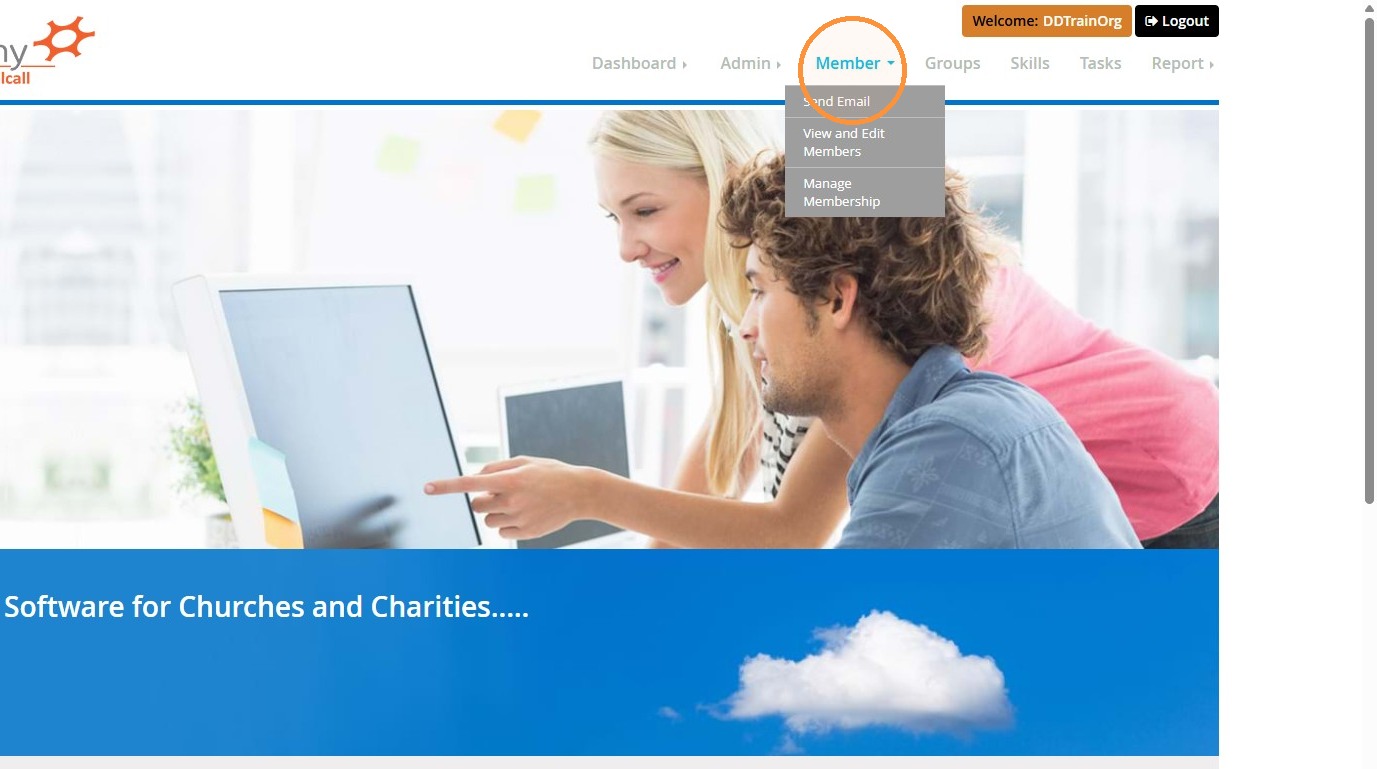
2. Click on the 'Member' dropdown menu.
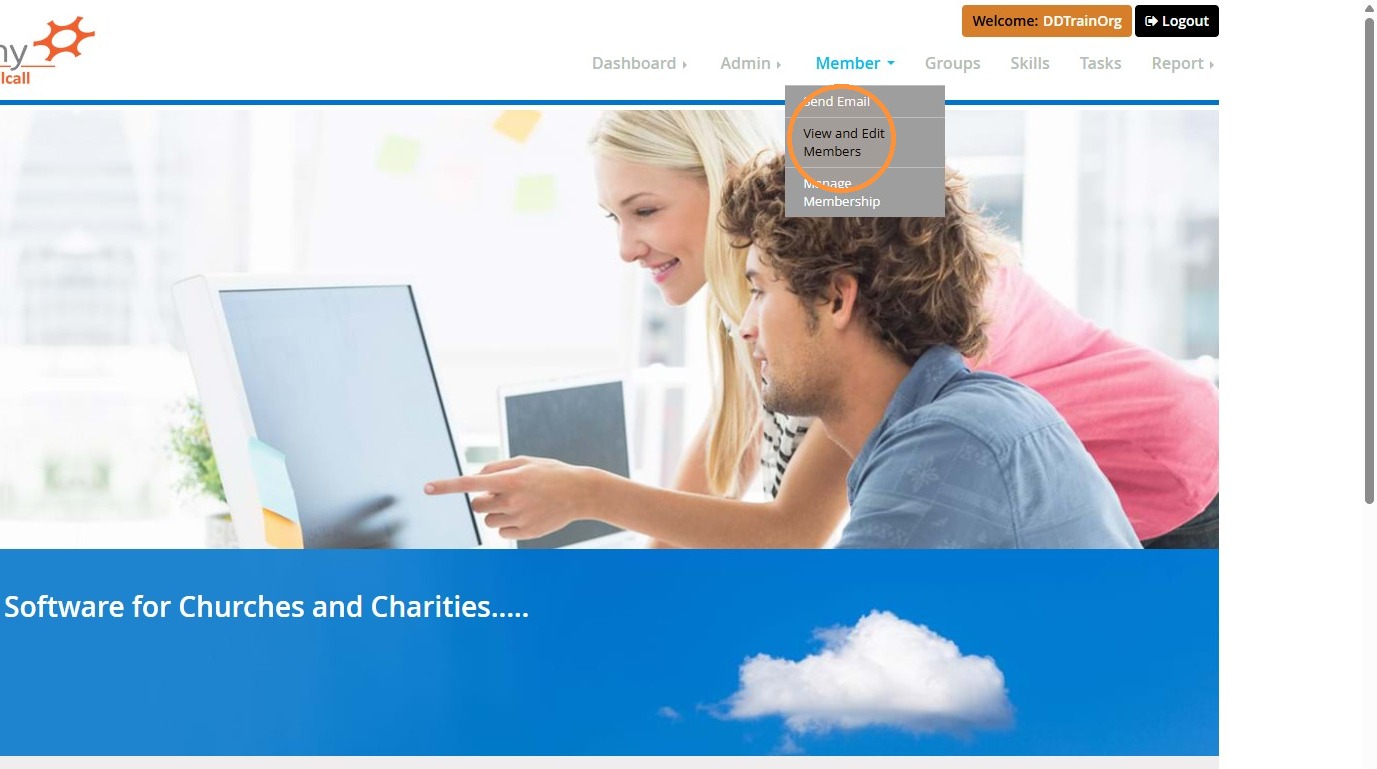
3. Click 'View and Edit Members'.
Creating the Member's Record
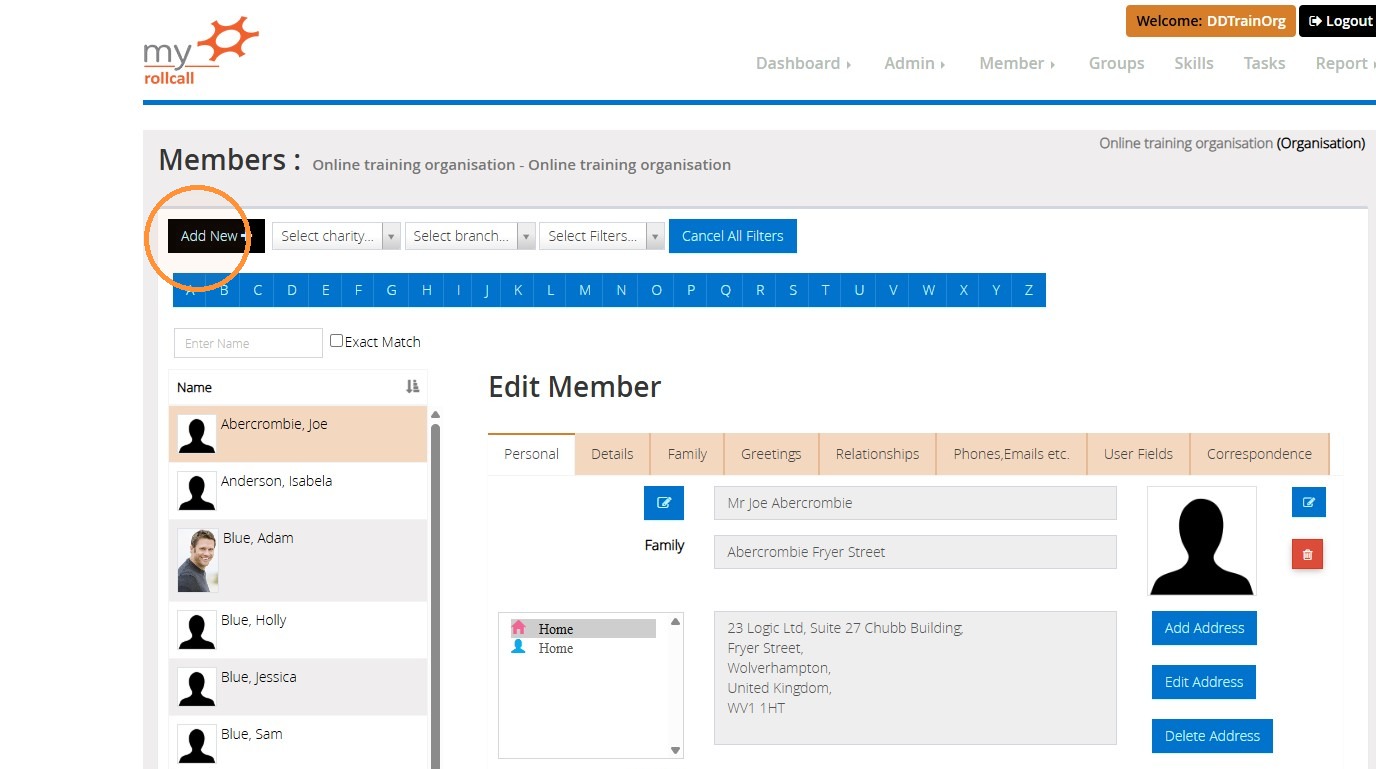
4. To start creating a new record, click 'Add New' in the top left-hand corner.
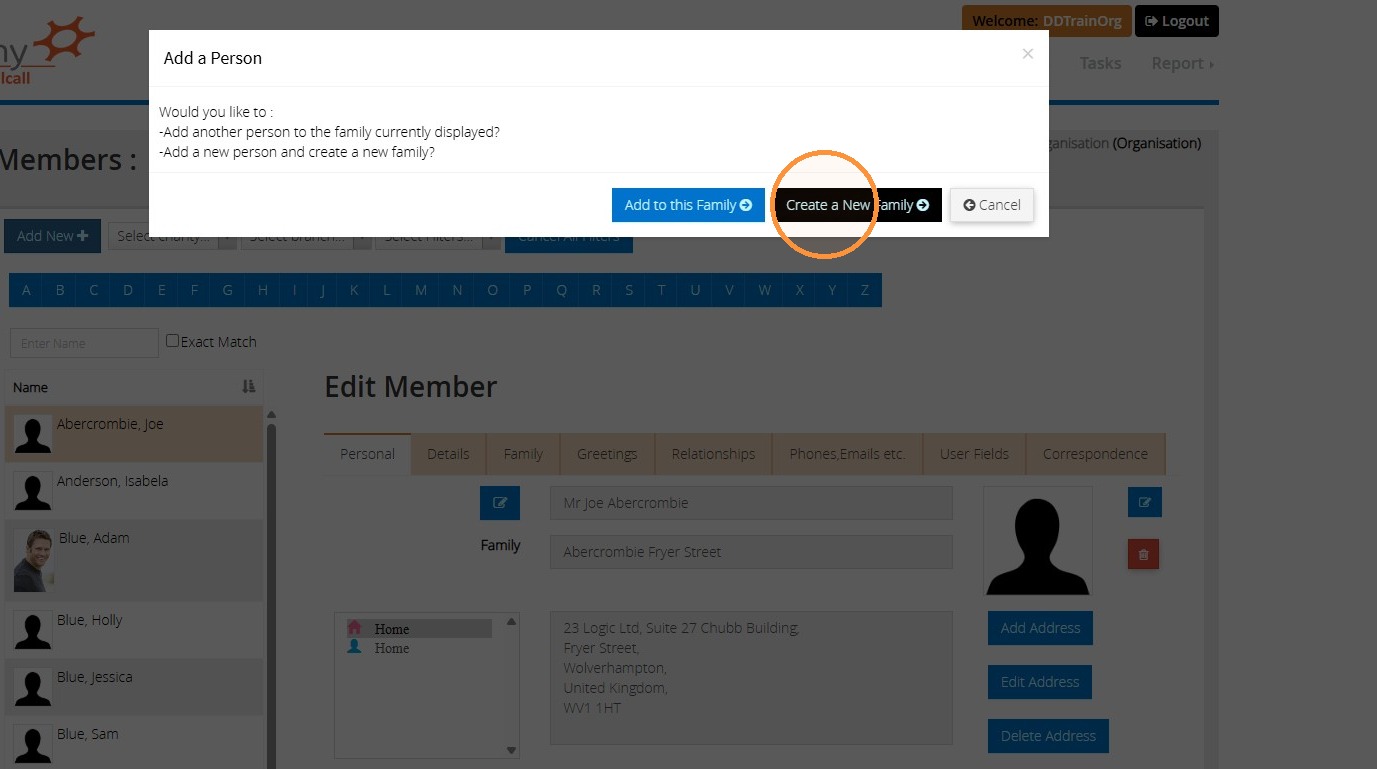
5. To add a brand new individual, choose 'Create a New Family'.
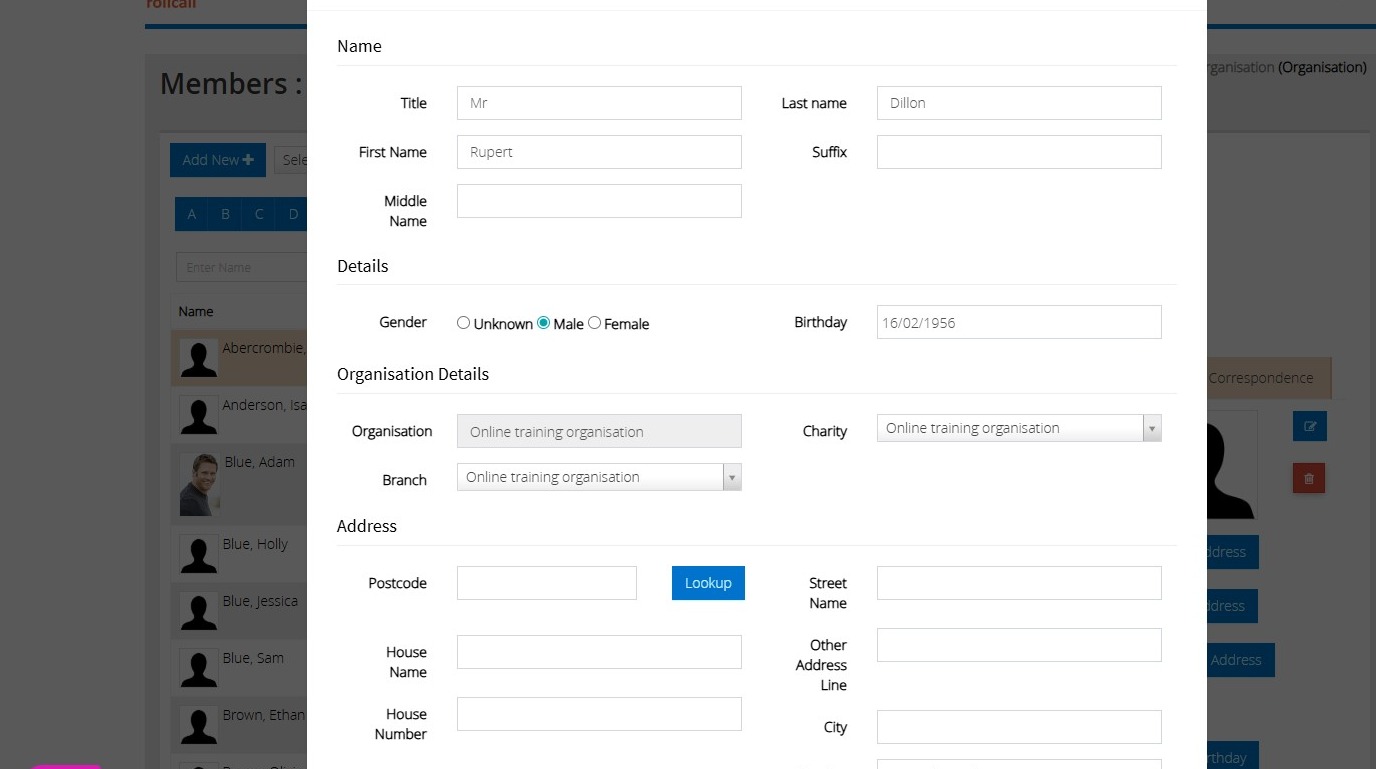
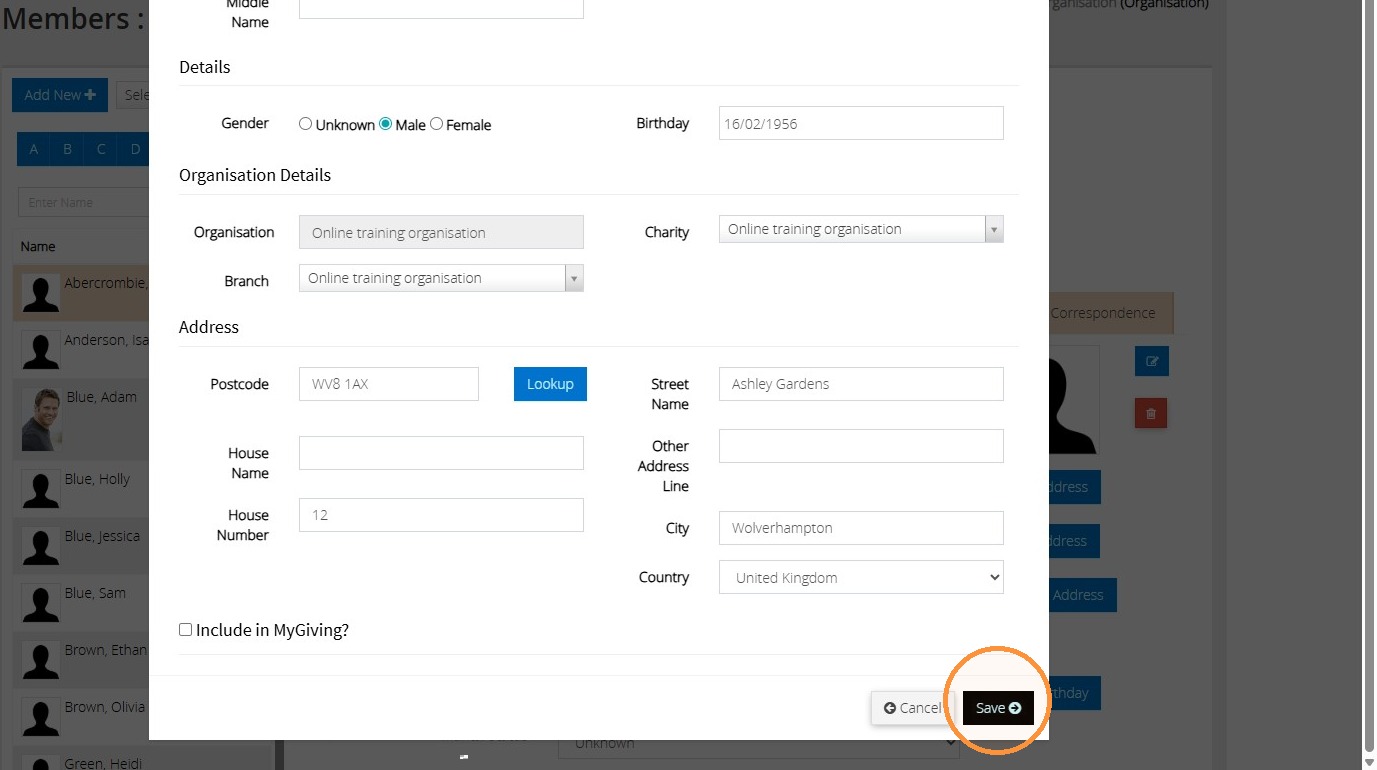
6. Enter the person's personal details, including their name, their gender if you wish and their birthday if it is known.
If you are using the system to handle multiple branches, you can also select which branch they should be allocated to using the dropdown options under 'Organisation Details'.
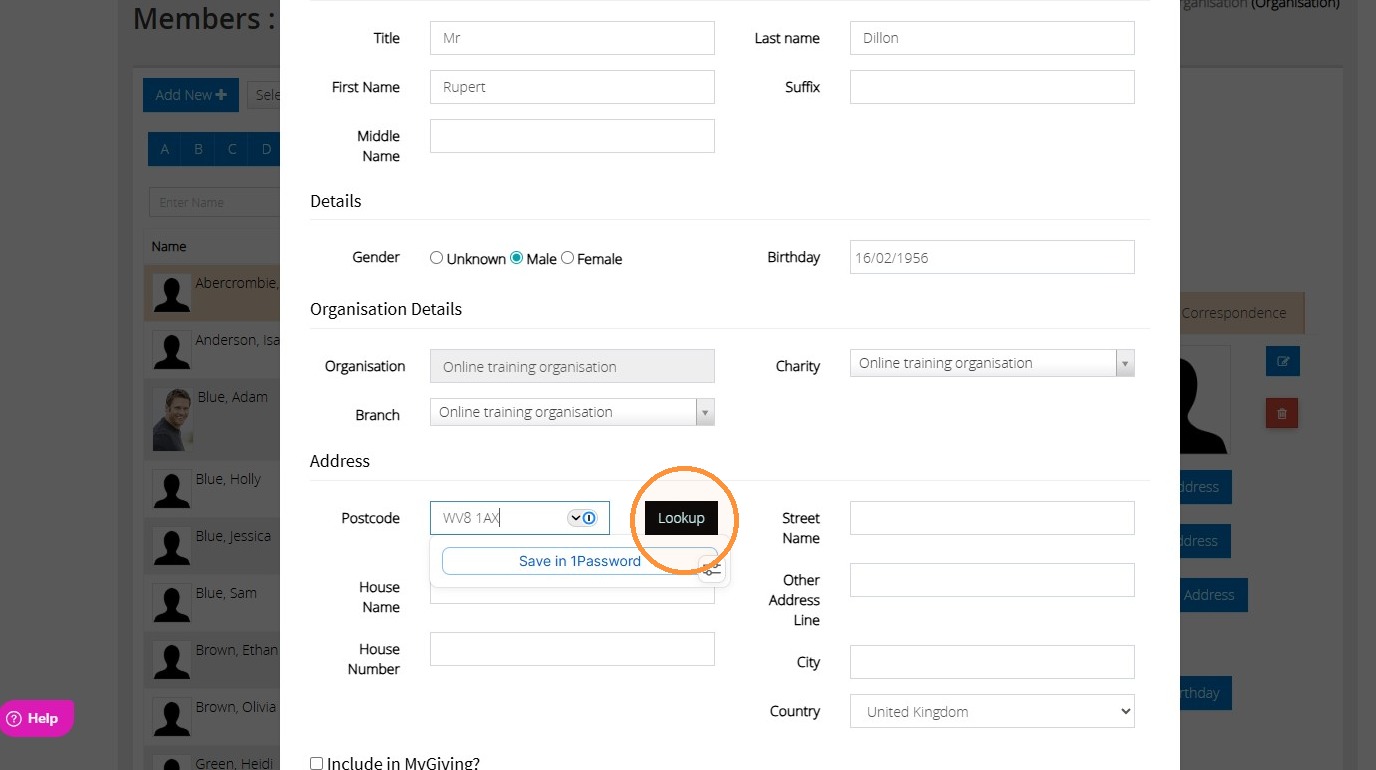
7. To record their address, enter the 'Postcode' and then click 'Lookup'.
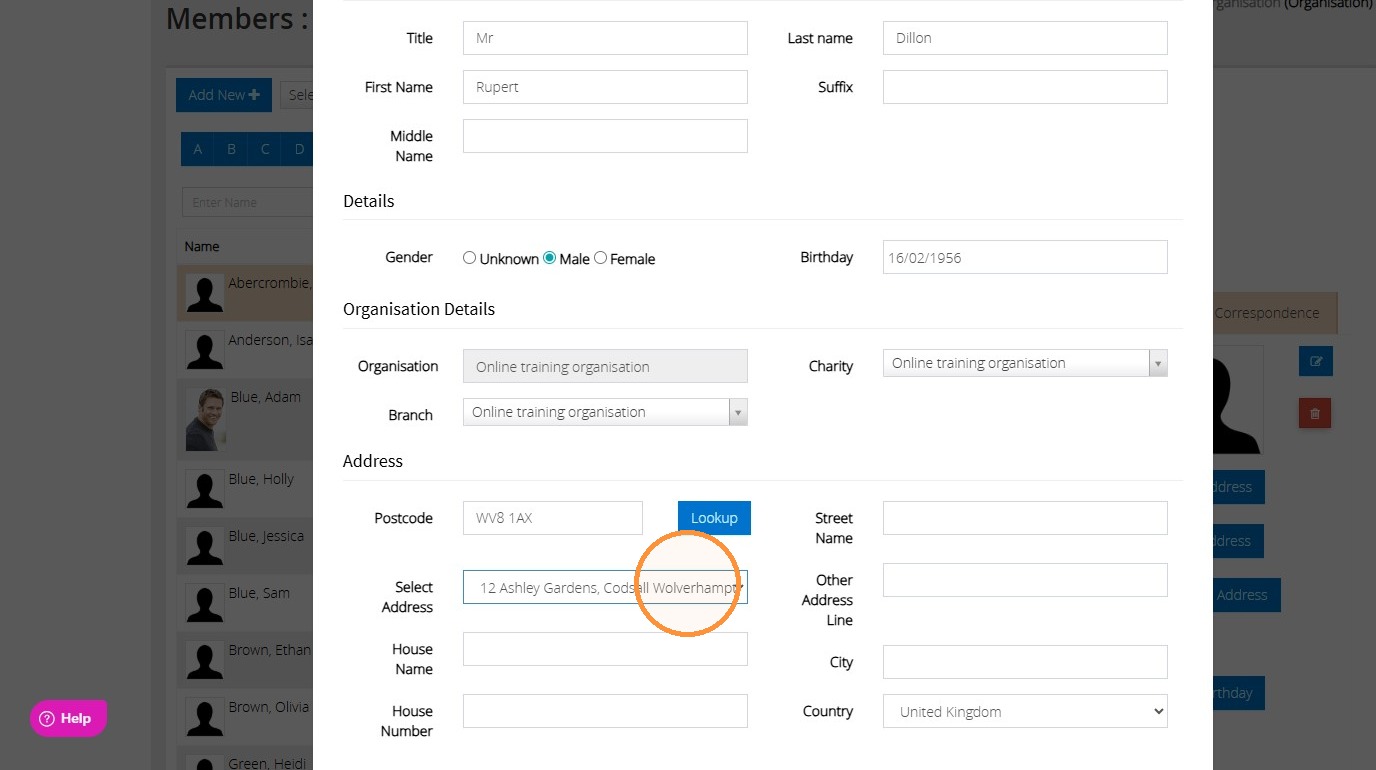
8. Choose the relevant address from the 'Select Address' list that appears. The House Number, Street Address, City, etc will be automatically populated for you.
9. Once you are happy with the information you have recorded, click "Save".
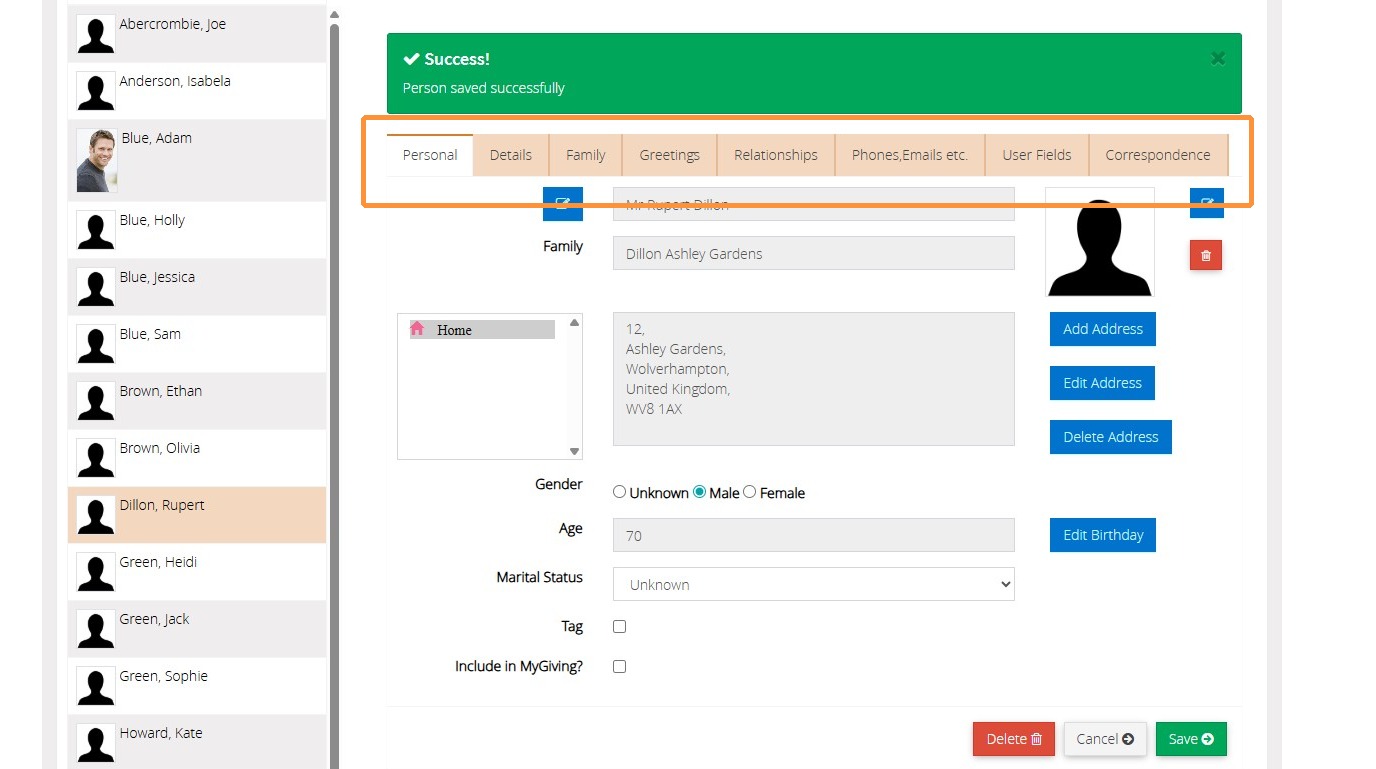
Profile Navigation
10. After clicking on 'Save', you will be returned to the Members Screen with the record you just created already selected. The tabs across the top allow you to record more detailed information about this individual.
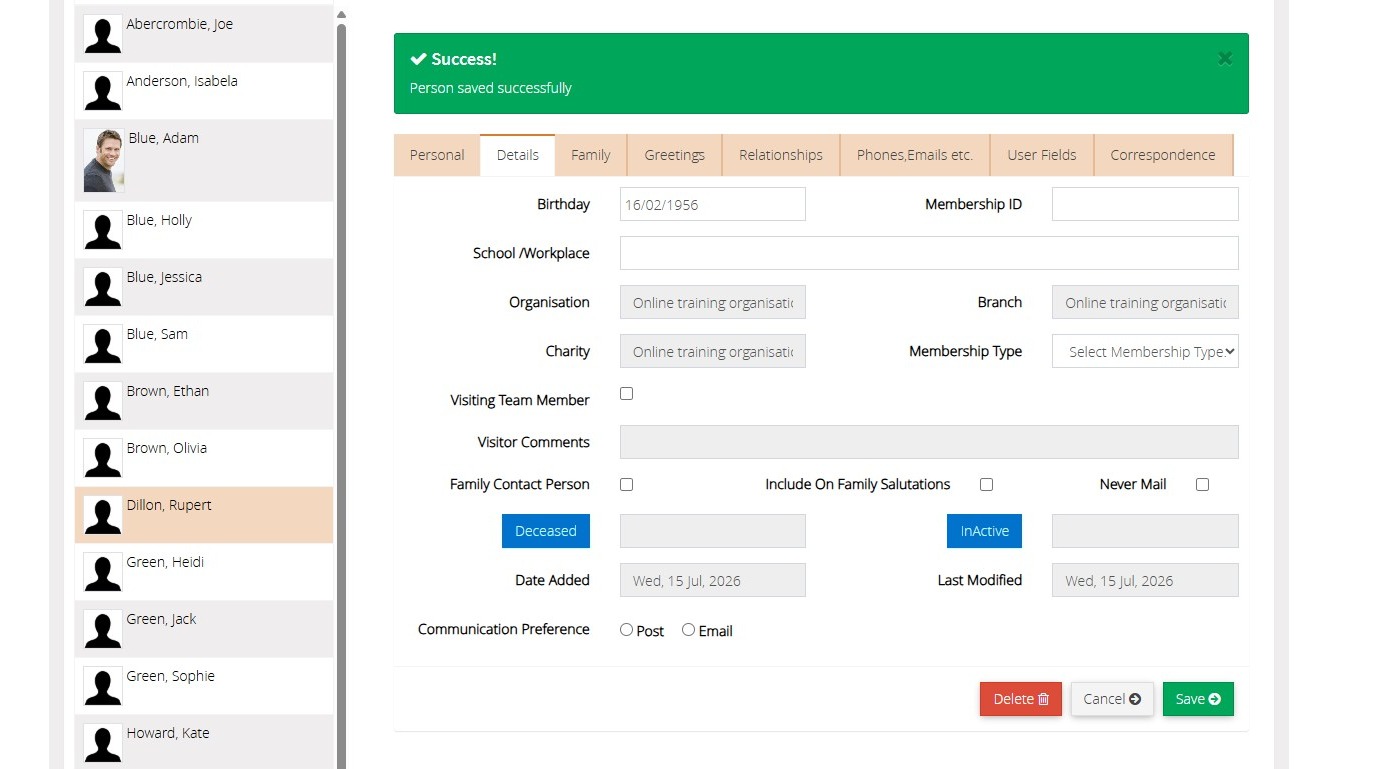
11. The Details tab lets you manage additional information about this person; just a few of the items you can update include their Birthday, Membership ID, workplace or school, and whether they're a part of the visiting/pastoral team.
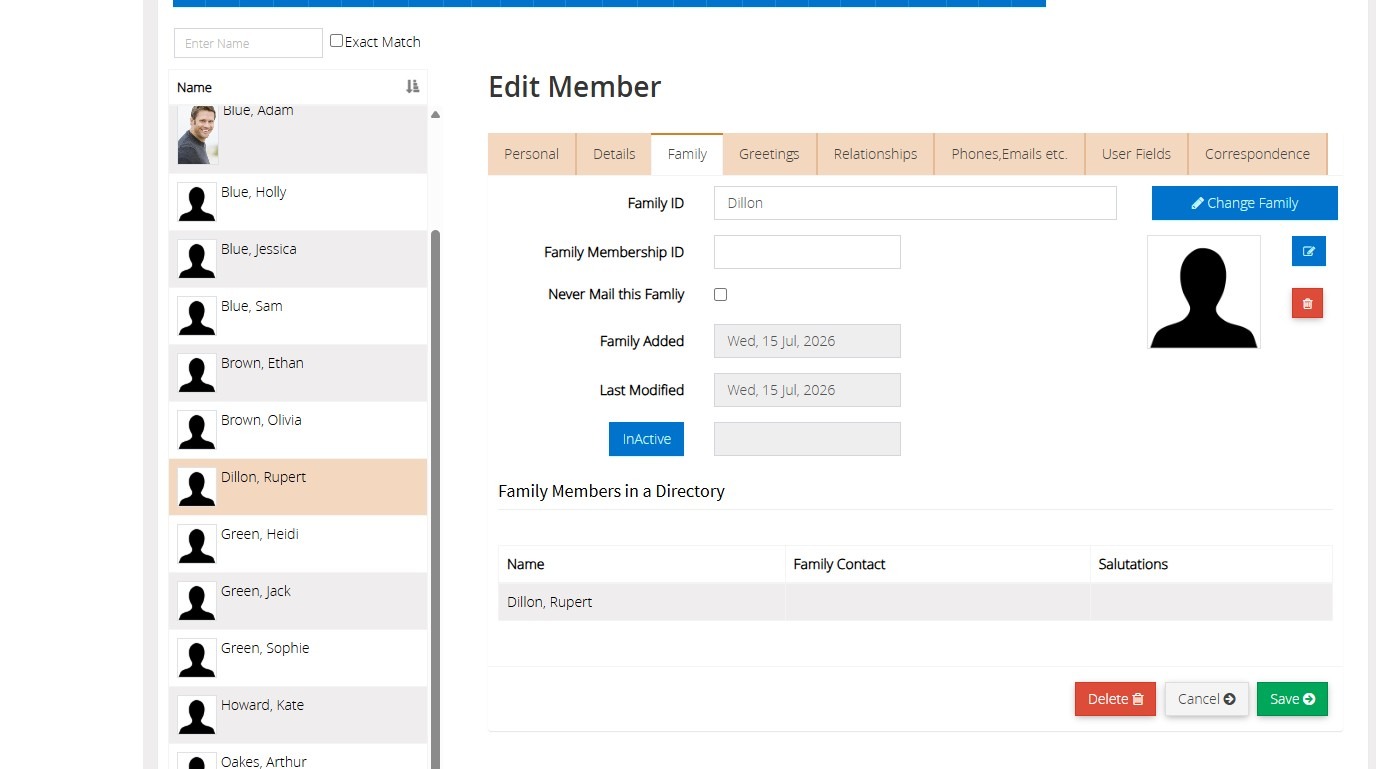
12. The 'Family' tab details information about this person's family. When you add more members, they will be listed here. You can also assign a 'Family ID' and upload a Family Photo if you wish.
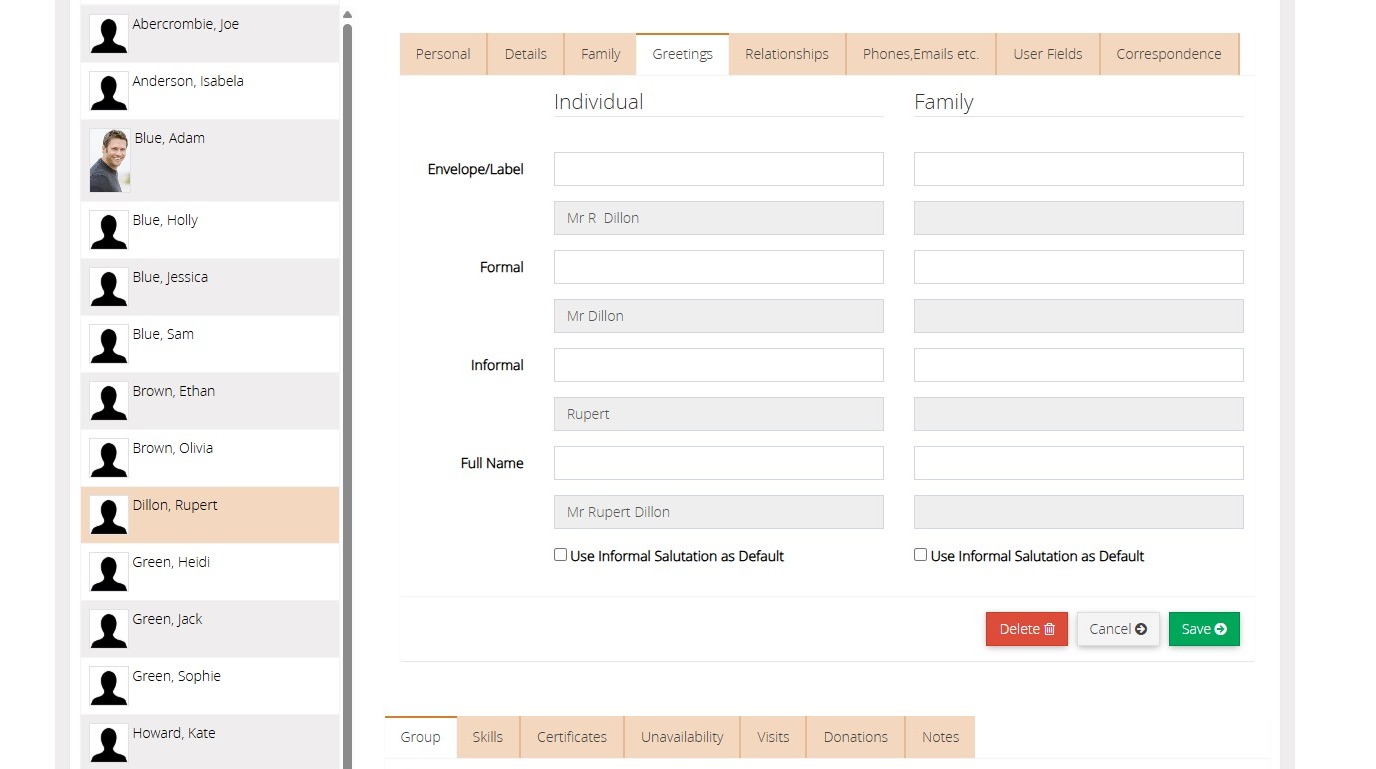
13. The 'Greetings' tab allows you to customise the individual and family greetings used on letters and labels.
MyRollCall.Online automatically generates a selection of greetings based on the information already recorded for the person. However, you can edit these greetings to suit your preferences. For example, you may choose to use the person's preferred name, nickname, or a shortened version of their first name for the Informal greeting. This gives you greater control over how names appear in your communications.
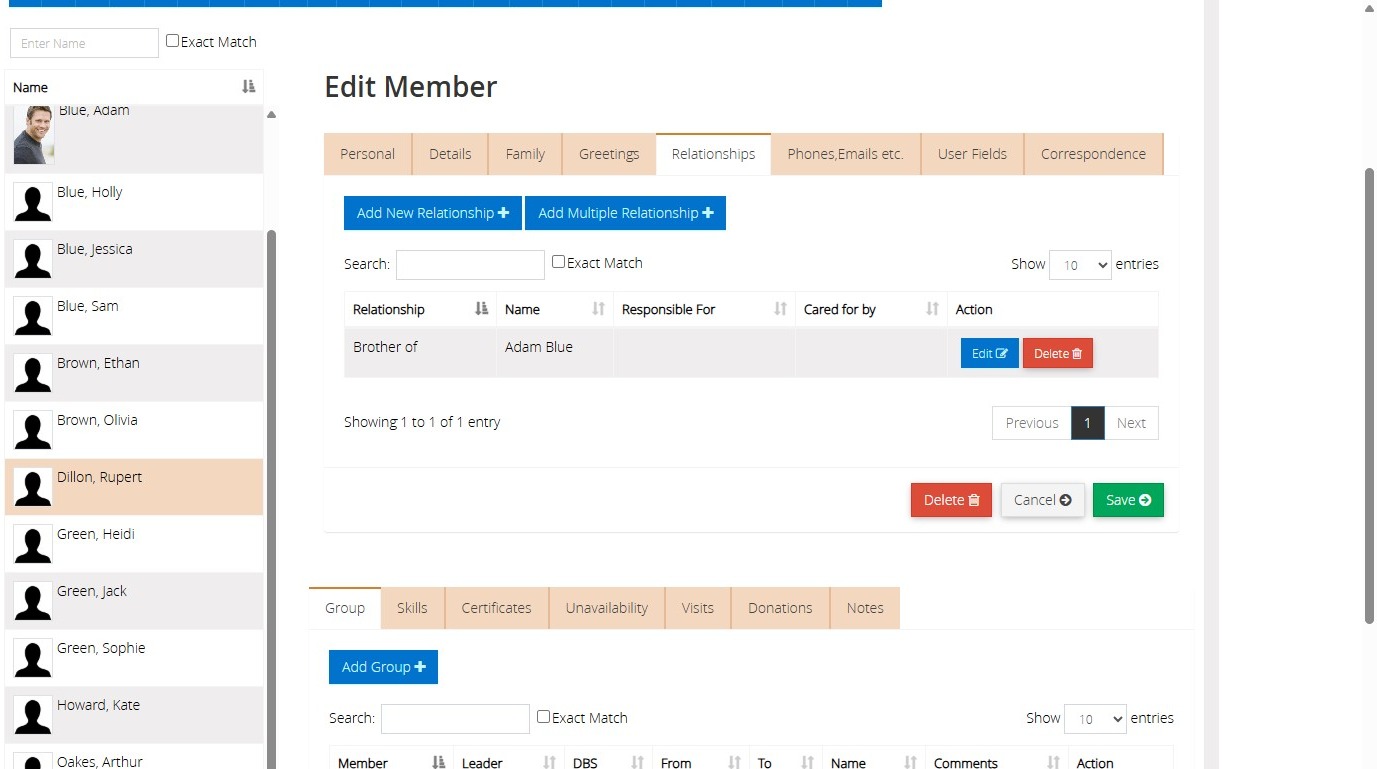
14. The 'Relationships' tab displays all relationships that have been assigned between this individual and other member records. To create a new relationship, use the 'Add New Relationship' button, or use 'Add Multiple Relationships' to add several relationships at once.
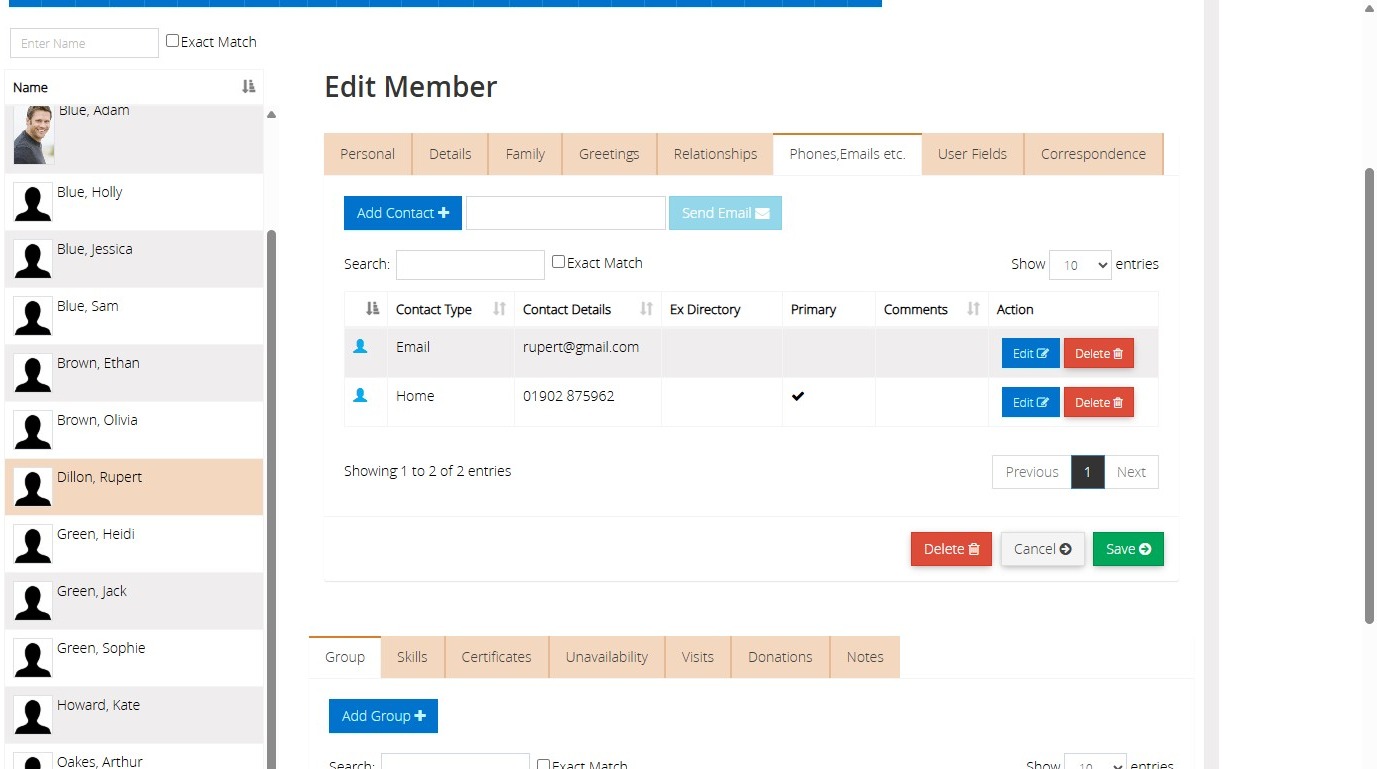
15. The 'Phones, Emails etc.' tab displays the individual's contact information, including mobile numbers, landline numbers, email addresses, and family contact details. To add a new contact method, click 'Add Contact' and enter the relevant information.
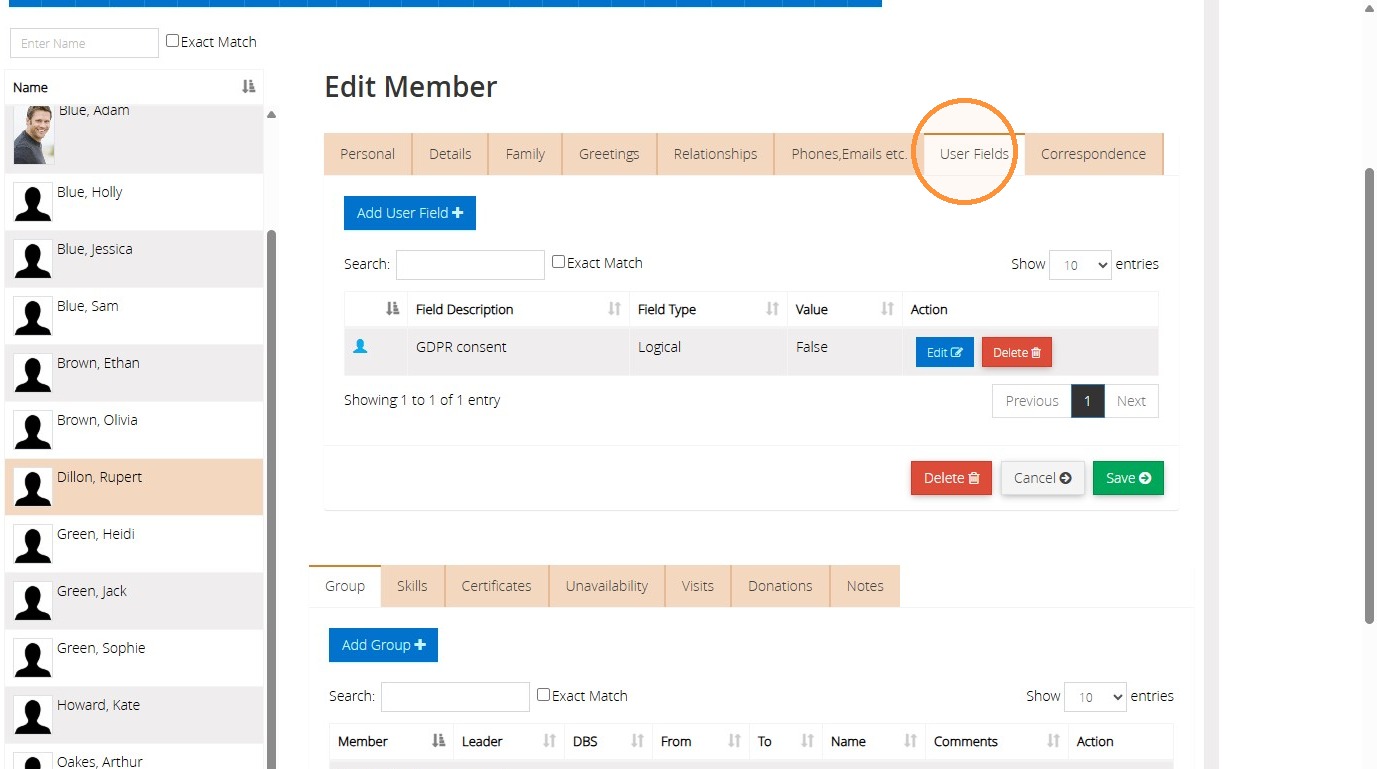
16. The 'User Fields' tab displays any custom fields that have been created in the 'Master Tables' and assigned to the member's record. These fields can be used to store additional information and may include date fields, yes/no (logical) fields, text boxes, drop-down lists, and other custom data types. You can add or update these fields as required to suit your organisation's needs by clicking on the 'Add User Field' button.
For further information about setting up 'User Defined Fields', visit our 'Help' guides.
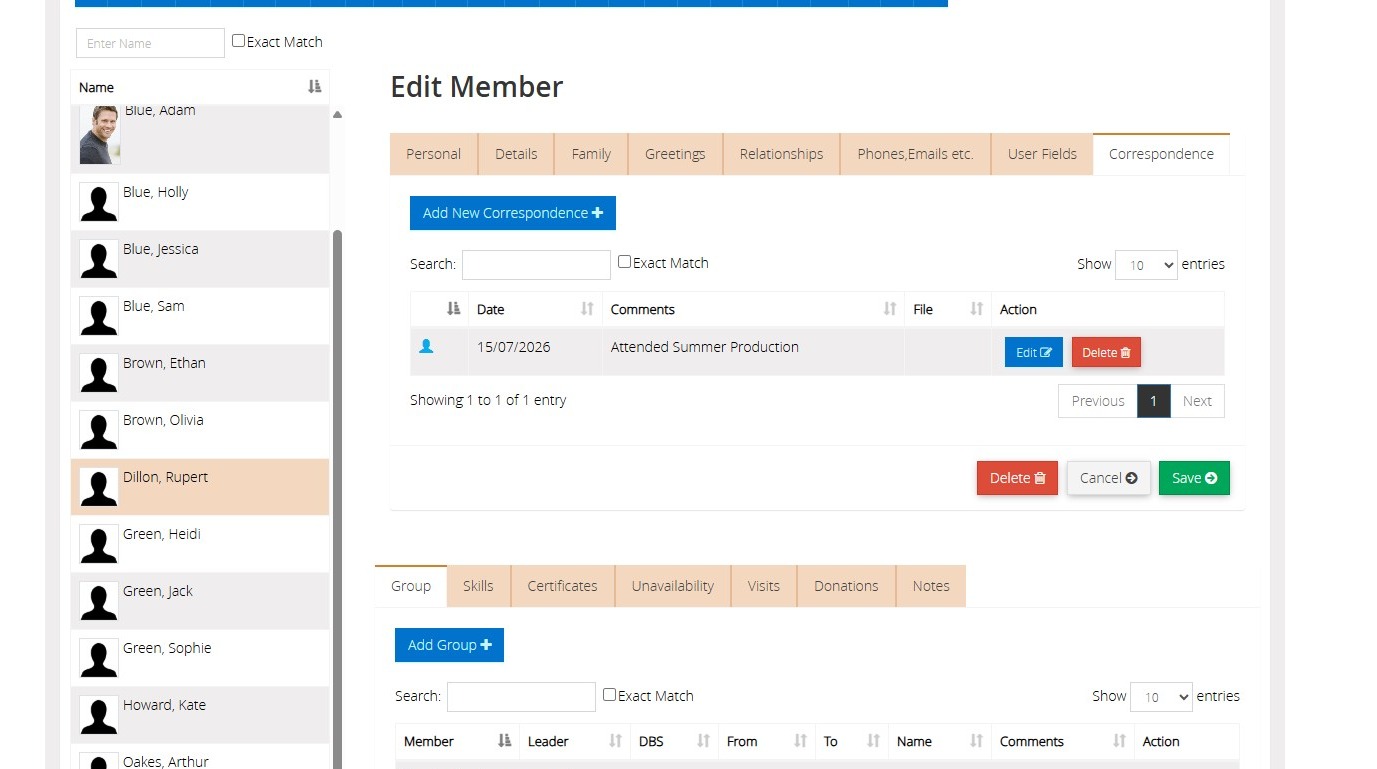
17. The 'Correspondence' tab allows you to record and track any interactions or communications you have had with an individual. This might include letters sent, emails, flyers or newsletters distributed, phone calls, pastoral visits, or events they have attended. Keeping this information up to date helps maintain a complete history of your engagement with each person.
We hope you found this guide helpful and easy to follow. If you require any further assistance, please contact our support team by telephone on 01902 714030 or by email at support@datadevelopments.co.uk