
Learn how to efficiently add new members to an existing family profile within MyRollCall.Online. This guide walks you through inputting personal details and setting up familial relationships.
1. Start by going to the MyRollCall.Online dashboard and logging in to your account https://www.myrollcall.online/dashboard
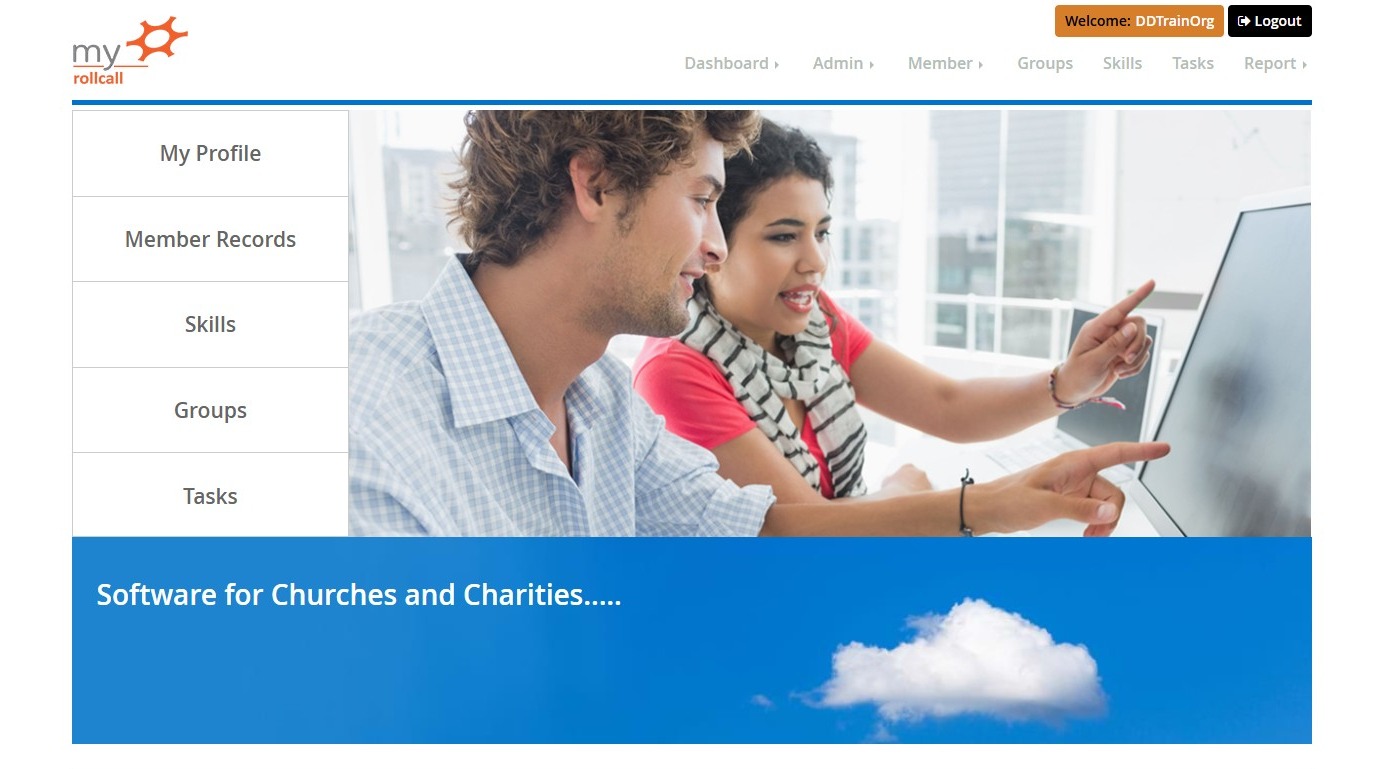
2. Click on the 'Member' dropdown menu.

3. Click 'View and Edit Members'.

4. Using the 'Directory' on the left-hand side, select the existing member you have already created. For guidance on how to create a new individual record, visit our 'How to Add a New Member to MyRollCall' help article.
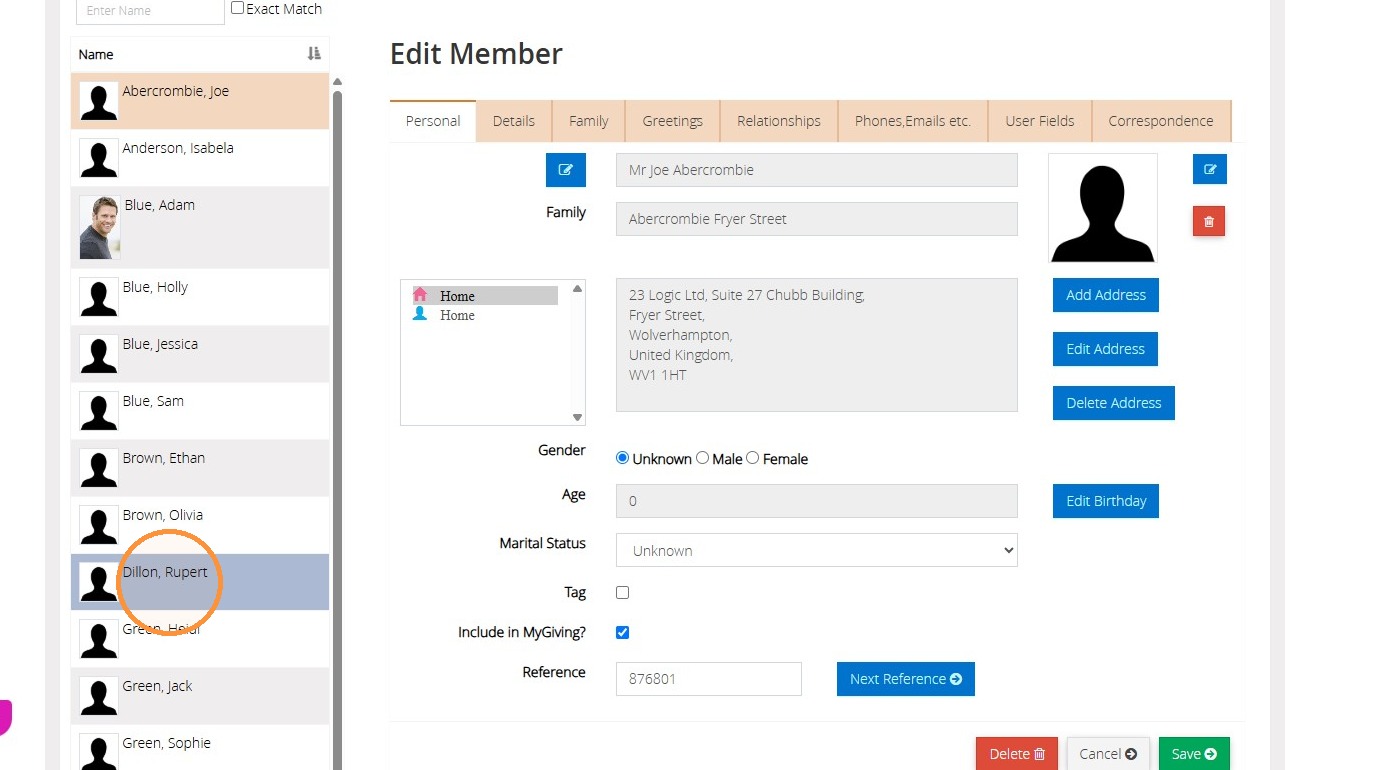
Adding a second family member
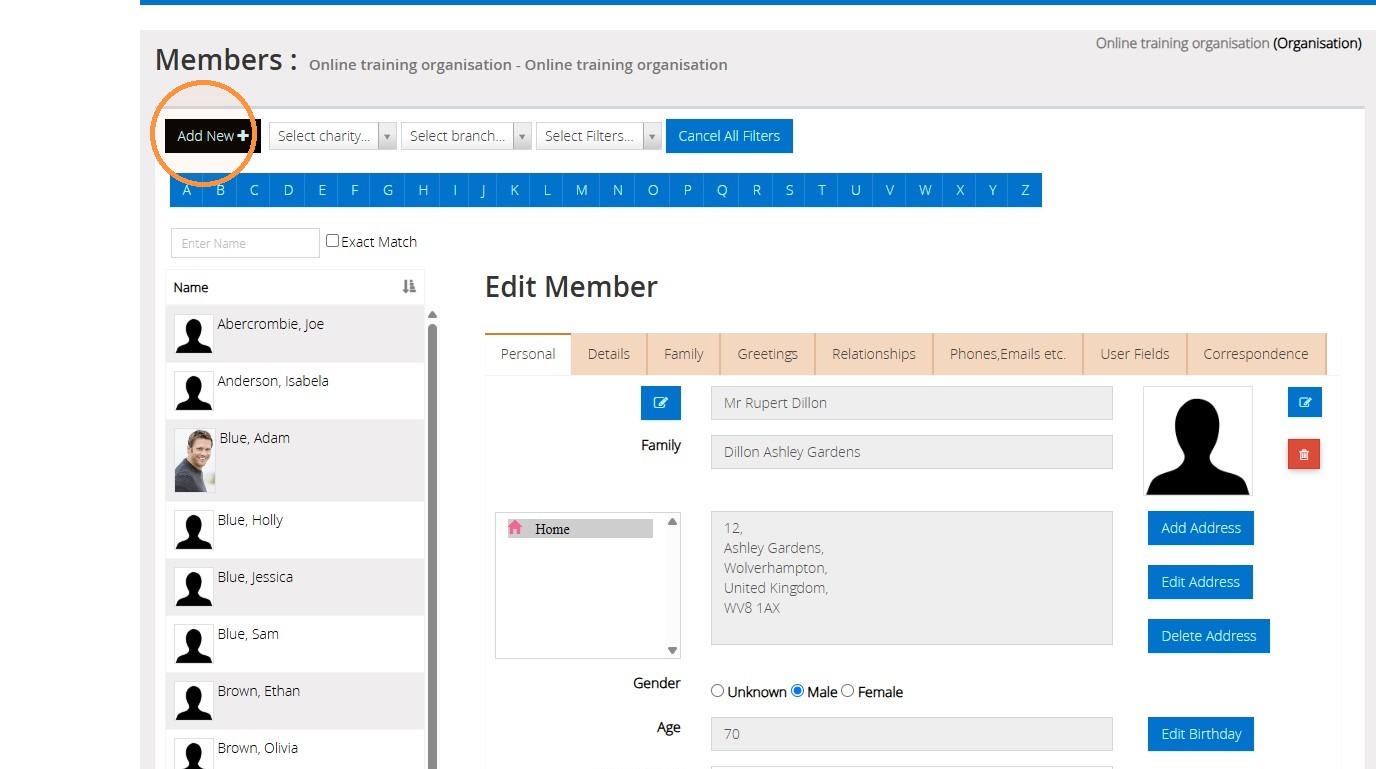
5. Click 'Add New' in the top left-hand corner.
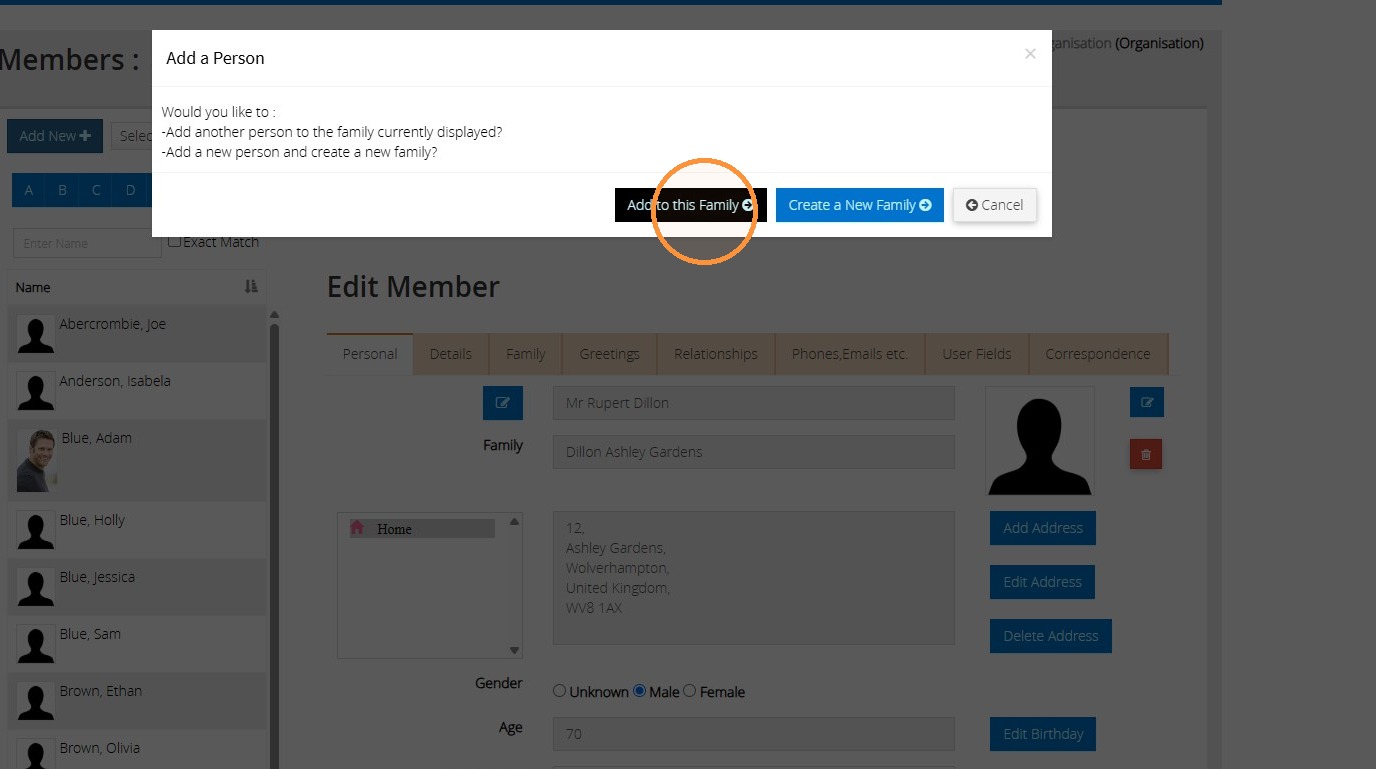
6. Click 'Add to this Family'
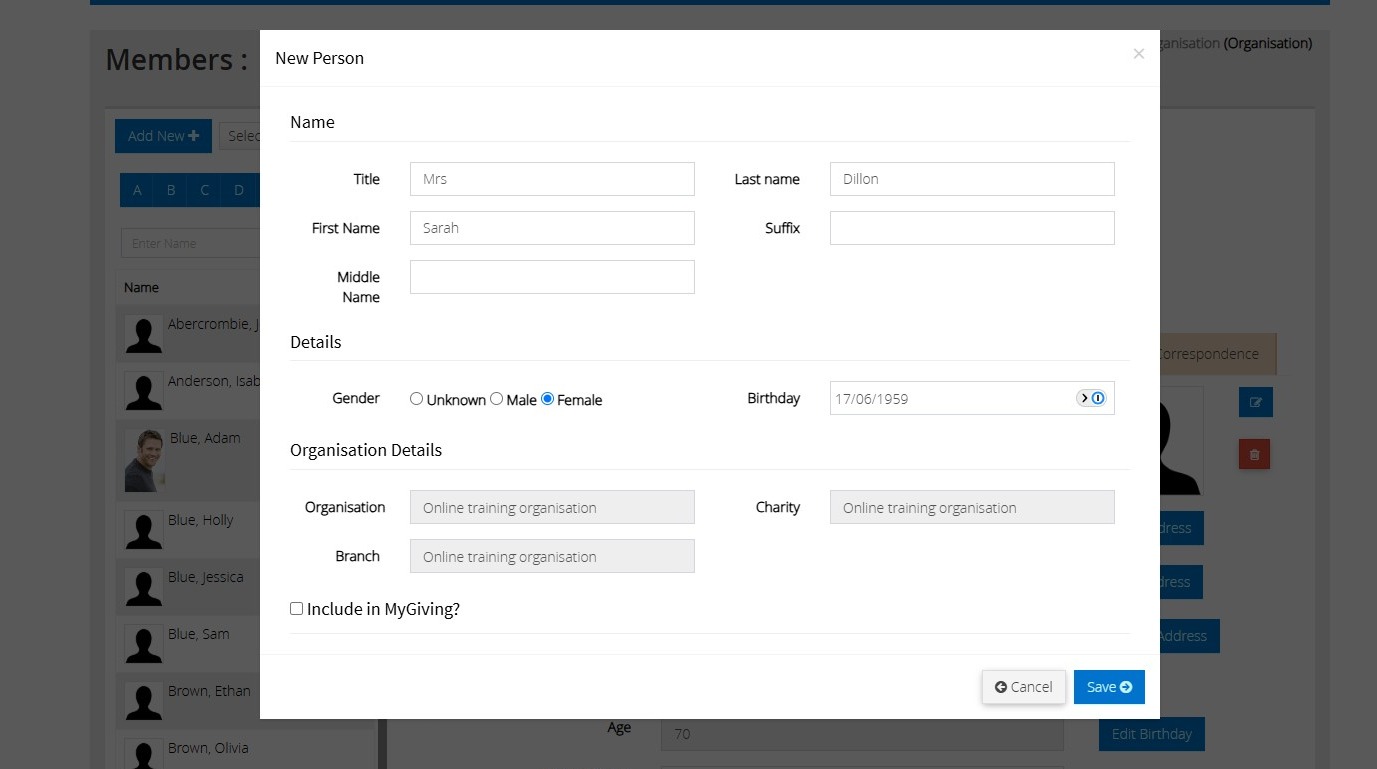
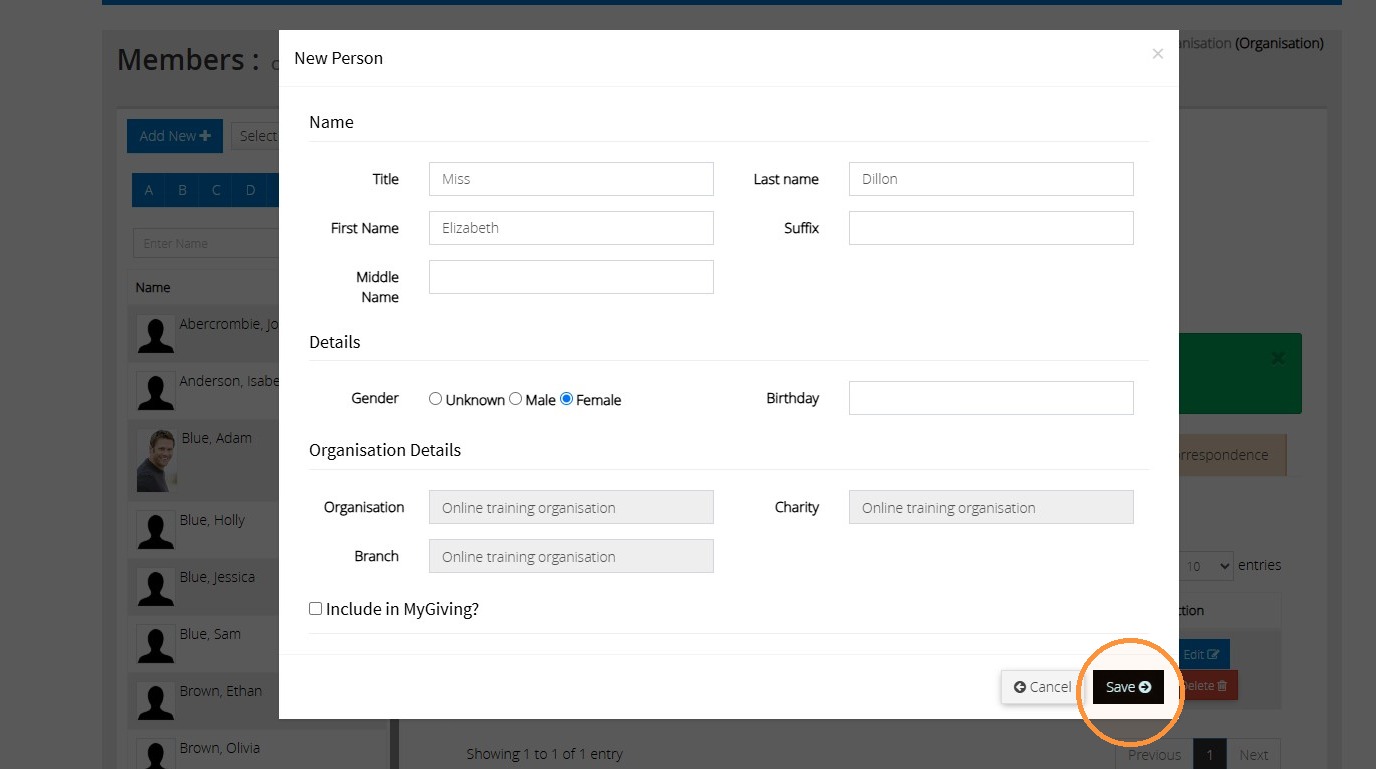
7. Enter the person's personal details, including their name, their gender if you wish and their birthday if it is known.
As you are linking them to an existing record, you do not need to add their address or select which 'Branch' they belong to.
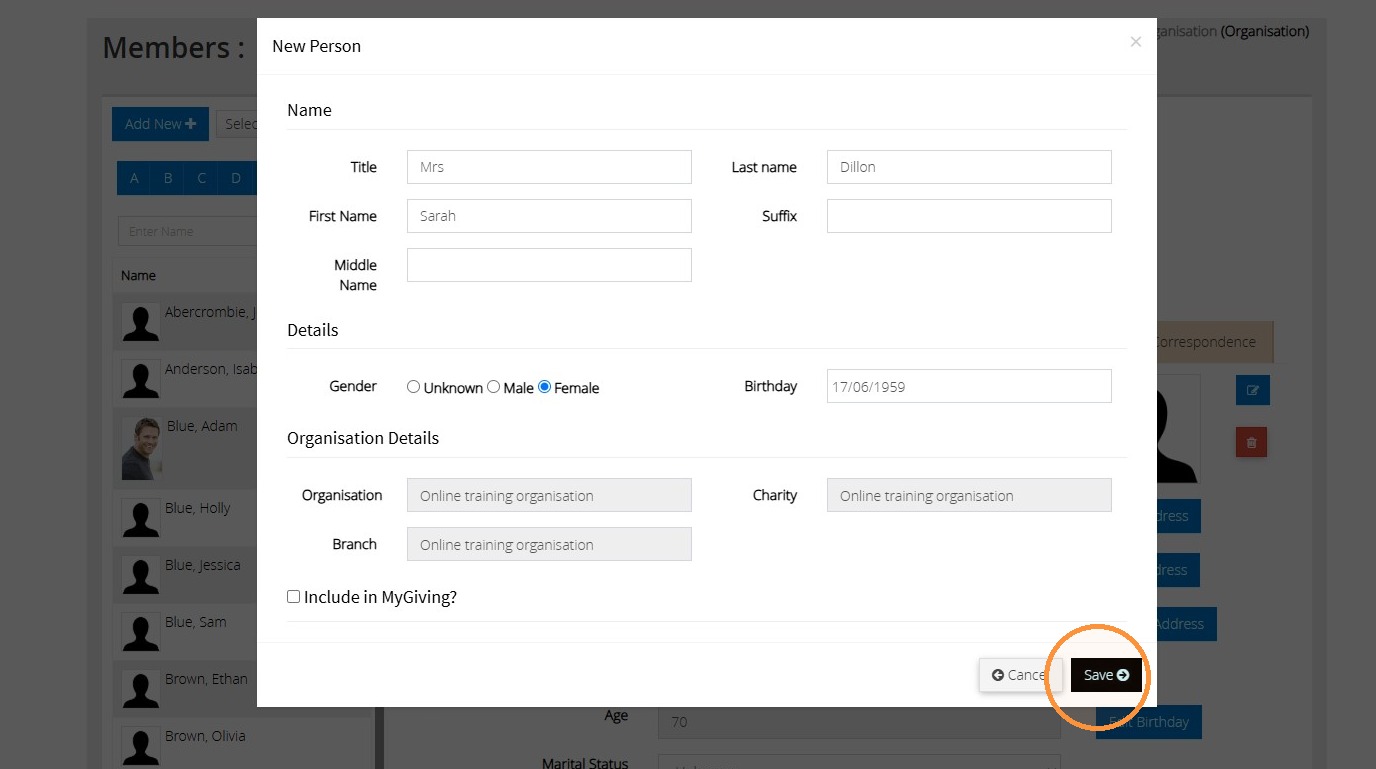
8. Click 'Save'.
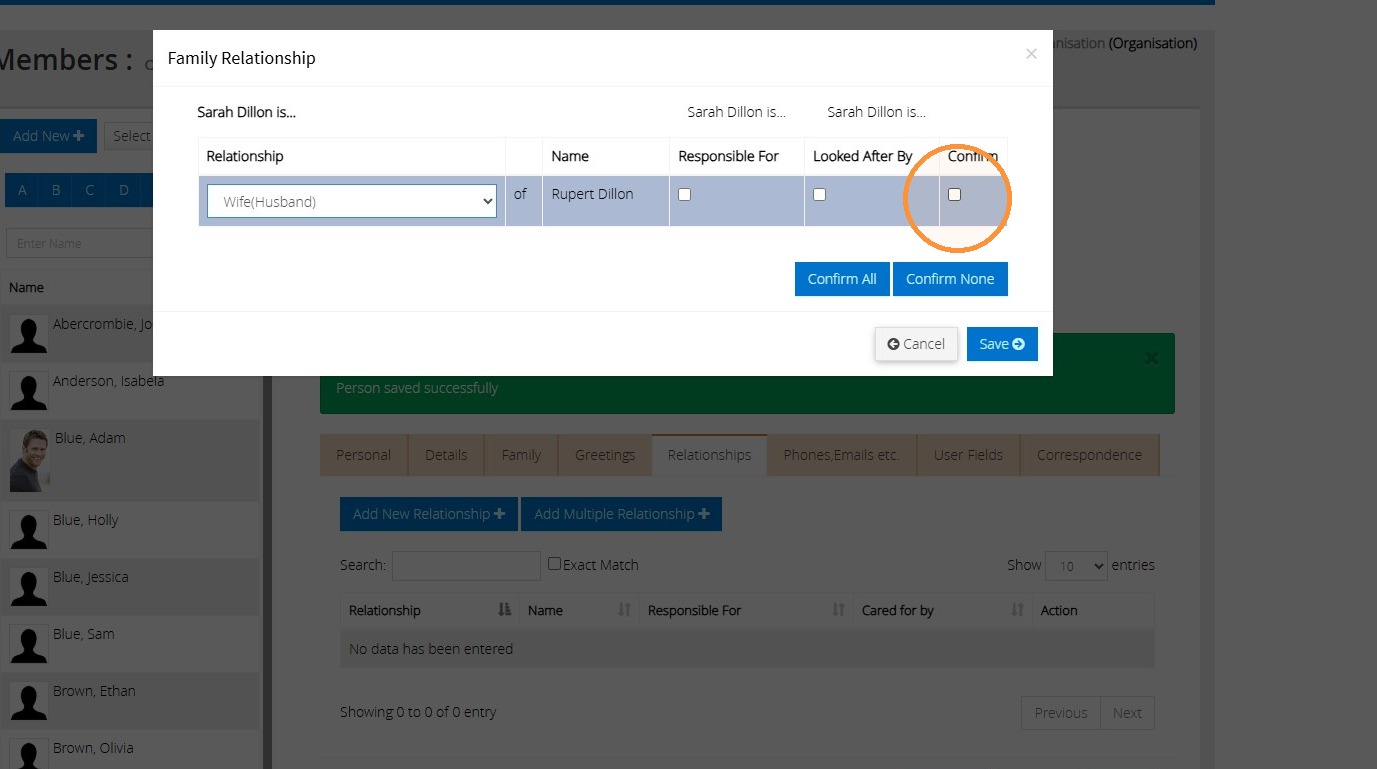
9. You will automatically be prompted to assign the relationship between the individual you have just created and the existing record.
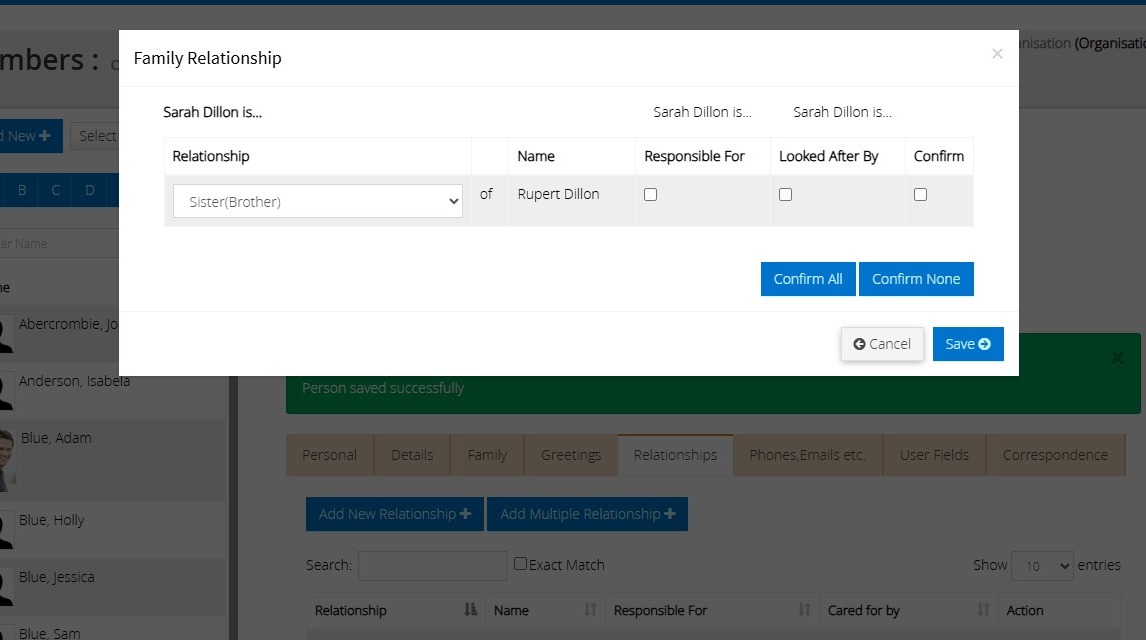
10. Click on the dropdown list and select the relationship you wish to use.
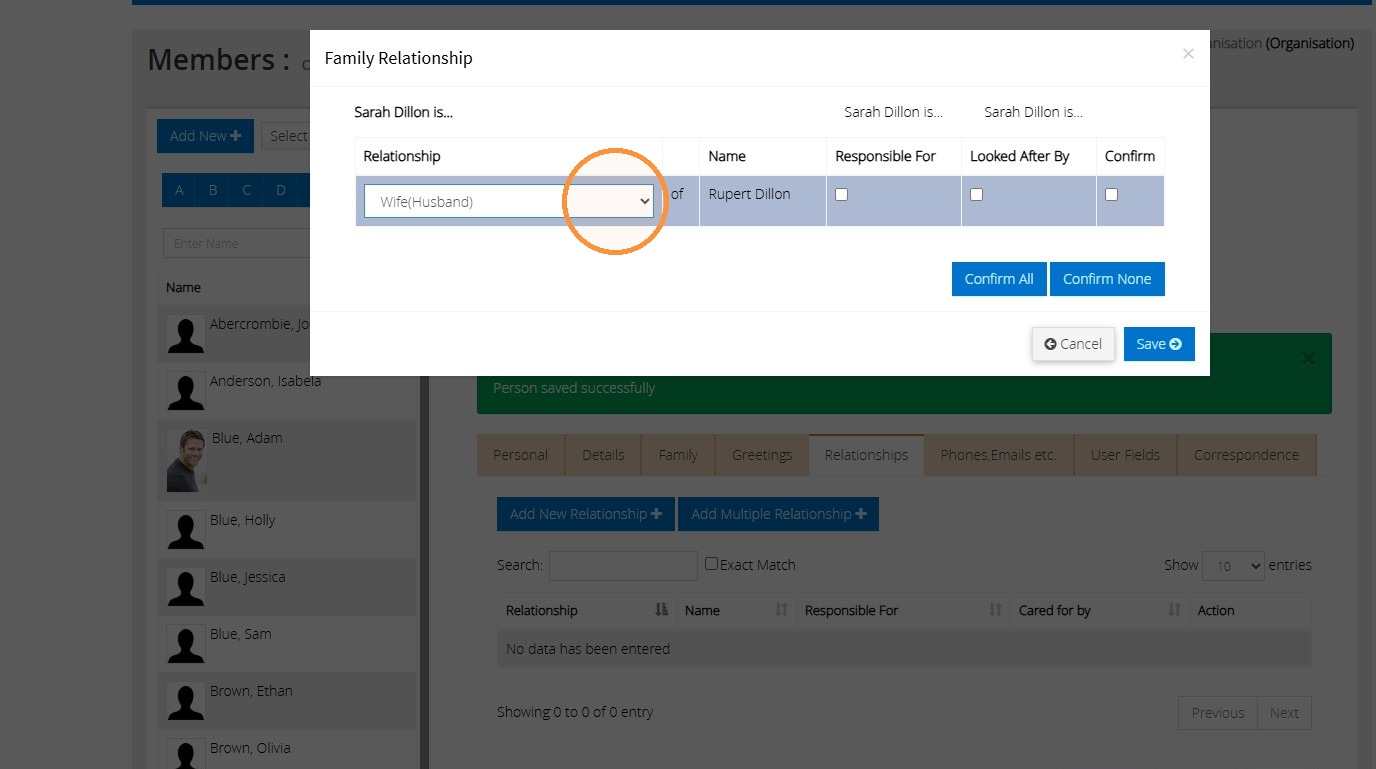
Tip: When choosing the relationship, the entry listed first relates to the record you are currently updating. In our example, Sarah is Rupert's wife, so we would select the option 'Wife(Husband)'.
Tip: In MyRollCall.Online, we have tried to include as many default relationships as possible; however, if the relationship you wish to use isn't already listed, you can create your own under 'Master Tables'.
For more information, visit our 'Creating Custom Relationships' help article.
11. Select the 'Confirm' checkbox besides the relationships you wish to save.
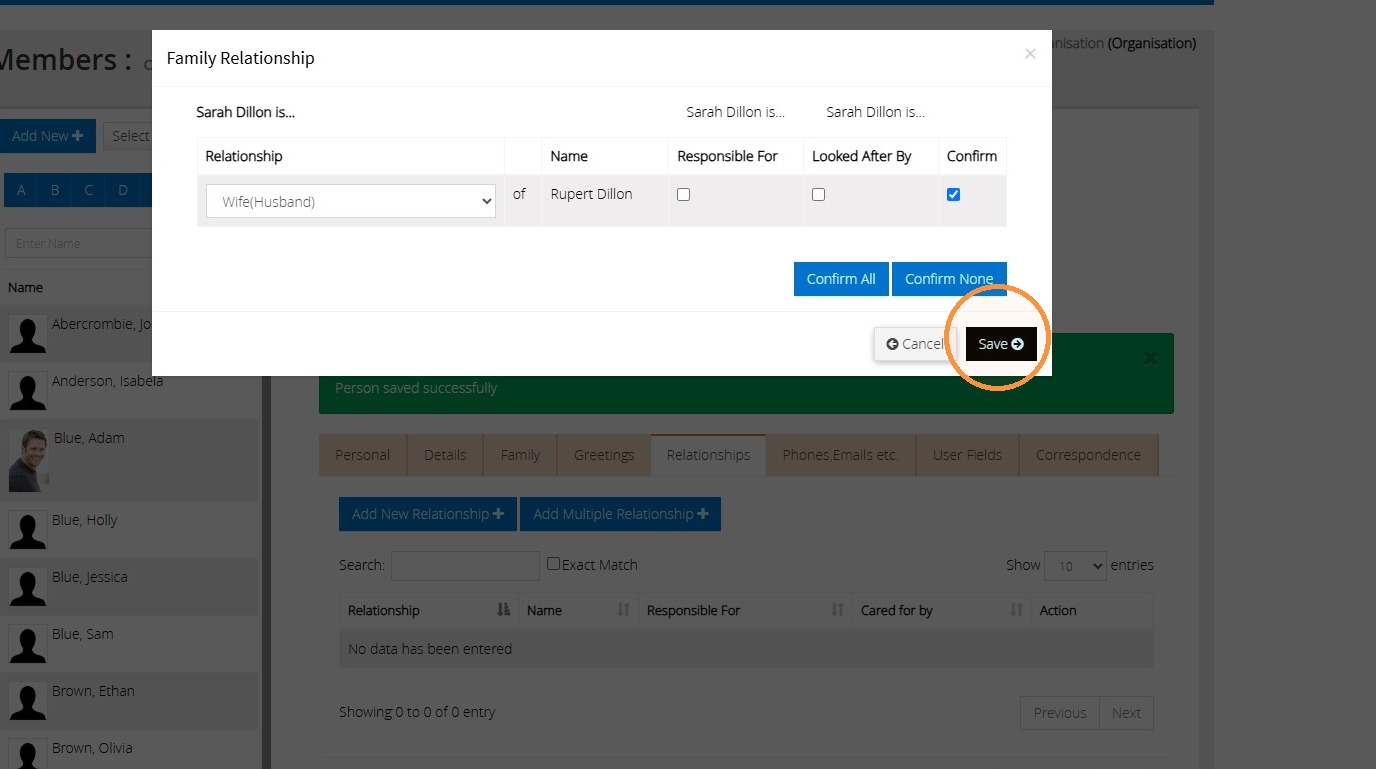
12. Click "Save".
Adding additional family members
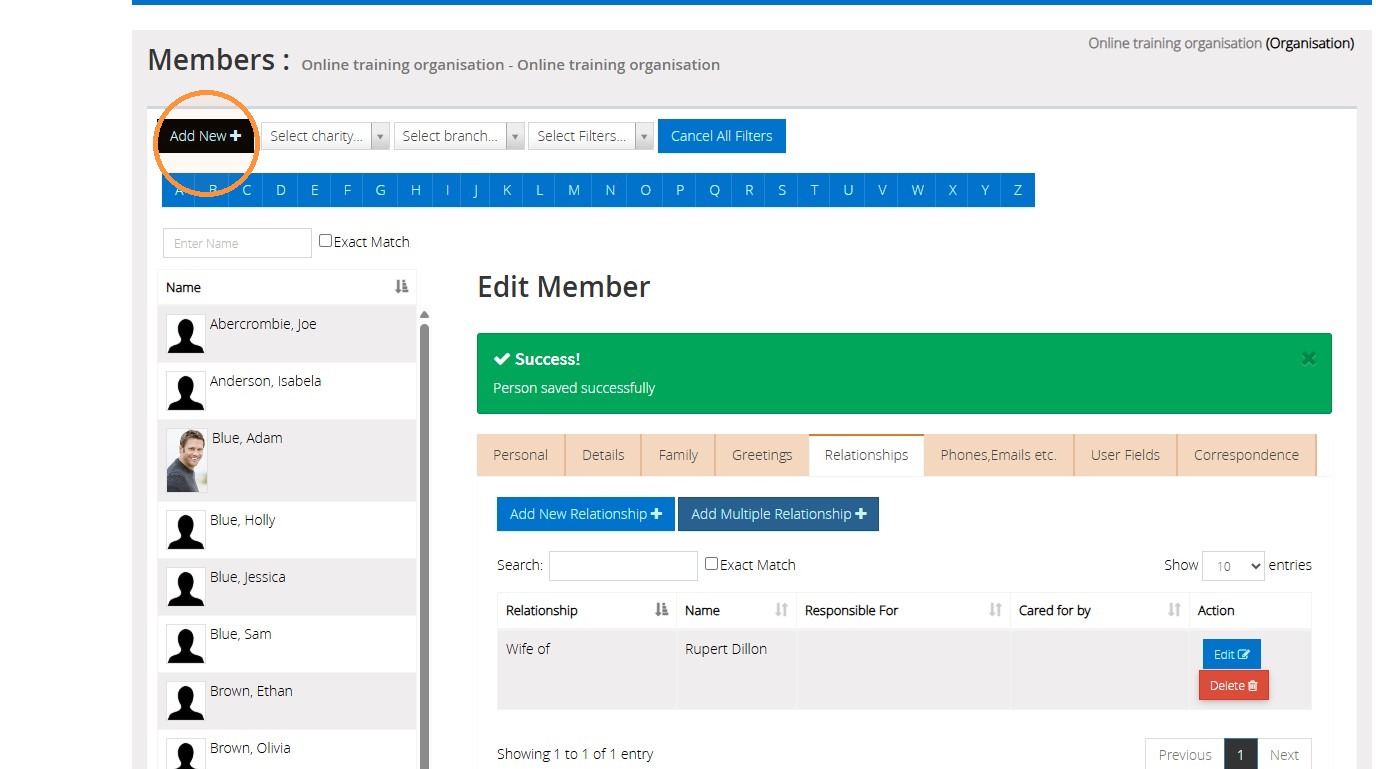
13. Having clicked on 'Save', you will automatically be taken to this new individual's record. If you wish to add additional family members, simply repeat the process by clicking 'Add New'.
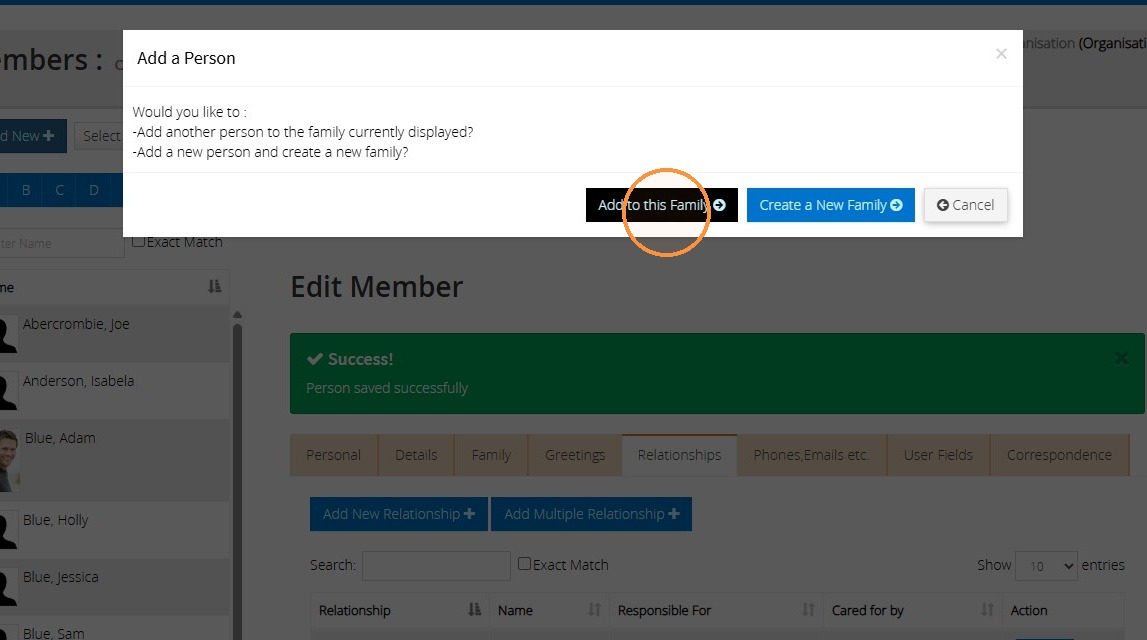
14. Click 'Add to this Family'.
15. Enter the persons details and then click 'Save'.
16. Once again, you will be prompted to select the appropriate relationships between this new person and the existing family members. In our example below, as we are adding a third member to the 'Dillion' family, you will see Rupert and Sarah already listed.
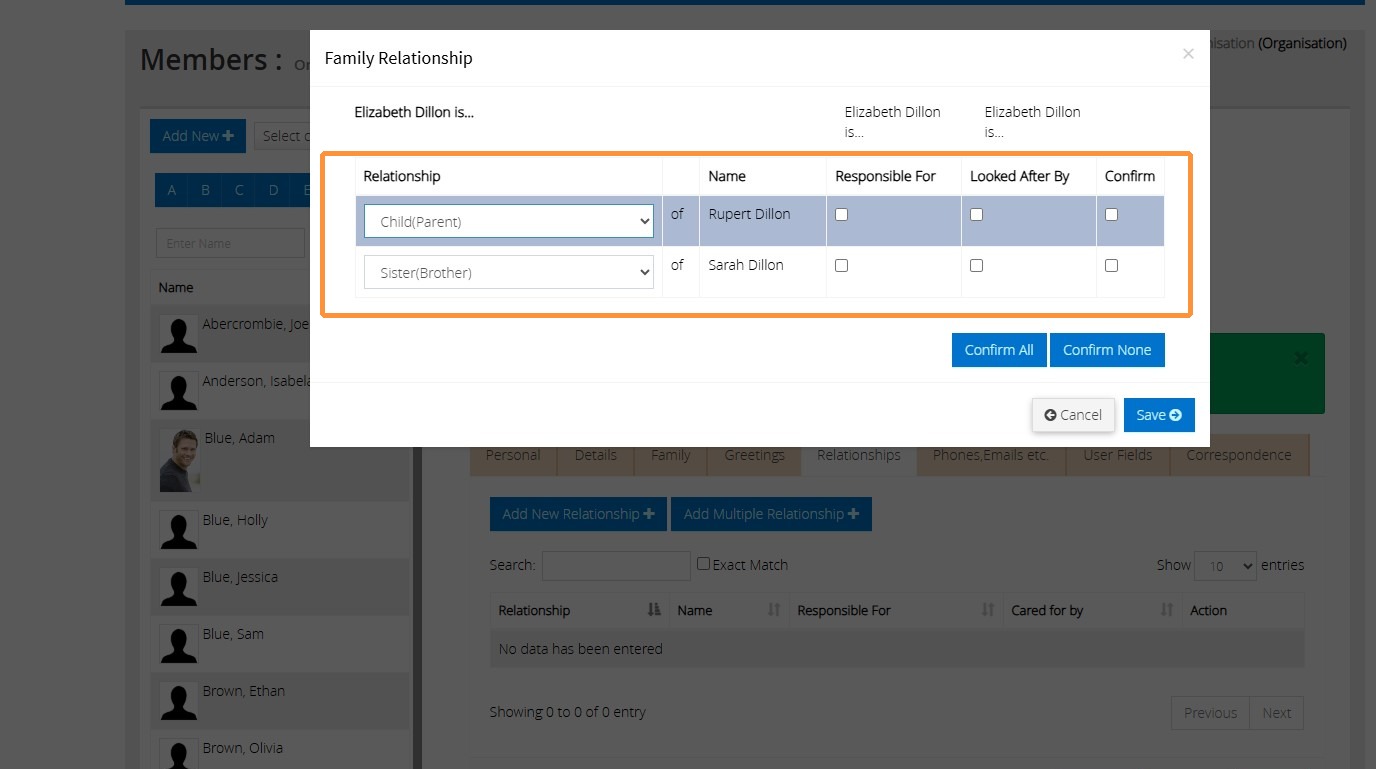
17. Select the relationships you wish to use.
If the person you are creating is 'Responsible for..' one of the other individuals, you can tick the relevant checkbox to record this.
Alternatively, if they are 'Looked After By...' the other individual(s), tick the appropriate checkbox.
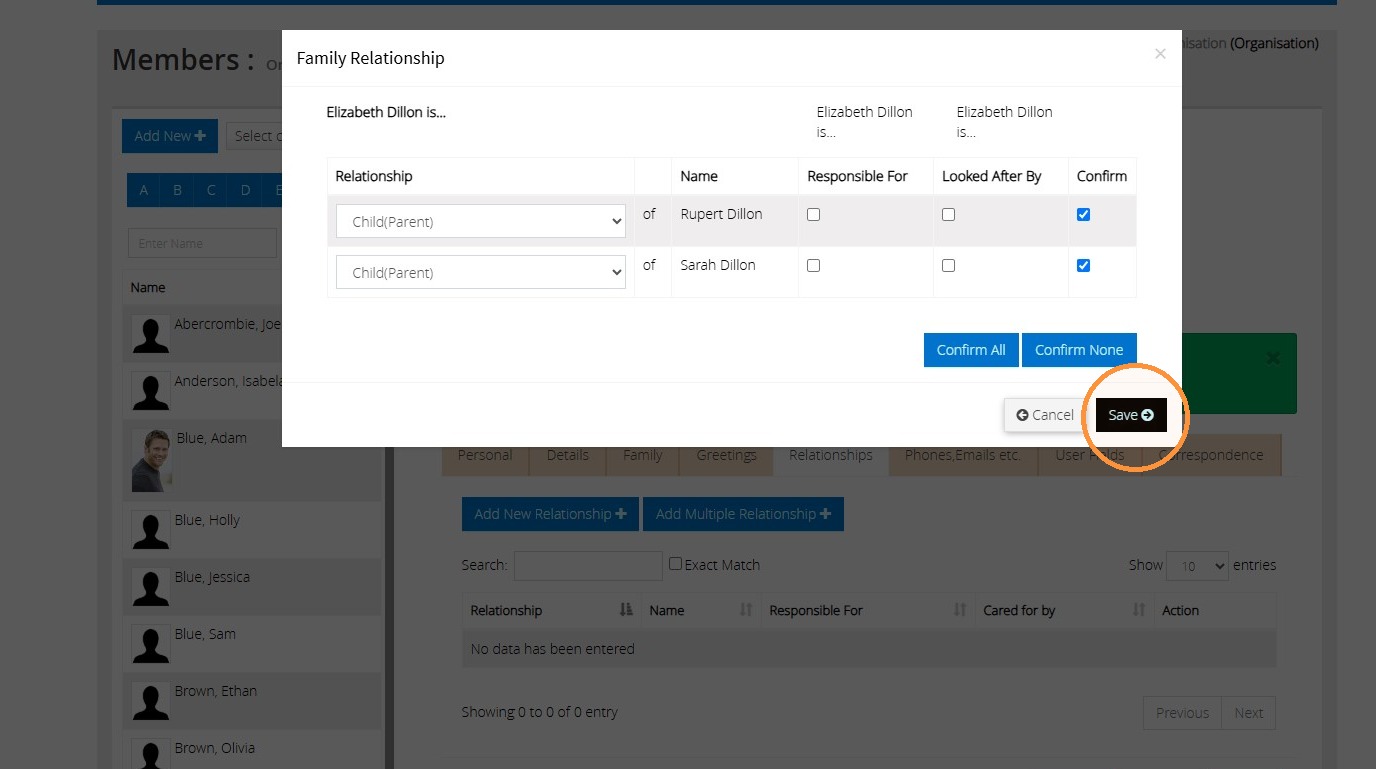
If you wish to confirm all the items, clicking the 'Confirm All' button will tick all the entries automatically.
Once done, click 'Save'.
What are the advantages of linked family records?
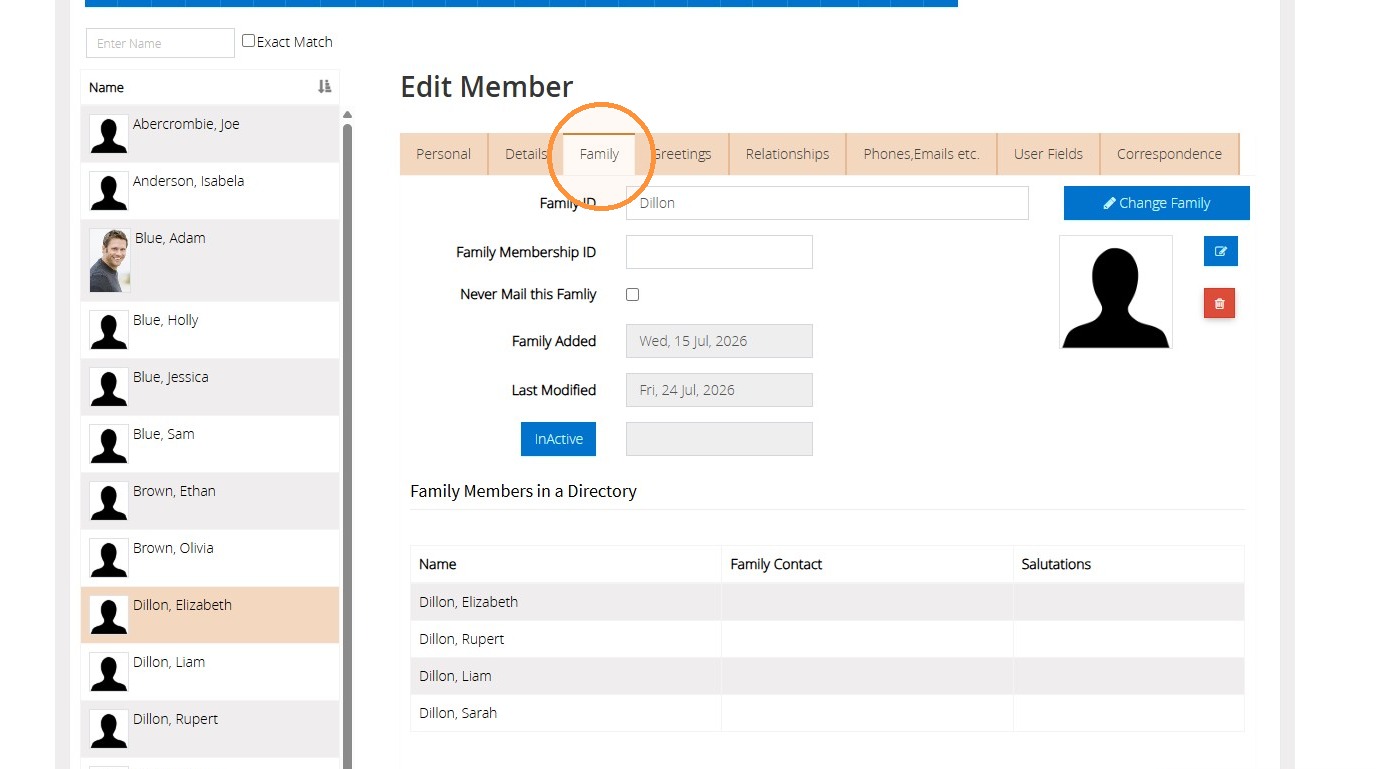
18. Family members will automatically be listed under the 'Family' tab.
You can also upload a 'Family Photo' to one record, and it will be automatically applied to the other records.
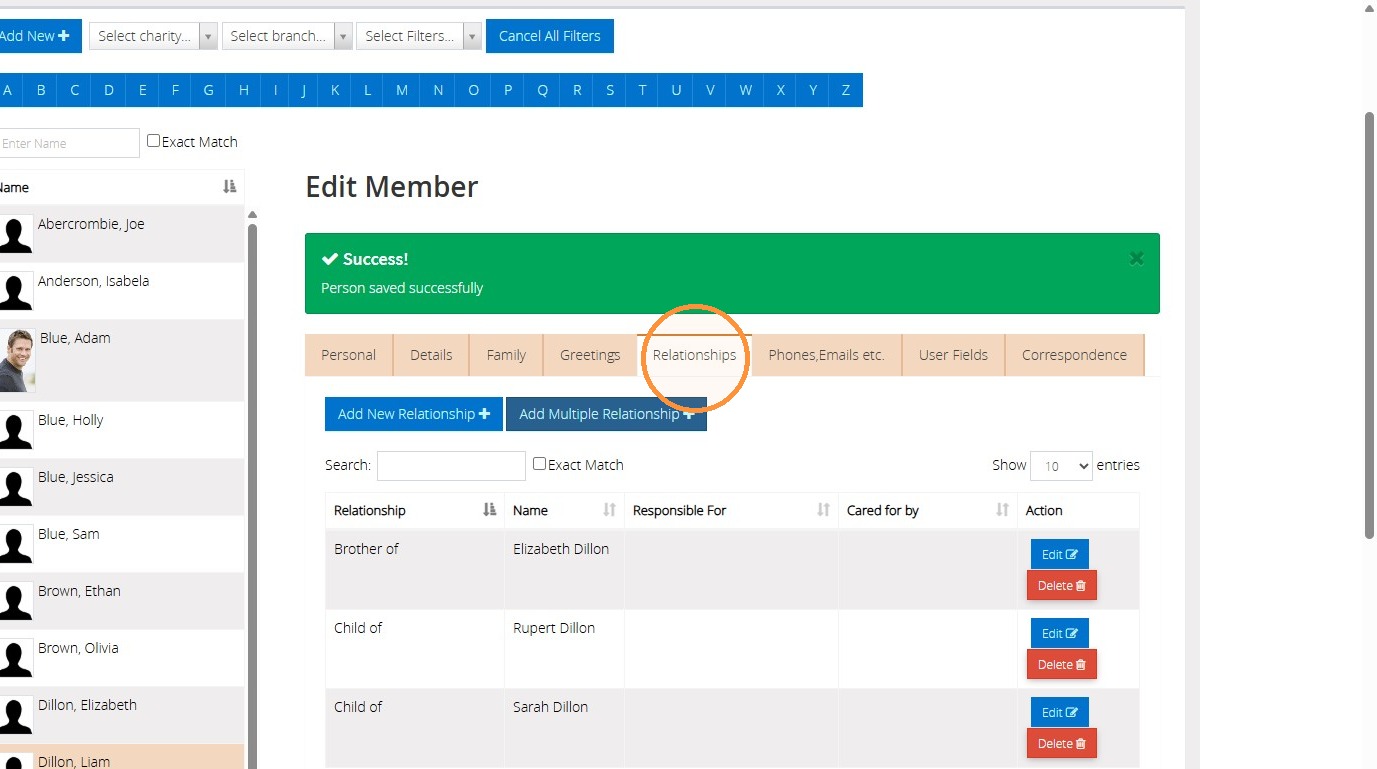
19. Any relationships you've recorded against an individual will show under the 'Relationships' tab on their personal record. This will also include relationships you've established with another family, for instance, uncles, aunts, grandparents, etc.
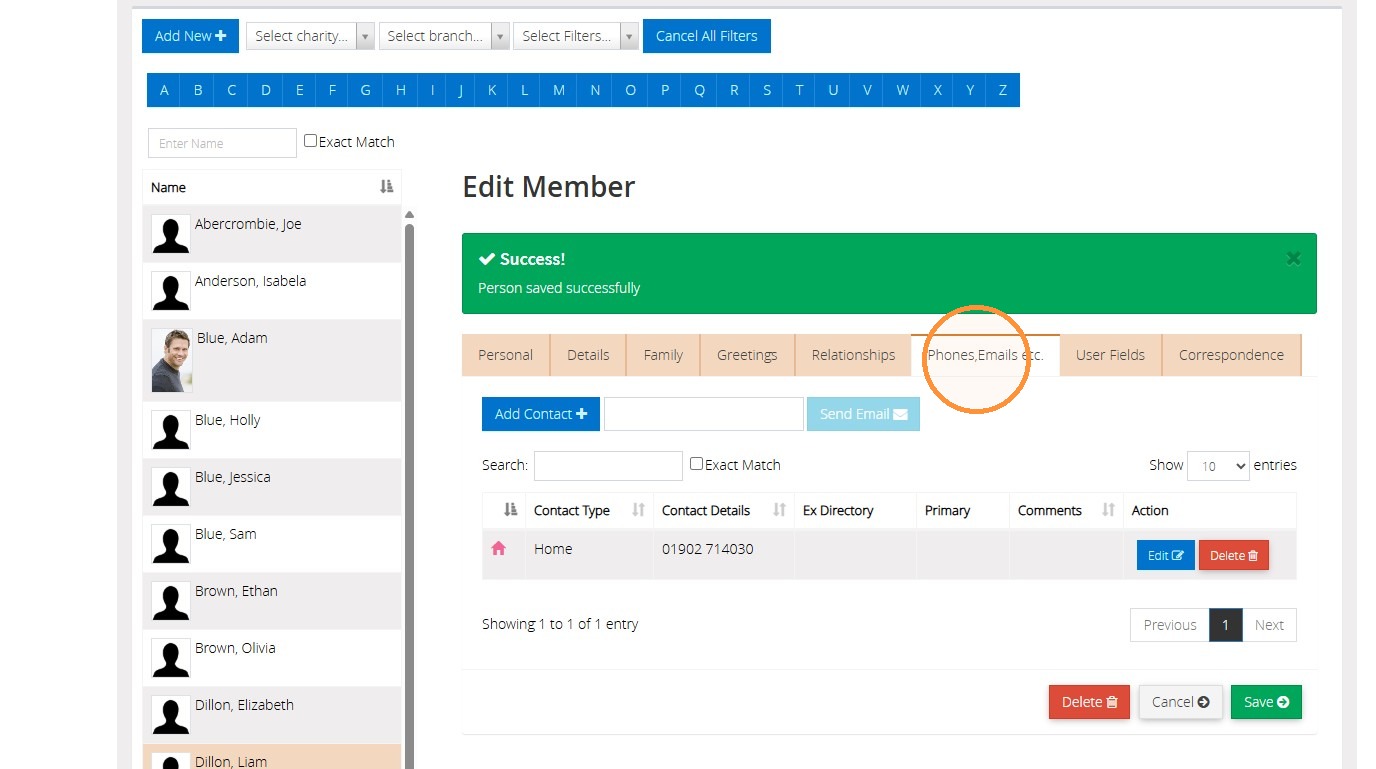
20. Any contact details that are added for the family will automatically show on everyone's record.
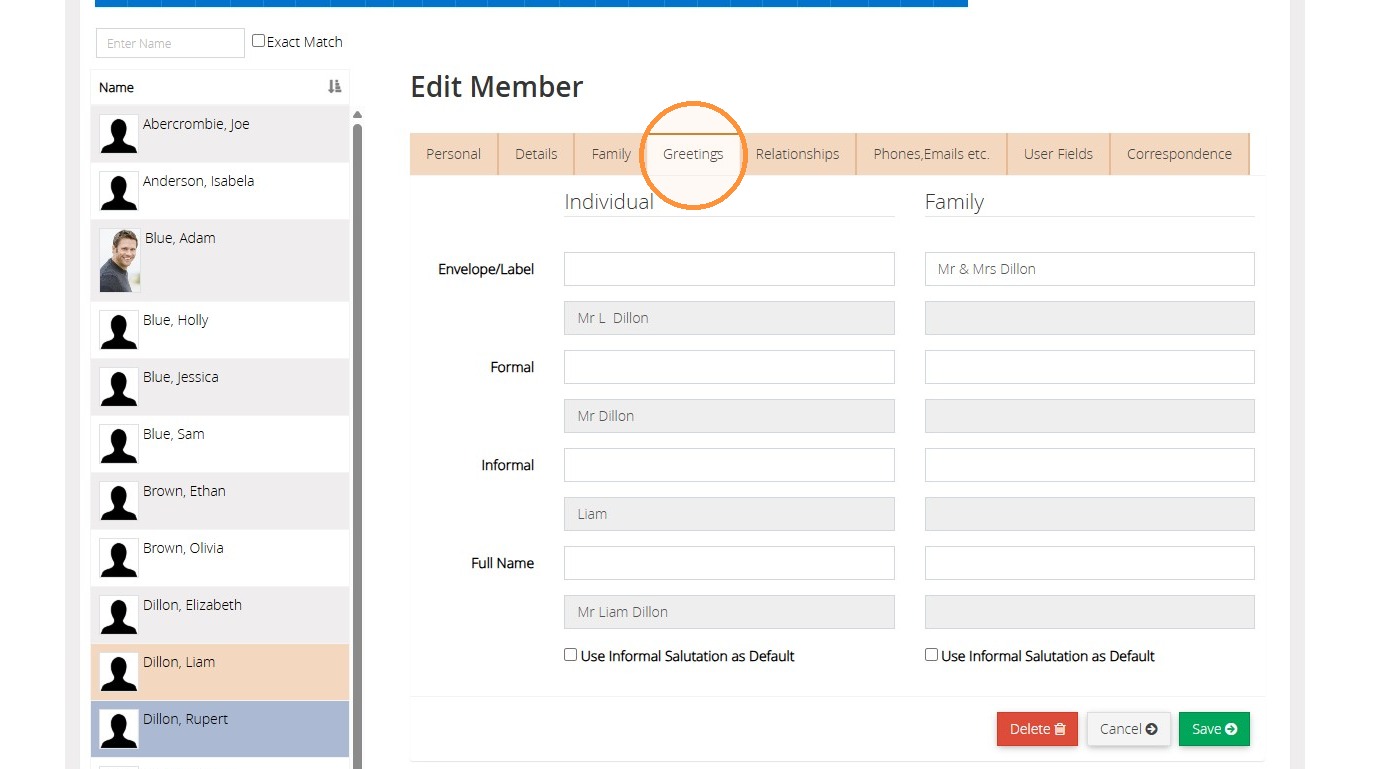
21. Under the 'Greetings' tab, you can create custom family greetings to be used when sending out correspondence.
We hope you found this guide helpful and easy to follow. If you require any further assistance, please contact our support team by telephone on 01902 714030 or by email at support@datadevelopments.co.uk