On MyFundAccounting.Online you can create user accounts with a custom roles and permissions that tailors each user's access.
This ensures they only see the parts of the application that are relevant to their role.
The below steps will guide you in creating a custom role with specific permissions.
1. Navigate to https://www.mygiving.online/dashboard
2. Click "Admin" > "Users and Security" > "Custom Roles & Permissions"
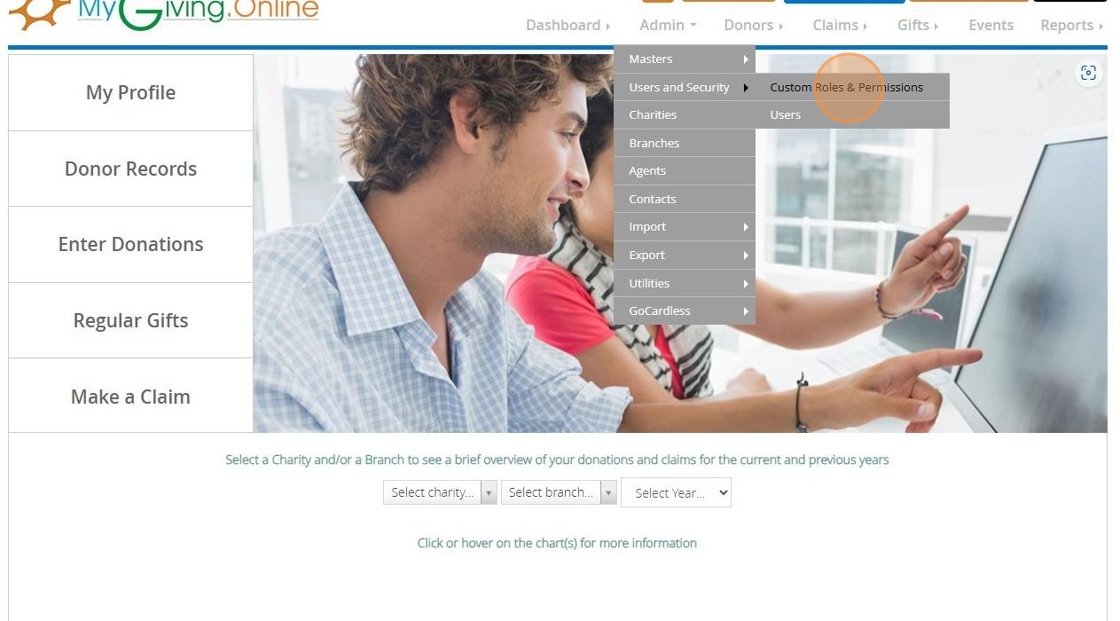
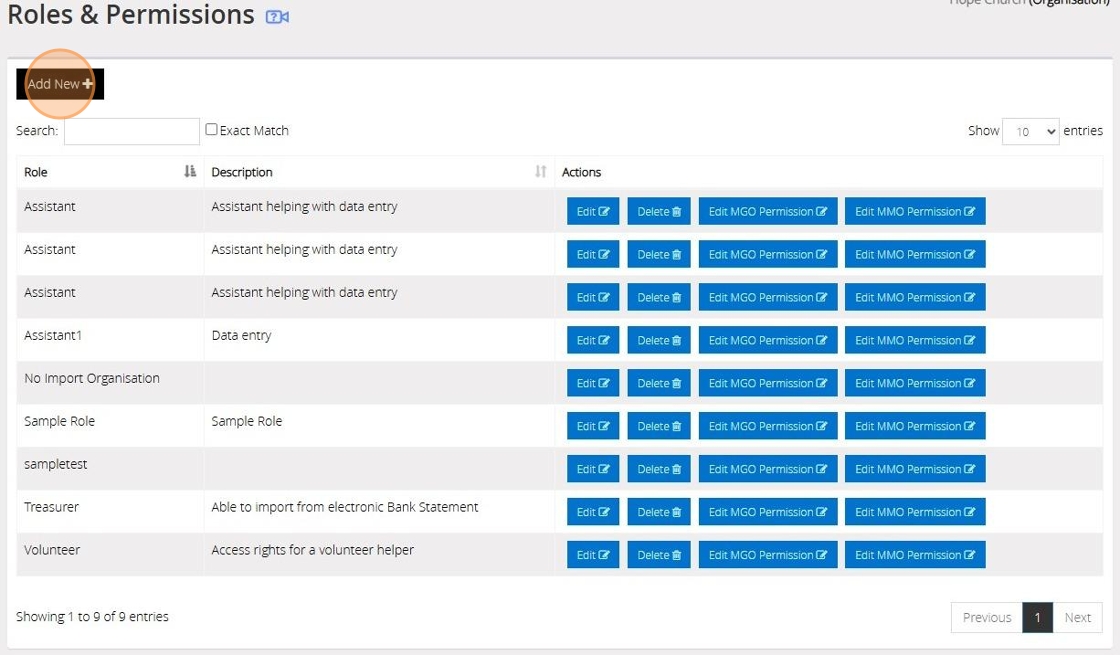
3. Click "Add New"
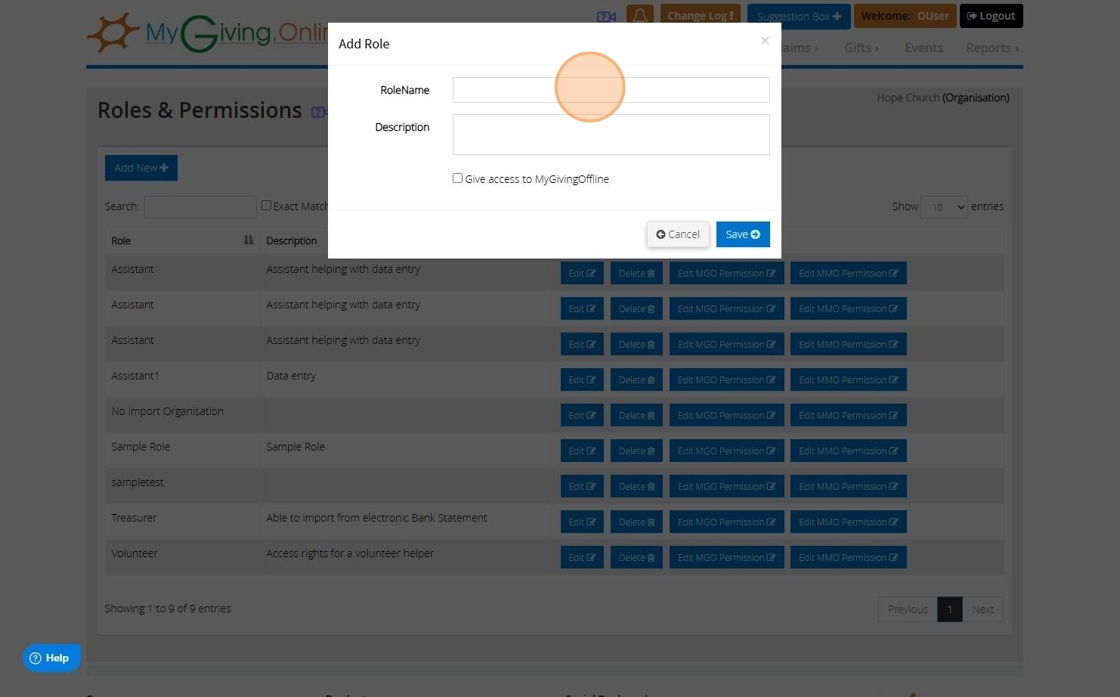
4. Name the new role depending on who you would assign it to e.g. Assistant, Gift Aid Secretary
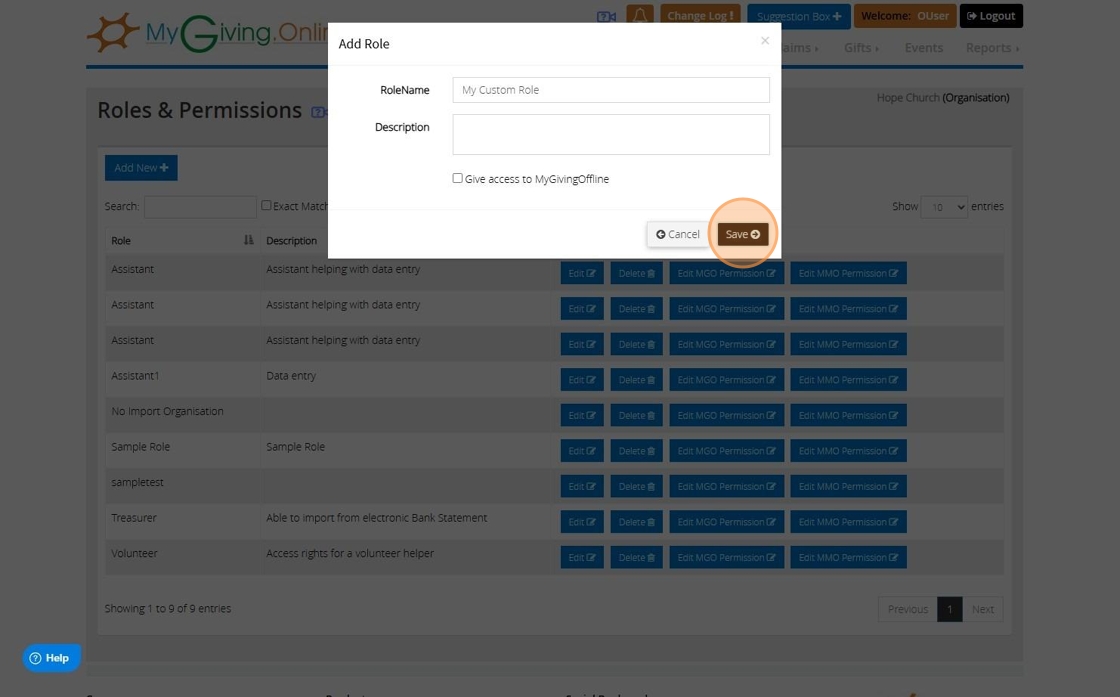
5. Click "Save"
6. Your new role will appear in the list
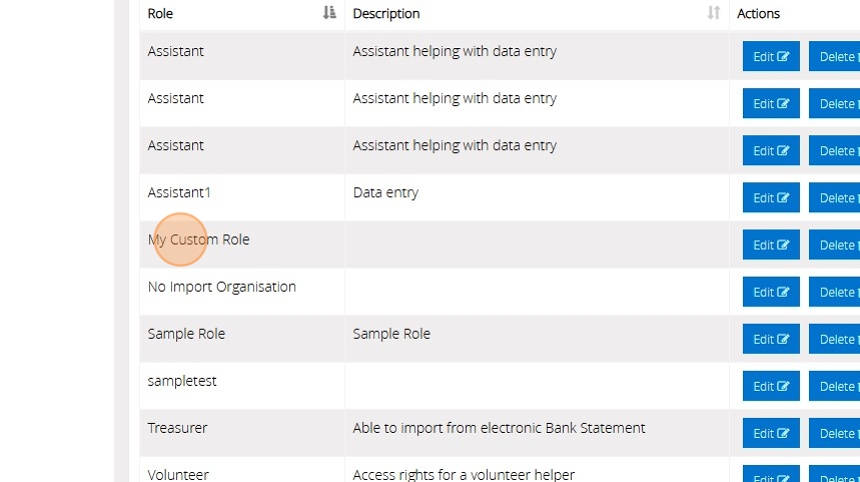
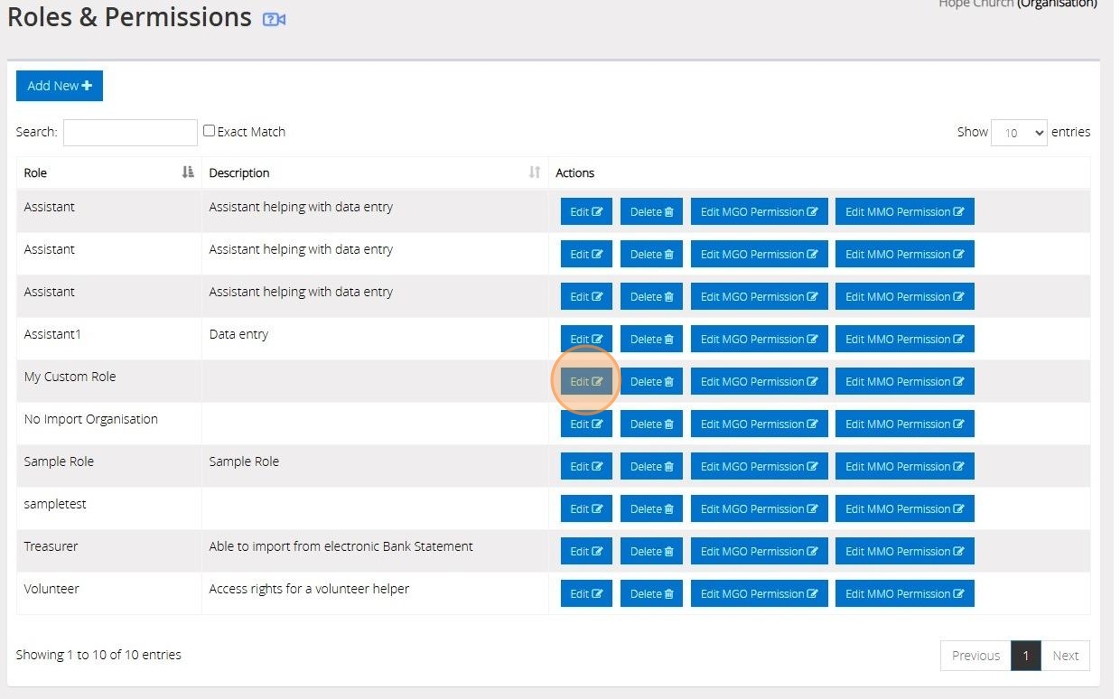
7. Click "Edit" to bring up the form you filled in step 4 to amend any details
8. You can remove the role by clicking "Delete"
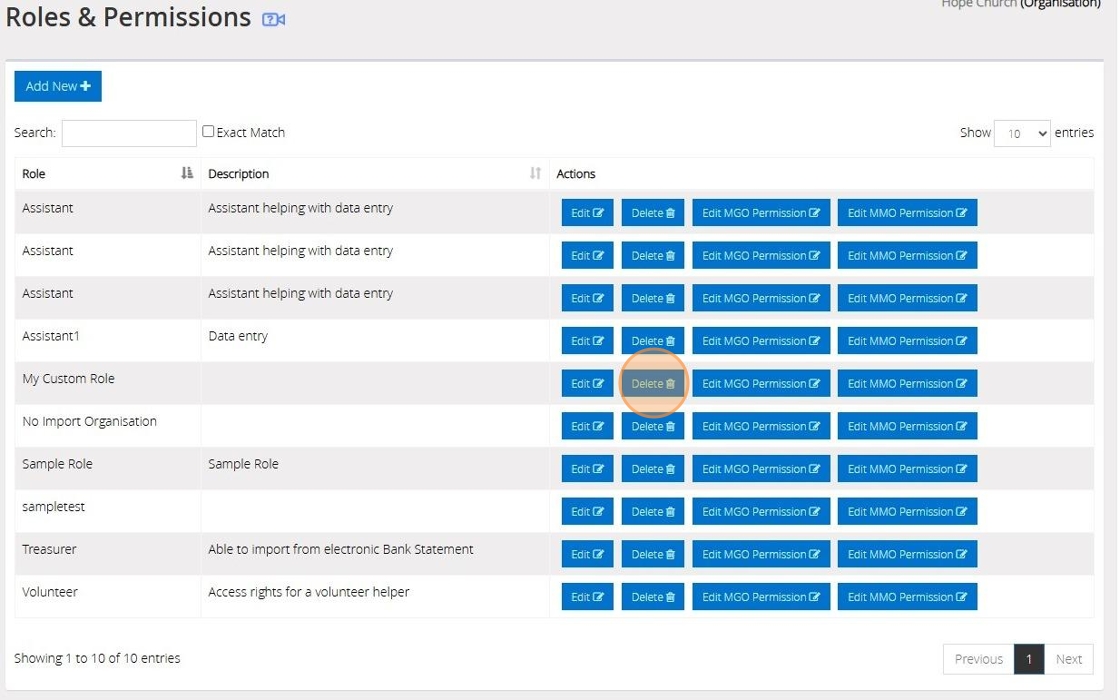
Alert! If the role has been assigned to a user it cannot be removed until the user is reassigned to another role or deleted
9. Click "Edit MGO Permission" to begin choosing what permissions this role will give the user. "Edit MMO Permission" may be available if you use MyMembershipManager.Online.

10. Click the checkbox of the options you want available to the user and uncheck the ones you wish to hide or block
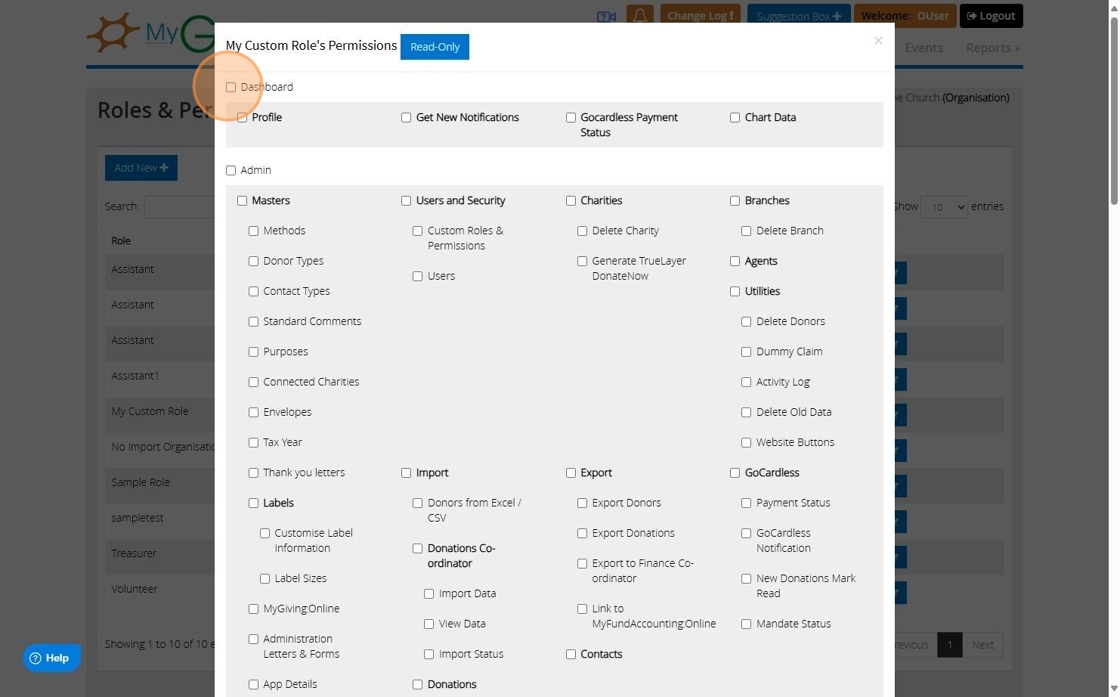
11. Click "Save" once you are happy with your selection.
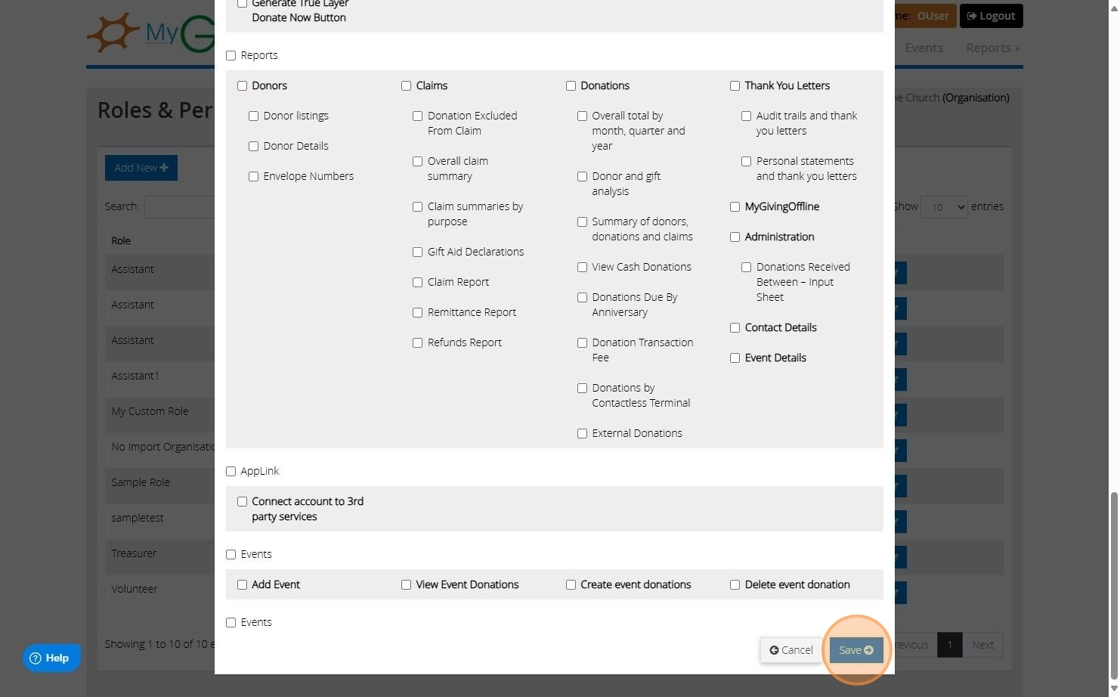
Tip! If you do have access to MyMembershipManager.Online (MMO) you can set up the permissions for MMO by now clicking "Edit MMO Permission"
Creating the User
12. Click "Users"
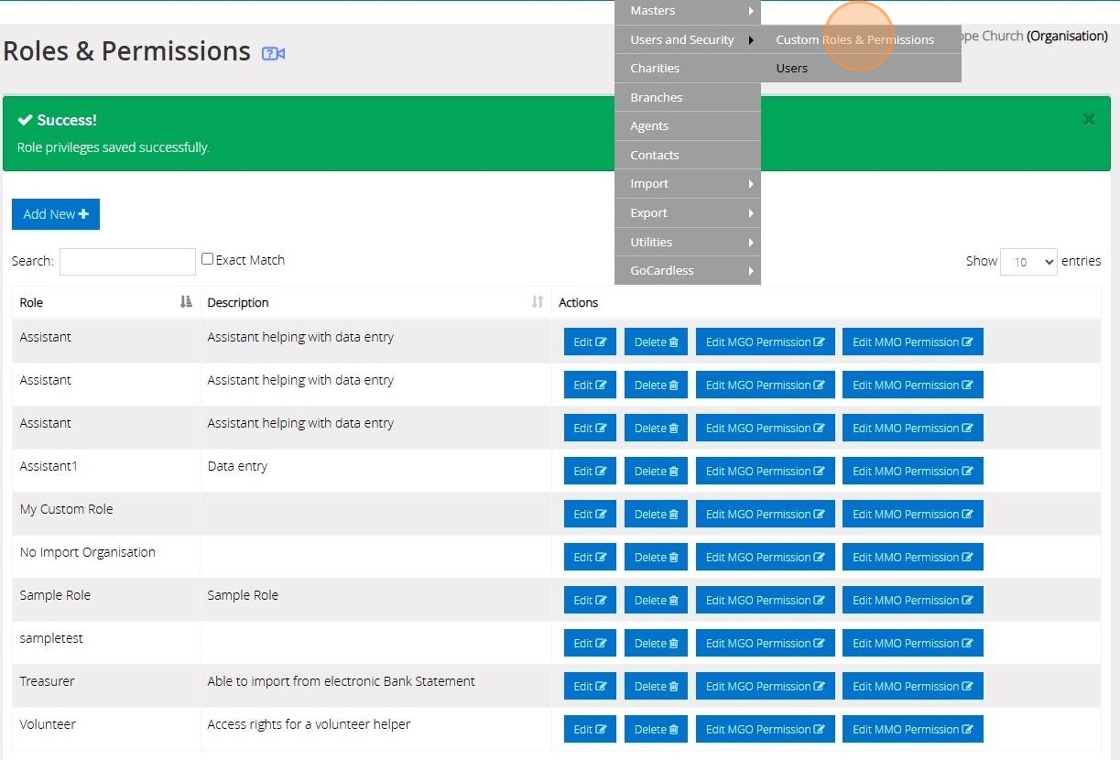
13. Click "Add New"

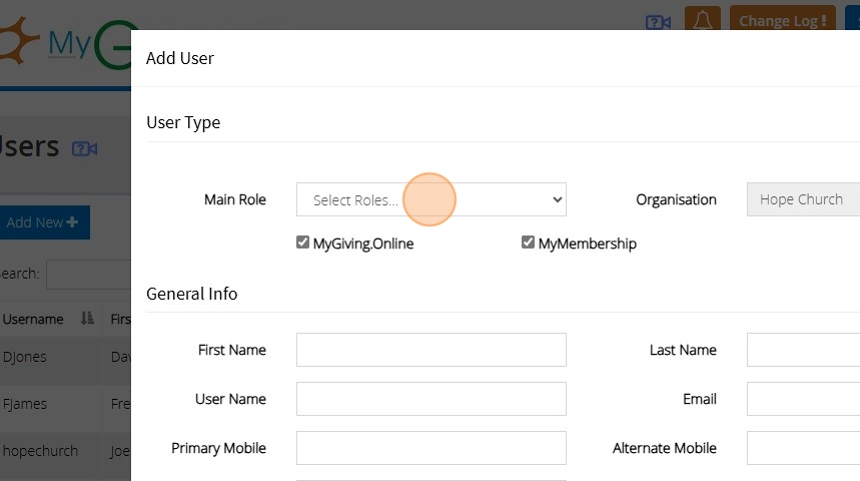
14. Click this dropdown to select a default role or a custom role you have created
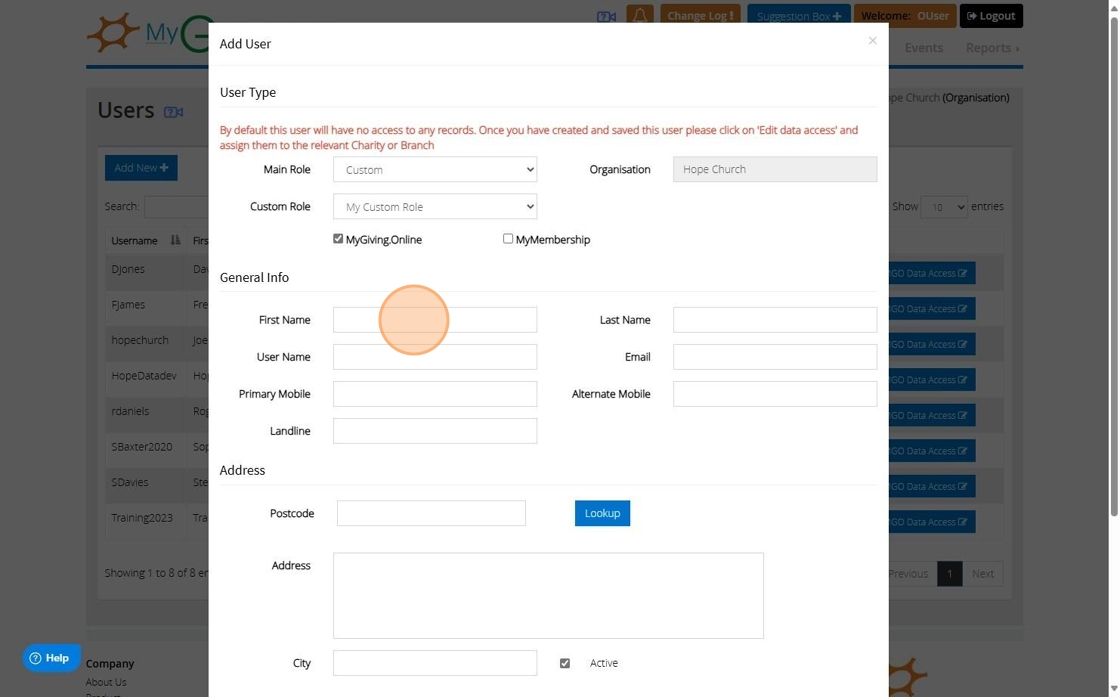
15. If you select to use a "Custom" role you will see a new dropdown where the roles you have created will appear. Click this dropdown to select the relevant role you wish to assign the user.

16. Checking "MyGiving.Online" will allow the user to log into MyGiving using the details you set up

17. Checking "MyMembershipManager.Online" will allow the user to log into MyMembershipManager using the details you set up

18. Fill out the rest of the form with the users personal details
19. You can use the lookup option after entering the postcode to autofill the address from a dropdown
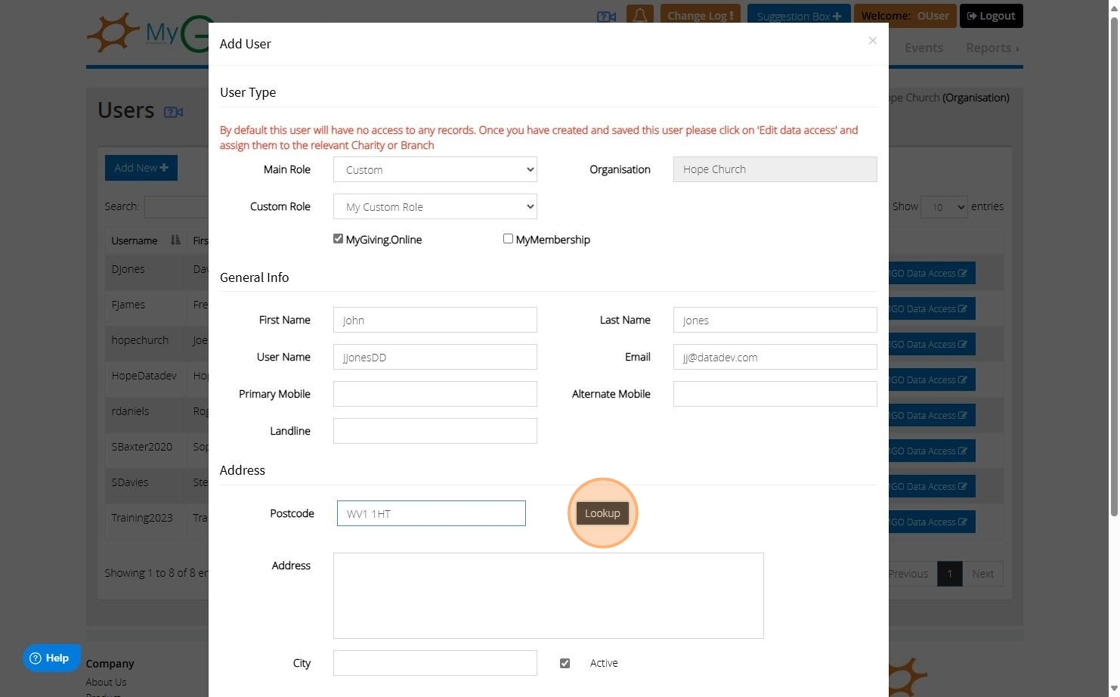
20. Click this dropdown after clicking the lookup for all the addresses that have been found for the postcode

21. Click the "Password" field and enter a password for the user to use when they first log into the account
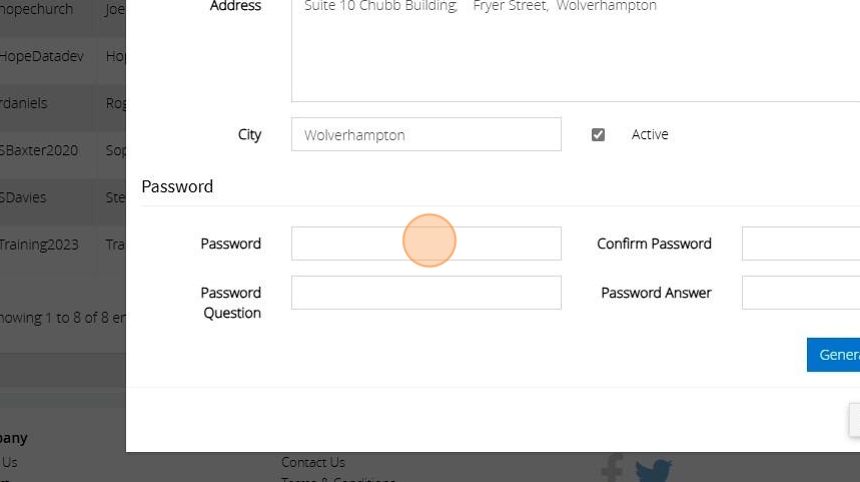
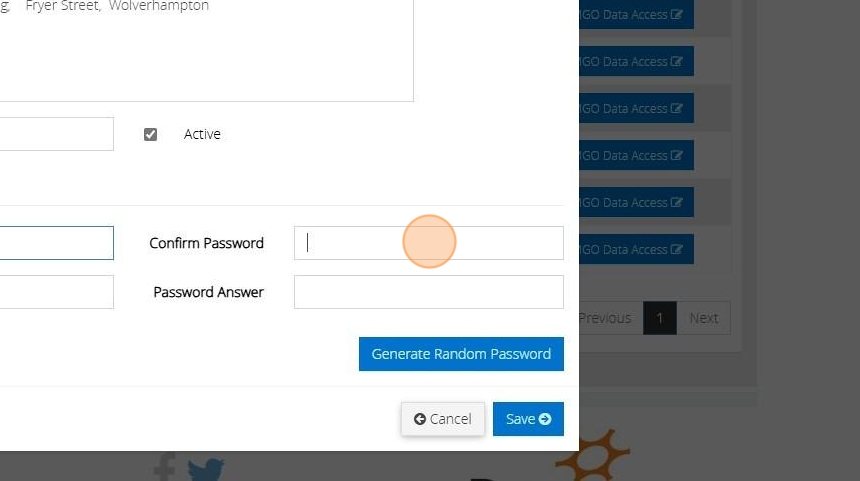
22. Click the "Confirm Password" field and re-enter the same password
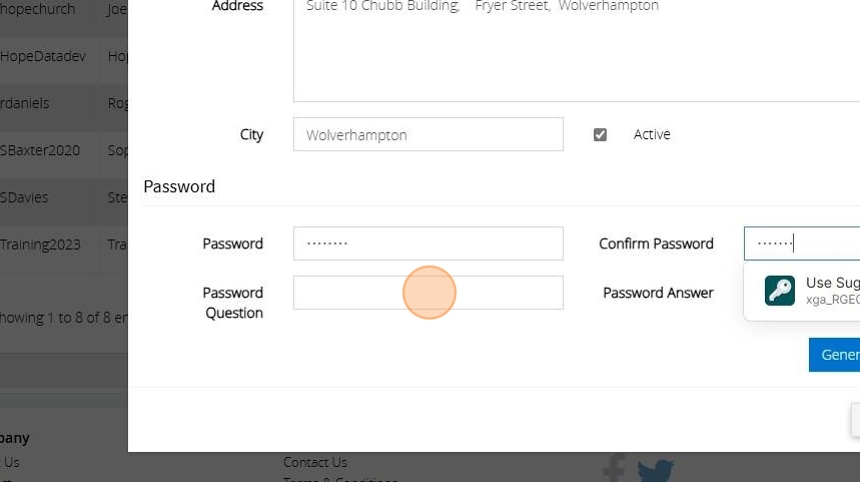
23. Enter in a password question and answer. The user can update these once they log into the account
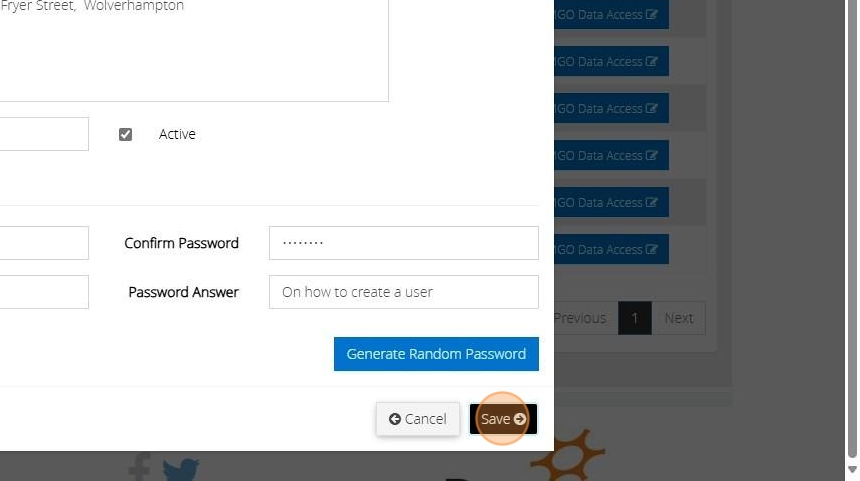
24. Click "Save"
Tip! After saving the details you can send the username and password you have created to the user in an email
Tip! Once the user logs in they can update their password and password answer and question by going to "My Profile" on the left hand side of the dashboard and checking the change password checkbox on the right
