
Learn how to effectively manage and assign envelope numbers to donors within your charity's dashboard. This guide walks you through the steps to create, link, and update envelope records to ensure your donation tracking remains accurate.
Setting up a new envelope
1. Navigate to https://www.mygiving.online/dashboard
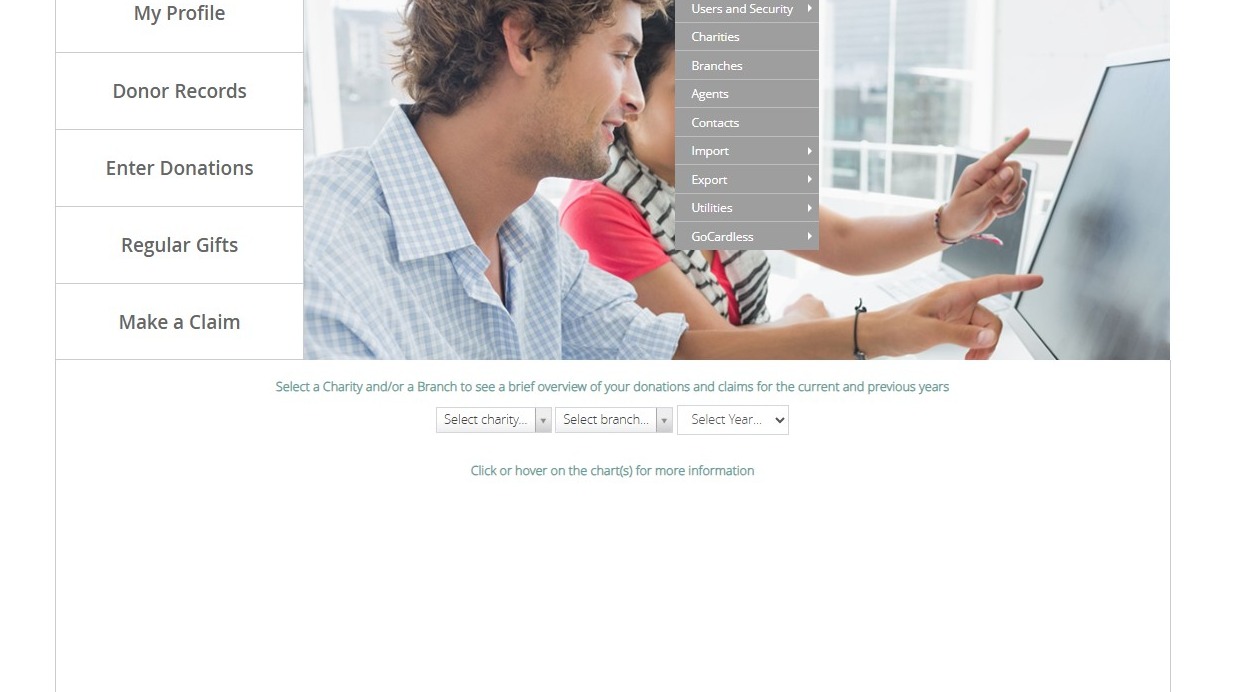
2. Go to Admin from the top navigation
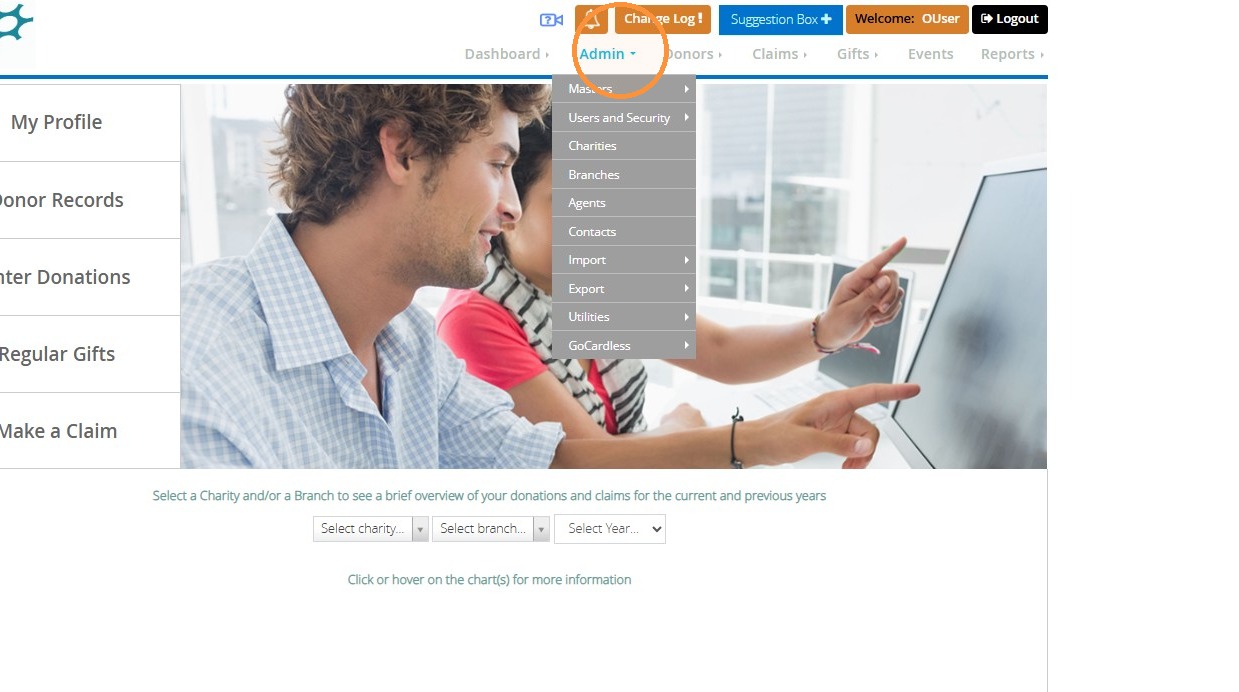
3. Go to Masters from the dropdown menu
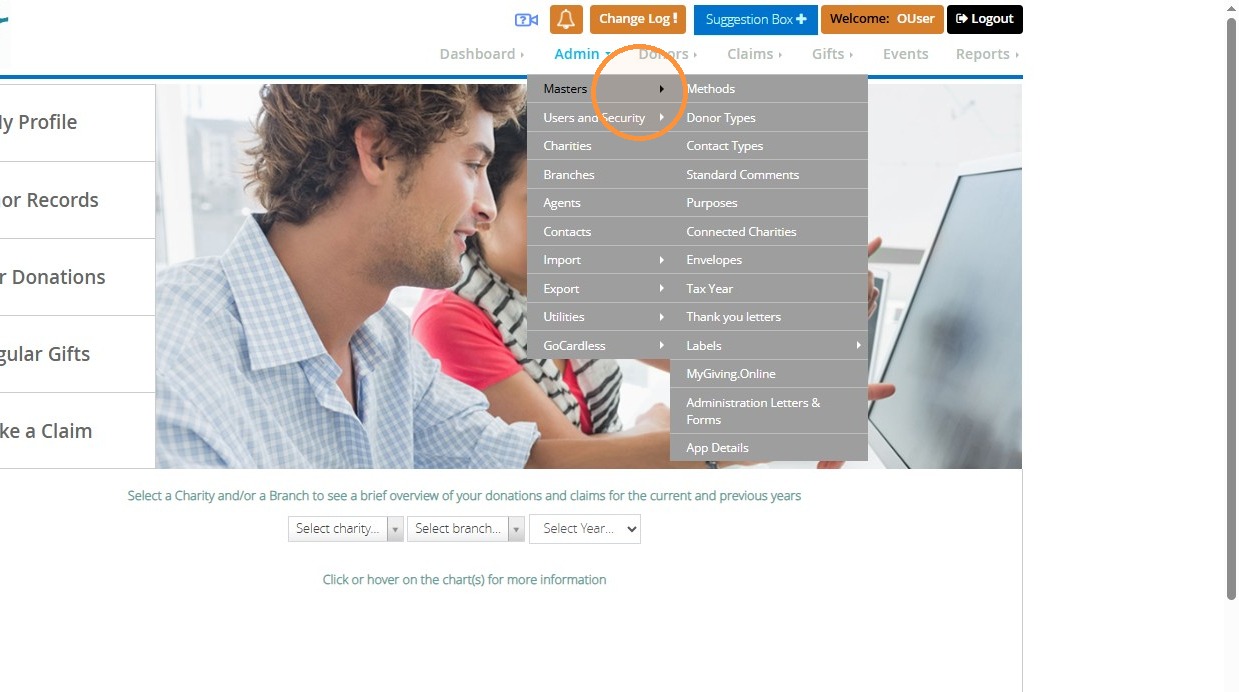
4. Choose Envelopes
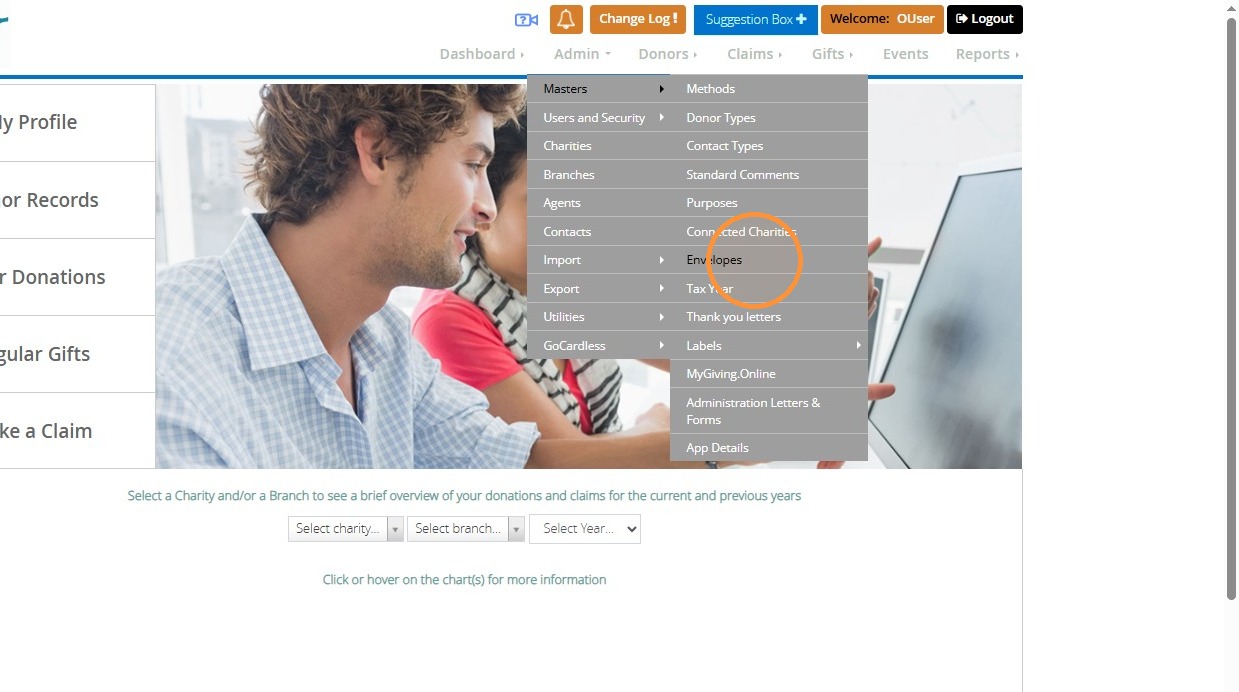
5. Click Add New to create a new envelope
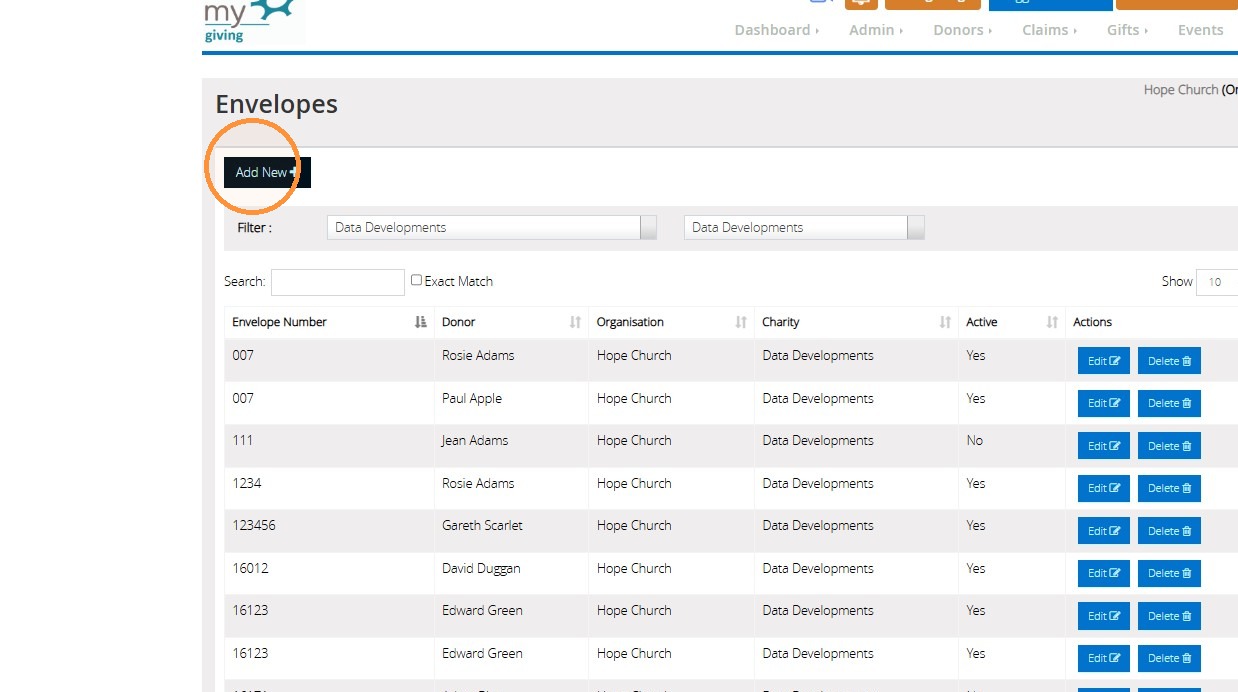
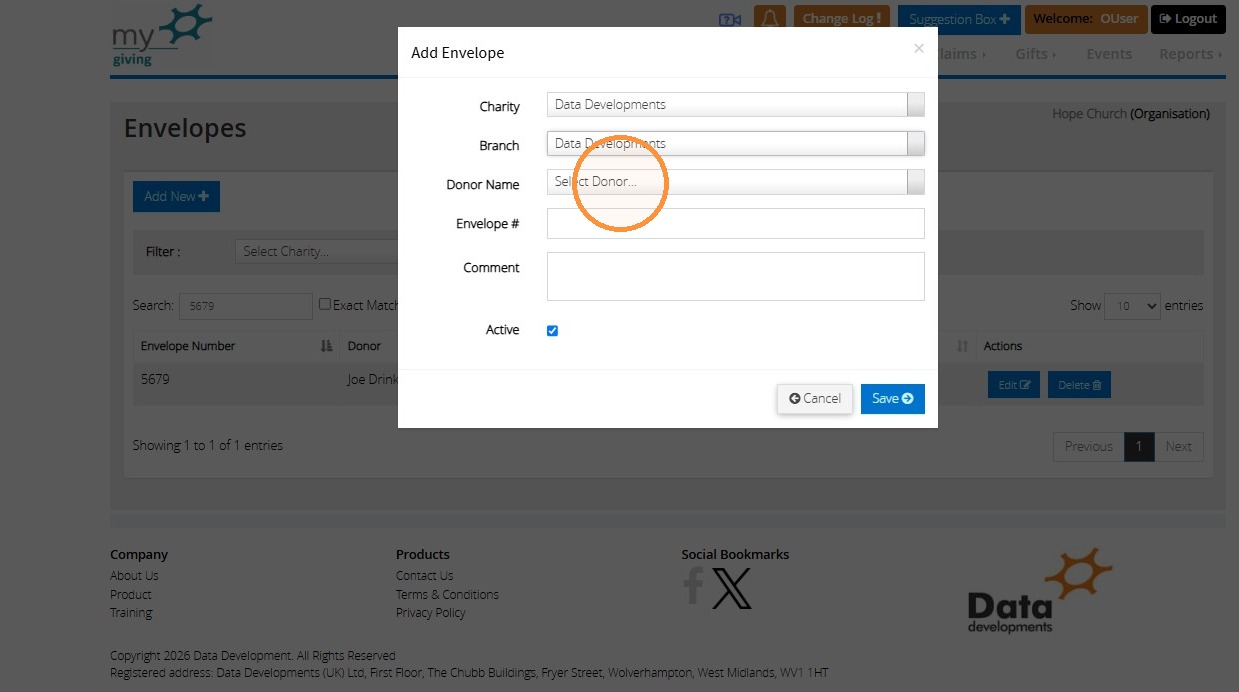
6. Select your charity and branch if they are not automatically selected
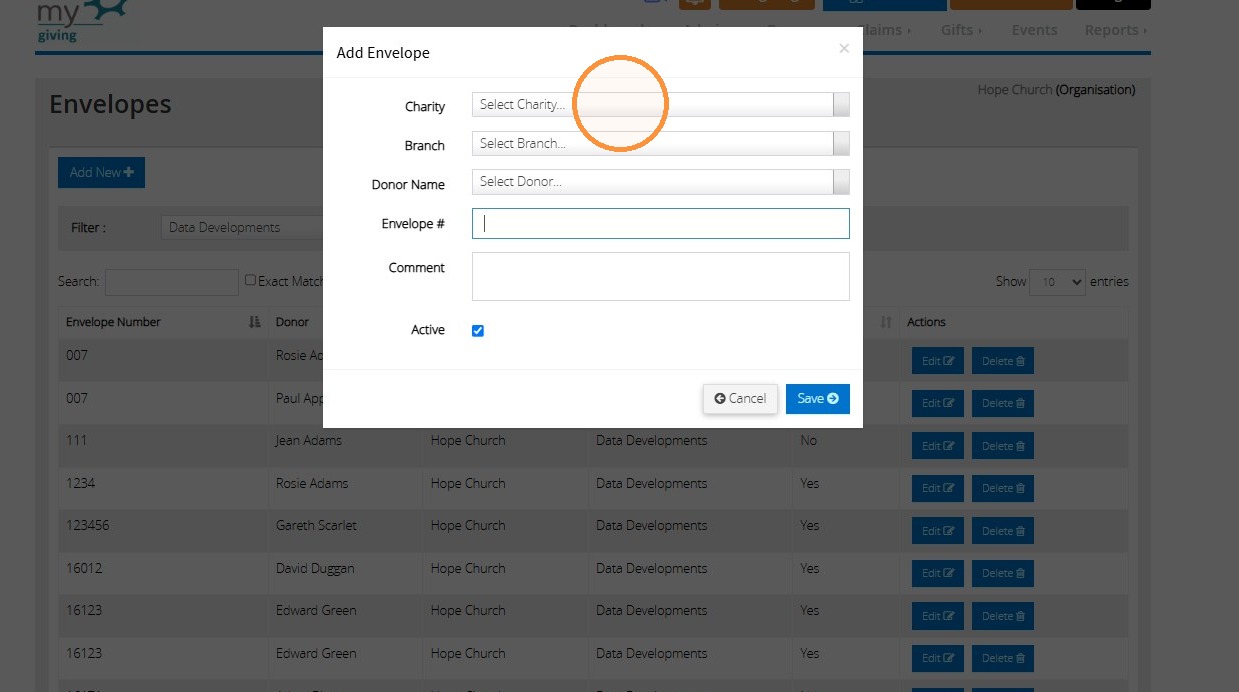
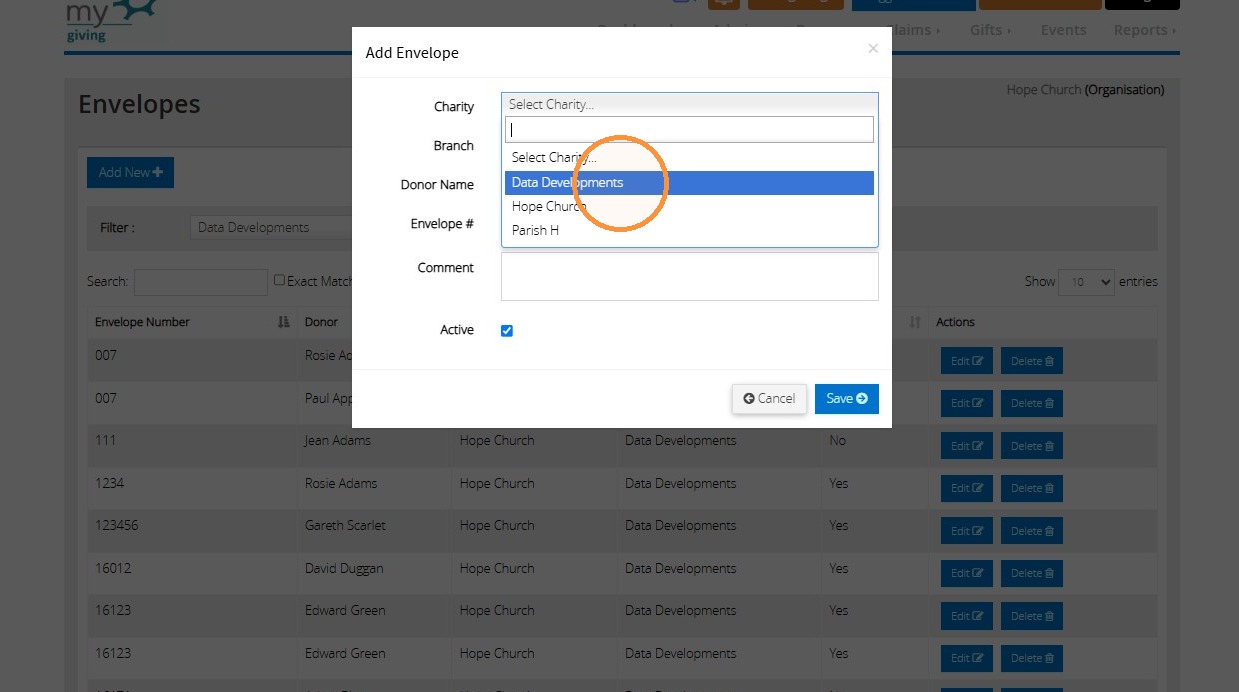
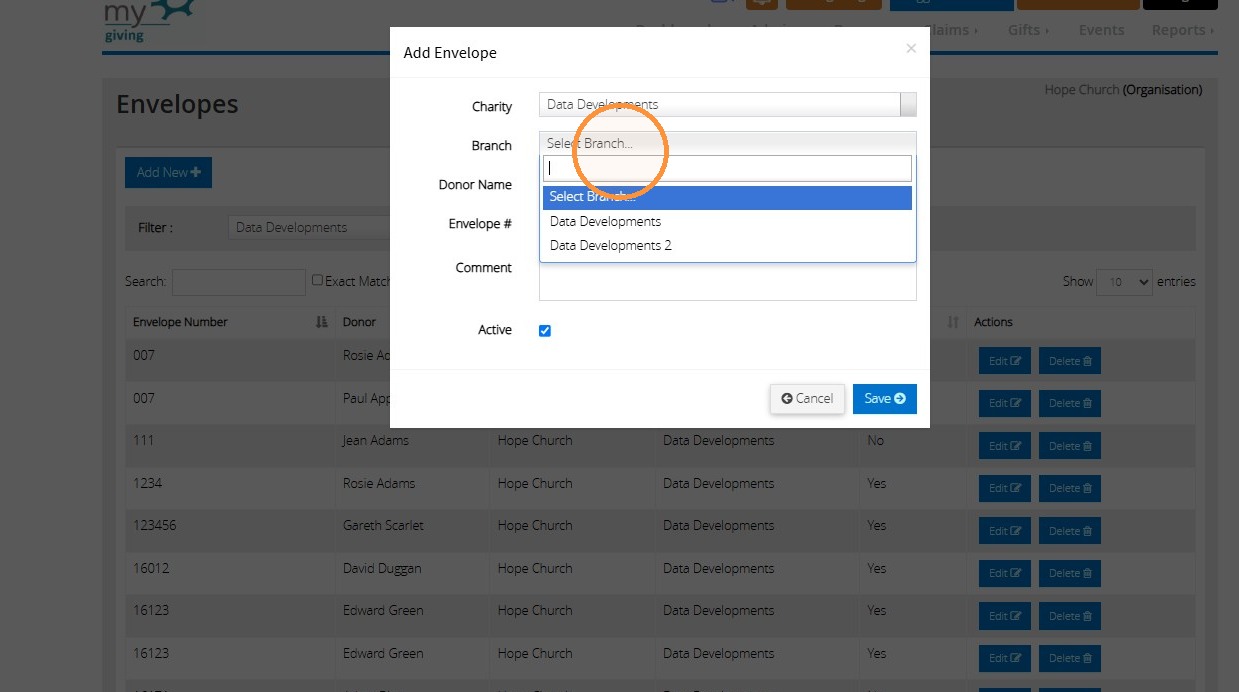
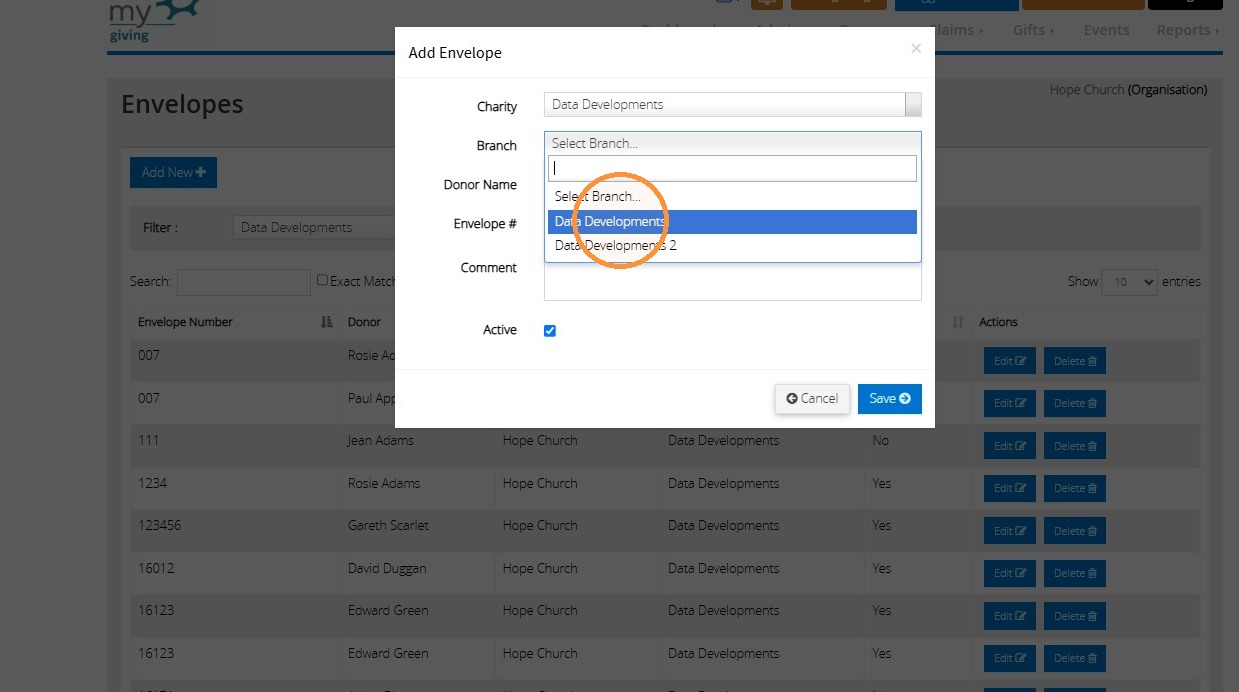
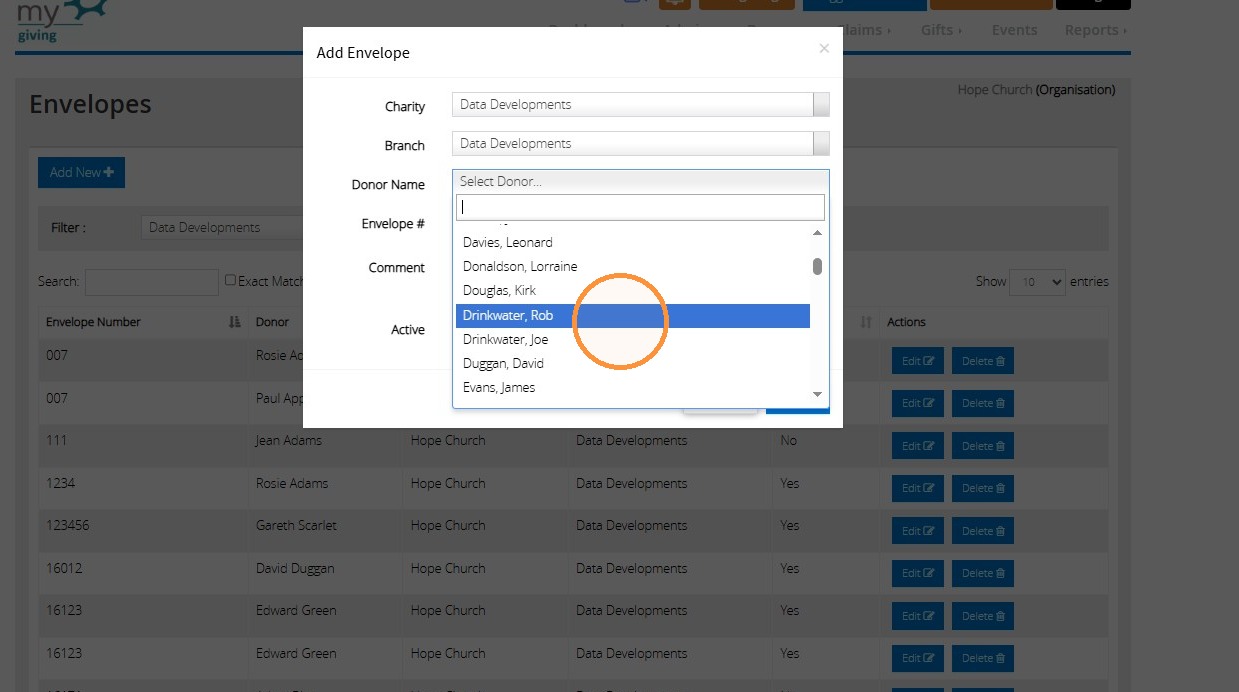
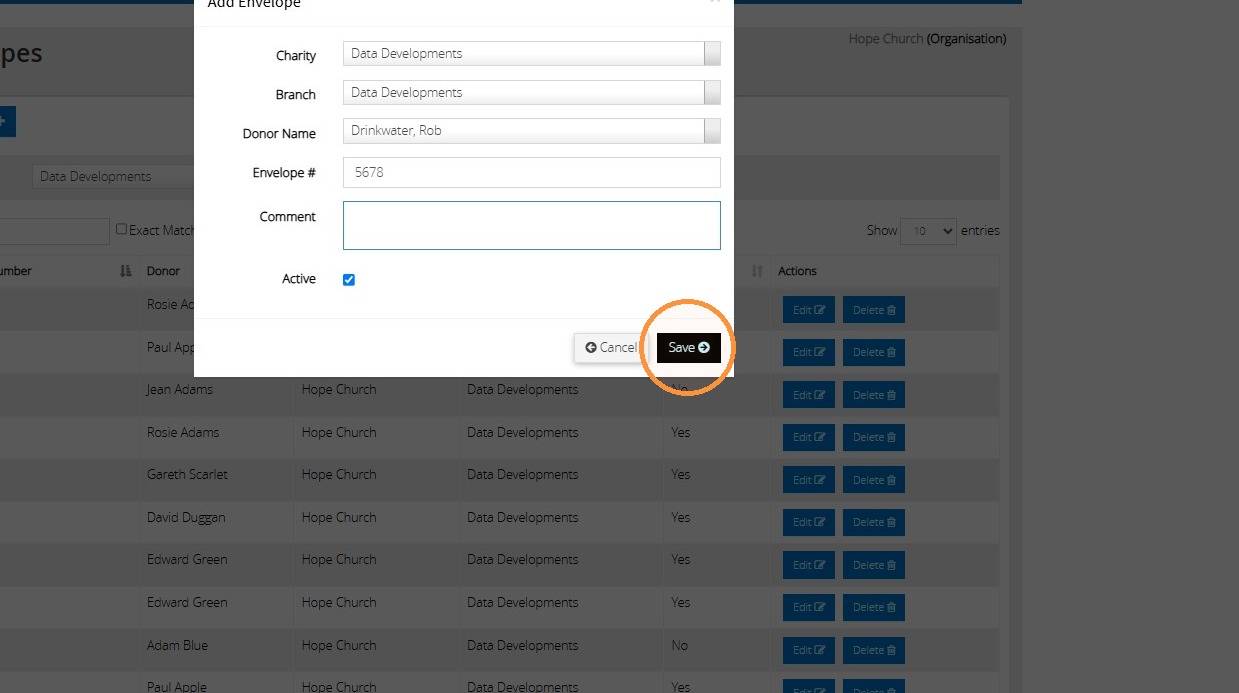
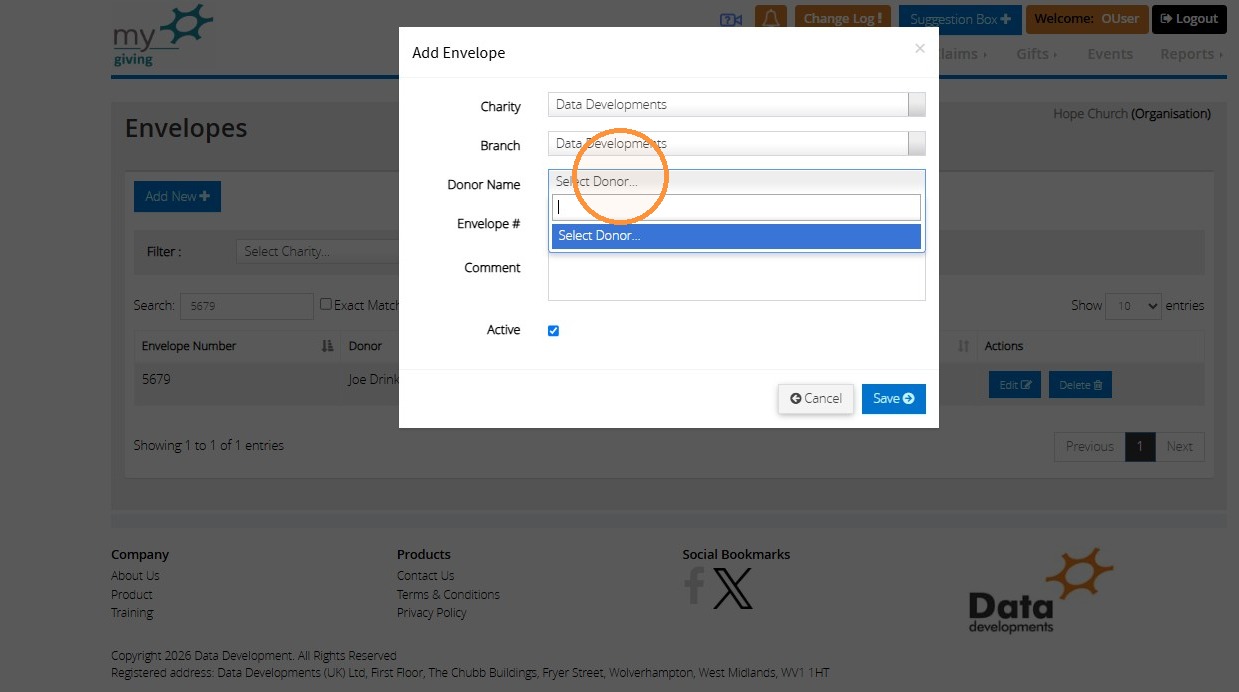
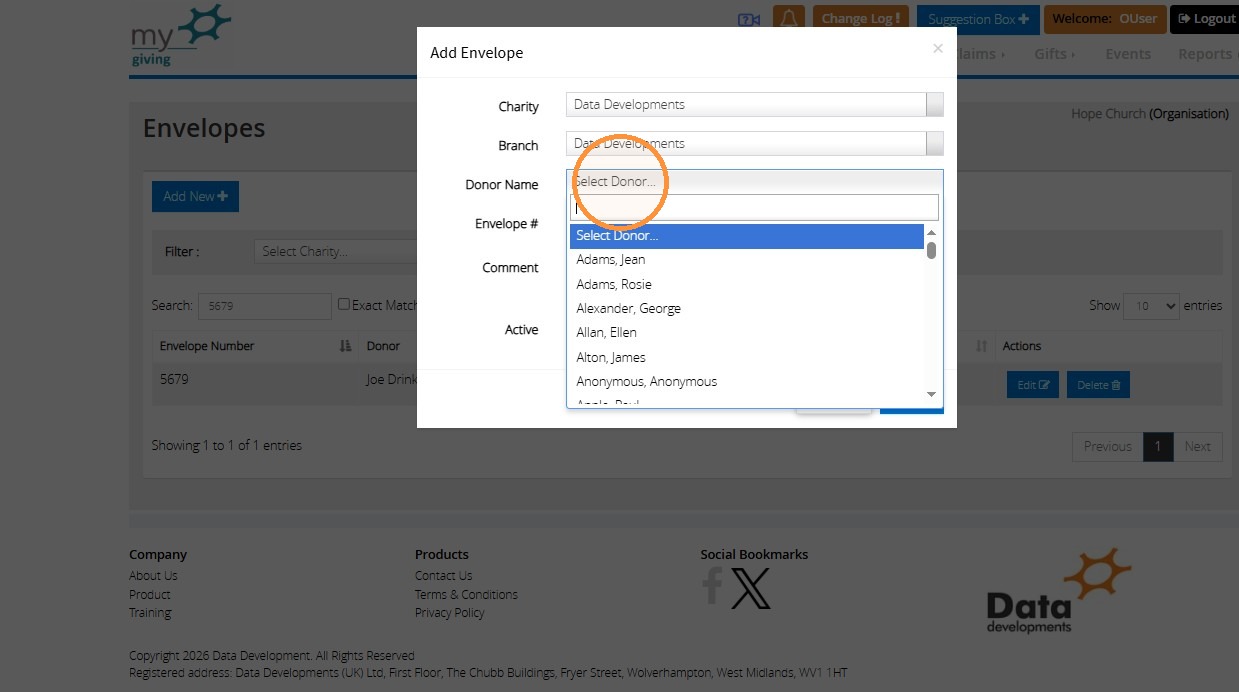
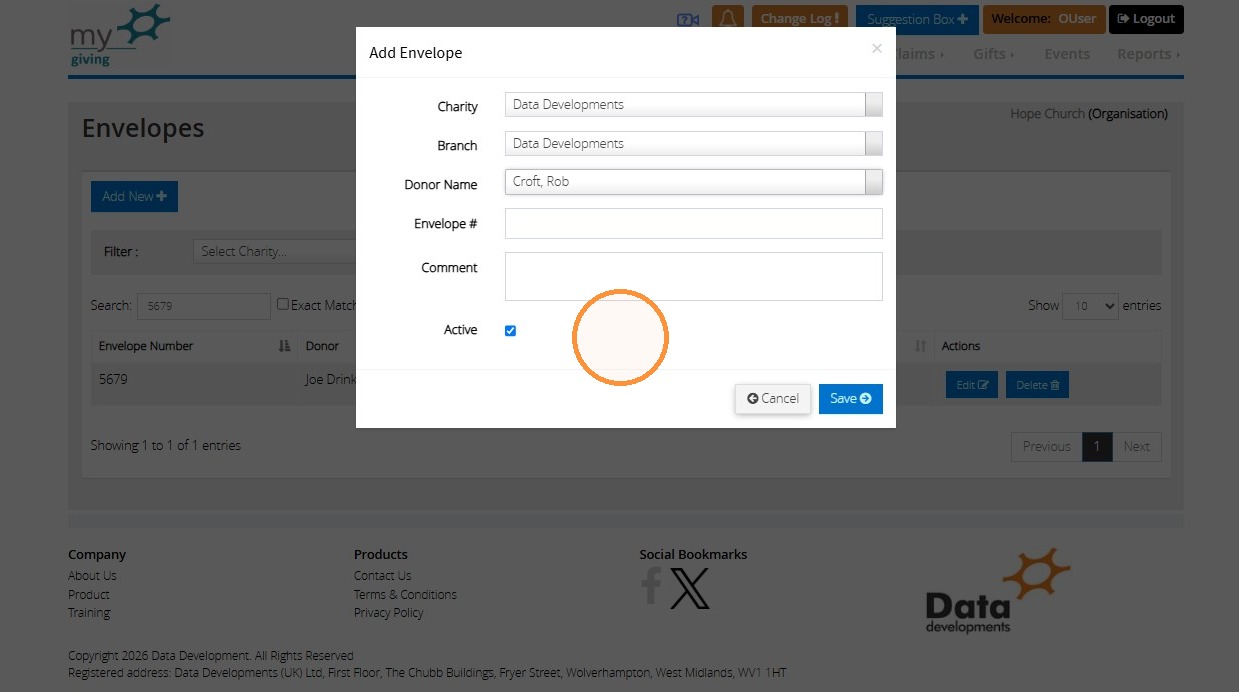
7. Select the donor that you would like to set this envelope up for. It will then be an option for them as a default on their donor record
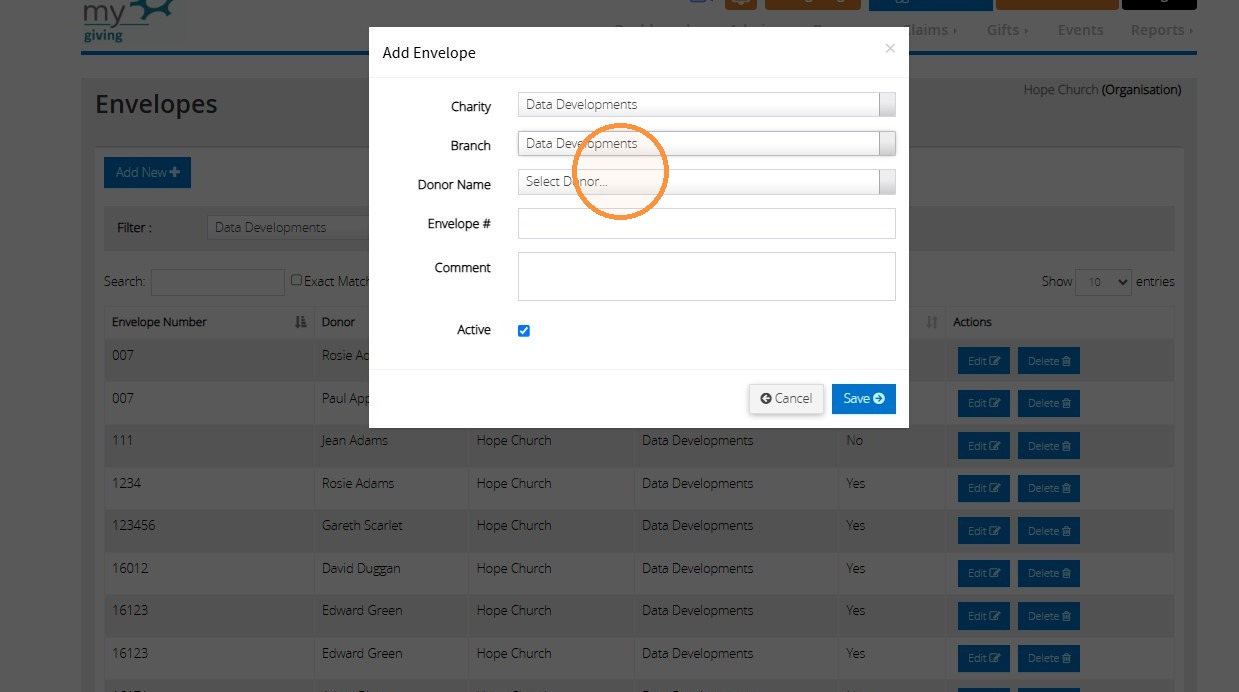
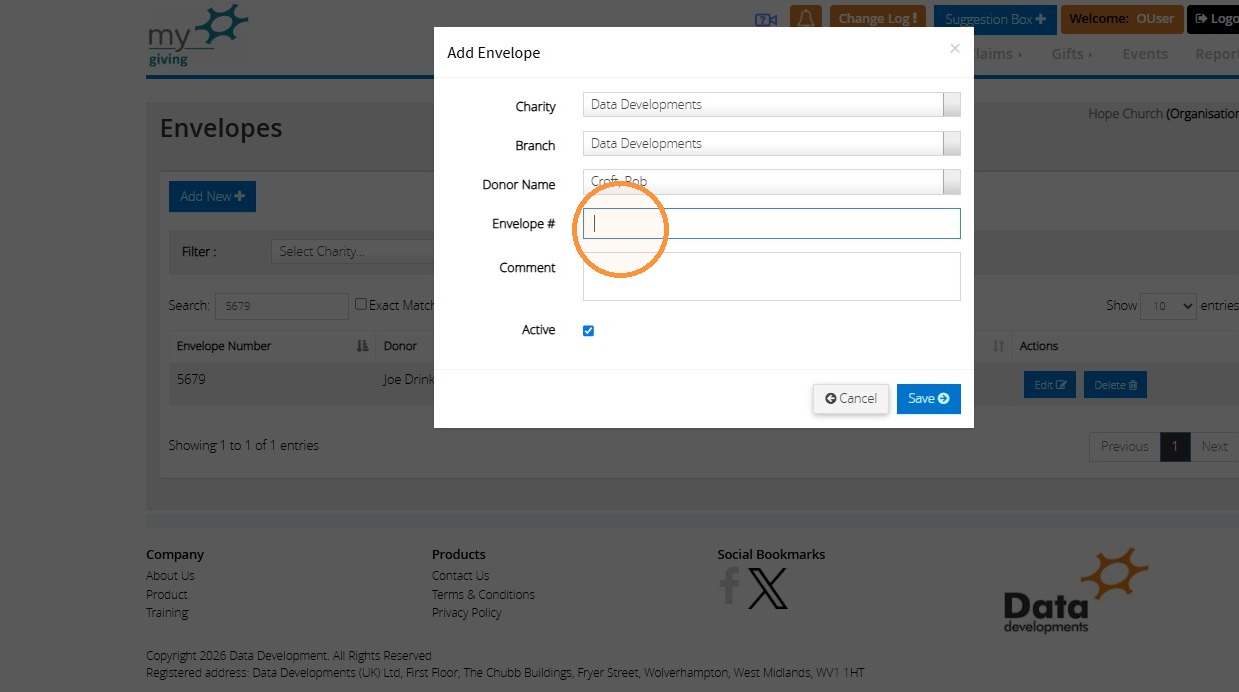
8. Type the envelope number into the 'Envelope #' field. You can also add a comment in the 'Comment' box
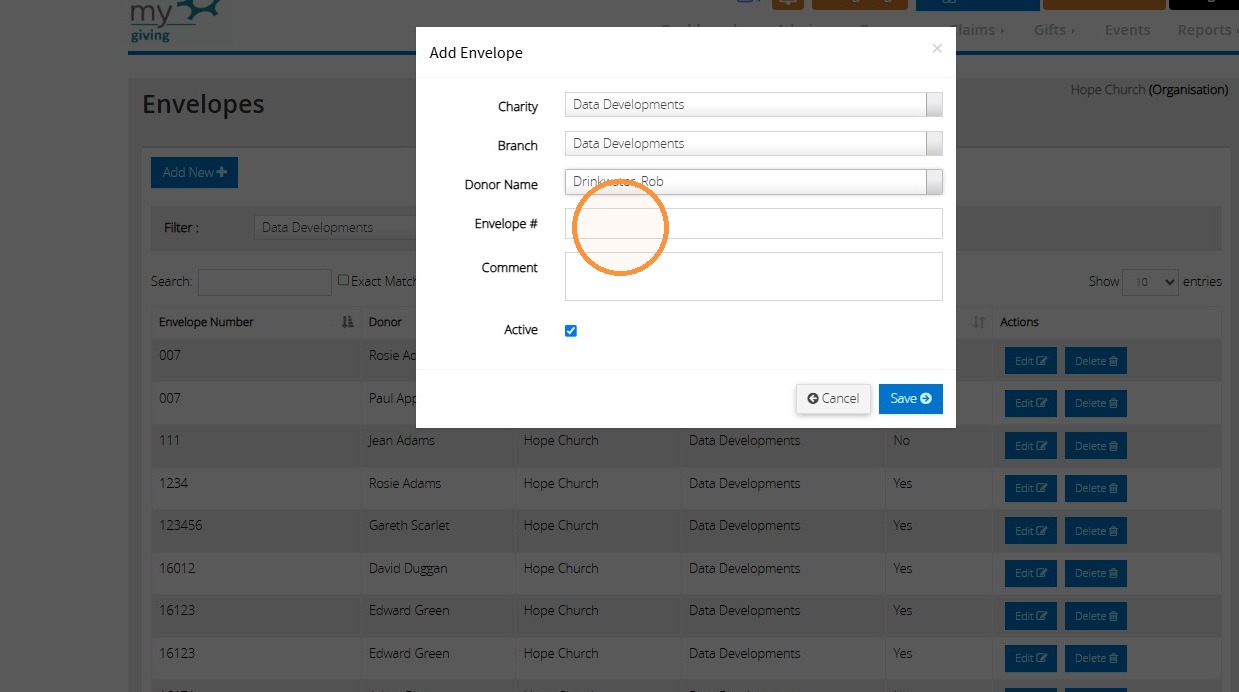
9. Save the new envelope
Setting an envelope as a default on a donor's record
10. Once you have set the envelope up, you can set it as a default option to be recalled for the donor when entering donations for them.
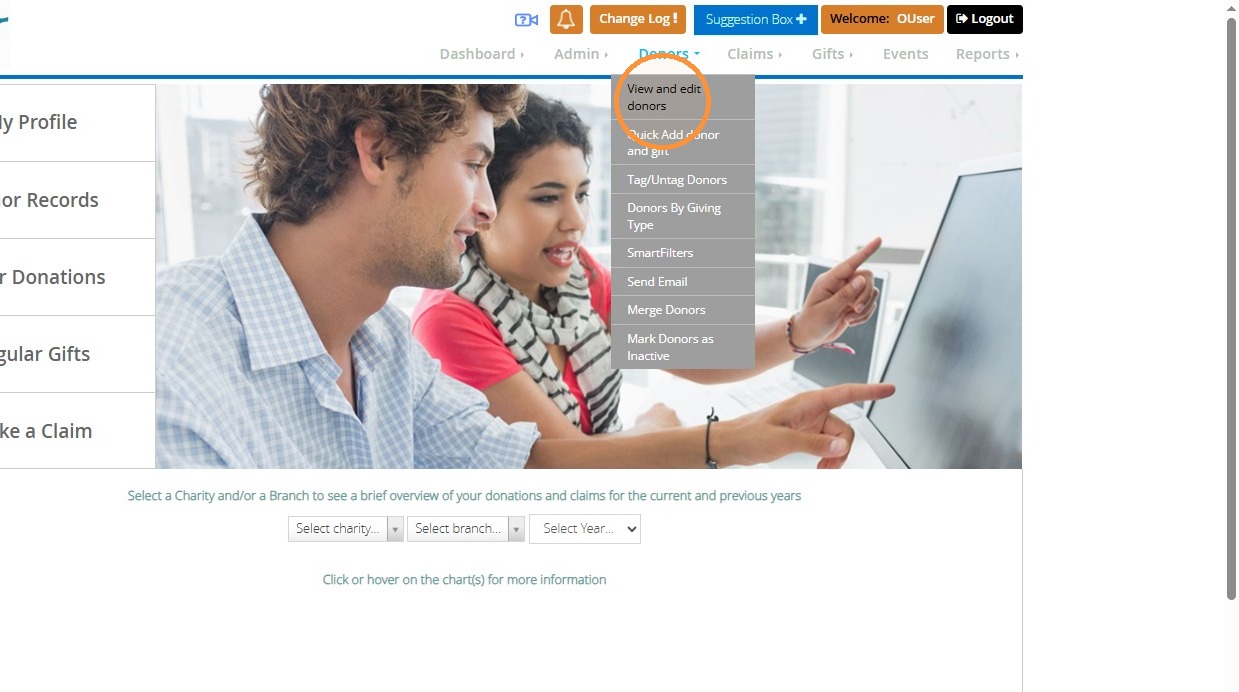
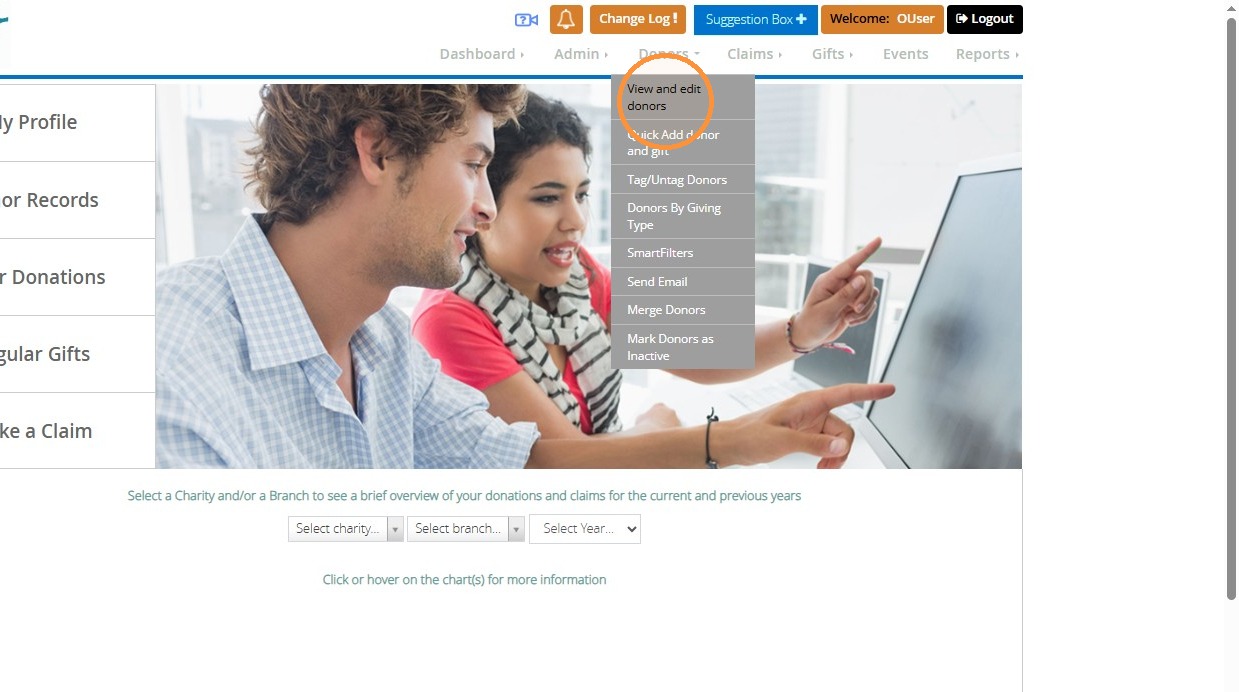
Select View and edit donors from the 'Donors' navigation menu
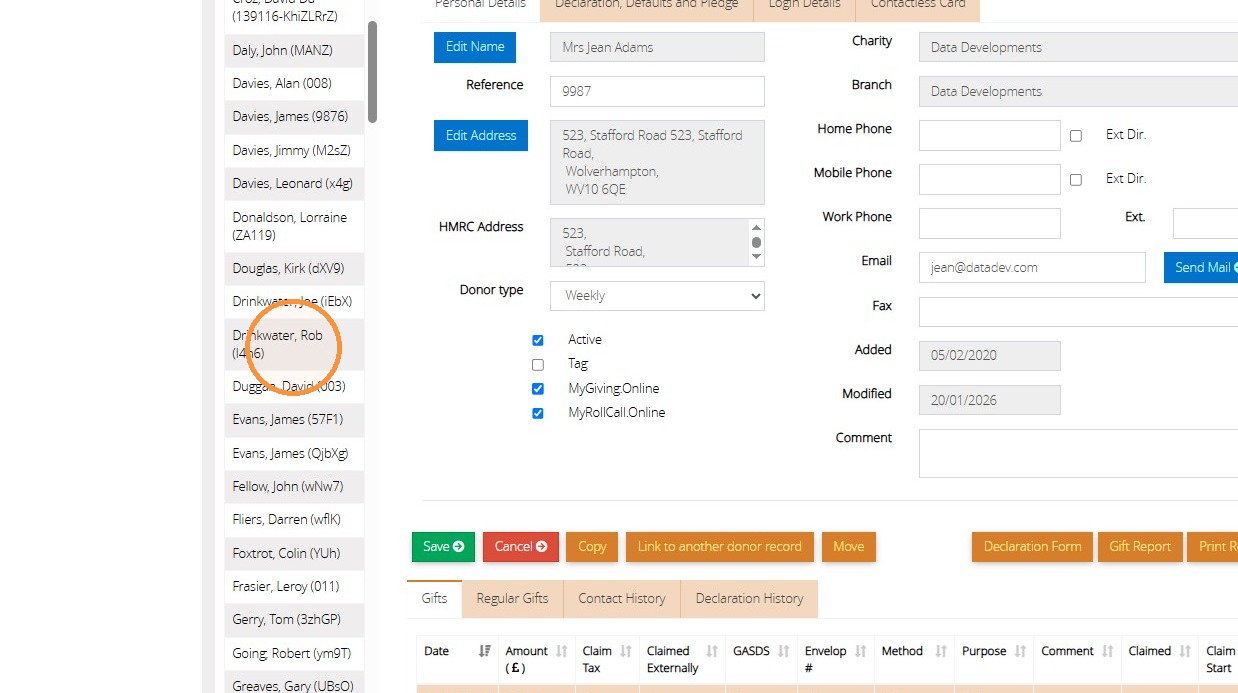
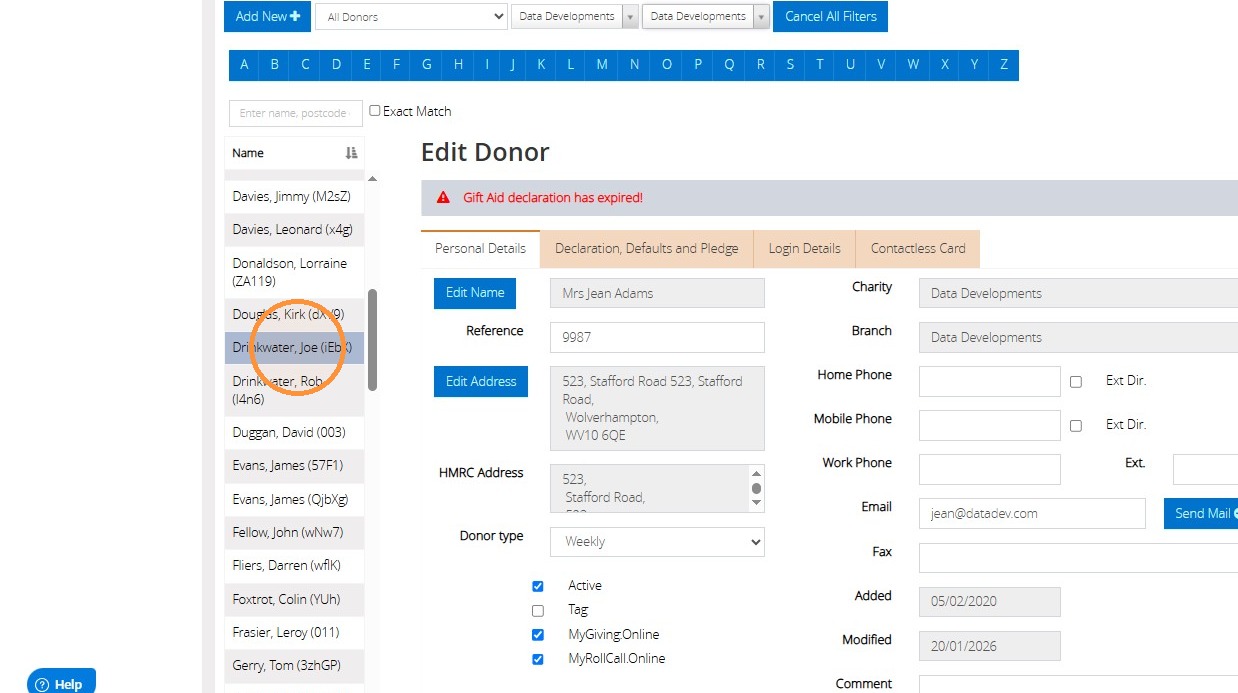
11. Select the donor that you set the envelope up for from the list
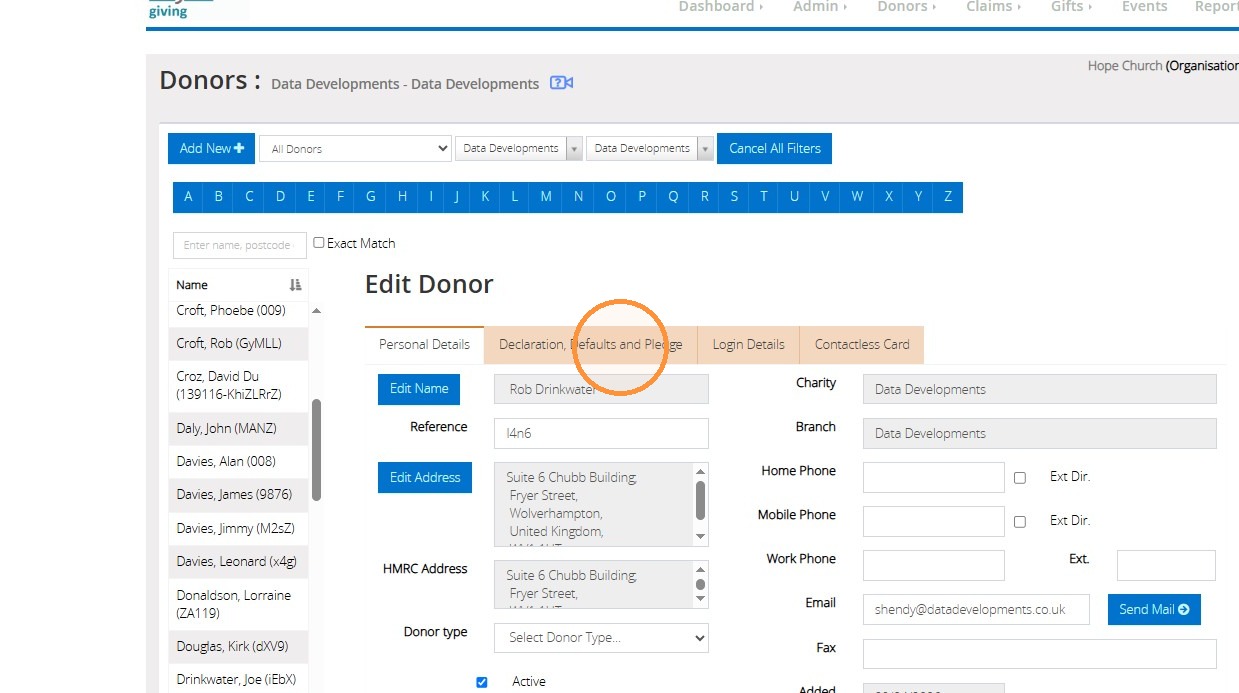
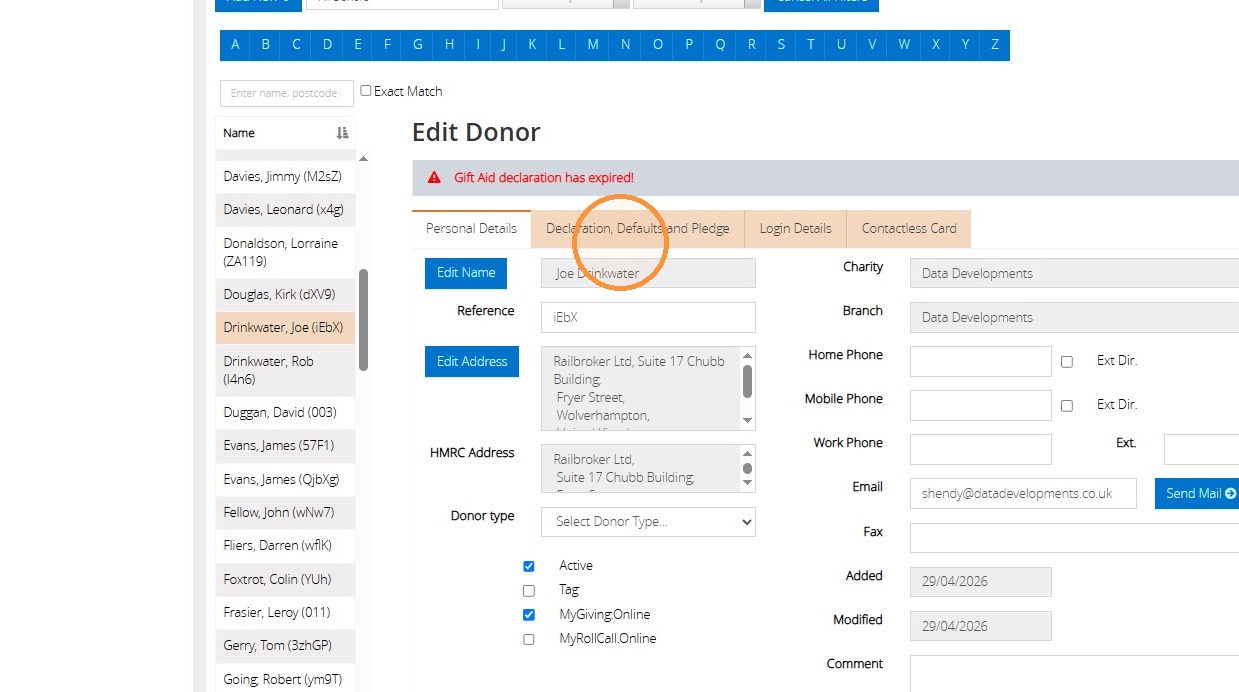
12. Click the "Declaration, Defaults and Pledge" tab
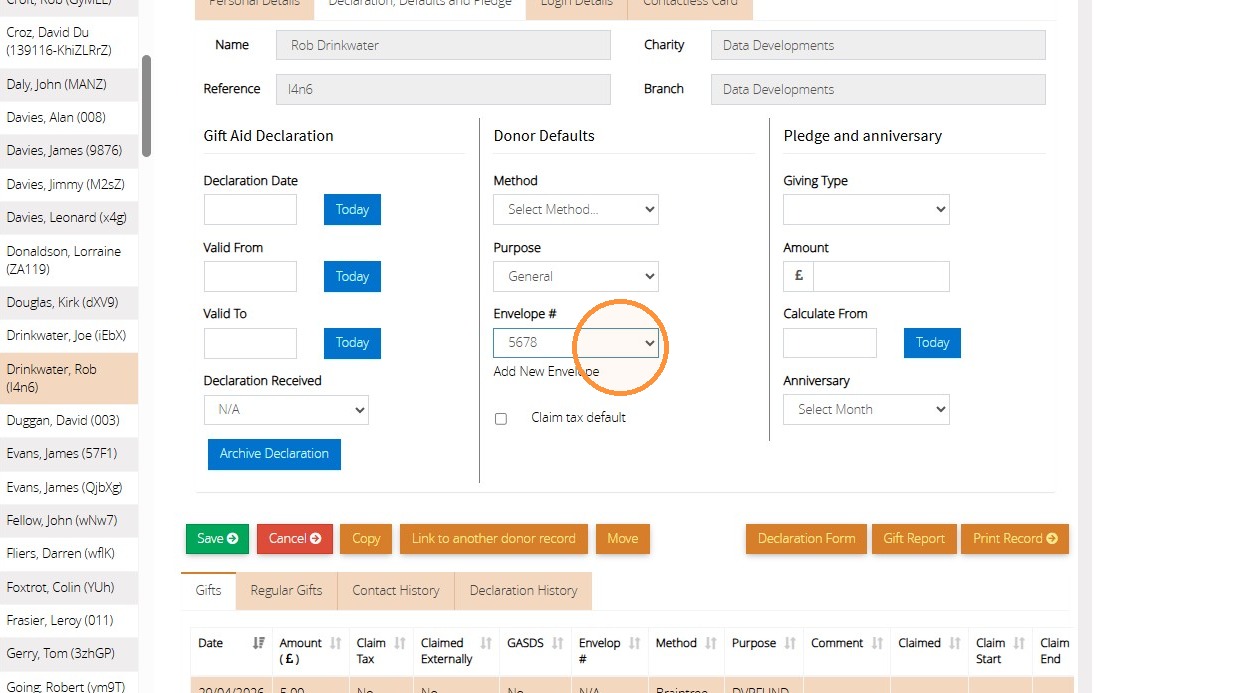
13. Under "Donor defaults", click on the dropdown menu for the "Envelope #".
You will see the envelope you have set up for the donor here. Select it from the dropdown menu.
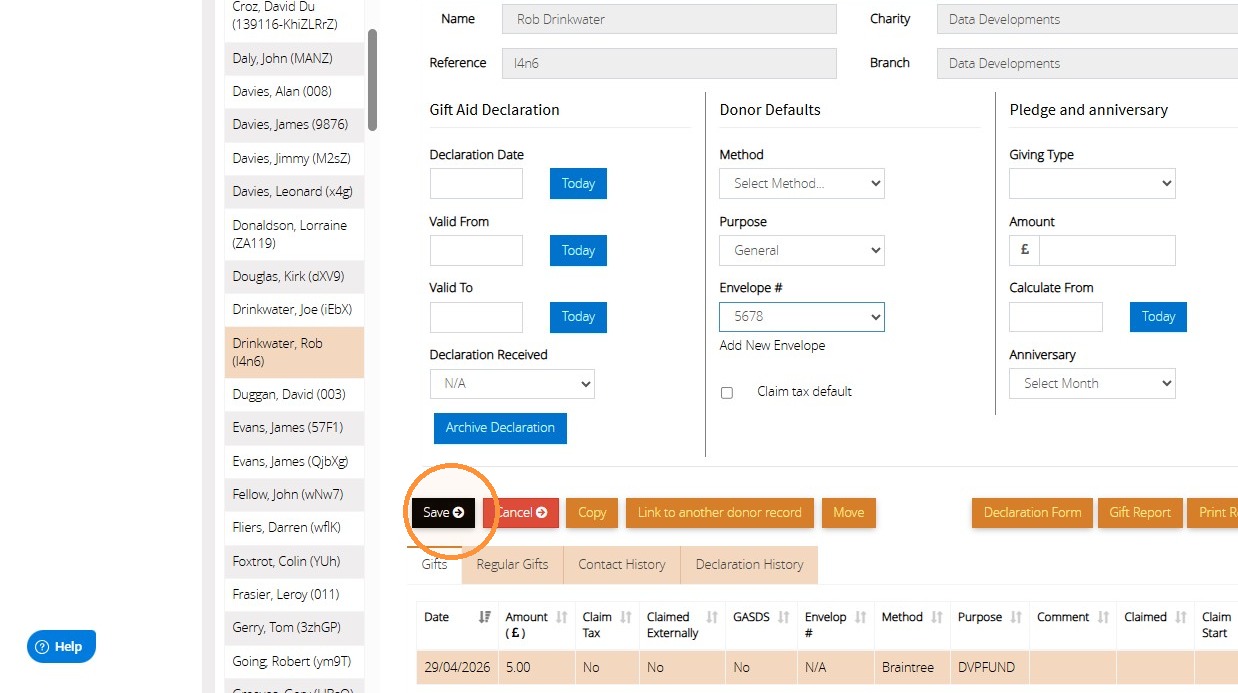
14. Save the donor default settings
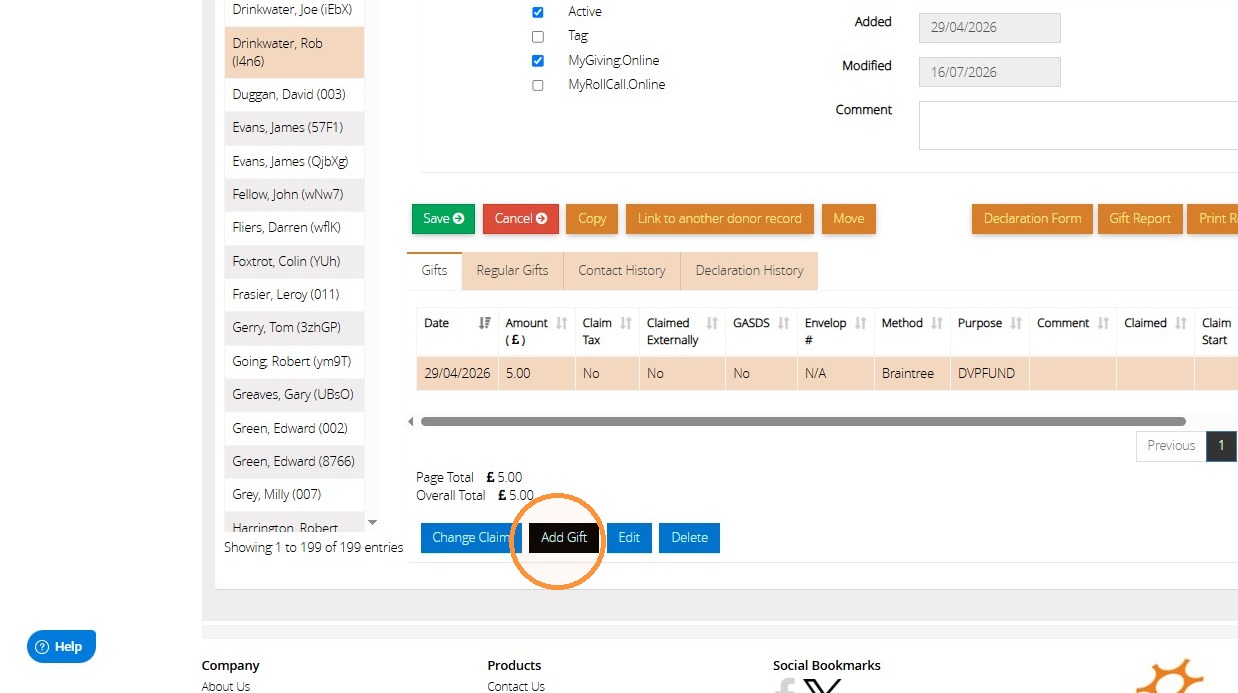
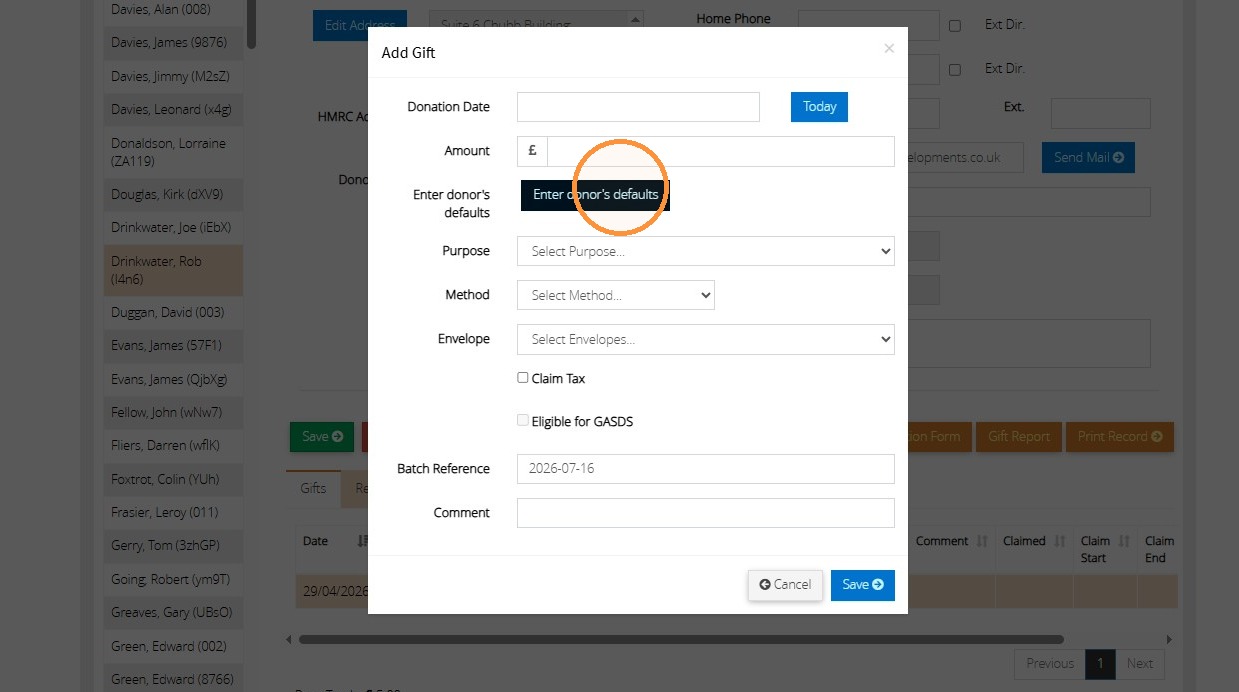
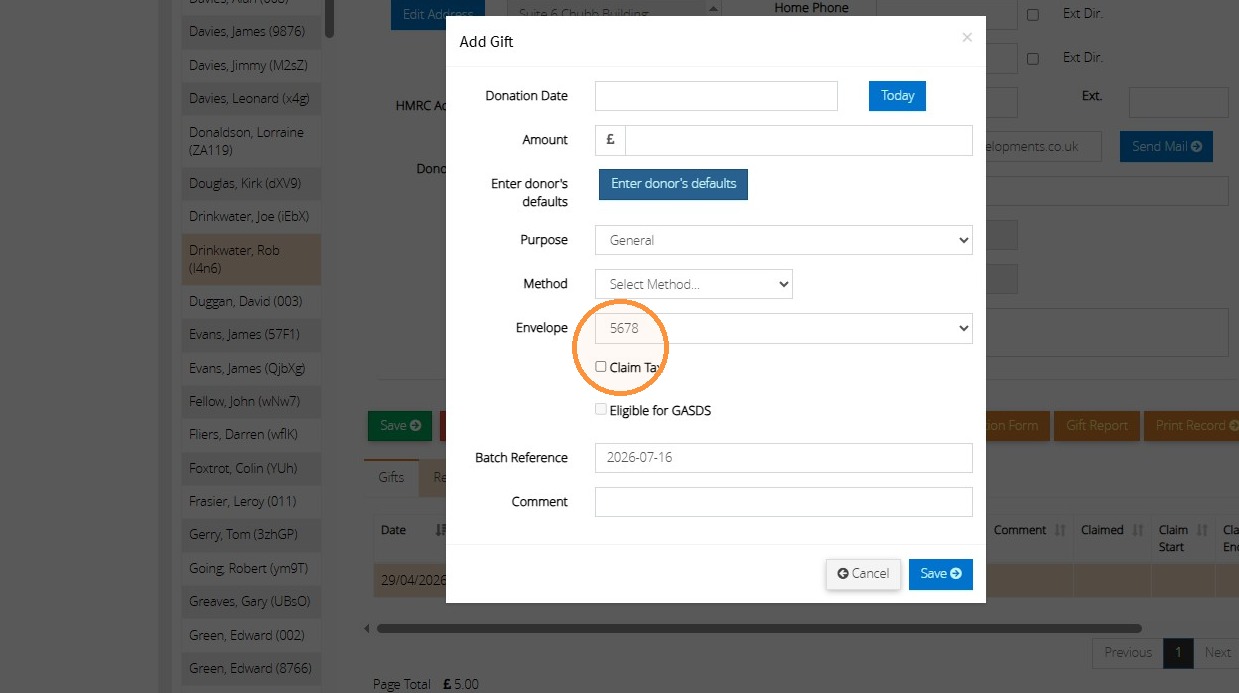
15. When you add a gift for that donor now, if you click "Enter donor defaults" their envelope number will be filled in as well as any other defaults they have set up for their record.
Adding a new envelope from a donor's record
16. You are also able to add a new envelope straight from the donor's record.
To do this, navigate back to View and edit donors
17. Select the donor from the list that you would like to set up a new envelope for.
18. On their record, navigate to the Declaration, Defaults and Pledge tab
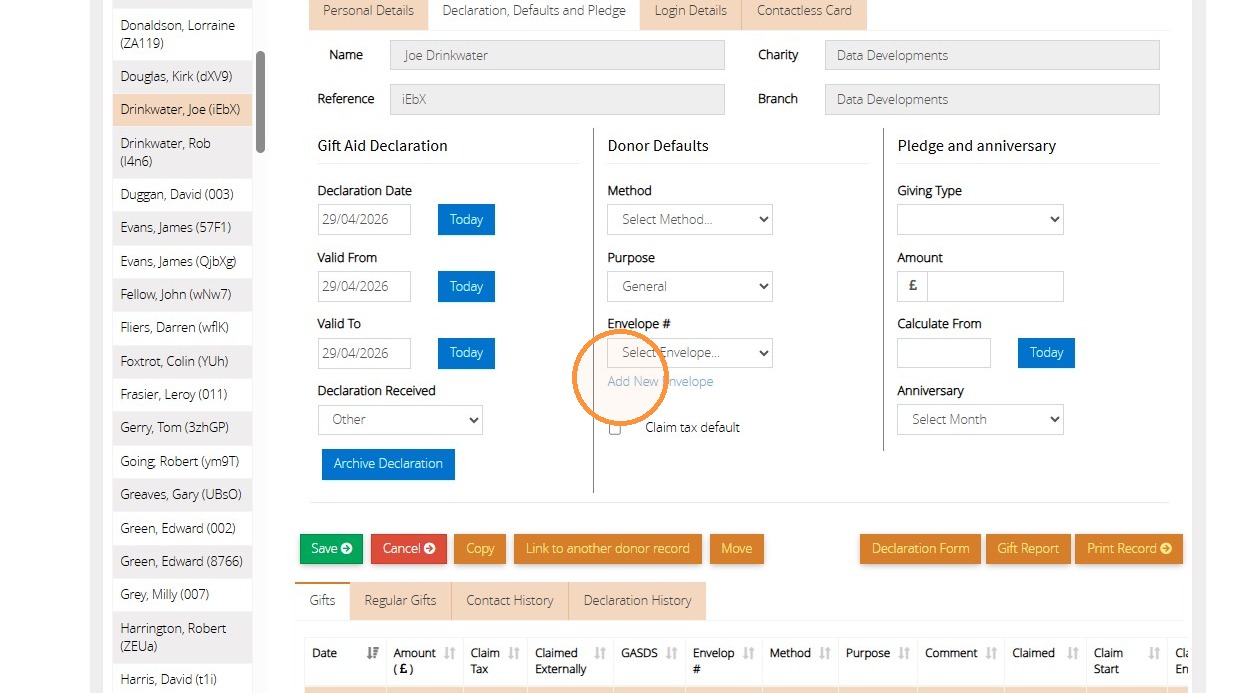
19. Under the "Donor defaults" section, click "Add New Envelope"
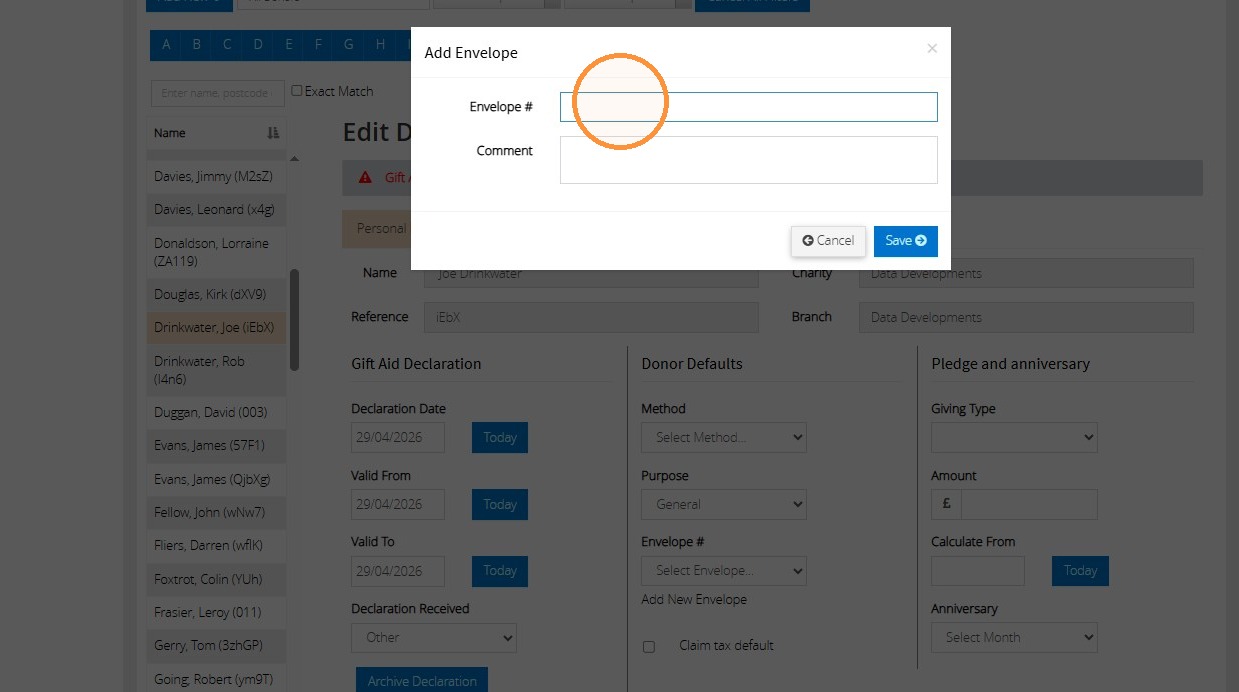
20. Type the new envelope number into the Envelope # field. You can also add a comment to the envelope if you choose to.
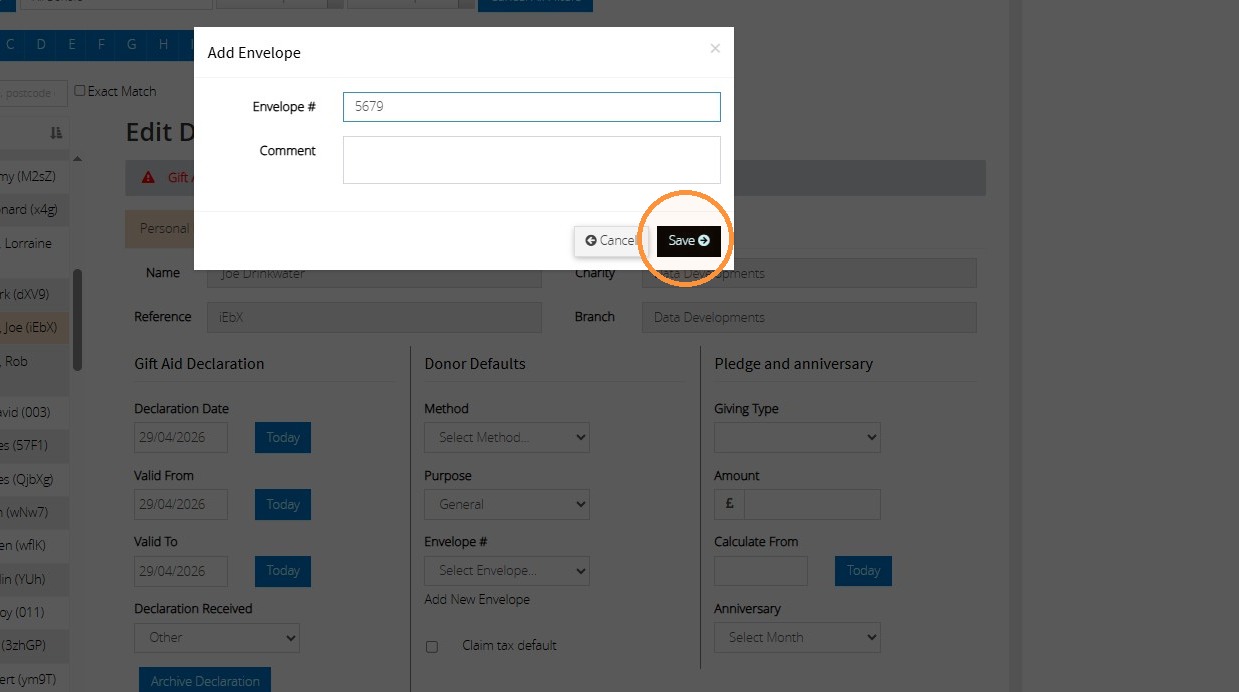
21. Save the envelope
Envelope maintenance
22. You may need to reassign or replace existing envelope numbers from time to time. For example, if an envelope number is being used for a different donor.
To do this, navigate back to the Envelopes master list
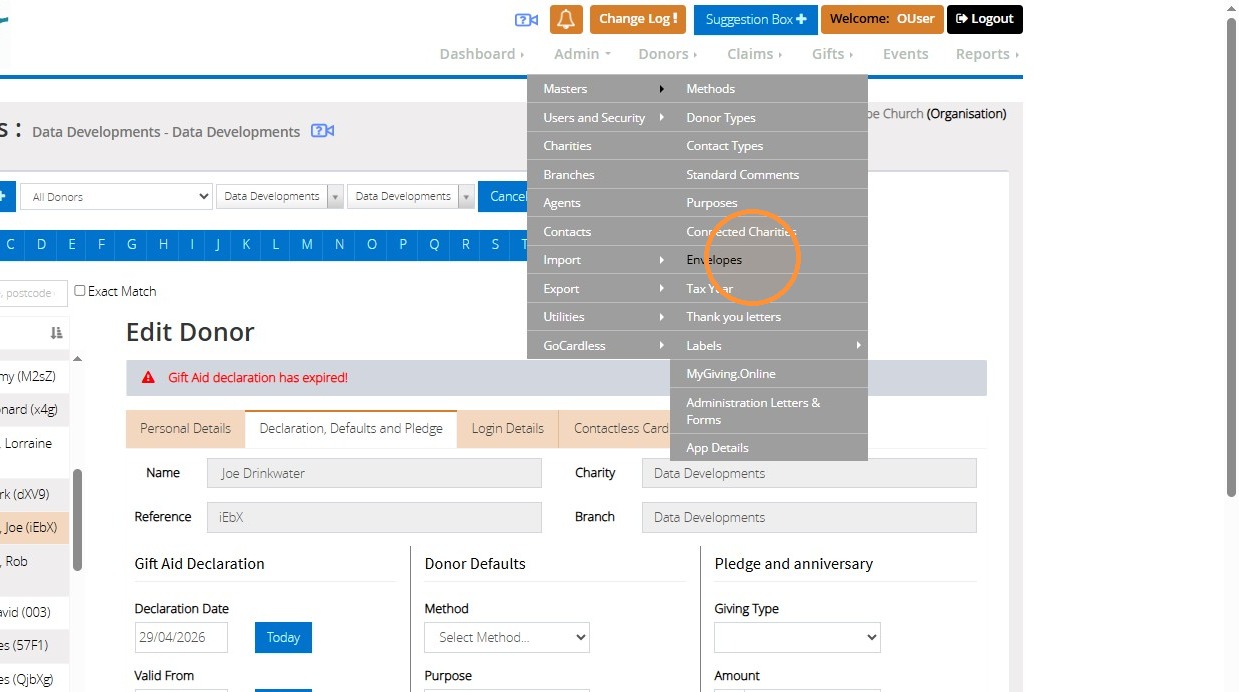
23. You can navigate through the list to find the envelope that you need to amend, or you can use the "Search" box to search for it.
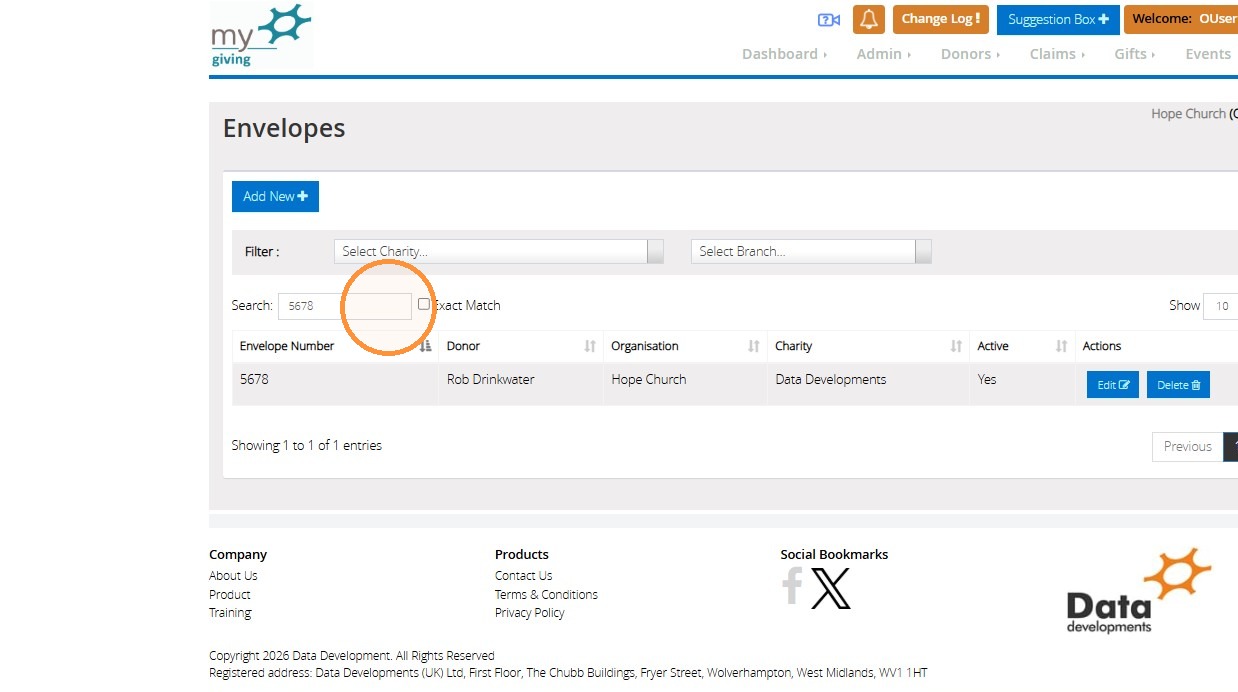
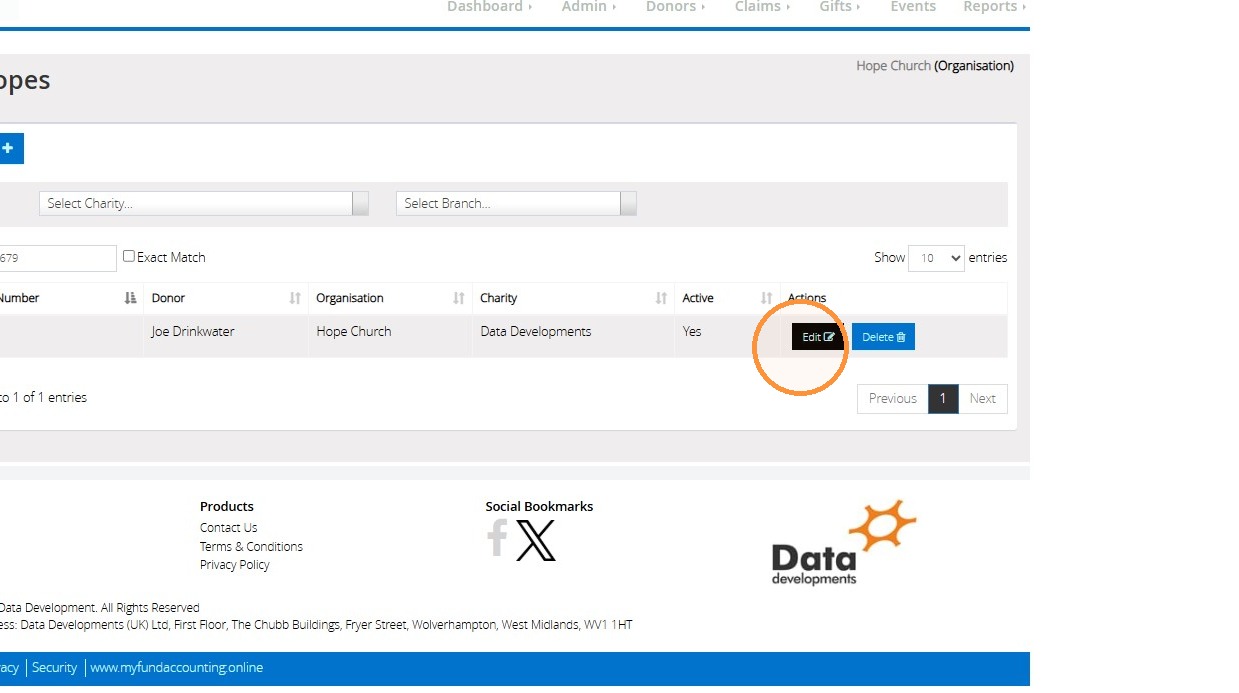
24. Click Edit on the selected envelope
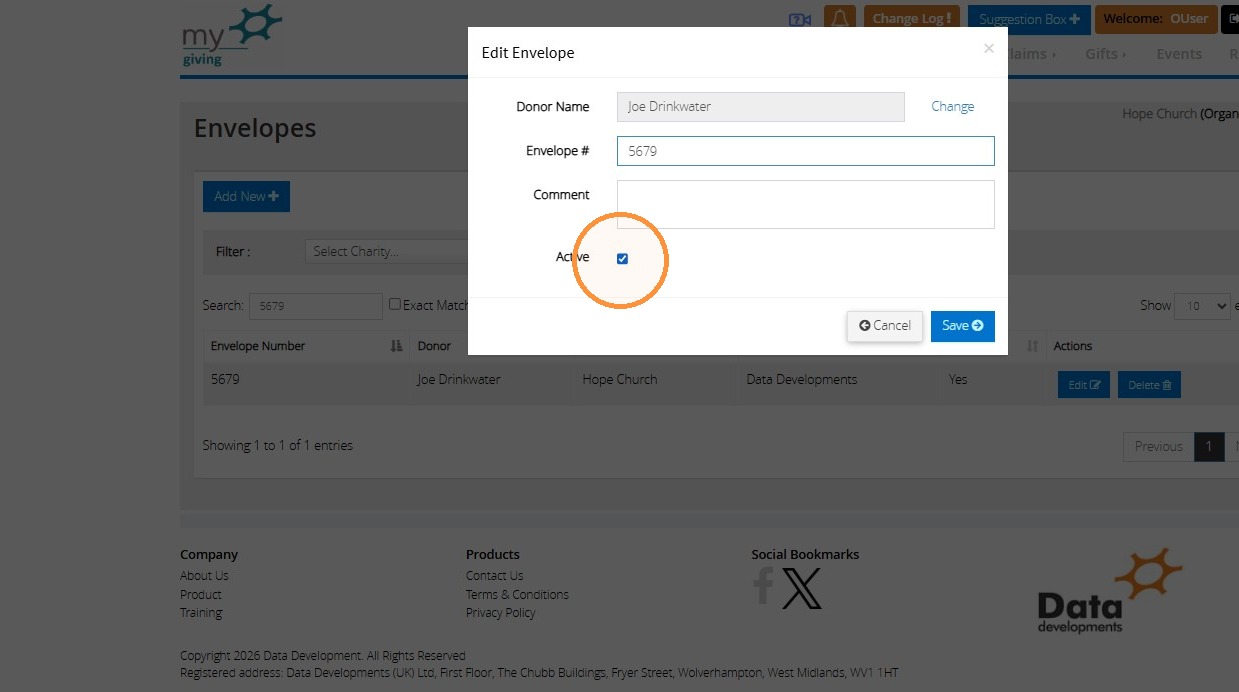
25. Uncheck the Active status checkbox and then click "Save"
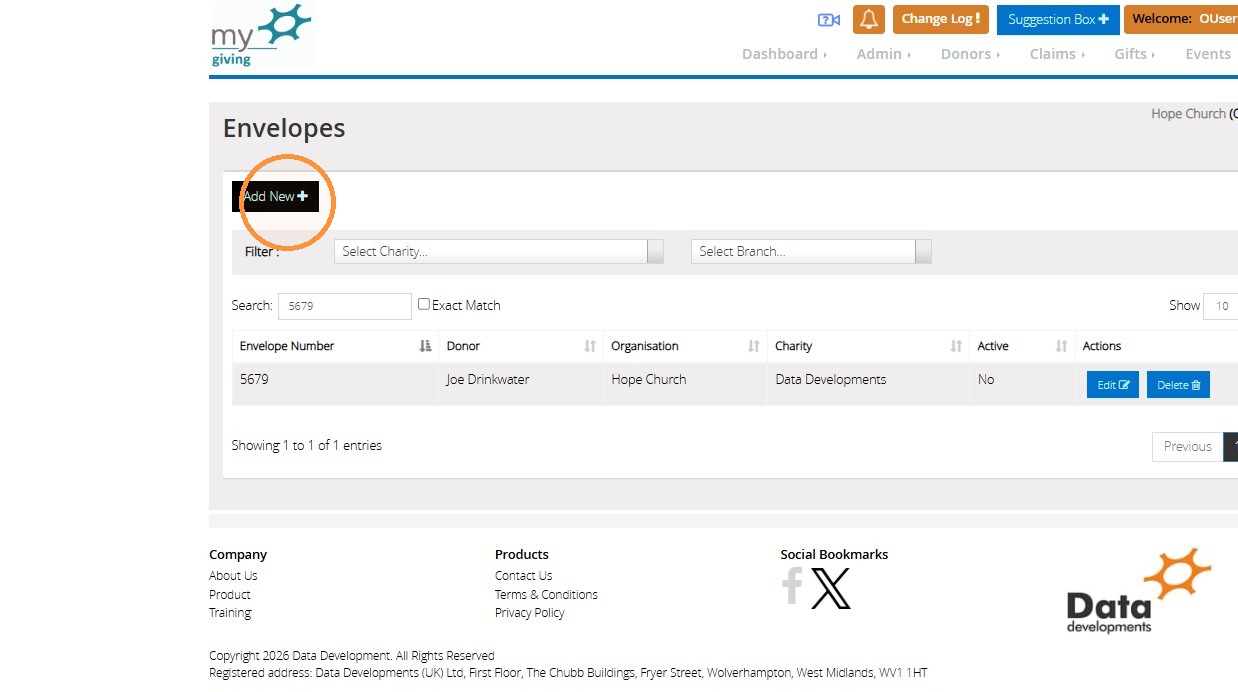
26. Click Add New to create another envelope
27. Select the new donor who will have this envelope number assigned to them
28. Type the envelope number into the Envelope # field and click save. Despite this envelope number already existing in the system, you will be able to create another record of it as long as the first is inactive.
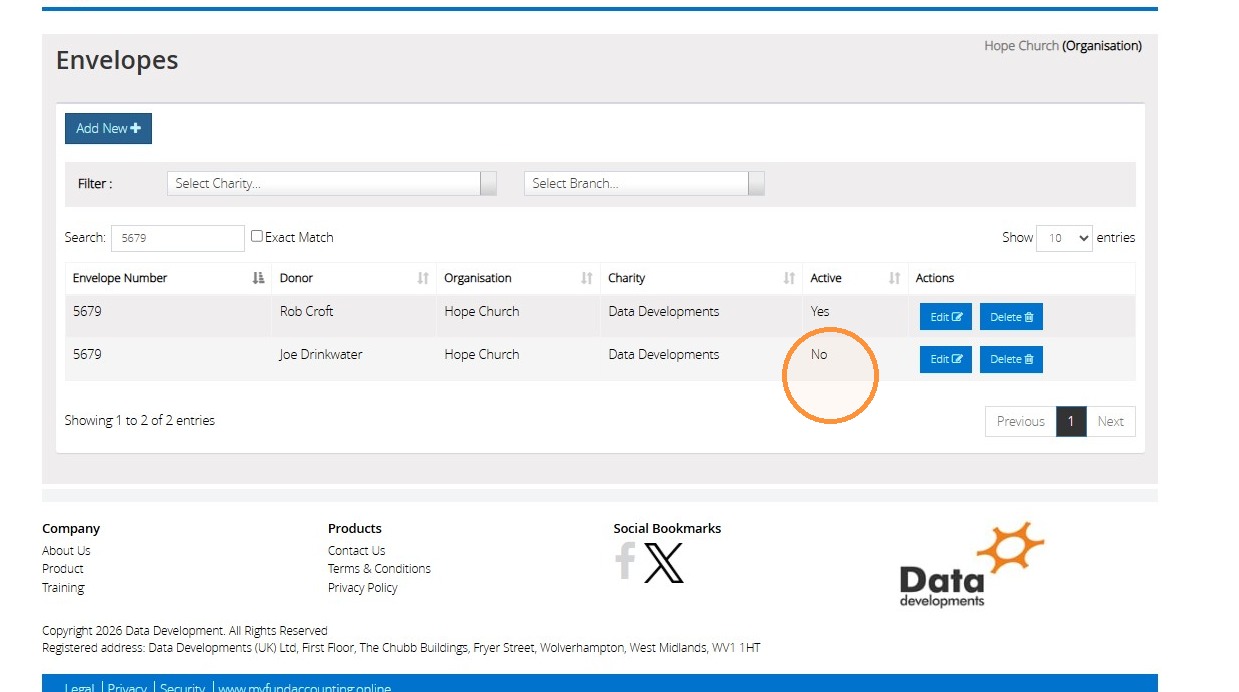
29. You can see here the same envelope number with two different names against it. The one we marked as inactive earlier has "No" in the Active column.
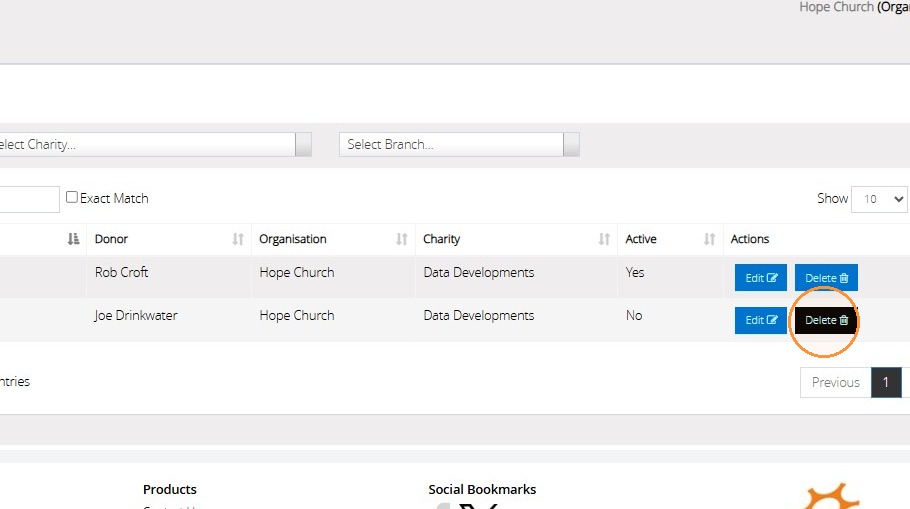
30. You are also able to delete envelope numbers, as long as they have not ever been used. To do so, click the "Delete" button.
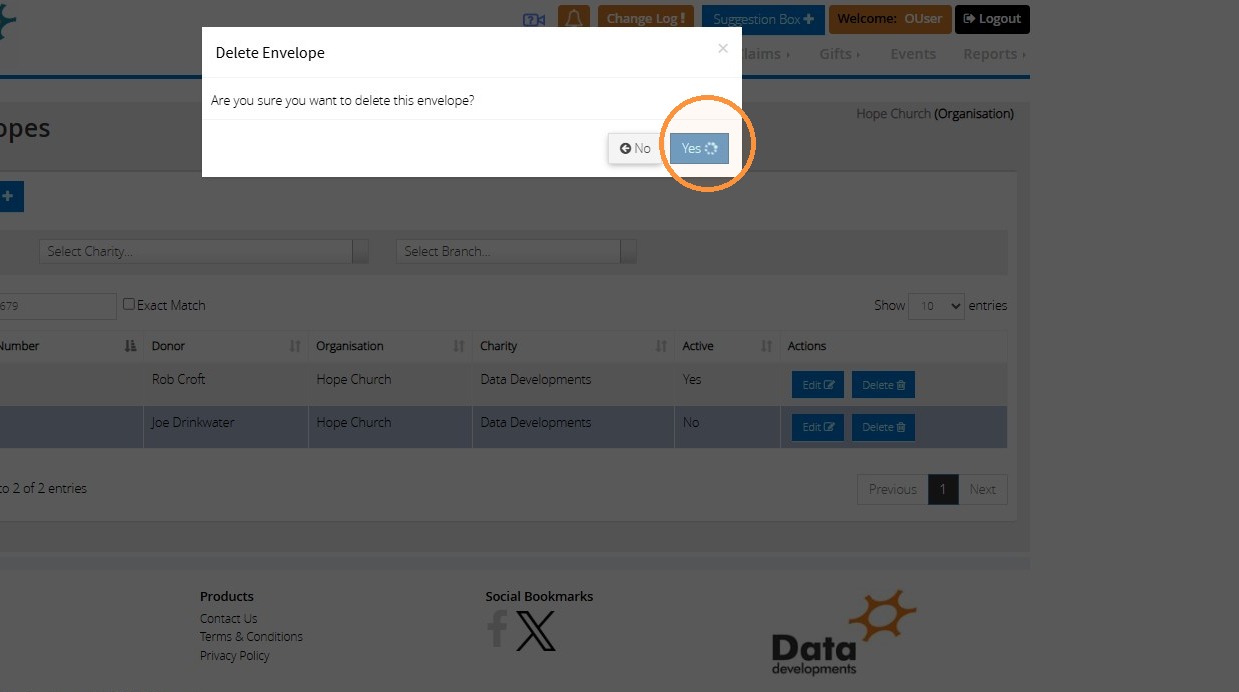
31. Click Yes to confirm deletion
Tip: We hope you found this guide helpful and easy to follow. If you require any further assistance, please contact our support team by telephone on 01902 714030 or by email at support@datadevelopments.co.uk.