
The Personal Statements and Thank You Letters feature in MyGiving.Online provides an easy and effective way to generate detailed summaries of donor giving for a specific tax year or a custom date range. It can be used to create personalised statements for individual donors or your entire donor base, helping keep supporters informed about their contributions, the amount of Gift Aid claimed on their donations, and the positive impact their generosity has had on your organisation.
Getting Started
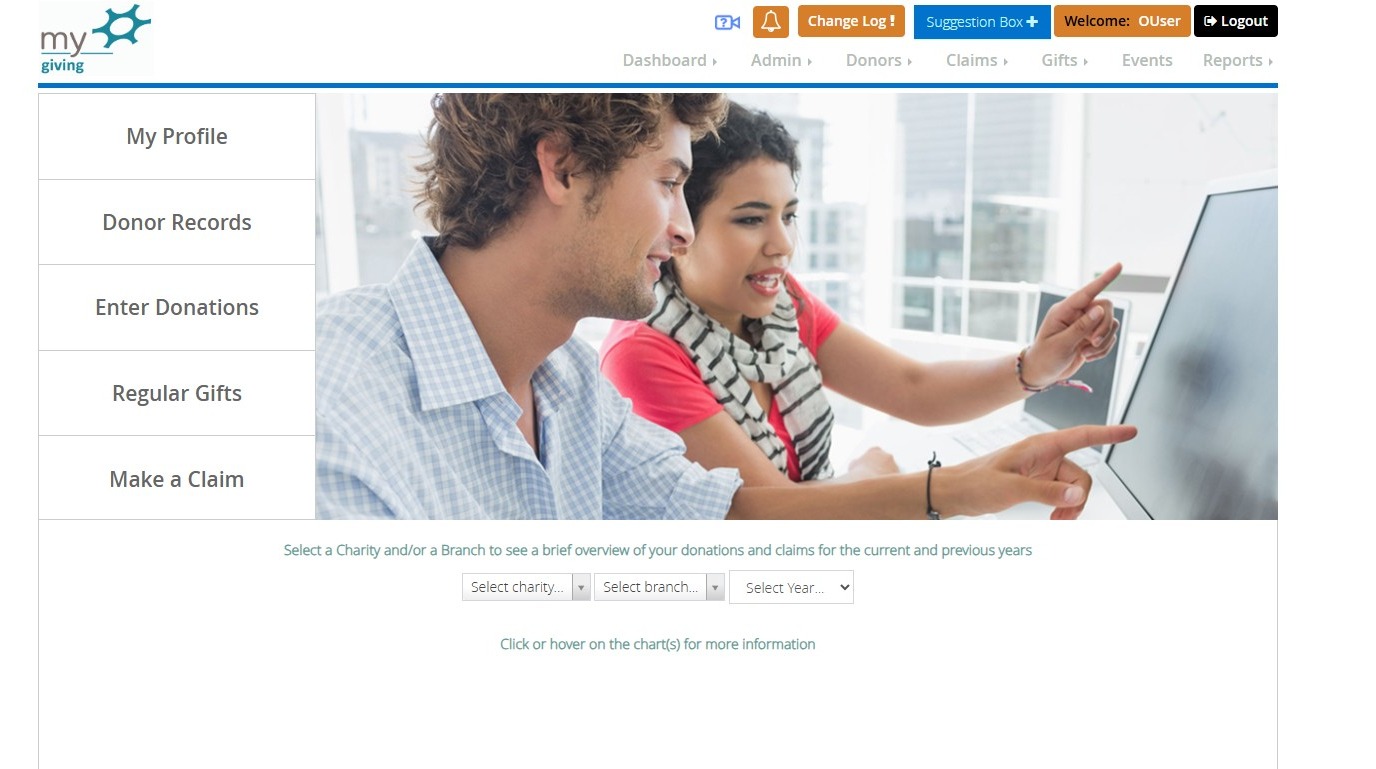
1. Start by going to the MyGiving.Online dashboard and logging in to your accounthttps://www.mygiving.online/dashboard
">
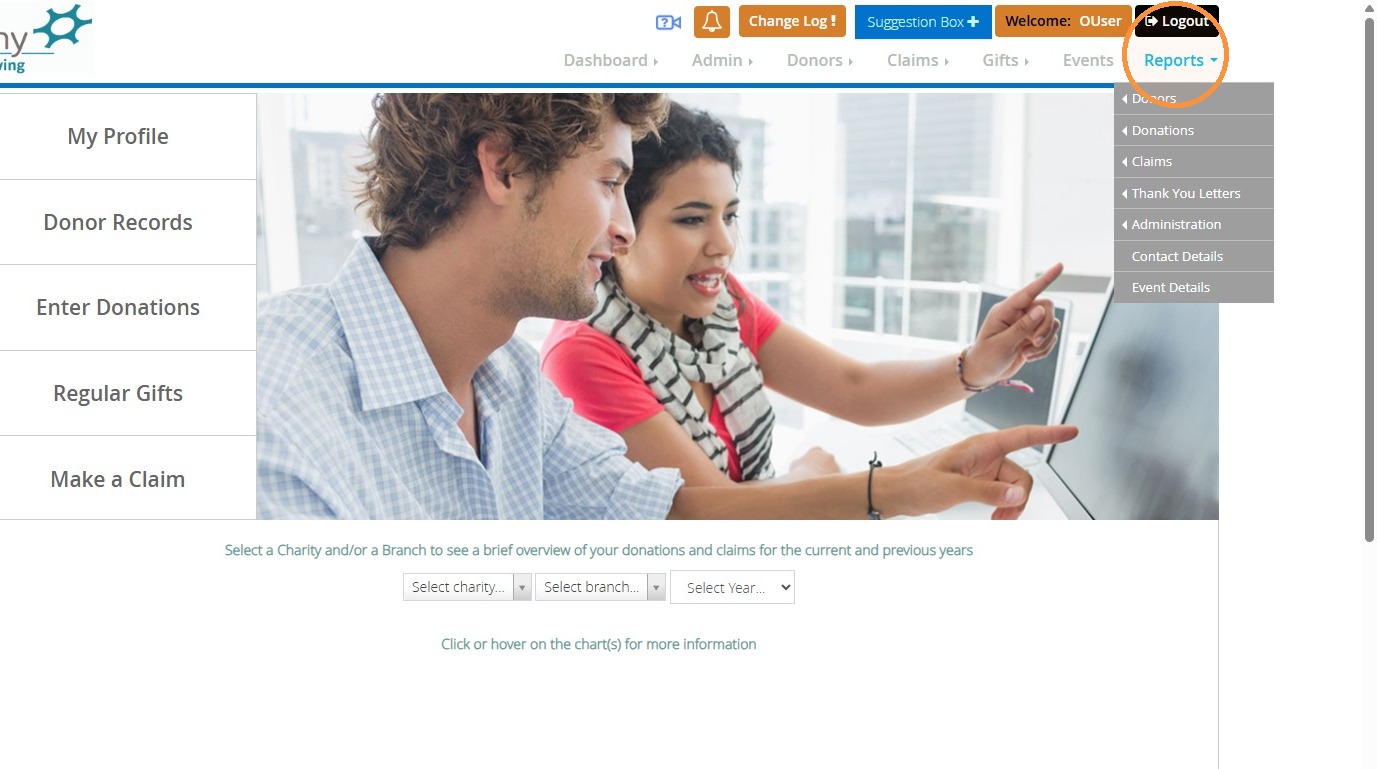
2. Click "Reports"
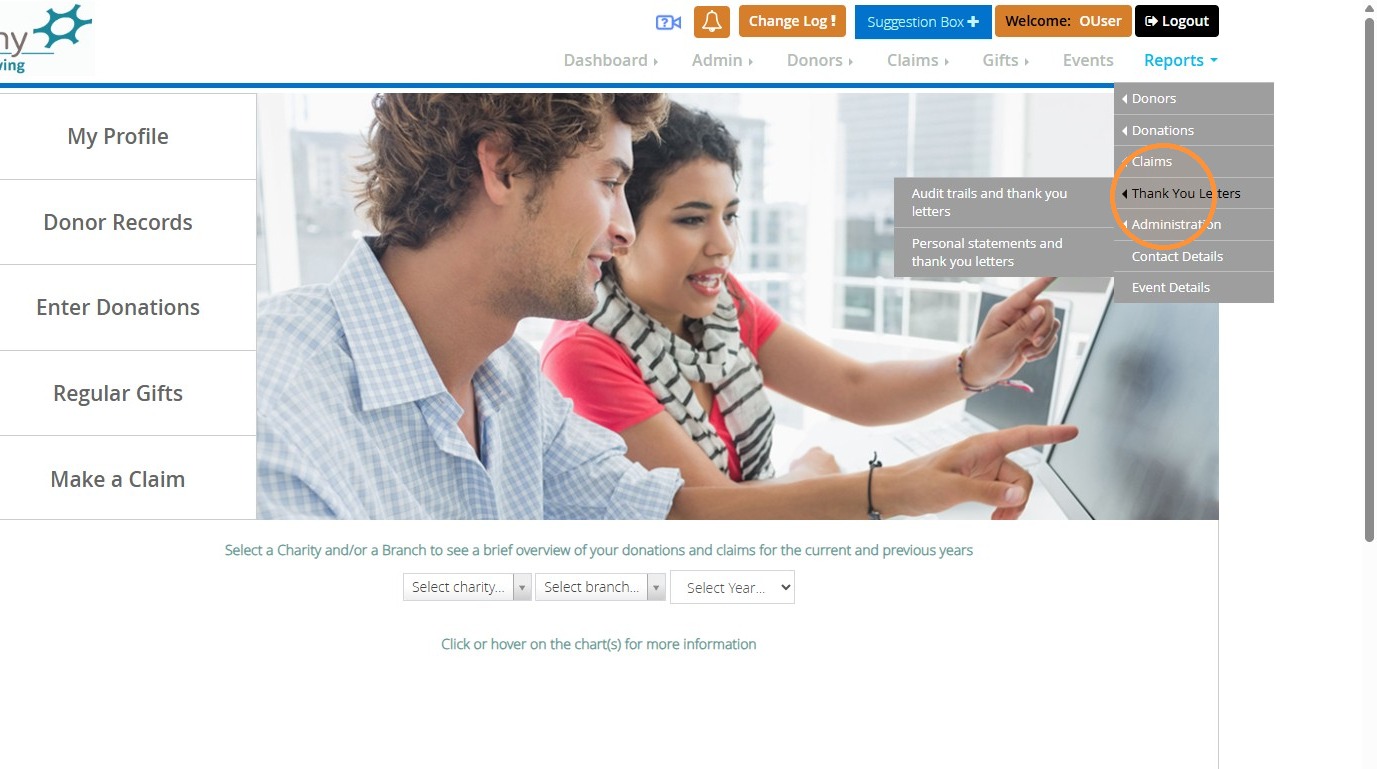
3. Click "Thank You Letters"
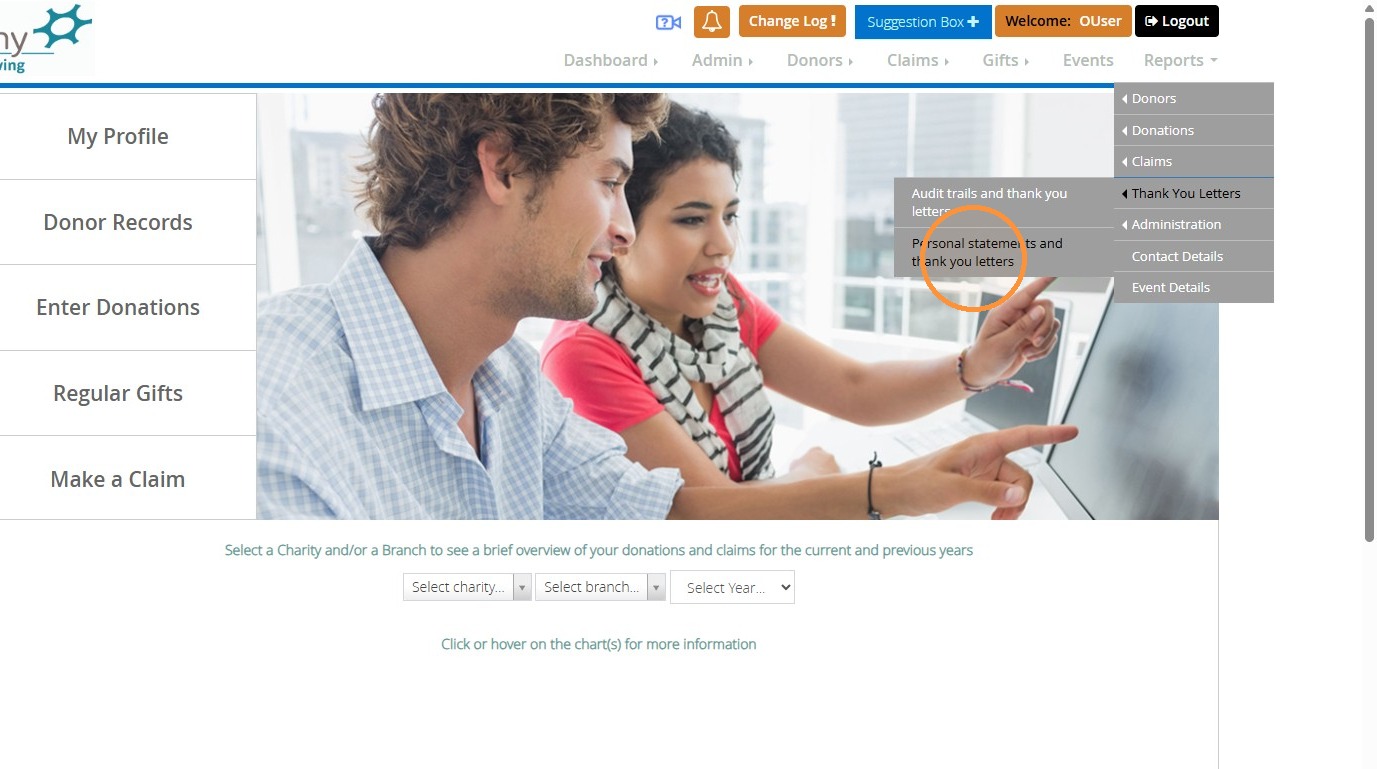
4. Click "Personal statements and thank you letters"
Step 1: Report Parameters
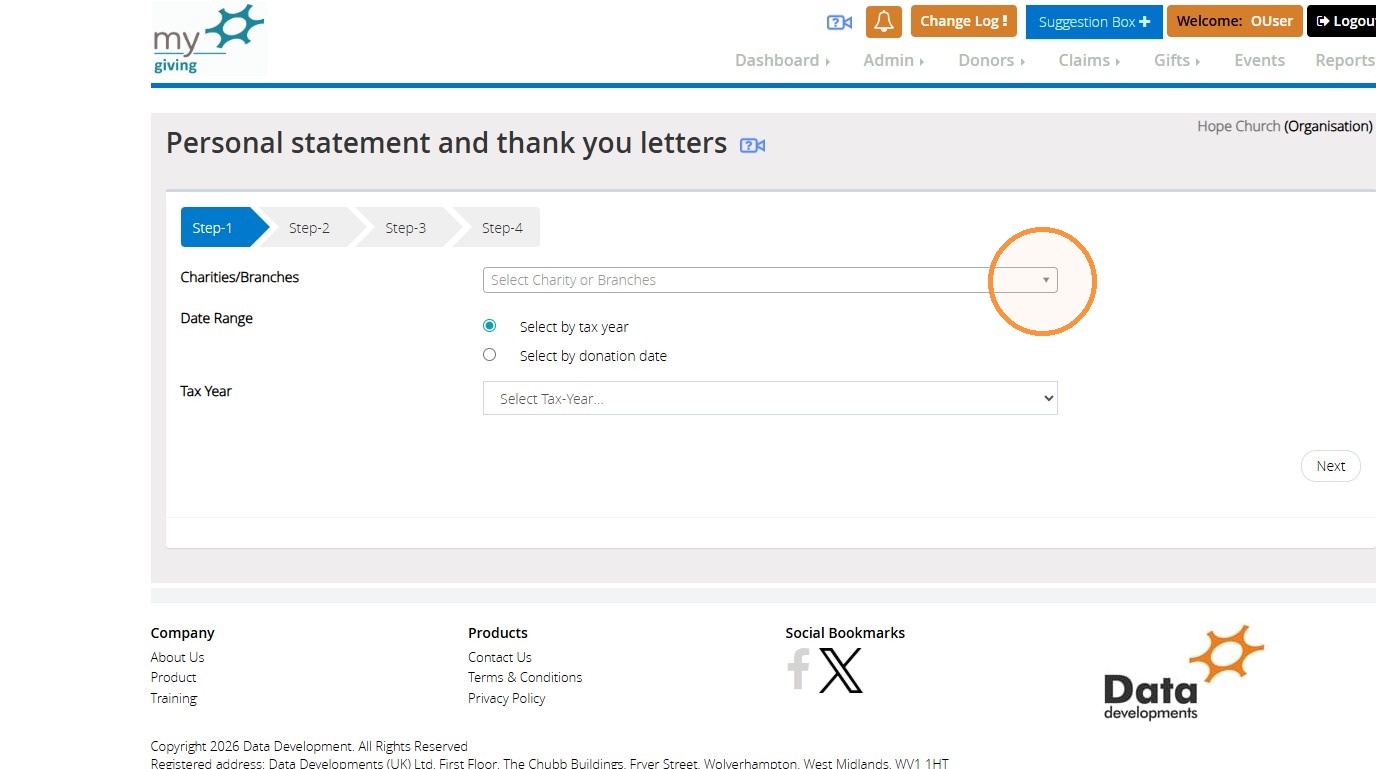
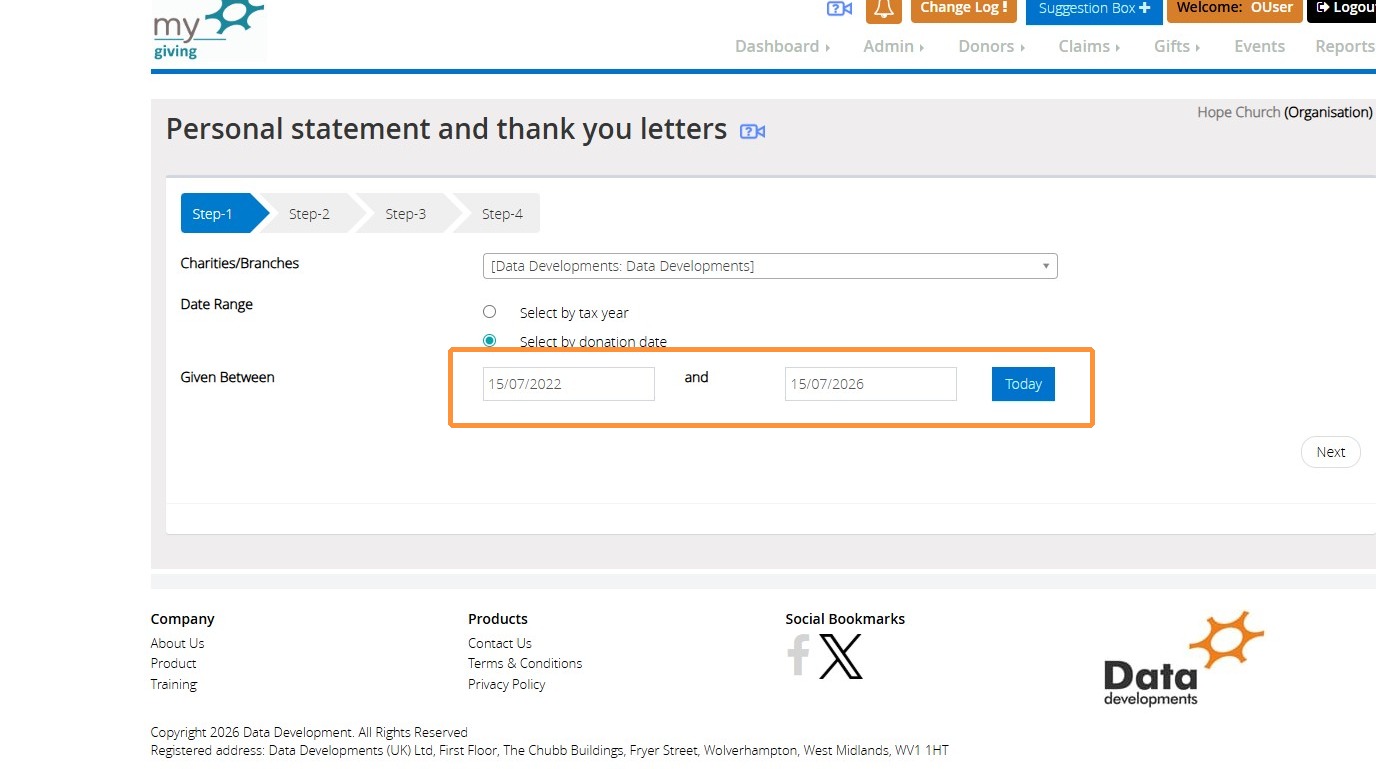
5. Under Step 1, click on the dropdown menu 'Select Charity or Branches'
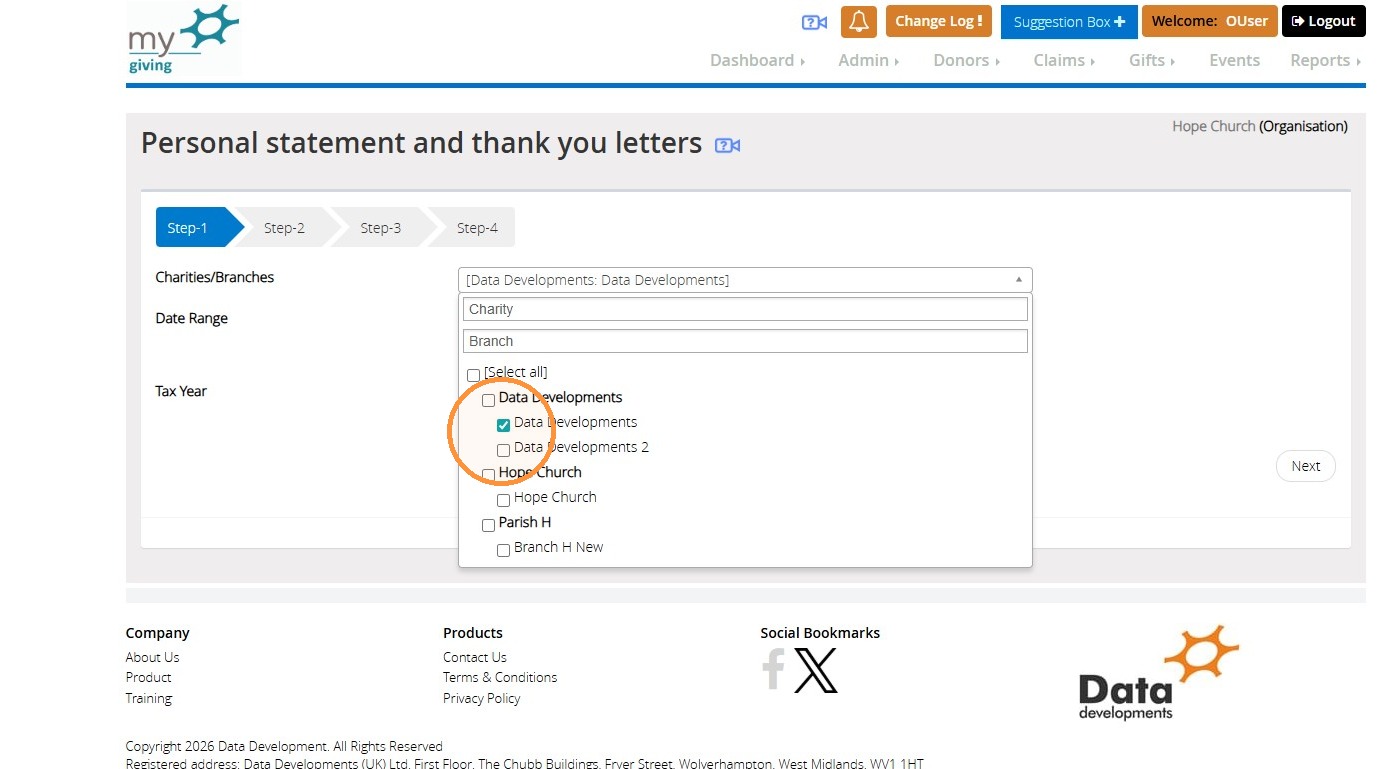
6. Tick the 'Branch(es)' you wish to include within the report.
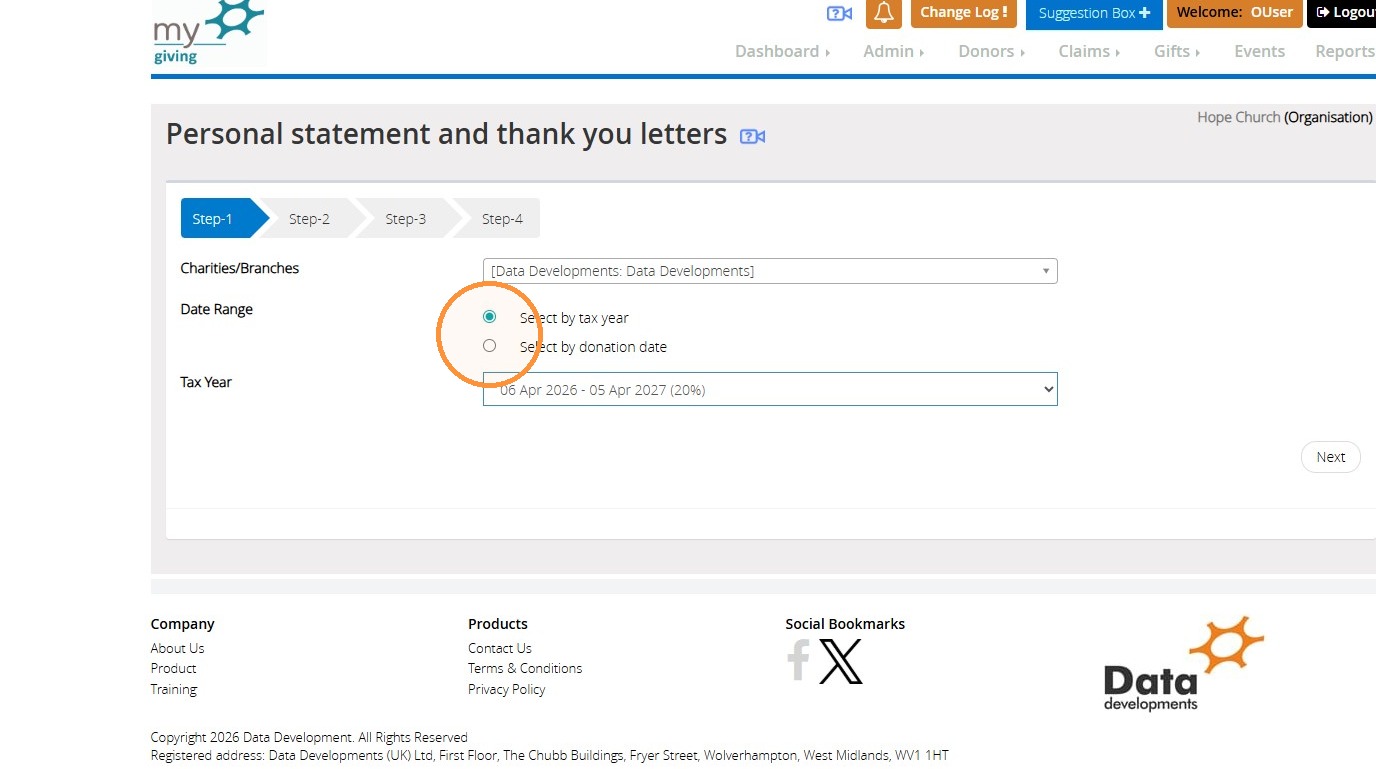
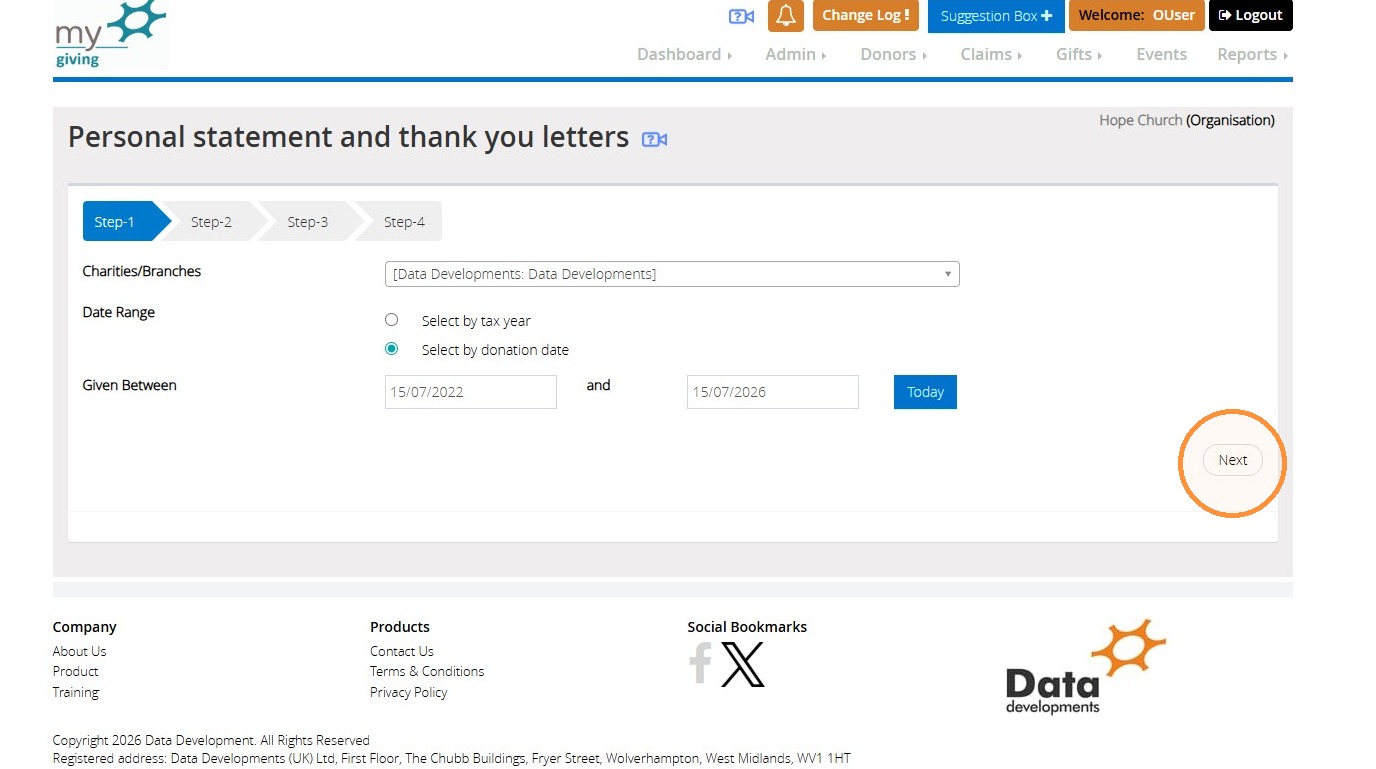
7. This report can be limited to a particular 'Tax Year' or a custom date range. Select the option you wish to use.
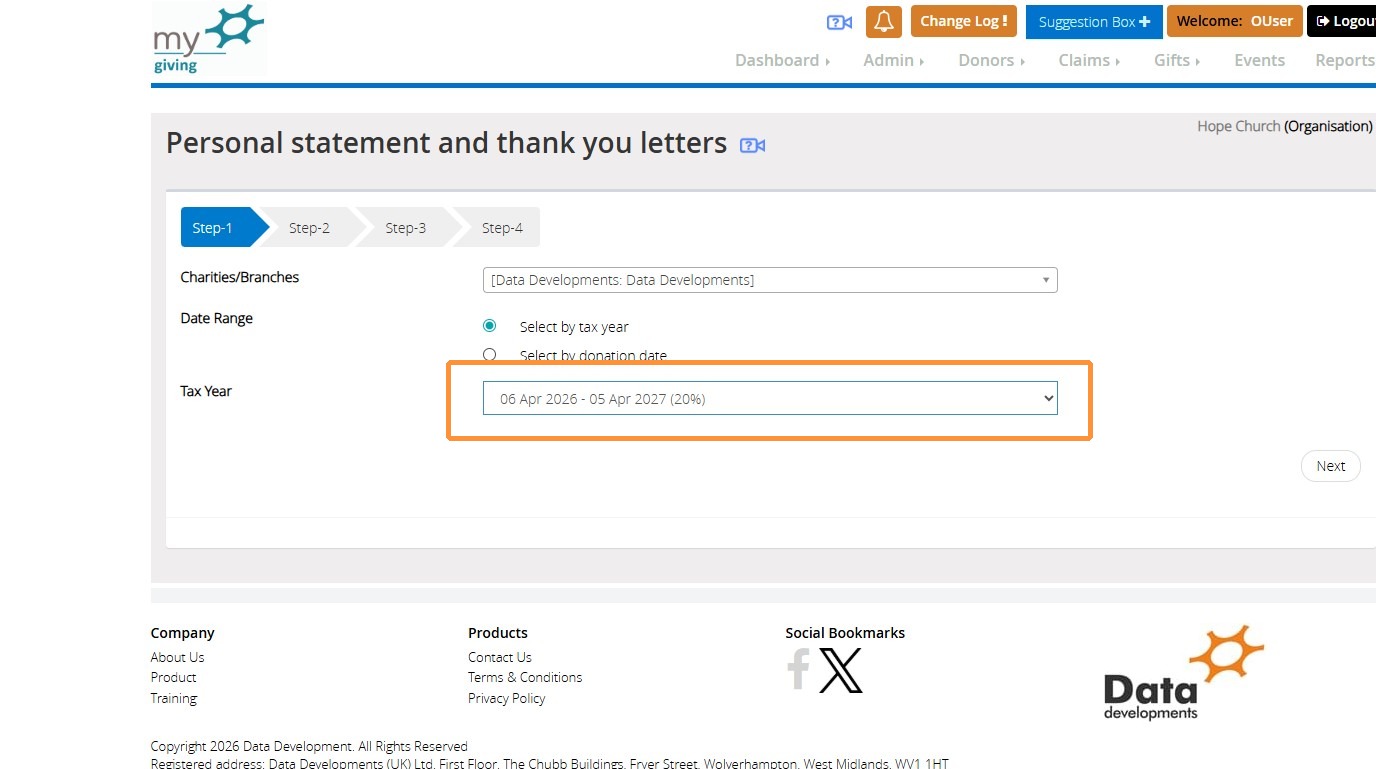
8. If you selected 'Tax Year ', you will be provided with a dropdown of the available tax years to select. Choose the tax year you wish to use.
9. If you selected 'Donation Date', you will see a 'From' and 'To' box. Enter the custom date range you wish to use.
10. Click 'Next'
Step 2: Donor Filters
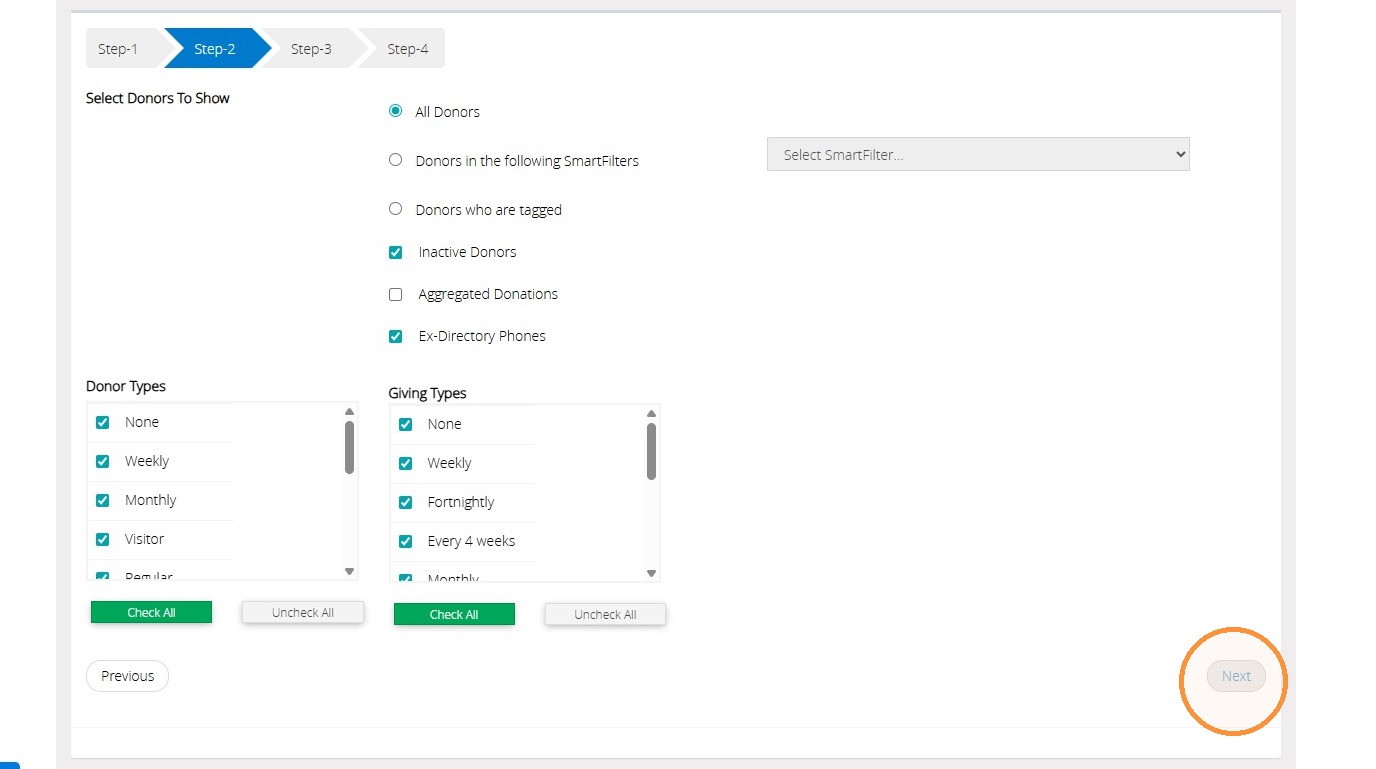
11. Step 2 allows you to refine which donors are included in the report. You can filter donors by SmartFilter, Tags, Donor Type, or Giving Type, ensuring the report contains only the records that are relevant to your requirements.
Once you have selected your criteria, click Next to proceed to Step 3.
Step 3: Gift Filters
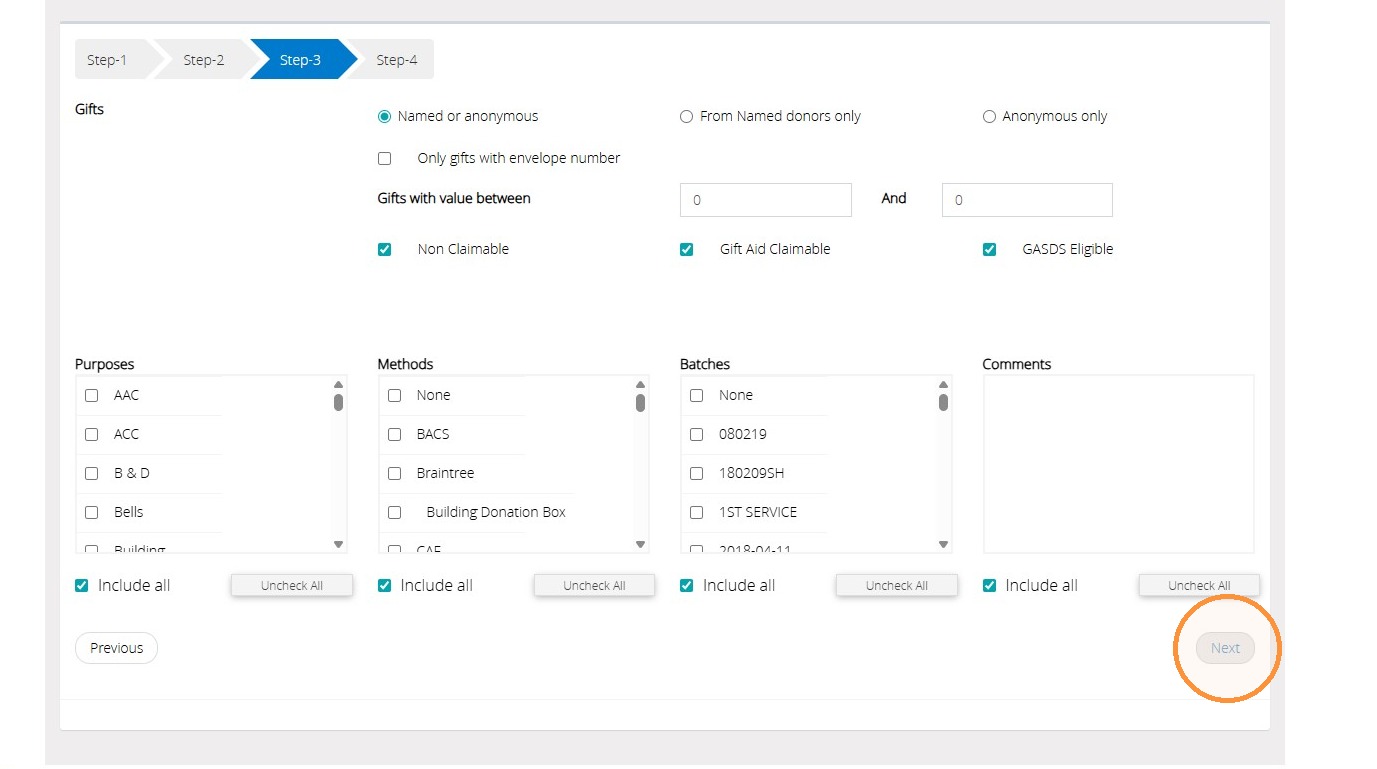
12. Step 3 allows you to define which donations are included in the report. You can refine the results by selecting donations from Named Individuals only, limiting the report to Gift Aid eligible donations, or filtering contributions by Purpose, Giving Method, or Batch Reference.
Once you have selected your criteria, click Next to proceed to Step 4.
Step 4: Generating the Report
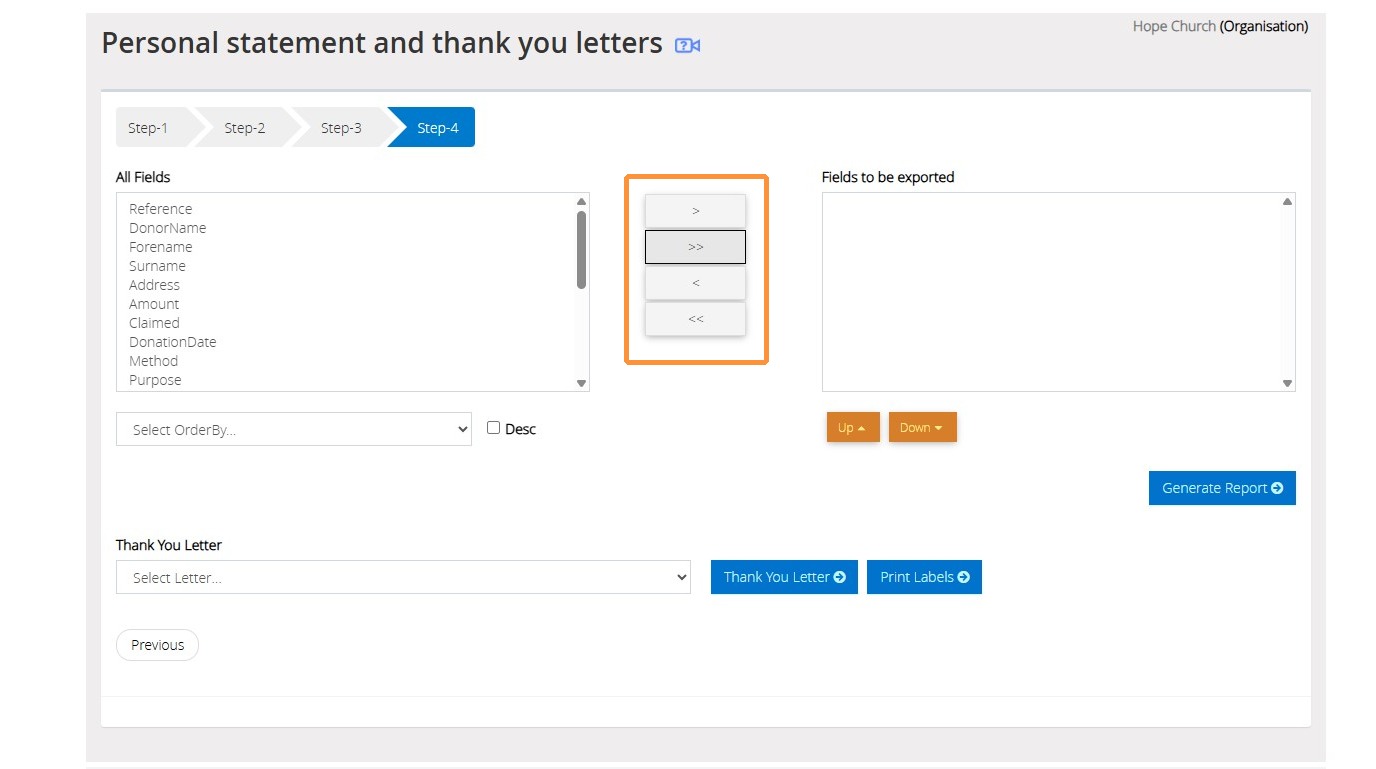
13. In Step 4, select the fields you would like to include in the report. To add fields individually, select the required field from the list on the left and either click the single arrow button to move it to the selected fields list on the right, or simply double-click the field name.
To add all available fields at once, click the double arrow button. Selected fields can also be removed using the corresponding arrow buttons if required.
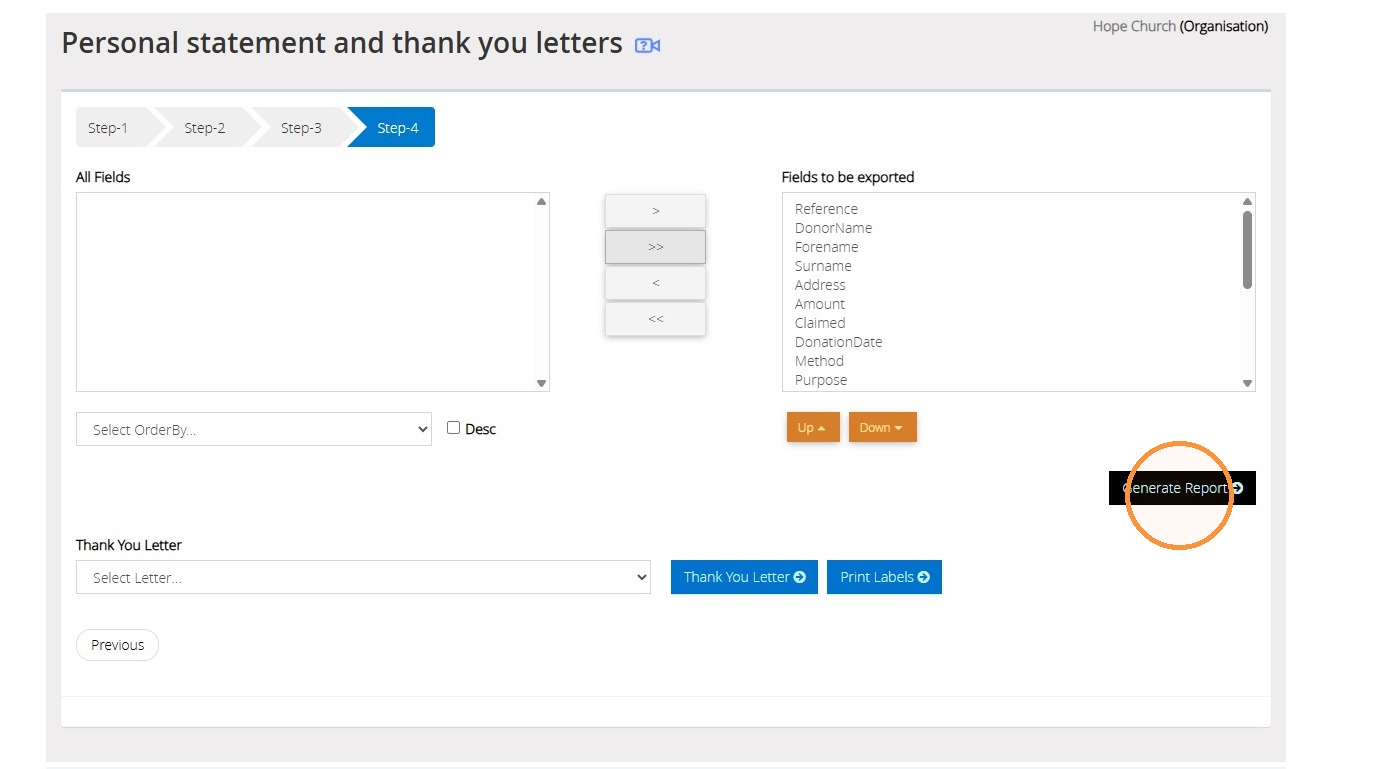
14. Once you have selected the fields you wish to use, click 'Generate Report'
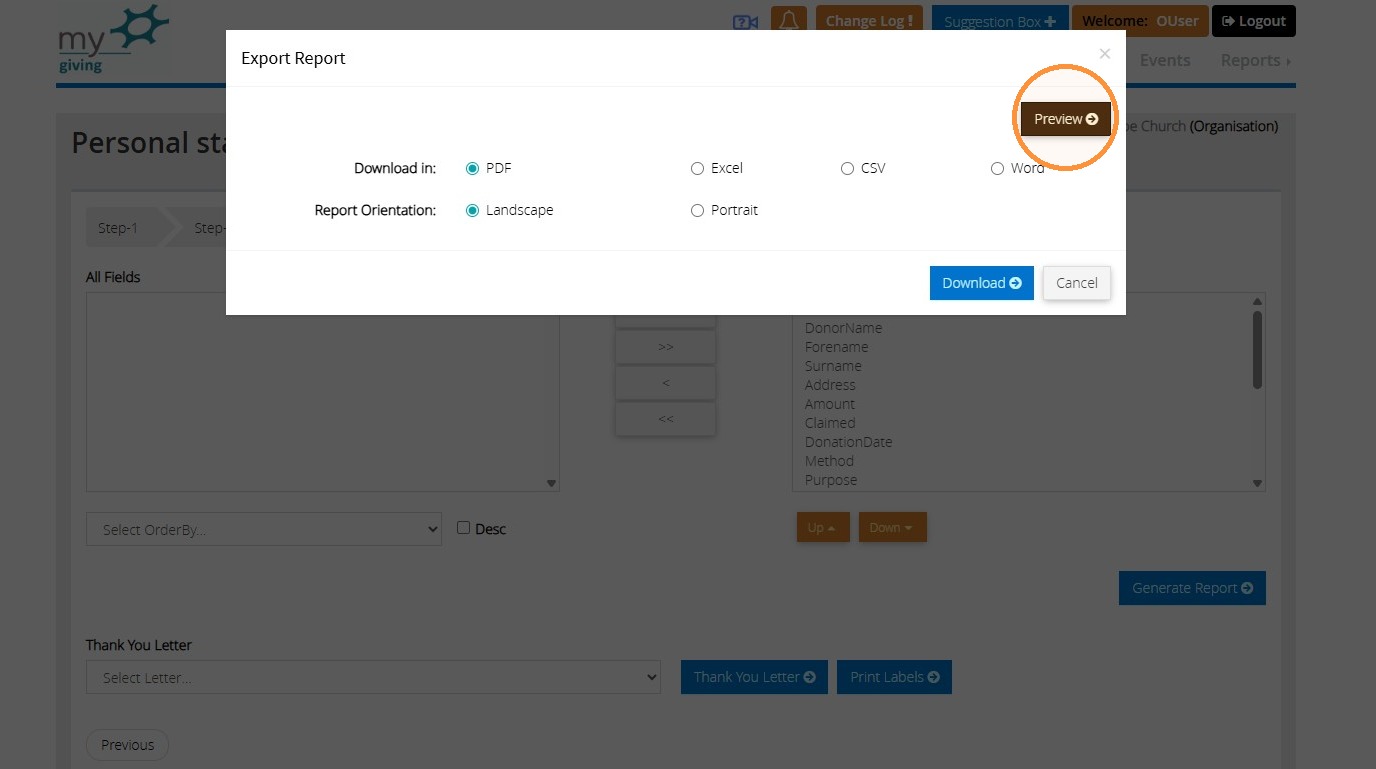
15. Click 'Preview'. This will open the report under a new tab on your browser.
Step 4: Generating the Thank You Letter
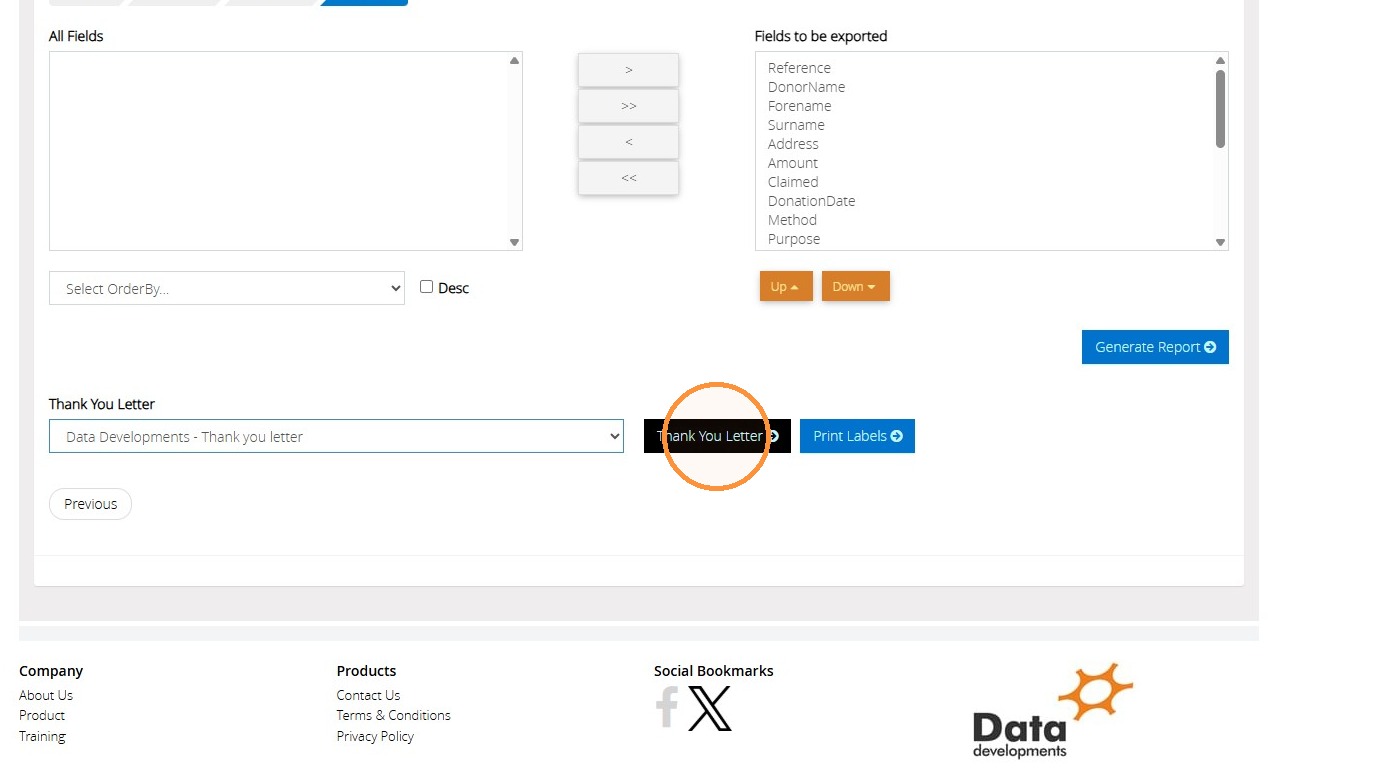
16. On Step 4, from the 'Thank You Letter' dropdown menu, select the letter you wish to use. If no letters are listed, you will need to ensure that you have created the Thank You Letter Template under the 'Master Tables' menu. Additional guidance on how to do this is available from the 'Help' menu.
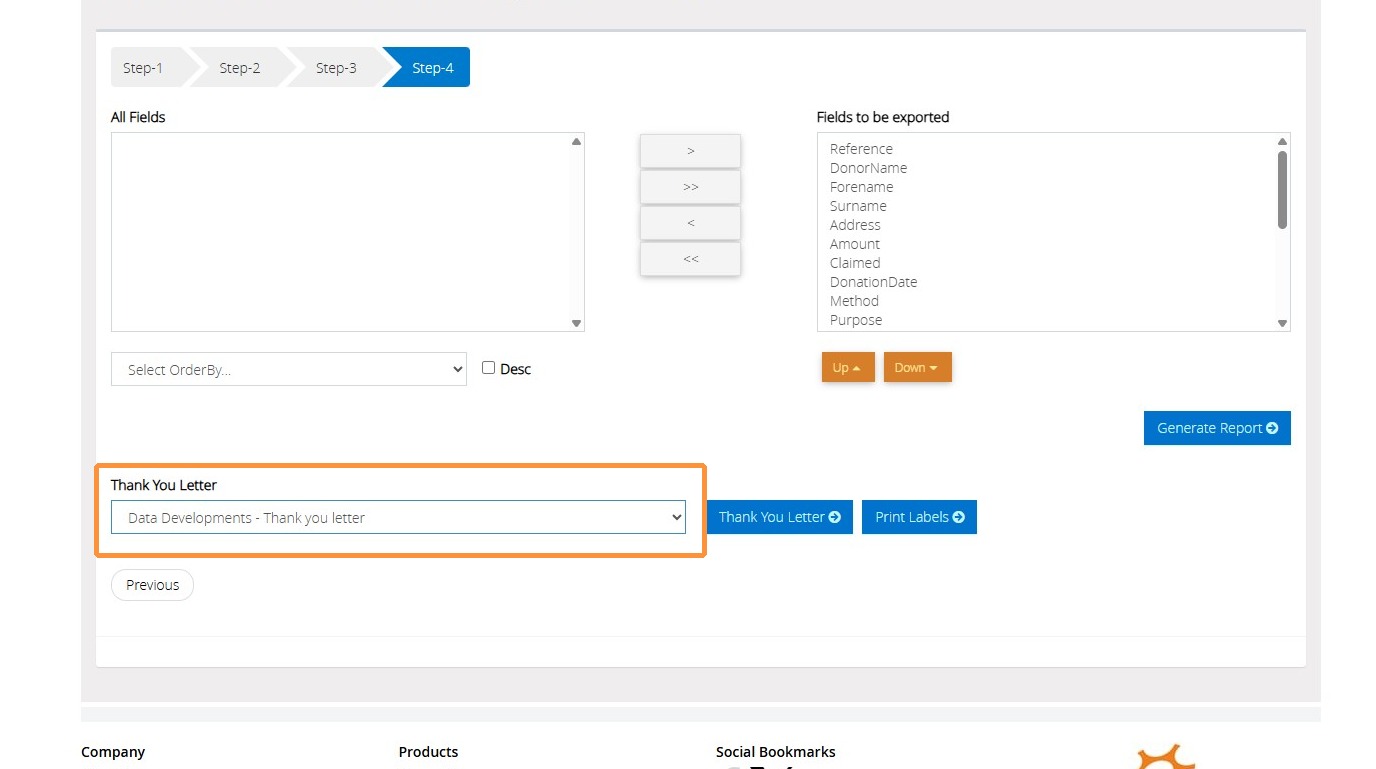
17. Click 'Thank You Letter' to open the letter generation options.
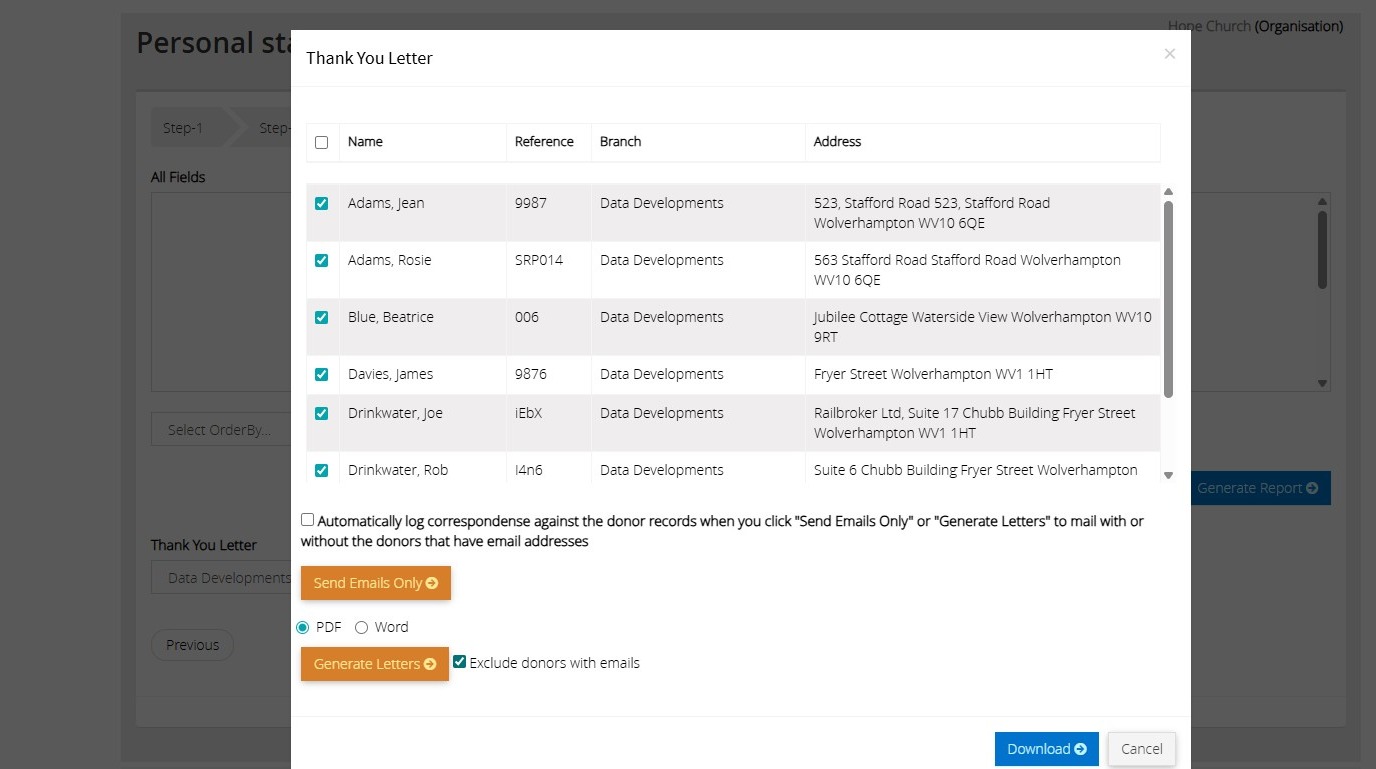
18. This step displays all donors for whom a thank-you letter will be generated. If you wish to exclude any donors from the mailing, simply untick the checkbox next to their name.
You can then choose how the thank-you letters are delivered. Generate the letters as a PDF for printing and posting, or send them directly by email to donors who have a valid email address recorded in their donor profile.
Clicking the 'Generate Letters' button will create a PDF with each of the individual letters included, on a separate page.
We hope you found this guide helpful and easy to follow. If you require any further assistance, please contact our support team by telephone on 01902 714030 or by email at support@datadevelopments.co.uk