
This guide provides instructions on configuring your email settings and generating personalised thank you correspondences for your donors. Learn how to navigate the reporting tools to efficiently manage and send communication to your supporters.
1. Navigate to https://www.mygiving.online/dashboard and log in to your account.
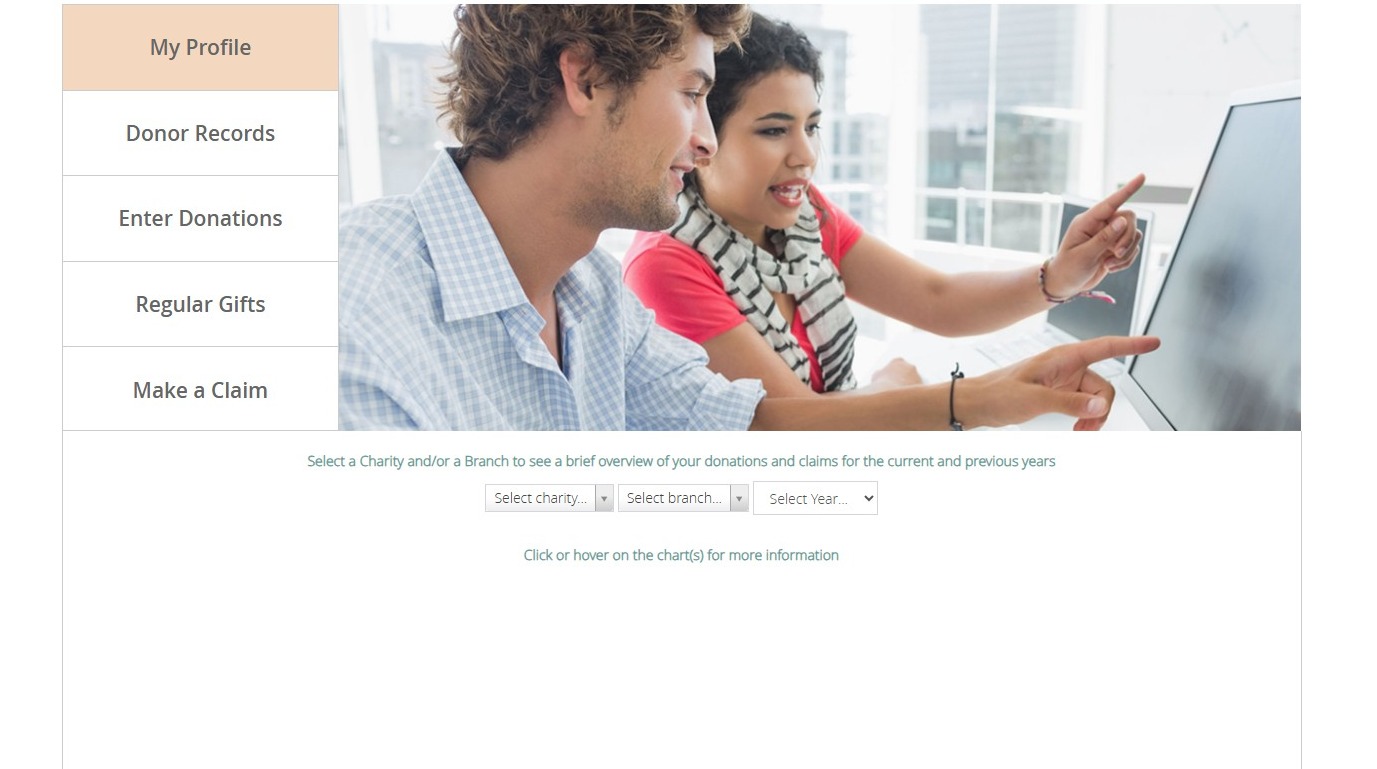
Location of email settings
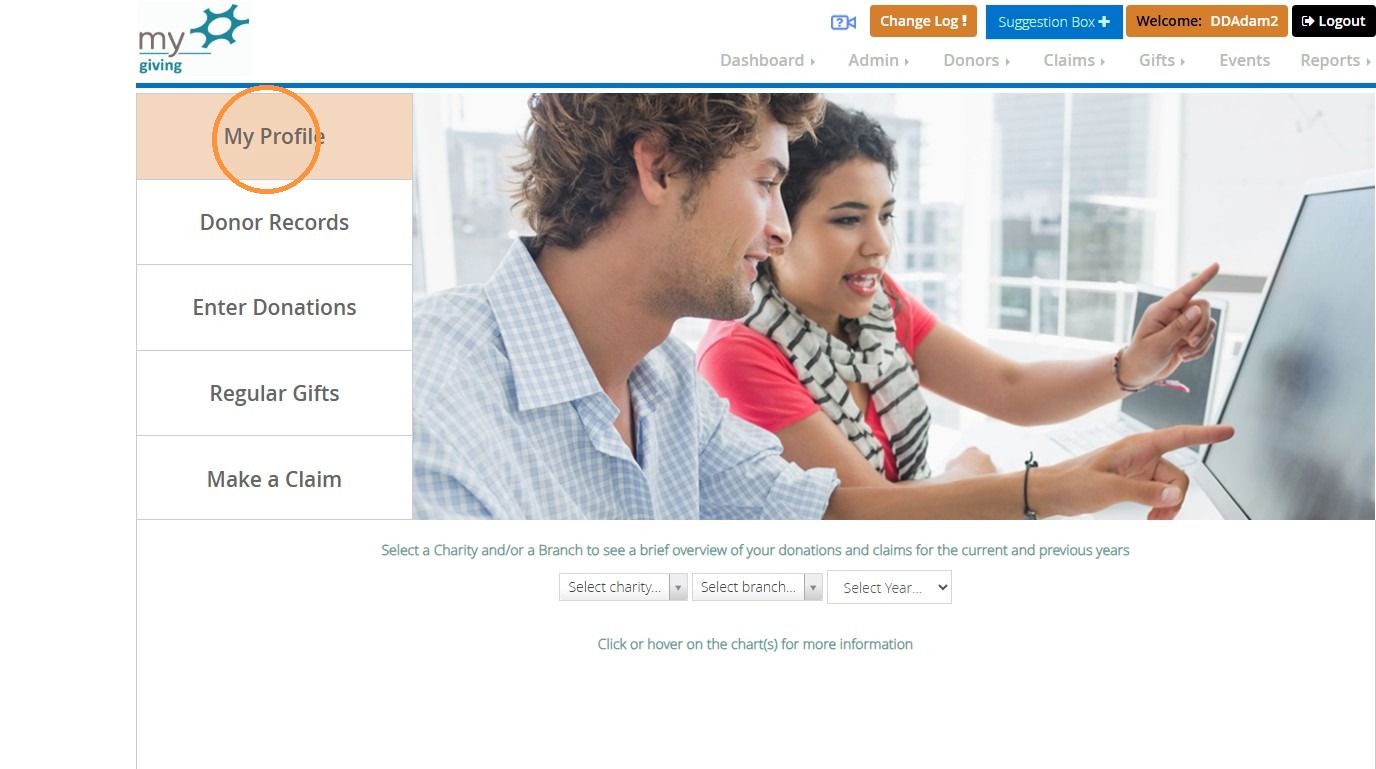
2. You will need to go to "My Profile".
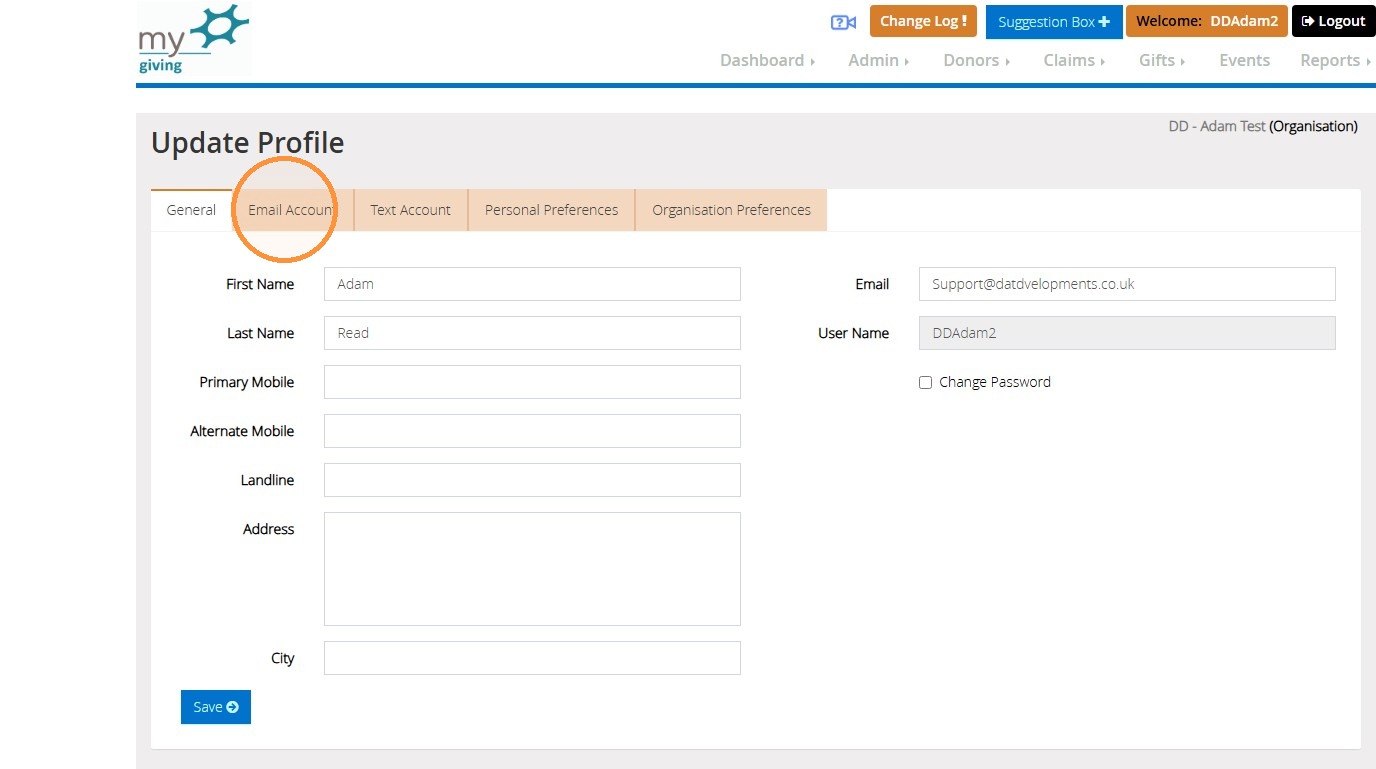
3. Then select "Email Account".
Tip: Tip! SMTP (Simple Mail Transfer Protocol) settings are the configuration rules required for an email client or application to successfully send outgoing emails.
Rules are determined by the provider in order to make sure email messaging is secure and safe.
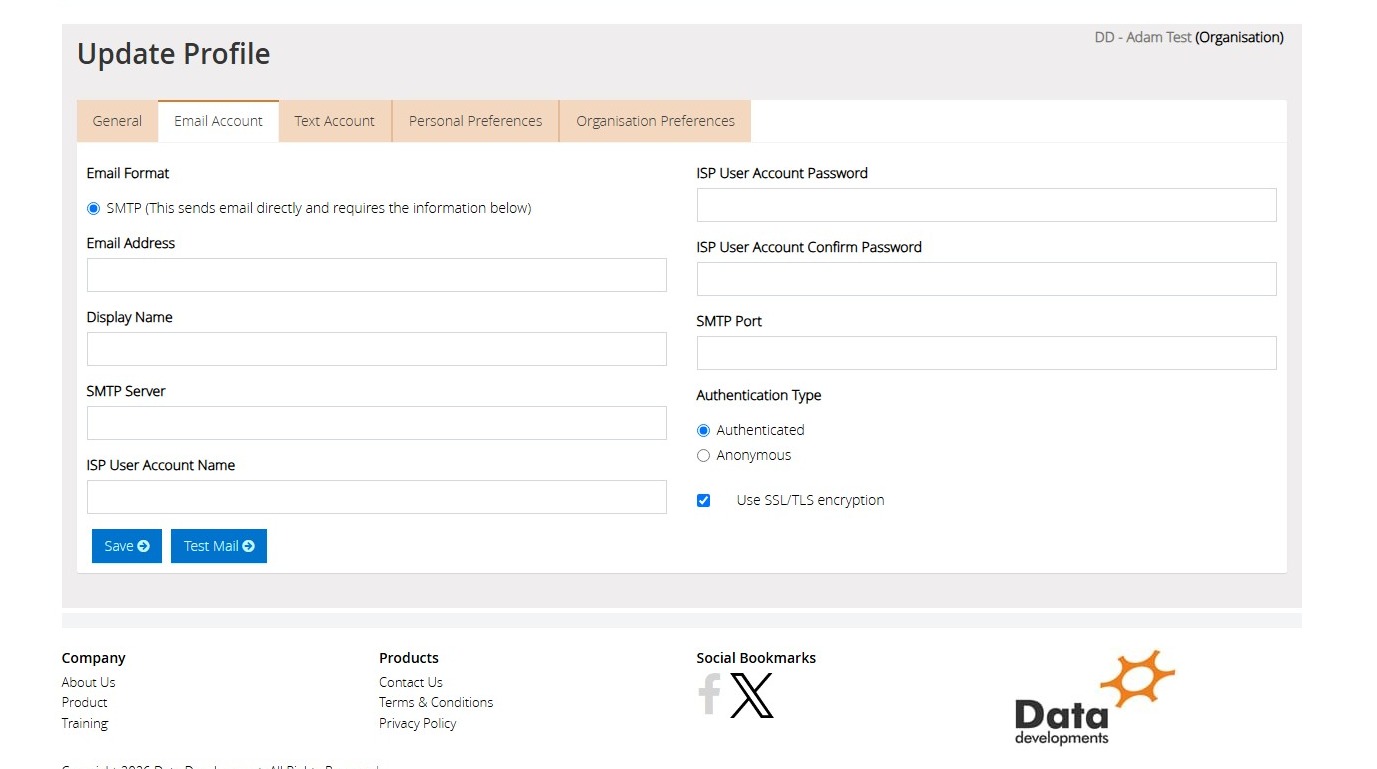
4. Here you will need to enter your email settings from your provider. Often these settings can be searched for via your email provider or through Google.
The settings vary by email provider. Some providers require you to generate and use an "app password" to authenticate between your email account and our system, allowing emails to be sent from the application on your behalf.
The fields required are:
"Email Address"
"Display name"
"SMTP Server"
"ISP User Account Email"
"ISP User Account Password"
"SMTP Port"
A selection of whether your email provider is set to authenticated or anonymous is required, as well as the option to use SSL and TLS encryption.
SSL and TLS are secure communications between your browser and a web server.
An example of a setting could be:
Email address: someone@gmail.co.uk
Display name: Someone's name or charity
SMTP Server:SMTP.gmail.com
ISP User Account Email: someone@gmail.co.uk
An app password that has been generated.
SMTP Port: 587 (TLS) or 486 (SSL)
Tip: Tip! App passwords are passwords that are generated by the email provider in order to authenticate the device without a two factor authentication process. This way, the email provider is able to trust the system or client in order to successfully send emails from it. This will also mean the main password for the account is not shared/ stored within the application.
Donor Email
5. Once completed, you can then send a donor email directly by going to "Donors" and "View and edit donors" or "Donors" and "Send Email".
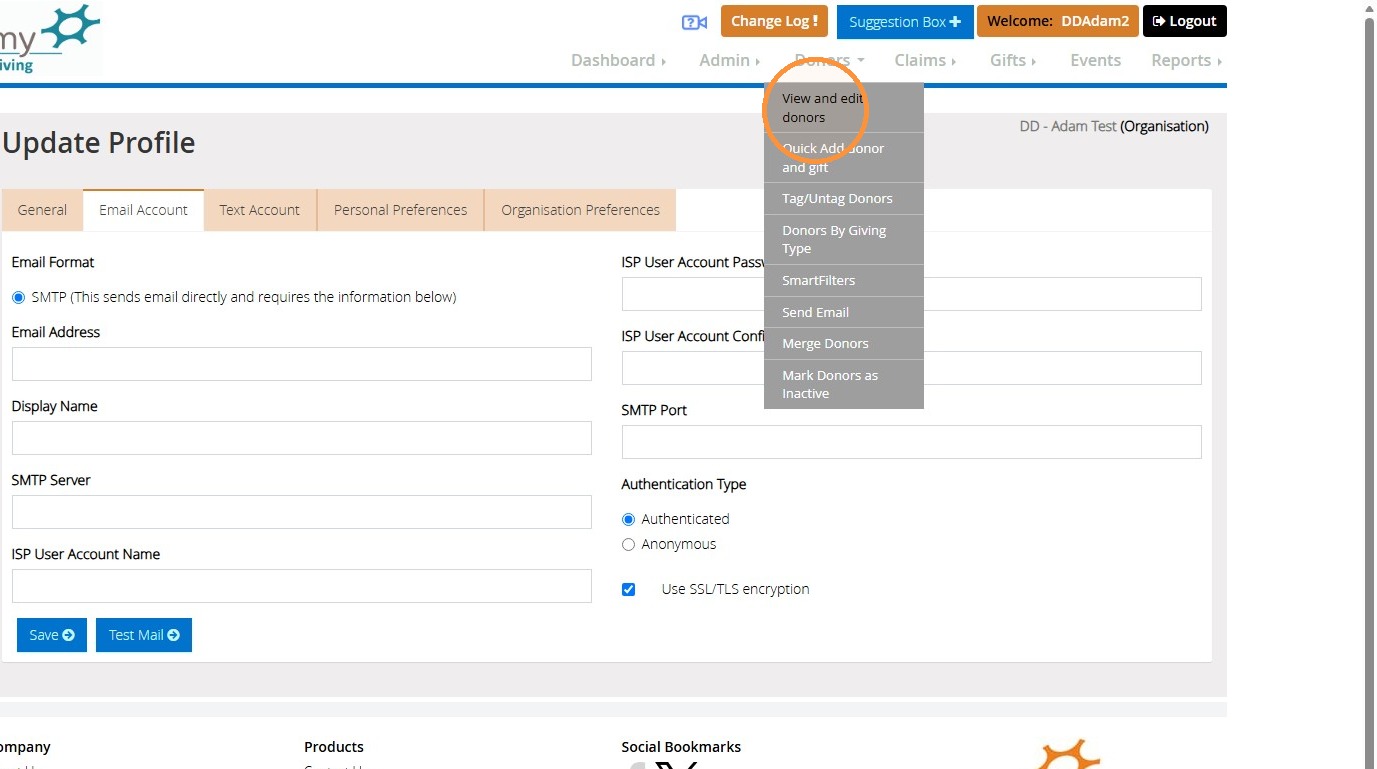
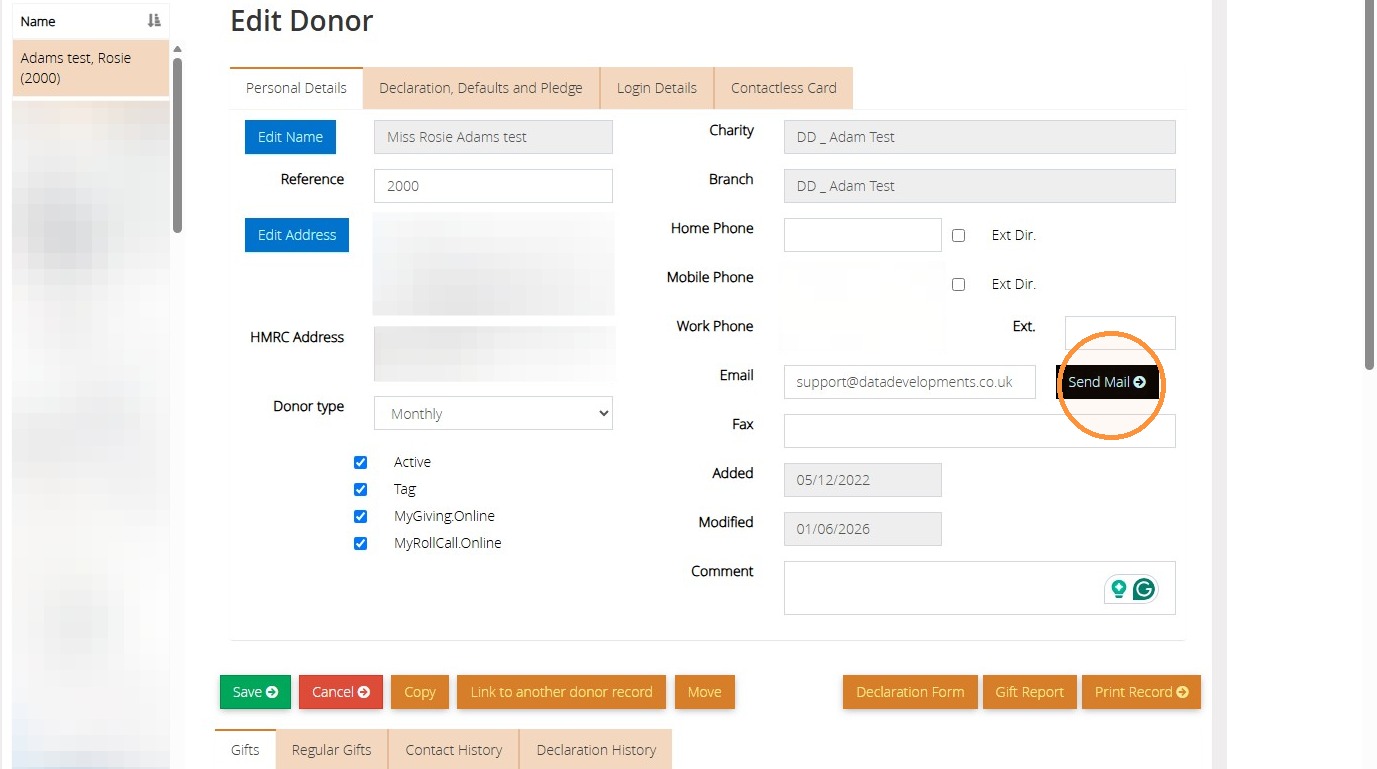
6. Through "View and Edit Donors", select the donor you wish to send an email to from the list, and then choose "Send Mail" on their donor profile.
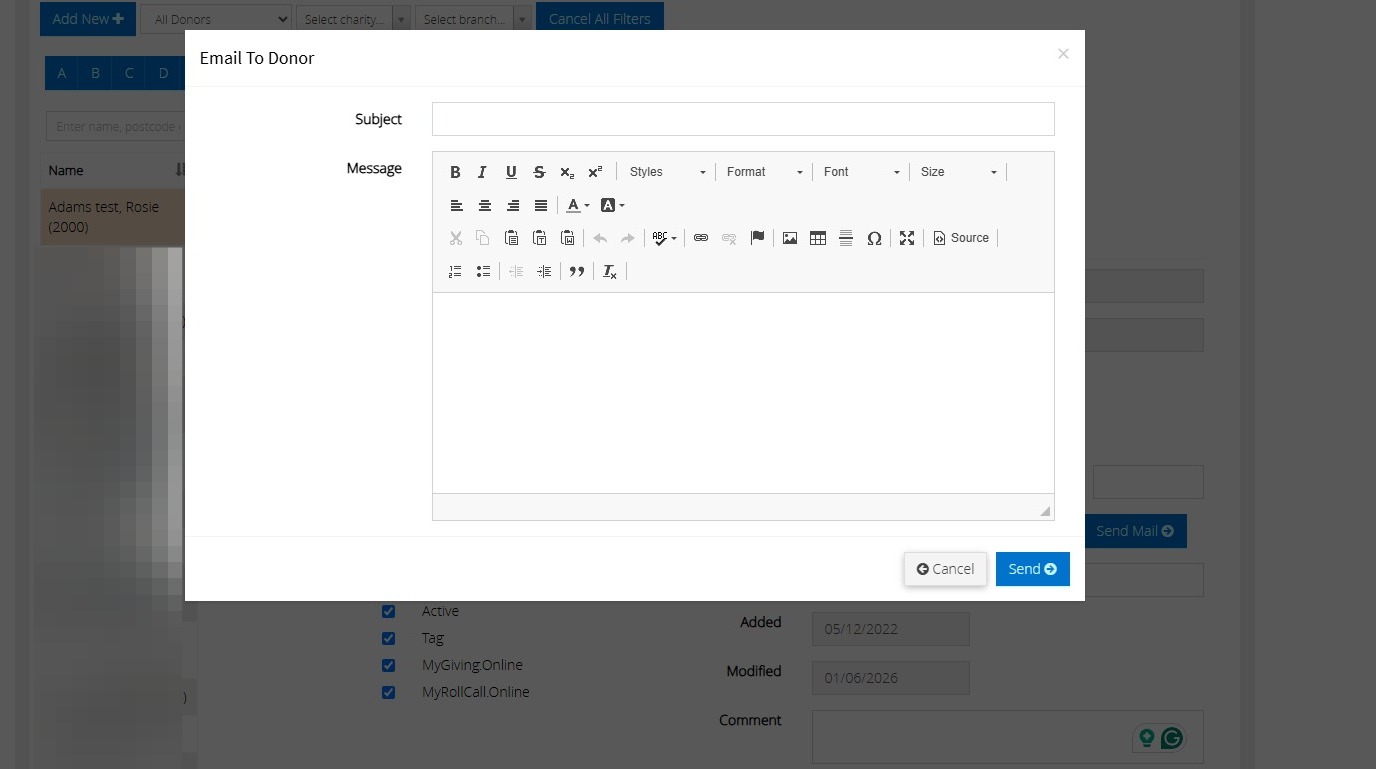
7. Here you will able to compose an email to the donor. Once completed, click "Send".
Thank you letter emails
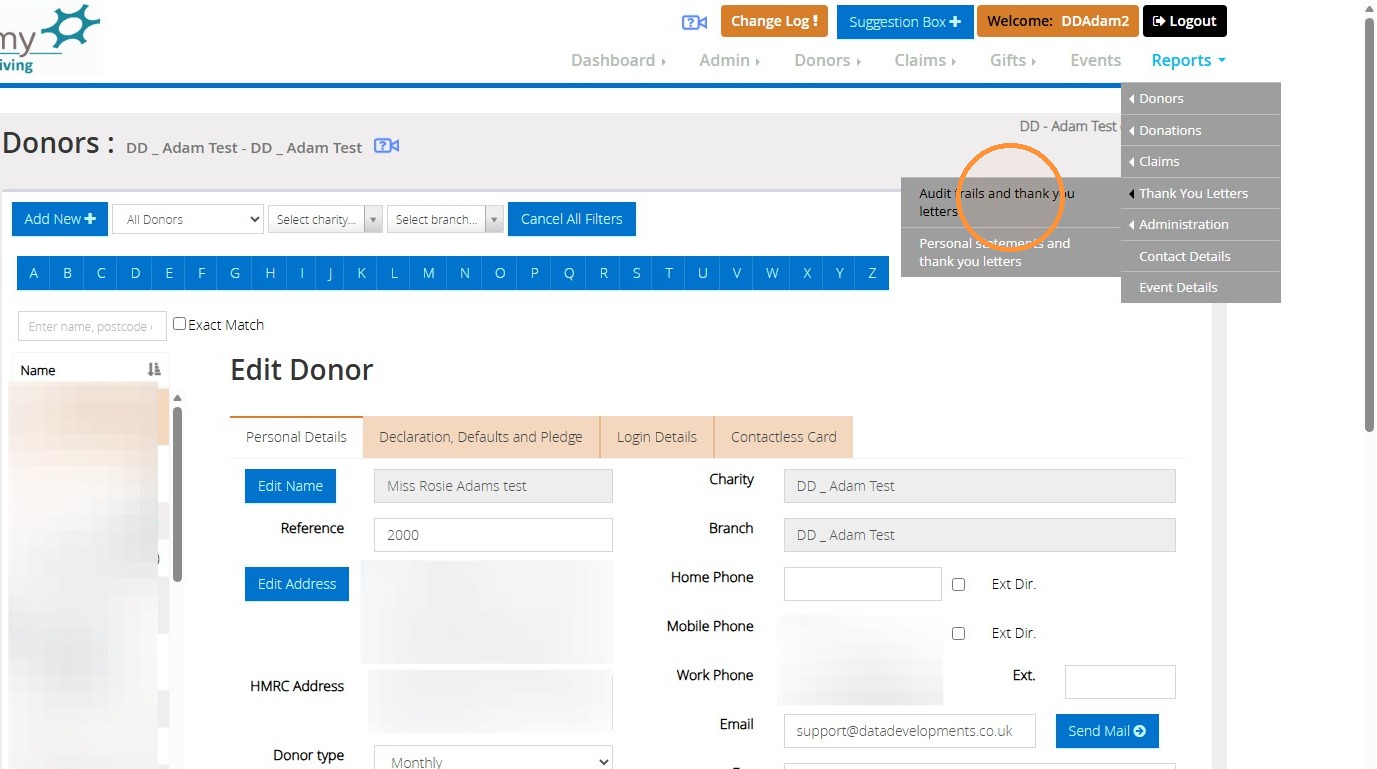
8. Click "Reports".
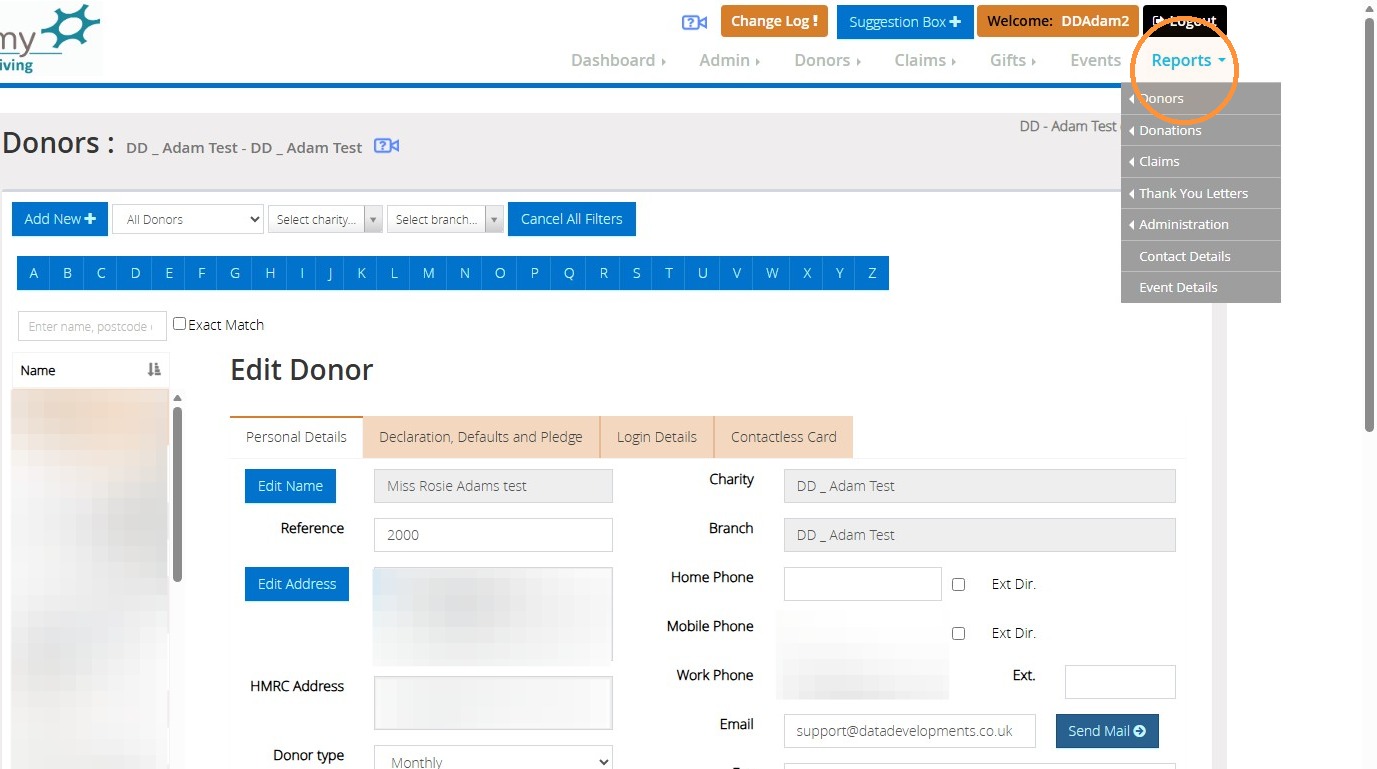
9. Click "Audit trails and thank you letters" (for more guidance on thank you letters, please see the link to our online help guide here: Audit Trails and Thank You Letters : Data Developments. This covers steps 1 to 3 of the thank you letter generation).
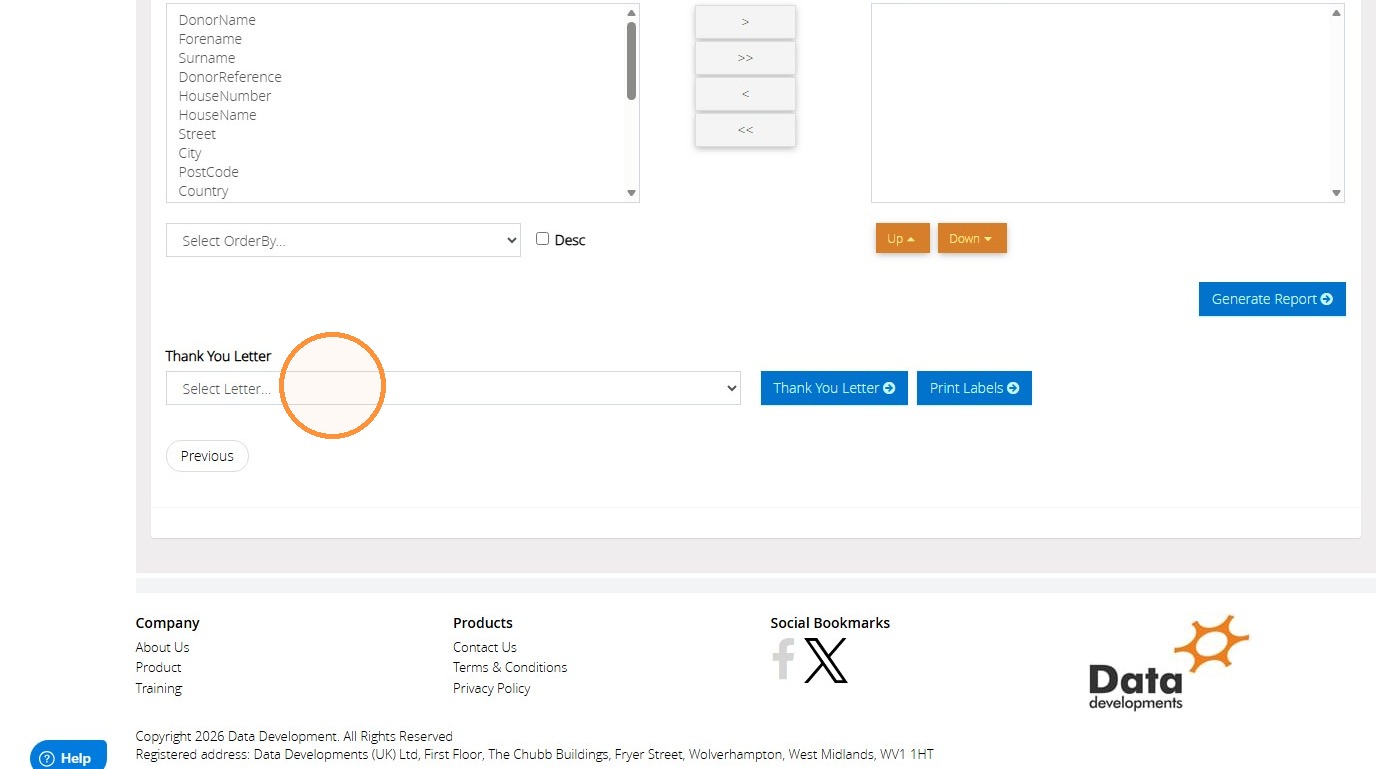
10. Once you are on step 4 of the thank you letter steps, use the dropdown to select your thank you letter. Once you have selected this, choose the "Thank you Letter" button.
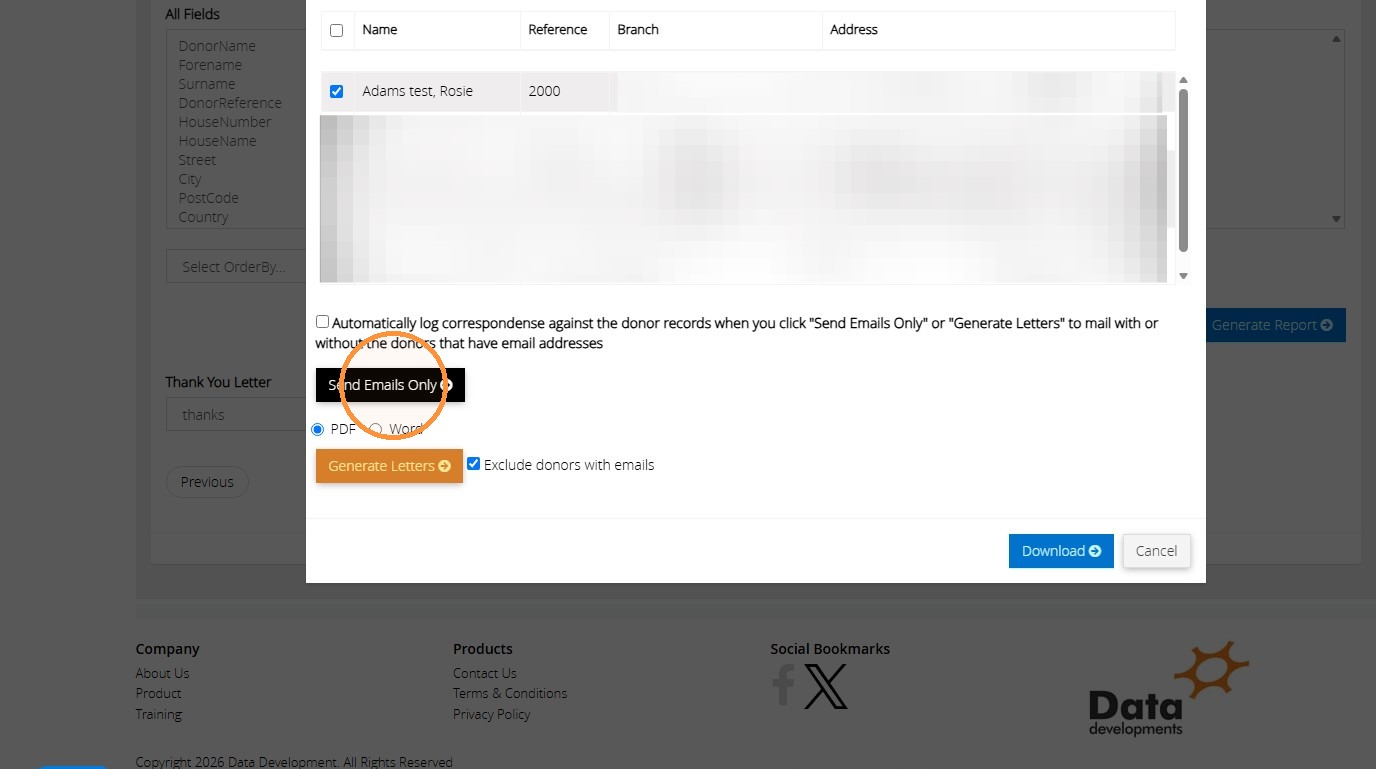
11. Once here, you will be given the list of donors you have recorded In MyGiving.Online. Tick the boxes next to their names to select them as recipients for your email. Once complete, click 'Send Emails Only'.
We hope you found this guide helpful and easy to follow. If you require any further assistance, please contact our support team by telephone on 01902 714030 or by email at support@datadevelopments.co.uk